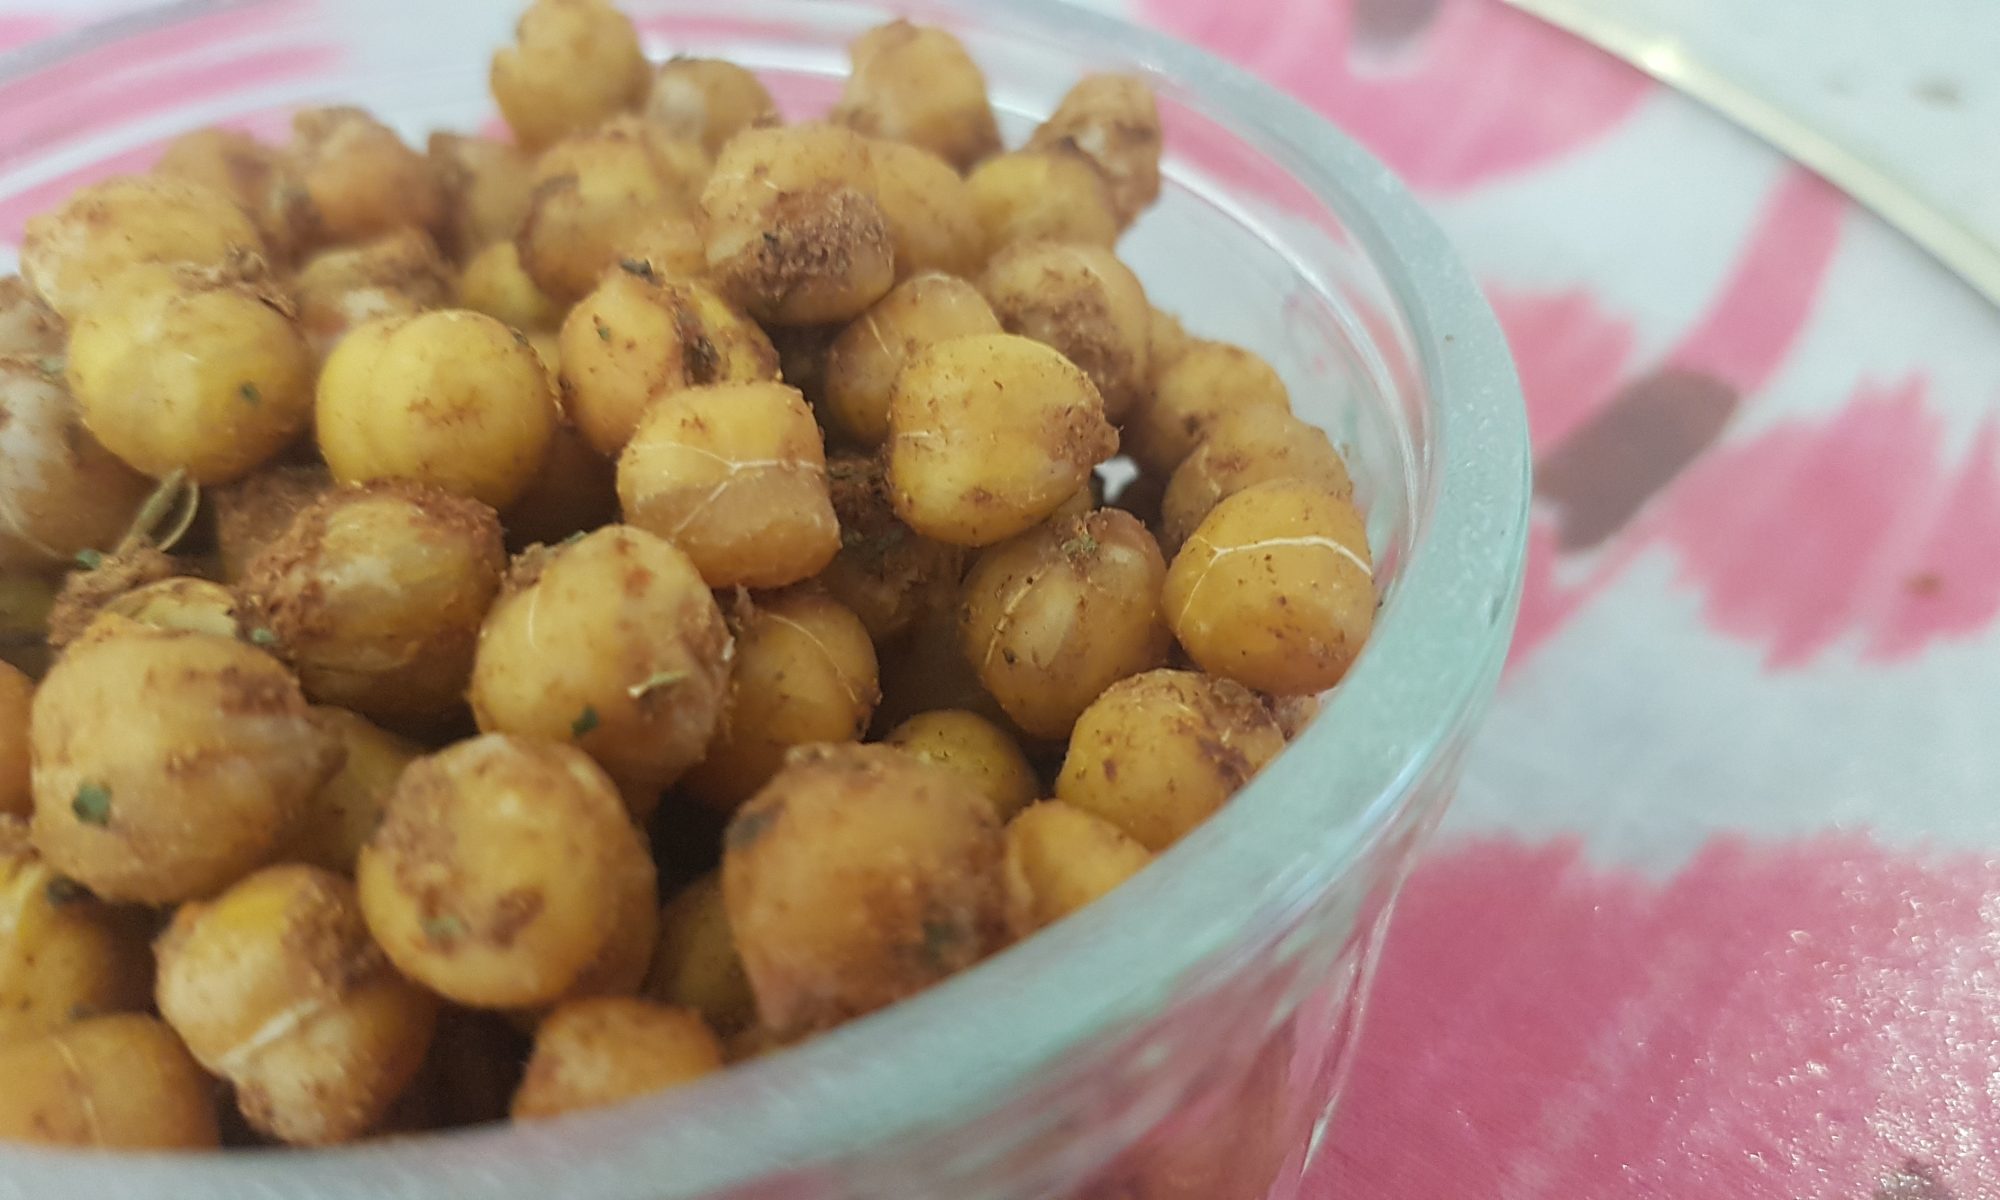
I love it when I plan to make something with the kids and I actually get round to making it the week I planned to. I know it sounds crazy, but I have list upon list of ideas that I want to try in the kitchen with my little chefs. Some make it to the top incredibly quickly, but others linger for a while before they have their turn in the limelight. I may have made this one the week I planned to, but writing it up to share with you all has taken another week or two. I am placing the blame for this one firmly in the court of the house spring clean. Yes I am still trying to sort our house – it is a job of epic proportions. I should maybe be calling it a summer clean now as despite the changeable weather, not even I can deny that it is in fact summer. I find myself continually distracted and I am at the stage where I find any other activity more interesting than the one at hand! Do I sort through a pile of mismatched toys or plan a list of baking activities?! Yup the latter tends to win. Oh and I am very good at planning, it seems finishing a task is my downfall.

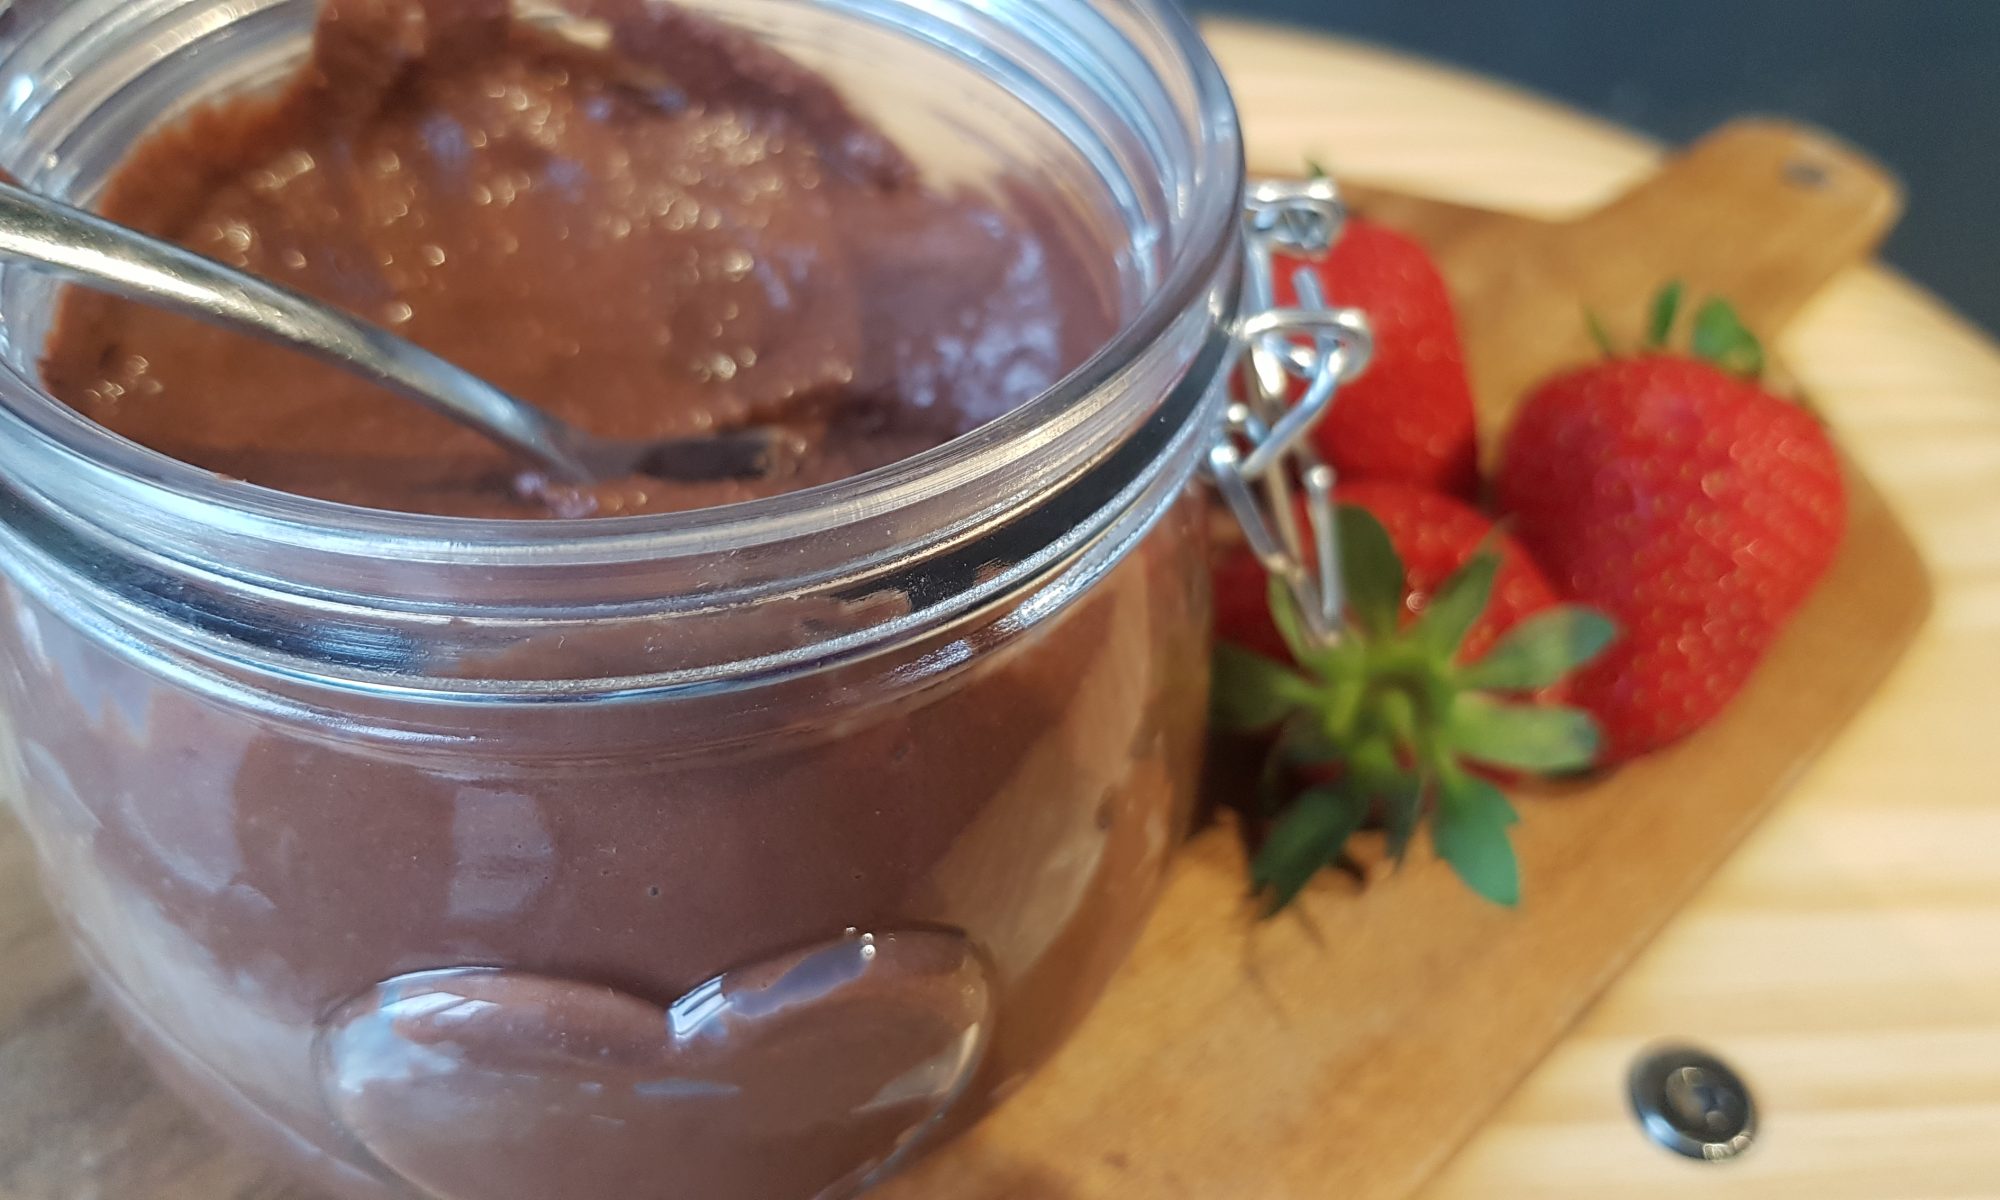
This recipe is essentially a chocolate hummus. We decided to call it dip as the kids had fun dipping strawberries into it. We have also discovered that it works remarkably well with pancakes and dolloped into a bowl of cereal for added protein at breakfast. I am fully aware that it is not a usual thing to make with kids. I know this because when I informed my husband what Ophelia and I were going to be making in the kitchen, a glazed expression crossed his face. He was probably thinking something along the lines of why doesn’t she just make a batch of cookies or cupcakes?!

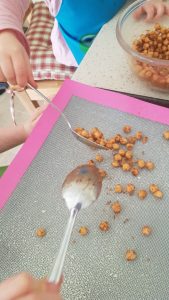
Ophelia had fun looking at the ingredients and pouring them into the food processor. She took great delight in helping me push down the side with a spatula to ensure it was fully mixed. The best part, once again was licking the bowl. She asked to do this pretty much from the start. I am pretty sure she figured that baking on her own with me meant she wouldn’t have to share the treat. Her brothers were referenced a couple of times.
Ingredients
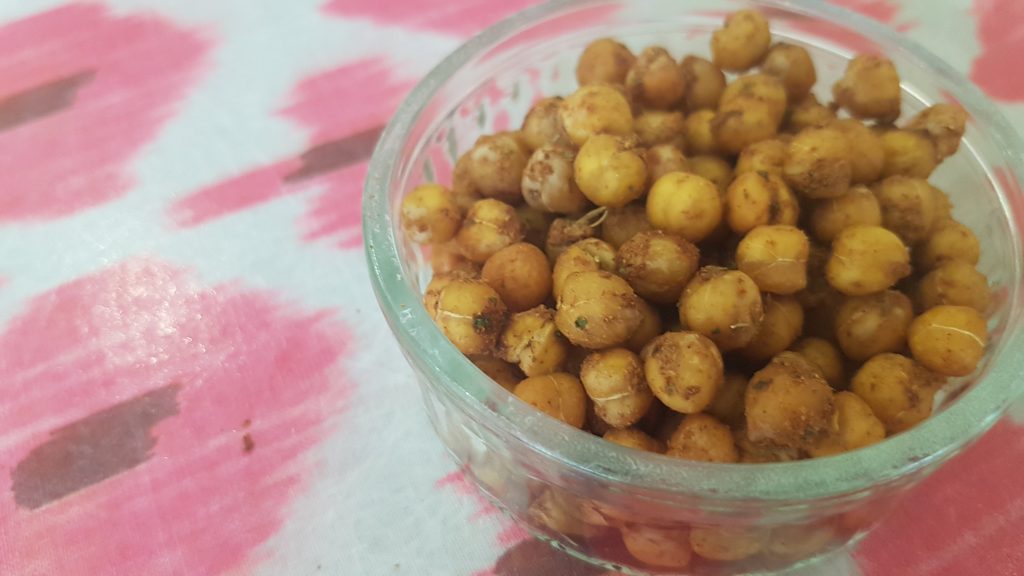
- 1 can of chickpeas, drained
- 140g 0% fat Greek-style natural yoghurt
- 5 tbsp. cocoa powder
- 50g Sweet Freedom Chocolate Shot
- 3 tbsp. honey
- 1/4 tsp salt
Method
- Add all of the ingredients to the food processor and blitz until smooth. Stop the food processor every so often to scrape down the edges to ensure that it is all mixed.
- Store in the fridge until ready to use.