
My children seem to be magnets for mud and dirt and grime and I seem to spend my day telling whichever child or children I am with to go and wash their hands or face. This request is generally met with furious indignation and the retort that they are clean and how unfair mummy is.
When Atticus’s nursery brought my attention to the fact that Friday 29 June is International Mud Day I was really happy. In our house, playing in the mud equates to the boys in the unassigned flower beds digging for treasure and worms and Ophelia trying to climb undetected closer to the raspberry canes (regardless of season) to steal the fruit! I have three little explorers set on conquering my garden, having a good time in nature and with each other so it is a win-win in my book.
My original plan to mark this muddy occasion, had been to  make a deliciously decadent dark chocolate torte and let the children decorate it. Then I figured that the kids would probably prefer this recipe as it involves biscuit crushing and super speedy whisking Angel Delight with the rotary whisk and sweetie worms, so from their perspective what’s not to love?! This recipe is definitely more child-friendly and less of a chance of me having to exert super-human will power to prevent myself from eating a whole chocolate torte!
I have been making this recipe since Seb, now 5, was about 18 months. This 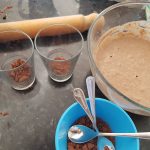 was the first time that Ophelia had a chance to try out the rotary whisk. I have to admit she was a bit puzzled and needed help, but there were shrieks of delight coming from both her and Atticus as she started learning how to operate it. We also found that this recipe gave Atticus the opportunity to use fun adjectives to describe the mixture, words used include: frothy as well as bubbly and fluffy. He also said; “bash the biscuit to smithereens” as he was crushing the biscuit.
Ingredients
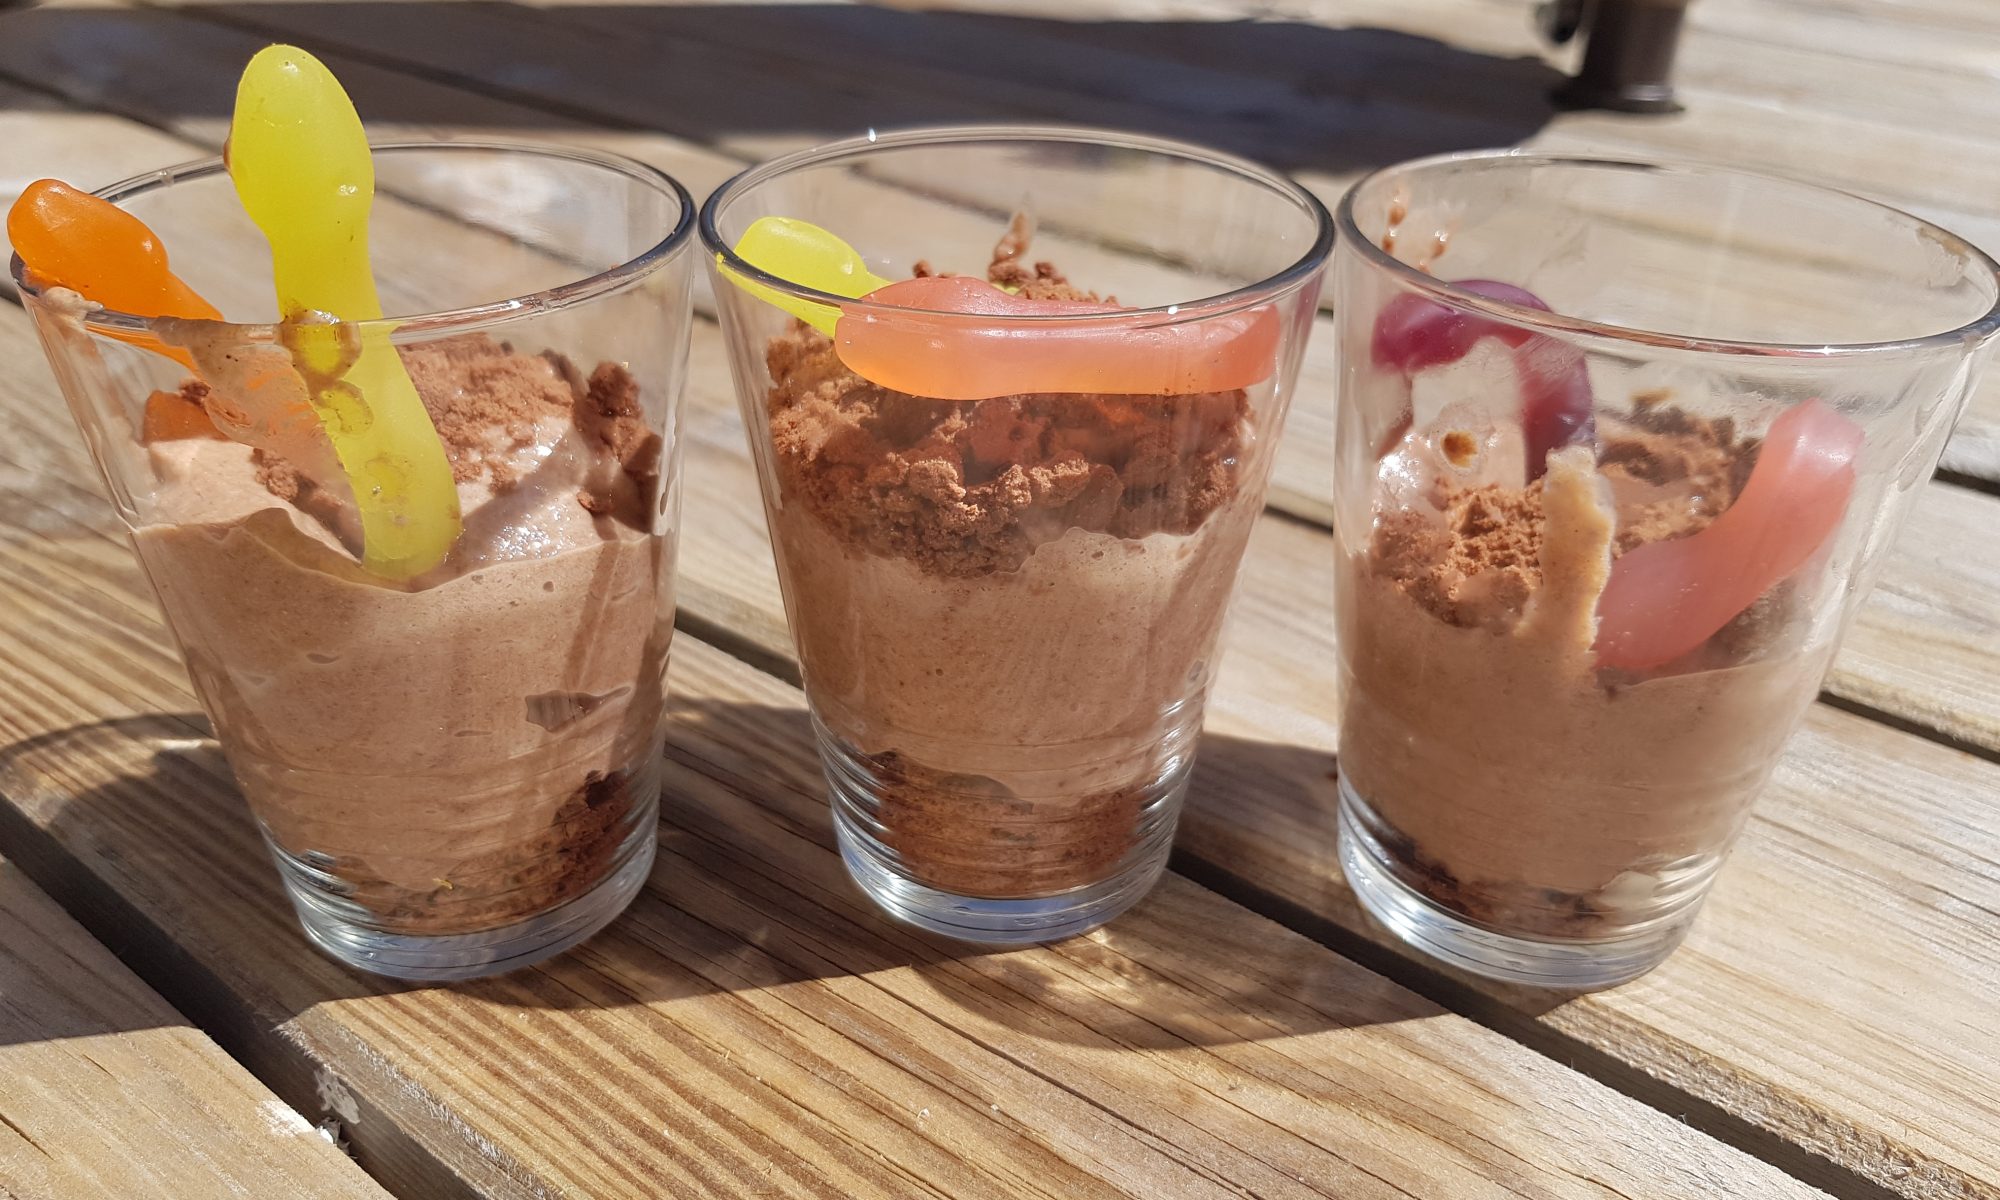
Makes 4 puddings or 3 big ones. We serve these in small glasses so the kids can see the layers.
- 4 Bourbon biscuits (essentially 1 per pudding)
- 1 pack of chocolate Angel Delight
- 300ml cold milk
- The Natural Confectionary Company Jelly Snakes (we called them worms though!)
Method
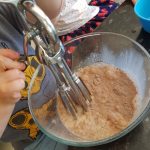 Put the Angel Delight powder into a medium-sized bowl and add the milk. Whisk and mix around until the powder has dissolved in the milk and it is all frothy like a thick milkshake. Place the bowl in the fridge until it is next needed.
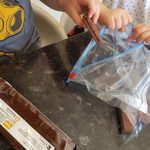
- Put the Bourbon biscuits into a ziplock bag and bash and crush them with a rolling pin or wooden spoon until they are fine crumbs. It is ok to have some bigger bits too, but you may struggle to convince your child to stop crushing them!
- Put a tablespoon of the crushed biscuits into each glass.
 Take the Angel delight out of the fridge and divide it equally
 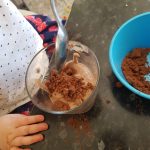 between the glasses. With my children, this involved many spillages and requests to lick the spoon. They were allowed to do the latter once we had finished.
- Divide the remaining Bourbon biscuits between the glasses and decorate them with the worms.
- Place in the fridge until ready to eat.
 Needless to say, these puddings were really welcome after a long day; nice and cold straight from the fridge in this exceptionally warm weather we have been experiencing. I think the glasses were cleared in record time for a pudding! I hope your little explorers have as much fun with this recipe as mine do.
 paper on two baking trays.
 forms.
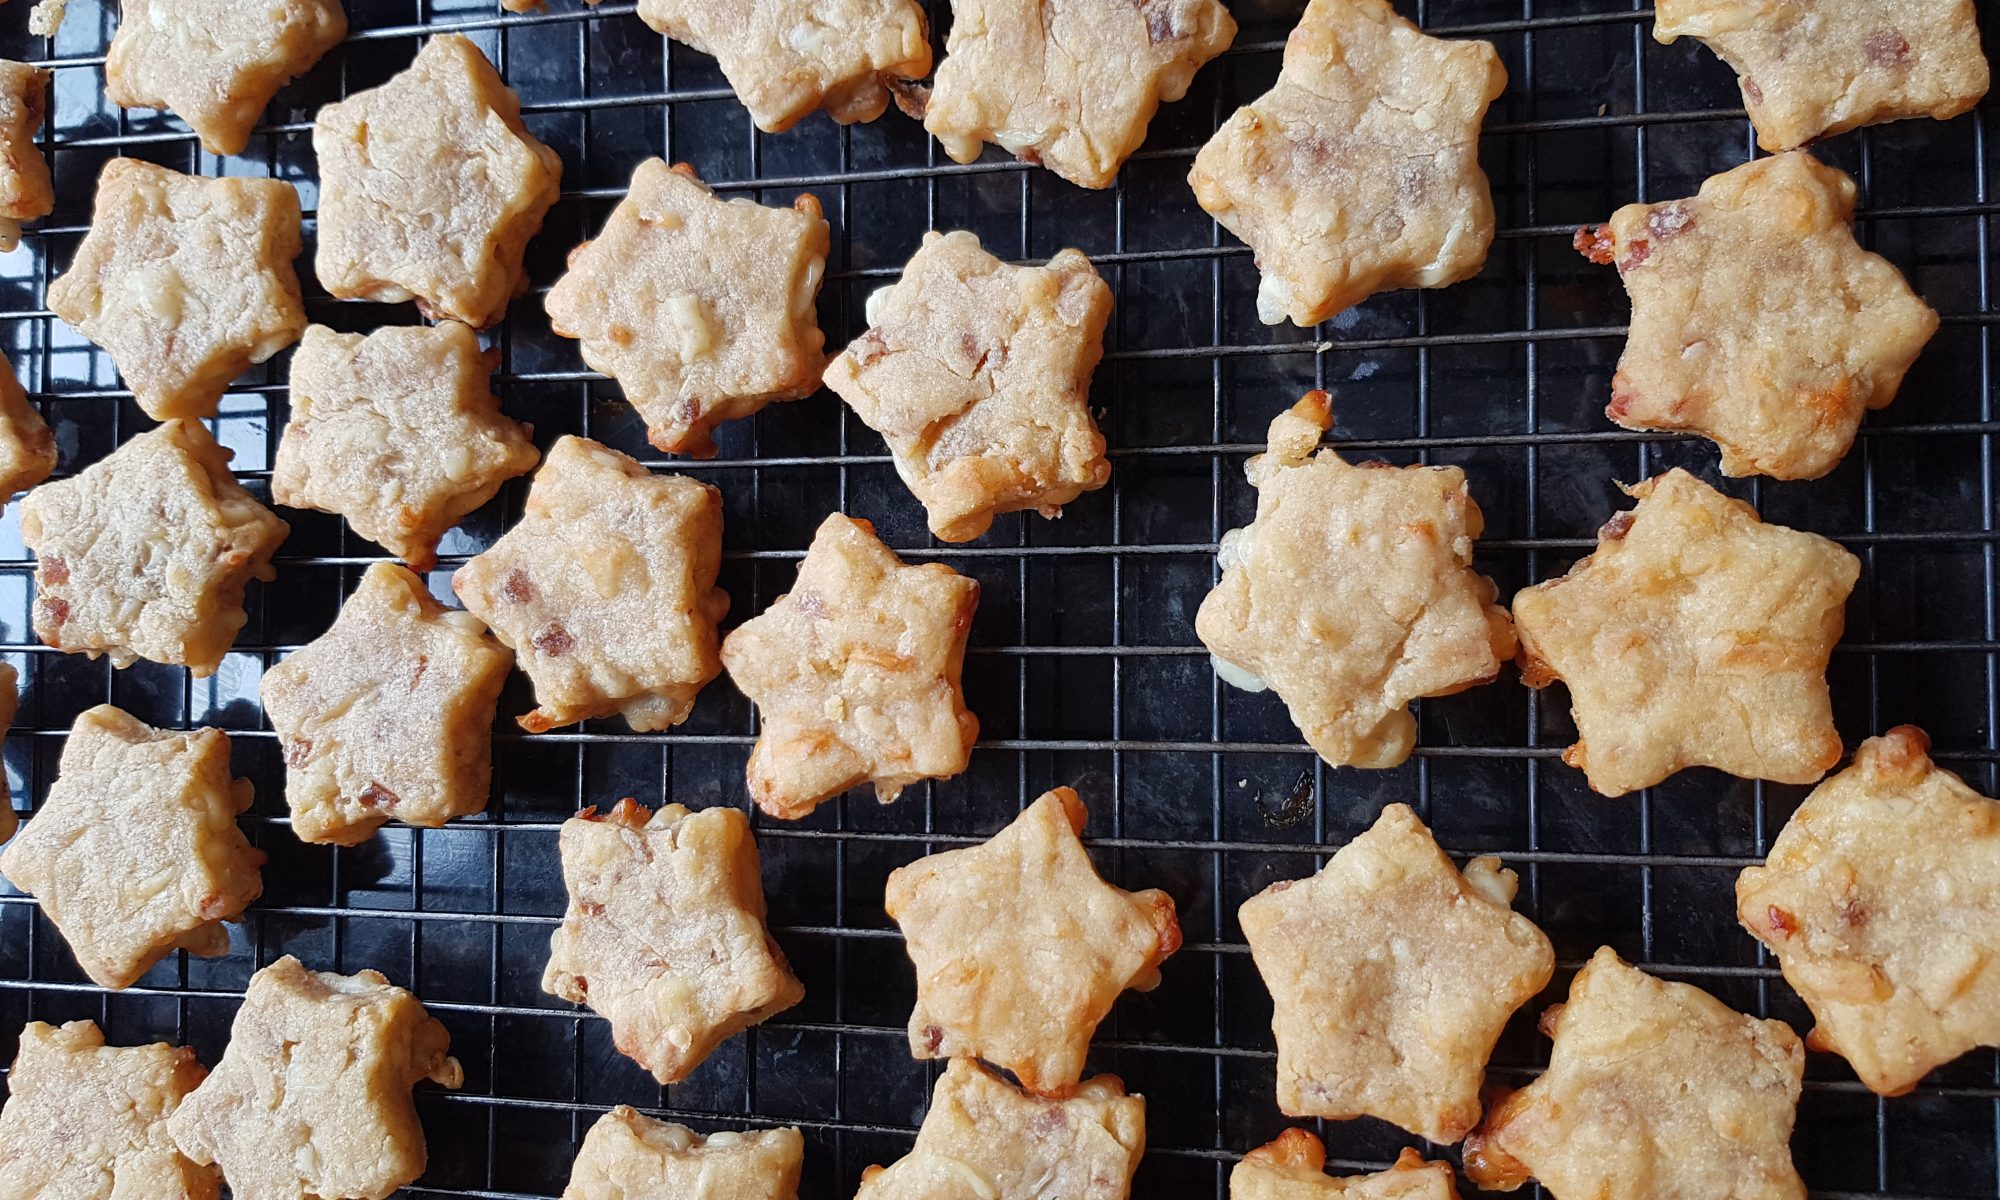
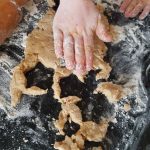 small biscuit cutter (we used a star) to cut out biscuits and cook in the oven for 15 minutes or until golden. You may need to move the trays around in your oven to ensure an even bake.
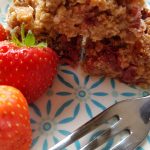 supermarket and my initial thought was this would make a really tasty crumble. However, then I remembered that the boys really don’t get on with it so I started thinking of other options to use the ingredients. My little grey cells got on it and my brain jumps as it so often does to flapjack. Have I mentioned before that my love for flapjack runs deep and true? Well I can tell you right now that it does.
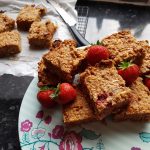 instead of crumble (he really loves crumble and was expecting a crumble!). However, after having tried one he told me they were delicious. Seb and Ophelia loved them. Atticus, after eagerly devouring the remnants left in the bowl decided he didn’t like them. Contrary child. It isn’t at all frustrating when a child will happily lick the bowl and then refuse to try the end product said no mum ever! He did end up gobbling one up later and declared how yummy it was…
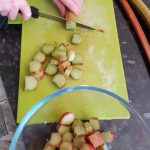 Preheat the oven to 160ºc fan and grease and line a brownie tin.
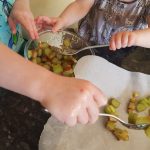 with this as it is very hard before cooking) and mix with 1 tbsp of golden syrup and roast in the oven for 15 minutes.
 Slice the strawberries (pay close attention to the kids at this point, as if yours are anything like mine they will try to sneak copious amounts of strawberries and you may well have to replenish your stock!)
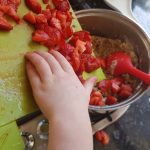 almonds and mix well. Add the sliced strawberries and the rhubarb. Please beware as the golden syrup coating
 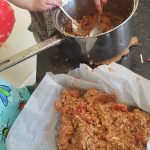 them will be very hot. Atticus carefully slid them in with the spoon while I held the hot baking tray.
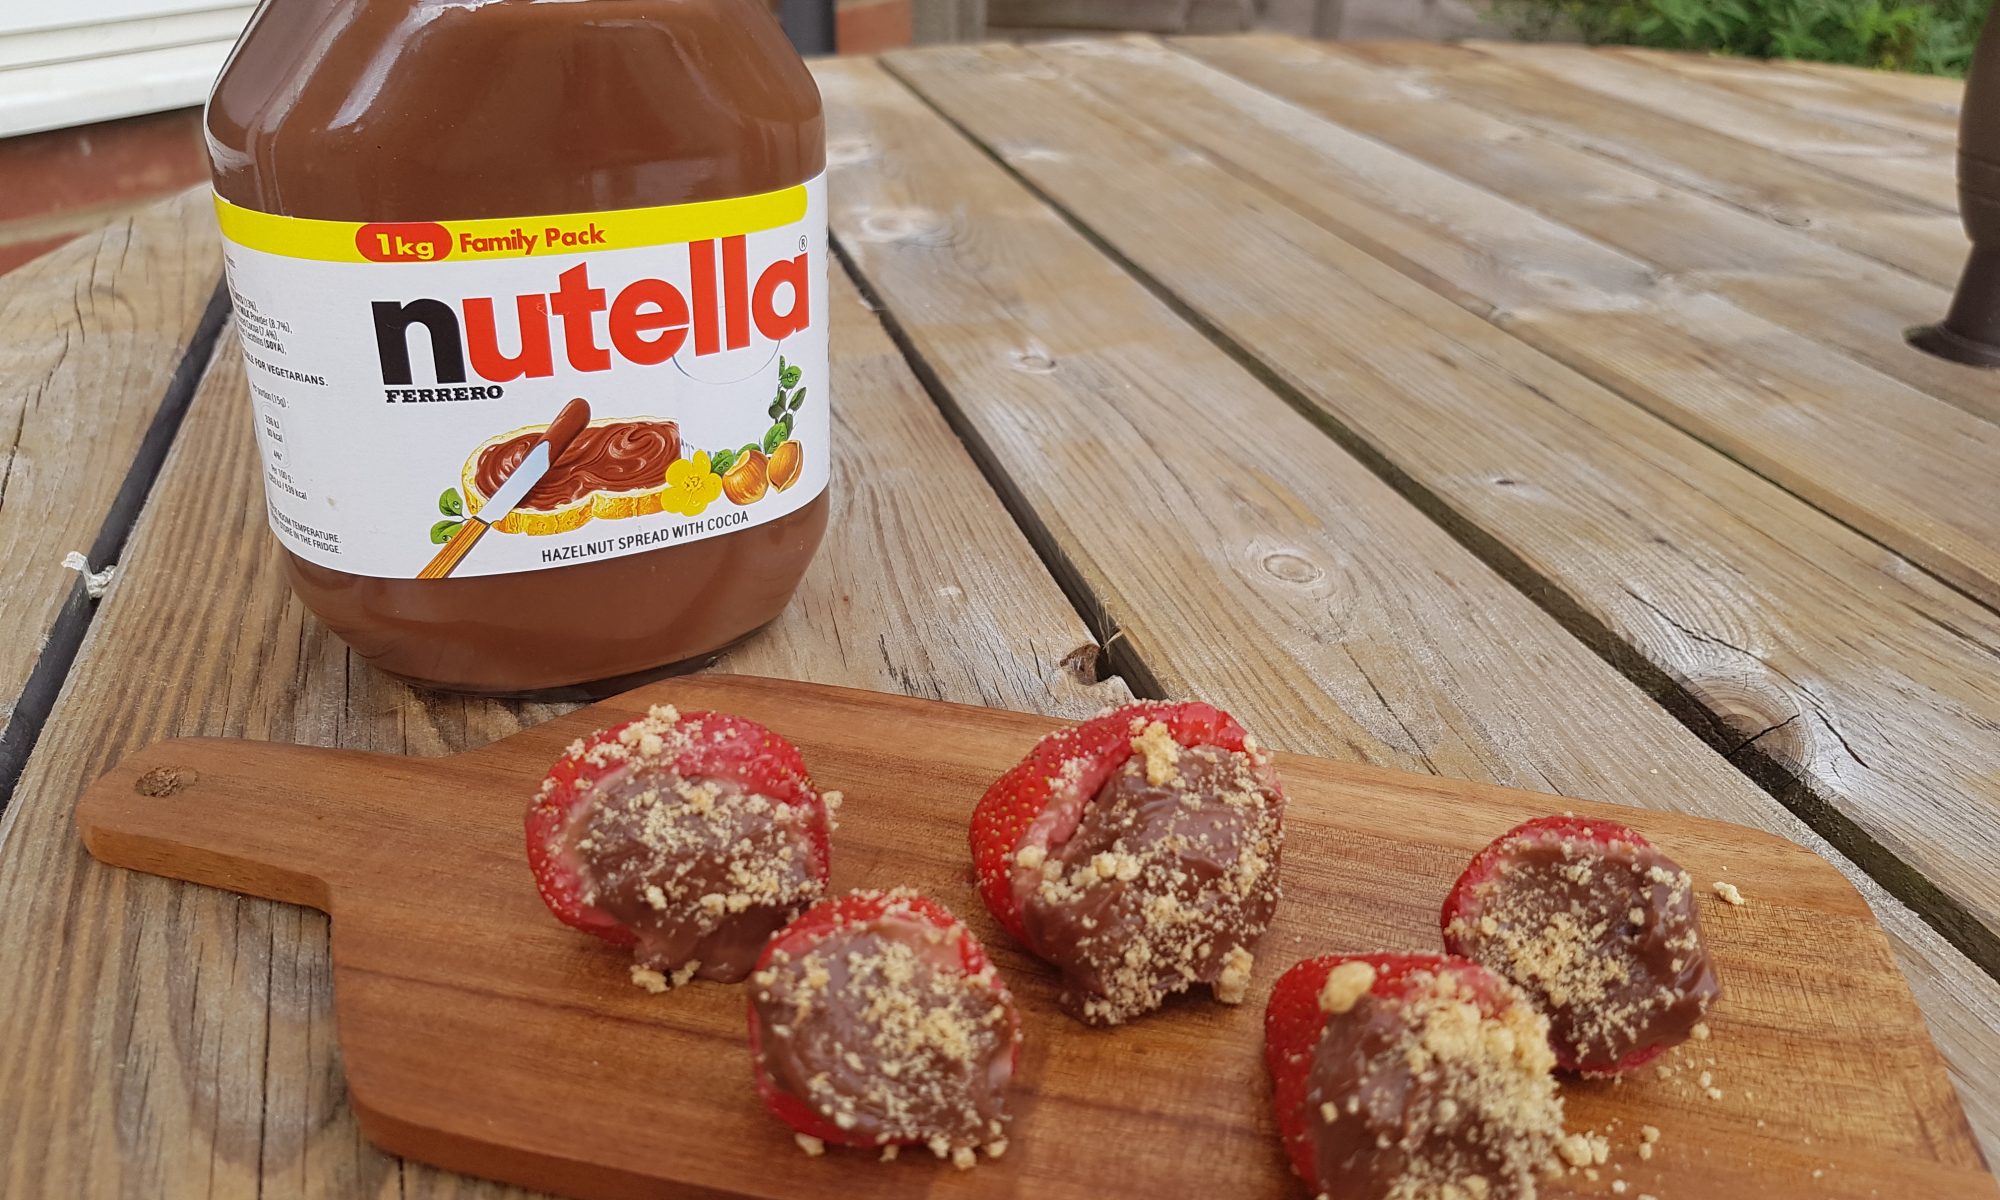
 Enter the idea of Nutella cheesecake stuffed strawberries. This is a recipe that I adapted after seeing a recipe on another website (see link below). I have to admit part of this recipe is a bit intricate and the kids didn’t do that part, but that said they had a lot of fun with the rest as an after school and nursery activity and they were a really tasty treat for a midweek pudding.
 activities and Ophelia was eating lunch I went about removing the centre of the strawberries. Yes it is a weird concept and it was a bit fiddly. I had to pay a strawberry tax to my daughter so she took the tops I had sliced of and the couple which went wrong at the beginning. She then had a tantrum as I wouldn’t let her eat the rest of them!
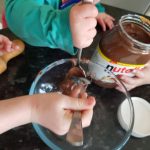
 a teaspoon and return to the fridge until you are ready to eat them.
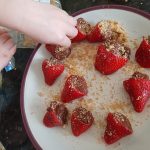 bag and sprinkle crushed digestive over each strawberry just before serving as the biscuit will go soft in the fridge.
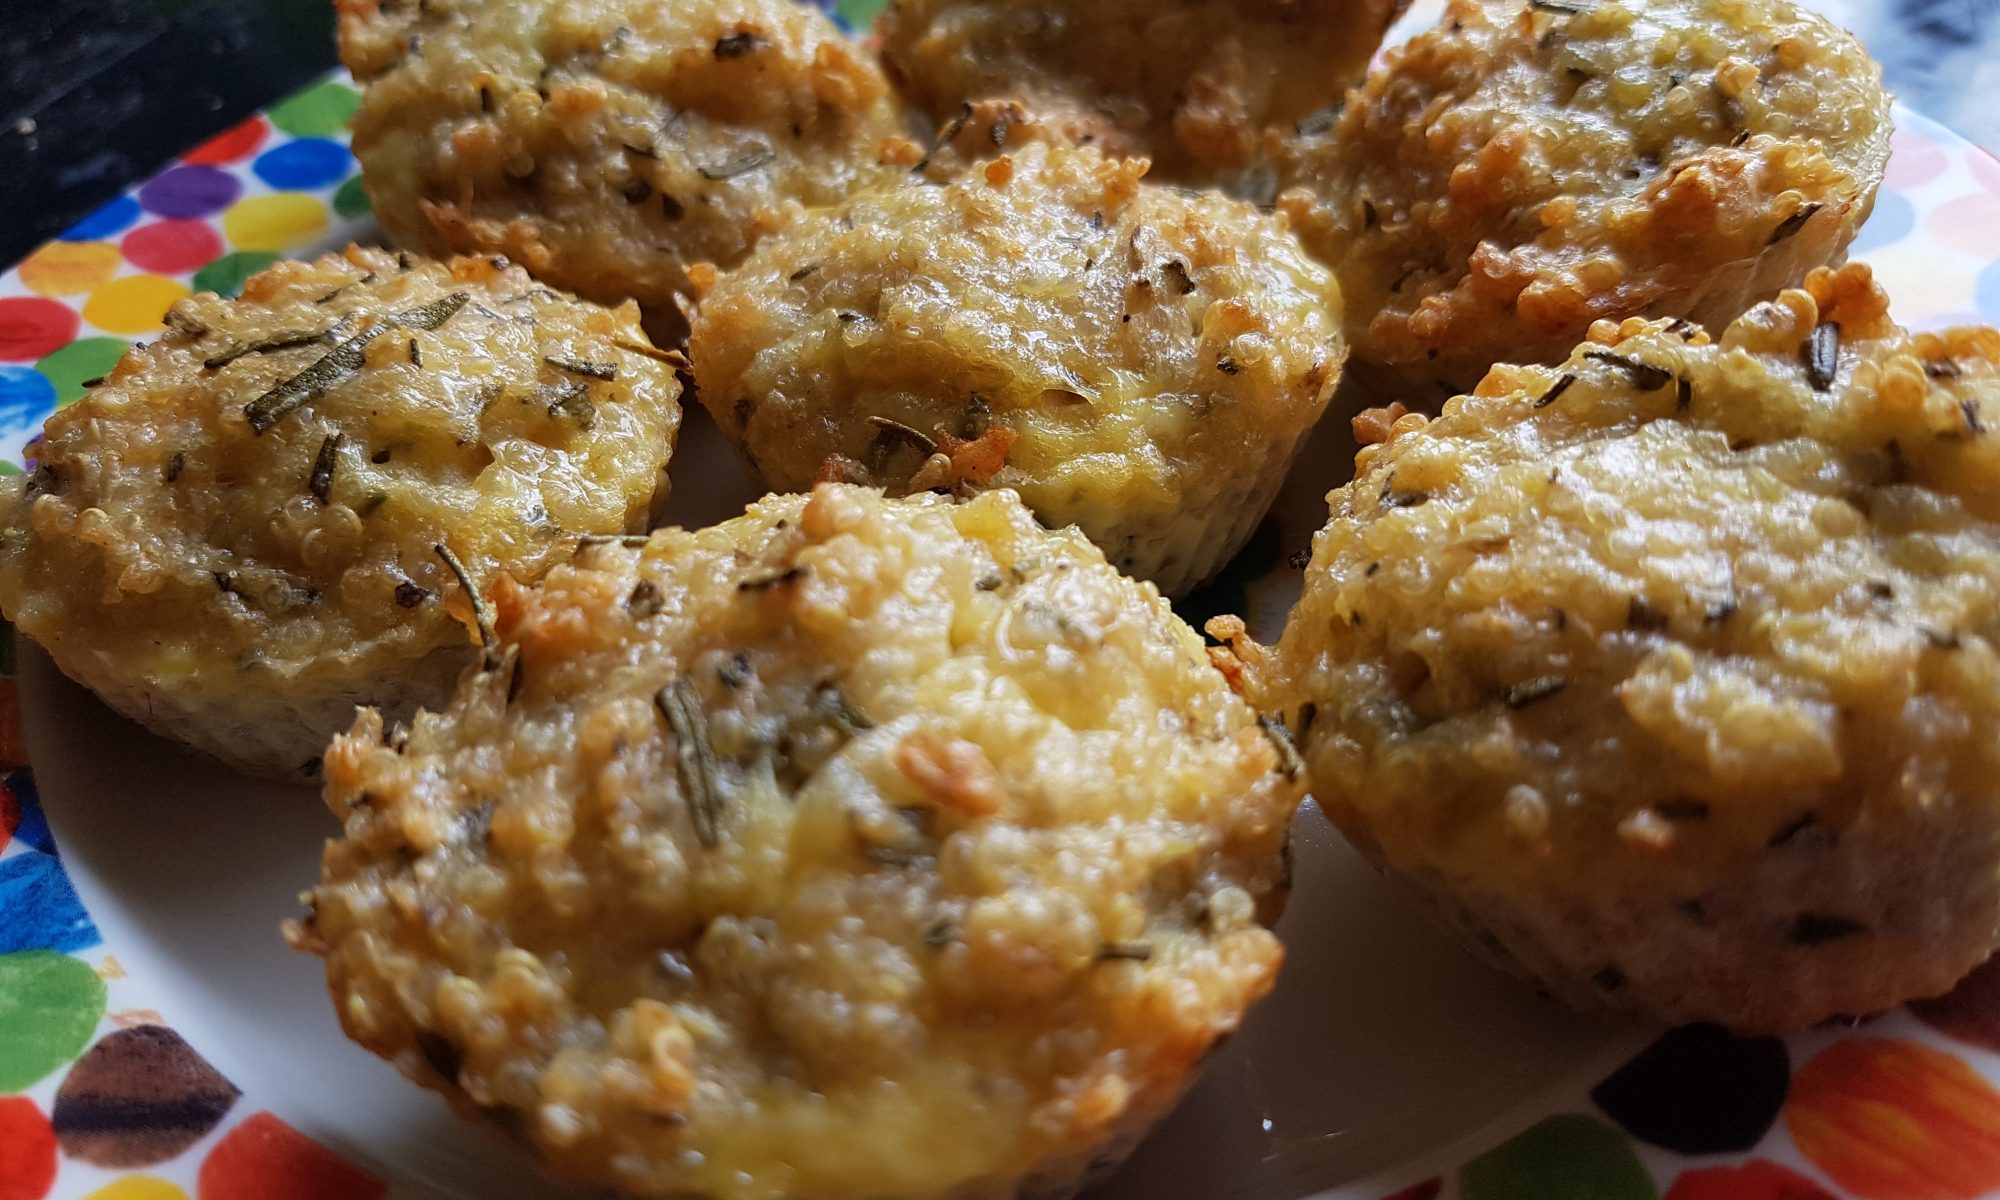
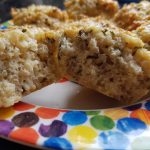 Otherwise I would have to consider renaming the blog Just Add Rosemary. I can report that the rosemary bush in the garden is now looking somewhat smaller – please don’t misunderstand me, we still have more rosemary than any family would want to eat in a year, but I seem to have banished the need to use it all up.
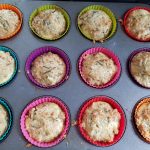 likely to enjoy it or barely notice it in the recipe.The children now recognise the scent of rosemary and are happy when we use it. Atticus is in fact always offering to go and get me more for the cooking projects that we do. This is even for projects which don’t require it, and as I have been using it is all sorts of things recently this isn’t really surprising! It is not as if we are running low on the stuff so I see no need to complain if he is enjoying himself.
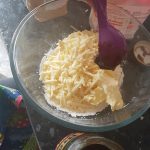
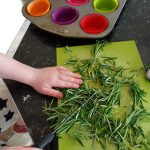 Grate the parmesan with or without the help of your little people.
 attention and not getting distracted.
 pepper.
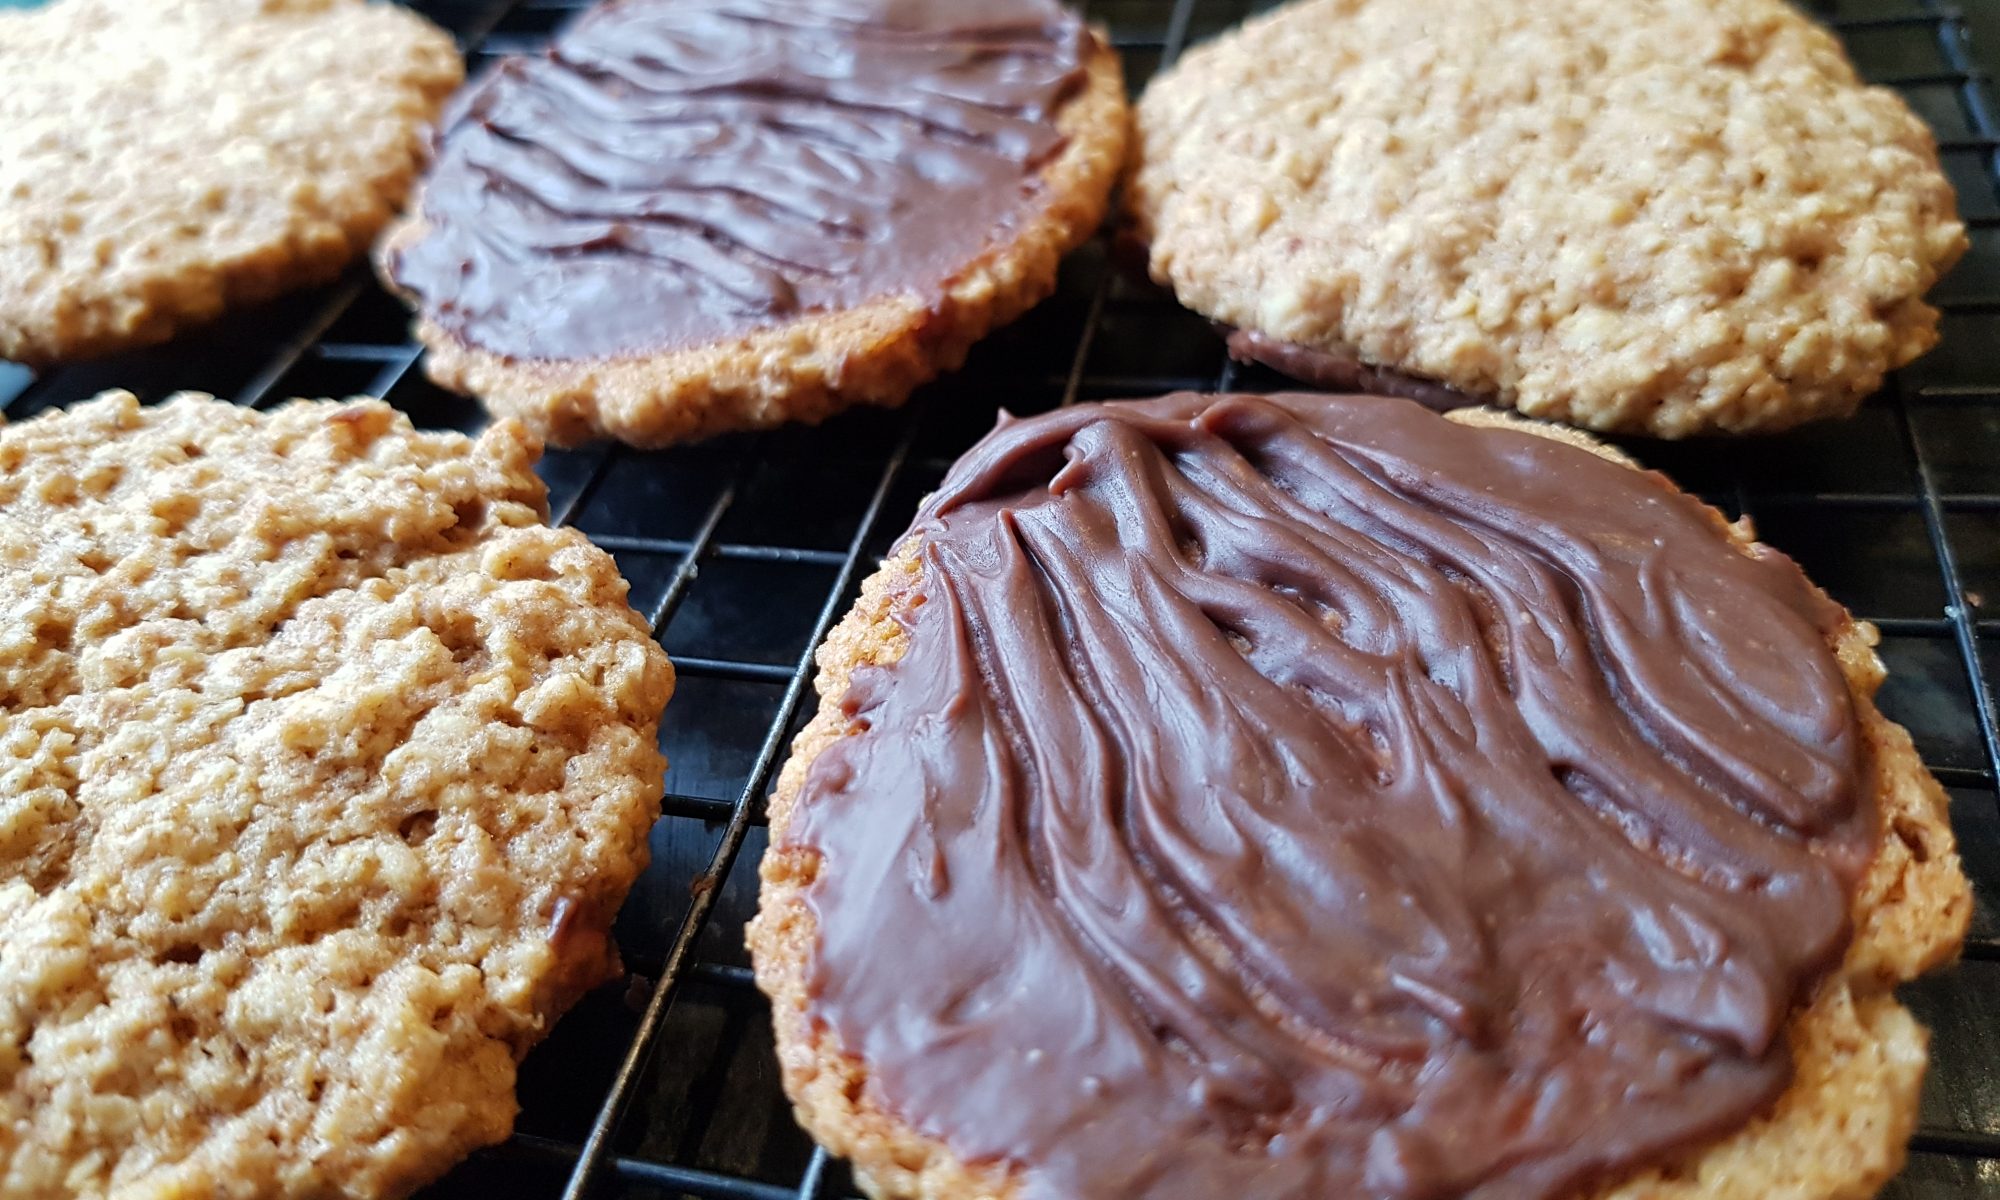
 They are great as a treat or a snack for children as part of a balanced diet. Yes, I did say that full well knowing that one of Seb’s first words was biscuit. I was initially concerned it was a poor reflection of my parenting ability, but I soon figured I wasn’t always allowing him one so best just relax. He was even tricked into thinking that apple slices were biscuits at one point! As long as they were the right shape!
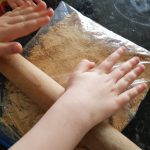
 National Biscuit day passed me by this year without me having a chance to make any biscuits with the children so I decided to rectify that by making these rustic hobnobs with Atticus and Ophelia. I call them rustic as they are not perfect, made with little hands and big excitement in the kitchen and ingredients all over the counters and the kids.
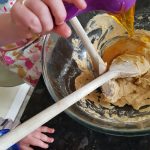 this by hand, but you could equally use an electric hand whisk if you prefer.
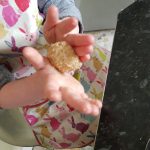 Take blobs of about 1tbsp and roll into a ball. Place on the baking sheet and then pat out to make flat. After trying several ways in both hands, putting it on the baking tray and just letting the kids squish them under their palms, we discovered that the best way to flatten them was to do so gently with your fingers. Atticus at 4 understood this quickly and followed suit. Ophelia at 23 months was more reluctant to do so… Atticus and I did rectify the situation.
 Remove from the oven and let cool for a couple of minutes on the trays and then carefully remove with a palette knife and place on a cooling rack.
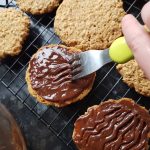 spread it on the underside of the biscuit.
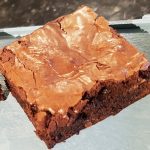 me think they are healthier than they really are and alleviates some of the guilt that I can assure you came about after eating as many as I did! I also did a spin class the following morning to balance the binge! Using olive oil in this recipe also means that if you use dairy free chocolate these brownies would be dairy free.
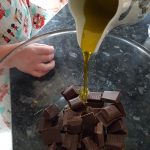 Preheat the oven to 160°c and grease and line a brownie tin.
 side to cool.
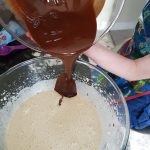 Whisk the egg and rosemary infused sugar with an electric hand whisk until thick and creamy. Think about a bubbly milkshake and then you will have the right consistency. It will end up double the size.
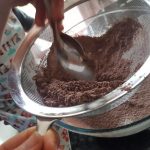 above the bowl rather than resting it on it as the whisked eggs will have increased in size and you don’t want the sieve touching them.
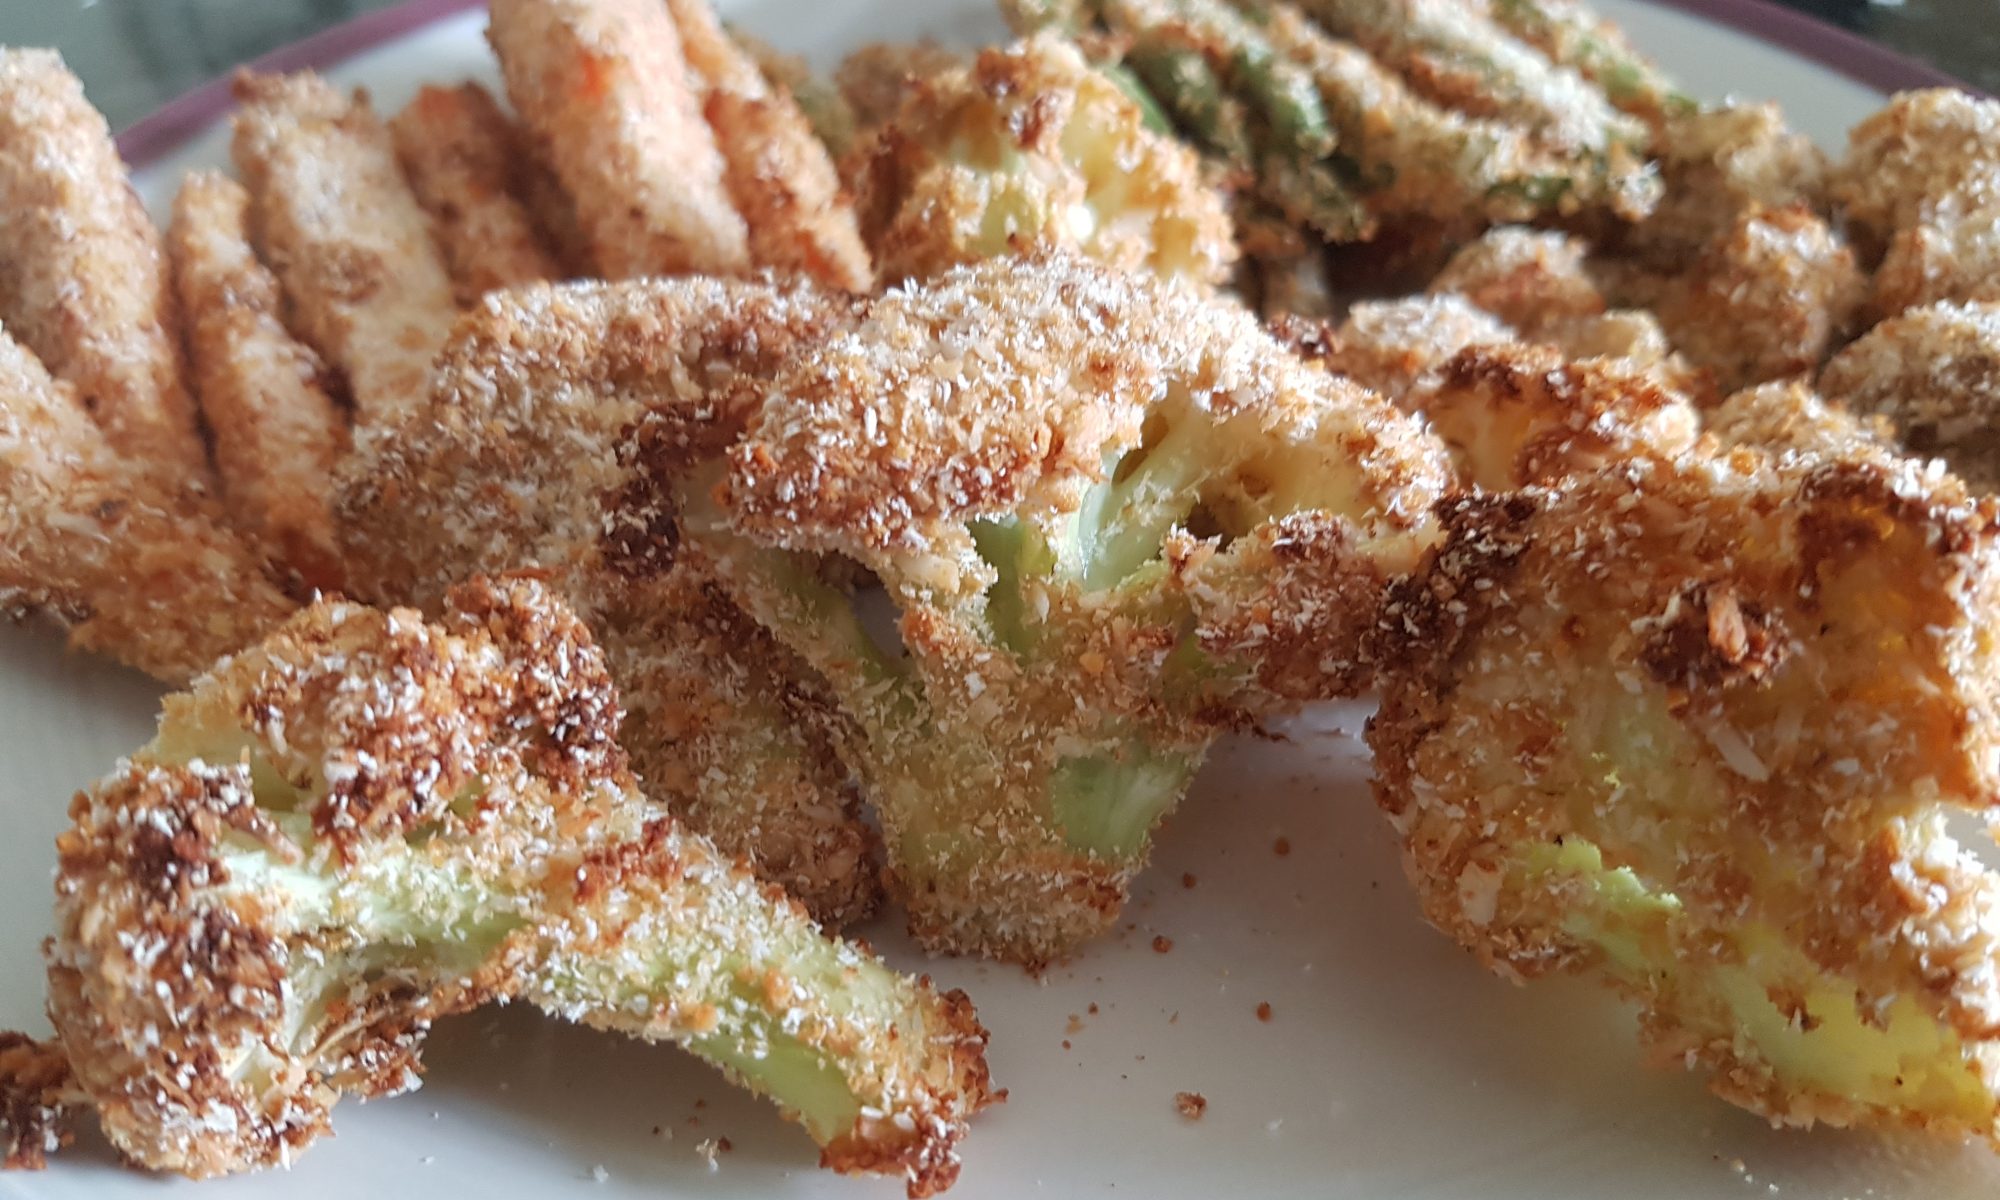
 As I have previously mentioned, when vegetables are dressed up (otherwise known as fancy vegetables) the children are more likely to have a go and even enjoy them. On the undercover mission were: cauliflower, green beans, button mushrooms and carrots. Their disguise was ginger and soy sauce egg underlayer for a desiccated coconut and breadcrumb coating.
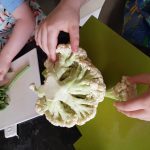 Wash and dry the vegetables.
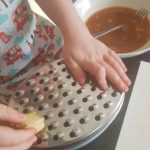 To make this a quicker activity you could prepare all the vegetables for the kids.
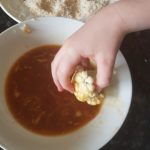 Dip each bit of vegetable in the egg mixture and then roll in the breadcrumb-coconut mixture. My kids also enjoyed throwing the breadcrumb-coconut mixture at the vegetables (this may well explain the mess they made! See the last picture at the end.)
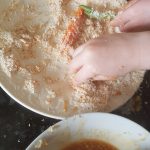 baking sheet and the carrots and cauliflower on the other as they have different cooking times.
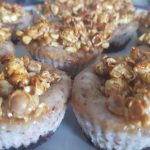 but I am not a huge fan of cheesecake so I had been putting off making the recipe. That was until I saw Seb inhale a slice of cheesecake at lightning speed at a friend’s house and then I thought it should probably make its way up to the top sooner rather than later. As it happens, we had the grandparents round on Bank Holiday Monday (our front garden is looking a lot less neglected now thank you!) and I thought it would be a good opportunity to try the recipe out and spread the calories around and as a thank you for the manual labour (because essential that is what gardening is) they did. It would have been rude not too, especially when they babysat in the evening too!
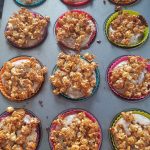
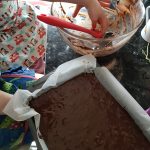
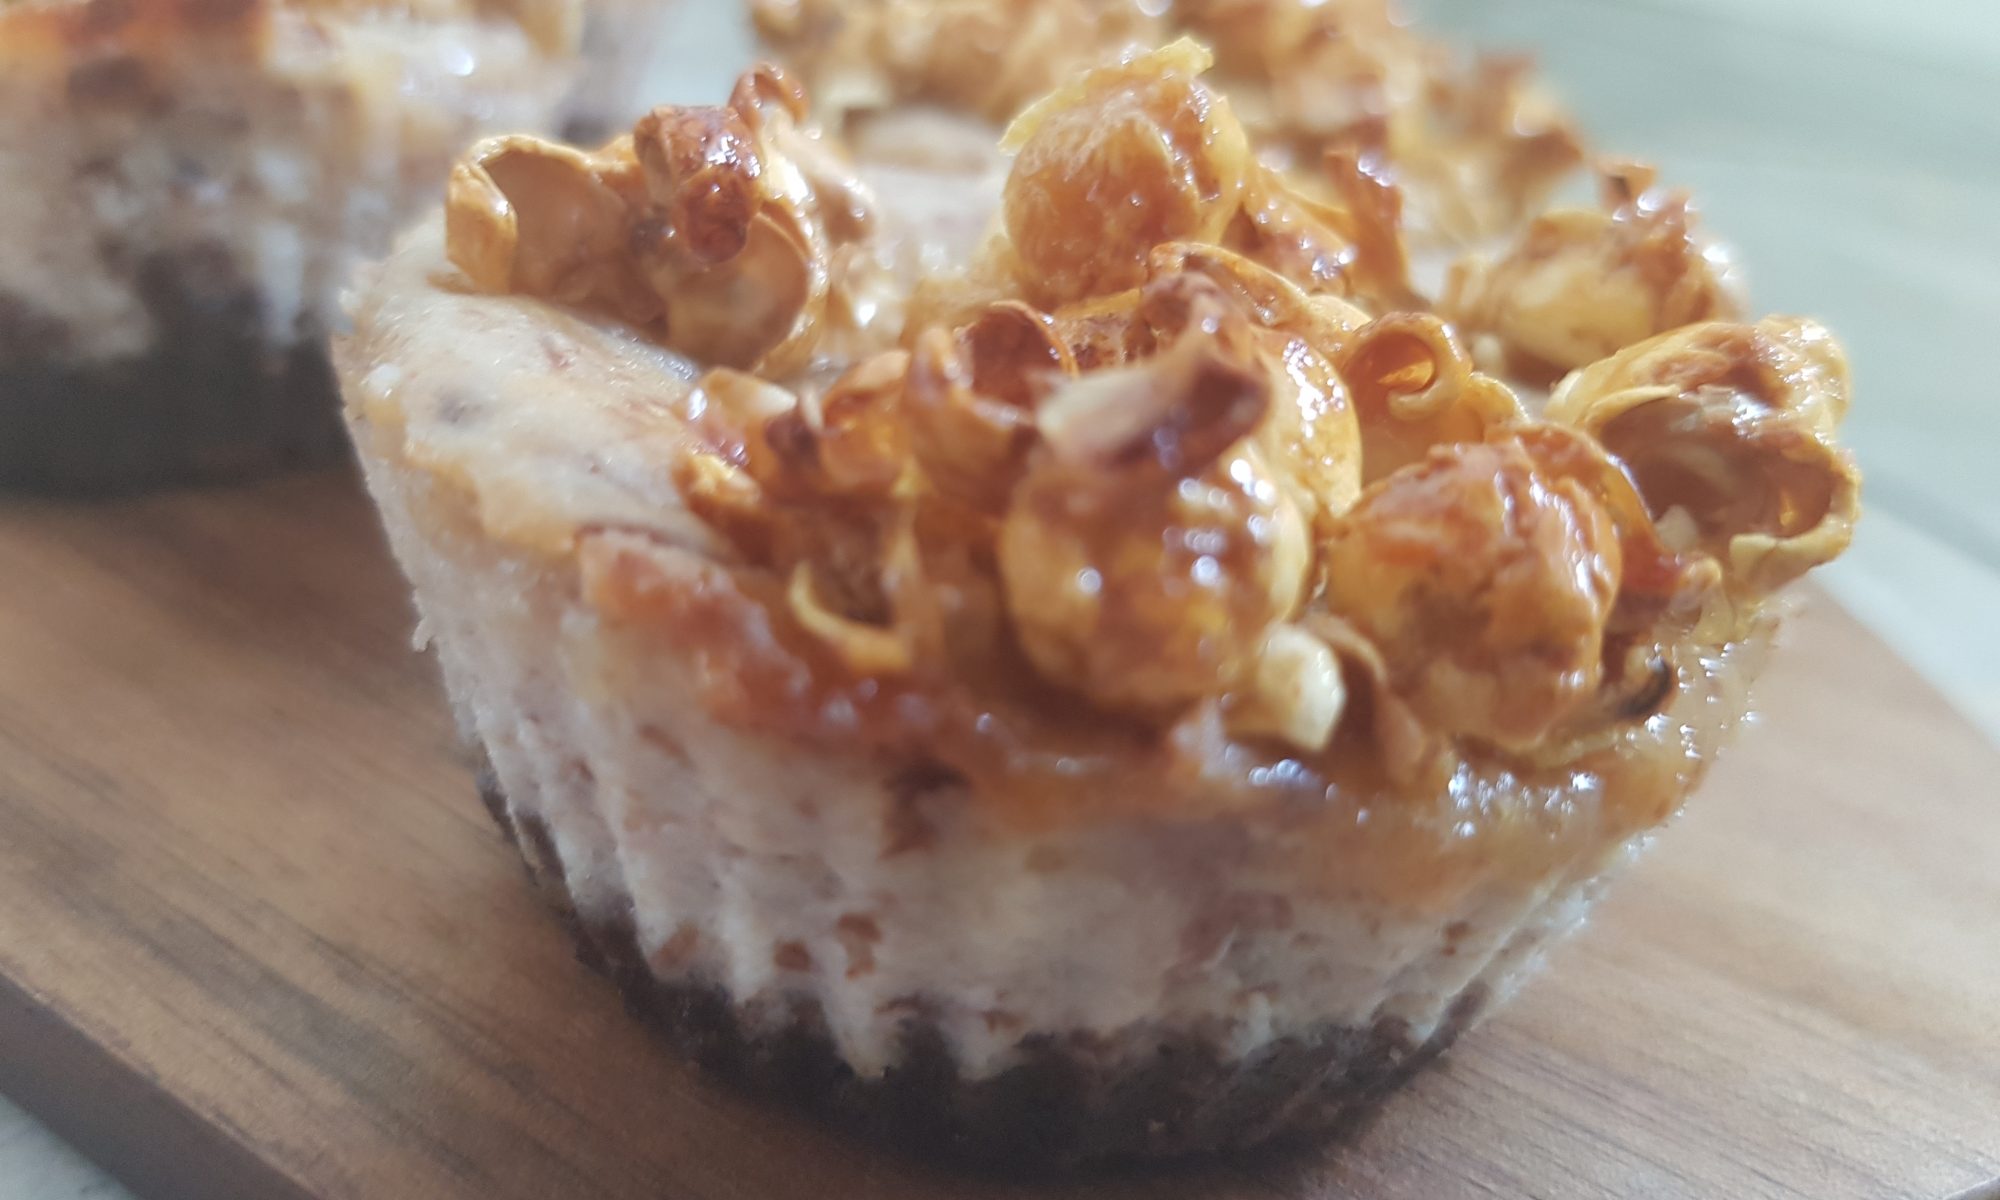
 Place the digestive biscuits into a ziplock plastic bag and crush them with a rolling pin. We also used the rolling pin to roll over the bag of biscuits to ensure that they were all reached. You could also use a food processor, but with kids where’s the fun in that?!
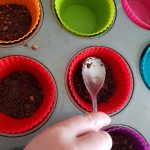 and evenly distribute the crushed biscuits between them and then gently press down with the back of a spoon.
 Divide the mixture between the 12 cupcake cases. This may make a mess, it always does in our house and I really have to fight the urge to step in and take over and correct when they are doing their best.
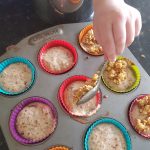 popcorn on each one and return to the oven for another 10-15 minutes until they are set and springy to the touch.
 Remove the cheesecakes from the oven and cool in the tin. Then place in the fridge before removing from the silicone cupcake cases. I have found it is easier to remove them without casualties once they have been in the fridge for a little bit.