Rocky Road Traybake

There are certain days when only chocolate cake will do. I would love to claim that this cake was the outcome of a desperate need for chocolate due to a bad day, but it was in fact just a way to entertain the kids and have them working towards pudding for a family dinner! Atticus helped Simon make the main course and Seb and Ophelia joined me on the other side of the kitchen to make pudding. On this occasion, dinner certainly was a full family effort. They are happy memories.

Into the pan.
On go the marshmallows!

This cake also gave me an excuse to open the kilogram bag of mini marshmallows that I managed to find and sent Simon and the kids off to discover for themselves and purchase. There was pure delight when they saw such a large bag of mini marshmallows. Previously they had only seen the 150g bags that I would purchase in Tesco. I did miss an opportunity for a maths lesson asking how many small bags would make up the large bag. Oh well, there’s an idea for next time! I was a mean mum though; I made them wait until I had a definite recipe in mind before we opened them. I knew that if we just opened them, I would blink and they would all be finished! I have three marshmallow-loving kiddies and a husband who isn’t averse to adding them by the handful to his pudding or cereal bowl! They would have been inhaled and while this would have been an impressive feat, I really wanted to prevent this outcome.

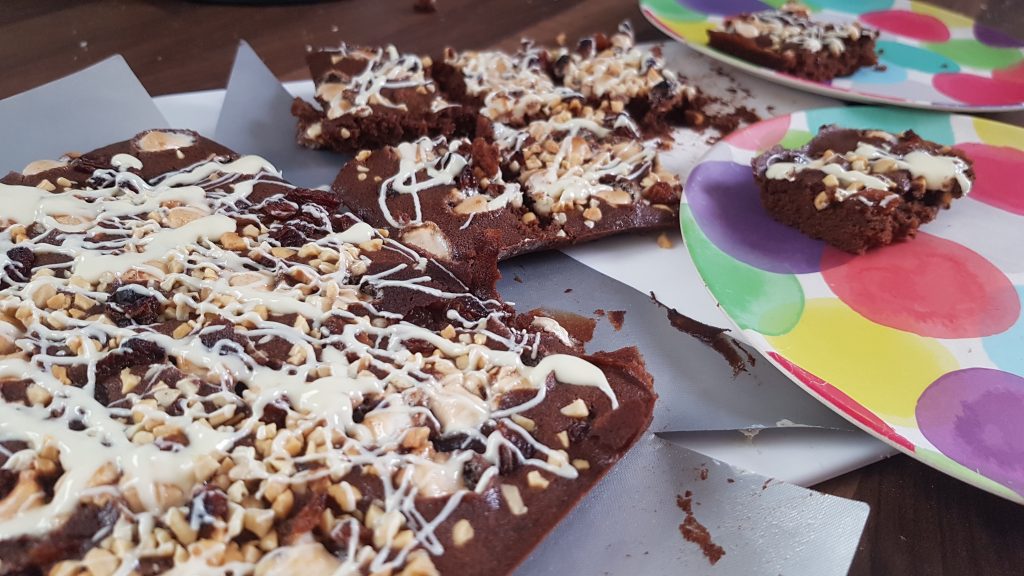
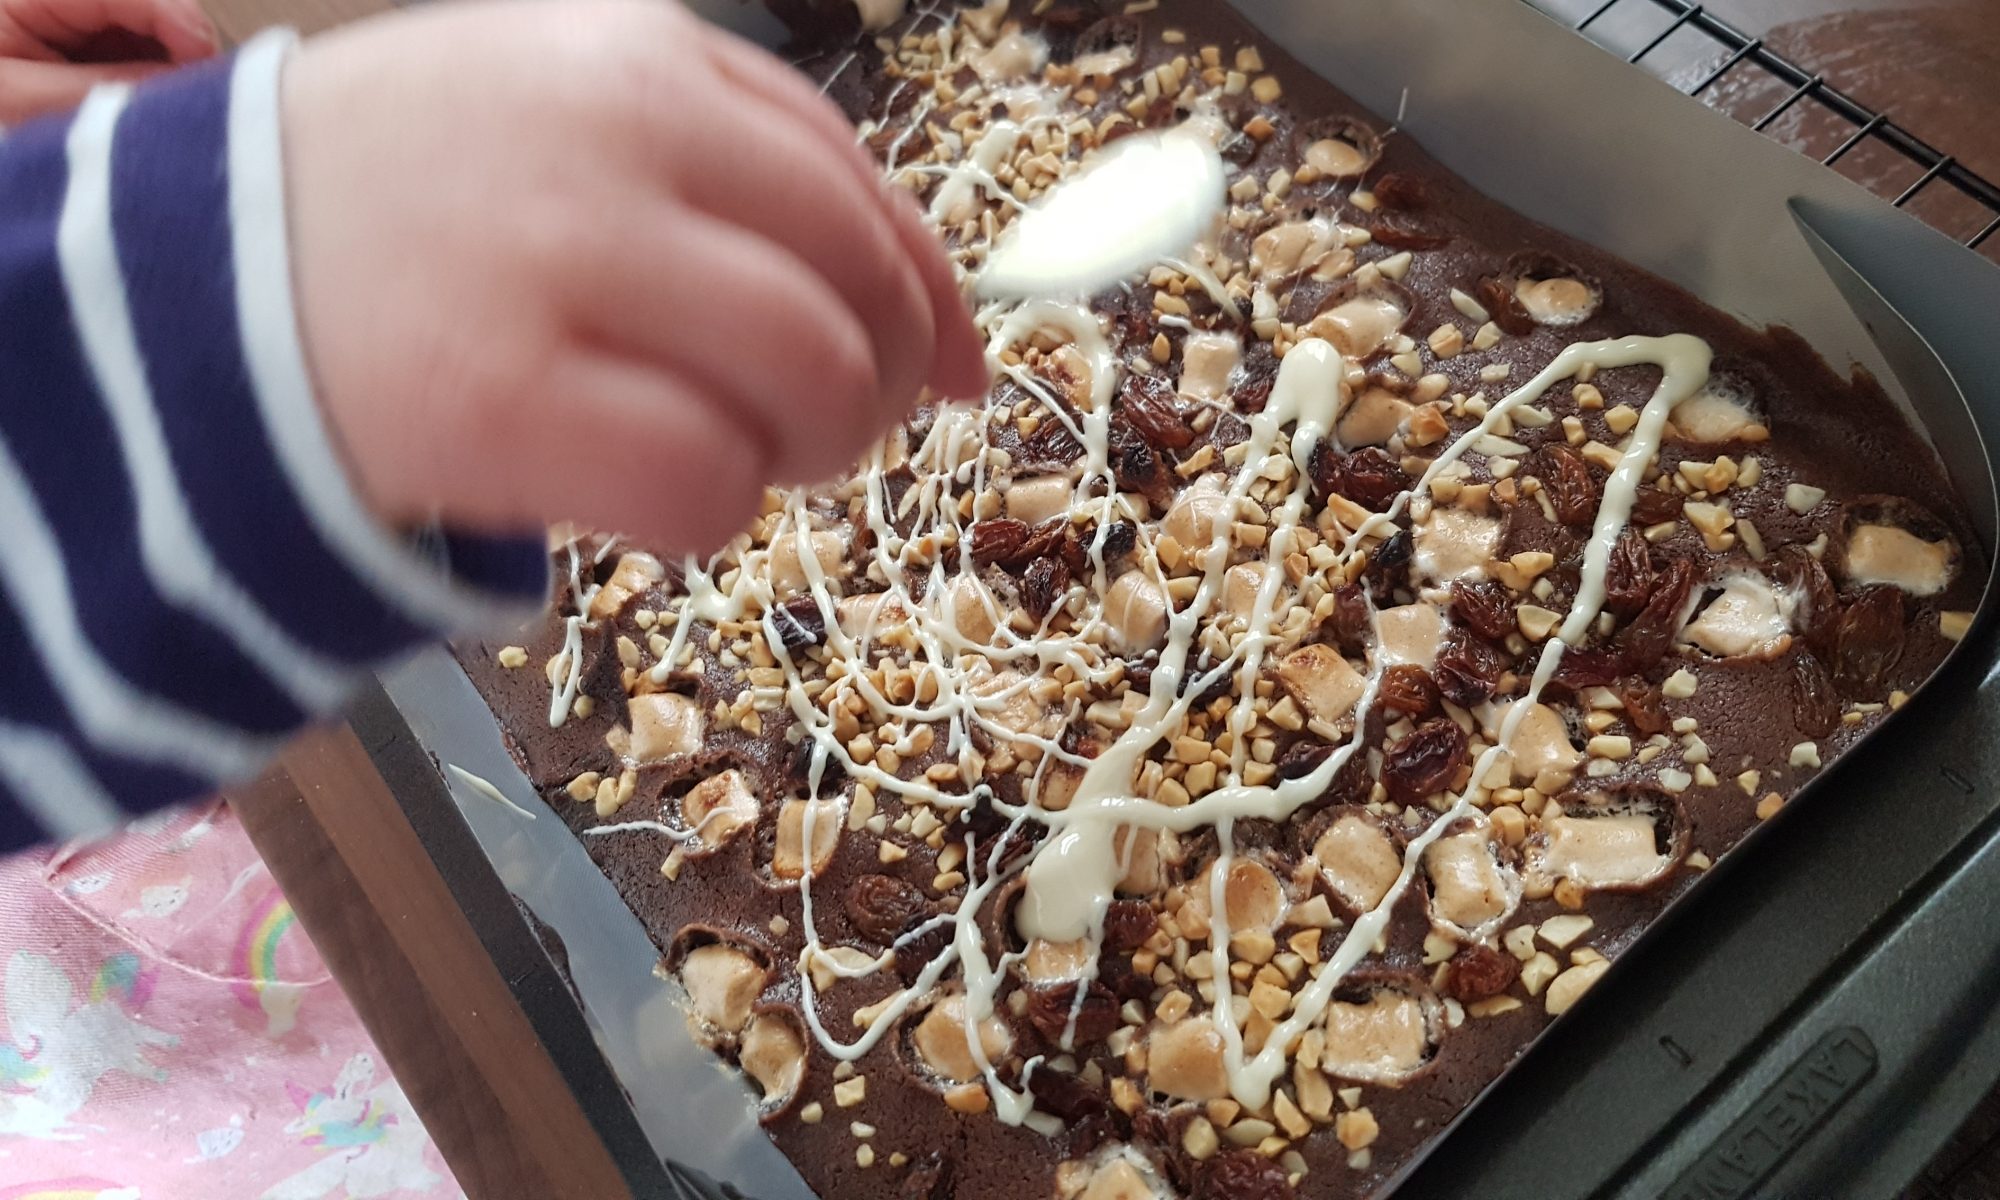
To mark the opening of our gigantic bag of marshmallows, we made this Rocky Road Traybake. It is a very think cake sprinkled with raisins, chopped nuts and mini marshmallows and drizzled with melted white chocolate. You will be surprised to hear that it lasted more than 24 hours. Although this is probably because I packaged it away and hid it under the bread in the bread bin! No one thought to look there so it was safe until I was ready to distribute it! However, now I have written this, I shall have to find a new cake hiding place.

Ingredients

  • 115g butter/margarine
  • 115g dark brown sugar
  • 100g plain flour
  • 15g cocoa powder
  • 1 medium egg
  • 5tbsp milk
  • 50g chopped nuts
  • 40g raisins
  • 20g mini marshmallows
  • 40g white chocolate, melted

Method

  1. Grease and line a brownie pan, or small square/rectangular cake pan and preheat the oven to 160°c fan.
  2. Cream the butter and the sugar together until smooth.
  3. Add the egg and beat.
  4. Sift in the flour and cocoa powder and mix until combined.
  5. Add the milk and mix until smooth.
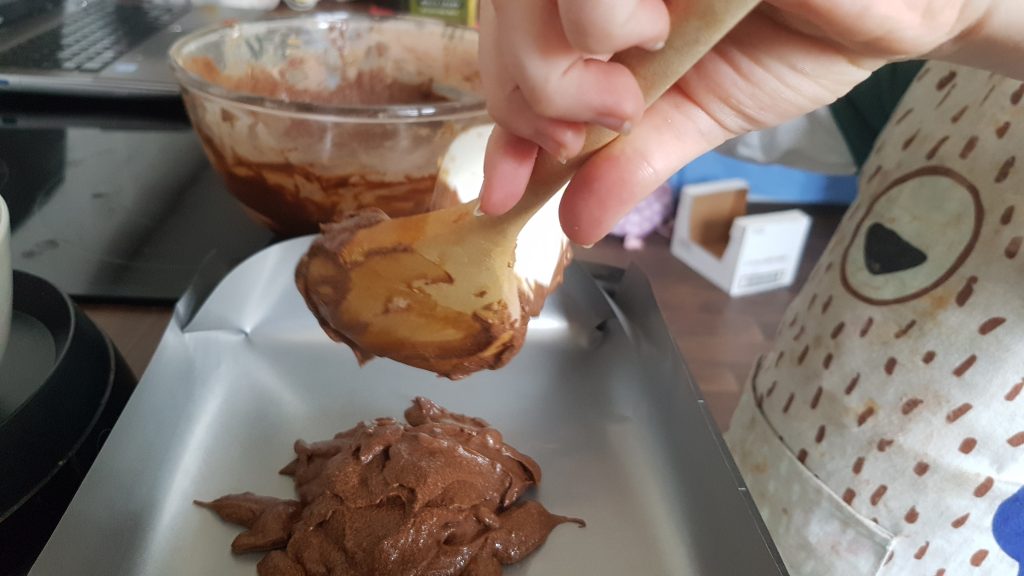
  6. Dollop the batter into the baking tin and spread so all the edges are covered. This is meant to be a thin cake, so it may require a bit of effort.
  7. Sprinkle the nuts, raisins and marshmallows on top and place in the oven for 15 minutes until a skewer comes out clean (unless you go through a marshmallow!
  8. Allow to cool fully before drizzling with melted chocolate.

I hope you enjoy this traybake as much as my family did and do look for a good hiding place for it so it doesn’t all disappear in a blink!

Look at that chocolatey goodness!

Red Pepper and Cannellini Bean Fritters

Patience is an important commodity when dealing with children. It’s mere presence bolsters success in the kitchen with children. I mean it isn’t as if you need a kilo of it or anything – a sprinkling is just fine. That said, my stockpiles of patience have been dwindling this week. I should have known it was going to be a hard week when I hurt my leg running and my favourite outlet for solitary time vanished. This was further impacted, when I ended up late to collect Seb from a school club because I lost track of time and a last minute pre-schooler toilet trip.

Contrary children have certainly greatly contributed to this feeling of frustration. Allow me to provide an example: Ophelia loved making this recipe. She ate copious amounts of the individual ingredients, but barely countenanced the idea of eating the end product. I won’t lie, I had to take some deep breaths and think of the fact that our shipment has arrived and we now have all our stuff except our car. Once I had found these happy thoughts, I realised that this meant all the more for me to gobble up!

Not hugely photogenic, but totally delicious!
Sticky fingers warning!
Chopping with a table knife

This recipe is full of processes that children love; squishing and squashing, chopping, cracking, mixing and transporting. The latter is a mucky process, and if your child doesn’t enjoy getting their fingers dirty, you may well want to consider using a couple of tablespoons to make the fritters and flatten them a bit.

Ingredients

  • 1 tin cannellini beans
  • 150g roasted red peppers from jar
  • 75g sweetcorn
  • 1 beaten egg
  • 50g flour
  • 1/2 tsp garlic (we used frozen)
  • Seasoning

Method

  1. Adult line a couple of baking trays with silicone baking mats or baking parchment.
  2. Drain and rinse the cannellini beans and place in a large bowl.
  3. Mash the cannellini beans with a fork or potato masher. Small children may well require some help to get this started. Mash until they no longer look like beans.
  4. Chop the peppers into small pieces. We used table knives.
  5. Add the chopped peppers, sweetcorn, flour, seasoning and garlic to the mashed beans.
  6. Crack an egg into a small bowl or mug and gently whisk.
  7. Pour the egg into the bowl and mix with a wooden spoon.
  8. Using your hands make patties out of the mixture. Depending on their size, you should get between 6 and 8. If you don’t want to use your hands, dollop a couple of tablespoons per fritter and pat down with the back of a spoon.
  9. Refrigerate for around 1 hour (this makes them more stable) before cooking at 180°c fan for 15-20 minutes, turning half way through. Alternatively, they can be pan fried.

This recipe appeared in Penguin News on October 11, 2019. For those of you not lucky enough to be able to purchase a copy, I have included a picture of the article from the newspaper.