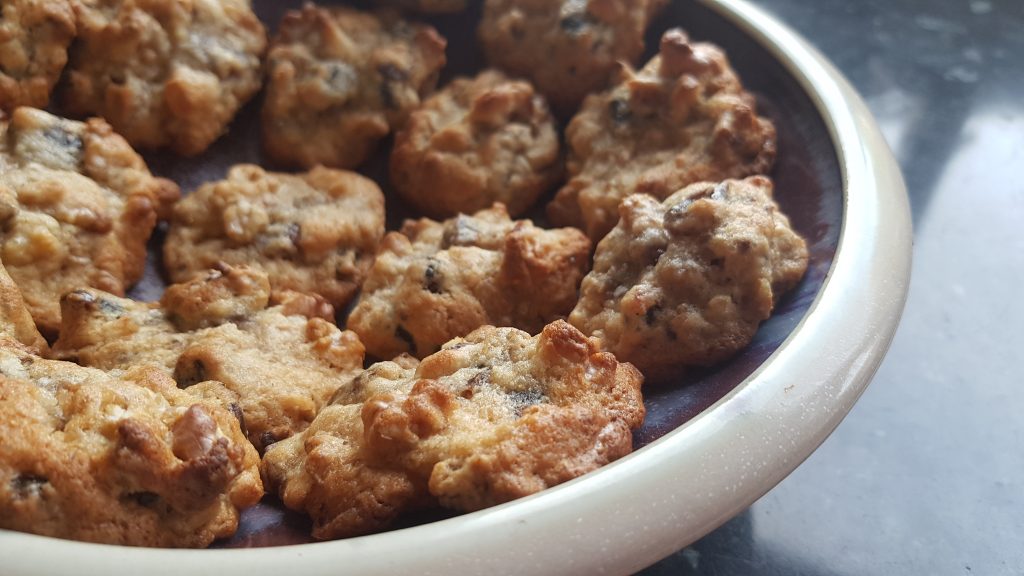
Chocolate Popcorn Cookies

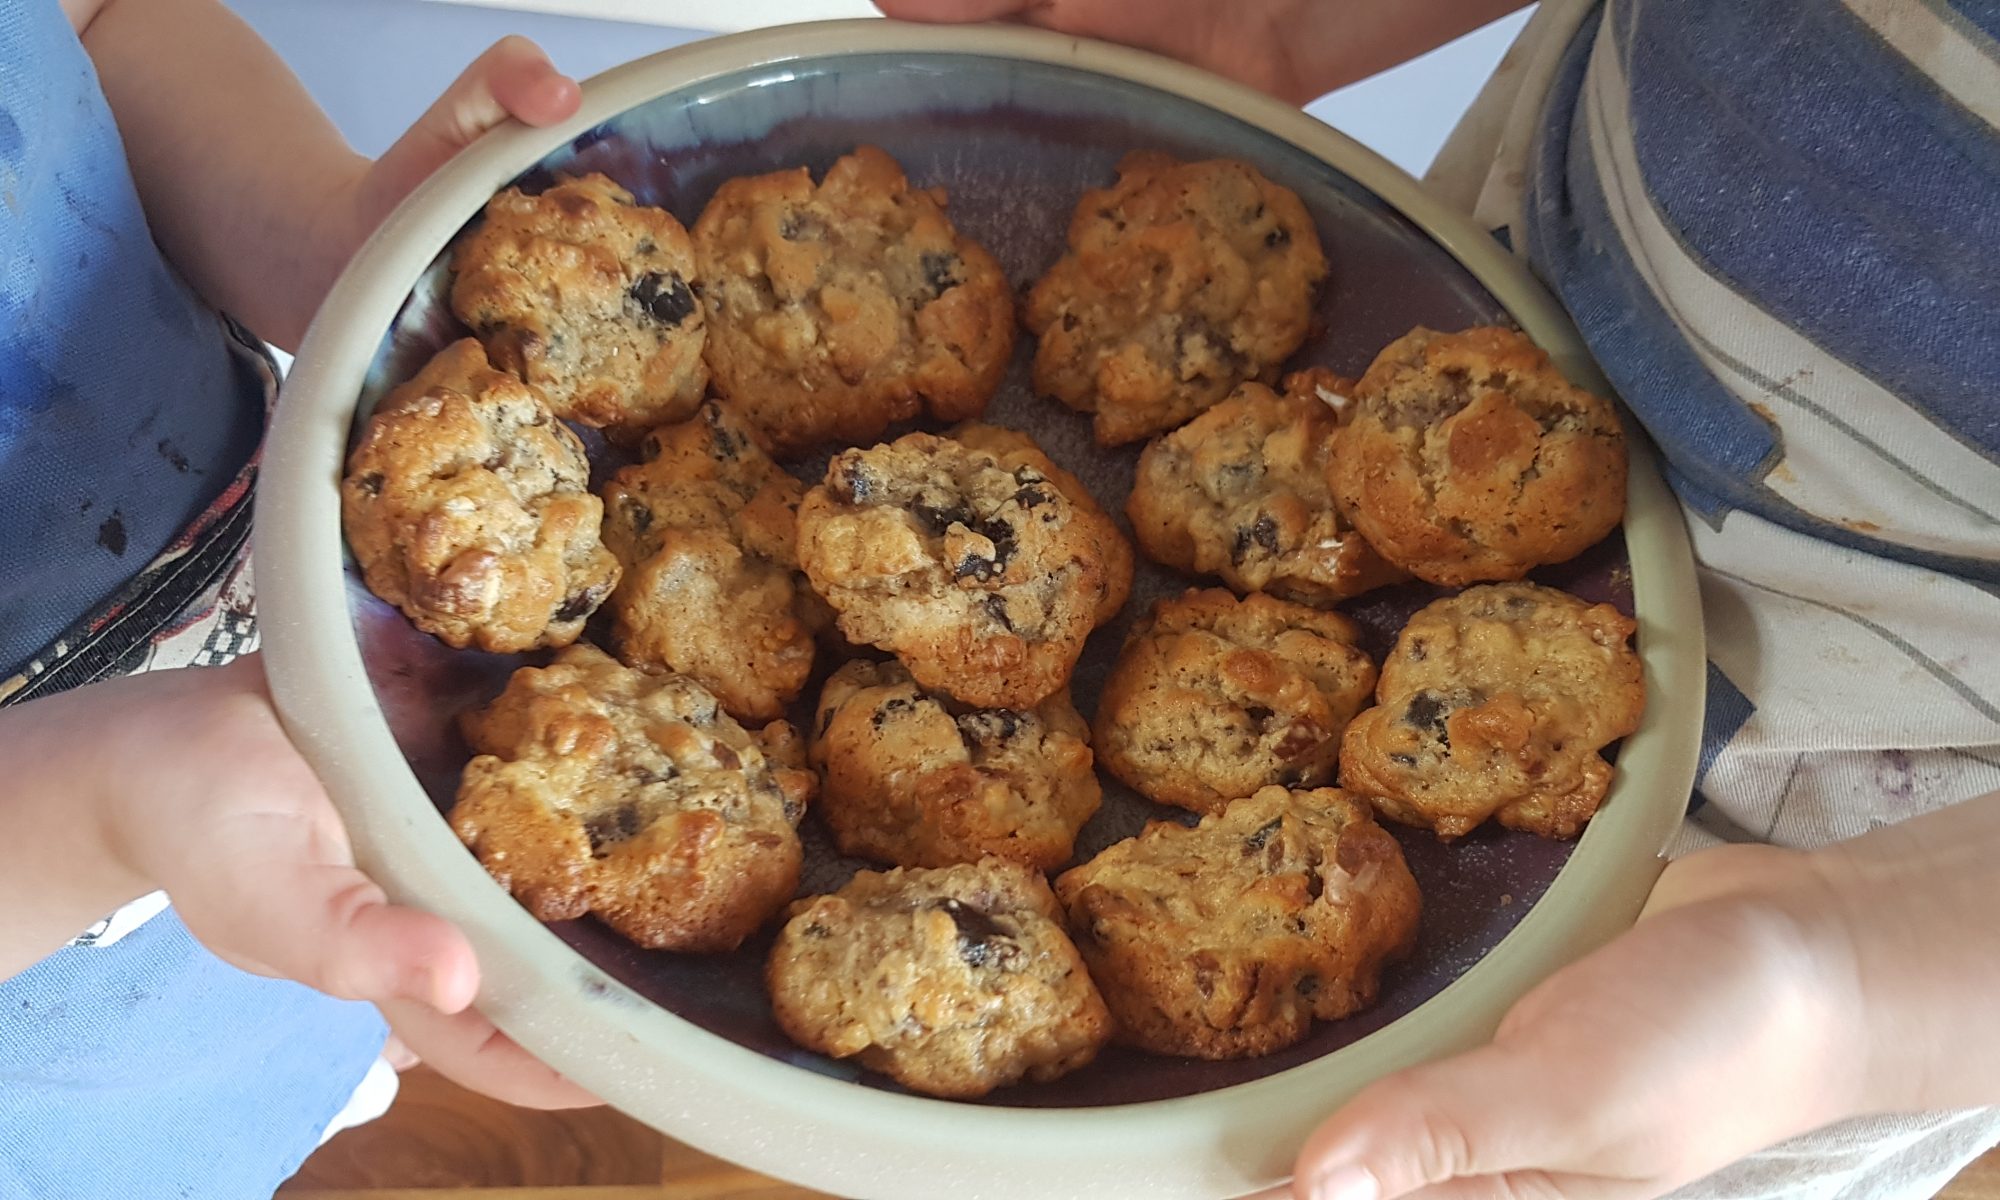
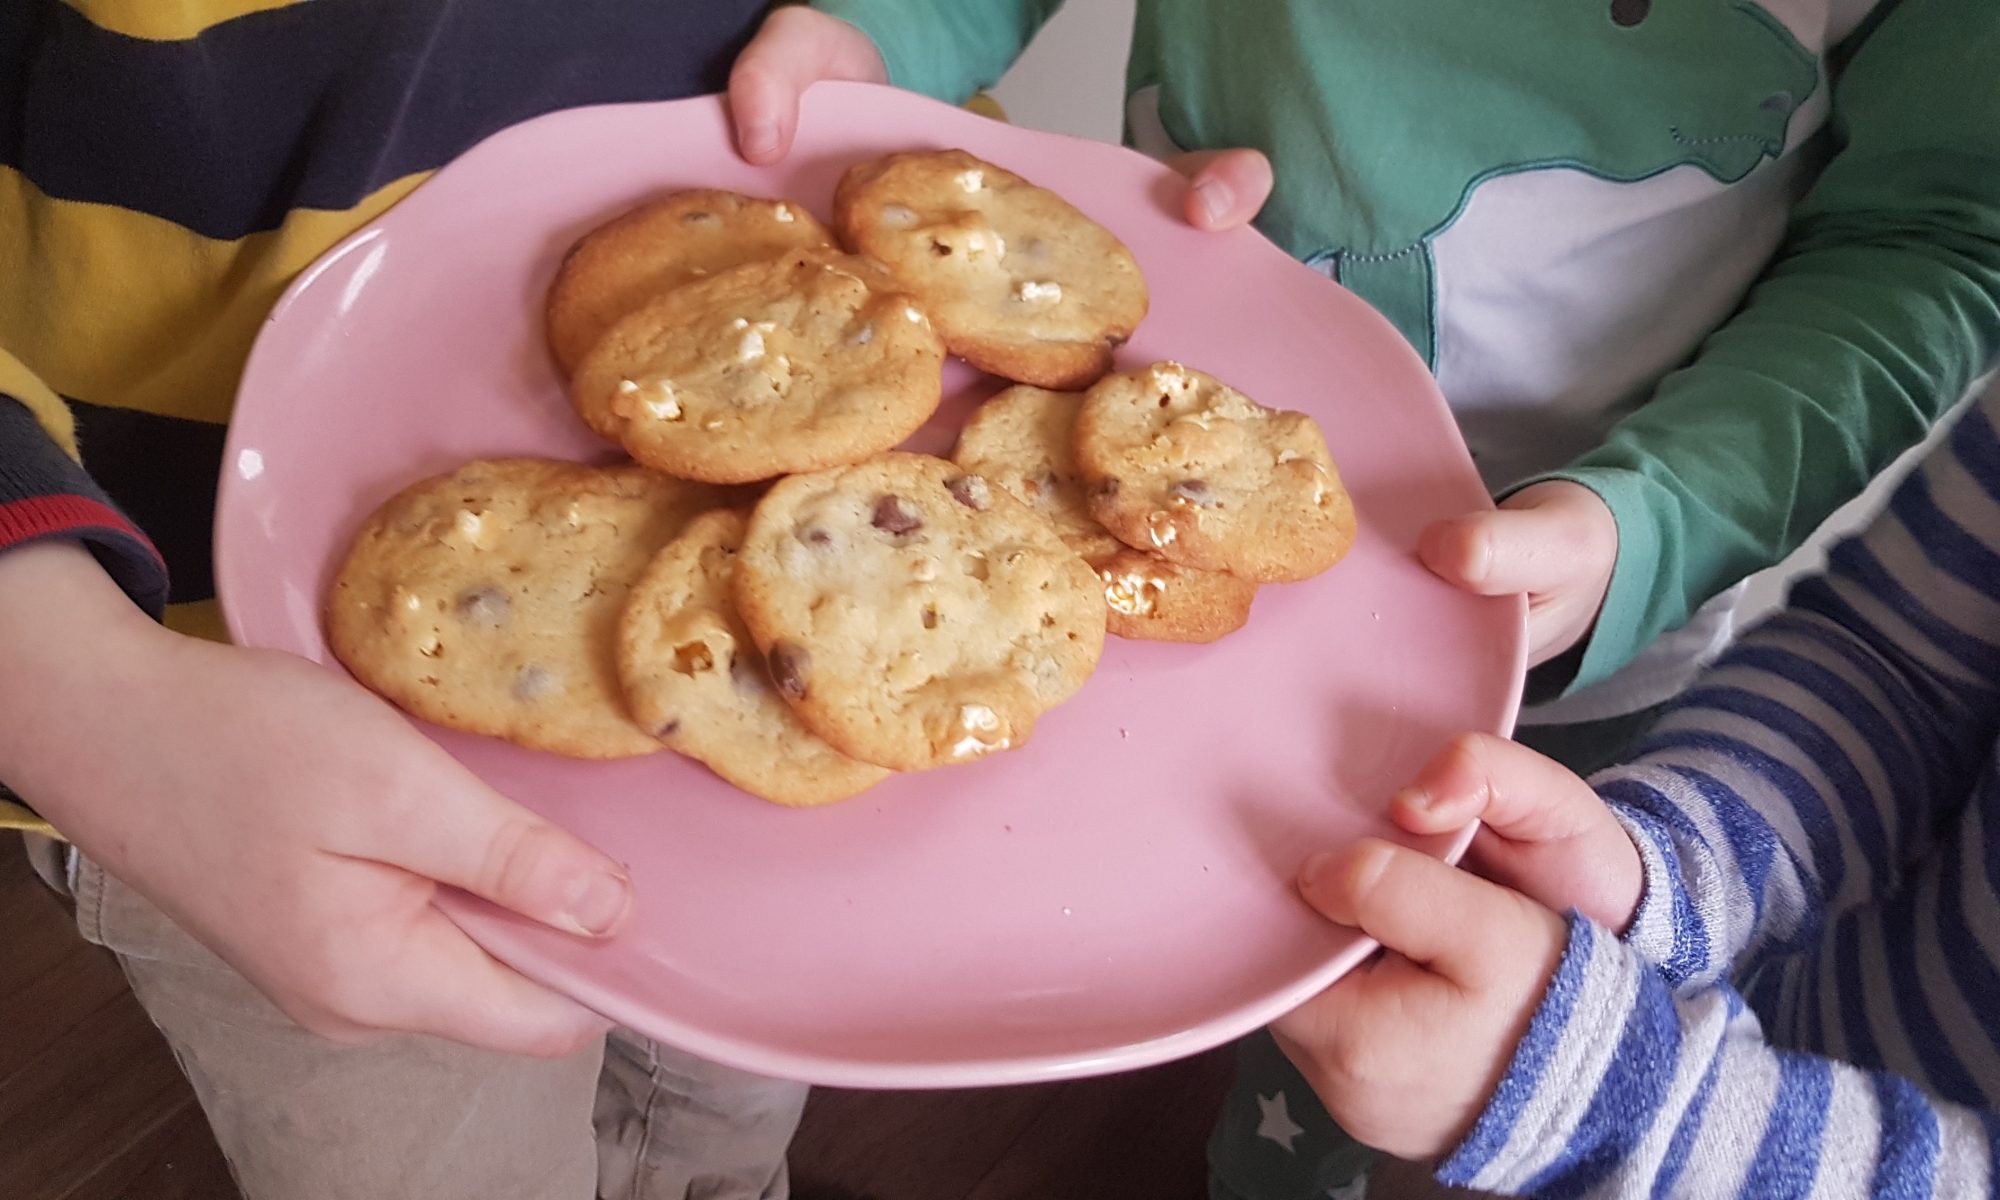
The kids love meeting up with their friends and I love it when the kids meet up with their friends. It generally means a calmer afternoon when they are all playing and I get a hot drink which is actually still hot or maybe even 2 if all the kids are happy. I love it even more when I don’t have to host. Don’t get me wrong, we do invite people to our house, but the organisation it requires for me to have enough of our chaos tidied away stresses me out somewhat. To balance out my reluctance to host playdates, we never turn up empty handed. This means cake, or biscuits or sometimes even both! For our most recent playdate I went armed with these Chocolate Popcorn Cookies. Note to the wise though, next time, don’t place them in a backpack and jog alongside the four year old who is gaining confidence on her bike without stabilisers. When we arrived, most of the cookies were broken. This did reduce my guilt at eating cookie pieces as I didn’t eat a single cookie at once!
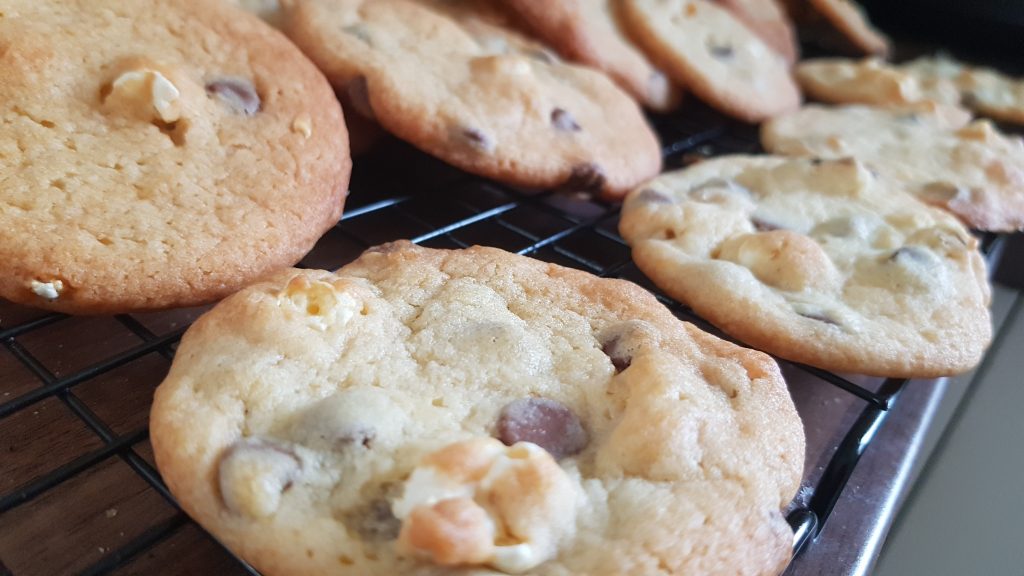
A cookie or two a day keeps the grumps away!

These cookies were an experiment. Finch has inherited his mum and dad’s love of the chocolate/coconut combination. Unfortunately, the playdate hosts disagree so I wouldn’t allow him to add desiccated coconut to the cookies. To placate my gingernutter I suggested we added some of the leftover popcorn from our movie night the evening before. This suggestion was met with immediate enthusiasm and as a result I cannot say for sure how much popcorn we actually added… Oh well! This recipe is versatile and can easily be made vegan by using vegan spread and chocolate. We used golden syrup as it was what we had in the house, but maple syrup would work just as well.

To make Chocolate Popcorn Cookies you will need:

  • 250g margarine/dairy free butter
  • 225g caster sugar
  • 2tsp vanilla extract
  • 1tbsp golden syrup/maple syrup
  • 300g plain flour
  • 1tsp baking powder
  • 100g chocolate chips
  • 1.5 cups of plain popcorn
  • 1/2-1tsp salt

Method:

  1. Preheat the oven to 160°c fan and line 3-4 baking sheets with parchment or silicone baking mats.
  2. Put the margarine, butter, sugar, vanilla extract and golden syrup in a large bowl and mix with electric beaters until fully creamed together.
  3. Add the flour, baking powder and salt (if you want a stronger sweet/salty taste add the full tsp of salt) and slowly mix together to form a dough.
  4. Add the chocolate chips and popcorn and gently combine.
  5. Put tablespoon-sized amounts on to the baking trays and cook each tray for 12-15 minutes in the oven until golden. We put 6 on each tray to ensure they didn’t spread into each other.
  6. Leave to cool on the rack for about 10 minutes before transferring to a wire rack to fully cool.

In my mind these cookies are a perfect accompaniment to a lovely cup of coffee. The kids enjoyed them while running around with their friends. I am currently fighting the urge to go and make more popcorn to make another batch…
Garibaldi Biscuits

Carefully cutting in two.

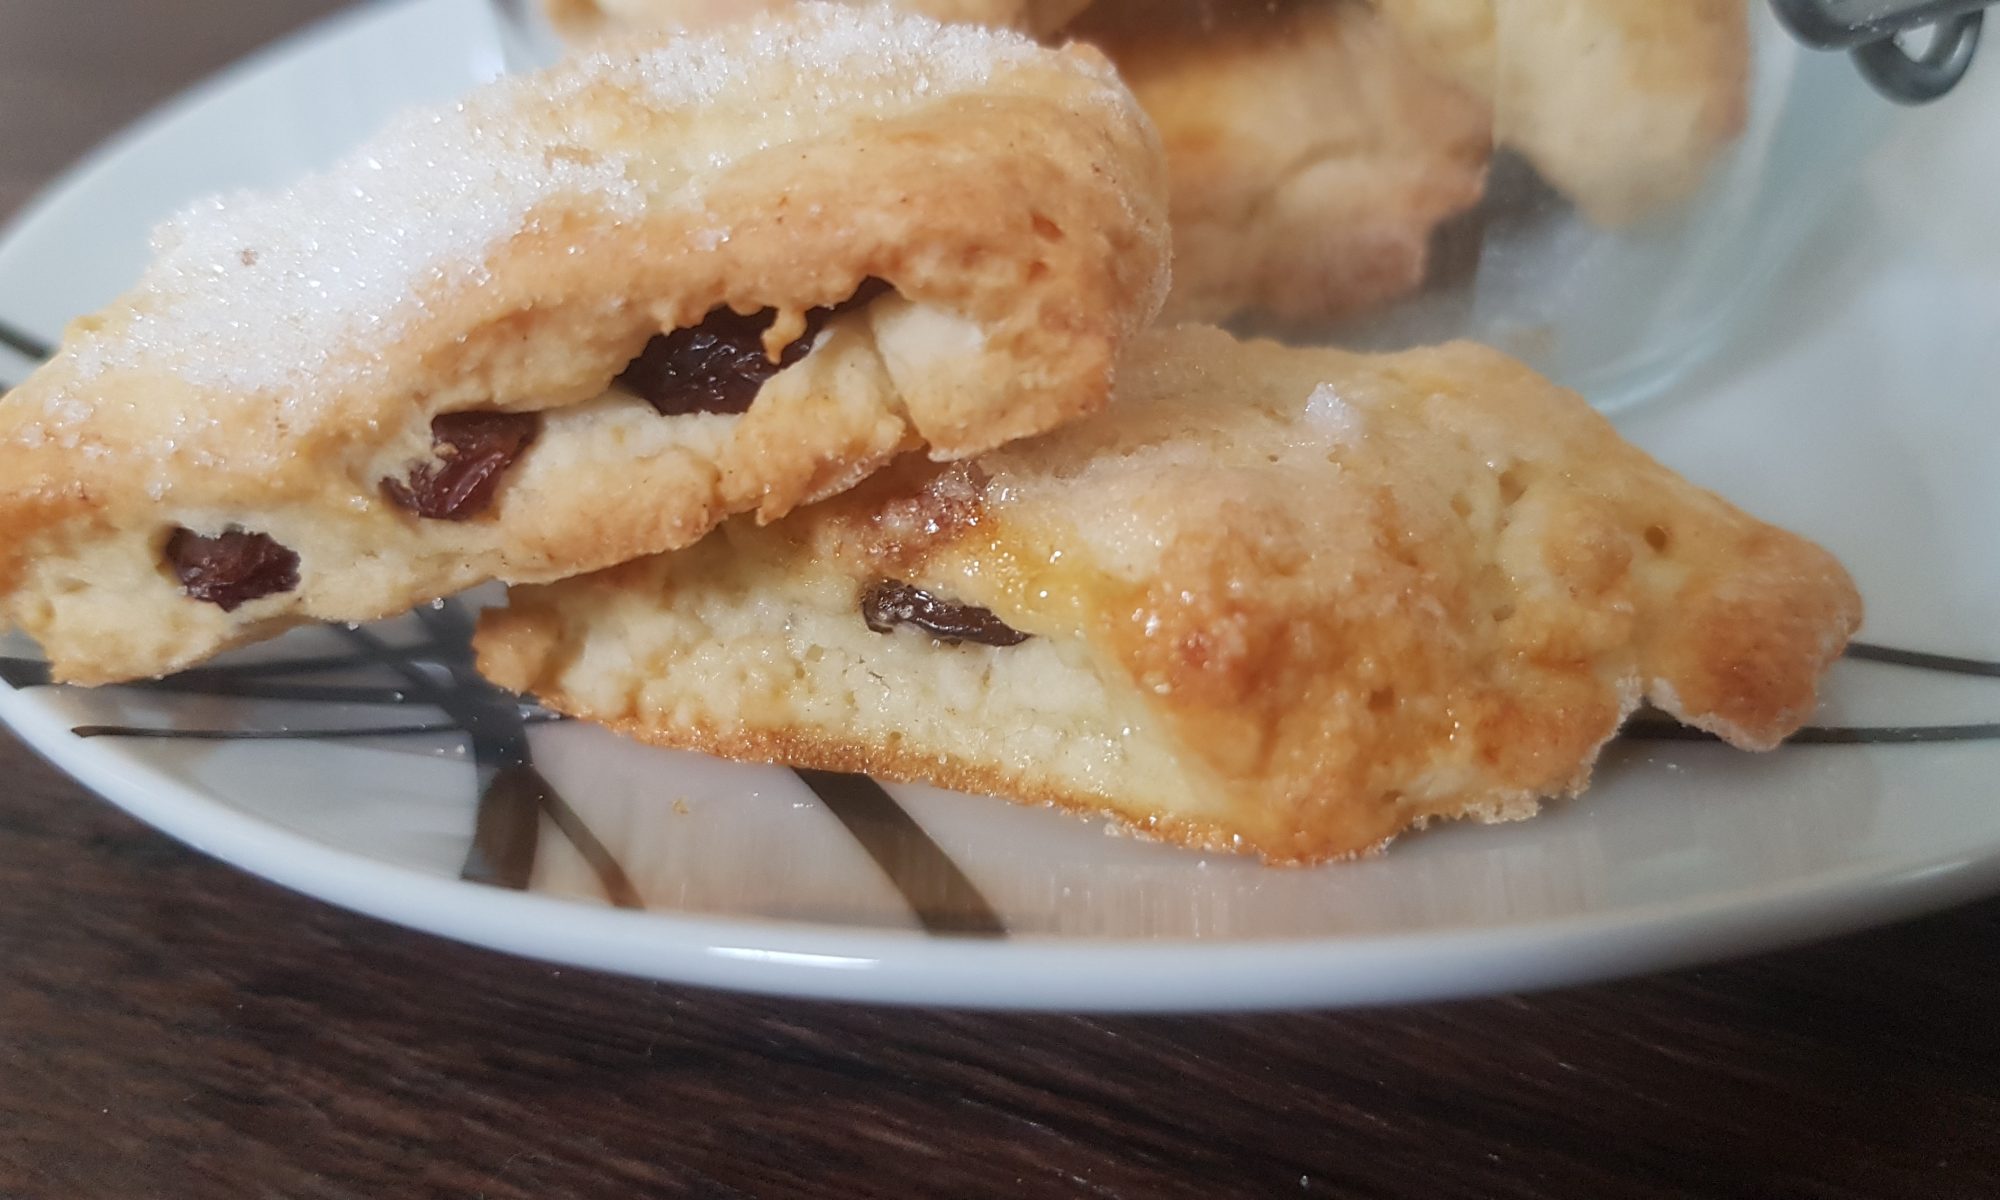
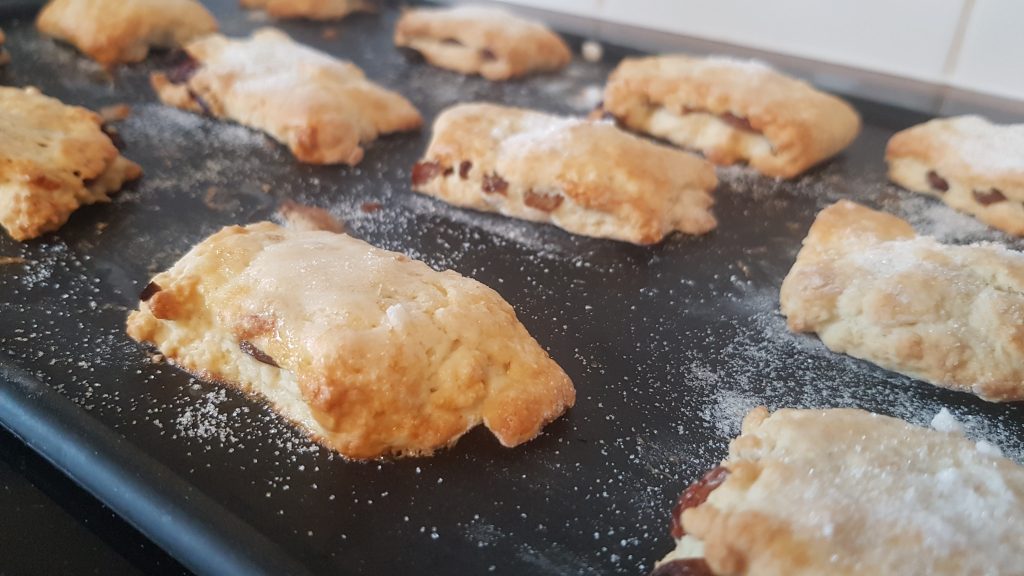
I sent my husband to the supermarket for biscuits and he returned with a nice selection including Garibaldi Biscuits. To our horror, we realised that the kids had never seen, let alone tried Garibaldi biscuits. In order to fill this gap in their culinary education, we described this favourite teatime treat and told them that they are also known as squashed fly biscuits. They found this hilarious and after trying them they were an instant hit. As all good things come to an end, we finished the packet (not really surprising in a household of five!) and we had three rather sad children. Ophelia and I hit the kitchen to have a go at making some ourselves.

Brushing with egg white

This is a very tactile recipe for kids. Ophelia loved rubbing the flour, butter and salt together to make fine crumbs. She was talking to it, telling it that she was tickling it and listening out for it laughing. Then there came mixing and flattening it out with her hands before attacking it rolling it out with a rolling pin. More raisins than I can count were diverted into her mouth rather than the recipe, so we did have to replenish them. My main thought was at least this time she wasn’t trying to guzzle a mixture with raw eggs!

Sprinkle with sugar.

Our biscuits definitely didn’t look professional, but Ophelia was rather insistent that she wanted to do as much as she could by herself. This didn’t affect how yummy they were, only that ours were somewhat thicker than your average shop bought Garibaldi. They disappeared in less than 48 hours and there have been requests to make more for our biscuit tin.

Garibaldi here, Garibaldi there, Garibaldi everywhere!

To make Garibaldi Biscuits you will need:

  • 110g self-raising flour
  • Pinch of salt
  • 25g margarine
  • 25g caster sugar and an extra 2tbsp for sprinkling
  • 35g raisins
  • 2tbsp milk
  • Egg white
  1. Preheat the oven to 180°c fan and line a baking tray with greaseproof paper.
  2. Measure out the flour, salt and margarine and place in a single bowl. Rub together to create fine crumbs.
  3. Add in the sugar and milk and mix together to form a firm dough. We used both a wooden spoon and our hands to do this. Ophelia would have chosen to only use her hands given half the chance!
  4. Flour your surface, and pat the dough into a flat shape. Roll it out to a rectangle. Ours was 15cm by 20cm. If it is bigger, then your biscuits will be thinner.
  5. Sprinkle the raisins on half of the rectangle.
  6. Fold the half without the raisins onto the other half and gently pat down. I folded it over and Ophelia patted it down.
  7. With a table knife or child safe knife, divide the mixture into 6 rectangles and cut with a sharp knife. Older children may be able to do this themselves. Cut each rectangle in 2.
  8. Brush the biscuits with some of the beaten egg white and sprinkle with caster sugar.
  9. Bake in the centre of the oven for 12-15 minutes until golden. Cool on a wire rack and store in an airtight container.

This recipe appeared in Penguin New published on 4 September 2020 and Soar Valley Life September/October Issue 2020.

Breadsticks

You would have thought that nearly eight years into our parenting journey that by now I would have learnt that I never ever have enough snacks in the house. When in the supermarket and asking myself how many packets of breadsticks or crackers I need to buy, I should always just put another packet in the trolley because it’s not like they won’t get eaten!

Squish and squash the dough

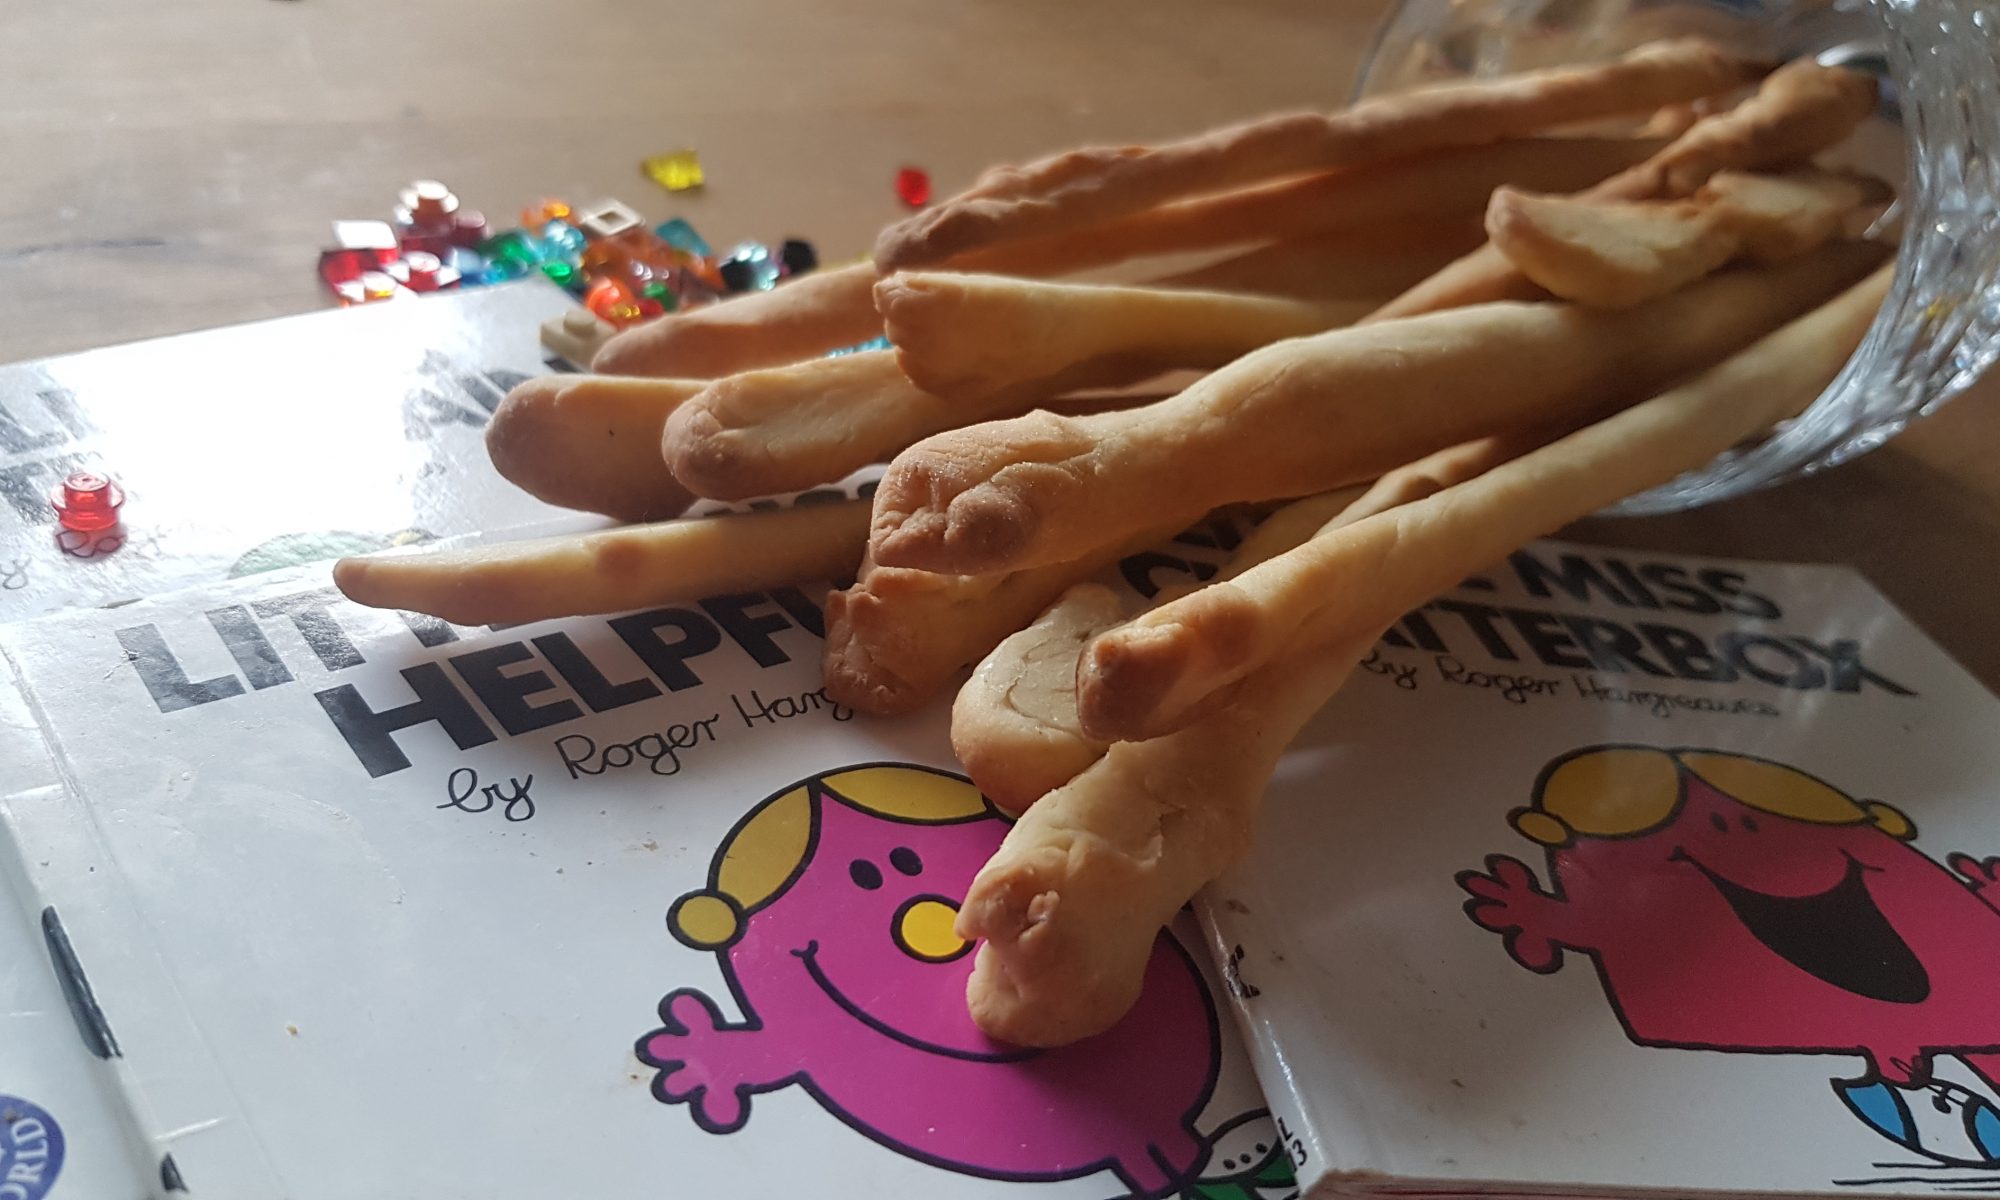
I came home from one blissful child-free trip to the supermarket happily thinking I had managed to get every single item on my list (a real achievement for a Falklands shopping trip), only to discover that I had neglected to add breadsticks to the list and our snack cupboard was rather empty. After putting the supplies away, I couldn’t contemplate another trip out to the supermarket. We had all the ingredients for breadsticks, so I decided we would make them instead. As an added bonus, this gave Ophelia and me an activity to do while the boys were in school. I never have to ask her twice if she wants to come and help with the cooking!

Carefully stretching it out.
Dividing the dough.

Making breadsticks may sound like a bit of a faff, but my kids really enjoy it. The highlights are kneading, rolling and stretching the dough out to make the long breadsticks. I am pretty sure Ophelia would have happily spent the morning playing with the dough and singing happy little songs had I let her. This recipe does carry a sticky fingers warning as it can get a bit messy. We did manage to spread the flour all over the kitchen surfaces and the floor, but this time Ophelia’s outfit remained uncharacteristically clean!

To make breadsticks you will need:

Making them into sausages
  • 190g bread flour
  • ½ teaspoon instant dry yeast
  • 100ml warm water
  • 15g melted butter or margarine
  • ½ teaspoon fine salt
  • Olive oil for coating
  1. Place all the ingredients in a bowl and mix with a wooden spoon until well combined.
  2. Using your hands, squish and squash the dough for 5-10 minutes. If your child is anything like mine, they might not want to stop and that point or they might ask for some initial help. This was a great opportunity to describe the texture and temperature of the dough.
  3. Cover the bowl with clingfilm or a clean tea towel and let it rest at room temperature for at least one hour.
  4. Preheat your oven to 160°c fan and line 2 baking sheets with silicone mats or baking parchment.
  5. Cut the dough in half with a table knife and then cut each half into 6 pieces. We managed to use this as good counting and adding practice.
  6. Gently stretch and roll each piece into a long sausage shape around 30cm long. Some of ours were longer than others.
  7. Brush them with a little olive oil.
  8. Bake for 20-25 minutes until golden and crisp.
  9. Allow to cool completely before storing in an airtight container.

This article appeared in Penguin News on 17 July 2020.

Raisin Bran Muffins

Cake was the subject of most of my conversations with Ophelia while her brothers were at school last week. This meant we had tea parties, the dolls had tea parties and we made and ate rather a lot of cake. The poor kitchen must have felt rather sorry for itself with flour and sugar all over the surfaces and even an egg cracked on the floor all at the hands of my increasingly independent three-year-old who has decided that mummy can only help in certain circumstances.

I was quite happy when the weekend came around and wrongly thought the older kids might dilute my daughter’s enthusiasm. What I didn’t bank on was the kids having gotten accustomed to the steady stream of cake and their reluctance for it to stop! On Friday evening there was the discussion about what flavour cake would be next. Looking back at the rocky road, flapjack brownie, lemon cupcakes and chocolate cake which had sweetened the week, I decided it was time to steer the kids towards something a bit less sugar-filled. In the past, I have discovered that this is not always a successful endeavour, but in this instance, I got my way and the kids happily made and enjoyed eating Raisin Bran Muffins.

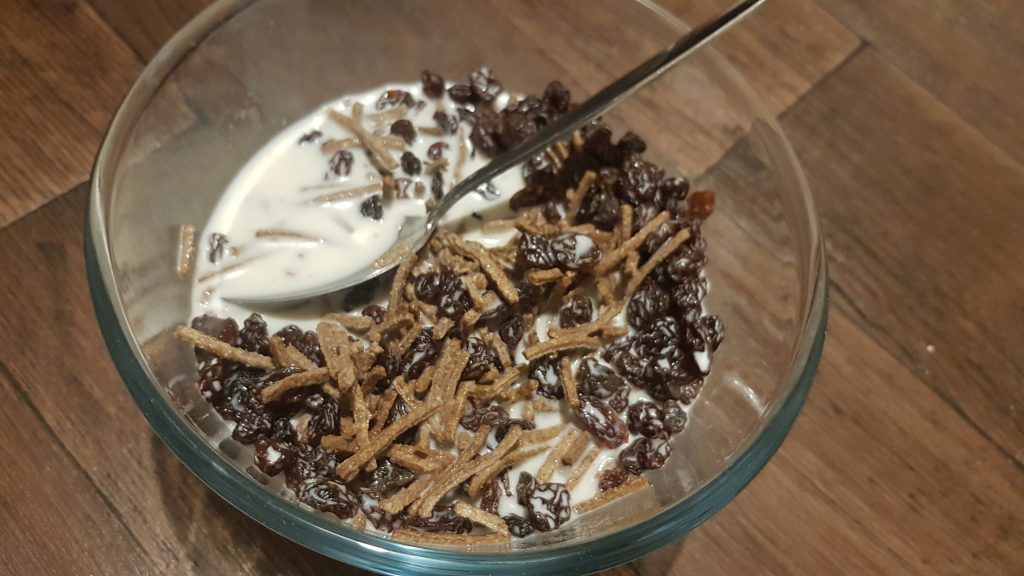
Ready to soak overnight.

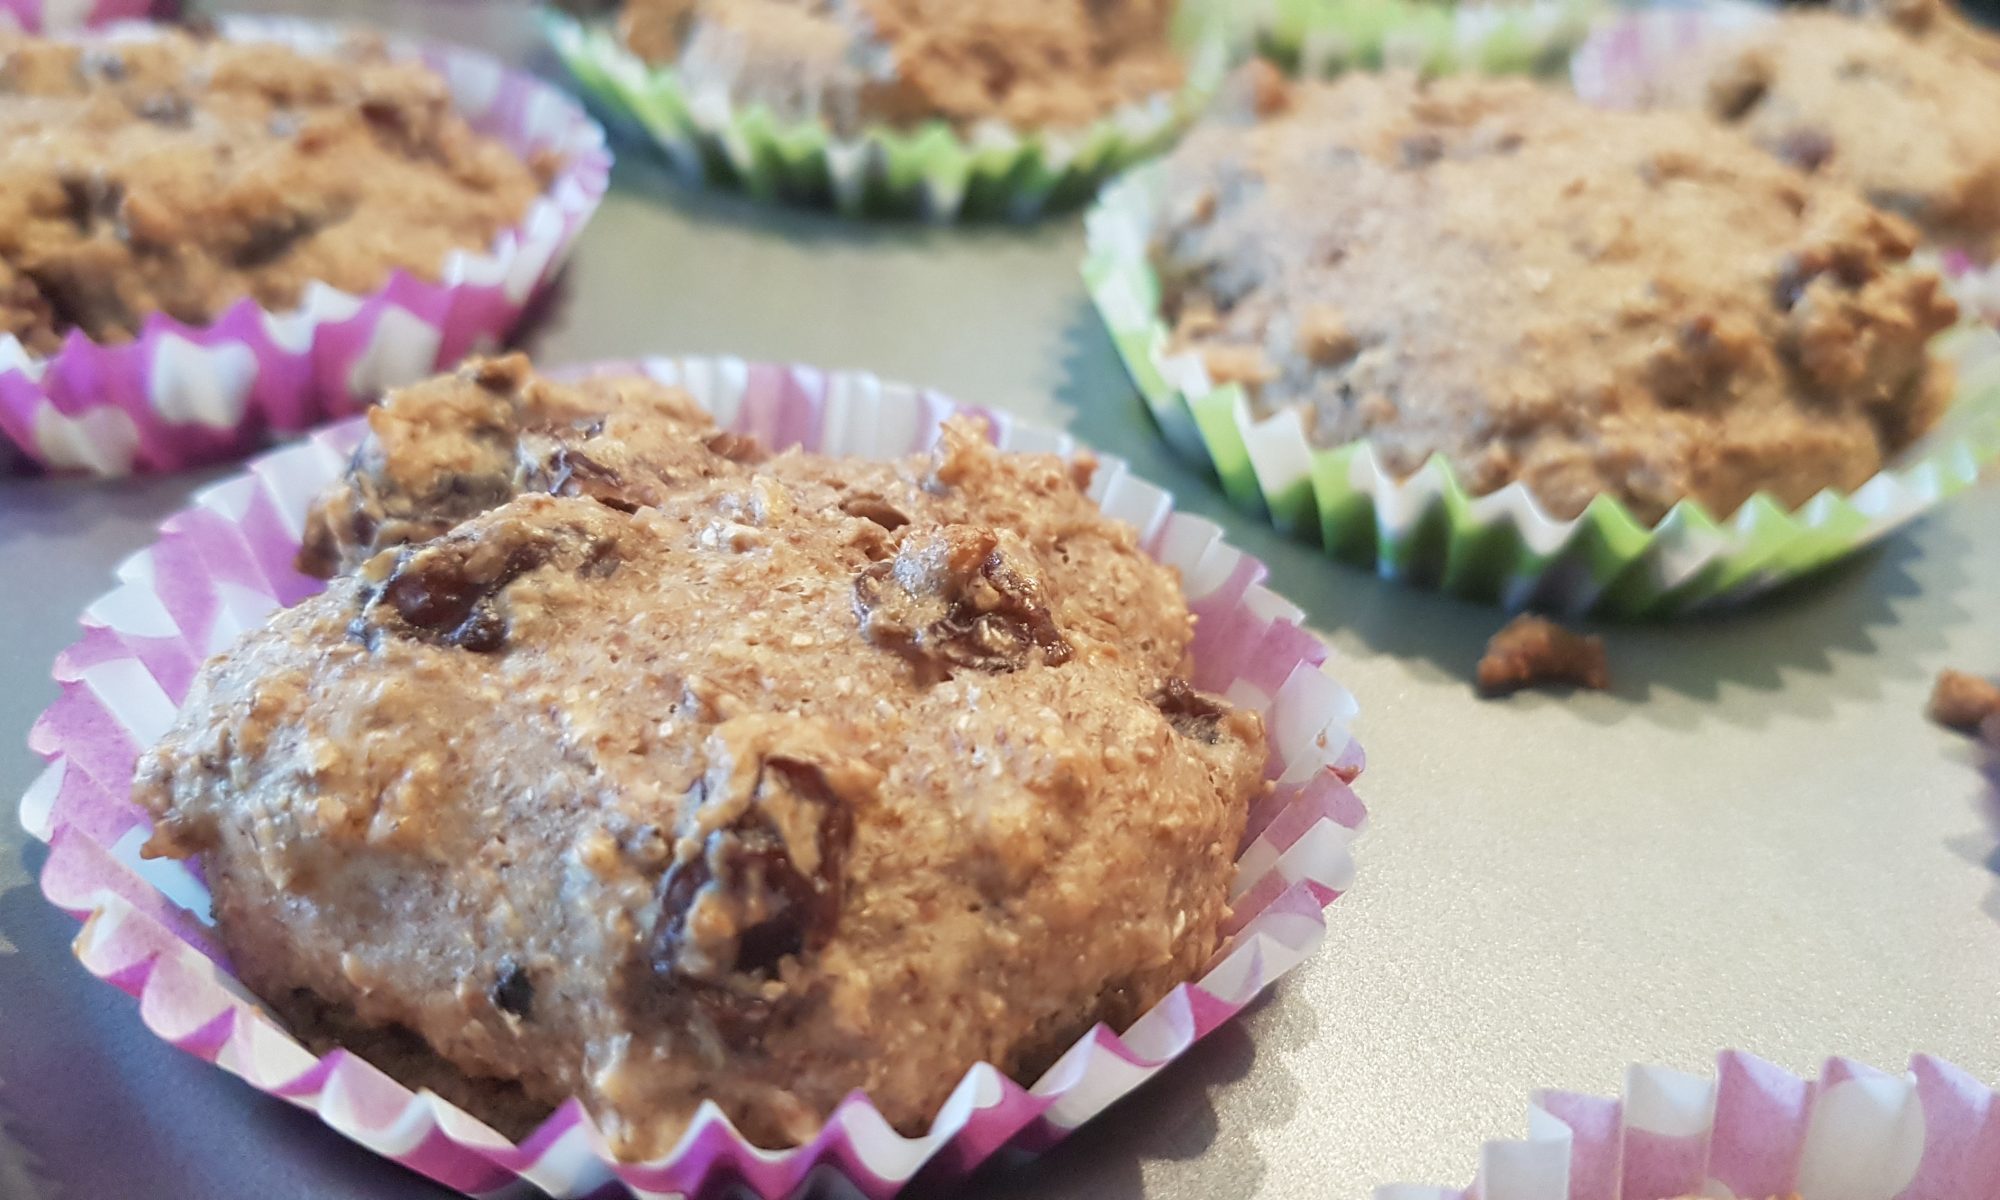
I think the majority of the enthusiasm for this recipe stemmed from the fact that the kids think it is hilarious that mummy sits eating what they think looks like sticks at breakfast as they are enjoying their Shreddies or Cheerios. Luckily for me, they were not disappointed that after soaking the All Bran, raisins and sugar overnight they had lost their structural integrity and stick-like appearance! This is a versatile recipe that can be made vegan/dairy free by using almond milk.

To make the Raisin Bran Muffins you will need:

  • 75g All Bran cereal
  • 75g caster sugar
  • 175g raisins
  • 300ml milk
  • 175g wholemeal self-raising flour
  • 50ml water
  • 25ml milk
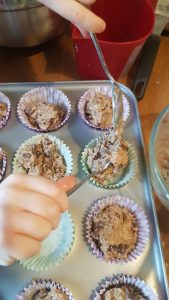
Dividing the mixture between the cases.

Method:

  1. Put the All Bran, caster sugar, raisins in a large bowl with 300ml of milk and mix well. Leave to soak overnight or for at least 6 hours.
  2. Preheat the oven to 160°c fan and put 12 cupcake cases into a muffin tin.
  3. Sift in the flour and add in the water and 25ml of milk and combine well.
  4. Divide the mixture between the 12 cases and place in the oven for 20-25 minutes until springy.

This recipe appeared in Penguin News on 19 June 2020 and Soar Valley Life July/August 2020 edition.

Why Share a Cookie?!

I have seen many recent posts on Facebook and Instagram when people are making too many batches of cakes and mentioning that they would be a size larger at the end of lockdown. I have really taken this to heart and started pondering the idea of making a single cookie.  One means you don’t have to share it and also that you get the satisfaction of a delicious baked cookie and doing an activity either on your own or with your kids and not worrying that it could be a piece of cake (or cookie) too far and risk sending you into a sugary haze. Kids how about you try to convince your grown up that this is the best idea?  You can scoop out all the ingredients yourself and not have to share the cookie! Did I mention that this recipe doesn’t contain egg and can easily be made dairy free or vegan by using vegan spread and chocolate. It uses only a small amount of ingredients so you don’t have to be overly concerned about running out.

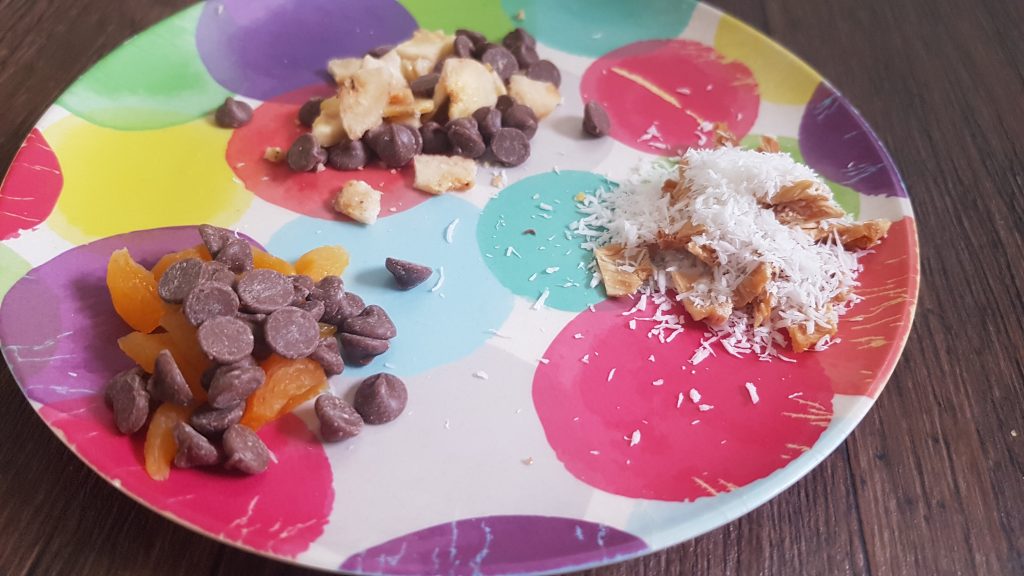
The add ins for the cookies.

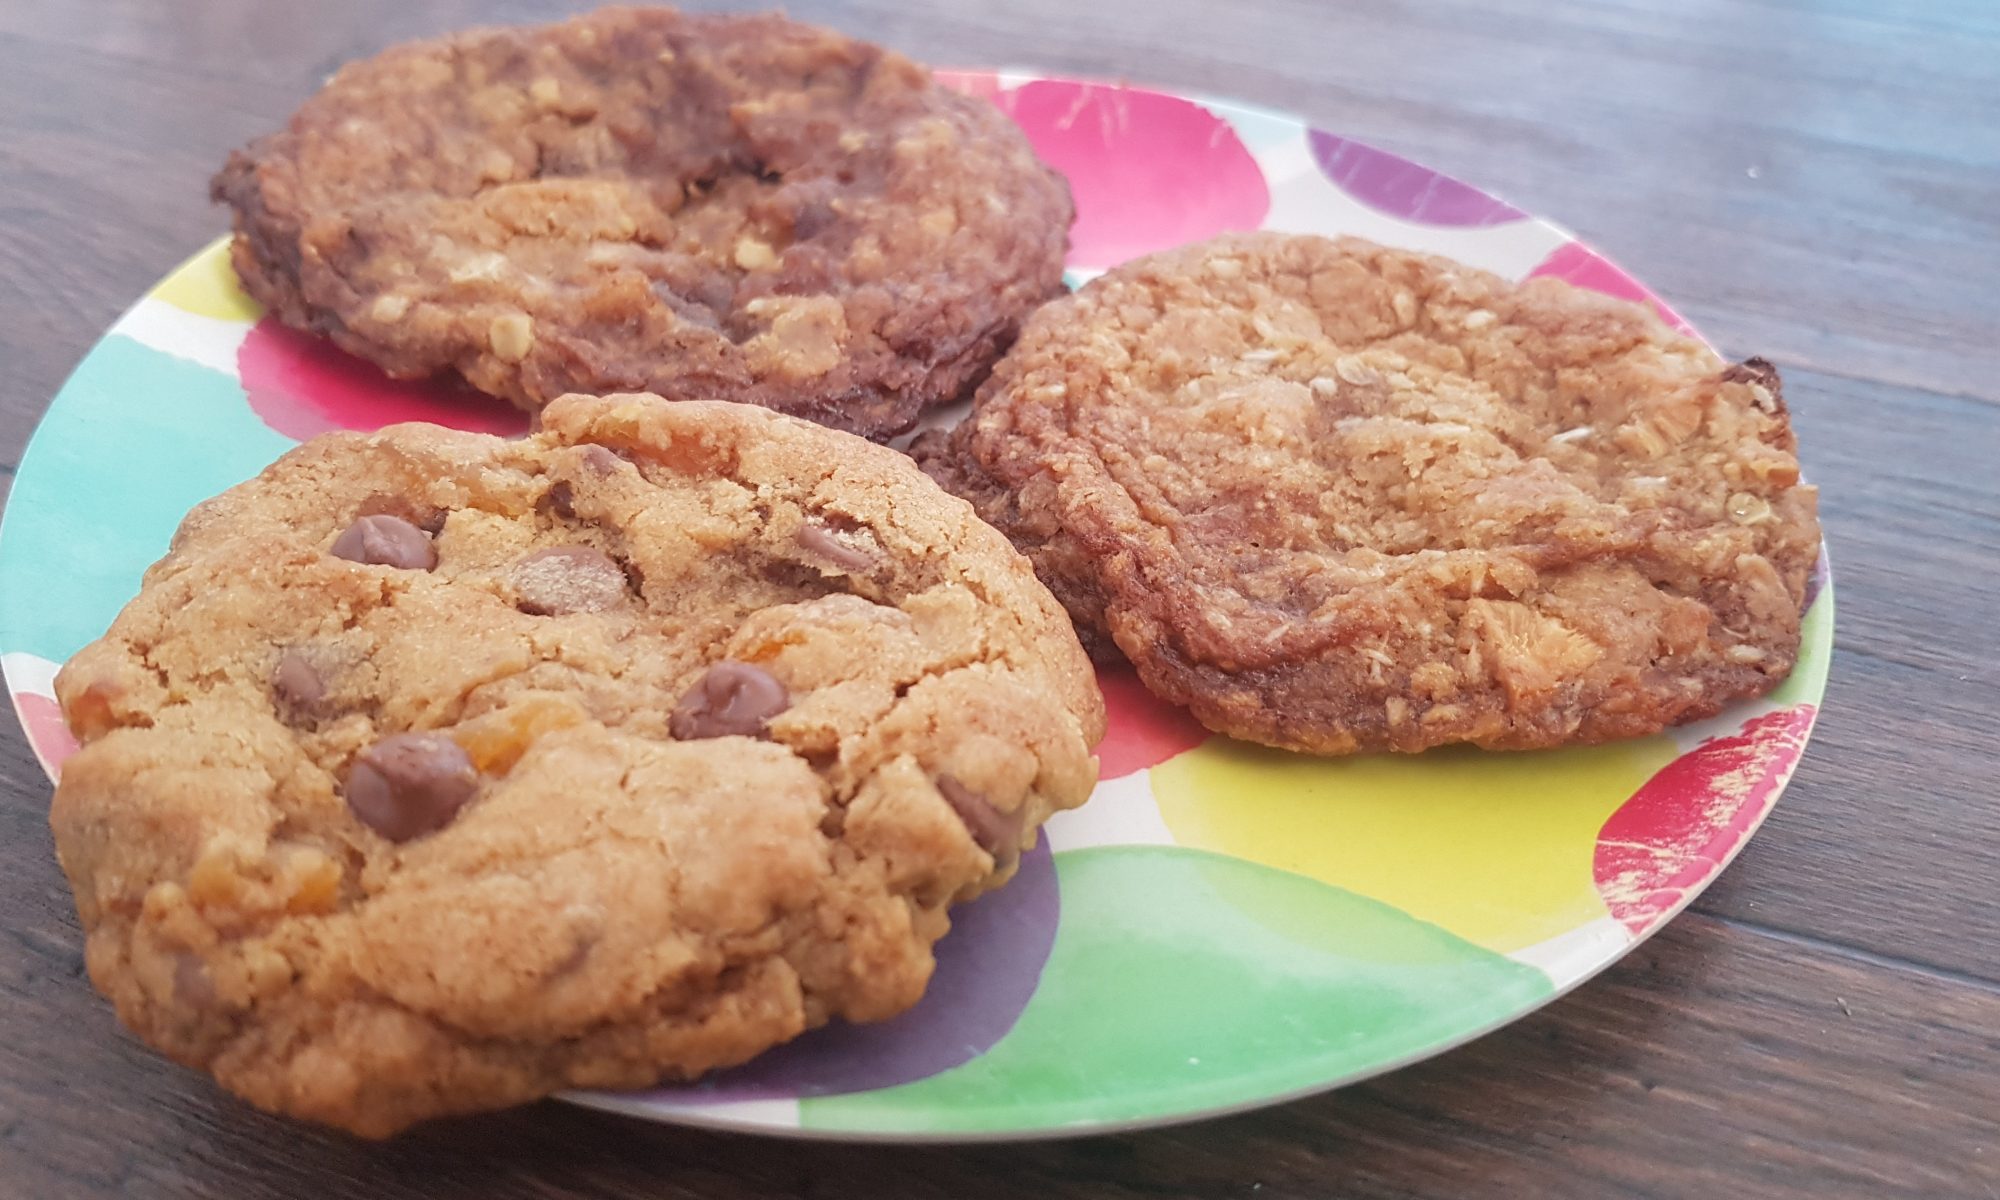
My kids each chose a different tablespoon of add ins to make their cookie personal so we ended up with apricot and chocolate, dried banana and chocolate and dried pineapple and coconut. They all smelled delicious and I was honoured when Ophelia deigned to share some cookie with me! Surprised would be an understatement.

The kids would like to see your cookies; it would really brighten our day. Please do put them on our Facebook page or tag Just Add Patience on Instagram so we can see how you have got on!

To make a single-serve cookie you will need:

  • 1tbsp margarine/unsalted butter – we have found margarine is easier for the kids to scoop as I never remember to take it out of the fridge in advance.
  • 1tbsp light brown sugar
  • 1/4tsp vanilla extract
  • 2tbsp flour
  • 1/8tsp bicarbonate of soda
  • Pinch of salt
  • 1tsp oats
  • 1tbsp chocolate/dried fruit
Gently flatten.

To make a cookie:

  1. Preheat the oven to 160°c fan and line a baking sheet with a silicone baking mat or parchment.
  2. Put the butter, sugar and vanilla in a small bowl and cream together using a teaspoon.
  3. Add the flour, bicarbonate of soda and oats and salt into the bowl and mix to combine. My kids enjoyed using their hands to bring it together.
  4. Add in the chocolate/dried fruit and roll into a ball.
  5. Place on the baking tray and flatten slightly with your hand.
  6. Cook for 10-12 minutes and allow to cool on the tray – warm cookies are fragile.

Teabread

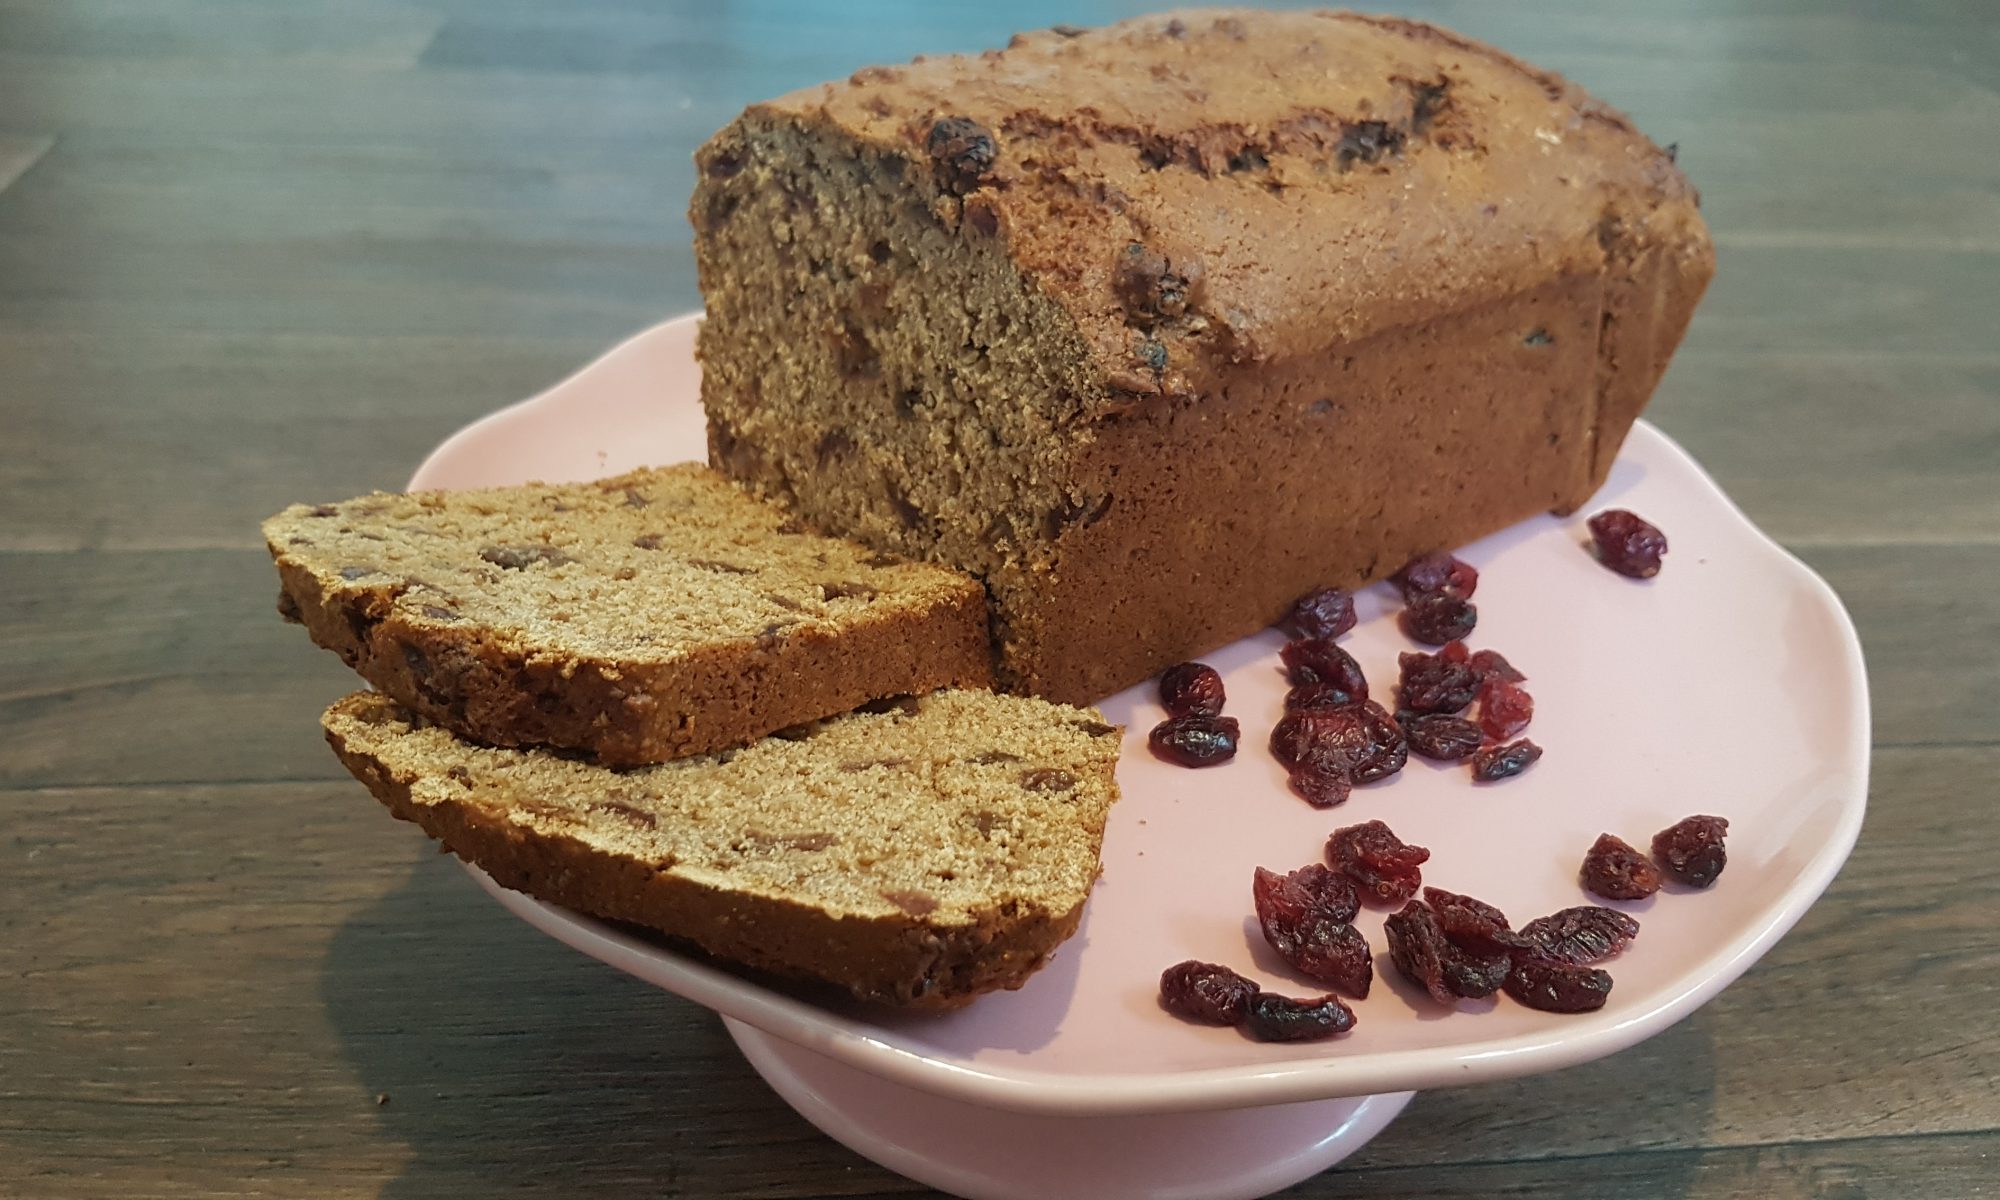
My confession: we are not a household of tea drinkers. This may sound sacrilege for a British family, but there you go. My sister is the champion tea drinker in my family. Maybe she has tea running through her veins rather than blood like the rest of us?! I always have to check that I actually have teabags in the house before we have visitors as I have been known to be unable to provide guests with a cup of tea when visiting! When I do buy them, it takes us so long to get through them. Teabread is the only way we really use them.

Into the tin it goes

We always seem to have a load of dried fruit in the house, even more so since we moved to the Falklands. This is probably because our bulk online shop at the beginning of the year mainly comprised cereal, dried fruit, tinned tuna and squash! We are steadily working our way through the many packets of apricots and banana chips, but some of the dates, raisins and cranberries went into this yummy teabread. You could just use raisins and sultanas in this loaf, but I am a particular fan of putting some chopped dates in as they really do give it such a lovely squidgy texture. It is a versatile recipe, an easy to put your own stamp on.

Ophelia really enjoyed using a spoon to transport the dried fruit into the cold tea and spent the rest of the afternoon coming back to check their progress. The following morning after we had dropped the boys at school, the moment we got back to the house, she was immediately asking to put the soaked fruit into cake. There is no doubt at all that she gets that particular characteristic from me!

To make this teabread you will need:

  • 300g dried fruit (we used raisins, cranberries and chopped dates)
  • 2 tea bags made into 475ml tea and cooled
  • 225g soft brown sugar
  • 2 eggs
  • 450g self raising flour (we used a mixture of wholemeal and regular)

Instructions:

  1. Spoon the dried fruit into the cold tea and leave to soak overnight.
  2. Line a large loaf tin with baking parchment and preheat the oven to 160°c.
  3. Beat the eggs into the sugar until completely combined.
  4. Add the flour and the soaked dried fruit (with the remaining liquid) and mix to form a batter.
  5. Spoon the mixture into the tin and level the top with the back of a spoon.
  6. Bake in the oven for 55-60 minutes or until a cake tester comes out clean.

I am not ashamed to admit that my kids have been enjoying a small slice of this for their breakfasts recently. With all the changes in their daily routine, I wanted them to remember some of the fun things, like when mummy allowed them to have cake for breakfast! Much love from our small corner of the world to all my readers and please do stay safe.

Tropical Flapjacks

Welcome to my first blog post from the Southern hemisphere! I apologise for the somewhat haphazard recipe, but I must confess I have no scales so all measurements were in cups, well mugs actually, and I doubled the recipe below as we were using a roasting tin. The latter doesn’t bother me though; it merely means that we have more flapjack than I originally planned. Faithful readers are bound to have had enough of me droning on about my love of flapjack, but I shall repeat – my love for flapjacks runs deep and true. I am, however, point blank refusing to buy more baking equipment when we should be receiving my stuff at the end of next month. We shall see how firm my resolve is after another fortnight without my stuff, but for now it is cast-iron strong and not at all faltering…

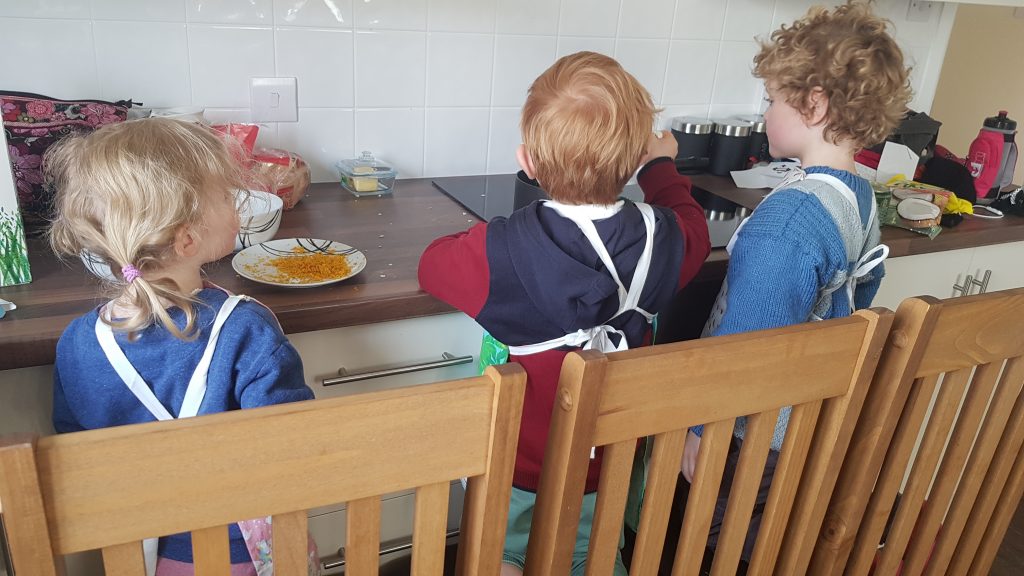
We are starting to settle into our new home, well we must be if the kids are in the kitchen. It was a bit touch and go when I realised that we had no hangers, but I solved that problem so nearly everything has a home with my slightly wonky logic. I really do hate unpacking so Simon may well have had to delve into his savings of patience while I was putting off the inevitable chore!

Our kitchen set up here is a little different, and to tell the truth it may well take some getting used to, don’t think for a second that the kids would let any of this hinder us. I did let Ophelia wash up after this and I did think that it was going rather well and then I realised that she had used nearly an entire bottle of washing up liquid! Why oh why did I turn my back on her?!

A different set up, but we get on with it!

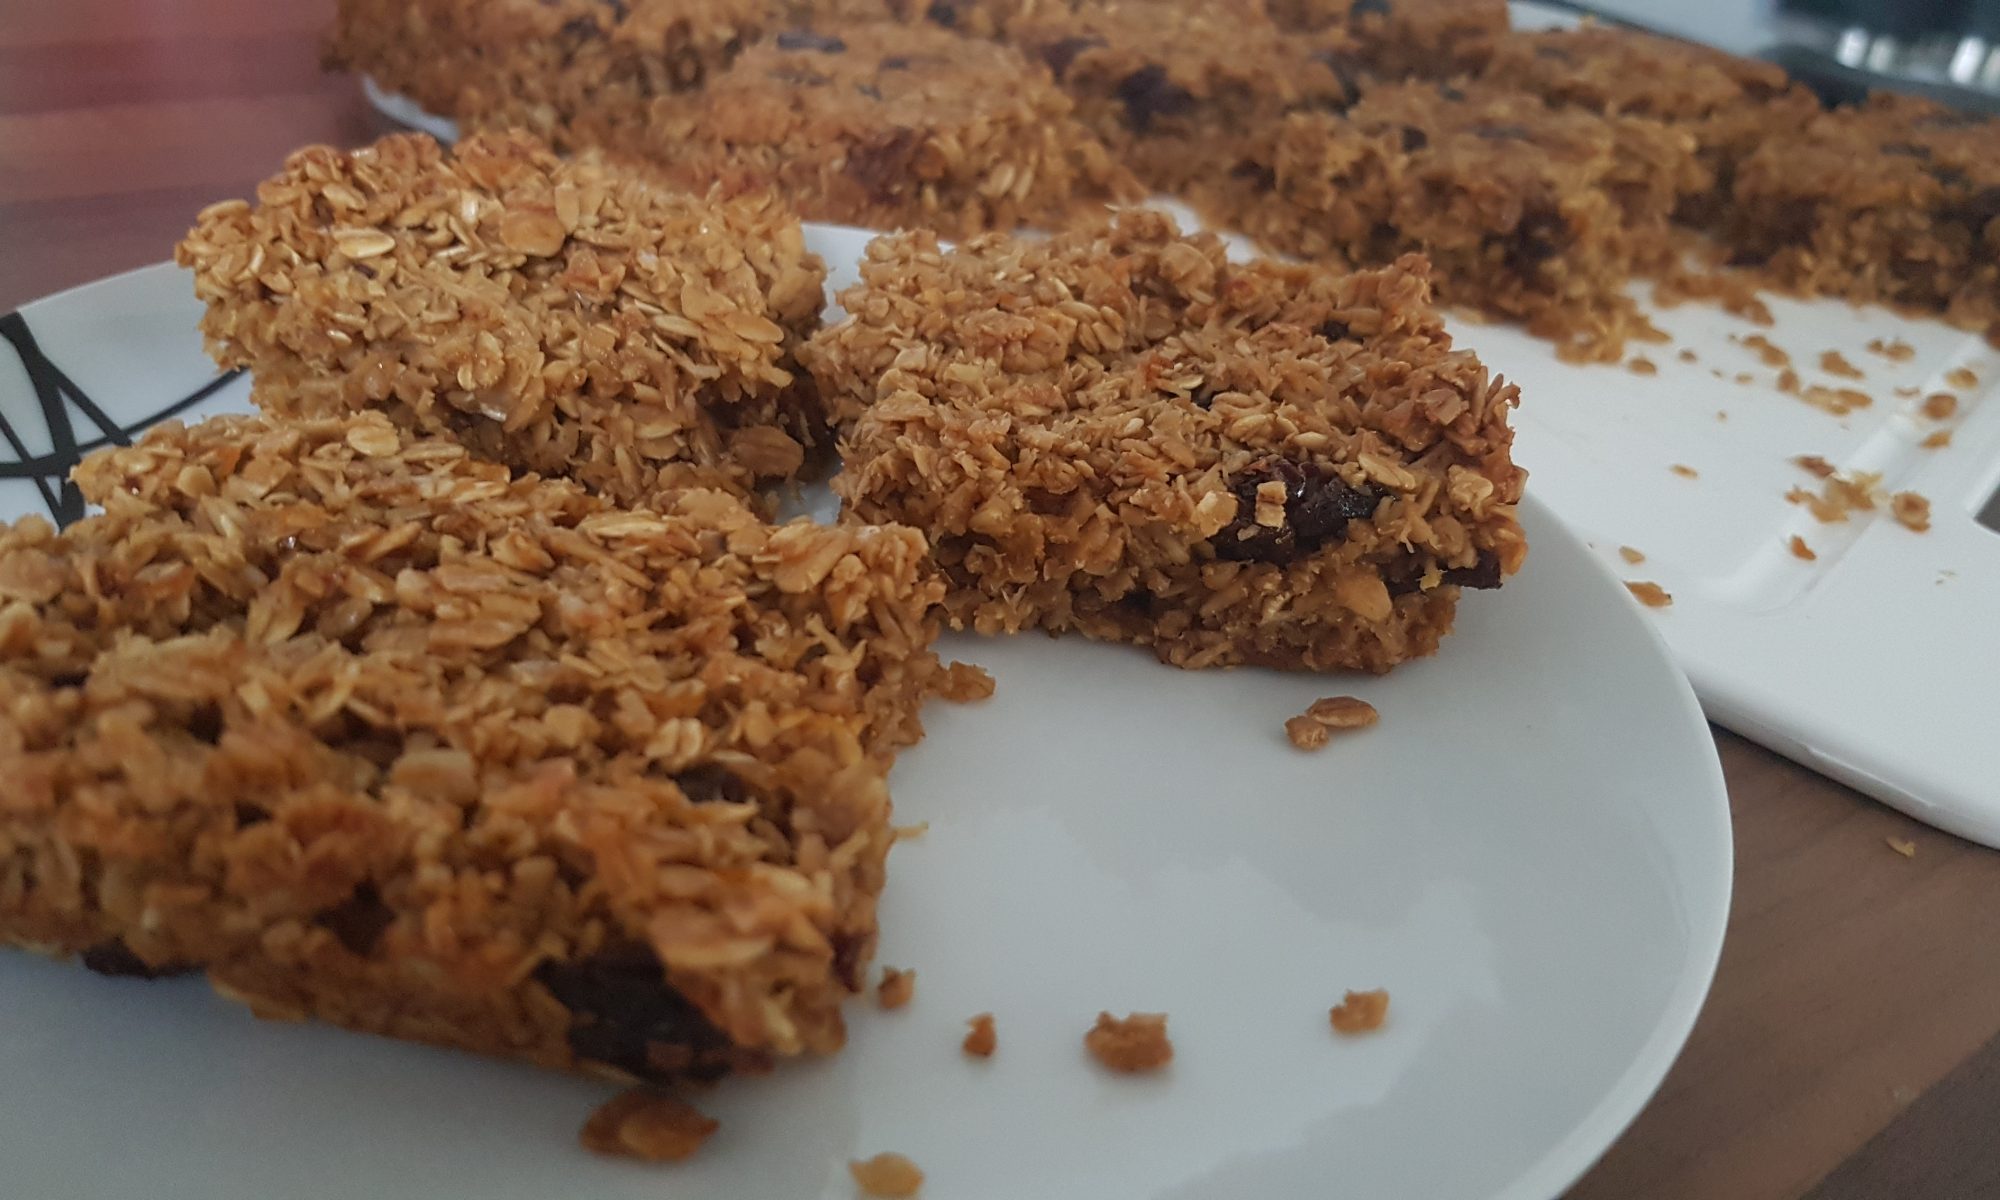
These are Tropical Flapjacks as they contain orange juice and zest, raisins and desiccated coconut. Tropical in flavour but, it’s just a shame that the August weather in Stanley doesn’t match the summery fruity vibes of these yummy flapjacks. They make me think of sunny memories in Loughborough and Surrey before our departure from the UK. They are perfect for after school snacks (if you are lucky enough that your angels have returned) or puddings or even if the kids are driving you around the bend and you need a little treat.

Ingredients

In they go!
  • 1/2 cup of butter or margarine
  • 1/2 cup of brown sugar
  • 1/4 cup of golden syrup
  • 1 cup jumbo oats
  • 1 cup regular oats
  • 1/2 cup of desiccated coconut
  • zest of 1 orange
  • 60g raisings
  • 3tbsp orange juice

Method

  1. Preheat the oven to 140°c fan.
  2. Grease a brownie pan or medium-sized roasting tin if you double the recipe like we did!
  3. Put the raisins in a bowl and cover with the orange juice.
  4. Melt the butter, sugar and golden syrup over a low heat.
  5. Zest the orange, we used a box grater for this – I did have to remove it from Finch as he was about to grate the orange as well.
  6. Pour both types of oats, the desiccated coconut, the orange zest and the raisins into the melted sugary mixture and mix with a wooden spoon until completely combined.
  7. Dollop the oat mixture into the tin and gently spread it around with the back of the wooden spoon. Make sure there is an even layer.
  8. Cook for 20-25 minutes until the flapjacks are golden. Allow to cool in the tin before removing and slicing.

As usual, I demonstrated my lack of patience by endeavouring to slice them before they were fully cooled. Despite the fact that they crumbled a bit, they were really yummy. I think the kids will have to keep a close eye on me tomorrow morning to ensure that I don’t decide to eat the rest of them for breakfast!

Date & Walnut Cookies

You know it is going to be one of those days when you are up before 7am with the kids in the school holidays. You know it is going to be longer than you want when in order to retain your sanity, you start baking before you would normally be leaving the house for the school run. Before you start yelling at your screen that I am crazy, my theory that over the summer it is cooler earlier in the morning and therefore easier to have the oven on without turning the whole house into a sauna and turning your children into little dragons set to breathe fire at each other and at you.

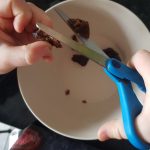
Snipping the dates

We made this recipe as we have a lot of dried fruit and nuts in the house – it seems I always put them in the trolley regardless of the quantity that I already own. So if you see me anywhere in the vicinity of a supermarket until the new academic year, please do feel free to remind me that I don’t need anymore of the aforementioned item or even remove them from my trolley unless I can tell you their exact date of use and purpose.

It was another baking in pyjamas session!
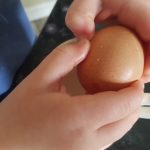
Cracking the egg into a separate bowl to whisk means it is easier to retrieve any stray bits of shell!

These cookies are ridiculously moreish; I managed to polish of significantly more of them than necessary for a healthy diet (after successfully completing a spin class, but still….) and the batch lasted under 24 hours from when they were made. The kids loved these and enjoyed bashing the walnuts and cutting the dates with scissors. I did also catch Atticus squeezing honey into his mouth directly from the jar. I was so surprised that I admonished him and he was so surprised that he dropped it. Luckily in this instance the jar was plastic. It is also a rather good thing that I wasn’t planning on sharing the honey with anyone outside the family.

The finished product!

Ingredients

  • 150g dates
  • 100 walnuts
  • 25g melted butter/margarine
  • 100g demerara sugar
  • 100g self raising flour
  • 1 egg, beaten
  • 1tbsp honey

Method

  1. Place greaseproof paper or silicone baking mats onto a couple of baking trays.
  2. Using scissors, cut the dates into small pieces.
  3. Using a pestle and mortar or a rolling pin gently bash the walnuts into small pieces.
  4. Crack the egg into a small cup or bowl and gently beat it.
  5. Place all the ingredients apart from the flour into a bowl
  6. Sift in the flour and mix until fully combined.
  7. Take tbsp. of the mixture and either roll into balls (beware it is sticky!) or just dollop onto the baking tray.
  8. Depending on the size of your cookies, you will have between 12 and 15.
  9. Place in the oven for 10-12 minutes until golden.
  10. Leave on the tray to cool for a couple of minutes before transferring to a cooling rack.
  11. Scoff the lot with or without the kids!

Chocolate Dip

I love it when I plan to make something with the kids and I actually get round to making it the week I planned to. I know it sounds crazy, but I have list upon list of ideas that I want to try in the kitchen with my little chefs. Some make it to the top incredibly quickly, but others linger for a while before they have their turn in the limelight. I may have made this one the week I planned to, but writing it up to share with you all has taken another week or two. I am placing the blame for this one firmly in the court of the house spring clean. Yes I am still trying to sort our house – it is a job of epic proportions. I should maybe be calling it a summer clean now as despite the changeable weather, not even I can deny that it is in fact summer. I find myself continually distracted and I am at the stage where I find any other activity more interesting than the one at hand! Do I sort through a pile of mismatched toys or plan a list of baking activities?! Yup the latter tends to win. Oh and I am very good at planning, it seems finishing a task is my downfall.

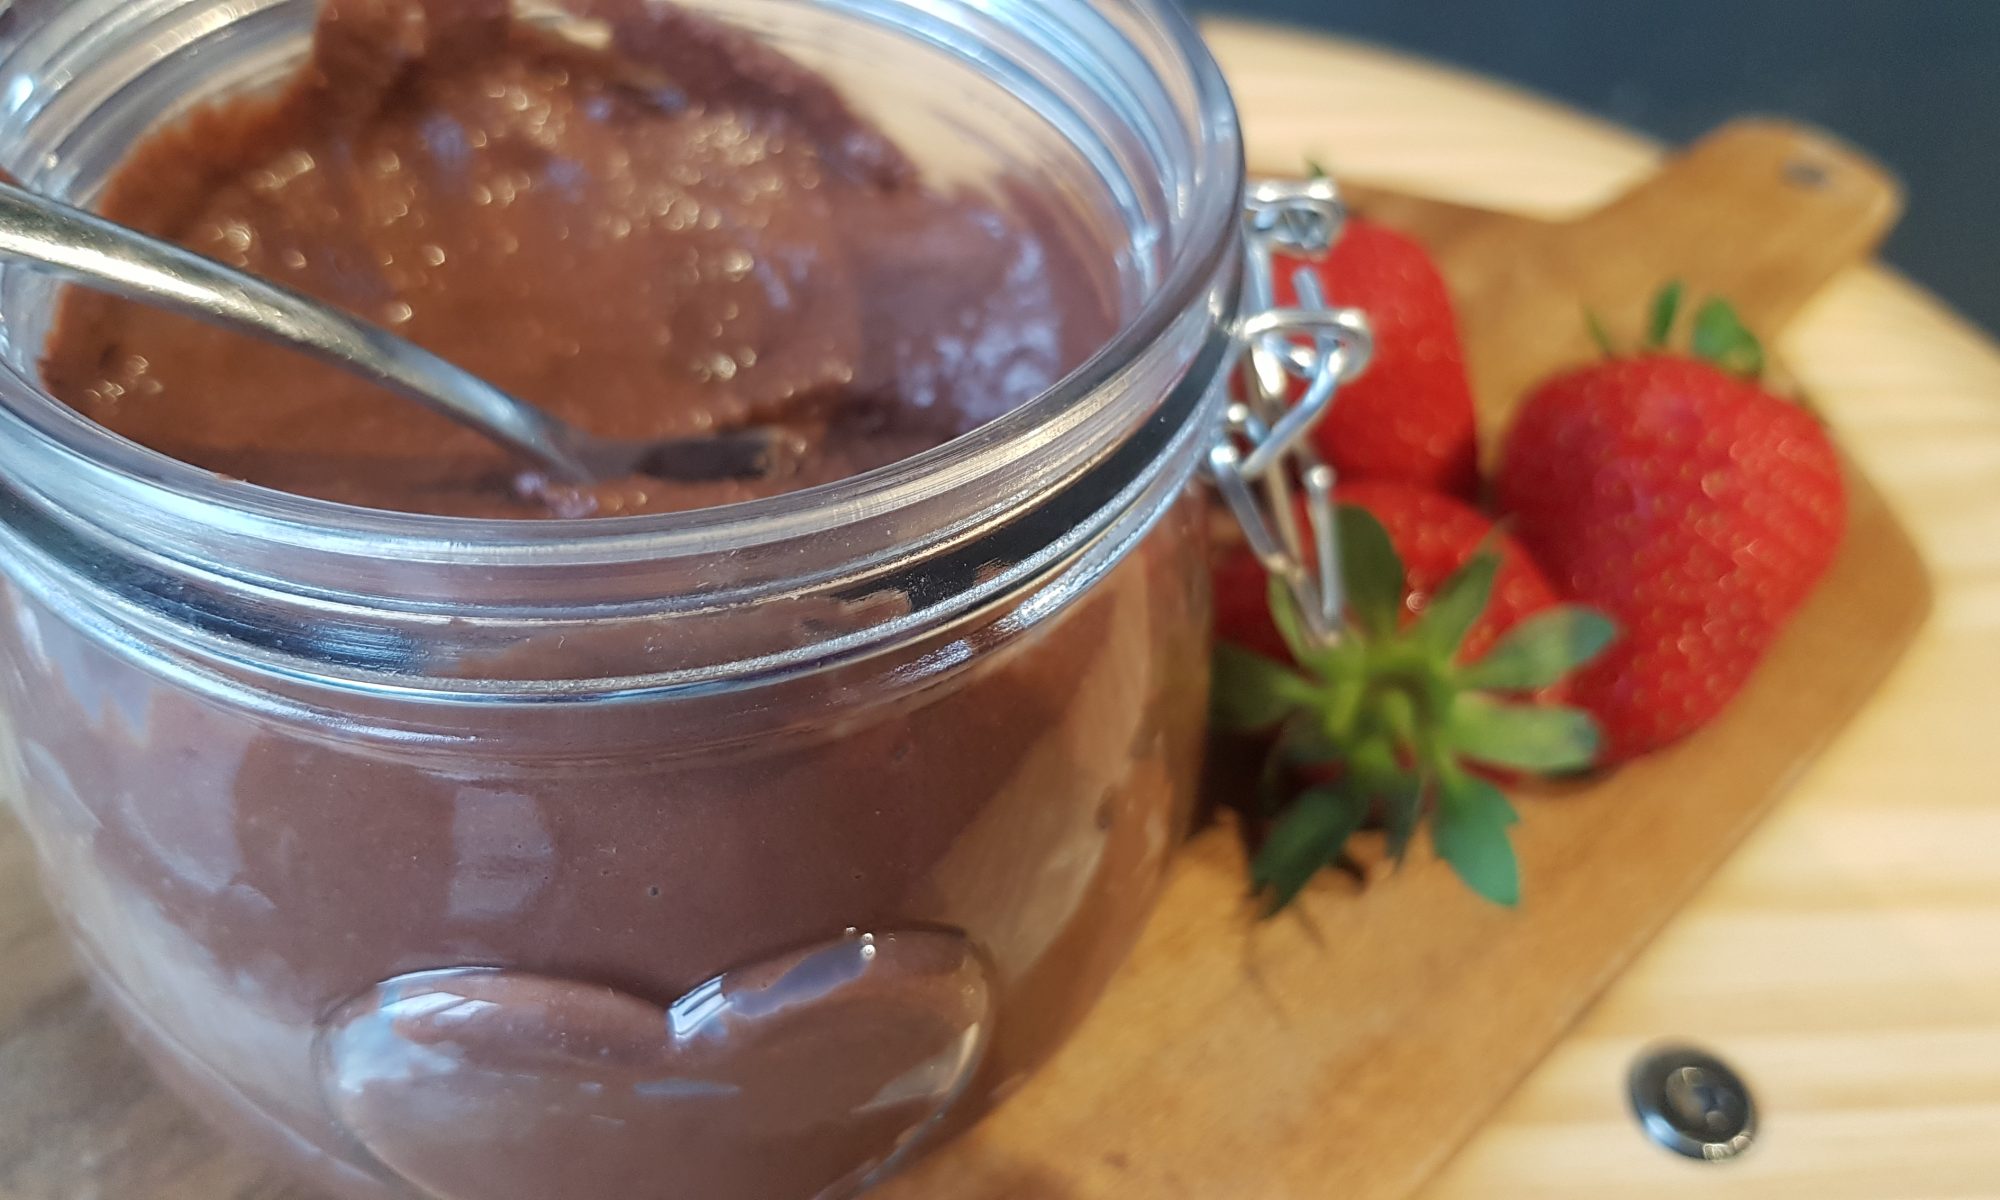
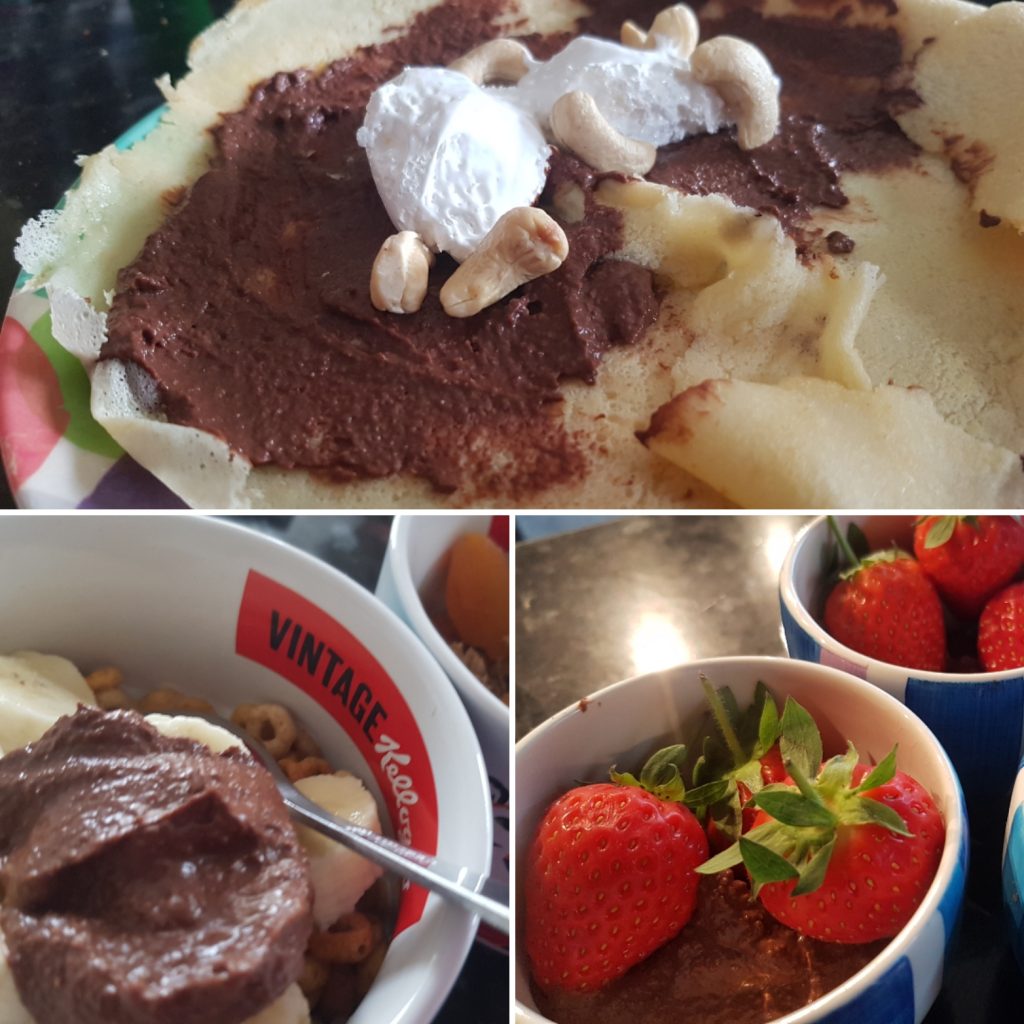
Top; chocolate dip spread on pancakes, bottom left dolloped in cereal and bottom right as a dip for strawberries. All totally yummy and considerably less sugar than regular chocolate spread.

This recipe is essentially a chocolate hummus. We decided to call it dip as the kids had fun dipping strawberries into it. We have also discovered that it works remarkably well with pancakes and dolloped into a bowl of cereal for added protein at breakfast. I am fully aware that it is not a usual thing to make with kids. I know this because when I informed my husband what Ophelia and I were going to be making in the kitchen, a glazed expression crossed his face. He was probably thinking something along the lines of why doesn’t she just make a batch of cookies or cupcakes?!

Ophelia had fun looking at the ingredients and pouring them into the food processor. She took great delight in helping me push down the side with a spatula to ensure it was fully mixed. The best part, once again was licking the bowl. She asked to do this pretty much from the start. I am pretty sure she figured that baking on her own with me meant she wouldn’t have to share the treat. Her brothers were referenced a couple of times.

Ingredients

  • 1 can of chickpeas, drained
  • 140g 0% fat Greek-style natural yoghurt
  • 5 tbsp. cocoa powder
  • 50g Sweet Freedom Chocolate Shot
  • 3 tbsp. honey
  • 1/4 tsp salt

Method

  • Add all of the ingredients to the food processor and blitz until smooth. Stop the food processor every so often to scrape down the edges to ensure that it is all mixed.
  • Store in the fridge until ready to use.

Roasted Chickpeas

It is the season for spring cleaning. I am not a huge fan of spring cleaning. Don’t get me wrong, I love the results, I just hate the sheer volume of work we always have to do to make the house look uncluttered. The reason we are in this mess is because we all seem to be hoarders. I am going to make a concerted effort to prevent our house becoming a nest of items with vague memories attached to them once we are done. But, I will probably be writing a very similar post this time next year!

Over half term, we all managed to escape our decluttering project and go to visit my mum. It was lovely not to have to think about sorting out our house and decide what we should keep and what should go. But it seems that we must have missed the process as we spent a significant amount of time helping her declutter. I have discovered it is much easier to sort someone else’s space rather than your own. So if I end up inviting you over for cake or under any other pretence, before accepting, it may be best to check that I am not going to put you to work!

Anyway, between moving boxes and hunting in the loft for other boxes, the kids and I managed to roast some chickpeas. I never thought I would be posting about roasting chickpeas, but the kids discovered that they liked crunchy chickpeas over Christmas when I bought some salt and vinegar ones for me. I was so surprised that they liked them, that I neglected to feel frustration at donating my treat to them! It seems sharing can be just as hard for grown up as their small charges! They have also been known to request them rather than a chocolate biscuit as an afternoon snack. Strange children; I don’t think I would ever make that choice!

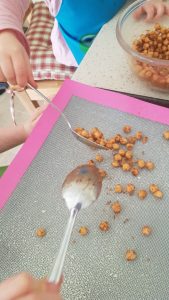
This recipe was made with the younger two (five and two). The younger one enjoyed counting out tsp of the spices to add. The elder one trying to read the labels. They both had a good sniff of all of the ingredients. The scent of cinnamon is the one they seem to remember the most – probably because we seem to use it in savoury and sweet bakes. They do often associate it with chocolate though…

Ingredients

  • 1 can of chickpeas, drained and rinsed.
  • 1/2 tsp onion salt
  • 1tsp lazy garlic
  • 1tsp cinnamon
  • 1tsp paprika
  • 1tsp mixed herbs
  • Spray oil of choice

Method

  1. Preheat the oven to 200°c fan and line a baking tray with a silicone baking mat or greaseproof paper.
  2. Put the chickpeas into a large bowl.
  3. Add all the herbs and spices in with the chickpeas and either mix or gently move the bowl from side to side to ensure that the chickpeas are fully coated in the spices.
  4. Pour or spoon out onto the baking tray and generously spray with oil.
  5. Place in the oven for 40 minutes turning half way through.
  6. Remove from the oven and let them cool completely before storing.
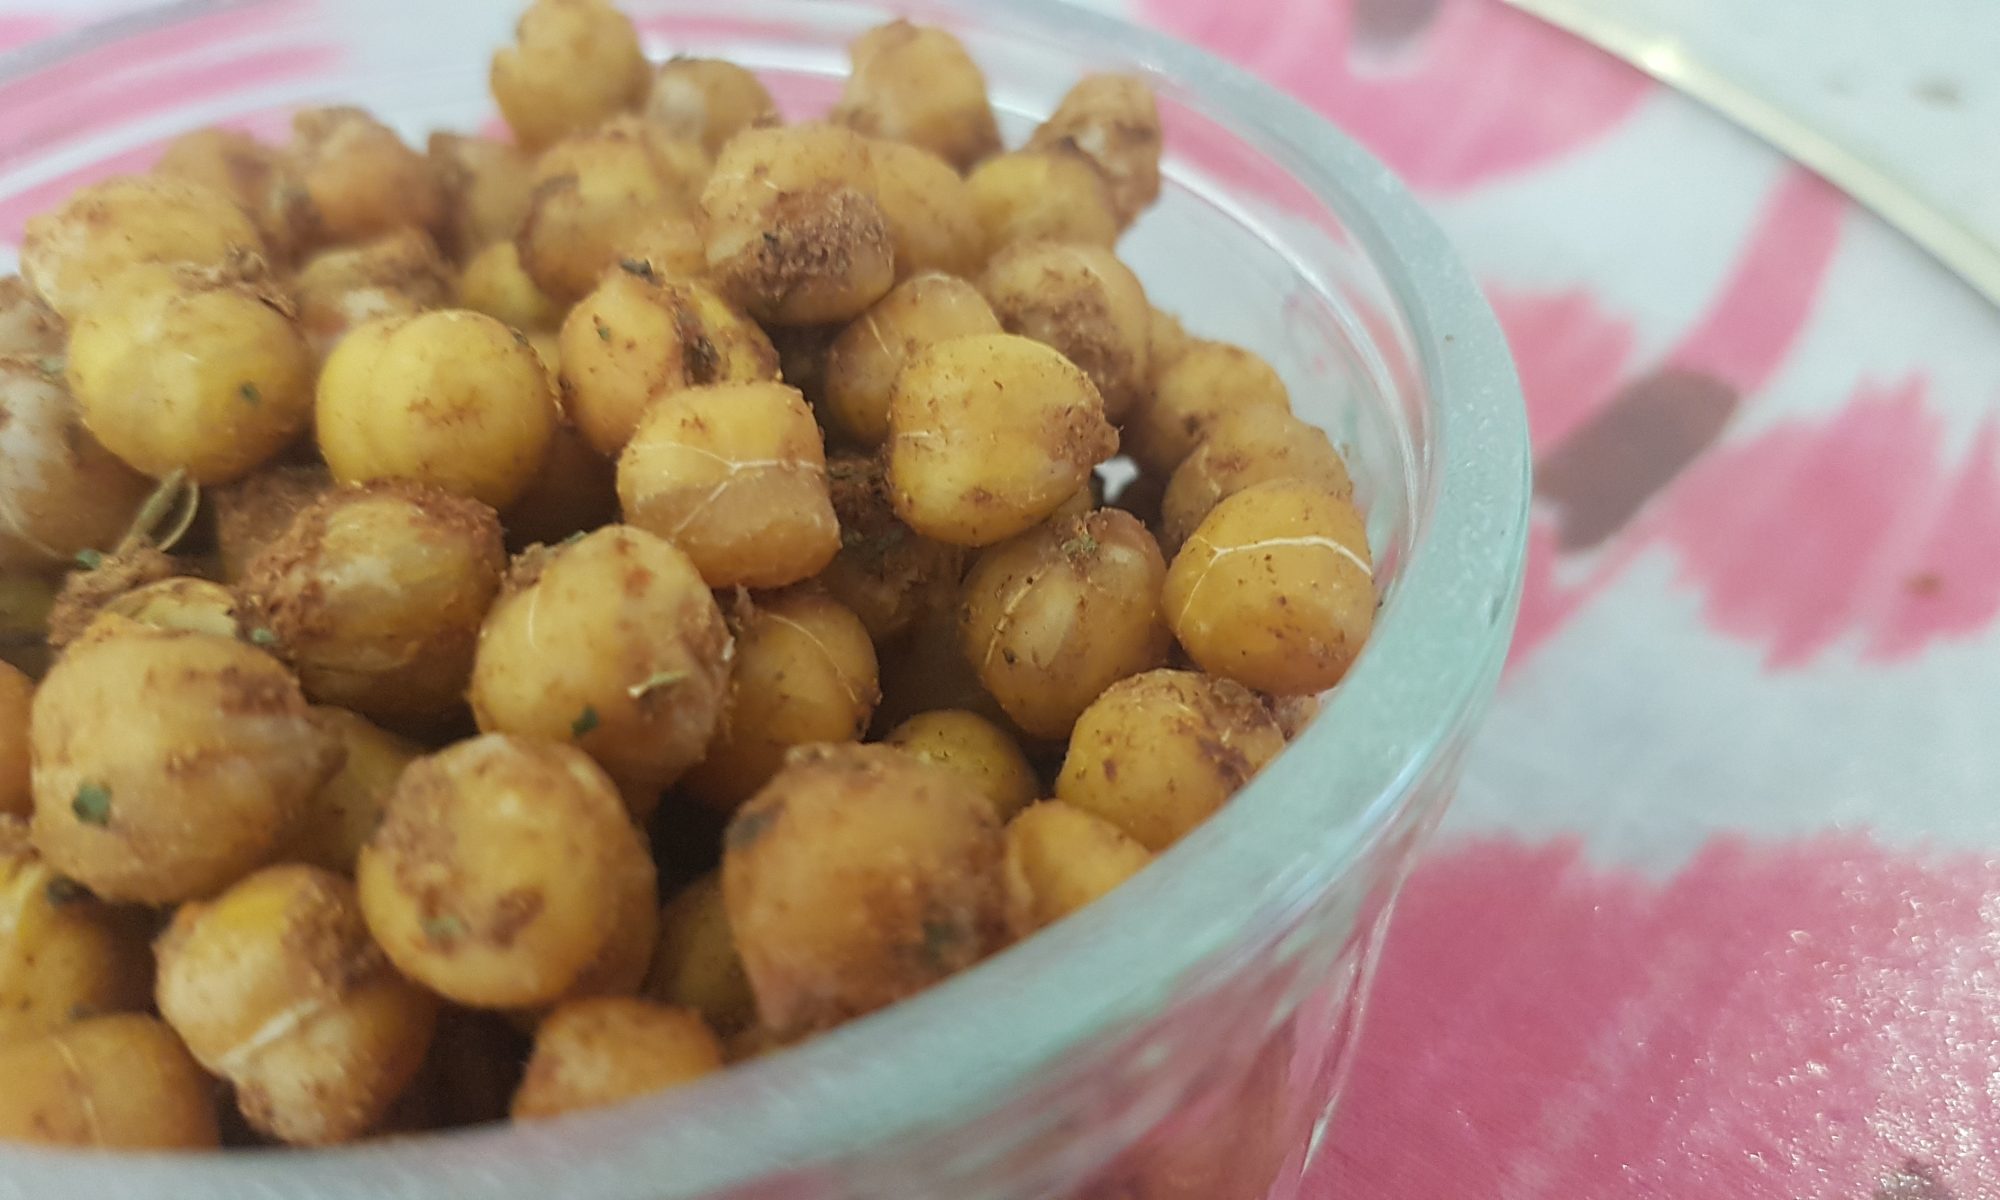
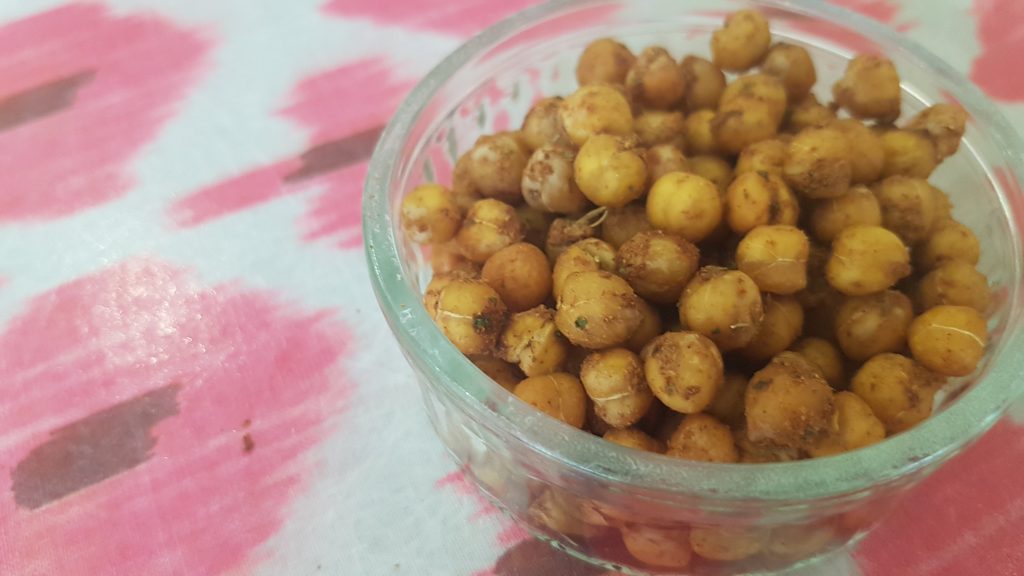
The finished product.

We didn’t have any left from this to store for another day as my youngest two really seem to enjoy them! They served as a substitute for crisps in one of our half term picnic lunches and their wasn’t a single complaint about the lack of crisps from any of the kids!