Chocolate Popcorn Cookies

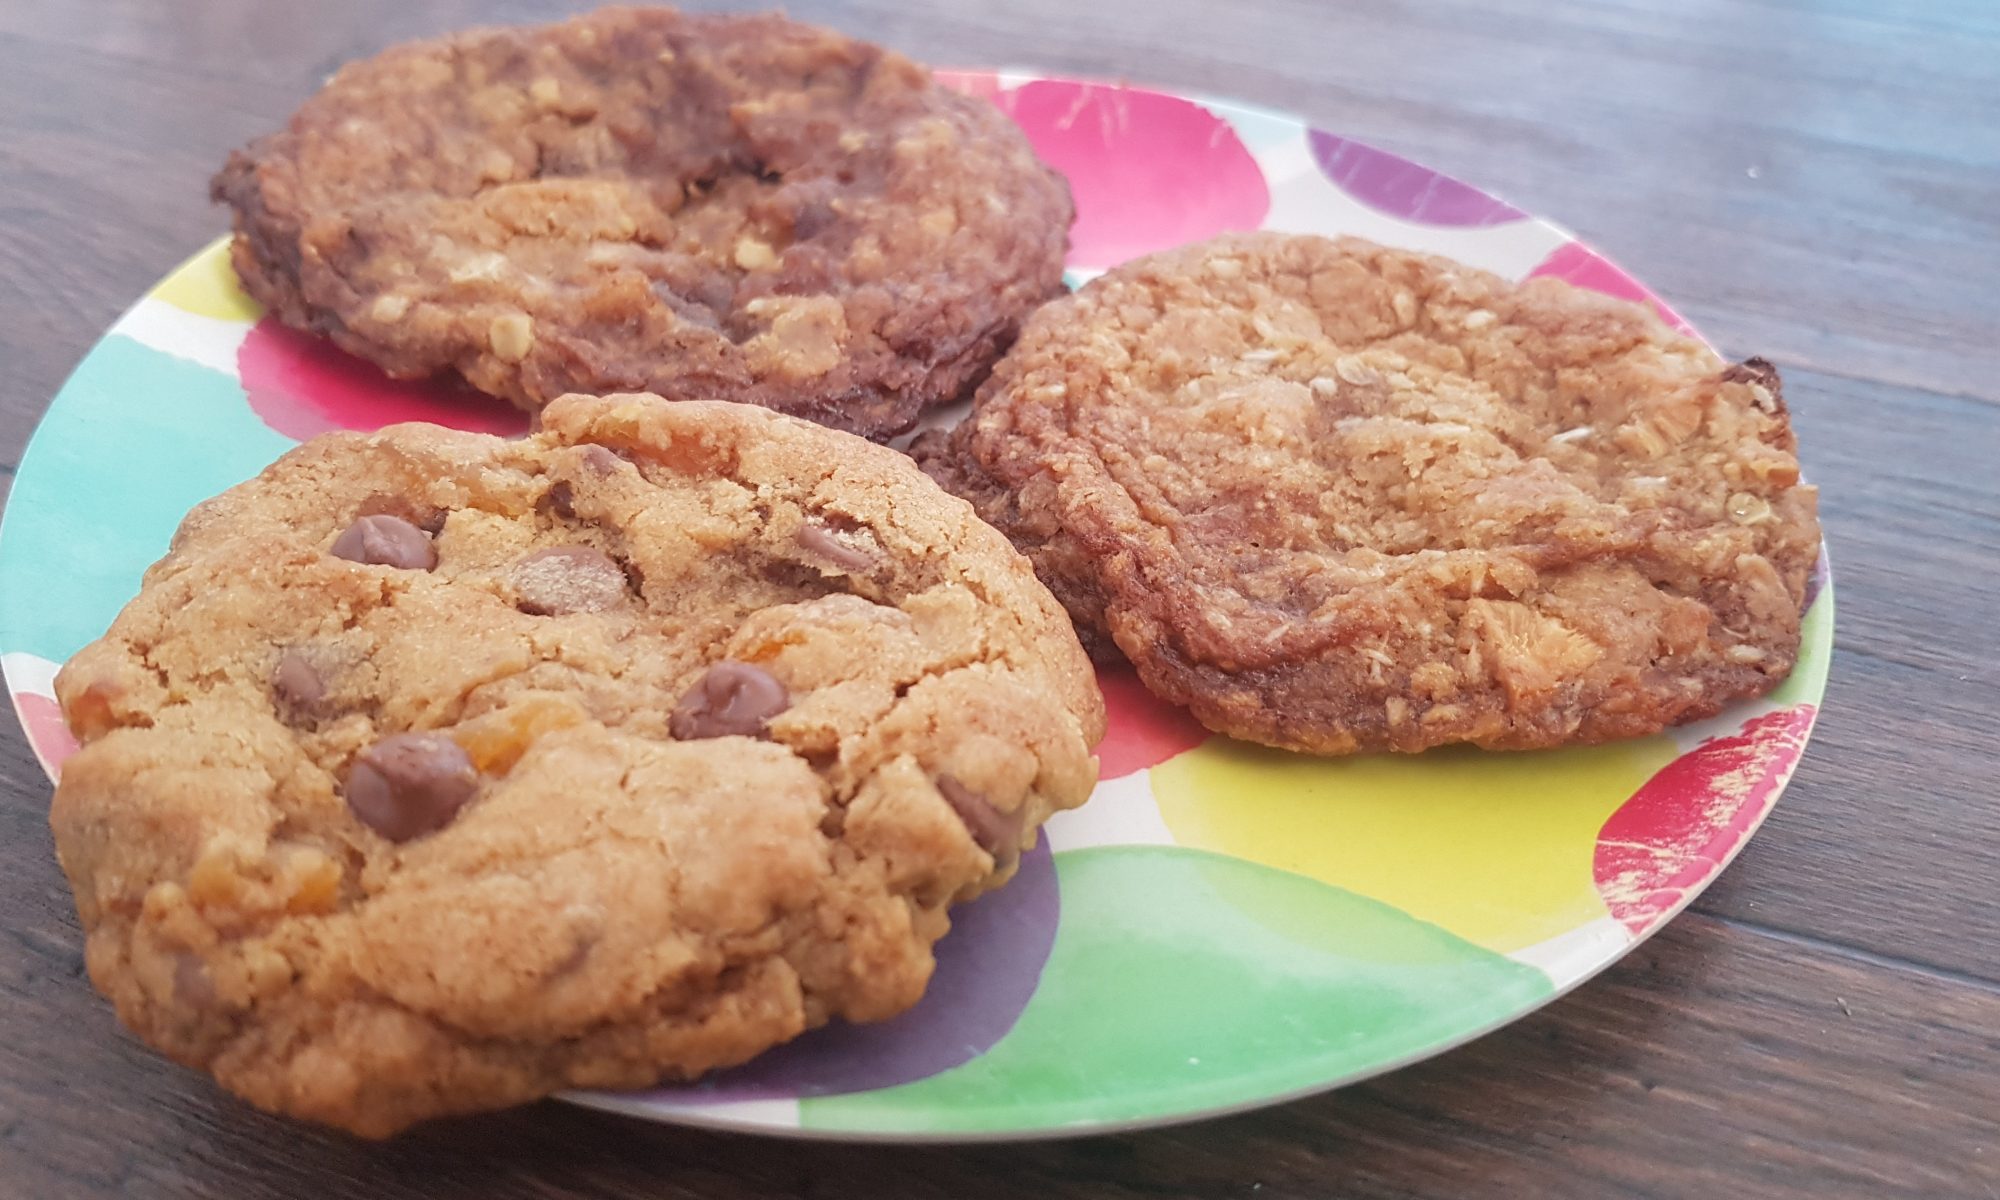
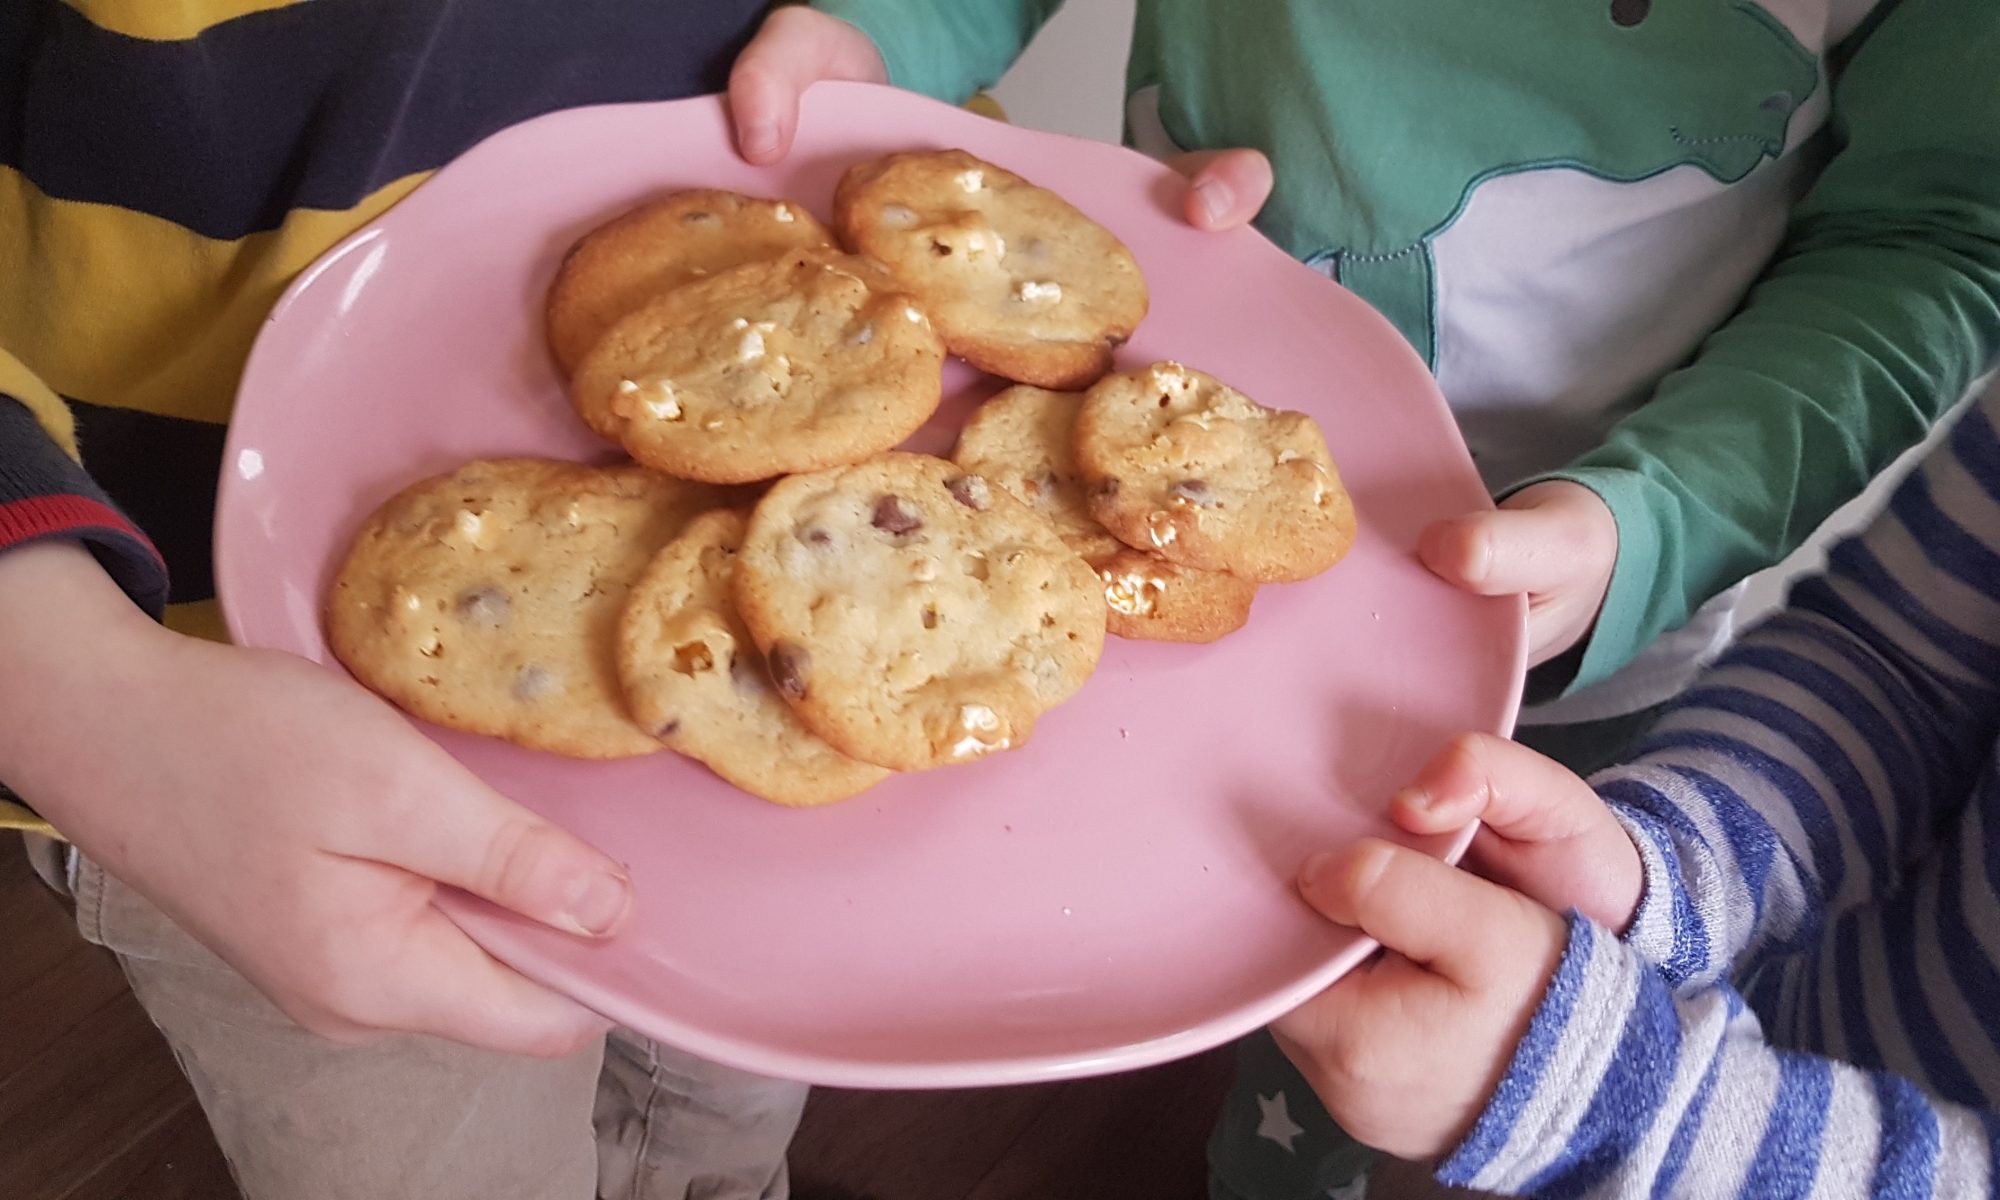
The kids love meeting up with their friends and I love it when the kids meet up with their friends. It generally means a calmer afternoon when they are all playing and I get a hot drink which is actually still hot or maybe even 2 if all the kids are happy. I love it even more when I don’t have to host. Don’t get me wrong, we do invite people to our house, but the organisation it requires for me to have enough of our chaos tidied away stresses me out somewhat. To balance out my reluctance to host playdates, we never turn up empty handed. This means cake, or biscuits or sometimes even both! For our most recent playdate I went armed with these Chocolate Popcorn Cookies. Note to the wise though, next time, don’t place them in a backpack and jog alongside the four year old who is gaining confidence on her bike without stabilisers. When we arrived, most of the cookies were broken. This did reduce my guilt at eating cookie pieces as I didn’t eat a single cookie at once!

A cookie or two a day keeps the grumps away!

These cookies were an experiment. Finch has inherited his mum and dad’s love of the chocolate/coconut combination. Unfortunately, the playdate hosts disagree so I wouldn’t allow him to add desiccated coconut to the cookies. To placate my gingernutter I suggested we added some of the leftover popcorn from our movie night the evening before. This suggestion was met with immediate enthusiasm and as a result I cannot say for sure how much popcorn we actually added… Oh well! This recipe is versatile and can easily be made vegan by using vegan spread and chocolate. We used golden syrup as it was what we had in the house, but maple syrup would work just as well.

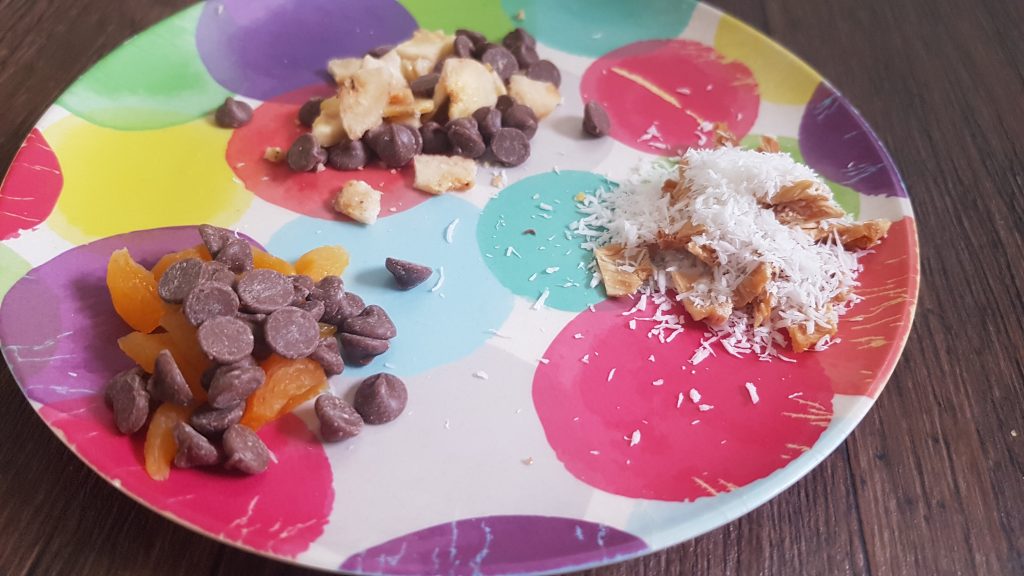
To make Chocolate Popcorn Cookies you will need:

  • 250g margarine/dairy free butter
  • 225g caster sugar
  • 2tsp vanilla extract
  • 1tbsp golden syrup/maple syrup
  • 300g plain flour
  • 1tsp baking powder
  • 100g chocolate chips
  • 1.5 cups of plain popcorn
  • 1/2-1tsp salt

Method:

  1. Preheat the oven to 160°c fan and line 3-4 baking sheets with parchment or silicone baking mats.
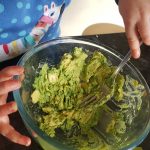
  2. Put the margarine, butter, sugar, vanilla extract and golden syrup in a large bowl and mix with electric beaters until fully creamed together.
  3. Add the flour, baking powder and salt (if you want a stronger sweet/salty taste add the full tsp of salt) and slowly mix together to form a dough.
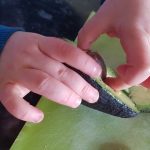
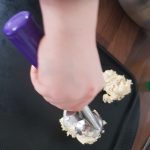
  4. Add the chocolate chips and popcorn and gently combine.
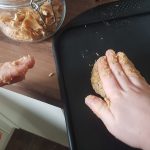
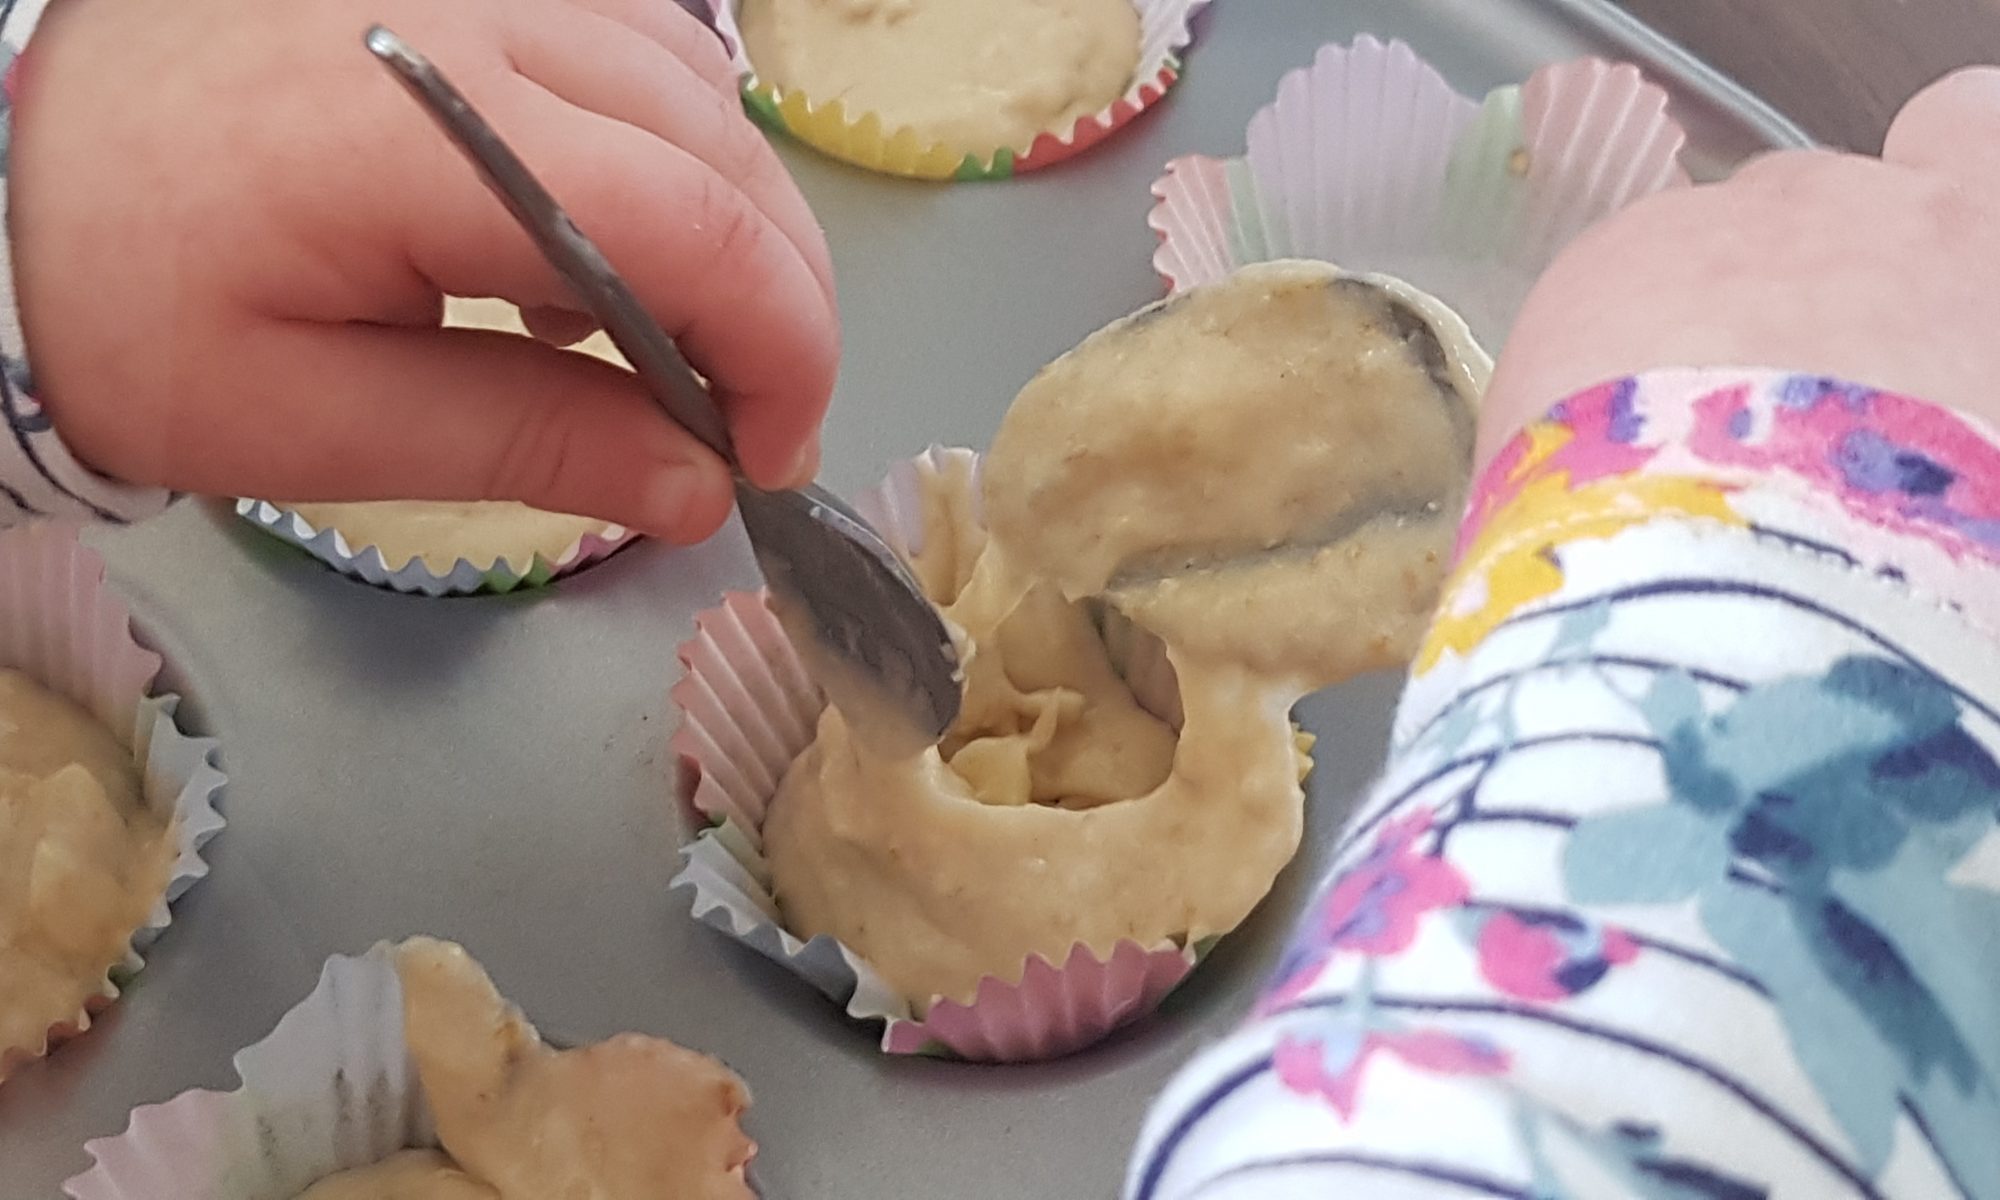
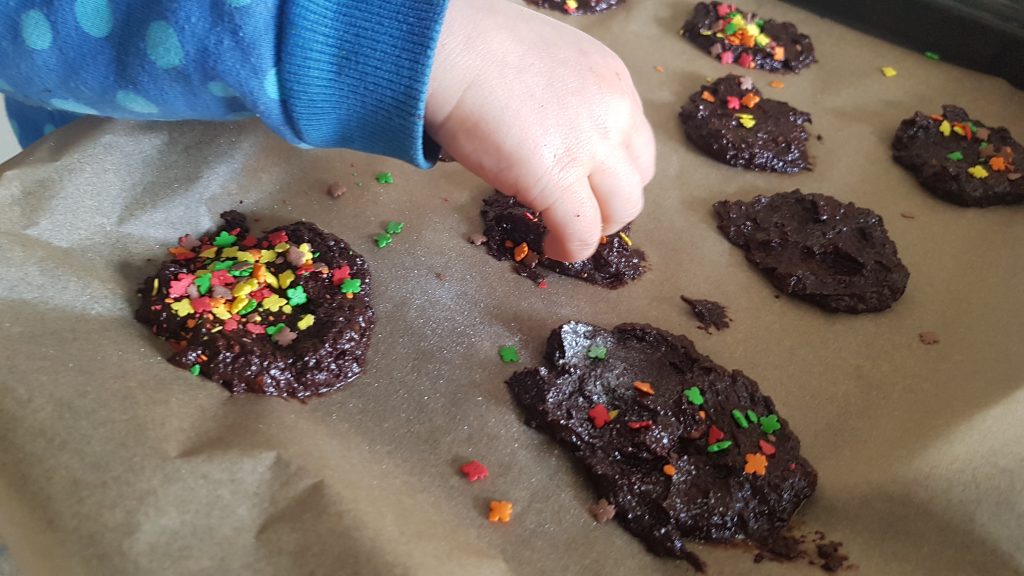
  5. Put tablespoon-sized amounts on to the baking trays and cook each tray for 12-15 minutes in the oven until golden. We put 6 on each tray to ensure they didn’t spread into each other.
  6. Leave to cool on the rack for about 10 minutes before transferring to a wire rack to fully cool.

In my mind these cookies are a perfect accompaniment to a lovely cup of coffee. The kids enjoyed them while running around with their friends. I am currently fighting the urge to go and make more popcorn to make another batch…

Why Share a Cookie?!

I have seen many recent posts on Facebook and Instagram when people are making too many batches of cakes and mentioning that they would be a size larger at the end of lockdown. I have really taken this to heart and started pondering the idea of making a single cookie.  One means you don’t have to share it and also that you get the satisfaction of a delicious baked cookie and doing an activity either on your own or with your kids and not worrying that it could be a piece of cake (or cookie) too far and risk sending you into a sugary haze. Kids how about you try to convince your grown up that this is the best idea?  You can scoop out all the ingredients yourself and not have to share the cookie! Did I mention that this recipe doesn’t contain egg and can easily be made dairy free or vegan by using vegan spread and chocolate. It uses only a small amount of ingredients so you don’t have to be overly concerned about running out.

The add ins for the cookies.

My kids each chose a different tablespoon of add ins to make their cookie personal so we ended up with apricot and chocolate, dried banana and chocolate and dried pineapple and coconut. They all smelled delicious and I was honoured when Ophelia deigned to share some cookie with me! Surprised would be an understatement.

The kids would like to see your cookies; it would really brighten our day. Please do put them on our Facebook page or tag Just Add Patience on Instagram so we can see how you have got on!

To make a single-serve cookie you will need:

  • 1tbsp margarine/unsalted butter – we have found margarine is easier for the kids to scoop as I never remember to take it out of the fridge in advance.
  • 1tbsp light brown sugar
  • 1/4tsp vanilla extract
  • 2tbsp flour
  • 1/8tsp bicarbonate of soda
  • Pinch of salt
  • 1tsp oats
  • 1tbsp chocolate/dried fruit
Gently flatten.

To make a cookie:

  1. Preheat the oven to 160°c fan and line a baking sheet with a silicone baking mat or parchment.
  2. Put the butter, sugar and vanilla in a small bowl and cream together using a teaspoon.
  3. Add the flour, bicarbonate of soda and oats and salt into the bowl and mix to combine. My kids enjoyed using their hands to bring it together.
  4. Add in the chocolate/dried fruit and roll into a ball.
  5. Place on the baking tray and flatten slightly with your hand.
  6. Cook for 10-12 minutes and allow to cool on the tray – warm cookies are fragile.

Condensed Milk Doughnuts

Divide it between the tins.
Sifting.

With all that is going on, I have been raiding my cupboards to see what I have to bake with rather than venturing out to the shops. My last trip to the cupboards unearthed a tube of condensed milk and some wholemeal spelt flour. It may be that the logical choice would have been a cookie of some description, but I have had baked doughnuts on the brain since the schools closed on 26 March. My theory was that if I baked them into existence, I might be able to get them off the brain and focus on less sugary and more healthy snacks. I am sure that my next post (whatever it ends up being) will inform you of how successful I have been with that one. I think my kids and husband are all banking on me failing as they quite like having a steady stream of cake in the house!

Yup, Ophelia won.

These doughnuts were really fun to make. Ophelia did manage to mix it all up herself, but needed assistance spooning the mixture into the moulds. We both had fun dunking them in the icing and putting sprinkles on them. We shall glide over the creative differences which led these doughnuts to be coated in pink icing rather than peanut butter icing and there are no prizes for guessing who won that discussion…

These baked doughnuts have a rather cake-like texture, but are light and fluffy and so incredibly yummy. Our batch didn’t survive more than 12 hours. If you don’t have a silicone doughnut mould, then you can always make them in cupcake cases.

Doughnut pyramid.

To make six doughnuts you will need:

  • 1 egg
  • 100g condensed milk
  • 25g melted butter
  • 80g flour (we used wholemeal spelt, but have used plain flour in the past)
  • 1/2tsp baking powder
  • 1/2tsp vanilla extract
  • Pinch of salt
  • 100g icing sugar
  • 1-2tbsp of water
  • Pink food colouring
  • Sprinkles

Then:

  1. Preheat the oven to 150°c fan.
  2. Whisk the egg and condensed milk together.
  3. Add the melted butter, vanilla and pinch of salt and mix.
  4. Sift in the flour and baking powder and gently fold into the mixture.
  5. Divide the batter between the 6 doughnut moulds.
  6. Bake for 15 minutes until springy to the touch.
  7. Leave to cool in the moulds for a couple of minutes and then carefully remove from the moulds and allow to cool fully before icing them.
  8. Mix the icing sugar and water in a bowl. Add less water for a thicker consistency. Add a couple of drops of food dye and mix again.
  9. Dip the doughnuts in the icing bowl and decorate with sprinkles.

If you happen to make this recipe, I would be as pleased as punch if you would leave me a comment. Stay safe everyone.

Lolly Cake

I am always on the look out for simple recipes to make with the kids. Truth be told, I get bored if I have to make the same thing over and over again. Flapjack brownies are the exception to this; they always go down well. I do have to fight off my middle child as he is also rather partial to them, but seeing as he is considerable shorter than me, I have a certain advantage when it comes to keeping them out of his reach.

Sprinkling the coconut.
All lined up!

Since our move to the Falklands, we have met a few Kiwis. This got me researching recipes from there. I stumbled upon Lolly cake and thought it looked like a perfect treat for Smoko or elevenses/high tea. I decided that it would be amazing apart from the traditional idea of rolling it up – I didn’t fancy trying to role up a sticky condensed milk and biscuit concoction into a log and covering it with desiccated coconut with a small child. Can you imagine a small child faced with the instruction not to lick their fingers combined with overwhelming desire to do so when confronted with a sugary sticky messy mixture that they are shaping with their hands?! Consequently, I decided a make it as a traybake. We initially covered the bottom in desiccated coconut too, but this seemed to make it overly messy – not my aim. Therefore, my suggestion would be to just sprinkle the desiccated coconut on the top. It may be a cop out, but I think you will thank me when your surfaces and floors are not covered in desiccated coconut. It did look a bit like it had been snowing in my kitchen!

Not enough yet mummy!

This one was a recipe that Ophelia made with me when the boys were in school. Highlights included smashing the biscuits to smithereens (I totally love that word, definitely one of my top 100 words and yes, I am that language geek) and trying to sneak dolly mixtures and mini marshmallows into her mouth during the process. Daddy, who allegedly doesn’t like dolly mixtures, certainly ate more than his fair share of this bake. Not that I am pointing the finger or anything…

Ingredients

  • 250g chocolate digestives
  • 150g dolly mixtures
  • 30g mini marshmallows
  • 120g butter
  • 200g sweetened condensed milk
  • 70g desiccated coconut

Method

  1. Grease and line a brownie pan or a square cake tin (at least 20cm, ours was a bit bigger as we use a brownie pan)
  2. Put the butter and condensed milk into a pan over a low heat and melt together. We measured the condensed milk directly into the pan to prevent too many sticky spillages. Once melted put to one side to cool a little.
  3. Crush the biscuits either by placing in a zip lock bag and bashing with a rolling pin, or in a bowl and crushing with the end of a rolling pin. We did the latter, after having broken then up a bit first.
  4. Add the crushed biscuits, the dolly mixtures and marshmallows to the condensed milk/butter mixture and mix to ensure fully combined.
  5. Spoon into the prepared tray and spread with the back of a wooden spoon. You may want to let you little chef use their fingers to get the mixture into the edges of the tin.
  6. Sprinkle the top wit the desiccated coconut and put in the fridge to set.
  7. Leave to set before cutting. Please note, it is easier to cut when it is fully solid. We left ours overnight before contemplating cutting it.
  8. Try not to eat the whole batch in a single sitting (I am not looking at anyone in particular here!!!)

My aim making this treat was to spread the sugar out evenly over the week, but unfortunately this time I was unsuccessful. Anyone got any tips for baked goods security?!

Banana, Orange and White Chocolate Muffins

Still using cups while we wait for the scales to arrive!

We are in the home stretch. Our shipping crate is allegedly imminent. We will soon have all of the baking supplies that I packed including my scales and beloved brownie pan! To celebrate this auspicious occasion, what did we do?! Yes you’ve got it, we baked! We made Banana, Orange and White Chocolate Muffins.

Mix it all up!

There were bananas in the supermarket recently. Back in the UK I would think nothing of weighing out my bananas and buying them so Seb could eat a daily banana. Here in Stanley, I have to remind myself how lucky I am that Seb is the only one in the family who really loves bananas. In our local supermarket they sell for 50p each unless they are brown when they sell for 25p each. I must confess that after seeing a friend buy brown bananas for banana bread and to freeze for smoothies I quickly followed suit. I bought a 10 bananas and promptly froze 8 in slices to put in cakes. Yes I did also ensure that I cut each banana into the same amount of pieces so that I knew how many slices made up a banana. In case you need to know, in this instance it was 6.

Spot the orange between the muffins!

Having all those bananas in the freezer meant that a banana bake was on the cards. I was in the fortunate enough position to have some leftover white chocolate following my raspberry blondie making session for Simon’s birthday so combined with some orange zest and bananas and boom! There you have it these yummy muffins were born!

Ingredients

  • 2 ripe bananas
  • 2 cups self-raising flour
  • 1/2 cup sugar
  • 1/2 cup milk
  • 4tbsp melted butter
  • 2 eggs
  • Zest of 2 oranges
  • 100g chocolate chips/chopped chocolate

Method

  1. Preheat the oven to 180°c fan.
  2. Mush the banana with a fork and make it as smooth as you can.
  3. Put the mashed bananas, flour, sugar, milk and melted butter into a large bowl.
  4. Crack the 2 eggs into a small bowl and gently whisk.
  5. Add the whisked eggs to the bowl and then mix until all the ingredients are fully combined.
  6. Add the chocolate and the orange zest and mix to ensure they are distributed evenly.
  7. Divide the mixture between 12 muffin cases and place in the oven for 18-20 minutes until they are golden and springy to the touch.

These didn’t last long, and it wasn’t because we had friends popping in to share them! Atticus and Ophelia did a stellar job and even helped with the washing up and were rewarded with a clean bowl of water with bubbles for their boats. Yes they did get rather soggy and it did necessitate a change of clothes for each child, oh and several tea towels to absorb all the water that had spilled onto the floor!

Frozen Raspberry Drops

Simon’s gardening philosophy is very simple; if you can’t eat it, he would prefer not to plant it. This has led to him creating a fruit patch in pretty much every single house in which we have lived. He also grew courgettes for me despite despising them – yes it must be true love. My summertime memories with the kids in our current house are saturated with harvesting fruit and vegetables from the garden and trying to persuade the kids that if the berries are still green then they are unripe… As they get older this is obvious, but to a one or two year old it is somewhat confusing!

The fruit patch doesn’t only produce fruit, it turns out it is also a wonderful for igniting the children’s imaginations. It has been a forest to explore; to look for Gruffalos or bears. I think it has also been a kelp forest during the Octonaut obsession each of our kids seems to have had!

Back to the subject of this post – raspberries. I wanted to use them in healthy recipe for summer with the kids and a bit of contemplation this was the outcome. These will definitely feature prominently in our summer kitchen and I hope they do in yours too.

Ingredients

The nearly 3 year old managed this recipe completely by herself.

With only 4 ingredients, this is a speedy recipe that children will love making. As an added bonus, it is perfect for working on fine motor skills with younger children and is a welcome treat in the summer months.

  • 150g fresh raspberries
  • 200g Greek-style natural yoghurt
  • 1/2tbsp honey
  • Milk chocolate chips

Method

  1. Wash your raspberries and allow to dry.
  2. Line a baking tray or container (that will fit in your freezer) with greaseproof paper or a silicone baking mat.
  3. Measure out the yoghurt into a large bowl and add the honey and mix to combine.
  4. Count out the raspberries and the same amount of chocolate chips (and maybe a couple of extra for hungry tummies!)
  5. Place a single chocolate chip inside each raspberry.
  6. One at a time, gently put the raspberries into the bowl of yoghurt and cover completely using a spoon.
  7. Fish the yoghurt-coated raspberries out with a fork and gently place them on the lined baking tray.
  8. Repeat until all the raspberries are covered.
  9. Place in the freezer until frozen and leave there until you want to serve them.

This recipe features in Soar Valley Life Magazine, July/August 2019

Chocolate Muddy Puddles

Ophelia had a Muddy Puddle walk for Save the Children at nursery today. By the sounds of it, grown ups and pre-schoolers alike had fun and managed to get drenched! In anticipation of this event, I thought it would be fun to make some muddy puddles of our own to get into the spirit. She had lots of fun spooning, mashing and squishing, mixing, dolloping and sprinkling. It has to be said that you do have to use your imagination when looking at them, because they could be described as looking a bit like cow pats. This was the reason for adding the leaf shaped sprinkles to make people realise their true nature!

This recipe is essentially a truffle made with only 3 ingredients (4 if you include the sprinkles!), but instead of rolling them into truffles, we dolloped teaspoons of the mixture onto greaseproof paper and flattened with the back of a spoon. To make these you will only need 1 small ripe avocado, chocolate and some vanilla extract. We used only dark chocolate as that is what I had in the house, but I would recommend using half dark chocolate and half milk chocolate if you are making this recipe for small children so that it is a little sweeter. To make them dairy free or vegan, you just need to ensure that your chocolate is dairy free/vegan.

Ophelia was rather intrigued by the large stone in the middle of the avocado and after several attempts managed to get it out. I loved the fact that she tried several times to get it out and didn’t give up until she had achieved it. I feel the need to add at this point, that this is the only way the boys will eat avocado! Ophelia seemed to like it on its own, but the boys have turned their noses up at it several times in salad and homemade guacamole. To my delight, Atticus asked for a second and as he was consuming avocado, I was happy to let him have another!

Ingredients

  • 1 small ripe avocado
  • 175g chocolate of choice (see above paragraph for further advice on chocolate choice)
  • 1/2tsp of vanilla extract
  • Sprinkles of choice (we used autumn leaves ones which I managed to get on offer at TKMaxx, but anything, would work such as chocolate or coloured strands, etc)
Adding the sprinkles.

Method

  1. Adult slice the avocado in half.
  2. Melt the chocolate in a double boiler.
  3. If sufficiently ripe, ask your child to pull out the stone. They may need encouraging to hold the avocado with one hand and to pull the stone out with the other hand.
  4. Scoop out the flesh of the avocado and put it into a bowl. Mash with a fork until smooth. You may want to use a stick blender to ensure that it is completely smooth.
  5. Add the vanilla extract and the melted chocolate to the mashed avocado and mix to combine fully.
  6. Take tsp amounts and spoon onto a greaseproof lined baking tray and gently press down with the back of the teaspoon.
  7. Add the sprinkles to the top and store in the fridge until you want to eat.

I thought these were really yummy and the kids enjoyed them too. They felt less naughty as they contained avocado rather than double cream. So two thumbs up from our family and a big yippie as they contain a hidden vegetable!