Banana, Orange and White Chocolate Muffins

Still using cups while we wait for the scales to arrive!

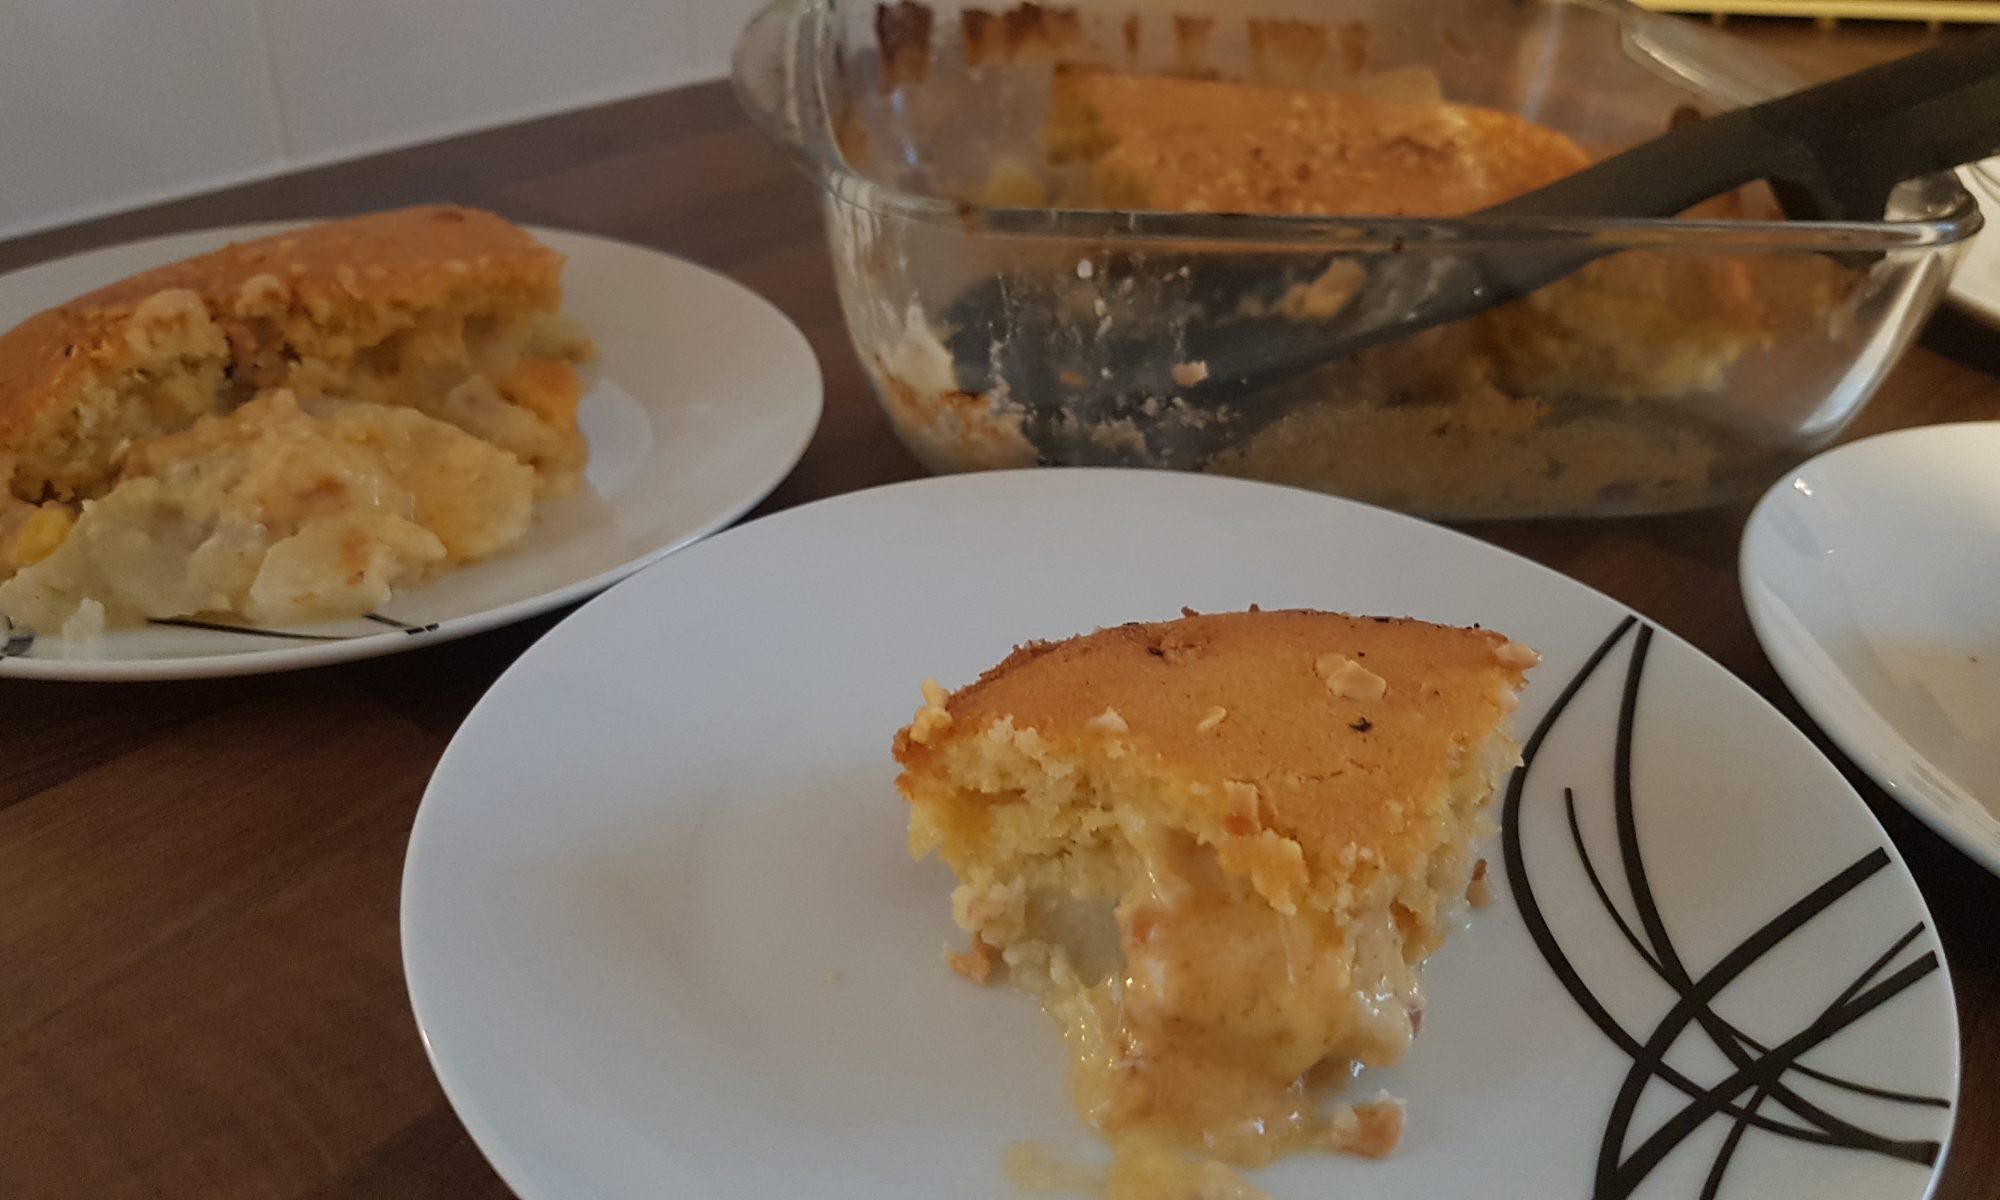
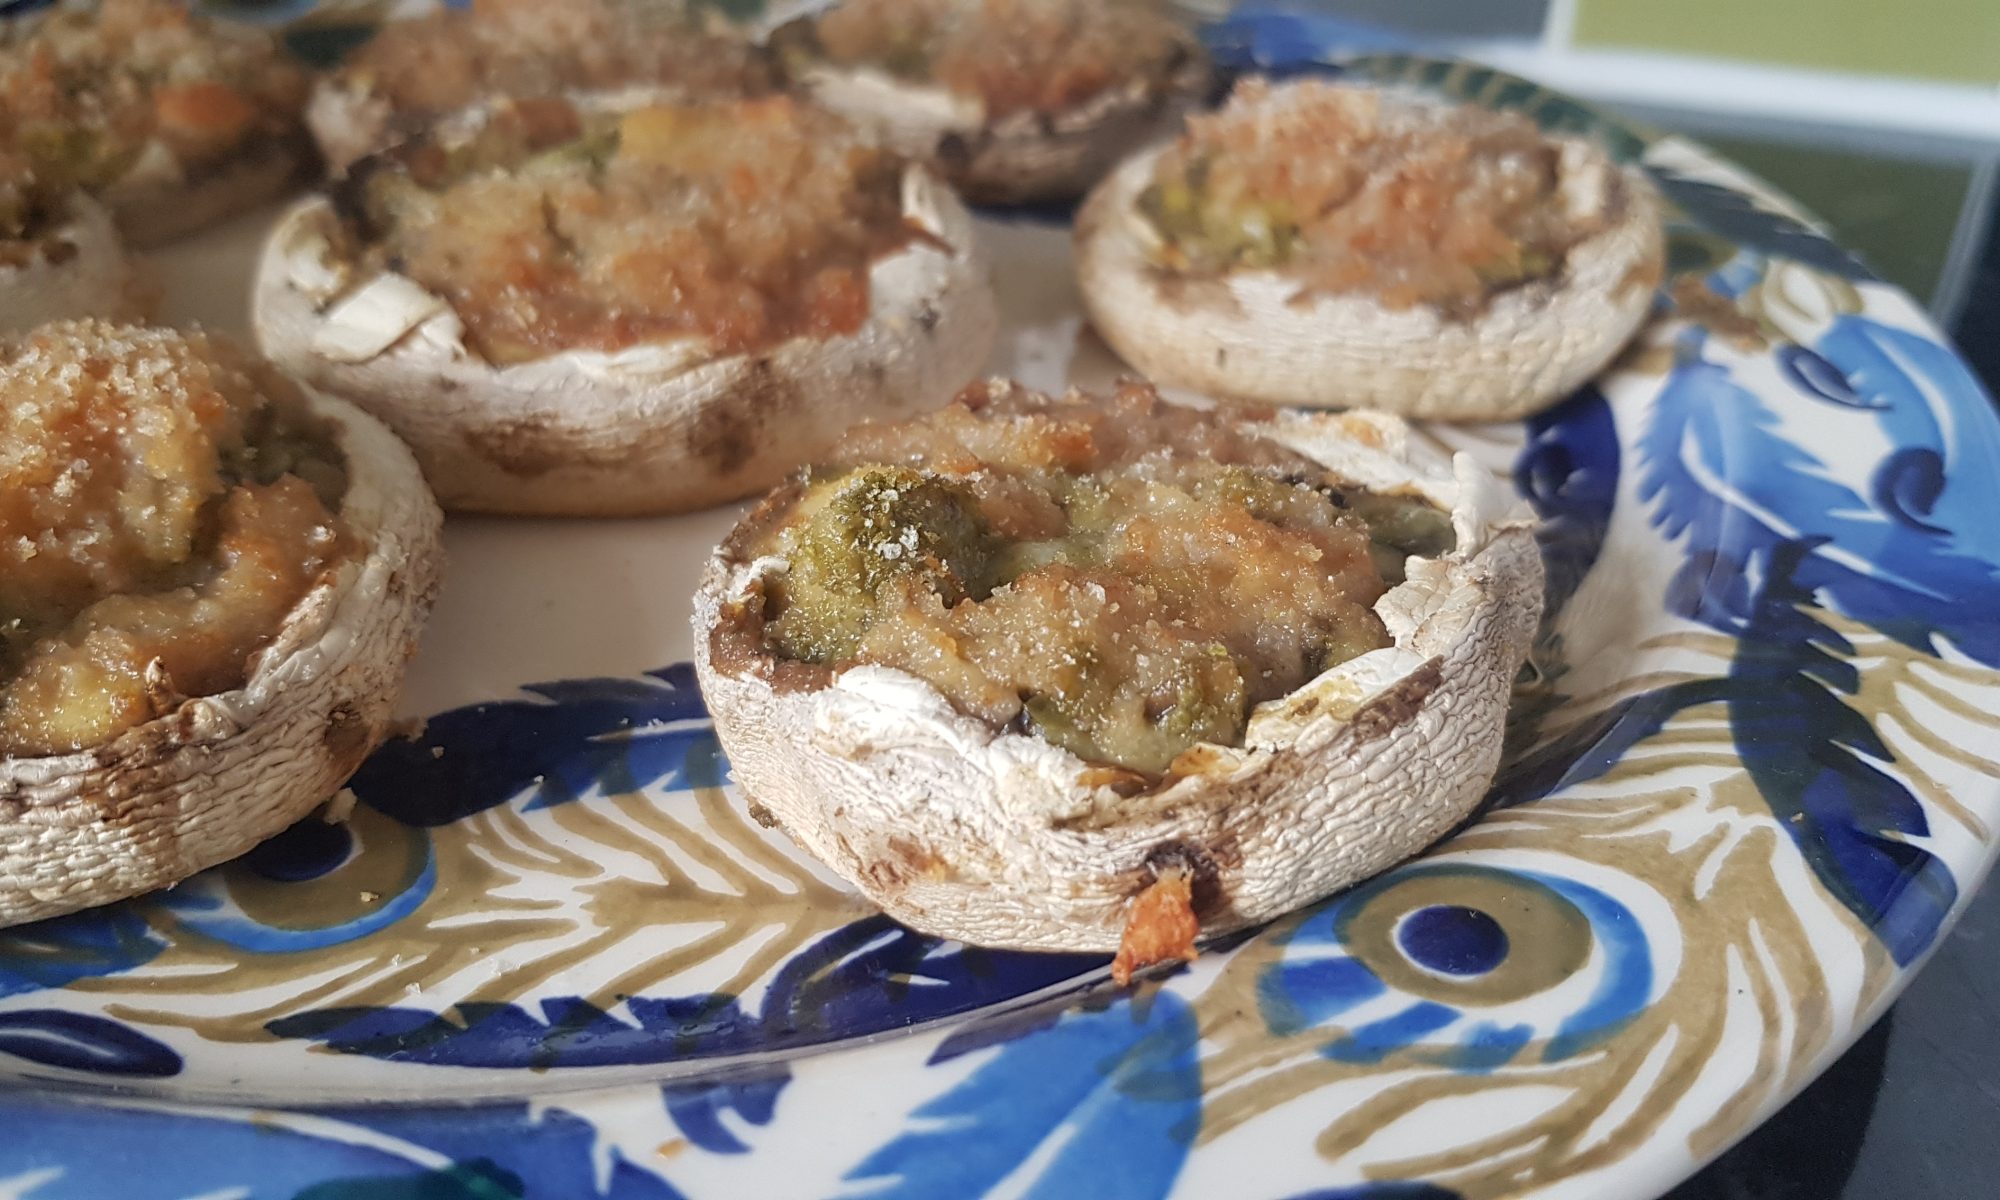
We are in the home stretch. Our shipping crate is allegedly imminent. We will soon have all of the baking supplies that I packed including my scales and beloved brownie pan! To celebrate this auspicious occasion, what did we do?! Yes you’ve got it, we baked! We made Banana, Orange and White Chocolate Muffins.

Mix it all up!

There were bananas in the supermarket recently. Back in the UK I would think nothing of weighing out my bananas and buying them so Seb could eat a daily banana. Here in Stanley, I have to remind myself how lucky I am that Seb is the only one in the family who really loves bananas. In our local supermarket they sell for 50p each unless they are brown when they sell for 25p each. I must confess that after seeing a friend buy brown bananas for banana bread and to freeze for smoothies I quickly followed suit. I bought a 10 bananas and promptly froze 8 in slices to put in cakes. Yes I did also ensure that I cut each banana into the same amount of pieces so that I knew how many slices made up a banana. In case you need to know, in this instance it was 6.

Spot the orange between the muffins!

Having all those bananas in the freezer meant that a banana bake was on the cards. I was in the fortunate enough position to have some leftover white chocolate following my raspberry blondie making session for Simon’s birthday so combined with some orange zest and bananas and boom! There you have it these yummy muffins were born!

Ingredients

  • 2 ripe bananas
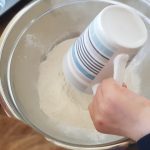
  • 2 cups self-raising flour
  • 1/2 cup sugar
  • 1/2 cup milk
  • 4tbsp melted butter
  • 2 eggs
  • Zest of 2 oranges
  • 100g chocolate chips/chopped chocolate

Method

  1. Preheat the oven to 180°c fan.
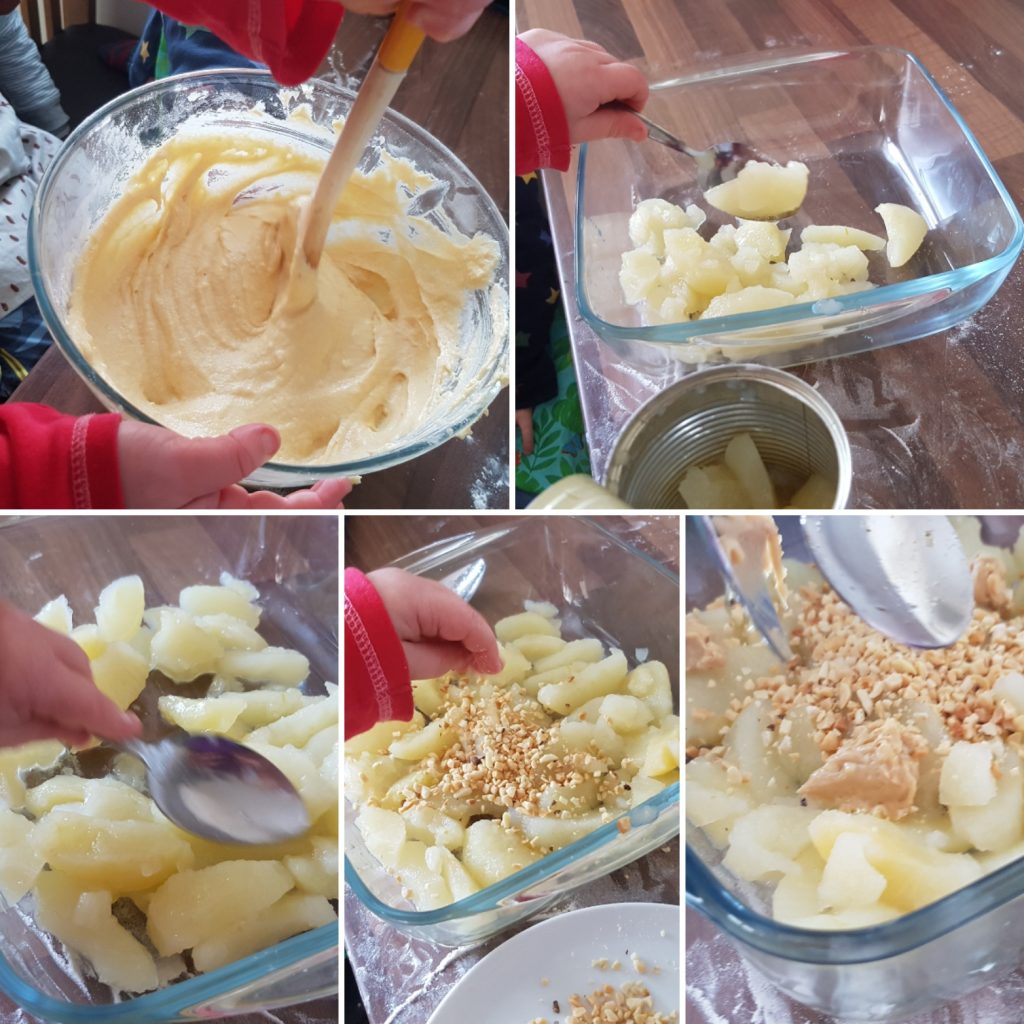
  2. Mush the banana with a fork and make it as smooth as you can.
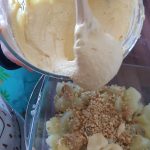
  3. Put the mashed bananas, flour, sugar, milk and melted butter into a large bowl.
  4. Crack the 2 eggs into a small bowl and gently whisk.
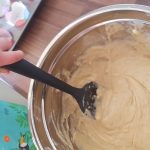
  5. Add the whisked eggs to the bowl and then mix until all the ingredients are fully combined.
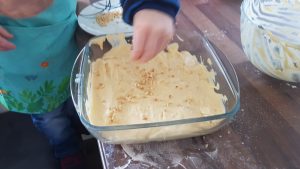
  6. Add the chocolate and the orange zest and mix to ensure they are distributed evenly.
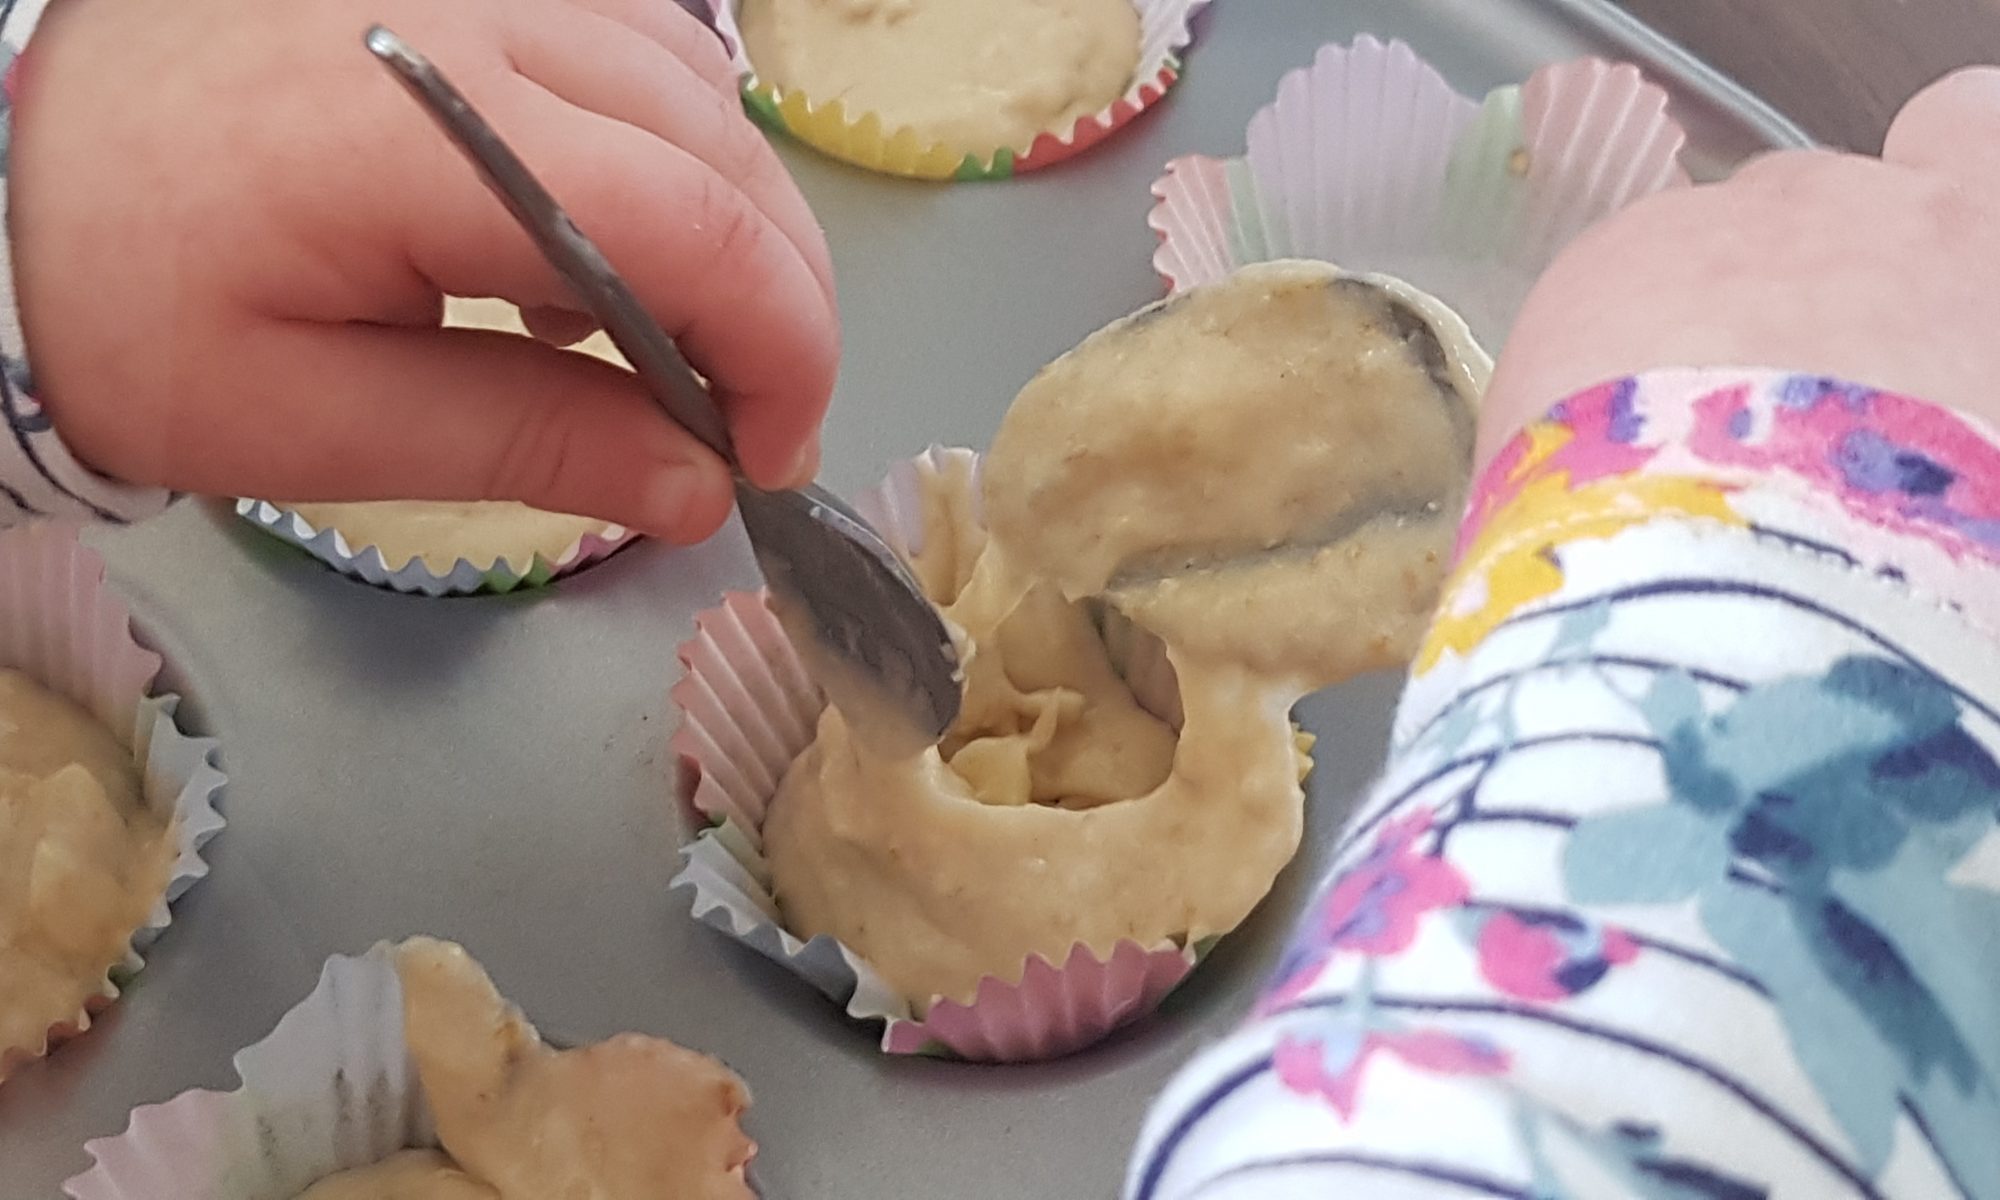
  7. Divide the mixture between 12 muffin cases and place in the oven for 18-20 minutes until they are golden and springy to the touch.

These didn’t last long, and it wasn’t because we had friends popping in to share them! Atticus and Ophelia did a stellar job and even helped with the washing up and were rewarded with a clean bowl of water with bubbles for their boats. Yes they did get rather soggy and it did necessitate a change of clothes for each child, oh and several tea towels to absorb all the water that had spilled onto the floor!

Peanut Butter Eve’s Pudding

There are two big things we are currently doing; waiting for our shipping crate with the kids’ toys and books and our car to arrive and adjusting to the new house, living in a small community, the weather conditions and the price and availability of food. The first hurdle for me was that the key to our back door, which faces the sea, is labelled front door and the key for the front door which faces the street is labelled back door. It turns out that the sea is used as point of reference. The first time I tried to lock the front door with the key labelled accordingly, Simon had to come to my rescue as I was getting increasingly frustrated at my lack of progress. Have I changed the key rings around? Nope, I have adapted to that fact and moved on.

Fresh fruit and vegetables are expensive. Yes you can buy them, but gone are the 6 small apples for under £1. This has meant that I have adapted. I found some tinned apples in the supermarket. Now had we still been in the UK, I wouldn’t have contemplated using tinned apples. It does have to be said they are significantly less faff than having to peel, core and chop apples and then stew them. We just opened the tin and spread them out in the Pyrex! Simple!

Simple process and yummy results!

Now apple and peanut butter is a favourite snack of mine and I thought adding the chopped nuts and the peanut butter would make this pudding a bit different. I believe I was right as the peanut butter gave it the qualities of a self-saucing pudding. I could have eaten the whole pudding, but I think I would have had an exceptionally grumpy family had the refrain all the yummies are mummy’s turned out to be true on this occasion!

Ingredients

  • 1 tin of apples
  • 2 eggs
  • 8tbsp self raising flour
  • 8tbsp butter/margarine
  • 8tbsp caster sugar
  • 4 tbsp chopped nuts (3 to put with the nuts and one for the top)
  • 3-4tsp peanut butter.

Method

Dolloping the cake batter on top of the apple and nut mixture.
  1. Preheat the oven to 150°c fan.
  2. Spread all the tinned apples out into the bottom of a Pyrex dish or baking tin. I like to use Pyrex dishes for this kind of pudding so you can see the apple and the cake layer.
  3. Sprinkle or spoon 3tbsp of the chopped nuts over the apples.
  4. Gently dollop the tsps. of peanut butter in random places over the apples.
  5. Put all the cake ingredients into a large bowl and mix them all together quickly until they are fully combined.
  6. Spread the cake over the apples and peanut butter and then sprinkle the remaining chopped nuts over the top.
  7. Place in the oven for 15-17 minutes until the cake is golden brown and springs back when gently touched.
Sprinkling nuts

Much to my delight, this recipe was featured in the Falkland Islands Newspaper, Penguin News. I really hope that you enjoy this pudding as much as we did. Please do get in touch if you make this as we love to hear from people who have used our recipes.

Stuffed Mushrooms

Mushrooms are my husband’s favourite vegetable. Unfortunately, they are not mine (long live courgettes!) Now I come to think of it Simon and I both have rather strong feelings about our favourite vegetables, but he wouldn’t choose to eat a courgette and I wouldn’t choose to eat a cooked mushroom. I like to eat button mushrooms raw, but don’t do so well when they are cooked. Two of our children seem to agree with me about the mushrooms, but the third, or actually the first, seems to quite enjoy them. It is real juggling act remembering what each child will or will not eat!

Lots of kid-friendly jobs.

To encourage the children to try mushrooms, I thought it was time that we tried to use them in a recipe. It was a fun recipe to make with chopping, measuring, spooning, mixing and then trying it. One boy enjoyed them with encouragement, the other ate the filling – which did also contain chopped mushroom so that is progress and the little girl completely ignored them on her plate. Their daddy quite happily dealt with all the leftovers without a single reference to me!

Ingredients

Serves 4 as an accompaniment.

  • 4 large flat mushrooms
  • 40g mozzarella
  • 15g pine nuts
  • 1tbsp pesto
  • 10g grated cheddar
  • 20g breadcrumbs

Method

  1. Preheat the oven to 180° fan and lightly grease a baking tray.
  2. With a table knife, carefully chop off the mushroom’s stalk and chop into small pieces and place in a bowl.
  3. Chop the mozzarella into small pieces and add to the bowl with the mushroom stalks.
  4. Add in the pine nuts and pesto and mix until it is all combined.
  5. Spoon the filling equally between the four mushrooms.
  6. In a separate bowl add the breadcrumbs and the cheddar and mix together. If your kids want to grate the cheese, I would recommend a box grater.
  7. Sprinkle the cheesy breadcrumbs over the mushrooms .
  8. Place in the oven for 15-20 minutes until the mushrooms are cooked.
  9. Remove from the oven and serve immediately.

This recipe featured in the September/October Soar Valley Life Magazine.

Sprinkling the cheese and breadcrumbs on top of the mushrooms and ready for the oven.