Kiddie Amaretti Biscuits

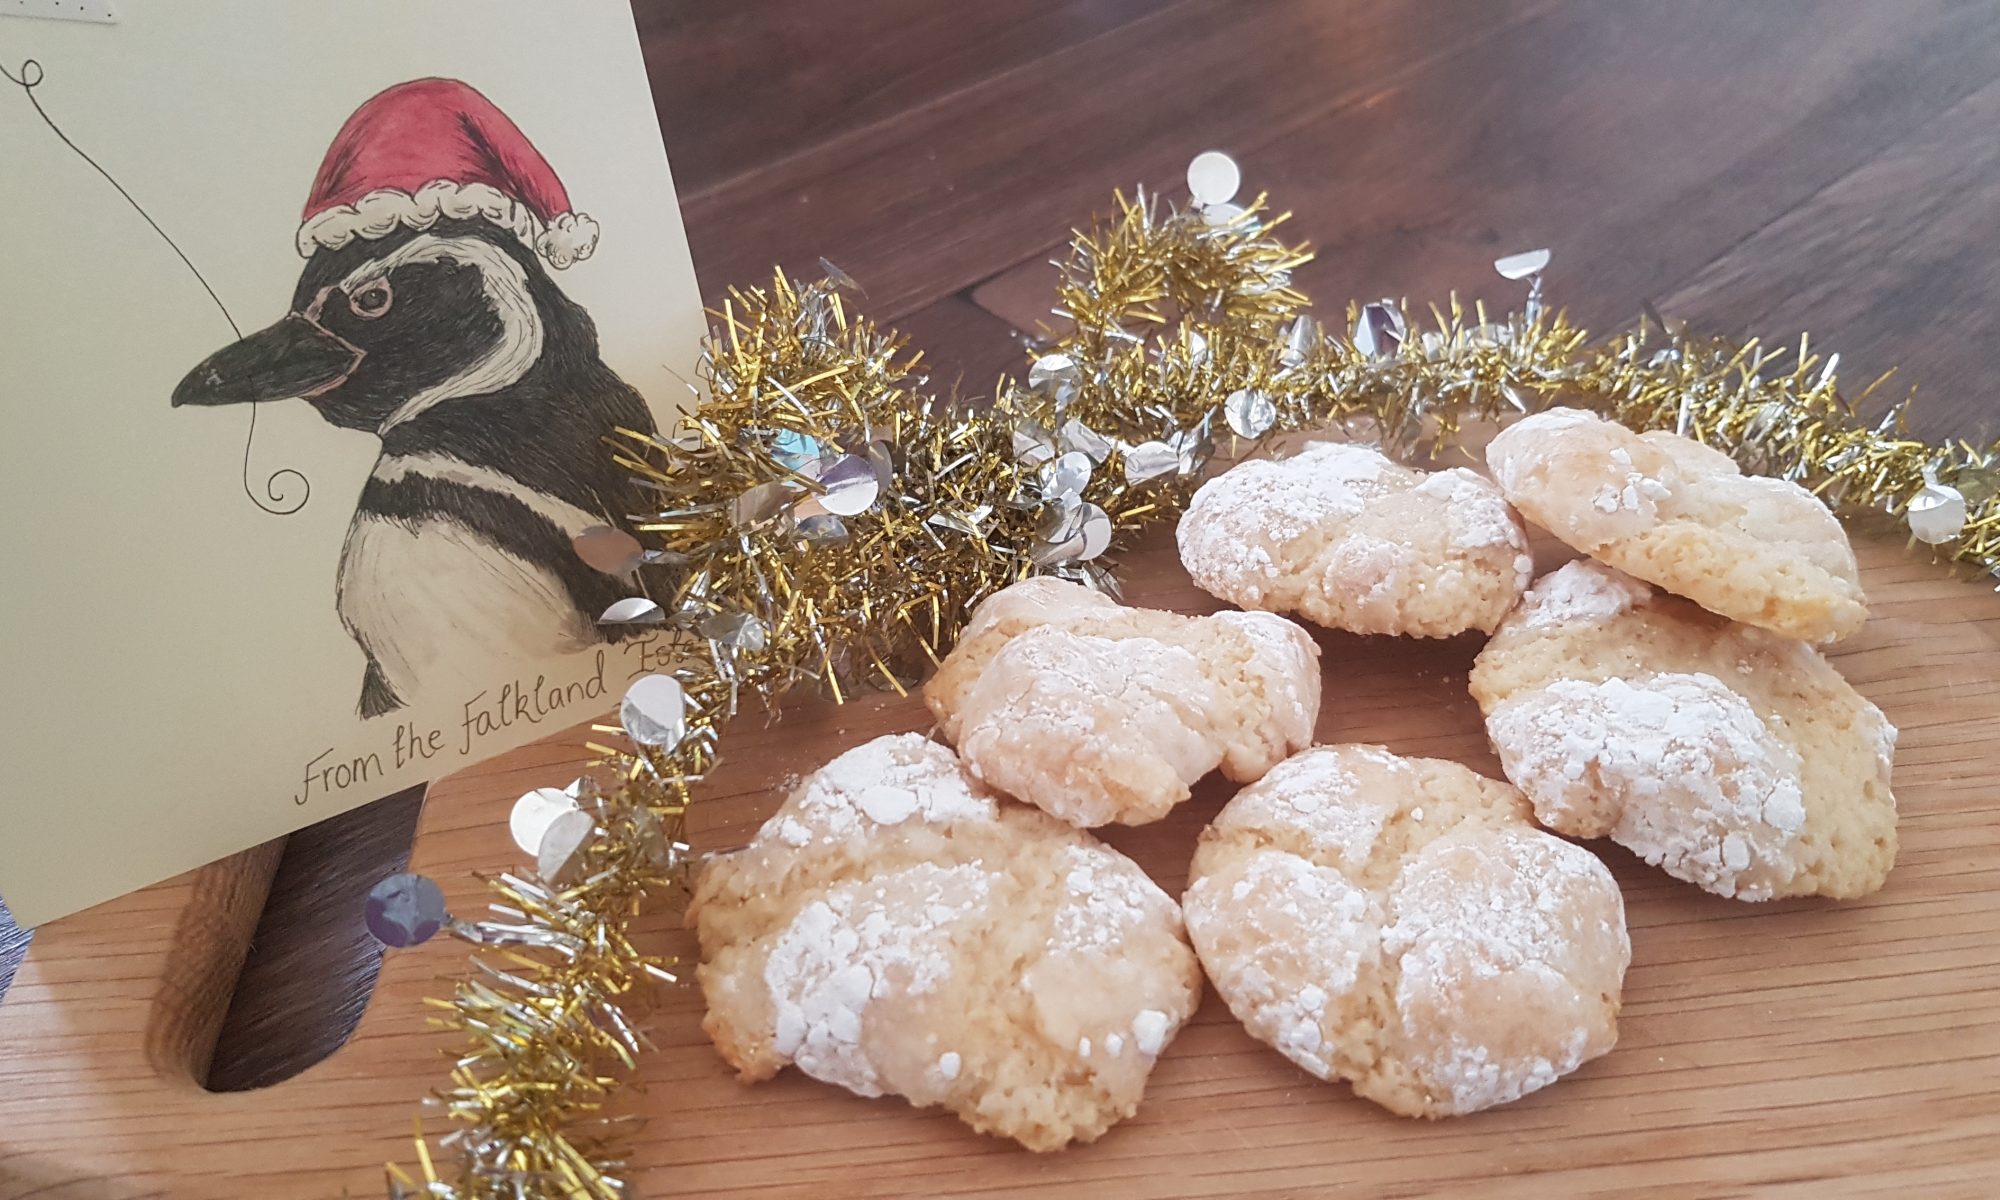
Unless I am being super duper productive next week, this will be my last post before Christmas. So I want to take this opportunity to wish you all a very Merry Christmas from the Falkland Islands. We have just begun our Christmas/summer holidays and the whole family, including my teacher husband, is looking forward to not having to get up early and sort stuff for school! Although that said, I hit the gym early this morning trying to compensate for all the treats I have eaten in the run up to Christmas…

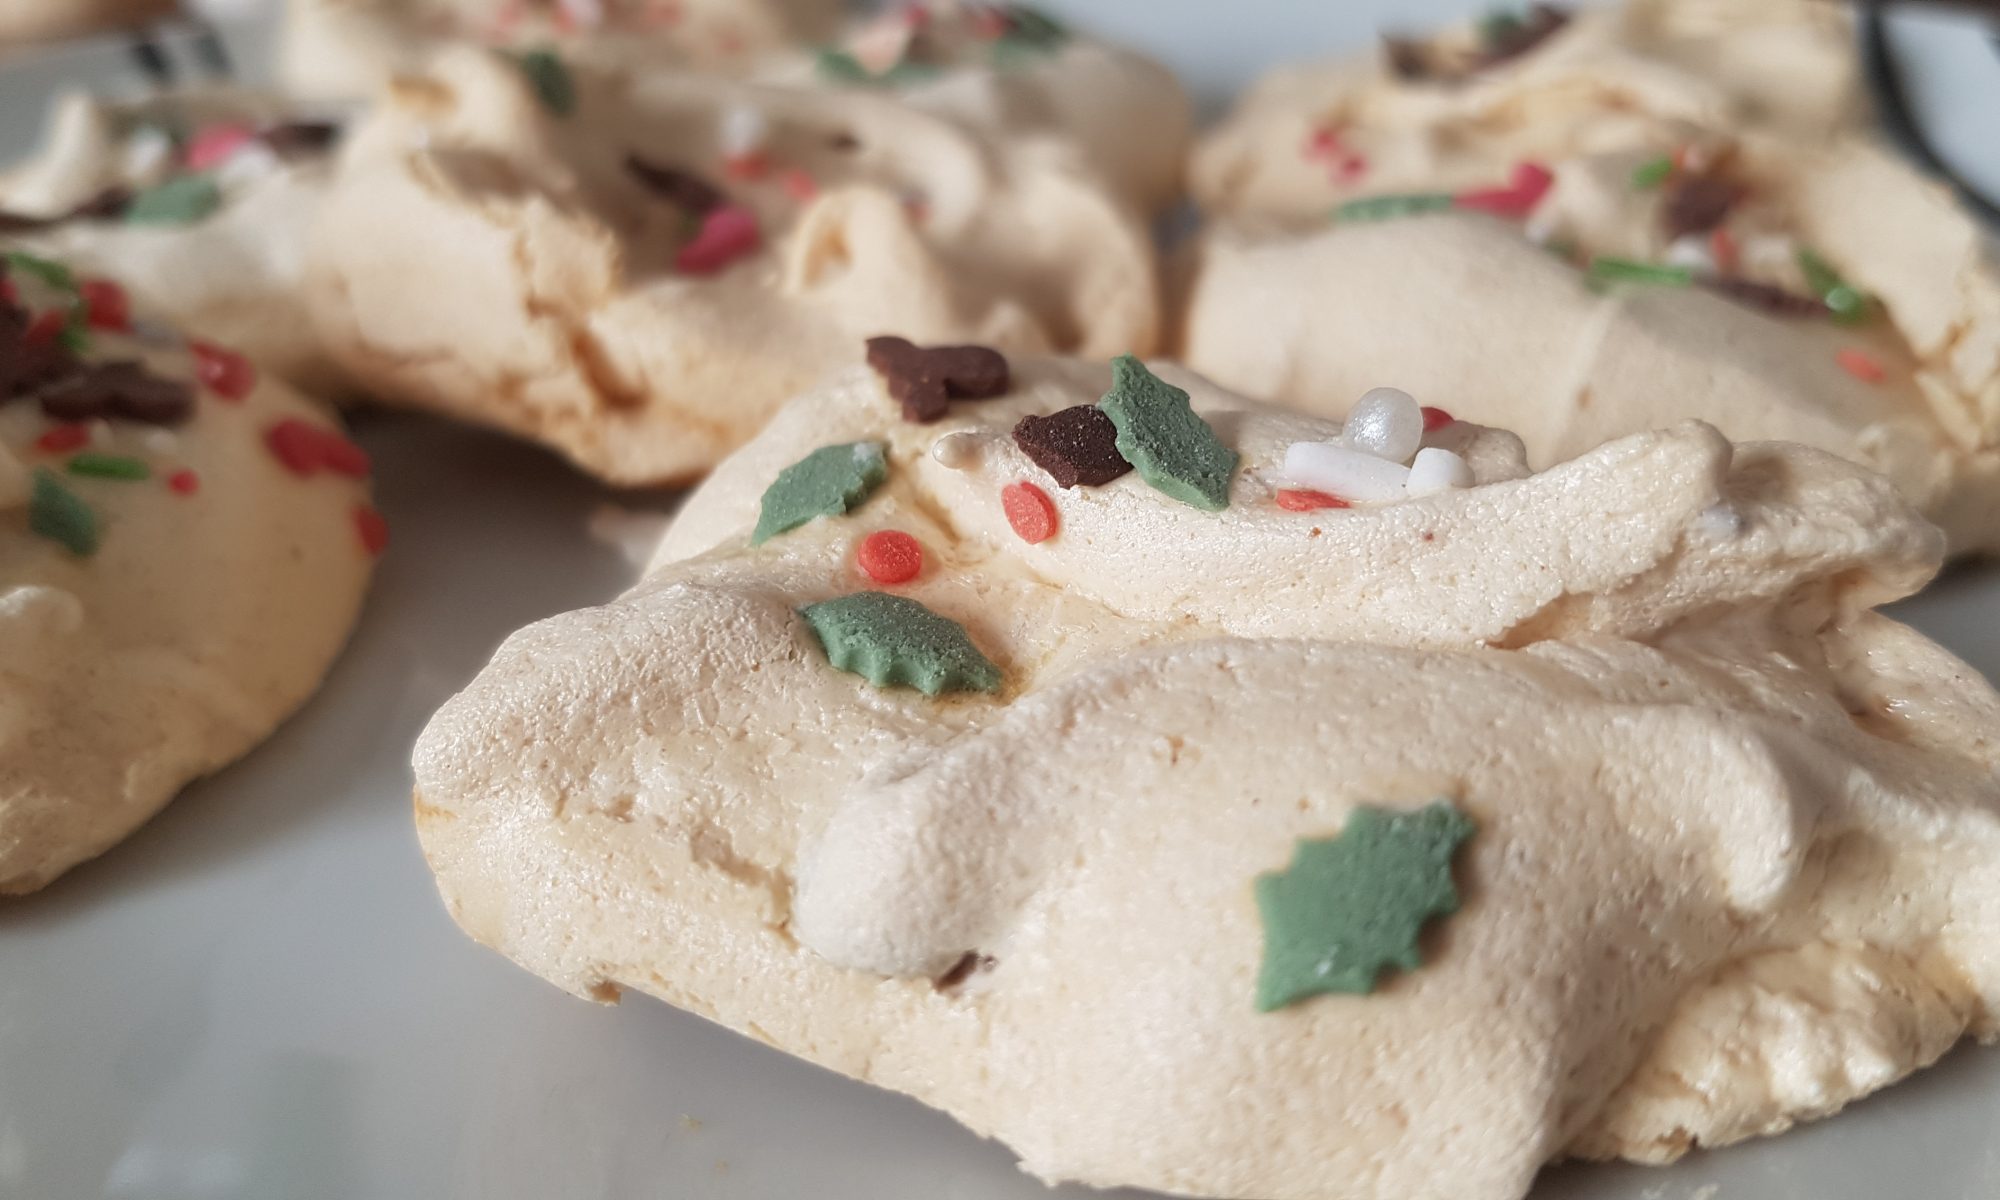
I have fond memories of tins of Amaretti biscuits at Christmas time as a kid and being allowed one or maybe two if I was lucky. The excitement of choosing which coloured wrapper I wanted and gently unwrapping it to reveal the delicious almond biscuit which was always savoured. I never wanted to throw the wrappers away either as they were so elegant and reminded me of yummy Christmas treats. I always felt very grown up being allowed to share in what felt like a very indulgent Christmastime ritual under the watchful eyes of my dad, who wanted to ensure I took no more than I had been allowed. I don’t think he was very good at sharing what he considered to be his food. My sweet tooth certainly came from him!

What’s not to love?
Some of the steps in action.

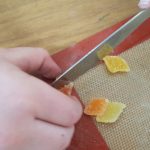
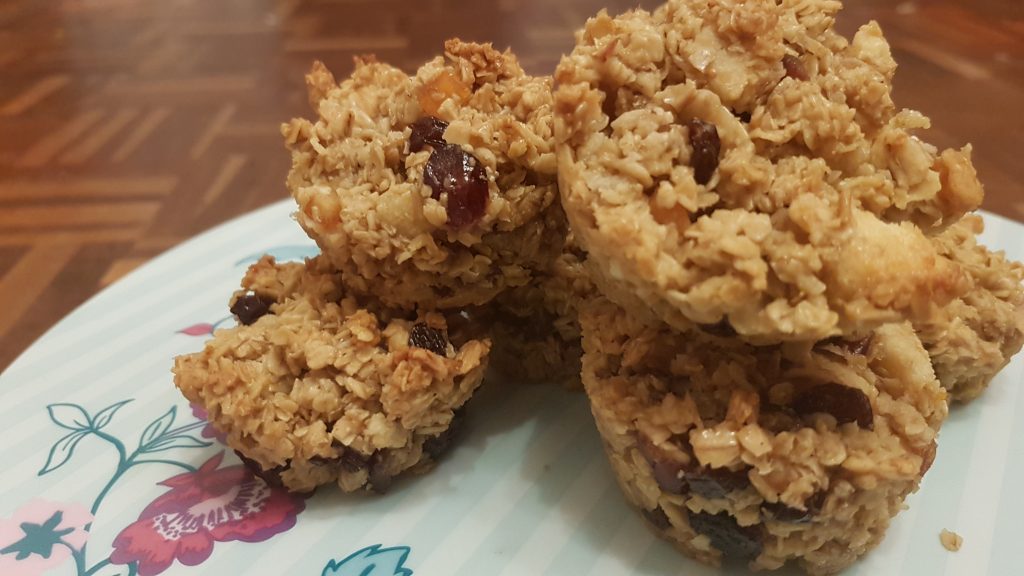
This year, I decided that it would be fun to recreate them with the kids in the kitchen, but without the alcohol. It was a hands on activity which kept all three children amused. With the set up of our kitchen in Stanley, it isn’t always particularly easy to give everyone space to have a go, but this time around the kids managed to share a couple of chairs and leave room for me to instruct from the side lines. We did make ours somewhat larger than shop bought ones, but it did make them less fiddly for small hands to roll into balls and then coat in icing sugar without squishing them into a pulp! These a naturally gluten free as they contain no flour and with the ground almonds they make me feel like they are a bit healthier.

Ingredients

  • 2 egg whites
  • 175g caster sugar
  • 175g ground almonds
  • 1tbsp almond extract
  • Icing sugar for dusting

Method

  1. Preheat oven to 160°c fan and line two baking sheets with silicone baking mats or parchment.
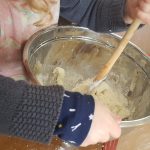
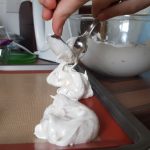
  2. Whisk the egg whites with hand mixer until stiff peaks form.
  3. Gently mix in the caster sugar and ground almonds with a metal spoon and then bring together with your hands.
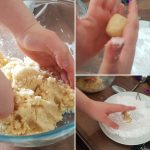
  4. Make tablespoon-sized balls for big biscuits or teaspoon-sized balls for smaller biscuits.
  5. With damp hands, roll each ball in a plate of icing sugar to coat and place on baking sheets ensuring that you space them apart.
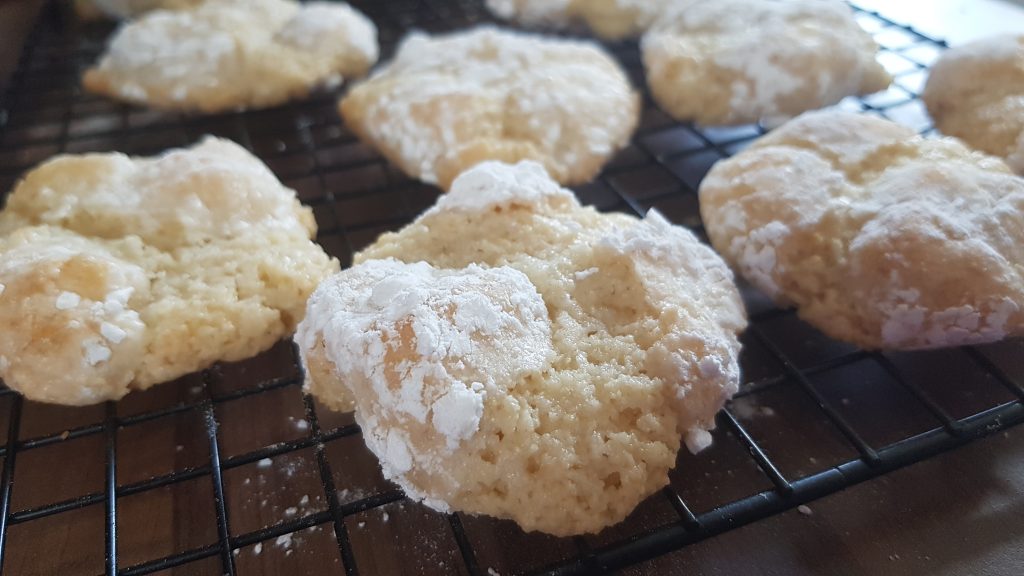
  6. Cook for 15-20 minutes until they are a light golden colour and slightly puffy.
  7. Leave to cool on the baking trays for around 10 minutes before transferring to a wire rack to cool completely.

These are totally yummy biscuits and I will probably be making these outside the festive season too! But that is probably because I love biscuits, but I hate the pressure of trying to decorate them nicely as I am not the most artistic of people!

Coconut Penguins

Cutting the beaks in half
Stir it up!

We may have only moved to Stanley back in August, but the family’s knowledge of penguins and love of them is much more ingrained. It all started when we were still a family of 4 and took a trip to London Zoo when we were visiting my parents. Atticus, at just over a year, was completely mesmerised by the penguins and it seems they stole his heart. When in the gift shop, he made a beeline for the toy penguins and Grandma purchased him one. It went everywhere with him and we ended up buying a second one online in case the first went missing in action. That initial penguin has made the trip out here, but we did have to limit the number of toy penguins the kids brought as I was sure we would be convinced to add to their collection during our time here.

Turning them into penguins!

I was compiling my list of potential Christmas bakes when I found a coconut mice recipe. The first thought that struck me was how much I love coconut. Then the idea of Coconut Penguins popped into my head. What could be better?! I mean it is a penguin made of coconut and sugar! Unsurprisingly the kids were fully on board with this idea and we have had requests for more Coconut Penguins ever since we finished the first batch.

Ingredients

  • 250g icing sugar, sifted
  • 200g condensed milk
  • 175g desiccated coconut
  • Black food dye
  • Silver balls
  • Jelly diamonds (orange and yellow)
  • White chocolate buttons (or yellow smarties!)
  • Mini smarties (orange and yellow)

Method

  1. Line two baking sheets with baking parchment or silicone baking mats.
  2. Sift the icing sugar into a large bowl (my kids love doing this job and always shriek; “it’s snowing!”)
  3. Add in the condensed milk and desiccated coconut and mix. The mixture will be stiff, so smaller children may require some help.
  4. Add generous squirts of the black food dye (it is difficult to get it truly black and ours looked more grey, but this didn’t detract from the kids’ enthusiasm for them) and mix again.
  5. Take tablespoon-sized amounts and shape them into oval patties and put on the baking sheets. There is a sticky fingers warning here! Slightly damp hands will prevent this to a degree.
  6. Decorate with two silver balls for eyes, half a jelly diamond for the beak, a white chocolate button for the tummy and two mini smarties for the feet.
  7. Put in the fridge to set and then enjoy.
Penguins on an iceberg and one in in the sea!

This recipe appeared in Penguin News on Friday 13 December 2019.

Christmas Meringues

Zuzzing up the egg whites.

Meringues are one of Atticus’s favourite things to make. He loves to handle the electric whisk all by himself and tends to take any attempts at interference with pure contempt. Unfortunately, he had to share the responsibility, but he did get in the Christmas spirit and did so with relative good grace. As meringues are such an easy thing to make, there was no escape giving them a little festive makeover. I had a go at this myself last year one evening when the kids were in bed, but this time I had to get the kids involved. They were just as tasty as I remembered and these will probably feature in our festivities this year as the two littlest and their dad are not fond of mince pies.

Dolloping the meringue mixture onto the tray

As not all children like the festive flavour of mincemeat, these are a perfect way to introduce them subtly to the flavour. My two youngest will devour these! Whisking the egg whites allows the kids to watch their volume increase and find the vocabulary to describe it. The mincemeat makes them beautifully squidgy and gives them a darker colour than plain meringues.

Getting their festive clothes before entering the oven.

This recipe featured in Soar Valley Life’s November/December 2019 issue. I held off posting it too early as I couldn’t cope with posting Christmas food until advent had well and truly started!

Ingredients

  • 2 medium egg whites
  • 115g caster sugar
  • 2 tbsp mincemeat (we used shop bought)
  • Sprinkles

Method

  1. Preheat the oven to 90° fan and line two baking sheets with baking parchment or silicone baking mats.
  2. Put the egg whites in a clean bowl (it is best to avoid plastic).
  3. Whisk the egg whites with an electric whisk until peaks form when the blades are lifted out of the mixture.
  4. Add the caster sugar a tbsp at a time and beat after each addition. The mixture should look thick and glossy.
  5. Once all the sugar is incorporated, add the mincemeat a tbsp at a time and beat after each addition.
  6. Take tbsps. of the mixture and gently dollop onto the baking trays (you should get around 10) and add sprinkles.
  7. Place in the oven for 1hr 45 minutes and then switch the oven off. Leave them in the oven until it is completely cooled. We leave ours in overnight and remove the following morning.

Festive Flapjacks

I never do things by half. I read the quantities in a recipe and my brain seems unable to process how much a recipe will yield despite clear measurements. I am so prone to doubling recipes and then having enough cake or dinner to serve a family twice our size. That said, when I make sweet mincemeat at Christmastime I always remember the kids are hit and miss with mince pies and Simon definitely isn’t a fan. So I never double the mincemeat recipe; it already creates enough for me to have pretty much a daily mince pie all year round! While this does, at the moment, sound wonderfully appealing, I am not so sure I would appreciate a mince pie for my birthday in April or even to mark the summer solstice. 

As not everyone likes mince pies, I did put my thinking cap on back in the autumn and came up with some alternative bakes to lace with my homemade sweet mincemeat. My first thought was brownies (see my previous post) and my second was flapjacks. As I am sure I have already mentioned more than once, I LOVE  a good flapjack. So easy to make and the illusion of being healthier than a cake or brownie while still feeling like a treat. We decided to add some of our homemade marzipan to our flapjacks too to augment the Christmassy and festive feeling of these yummy delights. Further thought also makes me realise that these would also be perfect for after Christmas as a way to use up any leftover mincemeat.

Seb chopping the homemade marzipan. Shop bought marzipan would also work well in this recipe.

Ingredients

These flapjacks also work well with gluten free oats. They don’t contain any extra sugar added in as the mincemeat contains sugar and dried fruit. The amount of mincemeat gives a subtle seasonal flavour. You could add 50-75g more if you want a stronger flavour of it.

  • 150g butter/margarine
  • 6tbsp golden syrup
  • 200g mincemeat (we used homemade, but a jar would work well too.)
  • 175g jumbo oats
  • 250g rolled oats
  • 80g marzipan

Method

This can be cooked in a brownie tin, or in individual muffin cases (we used silicone ones) 

  1. Preheat the oven to 160°c fan and either grease and line a brownie pan or use a muffin tray (silicone liners or paper would both be fine.)
  2. Put the butter, golden syrup and mincemeat in a heavy bottomed pan and put over a low heat to melt and combine.
  3. Meanwhile, chop the marzipan with a table knife or a child safe knife.
  4. Put all the oats in a large mixing bowl. Once the butter mixture has fully melted, remove from the heat and pour it into the oats and mix thoroughly. This ensures that the children are not handling the hot saucepan.
  5. Add in the chopped marzipan and mix again so ensure it is evenly distributed.
  6. Place in the oven and cook for 25-30 minutes until golden. Remove from the oven and gently slice while hot and leave to cool fully in the pan.

If you do manage to cook this before Christmas or even decide to give it a go after Christmas to use up any leftover mincemeat I would love to hear from you.

Christmas Brownies

How do you prepare for the festive season? For us it goes a bit like this: in September I start making a list of all the seasonal things I want to make and do over the Christmas period. This list tends to grow right up until Christmas eve and no matter how many activities I manage to strike off the list we never ever manage to get through the whole list.

The decorated tree.

One of the things we most certainly can cross off the list is buying a Christmas tree. Every year I think it would be wonderful to go somewhere where we can choose our tree and cut it down ourselves, but we never quite manage to make it. What we did manage to do this year is have a rather public disagreement about what size tree we should purchase. As usual I was advocating a compact yet perfectly proportioned tree. Simon wanted a tree the size of which would be more suited to Trafalgar Square or the Great Hall at Hogwarts. The kids seemed to find this discord highly entertaining especially when daddy balanced Ophelia on each boys’ head in turn as a unit of measurement for trees, insisting the tree had to be taller. We returned home with three happy children and a tree too big for my liking and too small for Simon’s, but perfect in the children’s eyes. All things considered, the latter is the most important.

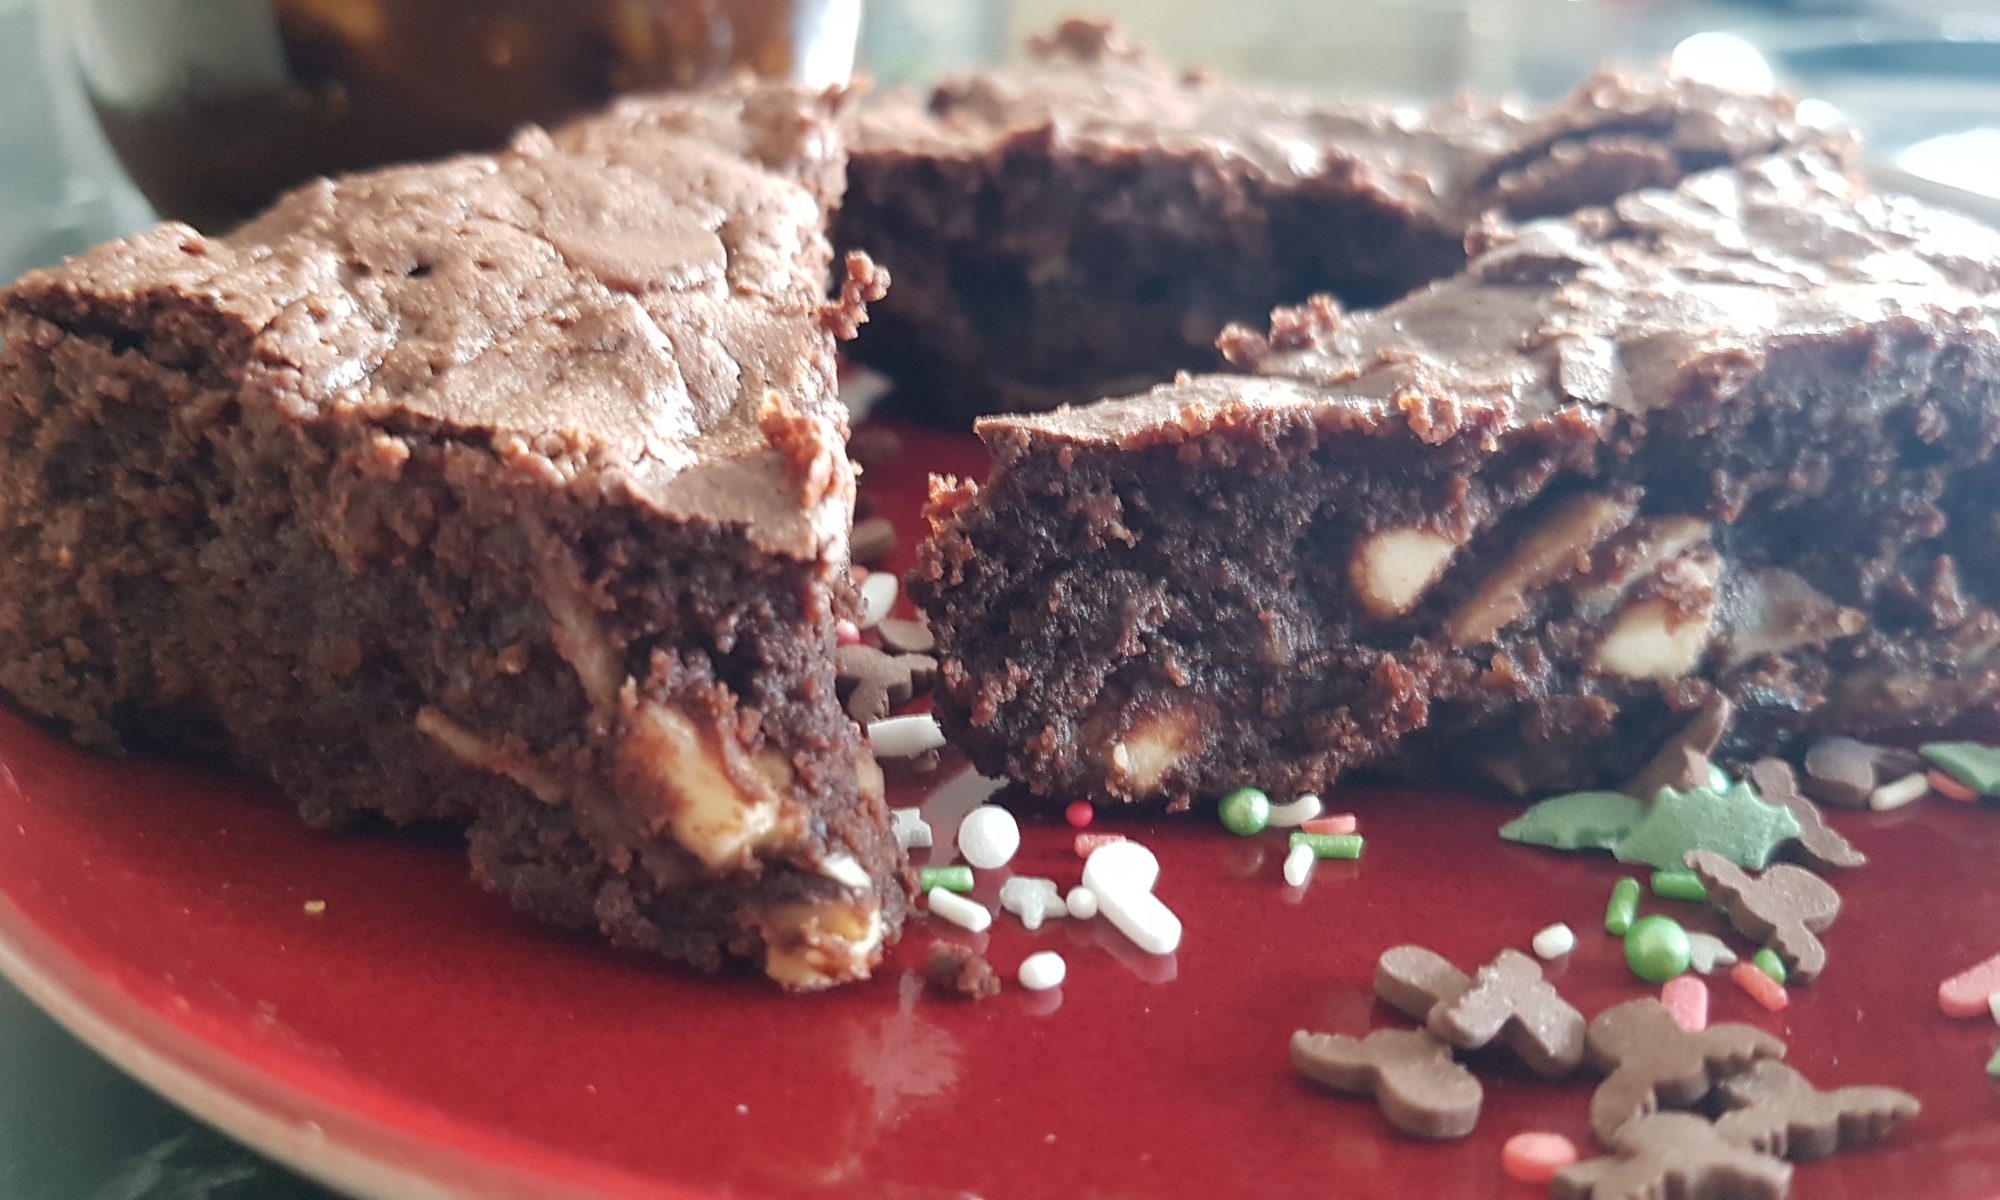
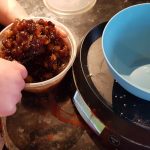
Anyway, so back to baking. I always get my way when cake is involved. Simon knows not to try and change my mind when I have an idea for a bake. So when I decided that I wanted to run some sweet mincemeat through my brownie batter with some flaked almonds there was no opposition despite the fact he isn’t a fan of sweet mincemeat. In the end, he did try one and ended up liking it so I am glowing in my victory!

Ingredients

  • 185g unsalted butter
  • 185g dark chocolate
  • 185g light brown sugar
  • 3 large eggs
  • 85g plain flour
  • 40g cocoa powder
  • 200g mincemeat (we used homemade cranberry, orange and Cointreau)
  • 75g flaked almonds
  • 100g white chocolate chips

Method

  1. Put the butter and chocolate into a bowl and put over a saucepan with water. Make sure the water in the pan doesn’t touch the bowl with chocolate and butter. Heat until the chocolate and butter have melted and stir every so often.
  2. Remove the pan from the heat and allow to cool a bit. Preheat the oven to 180°c or 160°c fan and grease and line your brownie pan.
  3. Break the eggs into a large bowl with the sugar and whisk until they become thick and creamy.
  4. Pour the cooled chocolate mixture over the egg mixture and fold together with a rubber spatula.
  5. Sieve the flour and cocoa powder into the chocolate and egg mixture and gently fold.
  6. Zap the mincemeat in the microwave for 20-30 seconds to loosen it. Add the chocolate chips, flaked almonds and mincemeat and gently fold and stir so they are all evenly distributed.
  7. Pour the mixture into the prepared tin and cook for 25-30 mins and bake until the centre doesn’t wobble when removed from the oven.

If your mincemeat doesn’t contain any alcohol, you could add a tbsp. to the brownie batter to make them more adult flavoured if you so choose. Ophelia and I had fun making these and she looked like a chocolate swamp monster when we were through. Yes I did let her lick the bowl so that is my fault! To my surprise, she didn’t take much convincing to share them. But that said, when her brothers had some, she made it very clear (read at a loud volume) that she made them! I hope you enjoy these Christmas Brownies as much as we did.

Candy Cane Breadsticks

Happy December everyone! Welcome to the busiest, 
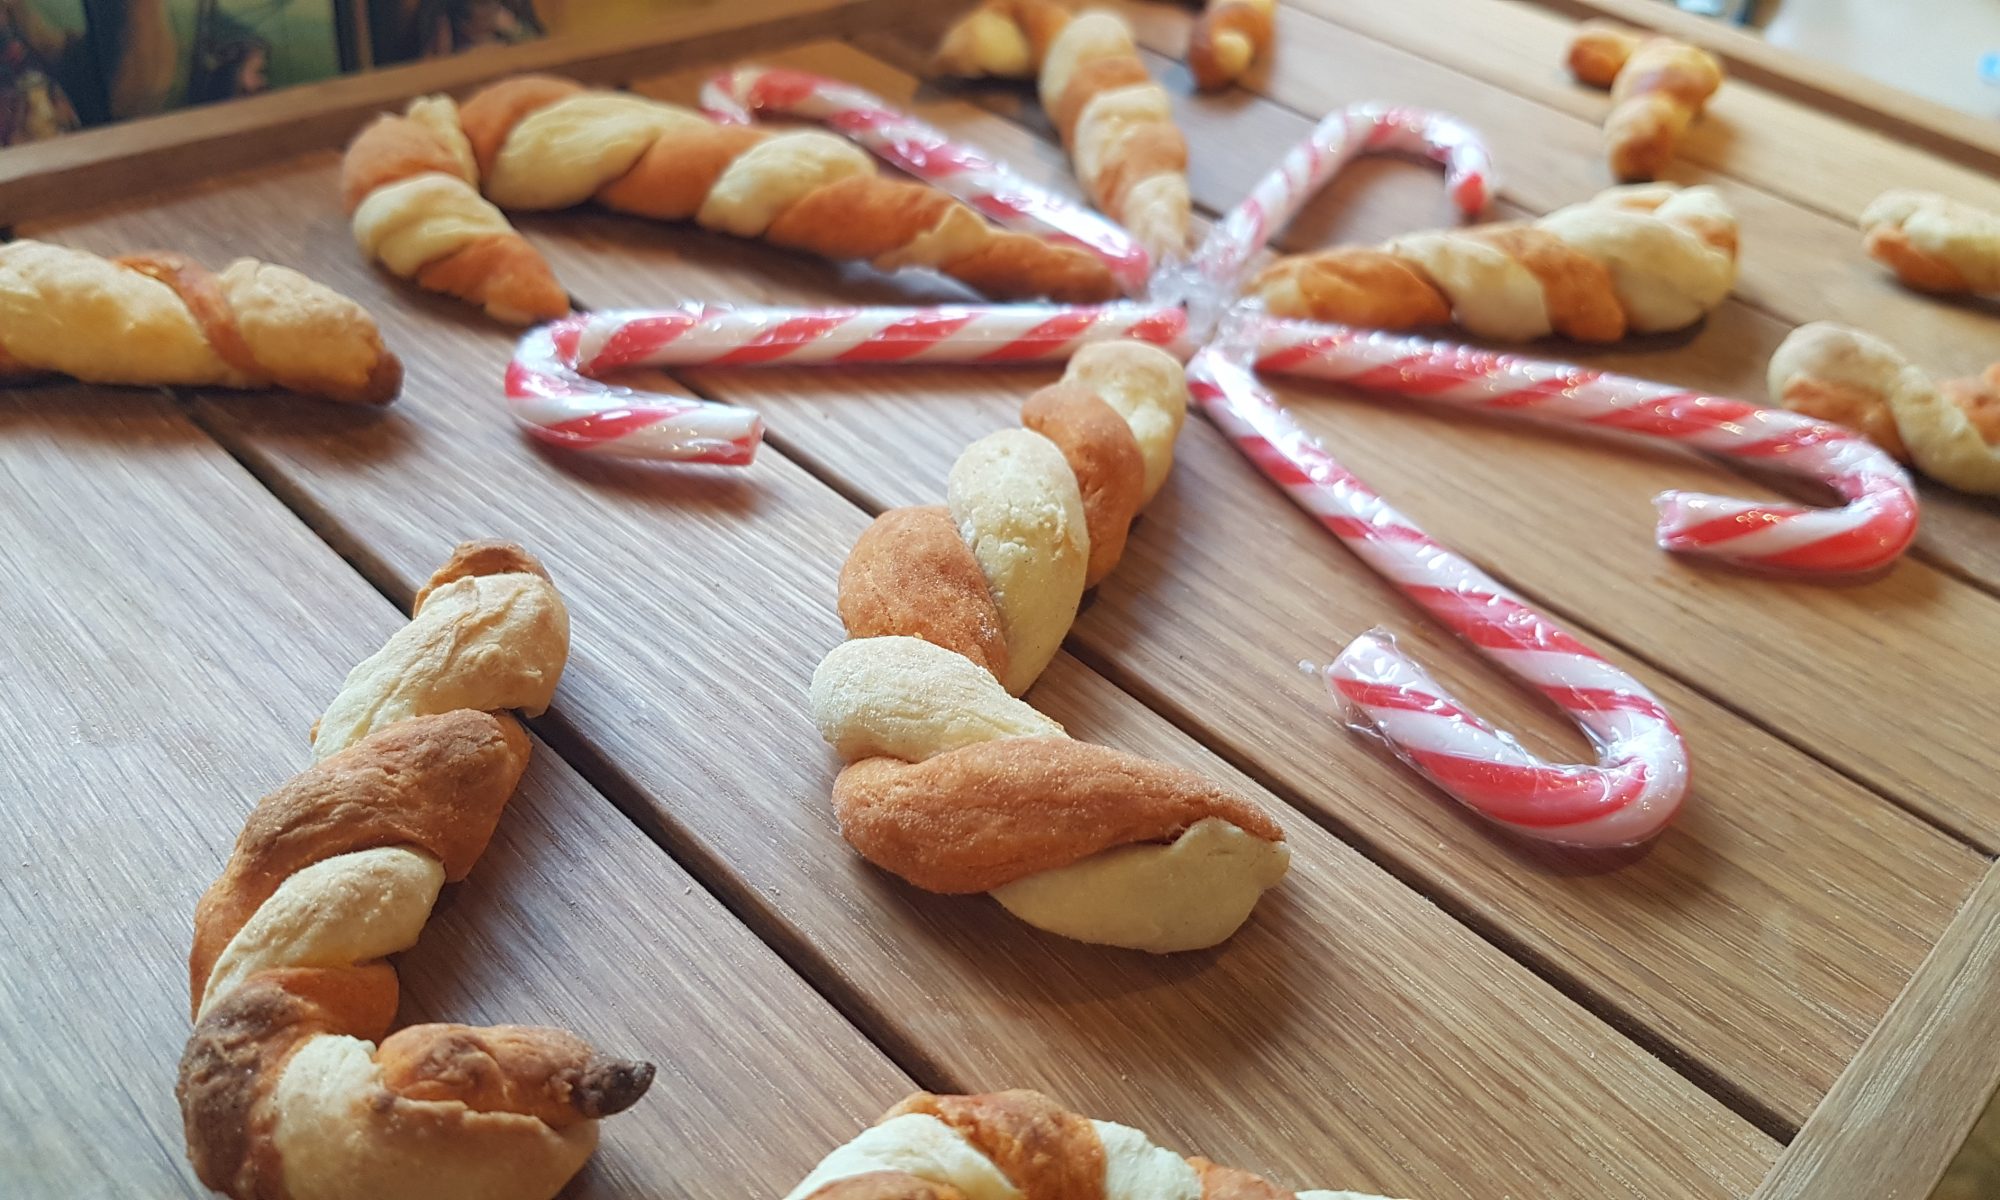
friendliest and most expensive month of the year. I hope you are all well prepared as I find that it is also the most exhausting. Exhausting because of everything going on and also because you have to contend with not only all the activities, but also the inherent excitement that Christmas brings. The excitement levels of my children always end up making me snap or shout at some point, bringing the inevitable mum guilt that I am spoiling their fun. This year I am trying my best to avoid that scenario. I shall let you know how I am doing slightly nearer Christmas.

Anyway onto happier thoughts. I have had these breadsticks on my brain since I started this blog back in March. Just after Christmas last year I stumbled upon The Crafty Gentleman’s version and decided that I wanted to make a simpler, more child friendly recipe when we reached Christmas again. So now we are back in December again, they were the first item to be ticked off my ever growing list of Christmas cooking.

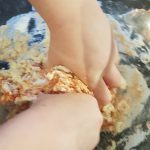
The breadsticks we made were two different flavours. Unsurprisingly the red strand was tomato flavoured and we used garlic salt to flavour the white strand. 
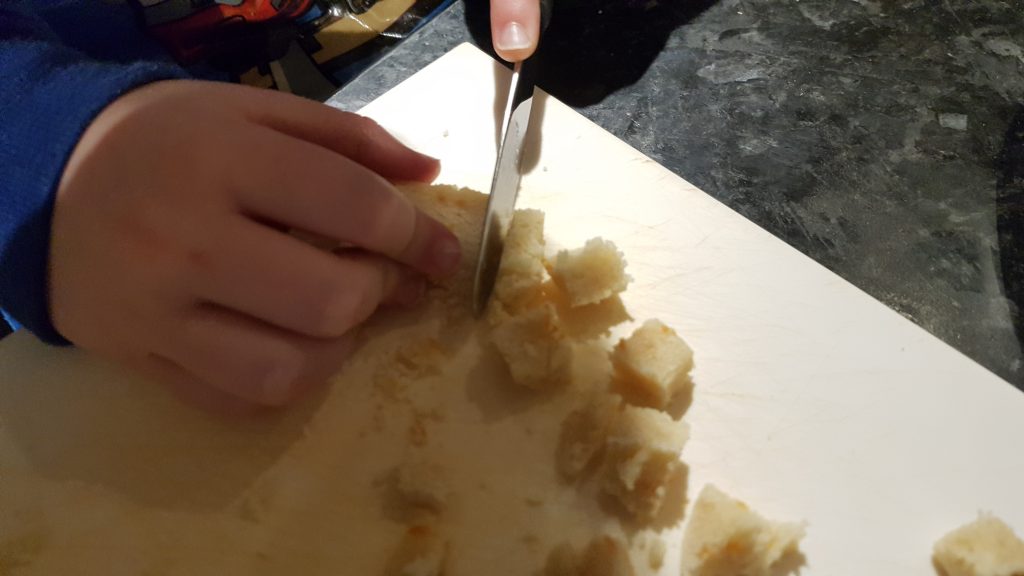
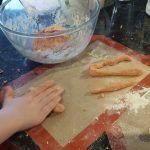
This was a beautifully hands on activity with the kids and all three of them had so much fun squishing and squashing the dough together and rolling out the sausages. They did need help to twist them together, and yes they do look 
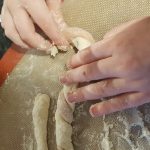
homemade, but they all had a lot of fun and were delighted to make something Christmassy. As each child always had a job whether it be kneading the dough, making more snakes or having a go twisting the tomato and garlic strands together, it meant there was no bickering! We found that all of ours ended up being different sizes, but I had one baking tray of bigger ones and a second with smaller ones so the smaller ones were removed from the oven earlier than the others.

Ingredients

Recipe adapted from Tickle Fingers Cookbook

For the garlic strand

  • 90g self raising flour
  • 60ml milk
  • 1/8tsp garlic salt
  • Olive oil
  • Plain flour

For the tomato strand

  • 90g self raising flour
  • 50ml milk
  • 2tbsp tomato paste
  • 1/8tsp salt
  • Olive oil
  • Plain flour

Method

  1. Preheat the oven to 220°c and put silicone baking sheets or greaseproof paper on two baking sheets.
  2. Put the ingredients for the garlic strand (apart from the oil) in a medium-sized bowl and mix. Use your hands to bring the dough together and gently knead until smooth. Put to one side.
  3. Put the ingredients for the tomato strand (apart from the oil) in a medium-sized bowl and mix. Use your hands to bring the dough together and gently knead until smooth. This one will be slightly wetter than the garlic one.
  4. Dust your surface with plain flour. Roll out sausages with each of the doughs. These do work better if they are quite thin and about 10 cm long. If they are thick they will need to be longer to retain their shape.
  5. Take two strands which are around the same length. Pinch them together at the top and twist together quite tightly. Put on the baking sheet and bend the top to form the candy cane shape. We found the easiest way to twist them together was me holding the top and the kids twisting the strands together. This ensured they were twisted tightly and held their shape whilst in the oven.
  6. Gently paint each candy cane with the olive oil with a pastry brush.
  7. Place in the oven for 10-15 minutes for smaller and thinner candy canes and 15-20 for the larger ones. They are cooked when the are light golden and crisp. They do start to burn easily so keep an eye on them.

I hope your kids enjoy making these savoury candy canes as much as mine did. Breadsticks are always a good snack choice and especially at Christmas when everything seems to be full of sugar! I would love to hear from you if you make these.