Mug Omelettes

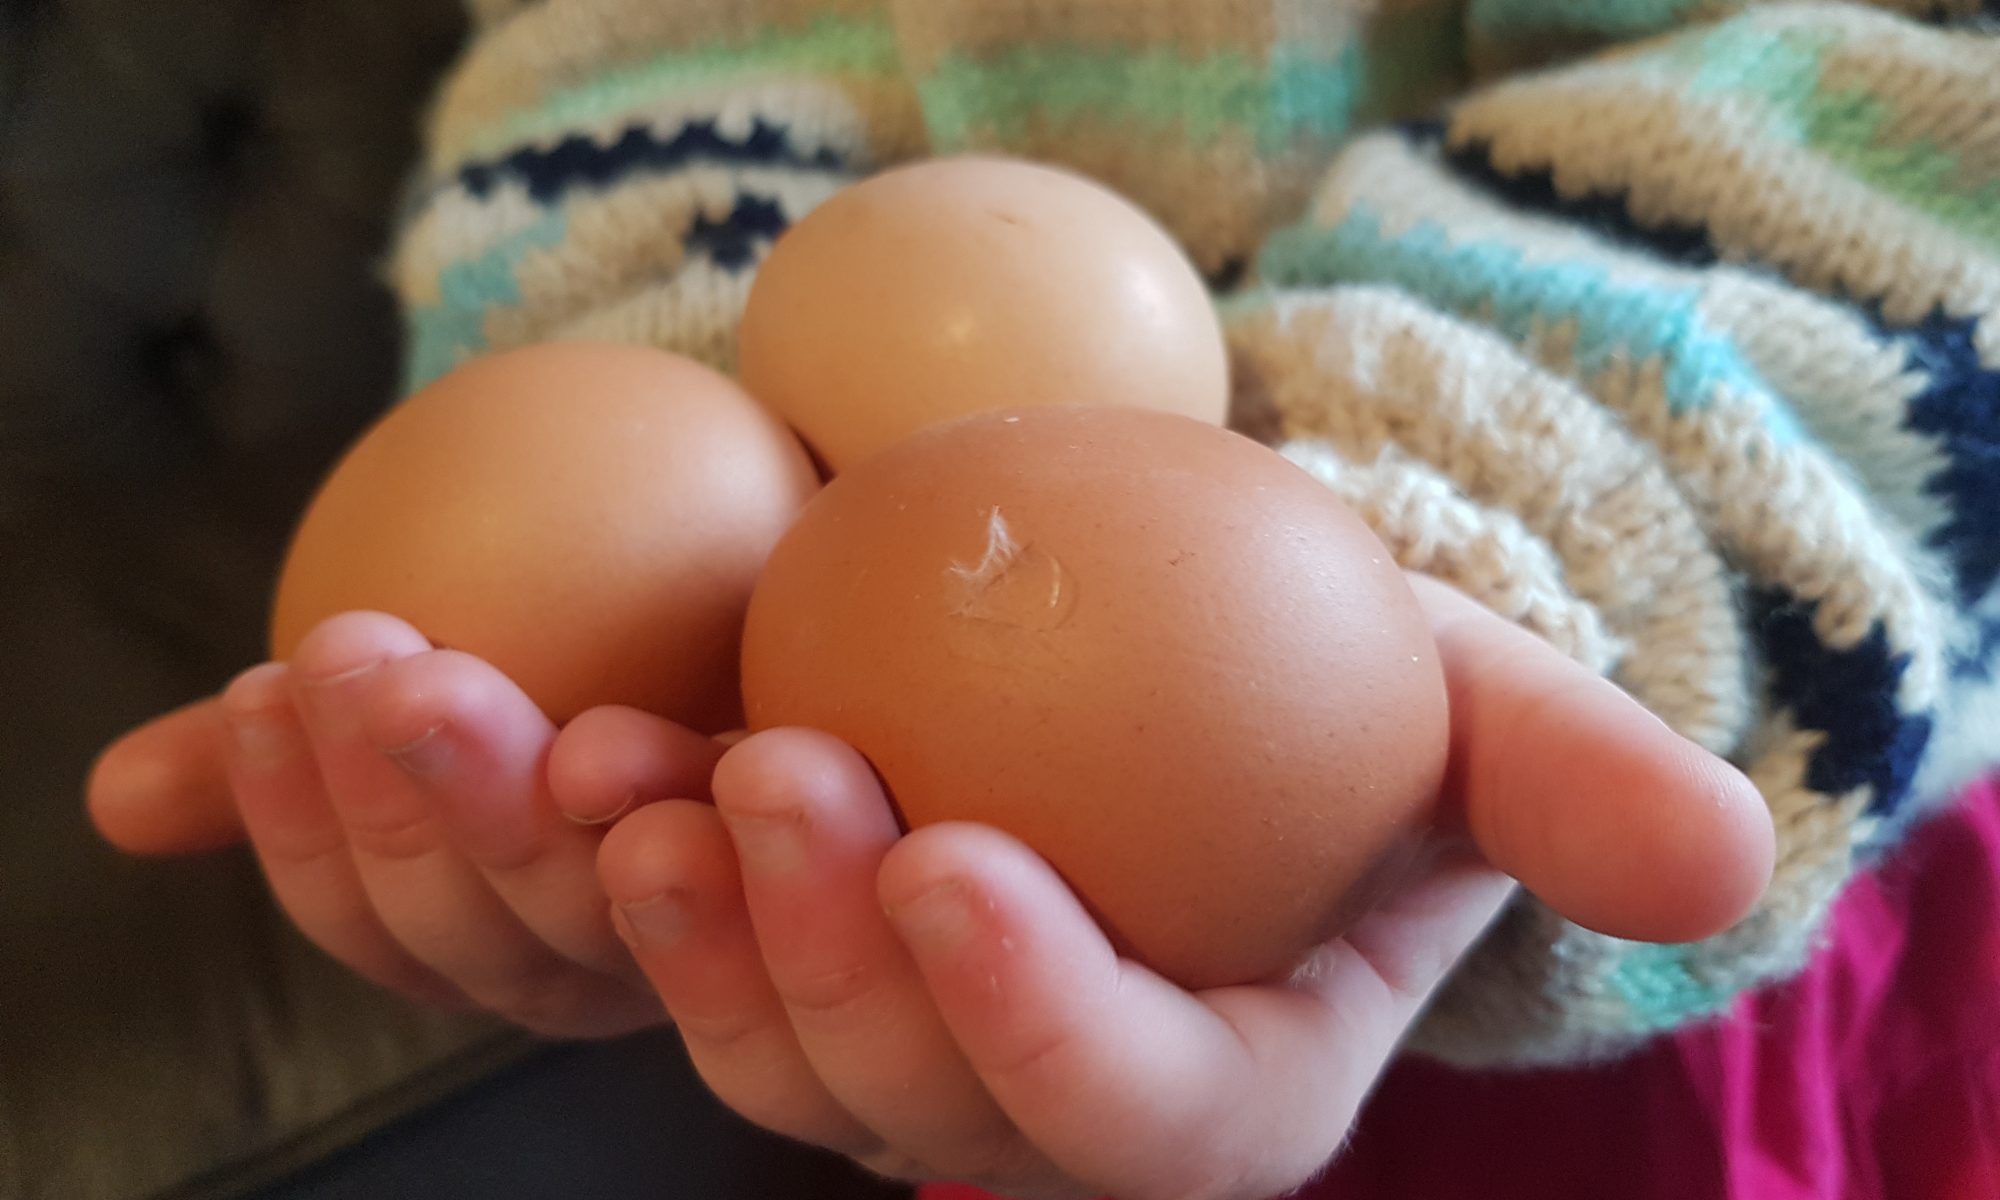
The very first topic I studied as part of my Home Economics GCSE all those years ago was eggs. I have vivid memories of my teacher at the time mentioning all through the lesson that eggs are the most wholly nutritious and accessible single food; easy to cook and versatile. At the time, I remember only equating eggs with cakes and completely failing to make the connection with omelettes or any other savoury dish. I remember going home being absolutely insistent that I wanted eggs for dinner and that omelettes were going to be on the menu despite what my mum had planned. Not long after, omelettes became a regular feature and my dad took on the responsibility of making them provided that all the fillings were all ready to add at the appropriate time. These remain happy memories in the kitchen that always provoke a smile.

My kids love cooking with eggs. I am not sure what fascinates them more; the fact that they are allowed to break them and be destructive, or how they change when you whisk them and cook them. Taking full advantage of this interest, and that they love to complete an activity by themselves without my input, Mug Omelettes are a perfect lunch or breakfast. They are made, cooked and eaten from the same mug – so minimal washing up required! We always have a selection of fillings for the kids to choose from including: chopped ham, sweetcorn, olives, herbs or tuna.

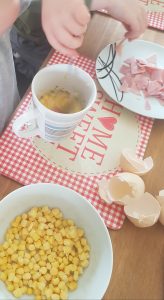
To make a Mug Omelette you will need:

  • Large mug that can go in the microwave
  • Frylight or oil to grease the mug
  • 2 eggs
  • 2 tablespoons of milk
  • 2 tablespoons of cheese (although my kids use more!)
  • ¼ teaspoon of dried herbs of choice
  • Seasoning
  • Fillings of choice (ham, onion, sweetcorn, olives, tuna, peppers etc)

Method

  1. Spray the inside of the mug with the frylight or paint with oil to ensure that the egg doesn’t stick to the mug.
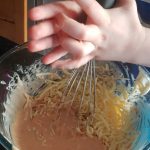
  2. Carefully crack the eggs into the mug and beat with a fork.
  3. Add in the milk and beat again.
  4. Add the cheese and seasonings and mix.
  5. Add additional fillings and mix again.
  6. Adult, take the mug to the microwave and microwave for 30 seconds on high. Remove it from the microwave and stir with a fork.
  7. Continue to microwave for 30 second increments, mixing in between each time, until the omelette has set.
  8. Leave to stand for a minute before giving to child to enjoy. You could even put the omelette in a fresh cup or on a plate if the mug has become very hot.

This recipe appeared in the Penguin News on 14 February 2020.

Potted Crab

Transporting the crab from the mixing bowl to our large ramekin.
Squishing the piece of lime.

You may be rather sceptical when you learn that I made potted crab with my 2 year old. I encourage you to read on despite any misgivings as this really was a fun recipe to make with her. She had fun counting out the tablespoons of yoghurt and squishing the slice of lime, twisting the salt and pepper mills, mixing, transporting and pouring – lots of activities which are present on early years schemas. It also allowed me to introduce a fish with a different texture to her and hopefully encourage her to widen her pallet when she is older. She wasn’t a huge fan, but I remain undeterred as tastes change as children get older and the boys did enjoy it.

When Ophelia went ‘shaky shaky’ with the paprika!

This recipe could be managed solo by an older child, but Ophelia did need some encouragement to stay on task and not go ‘shaky shaky’ with the paprika or try and eat the rest of the lime. I managed to prevent the latter, but was unfortunately completely incompetent at the former… More vigilance was required and in this instance I was lacking! I would also be lying if I said that I managed to remain completely calm… What this picture doesn’t show is the rest of the kitchen counter!

Time to pour the melted butter on top of the crab.

Ingredients

  • 1 tin of white crabmeat, drained. Recipes for potted crab generally call for fresh crabmeat, but as this was for making with kids we opted for tinned crab and the result was delicious.
  • 2 tbsp. Greek-style natural yoghurt
  • Zest from half a lime
  • Juice from 1/8 of a lime (or just a small slice)
  • Seasoning
  • 50g unsalted butter, melted (easiest in a small jug)
  • 1/8tsp of paprika

Method

  1. Put the crabmeat into a bowl and count in the tablespoons of Greek-style natural yoghurt. Add the lime zest, juice and seasoning and mix well. We used a tub grater with the fine grater attachment to zest the lime.
  2. Spoon the mixture into a shallow dish, one large ramekin or two smaller ramekins and gently flatten.
  3. Add the paprika to the melted butter and mix.
  4. Pour the melted butter over the ramekin(s) and refrigerate until set. This will take around 30 minutes.
  5. Remove from the fridge around 30 minutes before serving to make it easier to spread. Enjoy with toast, crackers or crumpets.
Remember to remove from the fridge around half an hour before you want to spread it. The boys enjoyed this in sandwiches.

Rugby Wraps

My family has never had a particular tradition or connection to one particular sport. When growing up, my dad would always, I mean without fail, watch the Grand Prix. But it was never a family activity. I believe it was a source of mild frustration for my dad that neither of his daughters showed any interest in watching the motor racing with him. As a teenager, I remember looking forward to Grand Prix weekends as it meant I could have a Sunday afternoon to myself as long as dad wasn’t disturbed!

I always knew that my husband was a rugby fan; when I first met him he was wearing a Leicester Tigers rugby shirt. Although, if truth be told, I would have been hard pushed to tell you that! Before we were married, it was very easy for me to avoid watching the rugby with him and make other plans. However, when we married, I realised that I wouldn’t be able to avoid the game my entire life. So I set about trying to understand the rules. I asked many, many questions. It may have actually been the same question over and over again and after over 10 years of marriage I am somewhat ashamed to admit my understanding of the rules hasn’t progressed!

Ready to fill the wraps.
Seb with his wrap shortly before it was demolished!

My interest in understanding rugby was dwindling and then Simon told me that the 2011 Rugby World Cup was taking place in New Zealand. He asked me if I would like to watch the matches with him. I was rather reluctant as they would all be taking place rather early and although I am an early bird, I like my time to myself in the mornings. He promised me he would make me breakfast and a deal was struck. This was when what were initially called Rugby Sandwiches were created. In their original form, we used partially baked baguettes filled with a combination of scrambled eggs, bacon and sausage and mushrooms. I had mine with vegetarian sausages. Fast forward to the present day (and the airing of the Six Nations 2019) and we are still making these. We have exchanged the partially baked baguettes for wraps as the kids eat them better and they work well if you are following Slimming World! Isn’t it funny how life changes?!

and cooking mushrooms.
Seb scrambling eggs

I was really impressed with my six year old during this process as he scrambled the eggs himself and kept an eye on the mushrooms and mixing them around while I sorted the bacon. He was so very proud of his efforts, and proudly told his dad how he cooked the eggs and the mushrooms! The kids demolished a couple of mini wraps each and the grown ups had these with potato wedges. Everyone was rather happy!

Ingredients

  • Wraps (in our house the grown ups used normal-sized wraps and the children had a couple of mini wraps each)
  • Eggs (we used one for each person)
  • Mushrooms (we used about 50-60g as not everyone likes them in this house)
  • Bacon (we allowed 2 pieces per adult and 1 piece per child) or vegetarian sausages
  • Butter Frylight or margarine

Method

  1. Chop the mushrooms and put to one side.
  2. Crack the eggs into a bowl and whisk (Seb called it this the ‘whizz mix’ which made me chuckle! Seb shows you how it is done in the video below.)
  3. Put the bacon onto grill.
  4. Spray a small saucepan with Butter Frylight and add the mushrooms to fry. Mix every so often to stop them sticking.
  5. Spray another small saucepan or frying pan with Butter Frylight and pour the beaten eggs into it. As the egg starts to set, mix it all around until the egg is fully cooked.
  6. Put the cooked mushrooms and scrambled eggs into individual little bowls with spoons to serve.
  7. Cut up the grilled bacon and place in another bowl.
  8. Give everyone a wrap on a plate and allow them to spoon in the fillings they want and roll up. If you are not eating them immediately, putting a cocktail stick in the keeps them wrapped.
  9. Enjoy in front of the rugby!

Cheesy Popcorn Squares

A very happy new year to all my lovely readers wherever you are. Like most people, I find it so very easy to get lost in the random period between Christmas and New Year. At the end of boxing day, I feel as if the Christmas celebrations should be drawing to a close, but my pantry and kitchen indicate otherwise. I wouldn’t be exaggerating much by saying that we still have a small mountain of chocolate left over despite our best efforts to make it shrink. I don’t think we shall need to buy any more chocolate until Easter. I have even found some new places in our messy pantry to hide chocolate from myself and everyone else to save for when everything and everyone are driving me around the bend and I need a chocolate fix. I am sure you will agree that this isn’t selfish, but merely survival!

In a desperate attempt to move away from sweet recipes with the kids after a wonderfully sugary build up to Christmas, I managed to entice the boys to make their lunch. I am completely convinced that the only reason that I succeeded in doing this is because I said the recipe included popcorn. This baffled them somewhat as they normally have unflavoured popcorn with some raisins or nuts for film snacks and made them all the more eager to get stuck in. The other reason for using popcorn is the pure sound of joy that comes from the children when the popcorn machine starts whirring and popping and the popcorn comes jumping out.

Flattening it with the spatula – shortly before the spatula got licked!

Ingredients

  • 75g popped plain popcorn
  • 100ml garlic and herb cream cheese
  • 80ml crème fraiche
  • 150g grated cheese
  • 2 eggs
  • 2tbsp tomato paste
  • 3 slices ham (or omit to make vegetarian)
  • Seasoning

Method

  1. Preheat the oven to 180ºc fan and grease and line a brownie tin or a square or rectangular cake tin.
  2. Crack the eggs into a large bowl and whisk.
  3. Add the cream cheese, crème fraiche, tomato paste and seasoning and mix well.
  4. Put the grated cheese, ham (if using) and popcorn into the mixture and mix until fully combined.
  5. Transfer the mixture to the tin and bake in the oven for 15 minutes. Remove from the oven when golden and the cheese is all lovely and melty. Leave for 15-20 minutes to cool before slicing into squares.
  6. Enjoy!
Atticus decided he couldn’t wait for me to finish taking some pictures of their creations before trying them!

Simon and the kids had this for lunch one day. I was expecting them to leave some so the kids could have some the following day. This didn’t happen as all the pieces were gobbled up at lunch! I suppose this is an accurate indication of their opinion of the bake! Do get in touch if you have a chance to make these Cheesy Popcorn Squares.

Bacon, Brie and Cranberry Muffins

It is easier to cut the brie when it is straight out of the fridge as it is less sticky!

In my head, bacon, brie and cranberry is inextricably linked with Christmas festivities. While it is true, it normally comes in a sandwich or maybe even a pie, I wanted to make something a bit more transportable and with a lower potential of creating a sticky mess with little fingers. These muffins work both hot and cold so can be eaten fresh from the oven or even once cooled on the way home from school or while waiting to see the man in the red suit. I bet the aforementioned man would also appreciate one to help him on his long journey on Christmas Eve!

I have never been particularly fond of the smell of meat cooking.  This is probably because I am a vegetarian. Early in our marriage, I banished my husband from my presence as he smelt of chicken. Moreover, while working in East London, I  used to get off the tube and there was a greasy spoon which served bacon butties every morning and seemed to do very good trade. I remember having to hold my breath as I walked past as I really couldn’t stand the smell of bacon cooking.

Anyway, fast-forward 6 years and I am now at the stage where I can cook meat for the kids and Simon. I frequently cook bacon and I don’t even have to hold my breath now! This may not seem like a big thing, but for me it really is! I was determined that I wasn’t going to insist my children be vegetarian; it is their choice just as it was mine.

Ingredients

Makes 12 large muffins or 15 slightly smaller muffins.

  • 250g self raising flour
  • 1tsp baking powder
  • 5 rashers of bacon, cut into small pieces and cooked
  • 1tsp dried mixed herbs
  • 3 eggs
  • 100ml milk
  • 90g grated cheddar (50 for inside muffins and 40 for sprinkling)
  • 100g brie, chopped into small pieces
  • 3tbsp cranberry sauce
  • Seasoning

Method

  1. Preheat the oven to 170°c fan and put the muffin cases in a muffin tray.
  2. Mix the flour, baking powder, herbs and seasoning in a large bowl.
  3. Make a well in the centre of the flour bowl and add the eggs and milk and cranberry sauce.
  4. Mix to form a smooth batter.
  5. Add the bacon, brie and 50g of the cheddar and mix well.
  6. Divide the mixture between the cases and sprinkle the remaining cheddar on the top.
  7. Place in the oven for 20-25 minutes until the muffins feel firm to the touch and are golden. These can be enjoyed both warm and cold.

Every time we make these, they are gobbled up quickly. I think that because it is a muffin and looks like a cake, the children feel that they are getting a treat when in fact it isn’t a sugar loaded snack! I would love to hear from you if you make these.

Welsh Rarebit Flapjacks

Oats, oats glorious oats nothing quite like it for feeding the goats making yummy flapjacks. I am sure I have mentioned how much I enjoy flapjacks in the past. Oats make me feel healthy and good about all the baking we do. This 
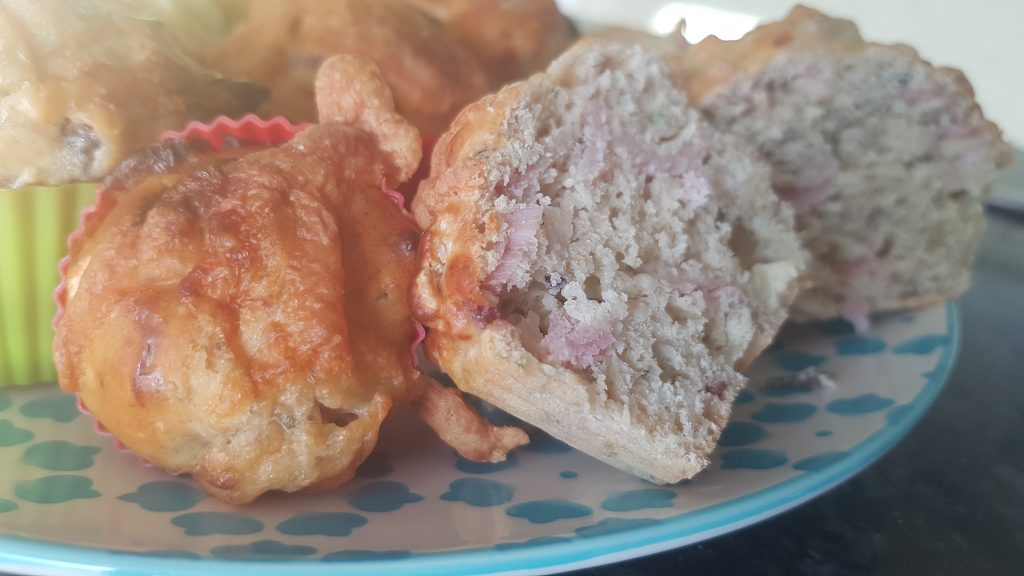
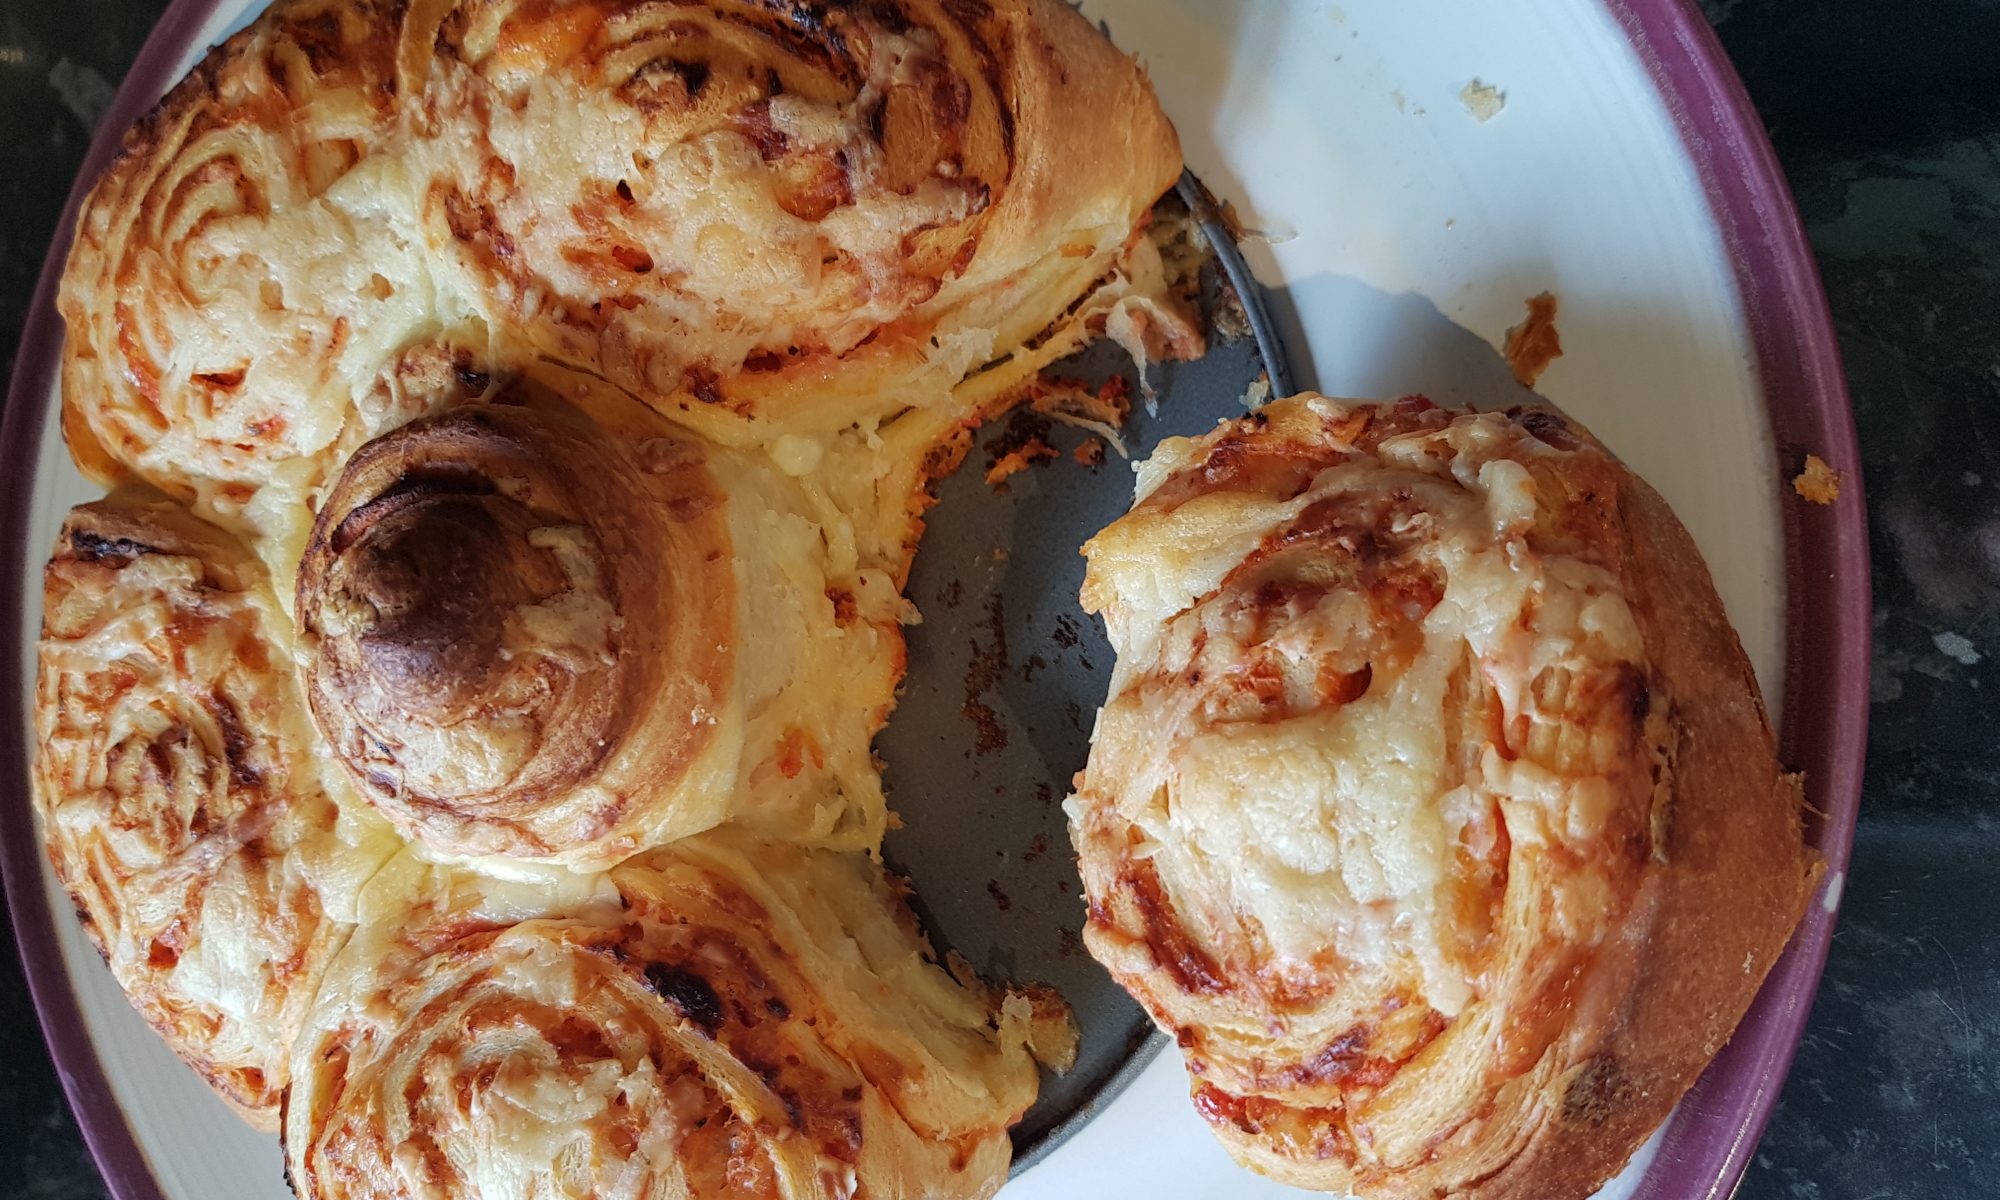
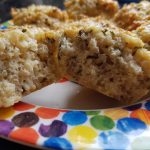
time around I decided it was time to make a savoury flapjack recipe. I was toying with the idea of a hidden vegetable flapjack, then I remembered that with the kids helping me make them they would see the so called hidden vegetables (well courgette which they all seem to despise) and therefore knowing my luck, refuse to try them. My back up was to make a recipe where cheese has a starring role. The kids will gobble up pretty much any snack item which contains cheese. They really must have very strong bones as they all drink quite a lot of milk too. Maybe I shouldn’t be so quick to jump to cheese in pretty much every savoury recipe, but that is another story altogether!

I have discovered that these flapjacks are 
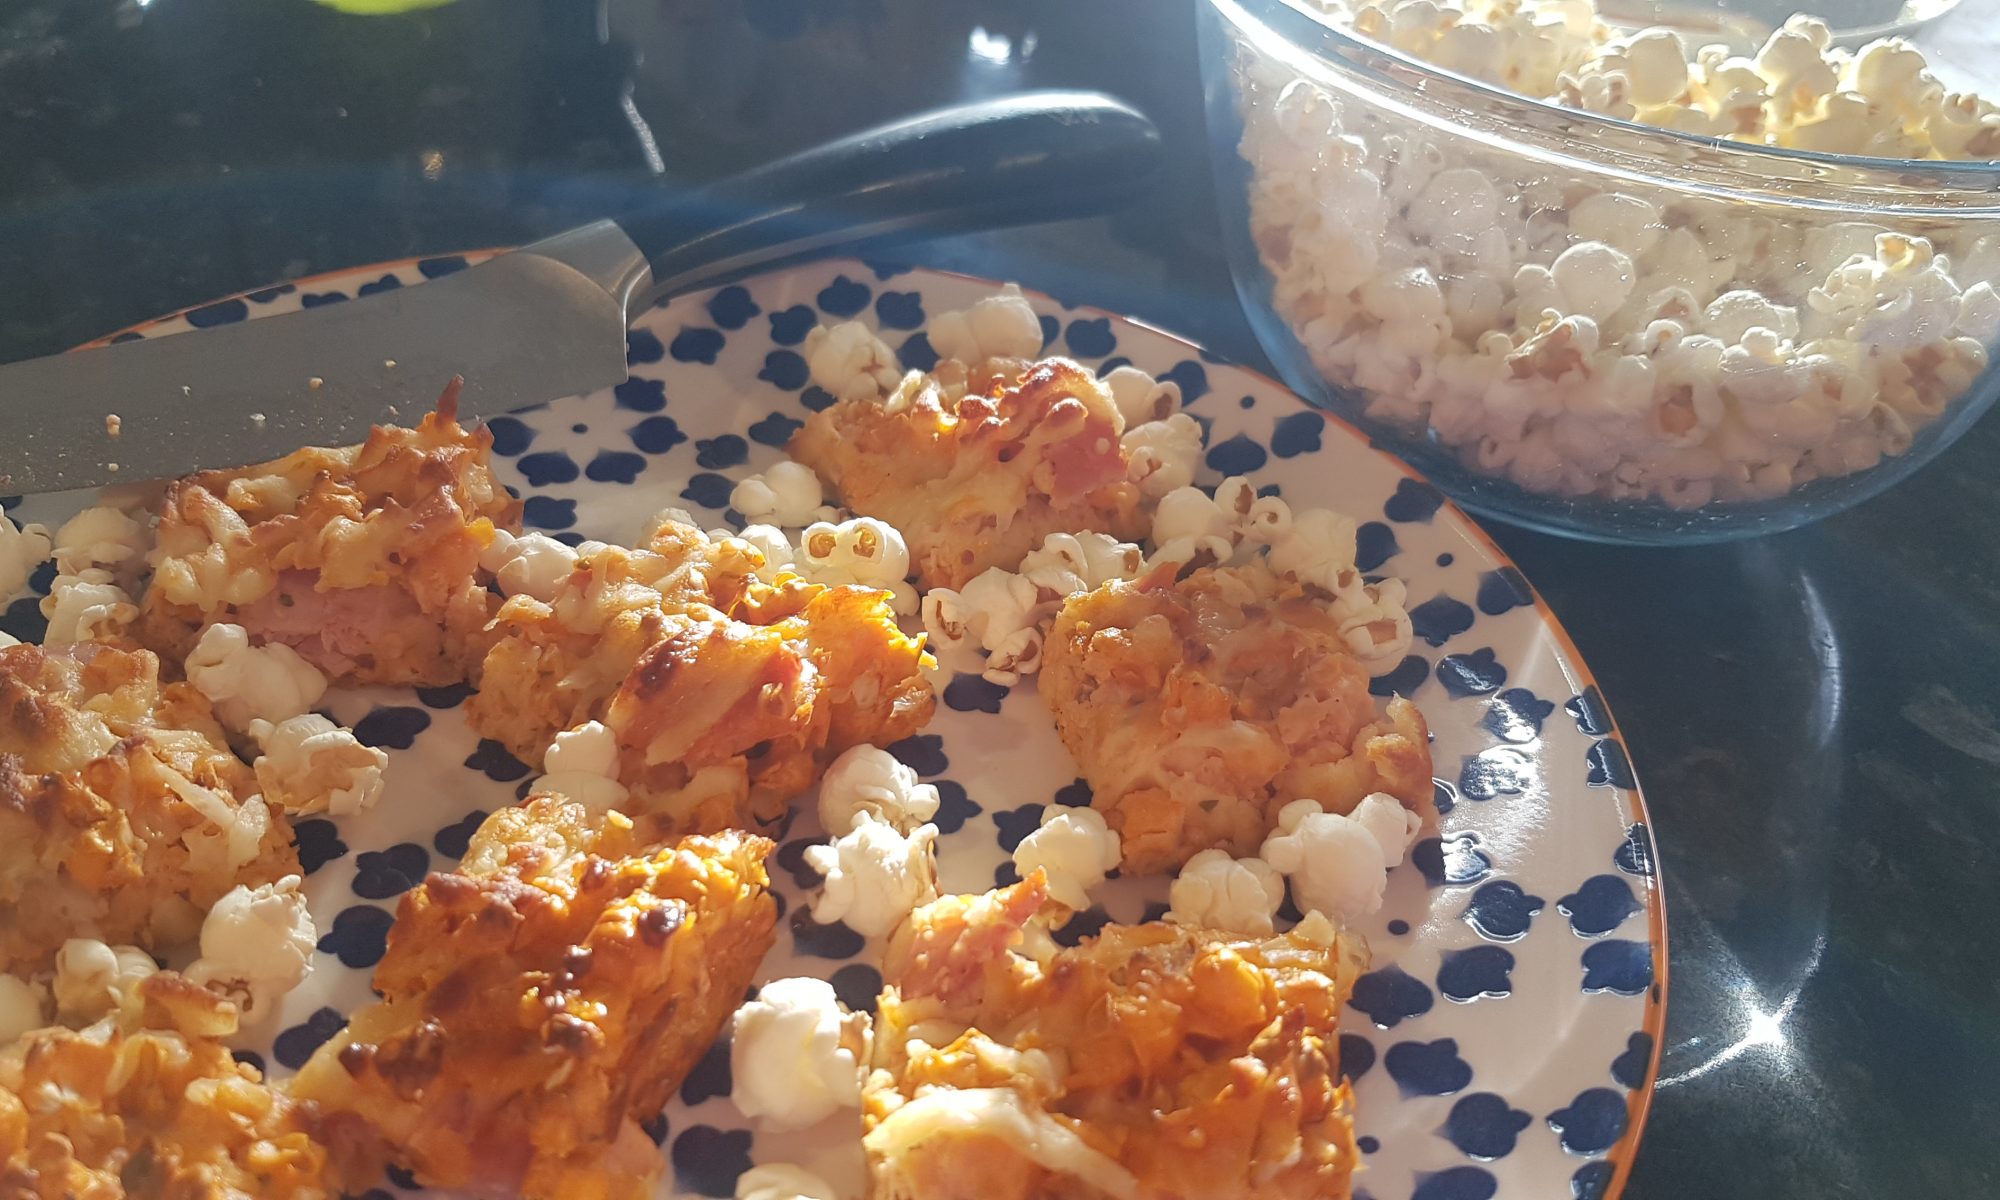
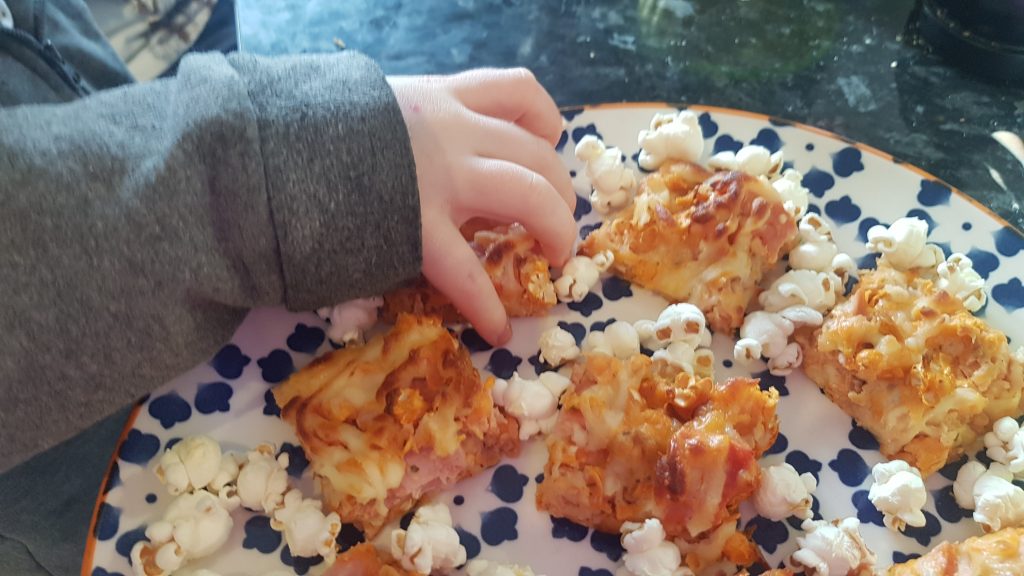
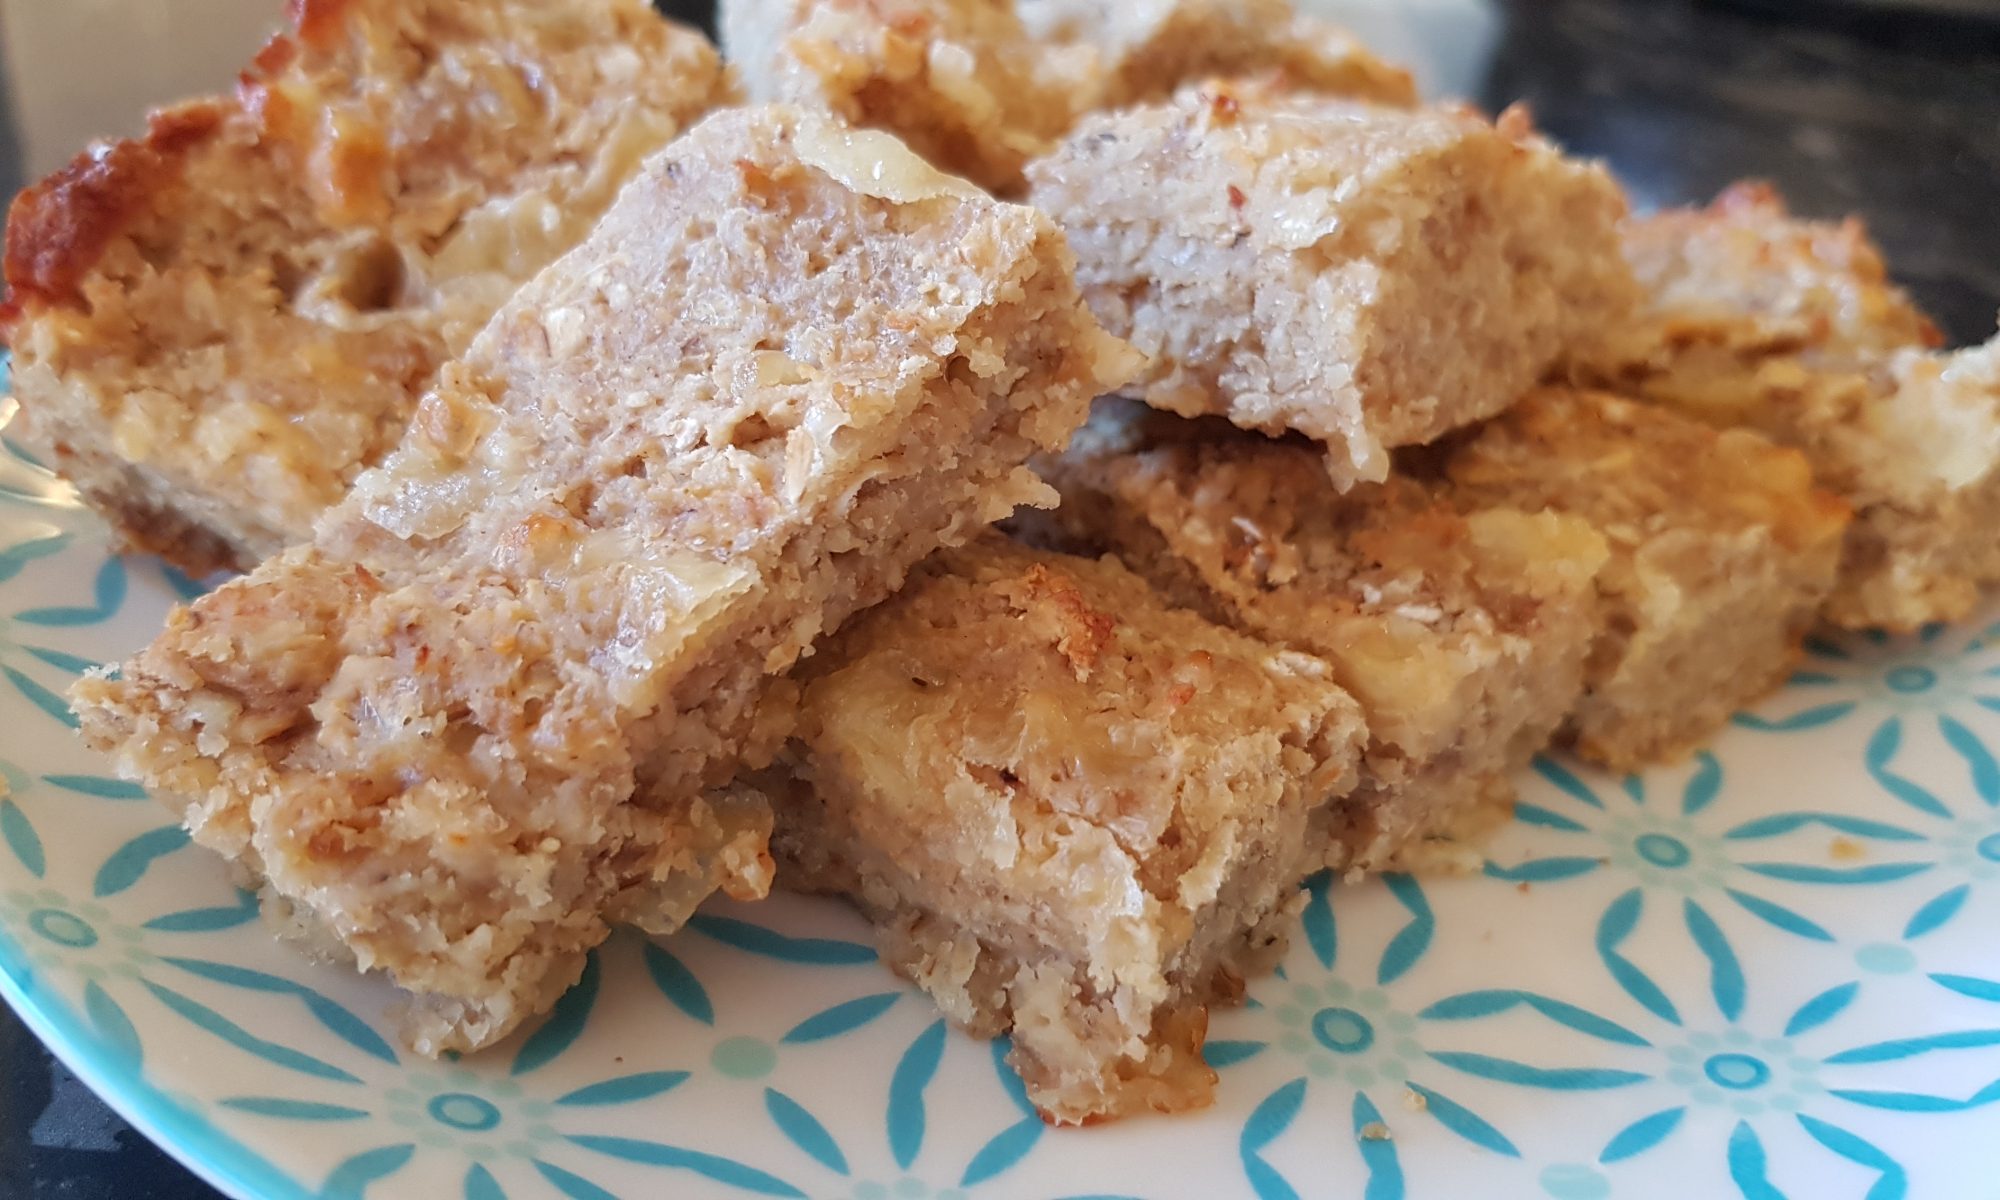
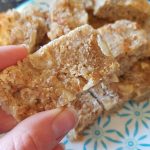
ridiculously addictive. I dare you to only manage one. I cut ours into little fingers so that I wouldn’t eat quarter of the batch in one sitting. Incidentally this also makes them finger food-sized for the smallest of foodies.

Ingredients

  • 300g oats
  • 1tsp baking powder
  • 200g Greek style natural yoghurt
  • 200g grated cheese
  • 1 tsp mustard powder
  • 3 tbsp Worcestershire sauce
  • 2 eggs
  • 1/2 tsp salt
  • Pepper to season

To make these gluten free, use gluten free oats, baking powder and ensure that you check the ingredients list of your Worcestershire Sauce. Lea & Perrins Worcestershire Sauce is gluten free. 

Method

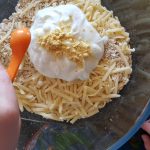
  1. Preheat the oven to 170°c fan and grease and line at 20cm square tin.
  2. Add the oats, baking powder, Greek style natural yoghurt, grated cheese, mustard powder, salt and pepper to a large bowl.
  3. Crack the eggs in a little jug or cup and add the Worcestershire sauce.
  4. Pour the egg mixture into the large bowl with the dry ingredients.
  5. Mix thoroughly until fully combined.
  6. Put into the lined tin and flatten with the back of a metal spoon.
  7. Place in the oven for 20 minutes until firm and golden.
  8. Allow to cool in the tin for 5-10 minutes before removing and placing on a wire rack.
  9. Slice when cool.

I hope you enjoy this cheesy recipe. I think this has become a new favourite savoury snack for Seb!


Four-Cheese Baked Fondue

This week Simon and I are celebrating our tenth wedding anniversary. I managed to convince Simon, a couple of months ago, to host a party at home for some close family and friends to celebrate. The fact that this falls the week after our daughter’s birthday and the weekend directly after Seb and Atticus finish school and nursery respectively means this week is crazy busy. Add to that a long list of savoury items and an even bigger list of cakes I want to make and we mustn’t forget about preparing the house!

I have, upon reflection, reduced the amount of food I had originally planned, but only because I don’t physically think that we could make or store any more! Initially I was planning to serve just cake, but Simon insisted that we couldn’t risk sending our guests off in a sugary coma. There will definitely be a blog post about this in the near future on this so keep your eye out.

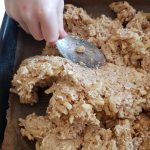
After all the cake at Ophelia’s birthday, I decided that it was time to make something savoury again and to take advantage of Atticus being at home, something that will happen less and less as he starts school in the autumn. Out of the savoury items we make, the ones which comprise of copious amount of cheese are generally more successfully with the children. Cheese is a popular snack and we seem to go through a mammoth amount every week. I have no concerns about my children’s’ calcium intake!

I wanted to capitalise on this love of cheese to let the kids try some new types of cheese and what better way to do this than make fondues?! We enjoyed smelling the cheese and poking it as they all have different scents and textures. We did add fig relish to the bottom of these fondue pots and we put sliced fig on top, however, Atticus and Ophelia were not fond of the fig or the fig relish. Next time we make this for them, we shall leave out the fig relish for them and add it for the grown ups.

Ingredients

Makes 4 ramekin-sized fondues
Recipe adapted from BBC Good Food

  • 200g brie, rind sliced off and cut into pieces
  • 100g emmental, grated
  • 100g cream cheese
  • 30g parmesan, grated
  • 2tbsp milk
  • 2tsp cornflour
  • 3 sprigs of fresh thyme, leaves picked
  • Seasoning
  • 4tbsp fig relish and 1 fig, quartered (optional: if your kids like fig or if the grown ups want it!)

Method

  1. Preheat the oven to 140°c fan.
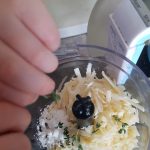
  2. Slice the rind off the brie and chop and grate the emmental and the parmesan.
  3. Put the brie, emmental, cream cheese and half the parmesan into a food processor with the milk, the cornflour, the thyme and the seasoning 
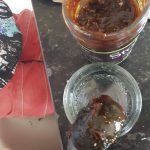
and pulse until all combined.
  4. Optional: put a tbsp. of fig relish in each ramekin and spread evenly.
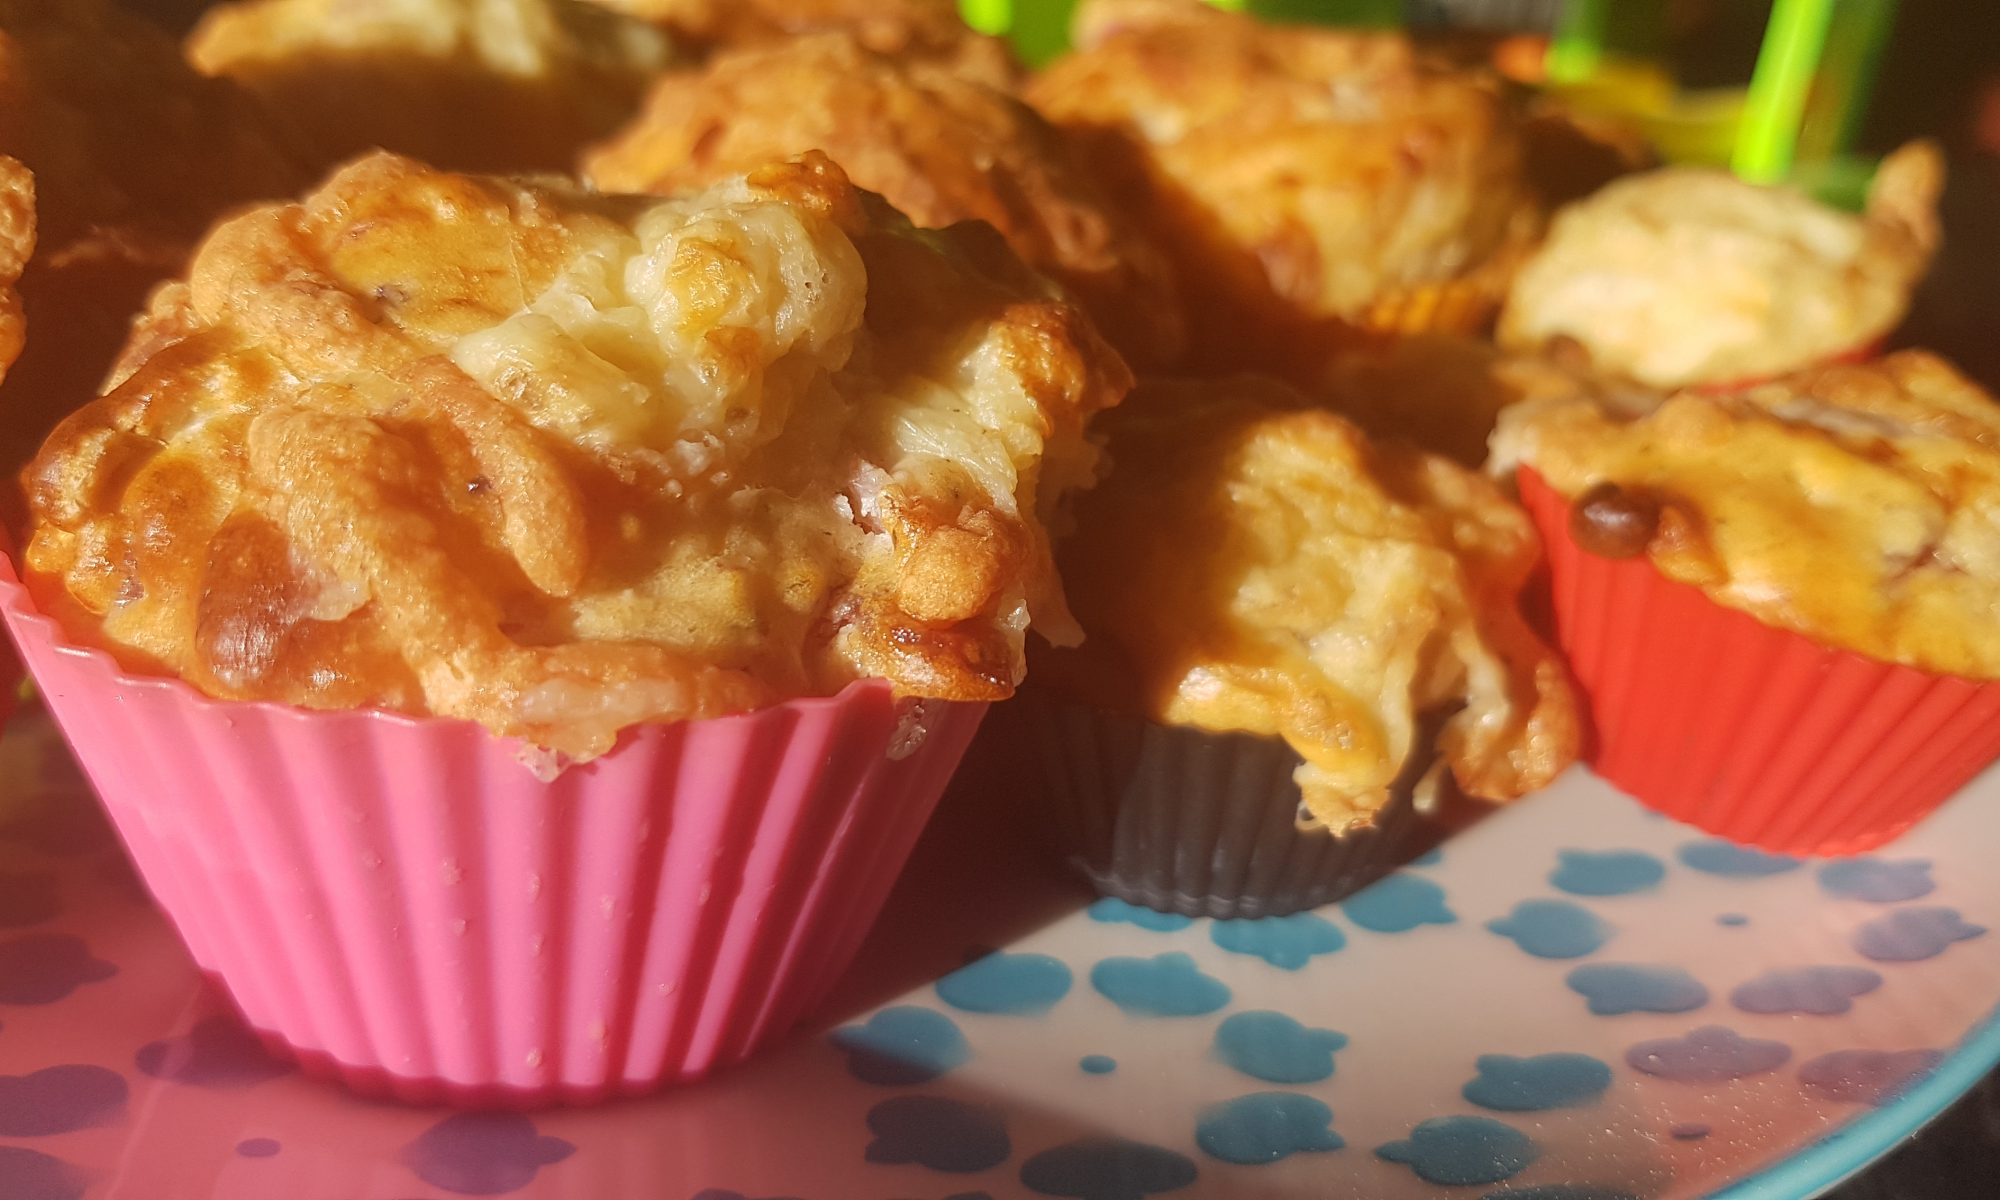
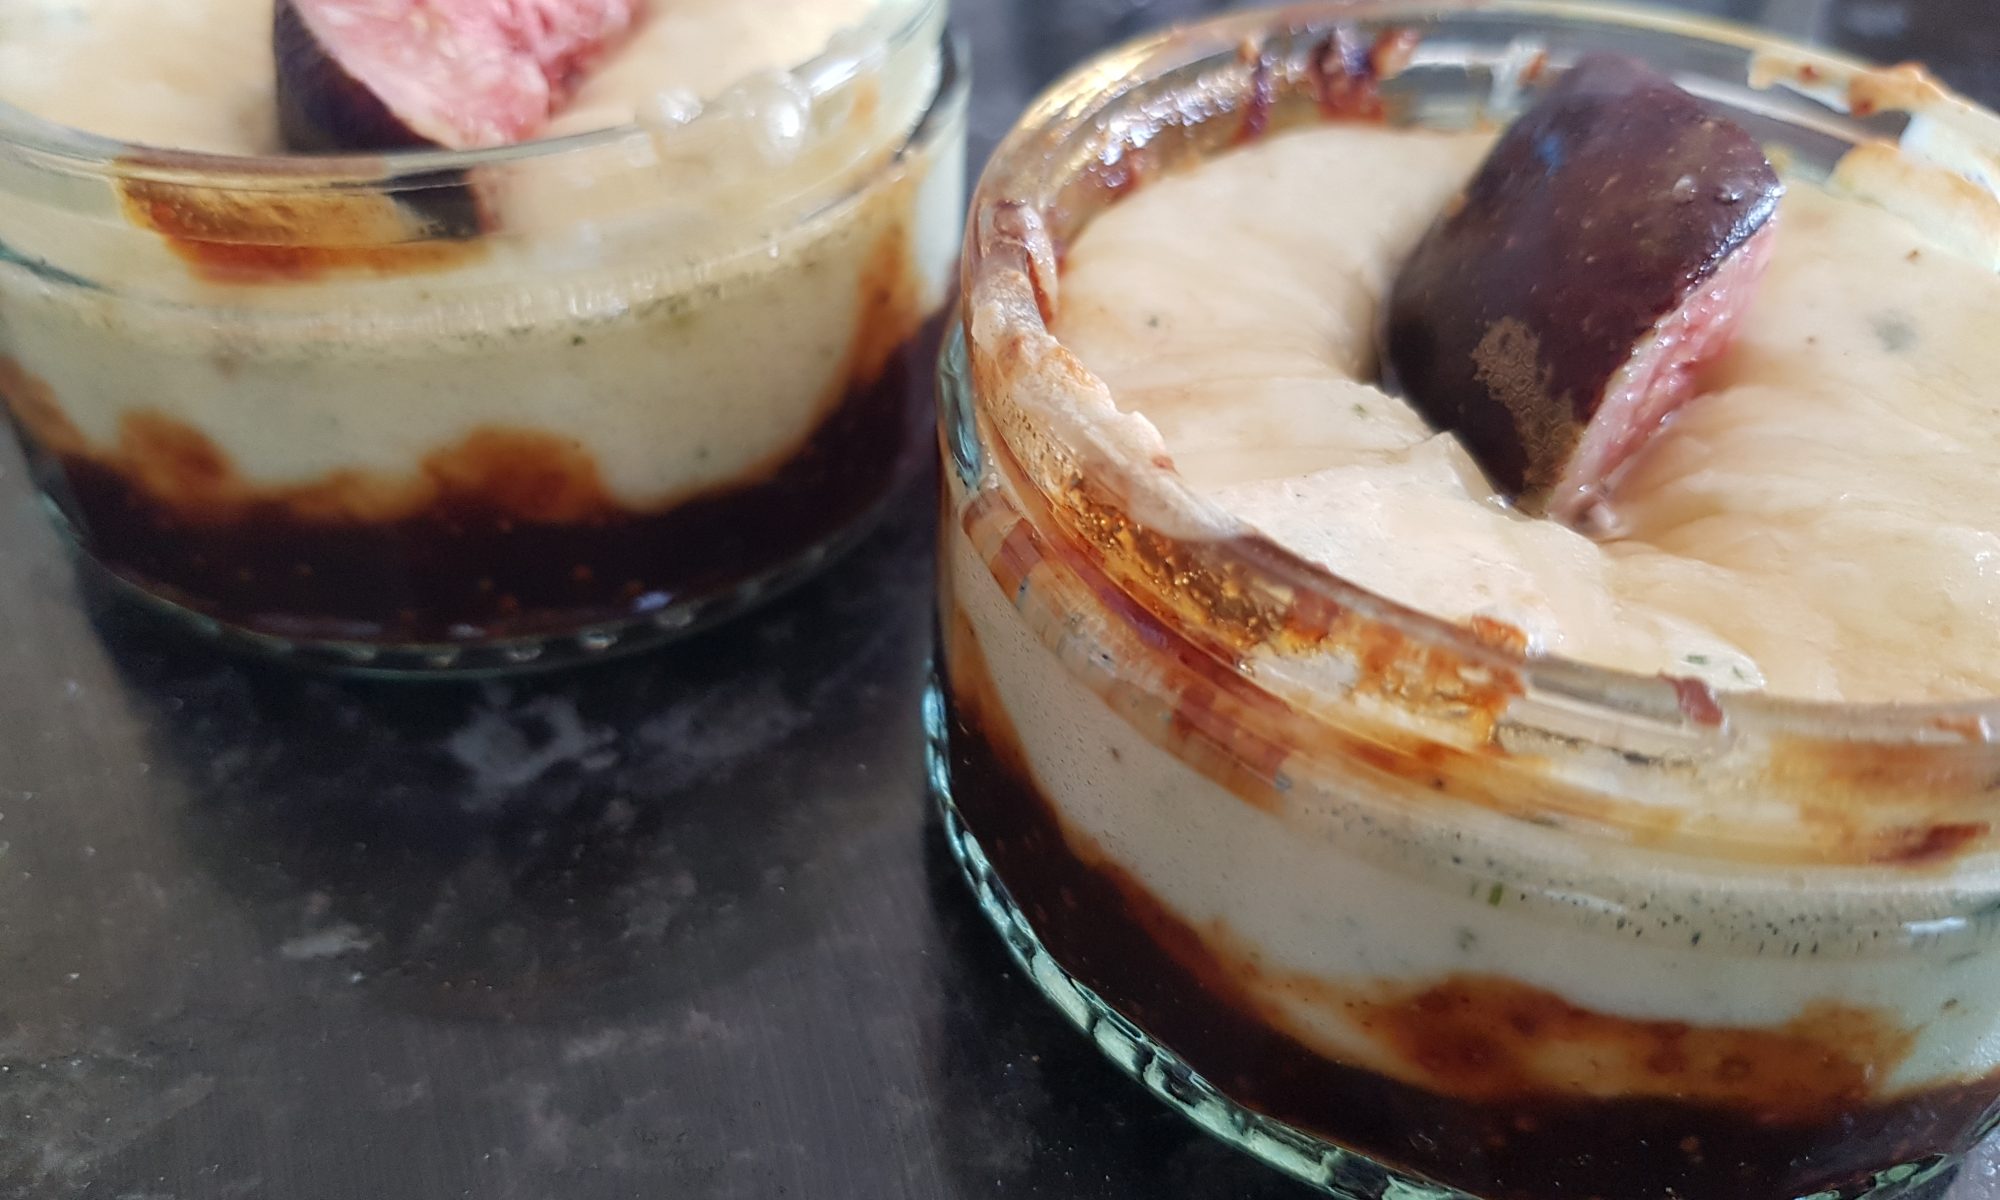
  5. Divide the cheesy mixture between the ramekins and then sprinkle with the remaining parmesan.
  6. Place in the oven to cook for 
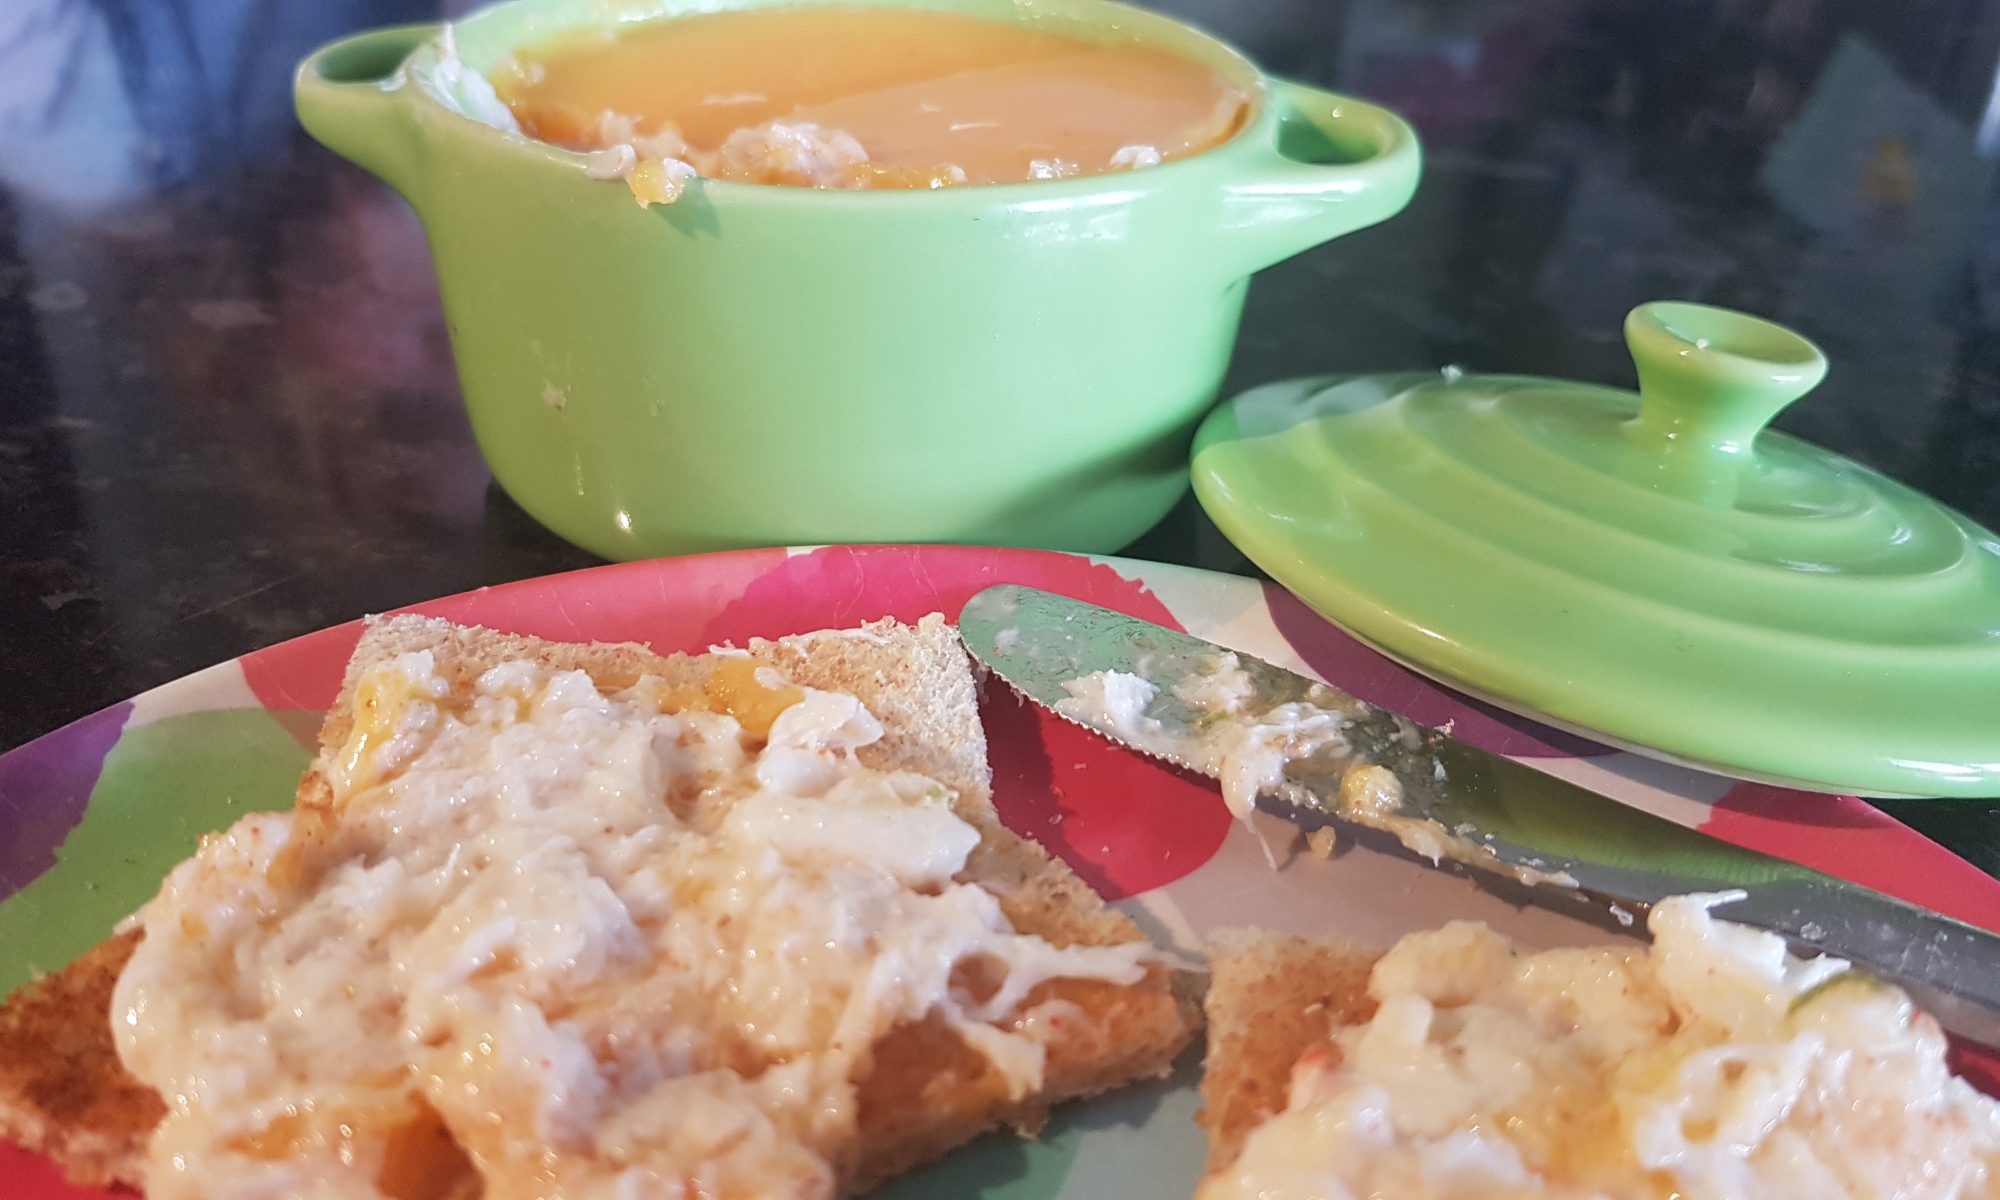
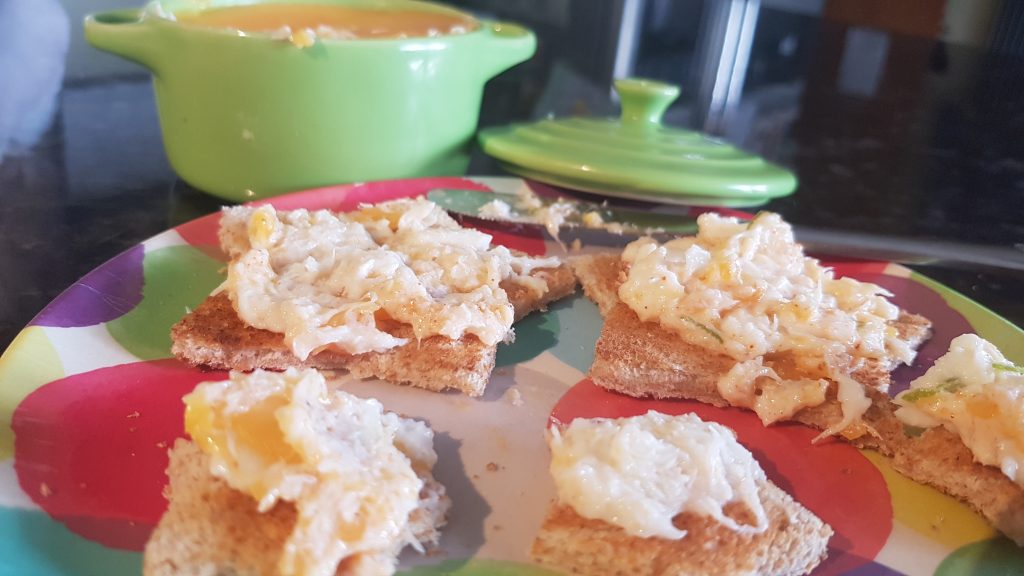
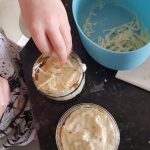
15 minutes until bubbling. Remove from the oven and leave to cool for 5-10 minutes before putting a piece of quartered fig on top and enjoy. You will need to remind your children that the cheese will still be quite hot. Mine enjoyed blowing on it to cool it down before dunking soldiers into it.

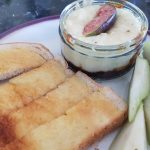
Atticus and Ophelia had these for lunch with some sliced pear and buttered toast. They could equally be served for a dinner with vegetable sticks, crusty bread or anything else you want to dip in them! My kids would probably enjoy dipping cocktail sausages in them. I enjoyed mine with olive bread, baby corn and sugar snap peas.

Parmesan and Rosemary Quinoa Muffins

So this will be the last recipe with rosemary in it for while I promise. 
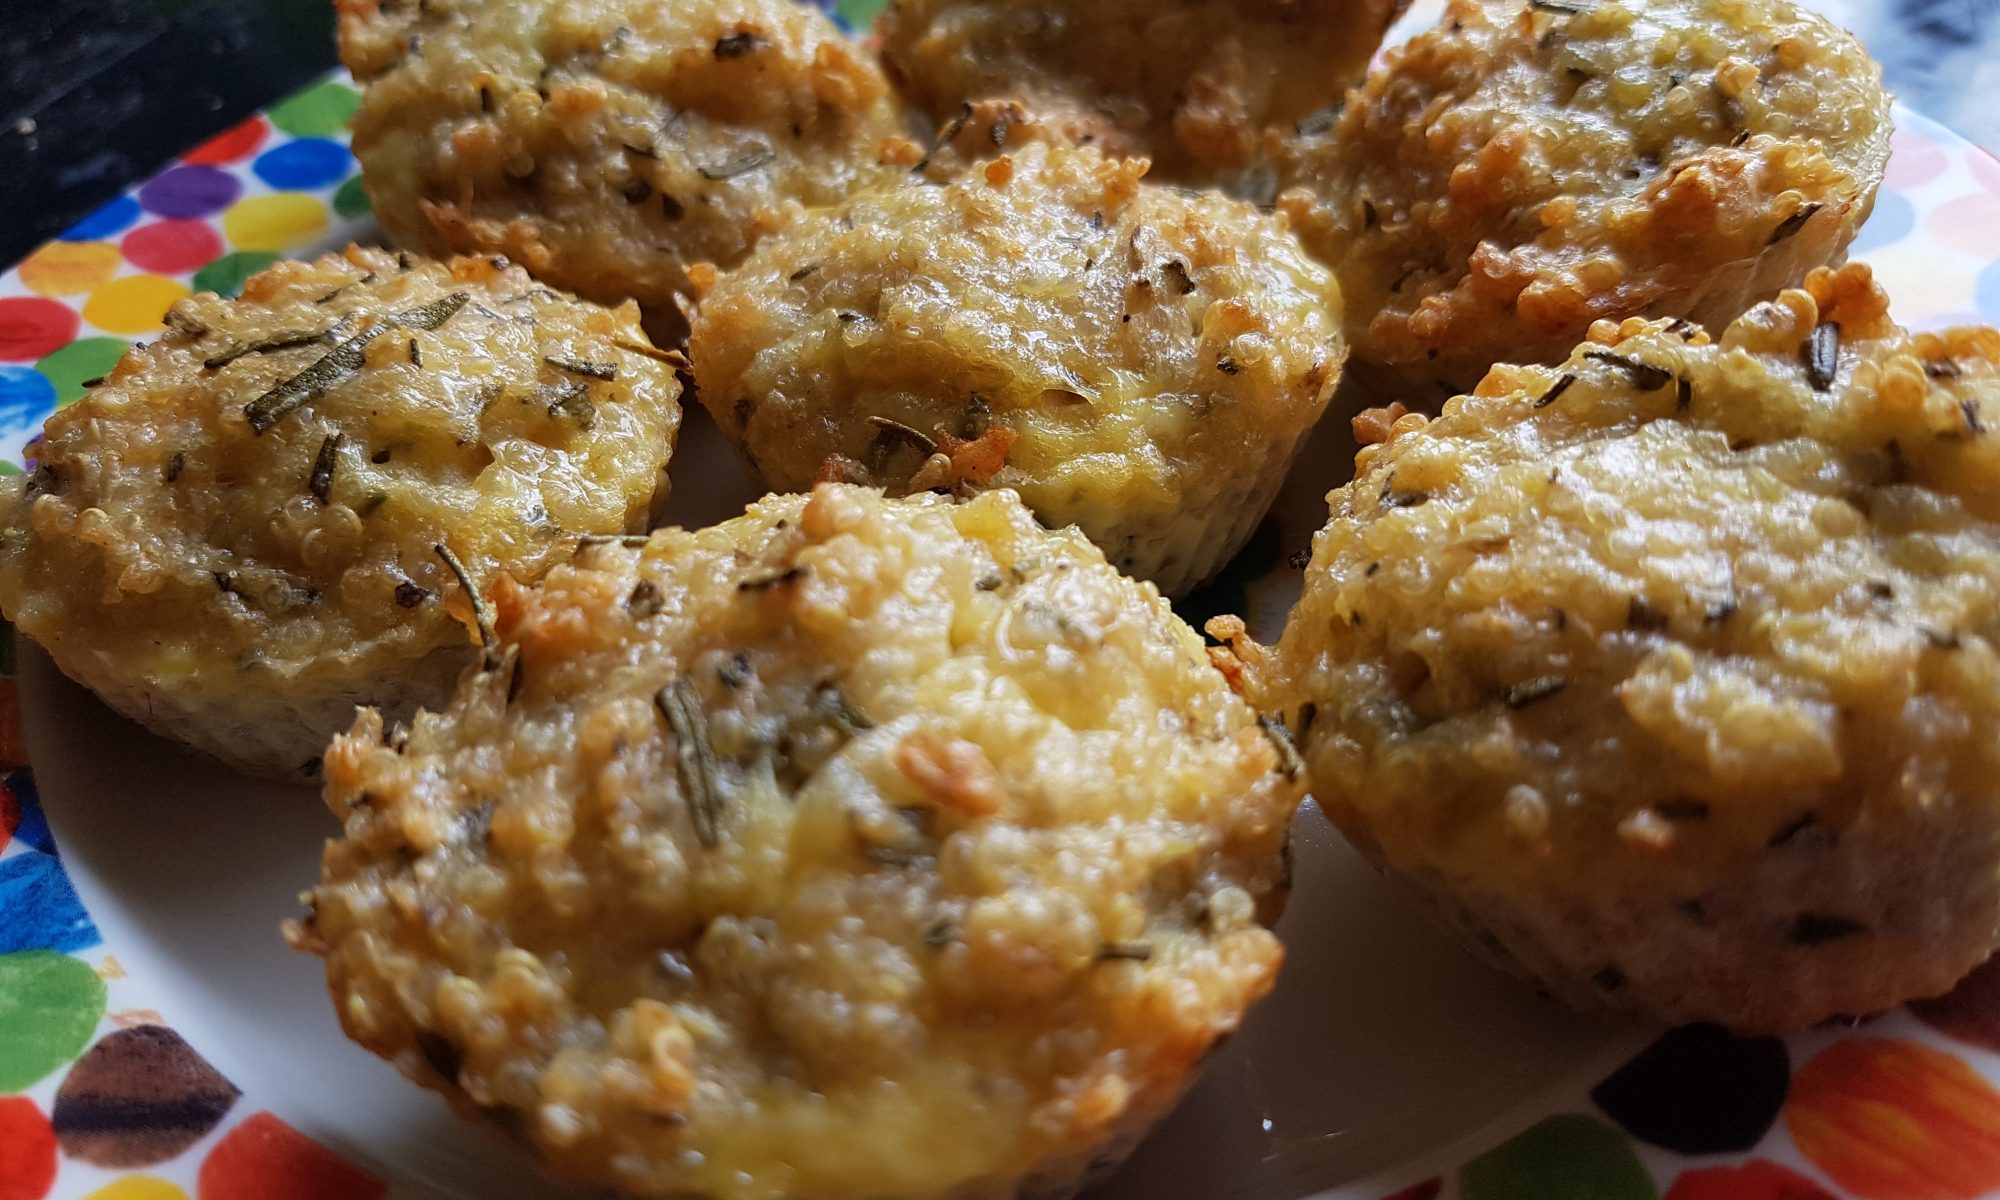
Otherwise I would have to consider renaming the blog Just Add Rosemary. I can report that the rosemary bush in the garden is now looking somewhat smaller – please don’t misunderstand me, we still have more rosemary than any family would want to eat in a year, but I seem to have banished the need to use it all up.

Whenever we use herbs and spices, I am always letting the kids have a smell so they can get a feel for the flavour before we use it and therefore be more 
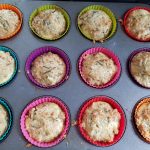
likely to enjoy it or barely notice it in the recipe.The children now recognise the scent of rosemary and are happy when we use it. Atticus is in fact always offering to go and get me more for the cooking projects that we do. This is even for projects which don’t require it, and as I have been using it is all sorts of things recently this isn’t really surprising! It is not as if we are running low on the stuff so I see no need to complain if he is enjoying himself.

I have been wanting to try quinoa in muffins for a while. Initially I had in my head to use them in something sweet, but then after eating a quinoa salad I changed my mind and decided that savoury muffins would be really tasty. That is how these rosemary and parmesan quinoa muffins came about.

Ingredients

  • 150g uncooked quinoa
  • 450ml water
  • 200g finely grated parmesan
  • 3 large sprigs of rosemary
  • 4 eggs
  • Salt and pepper

Method

  1. Place the quinoa and the water in a pan and bring to the boil. Simmer for 15 minutes until the quinoa is tender. Allow to cool. I did this bit for Atticus and Ophelia.
  2. Preheat the oven to 170°c fan.
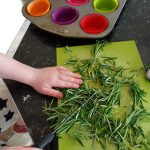
  3. Grate the parmesan with or without the help of your little people.
  4. Wash and dry the rosemary. Take the rosemary off the stalks and chop. Atticus enthusiastically pulled it all off the stalks and then helped with the chopping. This will need quite a sharp knife, so there was discussion about sharp knives, being careful and paying 
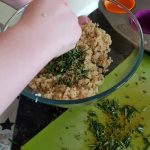
attention and not getting distracted.
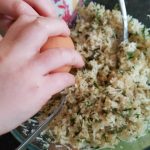
  5. Put the cooled quinoa in a big bowl. Add the chopped rosemary, the parmesan and a small amount of salt and pepper.
  6. Crack the eggs in and mix thoroughly.
  7. Evenly distribute between the 12 muffin cases and cook for 25 minutes.
  8. Remove from the oven and allow to cool on a wire rack.


Waldorf-style Sandwich Filler

I don’t know about you, but I find it ever so easy to get 
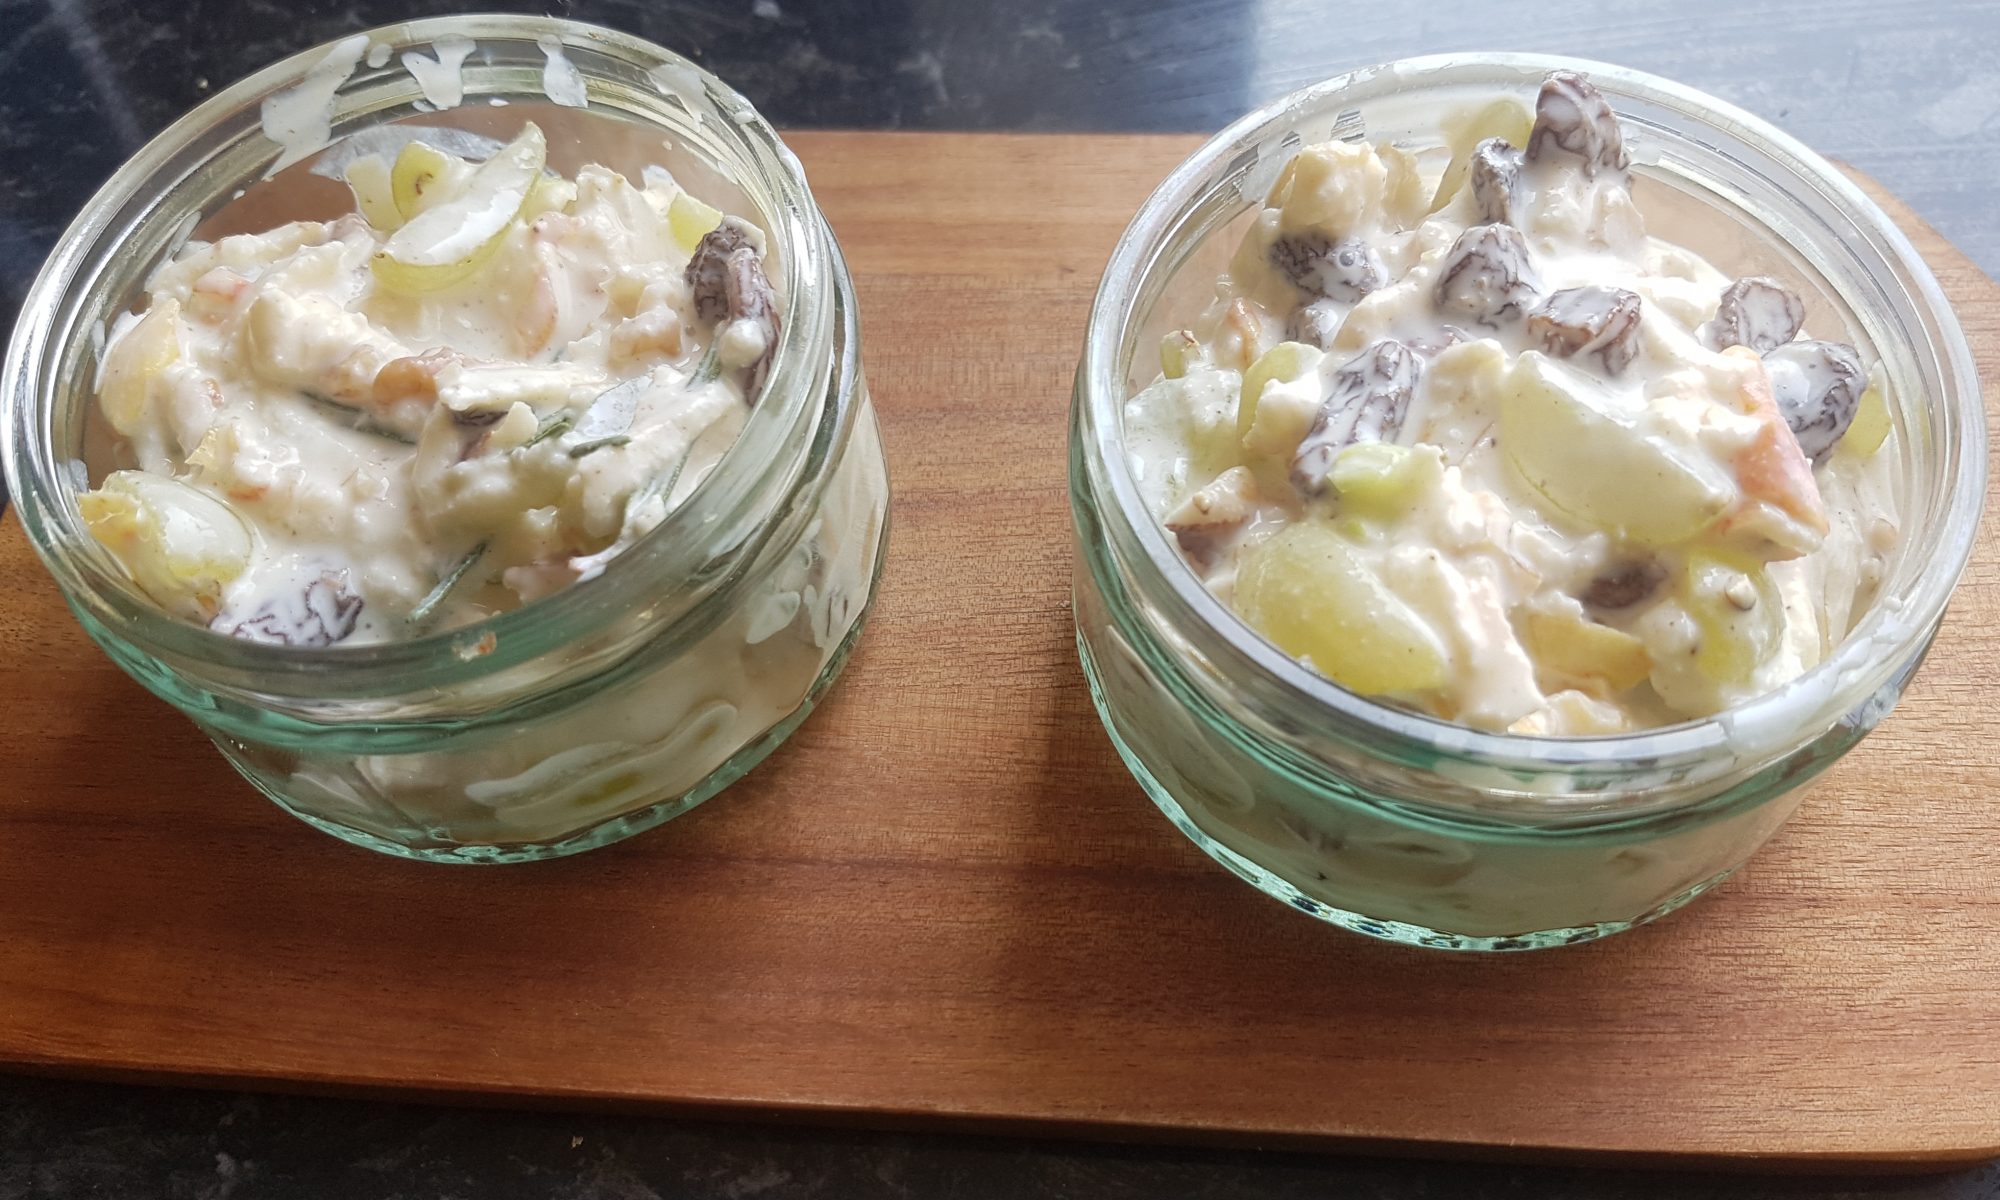
stuck in a rut with the children’s lunches; sticking to what I know they will eat to prevent tantrums and just to make my life that little bit easier. Then I remember that this makes life boring so I try and change it up a bit. We made salmon paste last week, which we hadn’t done for an age, and it was very well received. This week I decided we would try something completely new with Atticus and Ophelia to mark British Sandwich Week 2018. I have been looking at summer salad recipes and I kept on coming back to the Waldorf salad. The kids love apples and grapes and walnuts so I thought we could create something there.

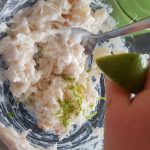
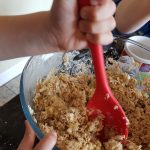
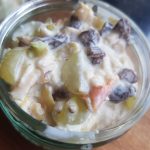
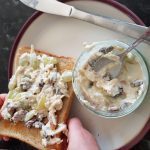
Atticus and Ophelia loved making this and both got completely involved, probably due to all the mixing fun. It worked well as a sandwich filler although mine preferred to eat it out of the small tubs with spoons rather than eat the bread too. I think in future I may well let them have it with crackers and breadsticks for a fun create your own lunch.

Ingredients

  • 2 small apples
  • Juice of half a lemon
  • 10 grapes
  • 1 spring onion
  • a couple of child-sized handfuls of raisins
  • a couple of child-sized handfuls of walnuts
  • 2tsbp Greek-style natural yoghurt
  • 2tbsp cream cheese
  • 2tbsp ricotta
  • Seasoning
  • 1tsp rosemary
  • 1/8tsp mustard powder
  • 1/8tsp cumin

Method

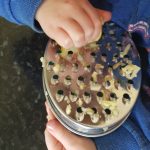
  1. Grate the apple and put it in a bowl. Add the lemon juice to prevent it from going brown.
  2. Slice the grapes into quarters using a table knife and add to the bowl and mix.
  3. Cut the spring onion either using scissors or a table knife and add to the bowl and mix.
  4. Add the raisins and walnuts (chop into pieces if not already chopped) and mix.
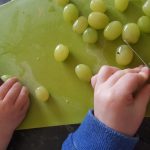
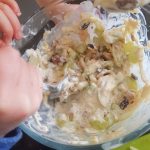
  5. Add the yoghurt, cream cheese, ricotta, rosemary, mustard powder, cumin and seasoning and mix until thoroughly combined.
  6. Store in the fridge until ready to use.

Pizza Scrolls

Children love pizza. I know there are rare exceptions to the rule, but what is not to like?! A yummy doughy base with a rich tomato sauce and an avalanche of melted cheese… Just thinking about it transports me back to the part of my year abroad that I spent in Italy and reminds me of all the delicious pizzas I sampled in the name of improving my Italian to meet my degree requirements. My kids are firmly planted in the we love pizza camp and cheese on toast comes with tomato paste on the toast as standard in our house. I do, however, feel the need to keep my life interesting and the kids do enjoy making what we call pizza scrolls. What they actually are is cheese and tomato croissants but rolled up like a savoury Chelsea bun.

To make this recipe you will need:

⦁ 1 tin of Jus -Roll croissants
⦁ Cream cheese
⦁ Tomato paste
⦁ Grated cheese of choice (we tend to use cheddar or mozzarella)
⦁ Dried mixed herbs or basil
⦁ Butter/margarine for greasing
⦁ 20cm circular springform tin

Method

1. Start by preheating your oven to 180ºc fan and let your child grease the tin. We use a silicone pastry brush and I let the kids ‘paint’ the margarine or butter all over.

2. Put 5 tablespoons of cream cheese in a bowl and mix with a couple tablespoons of tomato paste and add 2tsp of herbs. Mix well. My kids always love commenting on how the cream cheese is no longer white and act terribly surprised when it turns pink.

3. On a lightly floured surface (we tend to use a floured silicone baking mat on our counter) unwrap the croissant tin and unravel the croissants. Very gently squeeze the perforations together to ensure there are no holes in the pastry.

4. With the back of a spoon evenly spread the cream cheese mixture all over the pastry making sure all the corners are covered.

5. Sprinkle grated cheese on top. You will need a couple of adult-sized handfuls for this.

6. Choose an end and role the pastry up into a big scroll. It is important to keep it as tight as possible. Cut it into 6 even slices and place one in the middle of the tin and the others around it. Apply a thin milk glaze and then sprinkle with some grated cheese.

7. Place in the oven for 20 minutes. Check on it at 15 minutes and if it is browning too quickly cover with a foil hat until completely cooked.

8. Remove from the oven and these can be enjoyed warm or cold.

I shouldn’t have been surprised when these came out the oven that Atticus instantly declared that he wanted the middle one. Luckily it is very easy to separate them without any structural issues!