Tropical Upside-down Cake

We have now been here in the Falkland Islands for one whole year. Social media provided the first reminder with photos and posts about packing this time last year. The other task that made it tangible was when I faced up to the inevitable fact that I needed to rearrange the kitchen cupboards. We were swiftly running out of space and every time I opened a cupboard, I would have to play dodge the flying items that may come tumbling out of the aforementioned cupboard! That job is now over and now I have another 12 months or so before I have to face undertaking the task again.

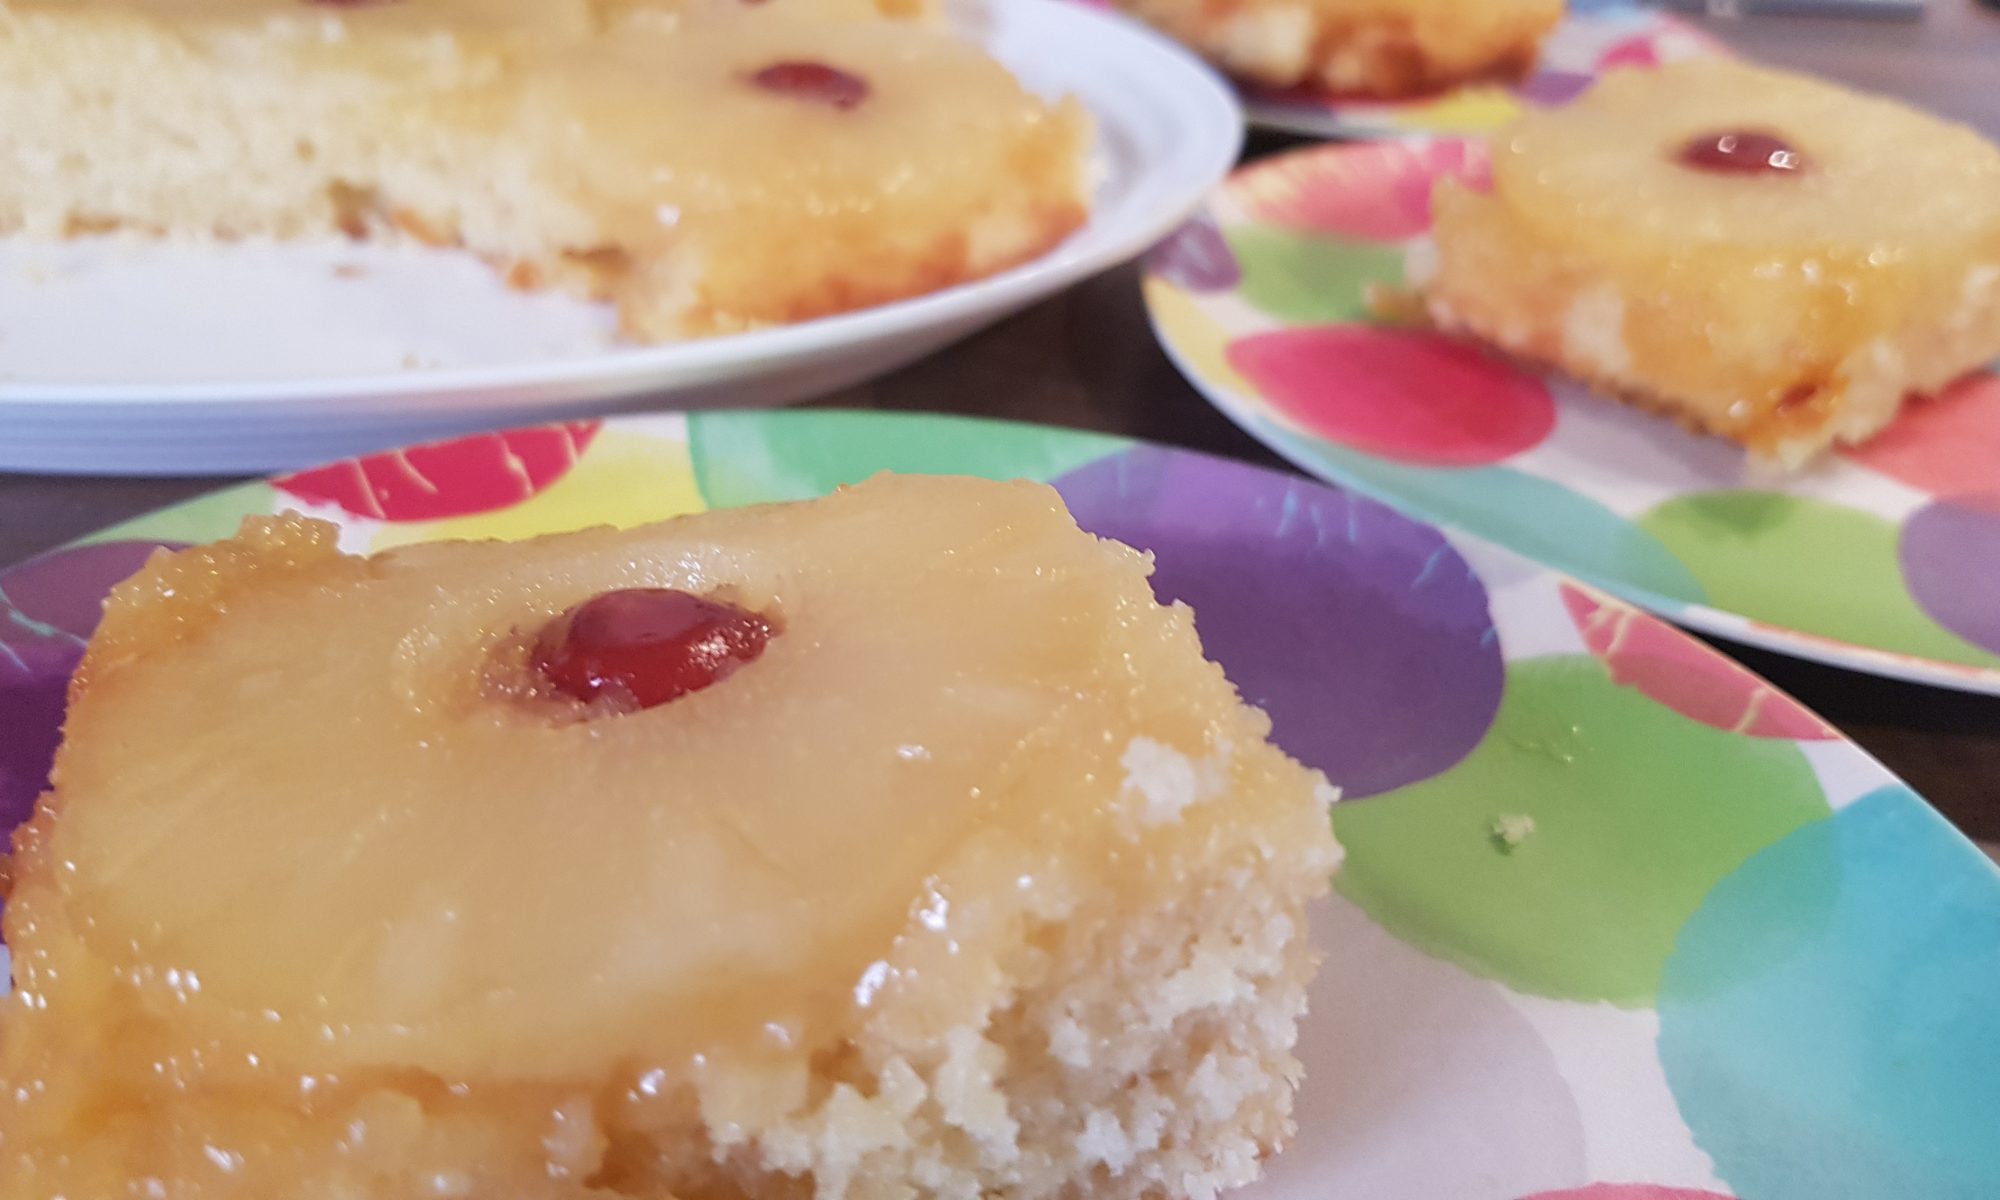
Our first post from the Southern hemisphere was for Tropical Flapjacks so it seemed rather fitting that the post to mark our year anniversary in the Falkland Islands was also tropical! The kids all helped me make this Tropical Upside-down Cake and definitely contributed to eating it! As they get older I keep on telling myself that they may not want to carry on cooking or baking with me, but as yet we haven’t reached that moment. I am hoping that we can postpone it for as long as possible.
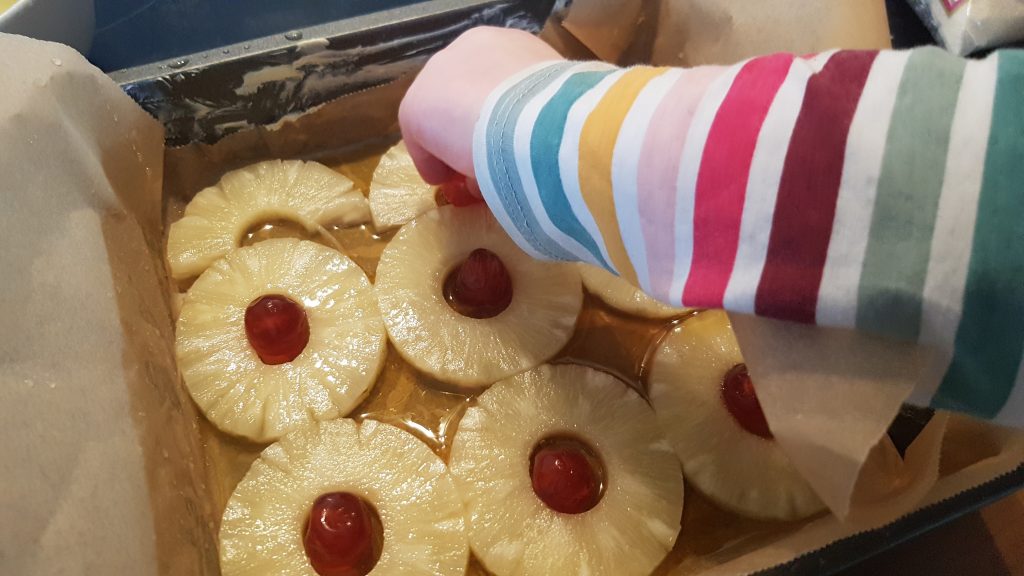
A cherry for the middle of each pineapple ring and each half ring – to make Ophelia happy.

Highlights with this recipe were measuring the golden syrup (I guess for all the mess it made….), laying the pineapple out and ensuring each ring had a cherry centre. As usual, licking the spoon was also a highly enjoyable moment.

To make our Tropical Upside-down Cake you will need:
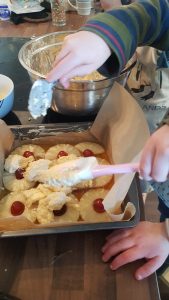
Spreading the cake over the fruit.
  • 125g butter/margarine
  • 125g golden syrup
  • 6 pineapple rings
  • 6 glacé cherries
  • 150g caster sugar’
  • 150g self-raising flour
  • 50g desiccated coconut
  • 2 eggs
  • 2-3tbsp milk
  • 2-3tbsp lime juice

Method:

  1. Grease and line your 22cm square cake tin and preheat the oven to 160°c fan.
  2. Put the golden syrup into a microwaveable bowl and gently heat in the microwave for 20-30 seconds until it is a runnier and can be poured.
  3. Pour the golden syrup into the lined cake tin and gently move the edged to ensure that the parchment in completely covered.
  4. Put your pineapple rings on top of the golden syrup and put a glacé cherry inside each one.
  5. Beat butter and sugar together.
  6. Add the eggs and mix.
  7. Gently fold in the flour and desiccated coconut.
  8. Add the milk and lime juice to create a thick mixture which easily drops off the spoon.
  9. Put the cake batter over the pineapples and ensure they are all covered.
  10. Put in the oven for 30-35 minutes until golden and springy to the touch.
  11. Leave to cool for 5-10 minutes in the tin and turn out. Serve warm or cold.

I did find this cake rather moreish and I am eager to make some more, but my list of recipes to try is growing so it might end up being relegated to the next school holiday as the kids worked so well as a team making it!

Yummy yummy cake.

Fruity Filo Pie

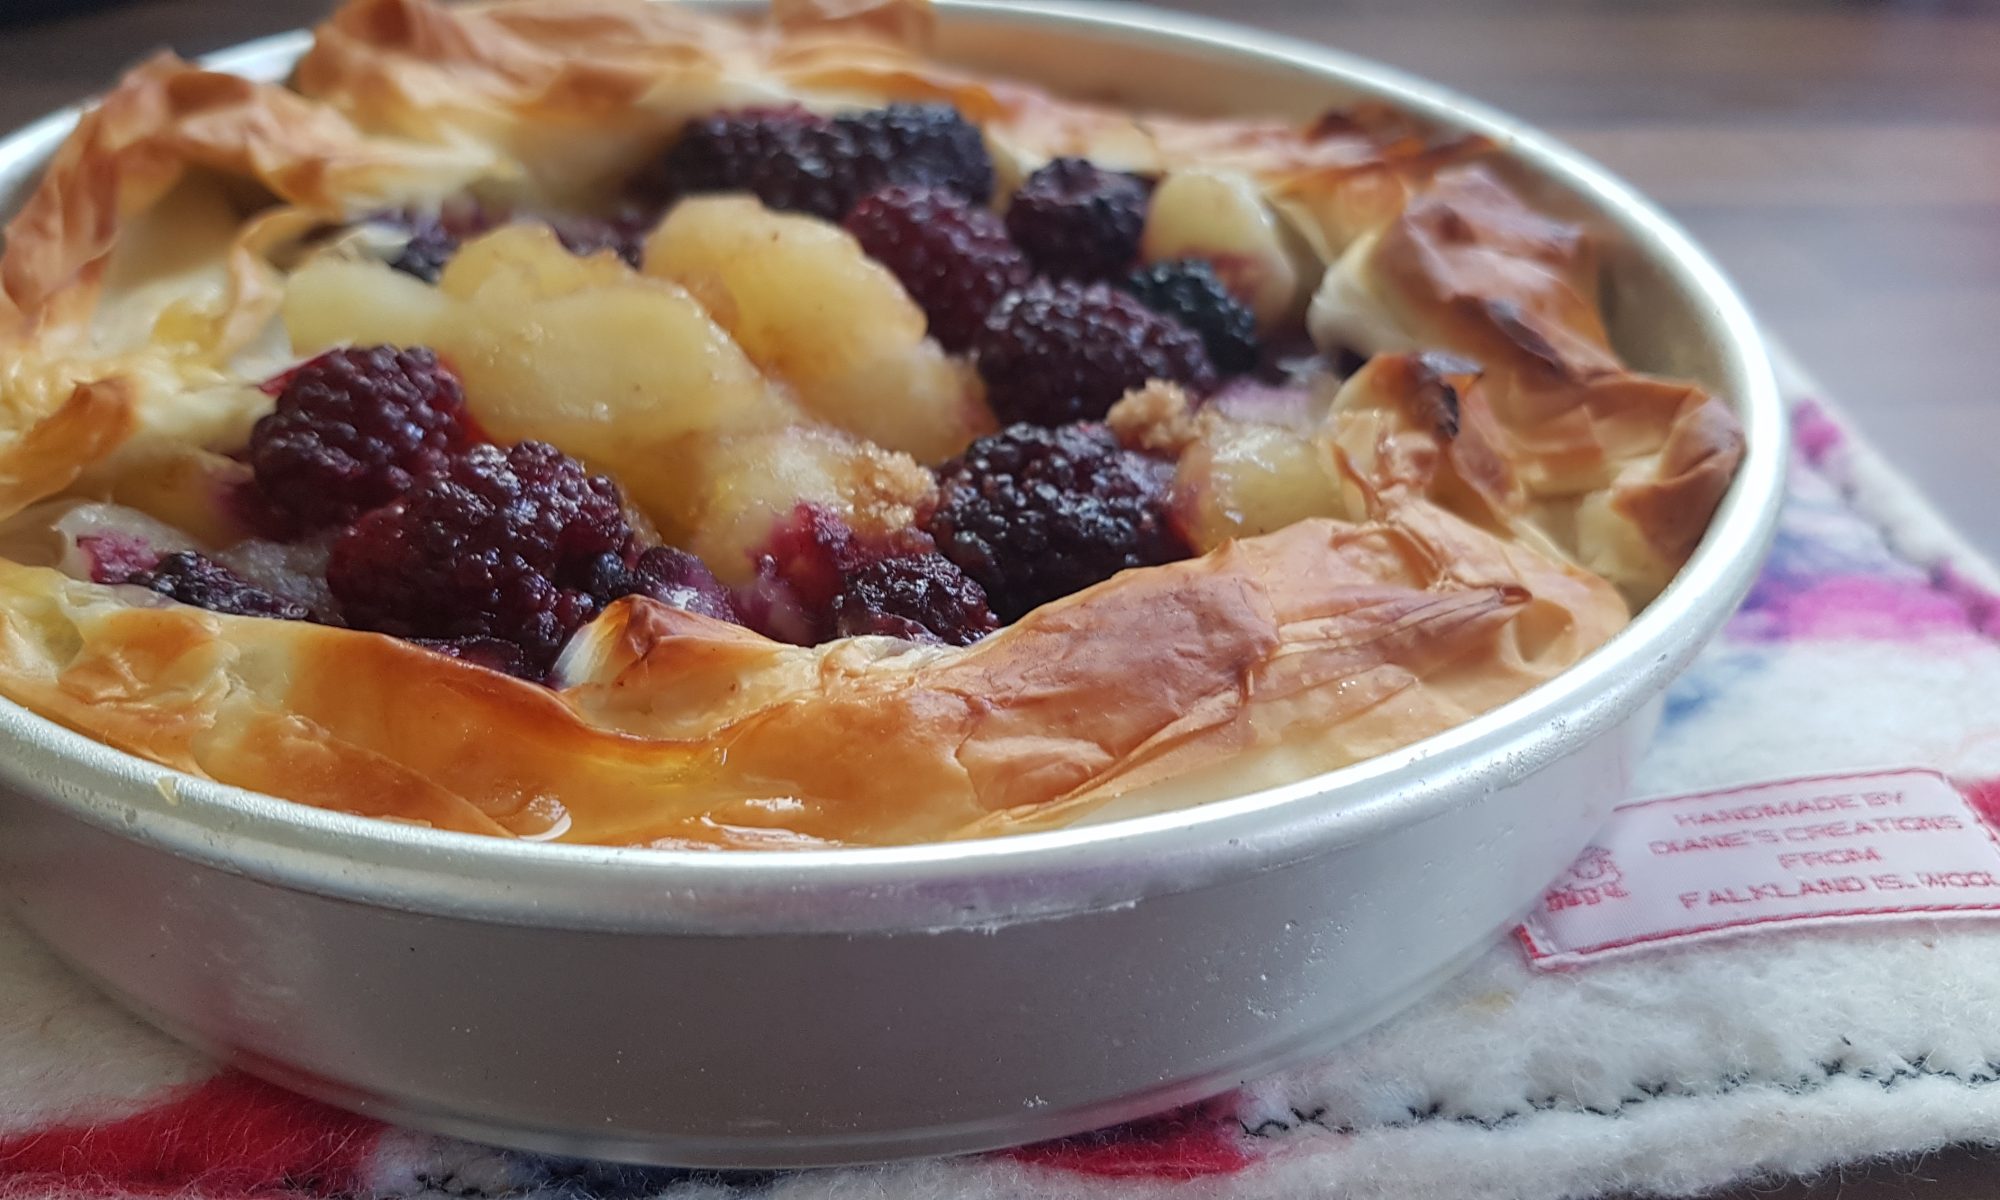
I am always on the hunt for super simple dishes that the kids can help with in the kitchen. Recipes that they can take ownership of the whole way through and can proudly share with the rest of the family. This pie fits the bill perfectly. An added bonus, by using tinned fruit there is very little washing up. Although that said, my younger two are rather obsessed with washing up even if they do tend to flood the kitchen floor!

Sprinkle on the sugar.

Ophelia (three going on thirty) made this with me during the our first or second week off school during our Falklands lockdown. It hasn’t been written up until now as all the days seem to have blurred into one and the idea of writing a recipe up after trying to help all the kids with their school work just seemed like one job too many at the end of so many days!

For us here, the kids go back to school on Monday. I will miss my little partners in crime, but I am looking forward to having some time without them in the house undoing the work I have tried to do or ‘help’ me in the most unhelpful ways. Such as loading dirty dishes into the clean dishwasher or emptying the washing machine and not telling me leaving the wet laundry in a hidden place! That said, they all do love hoovering and as previously mentioned washing up. It’s such a shame they are no so eager to tidy up their toys or the remnants of the day’s school so we can eat supper on the table later in the day.

This recipe was a huge hit and has minimal added sugar, so it could be classed as a relatively healthy recipe with only 4 ingredients!

To make a fruity filo pie you will need:

  • 5-6 sheets of filo pastry
  • 1 tin of apples or other fruit (we also added a small handful of frozen blackberries)
  • 2 tbsp light brown sugar
  • 3-4 tbsp melted butter/margarine.
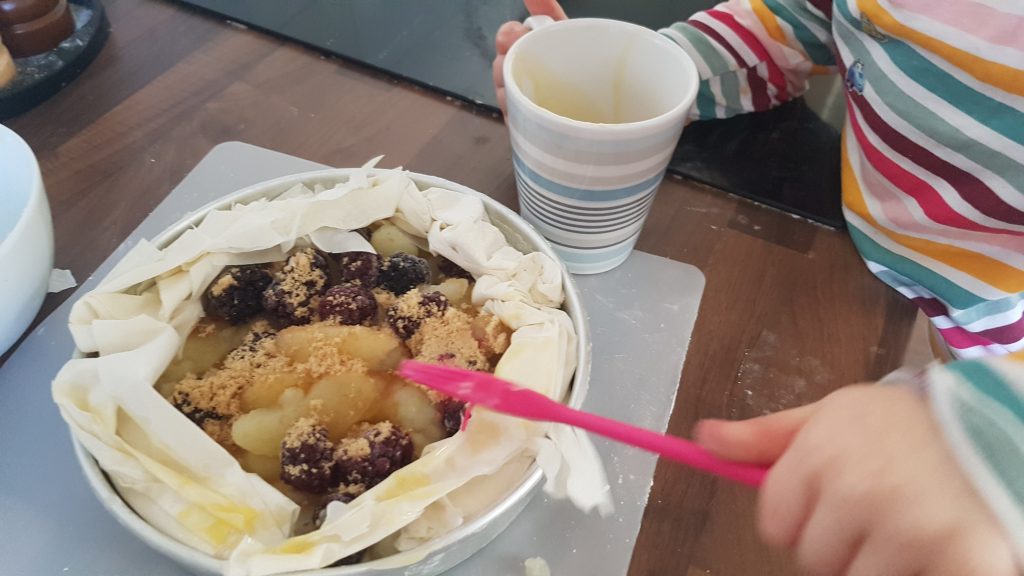
Painting on the melted butter.

Method

  1. Grease a 20cm shallow cake tin with melted butter.
  2. Preheat the oven to 160°c fan
  3. Gently fold the large rectangle of filo pastry in half and place on the bottom of the cake tin.
  4. Leave the excess filo pastry hanging out of the tin.
  5. Spoon in the fruit (if you have chosen a fruit with juice or syrup, take care not to add the liquid or you will end up with a soggy pie.
  6. Once the fruit is added, gently scrunch the edges of the filo pastry to create the walls of the pie.
  7. Sprinkle the brown sugar on top of the fruit.
  8. Paint the filo pastry scrunch with melted butter.
  9. Place in the over for 15-20 minutes until the pastry is golden brown and cooked.

The kids loved this pudding and Ophelia happily shared it out telling each brother which piece they could have. It didn’t last for long and we have had several requests for this pudding since then!

Why Share a Cookie?!

I have seen many recent posts on Facebook and Instagram when people are making too many batches of cakes and mentioning that they would be a size larger at the end of lockdown. I have really taken this to heart and started pondering the idea of making a single cookie.  One means you don’t have to share it and also that you get the satisfaction of a delicious baked cookie and doing an activity either on your own or with your kids and not worrying that it could be a piece of cake (or cookie) too far and risk sending you into a sugary haze. Kids how about you try to convince your grown up that this is the best idea?  You can scoop out all the ingredients yourself and not have to share the cookie! Did I mention that this recipe doesn’t contain egg and can easily be made dairy free or vegan by using vegan spread and chocolate. It uses only a small amount of ingredients so you don’t have to be overly concerned about running out.

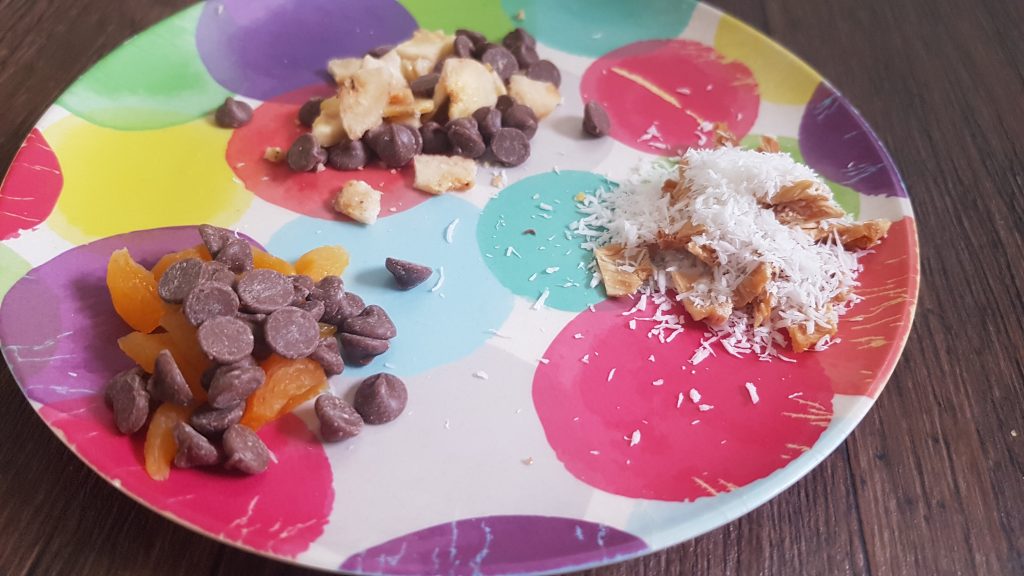
The add ins for the cookies.

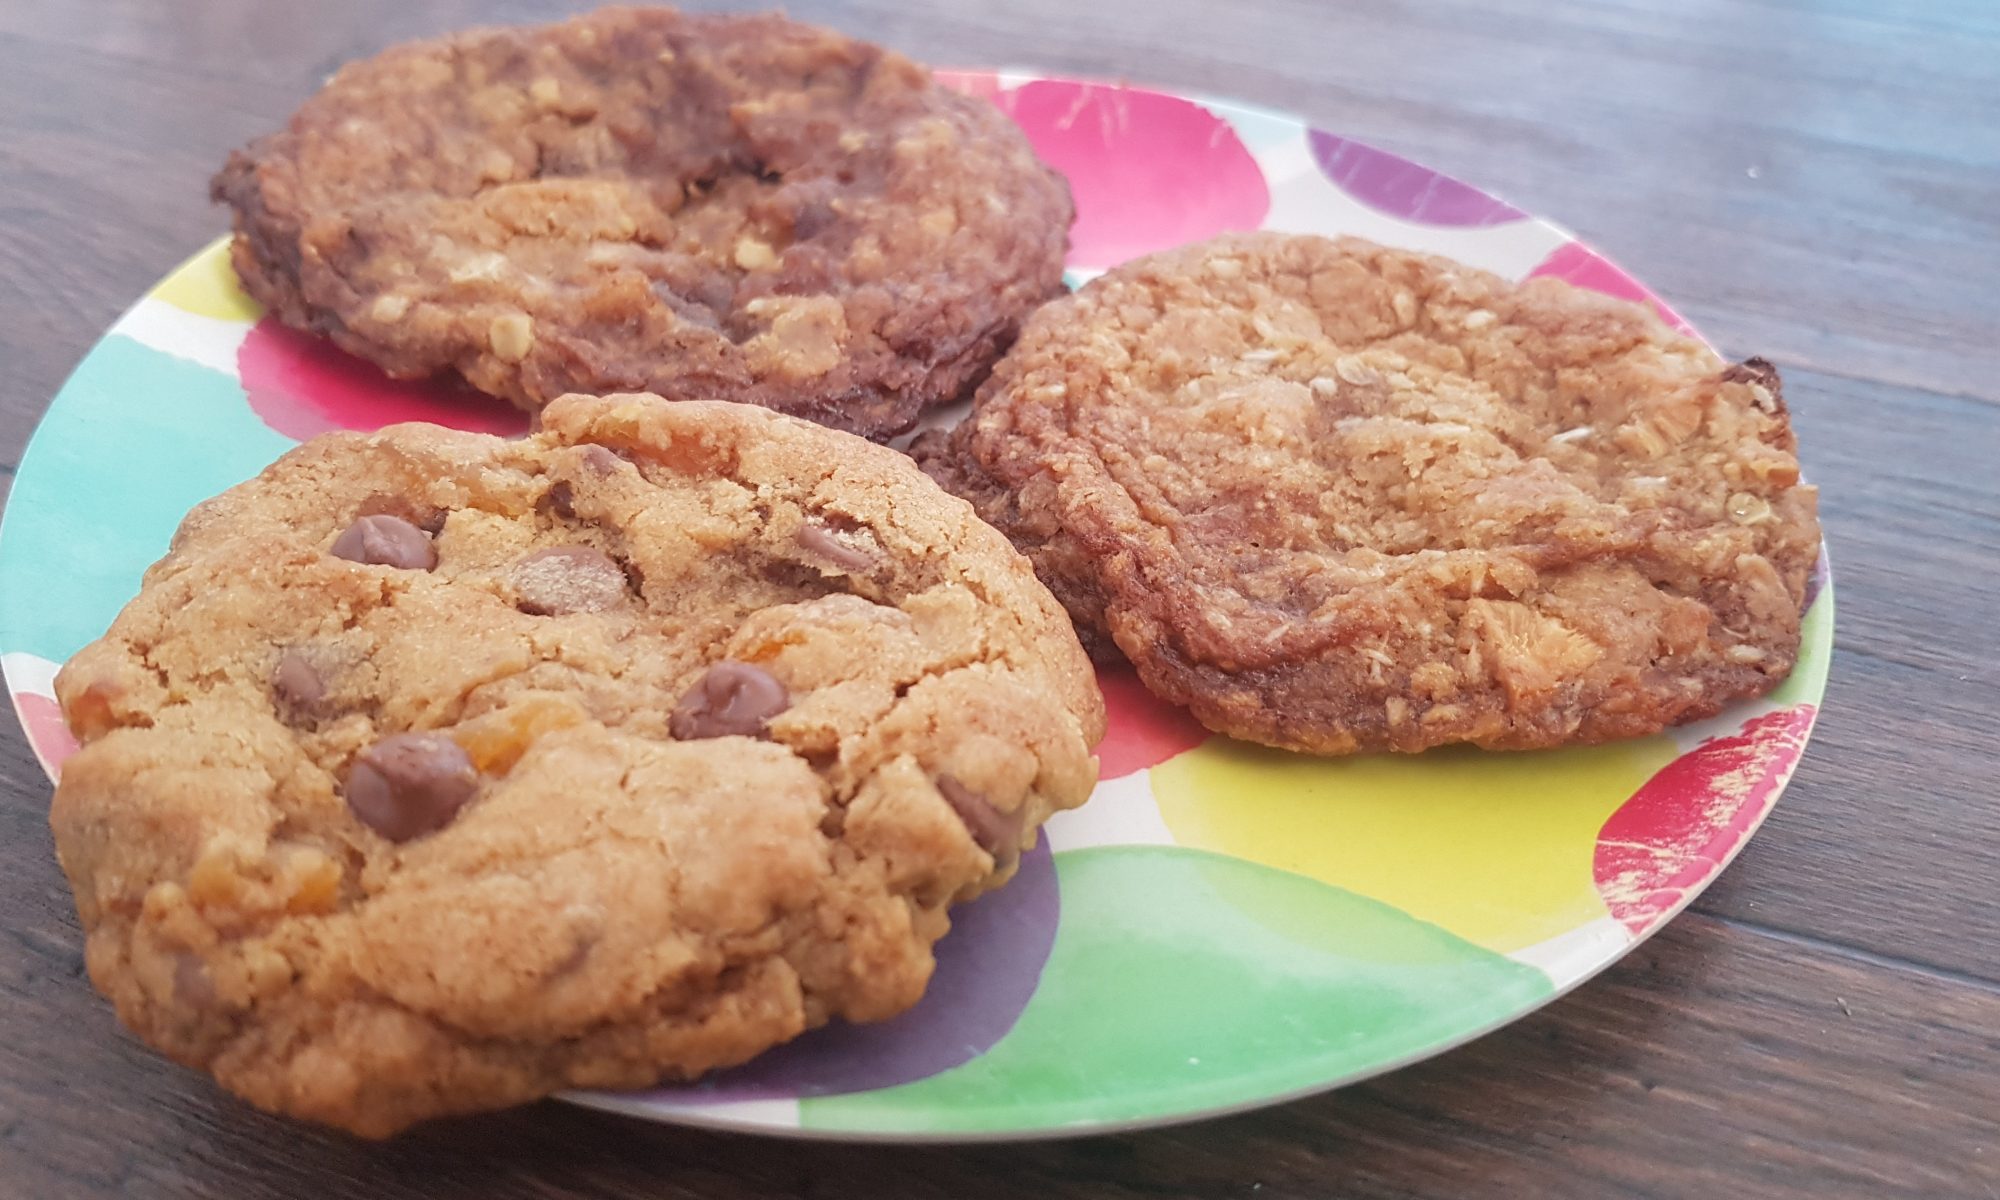
My kids each chose a different tablespoon of add ins to make their cookie personal so we ended up with apricot and chocolate, dried banana and chocolate and dried pineapple and coconut. They all smelled delicious and I was honoured when Ophelia deigned to share some cookie with me! Surprised would be an understatement.

The kids would like to see your cookies; it would really brighten our day. Please do put them on our Facebook page or tag Just Add Patience on Instagram so we can see how you have got on!

To make a single-serve cookie you will need:

  • 1tbsp margarine/unsalted butter – we have found margarine is easier for the kids to scoop as I never remember to take it out of the fridge in advance.
  • 1tbsp light brown sugar
  • 1/4tsp vanilla extract
  • 2tbsp flour
  • 1/8tsp bicarbonate of soda
  • Pinch of salt
  • 1tsp oats
  • 1tbsp chocolate/dried fruit
Gently flatten.

To make a cookie:

  1. Preheat the oven to 160°c fan and line a baking sheet with a silicone baking mat or parchment.
  2. Put the butter, sugar and vanilla in a small bowl and cream together using a teaspoon.
  3. Add the flour, bicarbonate of soda and oats and salt into the bowl and mix to combine. My kids enjoyed using their hands to bring it together.
  4. Add in the chocolate/dried fruit and roll into a ball.
  5. Place on the baking tray and flatten slightly with your hand.
  6. Cook for 10-12 minutes and allow to cool on the tray – warm cookies are fragile.

Condensed Milk Doughnuts

Divide it between the tins.
Sifting.

With all that is going on, I have been raiding my cupboards to see what I have to bake with rather than venturing out to the shops. My last trip to the cupboards unearthed a tube of condensed milk and some wholemeal spelt flour. It may be that the logical choice would have been a cookie of some description, but I have had baked doughnuts on the brain since the schools closed on 26 March. My theory was that if I baked them into existence, I might be able to get them off the brain and focus on less sugary and more healthy snacks. I am sure that my next post (whatever it ends up being) will inform you of how successful I have been with that one. I think my kids and husband are all banking on me failing as they quite like having a steady stream of cake in the house!

Yup, Ophelia won.

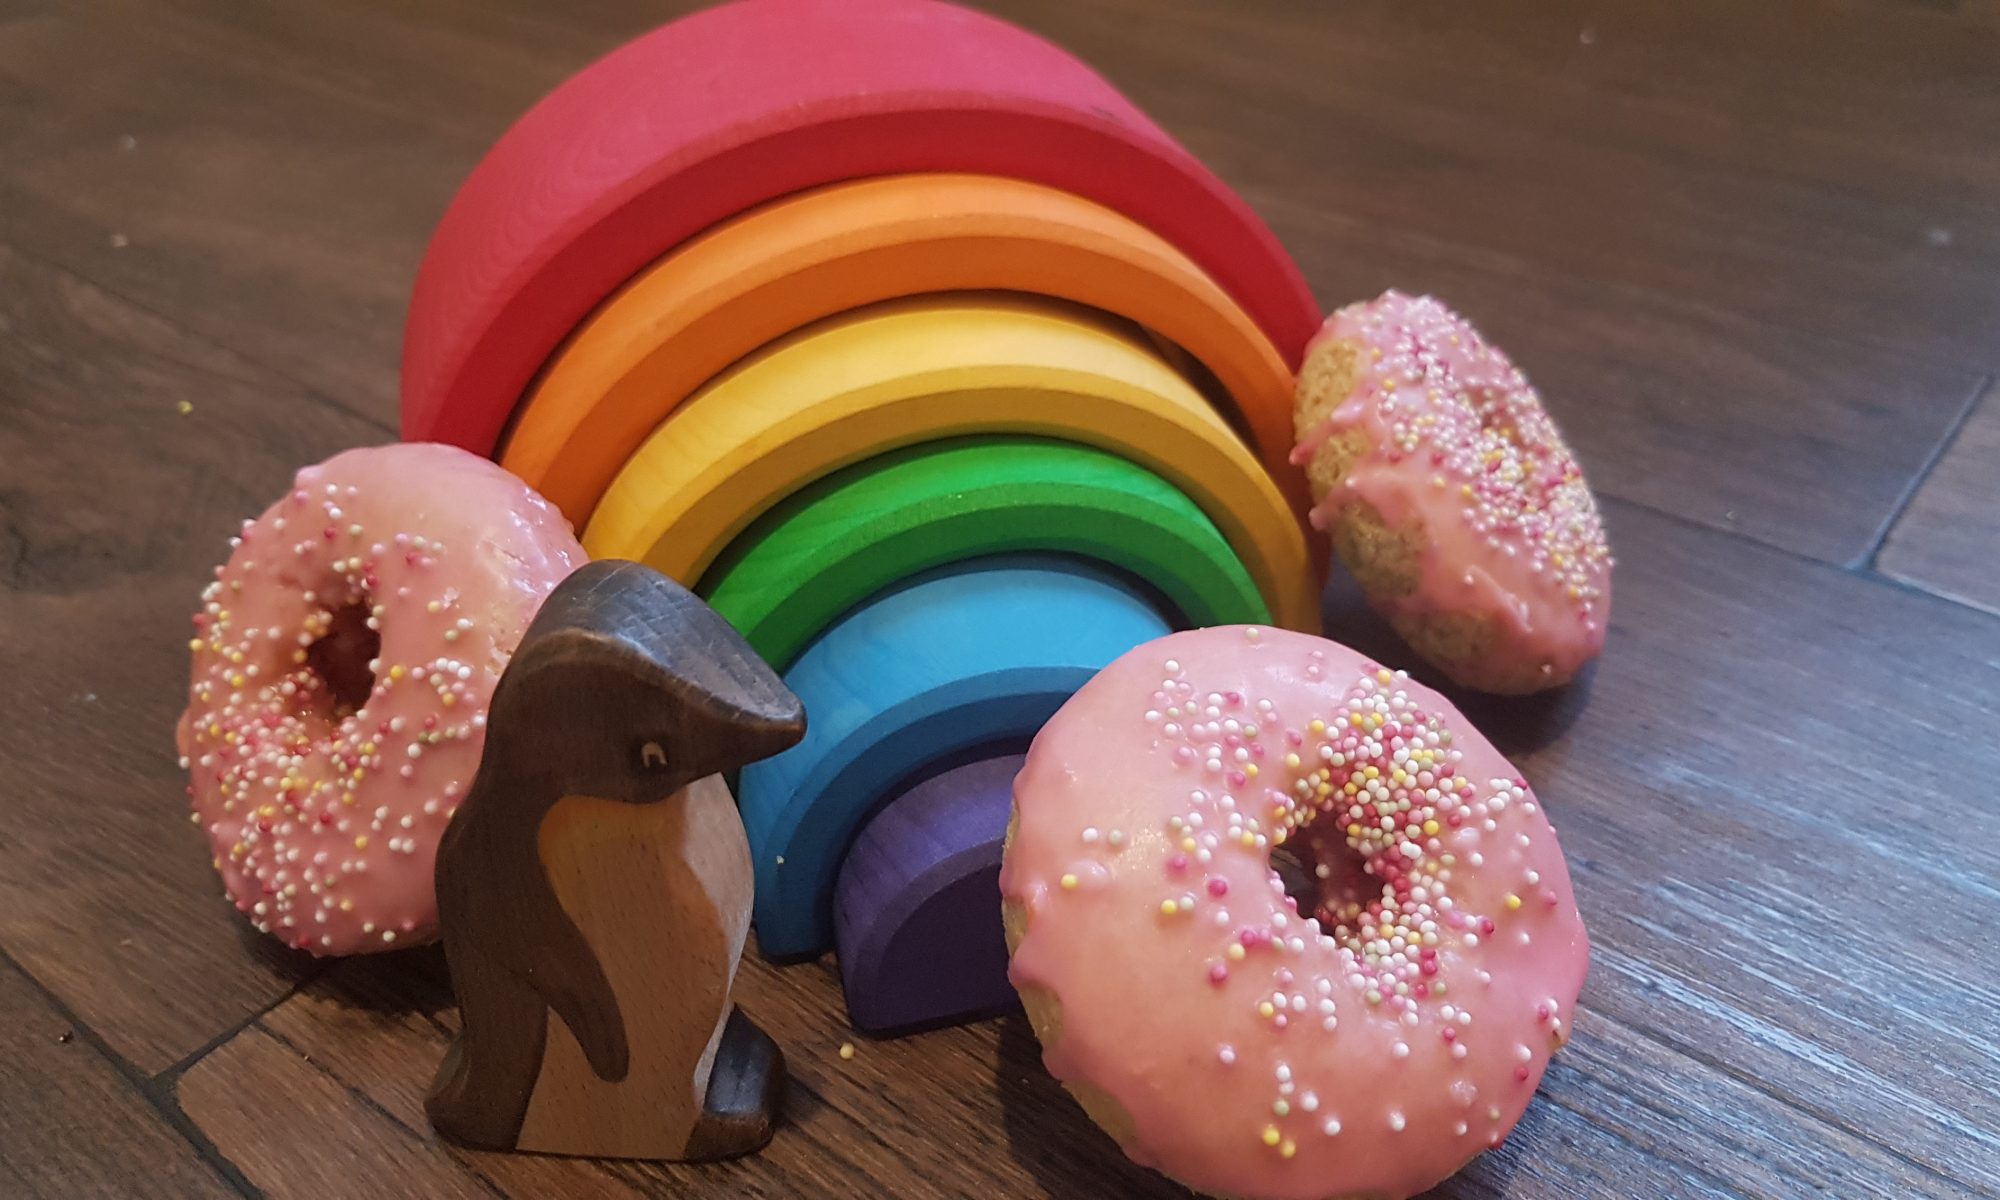
These doughnuts were really fun to make. Ophelia did manage to mix it all up herself, but needed assistance spooning the mixture into the moulds. We both had fun dunking them in the icing and putting sprinkles on them. We shall glide over the creative differences which led these doughnuts to be coated in pink icing rather than peanut butter icing and there are no prizes for guessing who won that discussion…

These baked doughnuts have a rather cake-like texture, but are light and fluffy and so incredibly yummy. Our batch didn’t survive more than 12 hours. If you don’t have a silicone doughnut mould, then you can always make them in cupcake cases.

Doughnut pyramid.

To make six doughnuts you will need:

  • 1 egg
  • 100g condensed milk
  • 25g melted butter
  • 80g flour (we used wholemeal spelt, but have used plain flour in the past)
  • 1/2tsp baking powder
  • 1/2tsp vanilla extract
  • Pinch of salt
  • 100g icing sugar
  • 1-2tbsp of water
  • Pink food colouring
  • Sprinkles

Then:

  1. Preheat the oven to 150°c fan.
  2. Whisk the egg and condensed milk together.
  3. Add the melted butter, vanilla and pinch of salt and mix.
  4. Sift in the flour and baking powder and gently fold into the mixture.
  5. Divide the batter between the 6 doughnut moulds.
  6. Bake for 15 minutes until springy to the touch.
  7. Leave to cool in the moulds for a couple of minutes and then carefully remove from the moulds and allow to cool fully before icing them.
  8. Mix the icing sugar and water in a bowl. Add less water for a thicker consistency. Add a couple of drops of food dye and mix again.
  9. Dip the doughnuts in the icing bowl and decorate with sprinkles.

If you happen to make this recipe, I would be as pleased as punch if you would leave me a comment. Stay safe everyone.

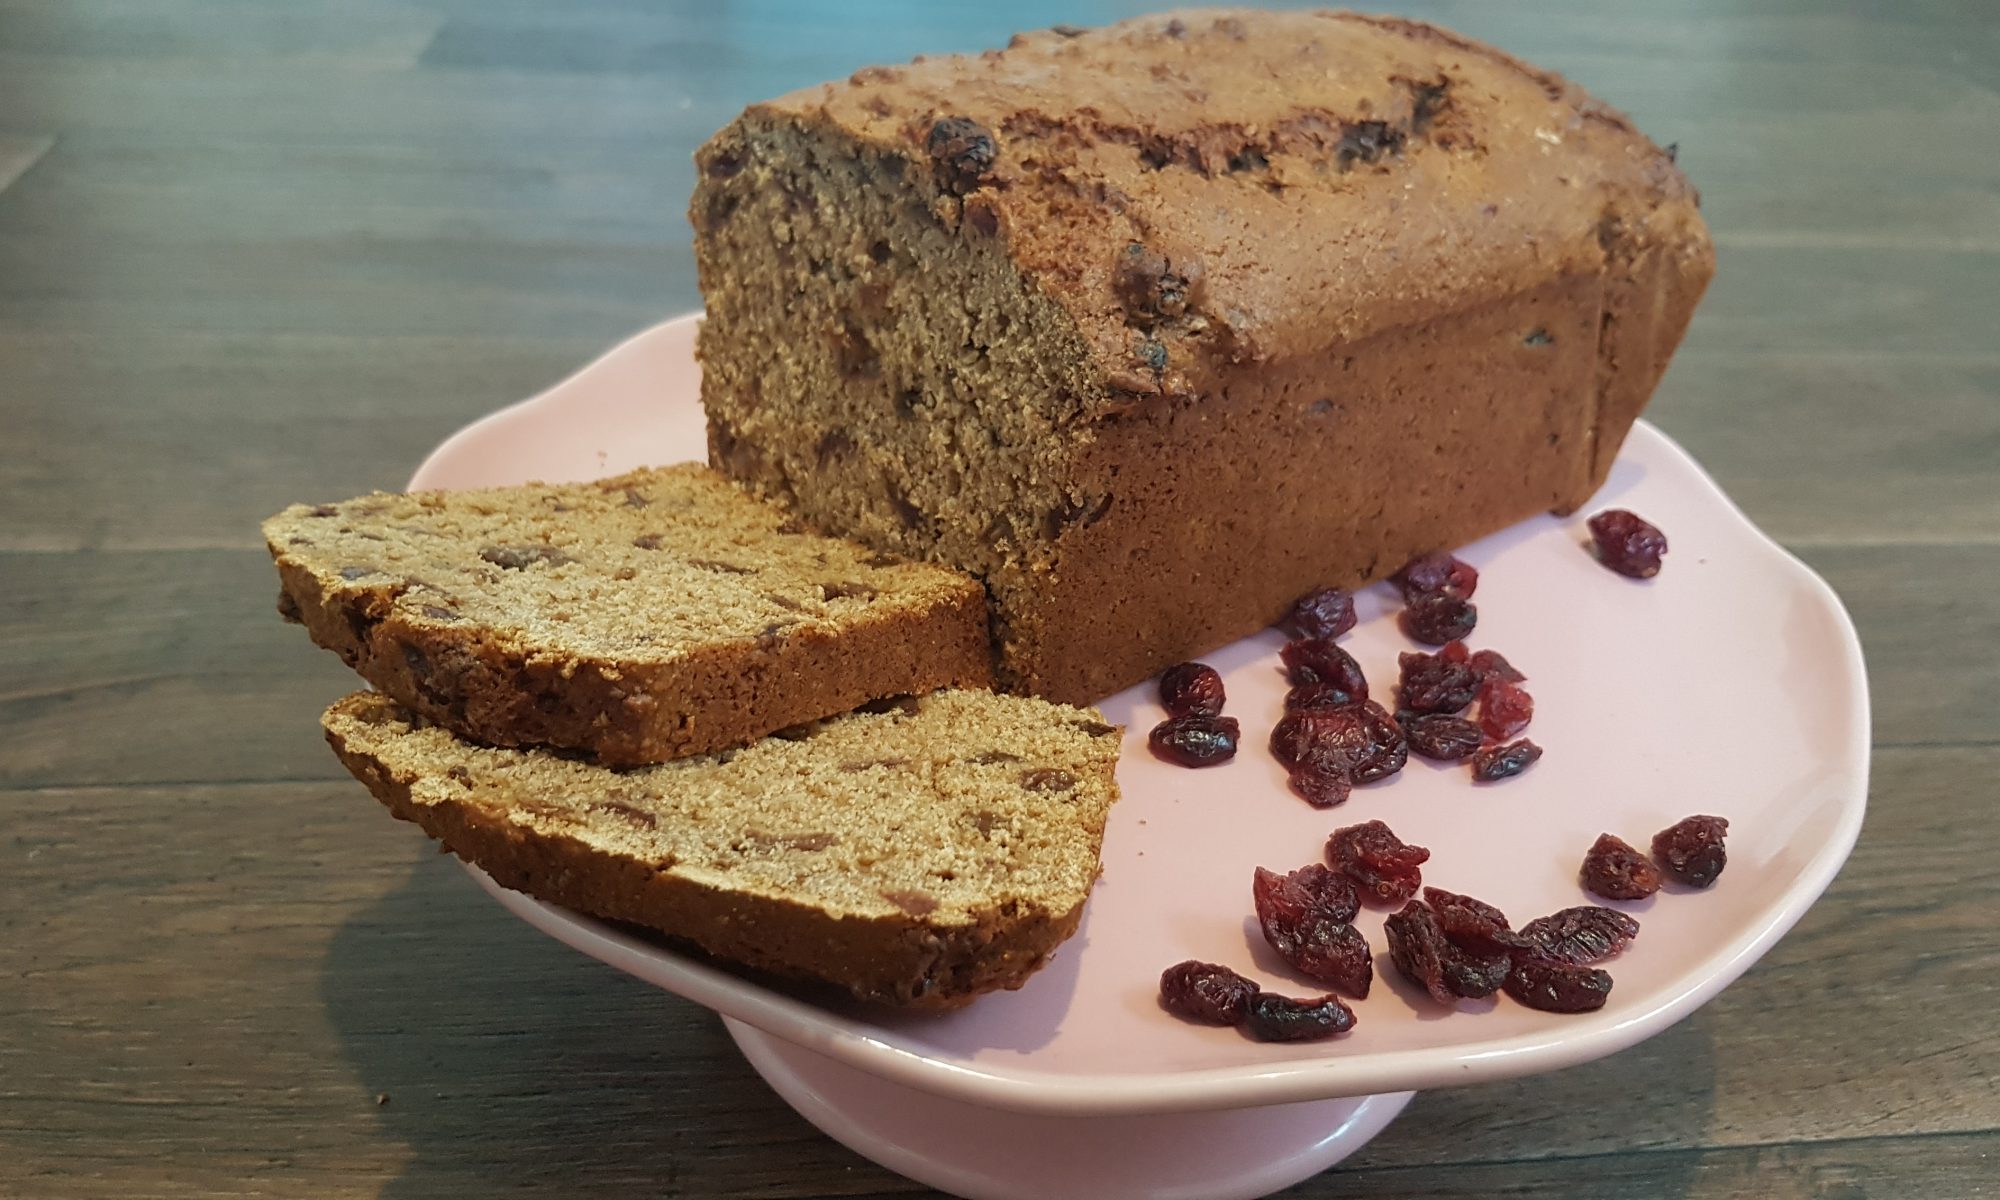
Teabread

My confession: we are not a household of tea drinkers. This may sound sacrilege for a British family, but there you go. My sister is the champion tea drinker in my family. Maybe she has tea running through her veins rather than blood like the rest of us?! I always have to check that I actually have teabags in the house before we have visitors as I have been known to be unable to provide guests with a cup of tea when visiting! When I do buy them, it takes us so long to get through them. Teabread is the only way we really use them.

Into the tin it goes

We always seem to have a load of dried fruit in the house, even more so since we moved to the Falklands. This is probably because our bulk online shop at the beginning of the year mainly comprised cereal, dried fruit, tinned tuna and squash! We are steadily working our way through the many packets of apricots and banana chips, but some of the dates, raisins and cranberries went into this yummy teabread. You could just use raisins and sultanas in this loaf, but I am a particular fan of putting some chopped dates in as they really do give it such a lovely squidgy texture. It is a versatile recipe, an easy to put your own stamp on.

Ophelia really enjoyed using a spoon to transport the dried fruit into the cold tea and spent the rest of the afternoon coming back to check their progress. The following morning after we had dropped the boys at school, the moment we got back to the house, she was immediately asking to put the soaked fruit into cake. There is no doubt at all that she gets that particular characteristic from me!

To make this teabread you will need:

  • 300g dried fruit (we used raisins, cranberries and chopped dates)
  • 2 tea bags made into 475ml tea and cooled
  • 225g soft brown sugar
  • 2 eggs
  • 450g self raising flour (we used a mixture of wholemeal and regular)

Instructions:

  1. Spoon the dried fruit into the cold tea and leave to soak overnight.
  2. Line a large loaf tin with baking parchment and preheat the oven to 160°c.
  3. Beat the eggs into the sugar until completely combined.
  4. Add the flour and the soaked dried fruit (with the remaining liquid) and mix to form a batter.
  5. Spoon the mixture into the tin and level the top with the back of a spoon.
  6. Bake in the oven for 55-60 minutes or until a cake tester comes out clean.

I am not ashamed to admit that my kids have been enjoying a small slice of this for their breakfasts recently. With all the changes in their daily routine, I wanted them to remember some of the fun things, like when mummy allowed them to have cake for breakfast! Much love from our small corner of the world to all my readers and please do stay safe.

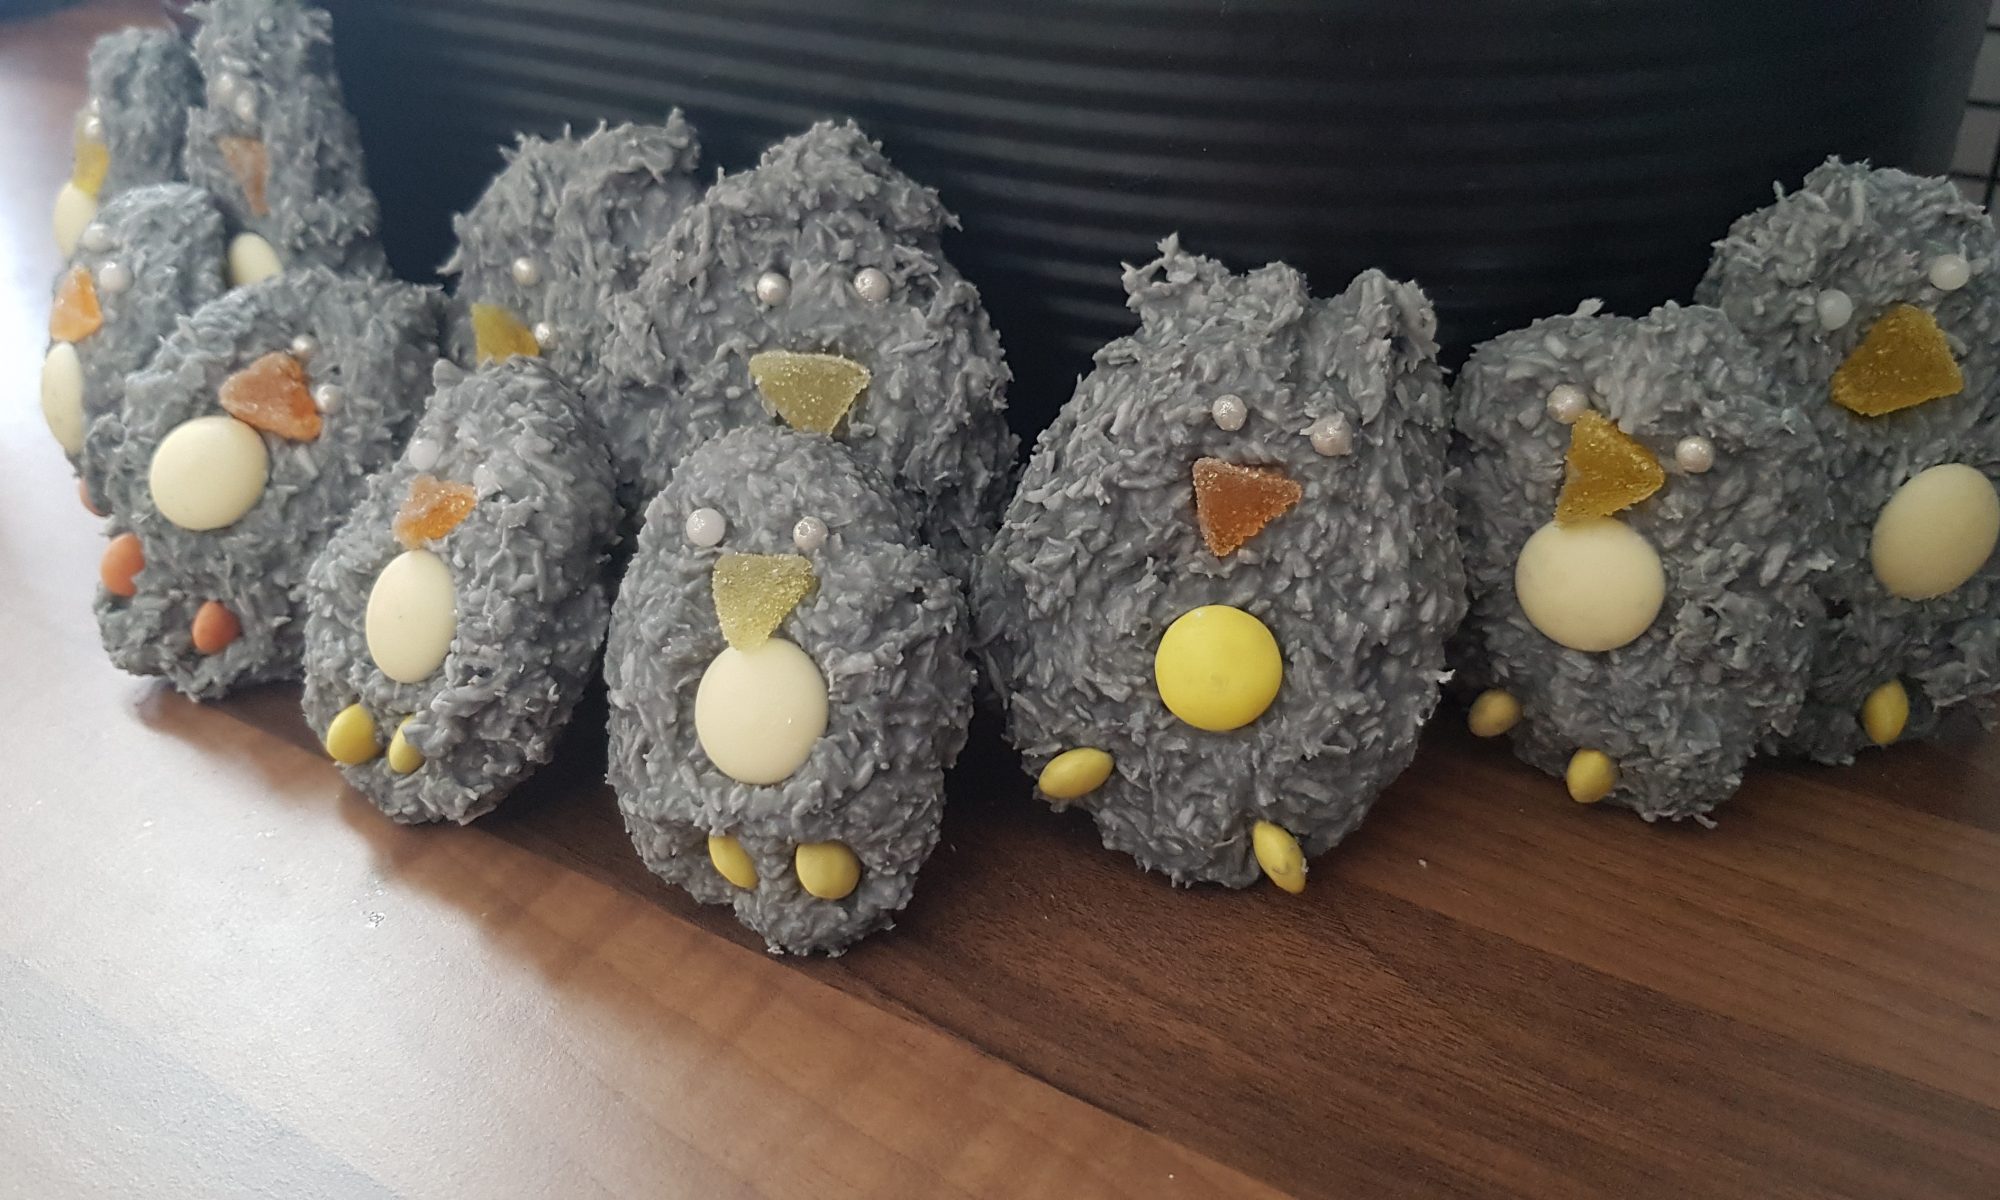
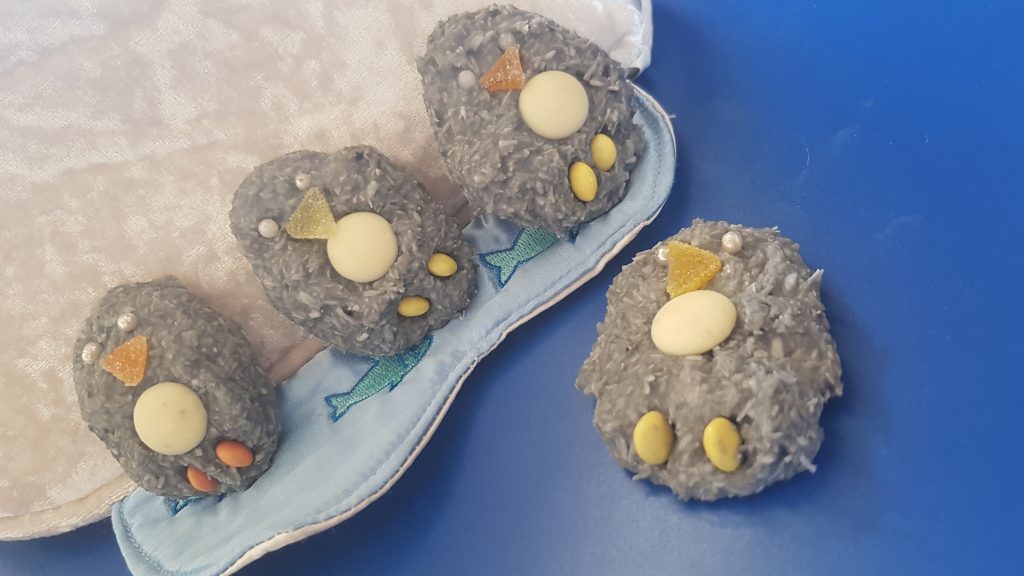
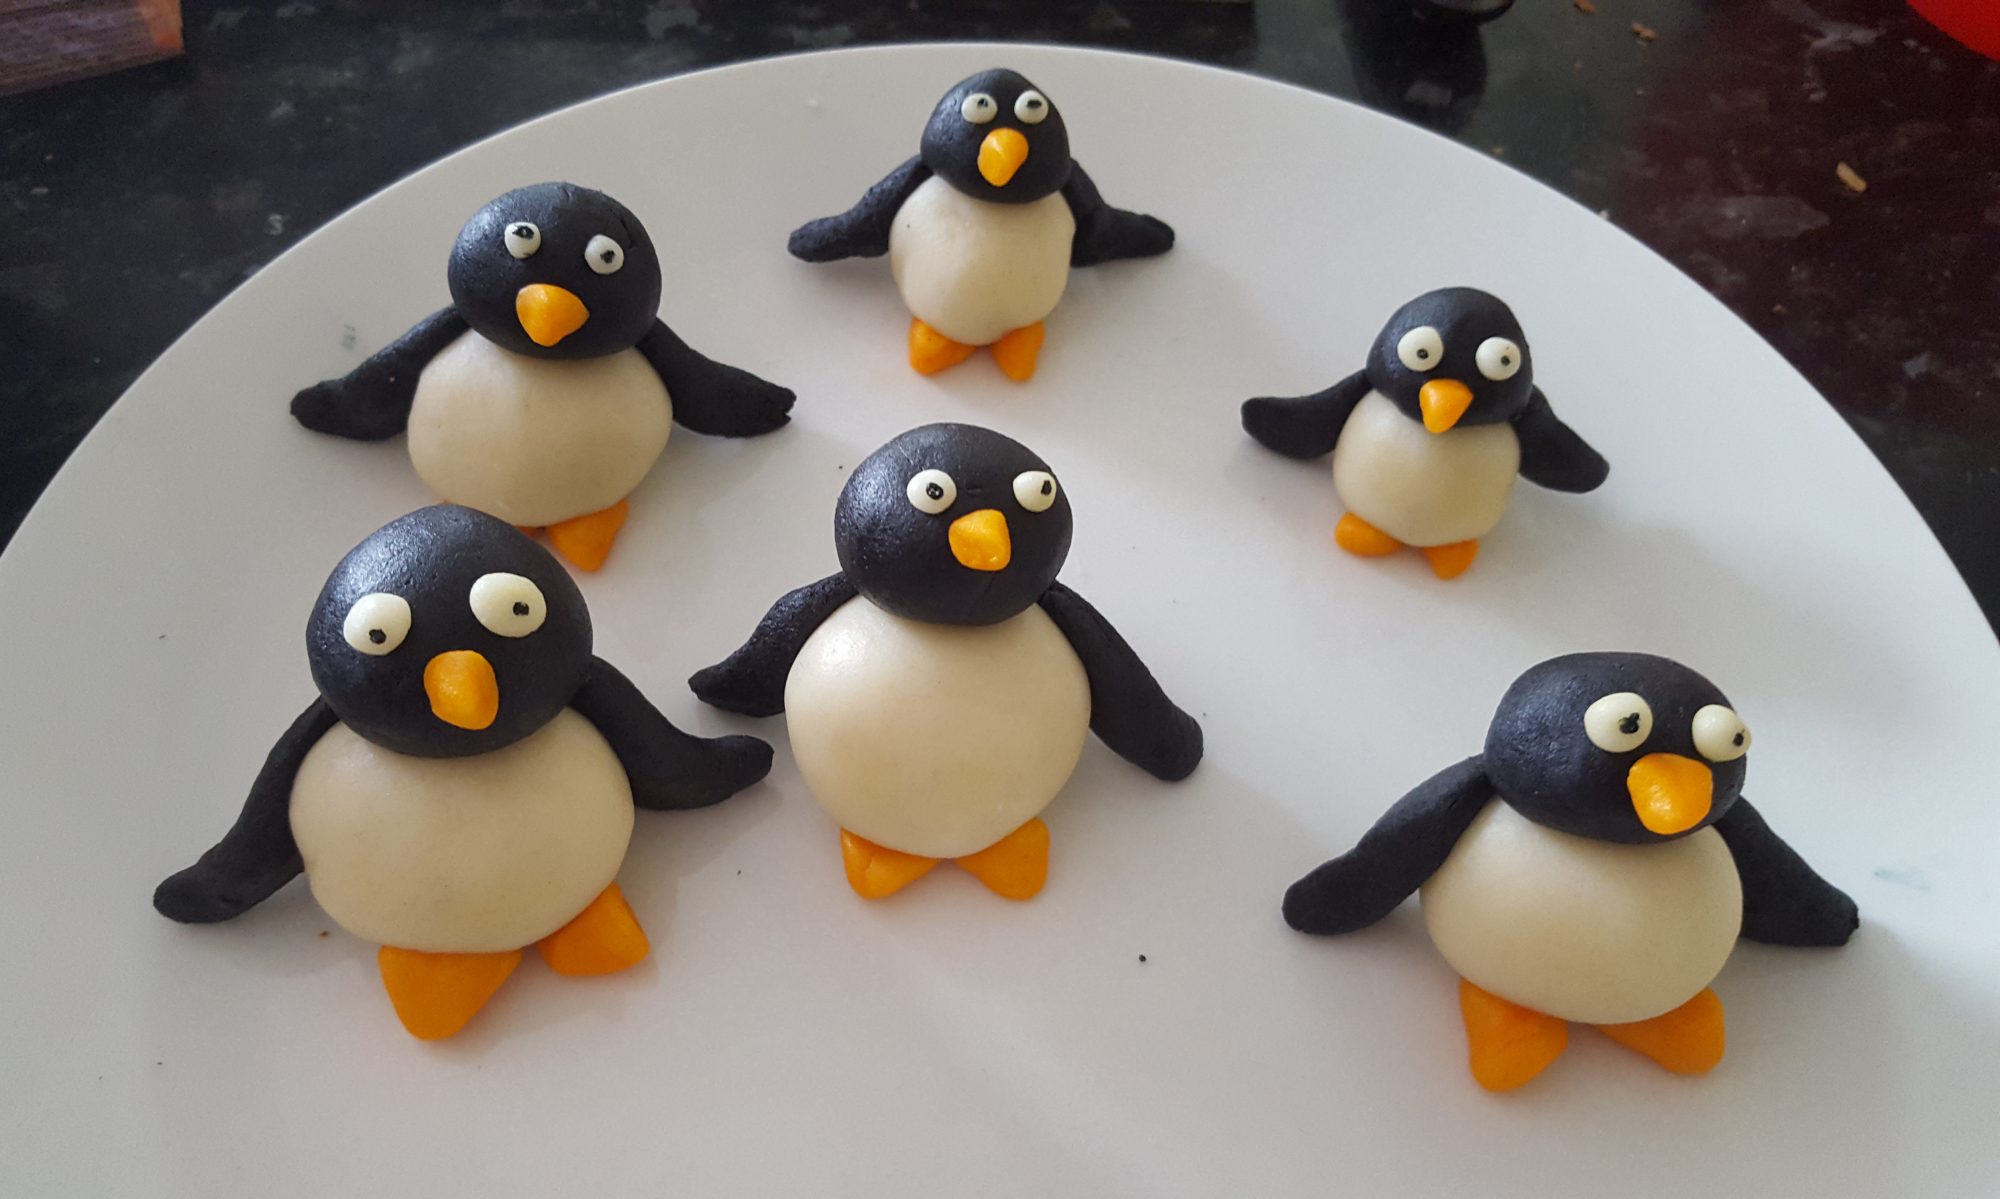
Coconut Penguins

Cutting the beaks in half
Stir it up!

We may have only moved to Stanley back in August, but the family’s knowledge of penguins and love of them is much more ingrained. It all started when we were still a family of 4 and took a trip to London Zoo when we were visiting my parents. Atticus, at just over a year, was completely mesmerised by the penguins and it seems they stole his heart. When in the gift shop, he made a beeline for the toy penguins and Grandma purchased him one. It went everywhere with him and we ended up buying a second one online in case the first went missing in action. That initial penguin has made the trip out here, but we did have to limit the number of toy penguins the kids brought as I was sure we would be convinced to add to their collection during our time here.

Turning them into penguins!

I was compiling my list of potential Christmas bakes when I found a coconut mice recipe. The first thought that struck me was how much I love coconut. Then the idea of Coconut Penguins popped into my head. What could be better?! I mean it is a penguin made of coconut and sugar! Unsurprisingly the kids were fully on board with this idea and we have had requests for more Coconut Penguins ever since we finished the first batch.

Ingredients

  • 250g icing sugar, sifted
  • 200g condensed milk
  • 175g desiccated coconut
  • Black food dye
  • Silver balls
  • Jelly diamonds (orange and yellow)
  • White chocolate buttons (or yellow smarties!)
  • Mini smarties (orange and yellow)

Method

  1. Line two baking sheets with baking parchment or silicone baking mats.
  2. Sift the icing sugar into a large bowl (my kids love doing this job and always shriek; “it’s snowing!”)
  3. Add in the condensed milk and desiccated coconut and mix. The mixture will be stiff, so smaller children may require some help.
  4. Add generous squirts of the black food dye (it is difficult to get it truly black and ours looked more grey, but this didn’t detract from the kids’ enthusiasm for them) and mix again.
  5. Take tablespoon-sized amounts and shape them into oval patties and put on the baking sheets. There is a sticky fingers warning here! Slightly damp hands will prevent this to a degree.
  6. Decorate with two silver balls for eyes, half a jelly diamond for the beak, a white chocolate button for the tummy and two mini smarties for the feet.
  7. Put in the fridge to set and then enjoy.
Penguins on an iceberg and one in in the sea!

This recipe appeared in Penguin News on Friday 13 December 2019.

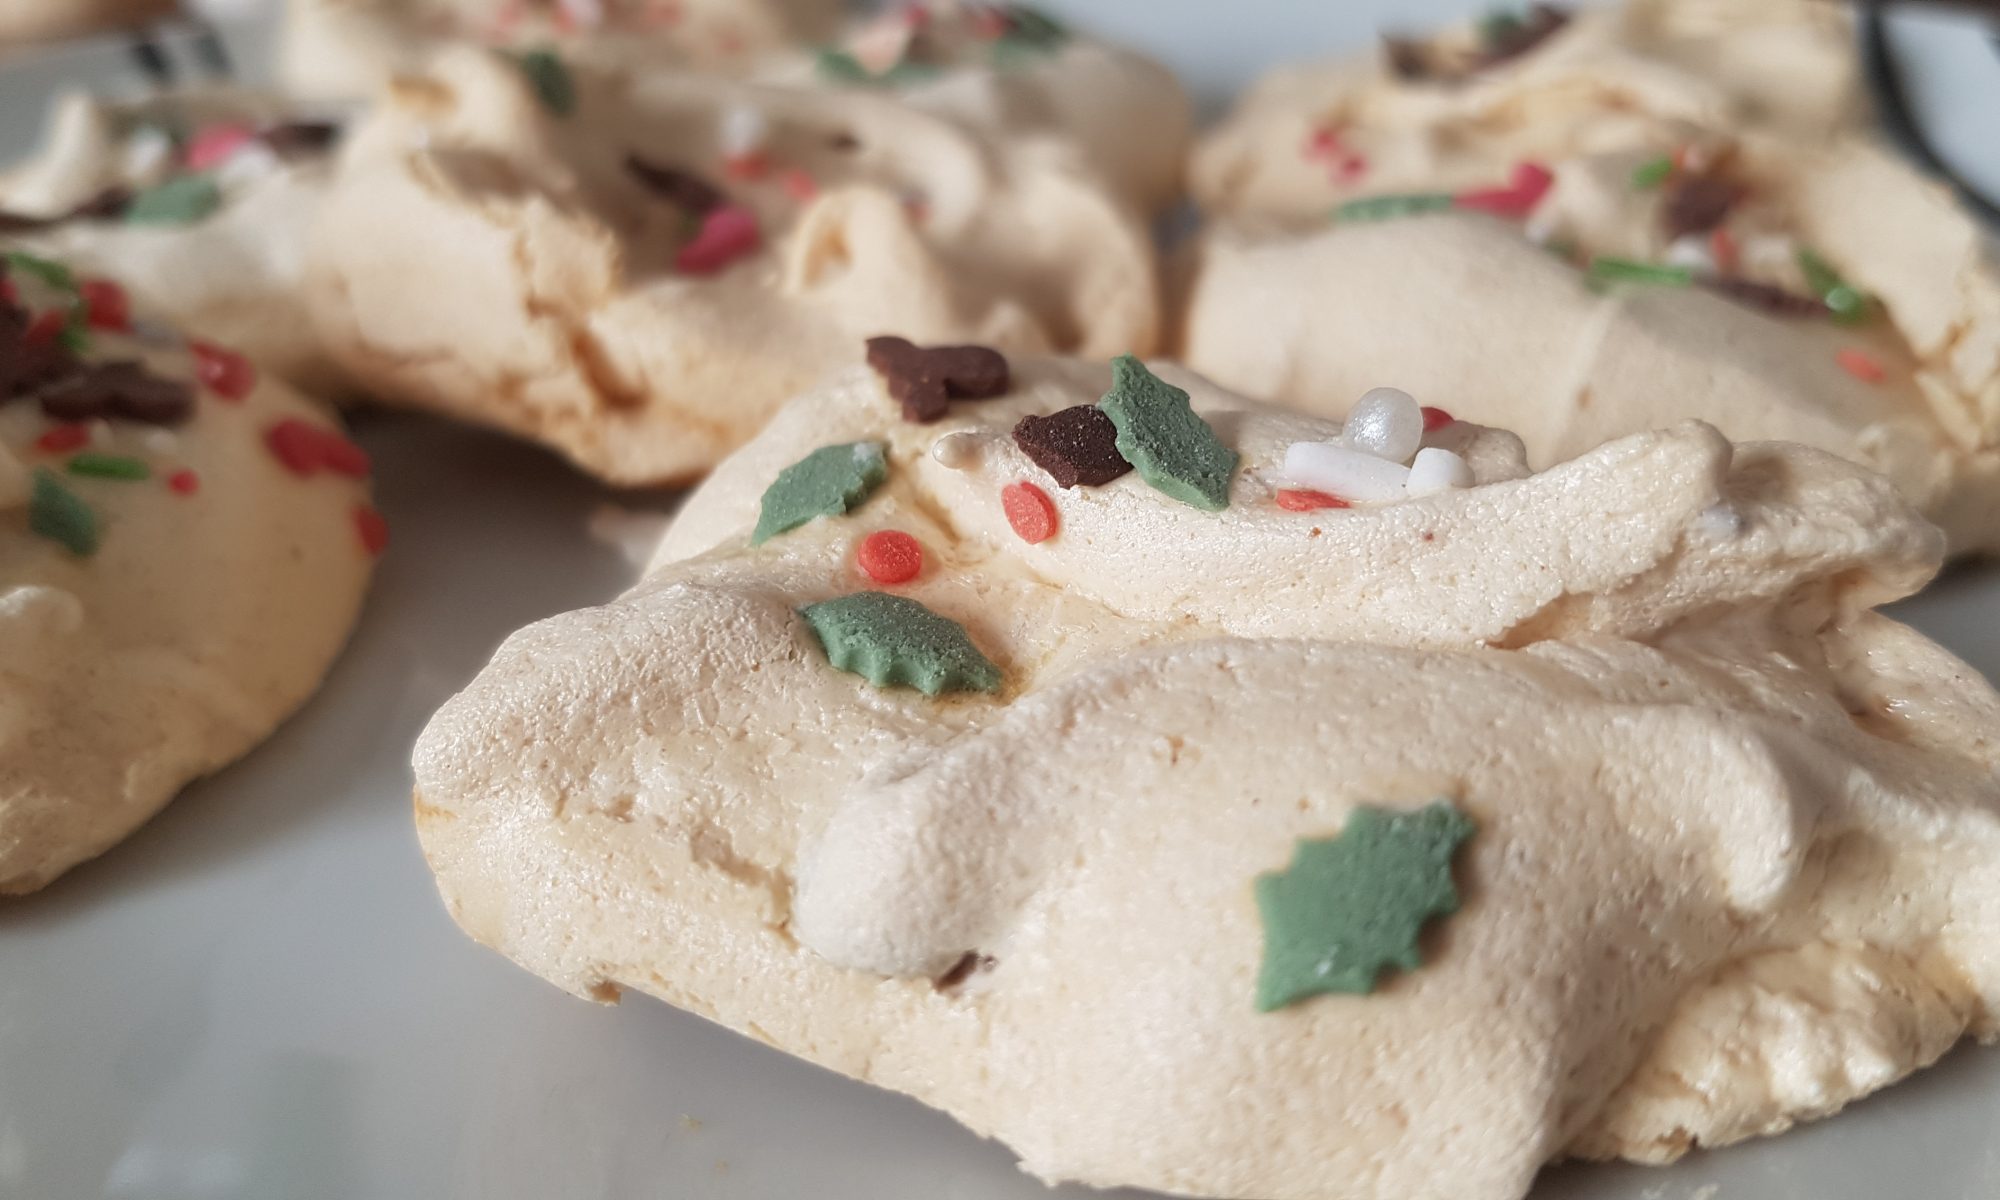
Christmas Meringues

Zuzzing up the egg whites.

Meringues are one of Atticus’s favourite things to make. He loves to handle the electric whisk all by himself and tends to take any attempts at interference with pure contempt. Unfortunately, he had to share the responsibility, but he did get in the Christmas spirit and did so with relative good grace. As meringues are such an easy thing to make, there was no escape giving them a little festive makeover. I had a go at this myself last year one evening when the kids were in bed, but this time I had to get the kids involved. They were just as tasty as I remembered and these will probably feature in our festivities this year as the two littlest and their dad are not fond of mince pies.

Dolloping the meringue mixture onto the tray

As not all children like the festive flavour of mincemeat, these are a perfect way to introduce them subtly to the flavour. My two youngest will devour these! Whisking the egg whites allows the kids to watch their volume increase and find the vocabulary to describe it. The mincemeat makes them beautifully squidgy and gives them a darker colour than plain meringues.

Getting their festive clothes before entering the oven.

This recipe featured in Soar Valley Life’s November/December 2019 issue. I held off posting it too early as I couldn’t cope with posting Christmas food until advent had well and truly started!

Ingredients

  • 2 medium egg whites
  • 115g caster sugar
  • 2 tbsp mincemeat (we used shop bought)
  • Sprinkles

Method

  1. Preheat the oven to 90° fan and line two baking sheets with baking parchment or silicone baking mats.
  2. Put the egg whites in a clean bowl (it is best to avoid plastic).
  3. Whisk the egg whites with an electric whisk until peaks form when the blades are lifted out of the mixture.
  4. Add the caster sugar a tbsp at a time and beat after each addition. The mixture should look thick and glossy.
  5. Once all the sugar is incorporated, add the mincemeat a tbsp at a time and beat after each addition.
  6. Take tbsps. of the mixture and gently dollop onto the baking trays (you should get around 10) and add sprinkles.
  7. Place in the oven for 1hr 45 minutes and then switch the oven off. Leave them in the oven until it is completely cooled. We leave ours in overnight and remove the following morning.

Rocky Road Traybake

There are certain days when only chocolate cake will do. I would love to claim that this cake was the outcome of a desperate need for chocolate due to a bad day, but it was in fact just a way to entertain the kids and have them working towards pudding for a family dinner! Atticus helped Simon make the main course and Seb and Ophelia joined me on the other side of the kitchen to make pudding. On this occasion, dinner certainly was a full family effort. They are happy memories.

Into the pan.
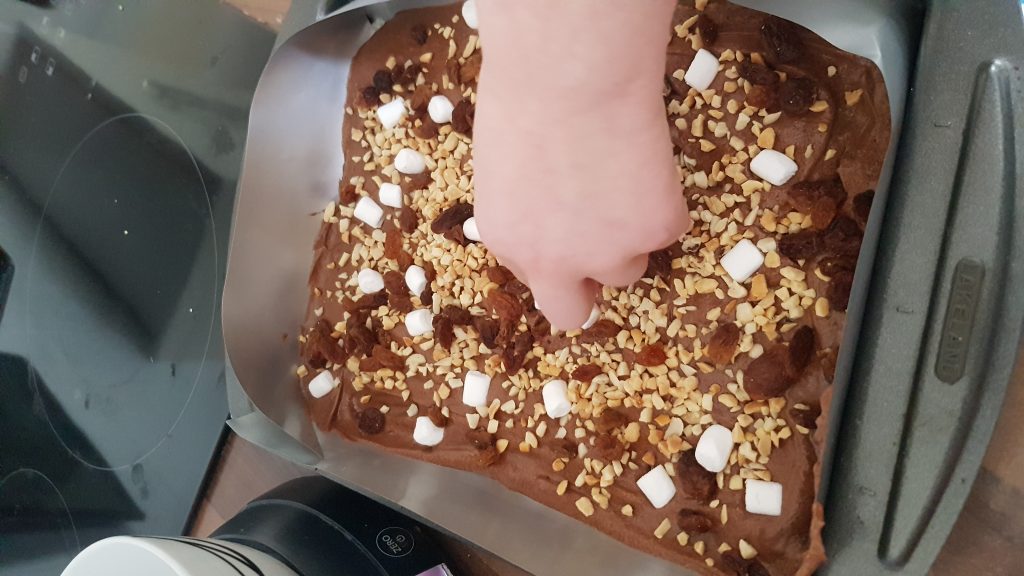
On go the marshmallows!

This cake also gave me an excuse to open the kilogram bag of mini marshmallows that I managed to find and sent Simon and the kids off to discover for themselves and purchase. There was pure delight when they saw such a large bag of mini marshmallows. Previously they had only seen the 150g bags that I would purchase in Tesco. I did miss an opportunity for a maths lesson asking how many small bags would make up the large bag. Oh well, there’s an idea for next time! I was a mean mum though; I made them wait until I had a definite recipe in mind before we opened them. I knew that if we just opened them, I would blink and they would all be finished! I have three marshmallow-loving kiddies and a husband who isn’t averse to adding them by the handful to his pudding or cereal bowl! They would have been inhaled and while this would have been an impressive feat, I really wanted to prevent this outcome.

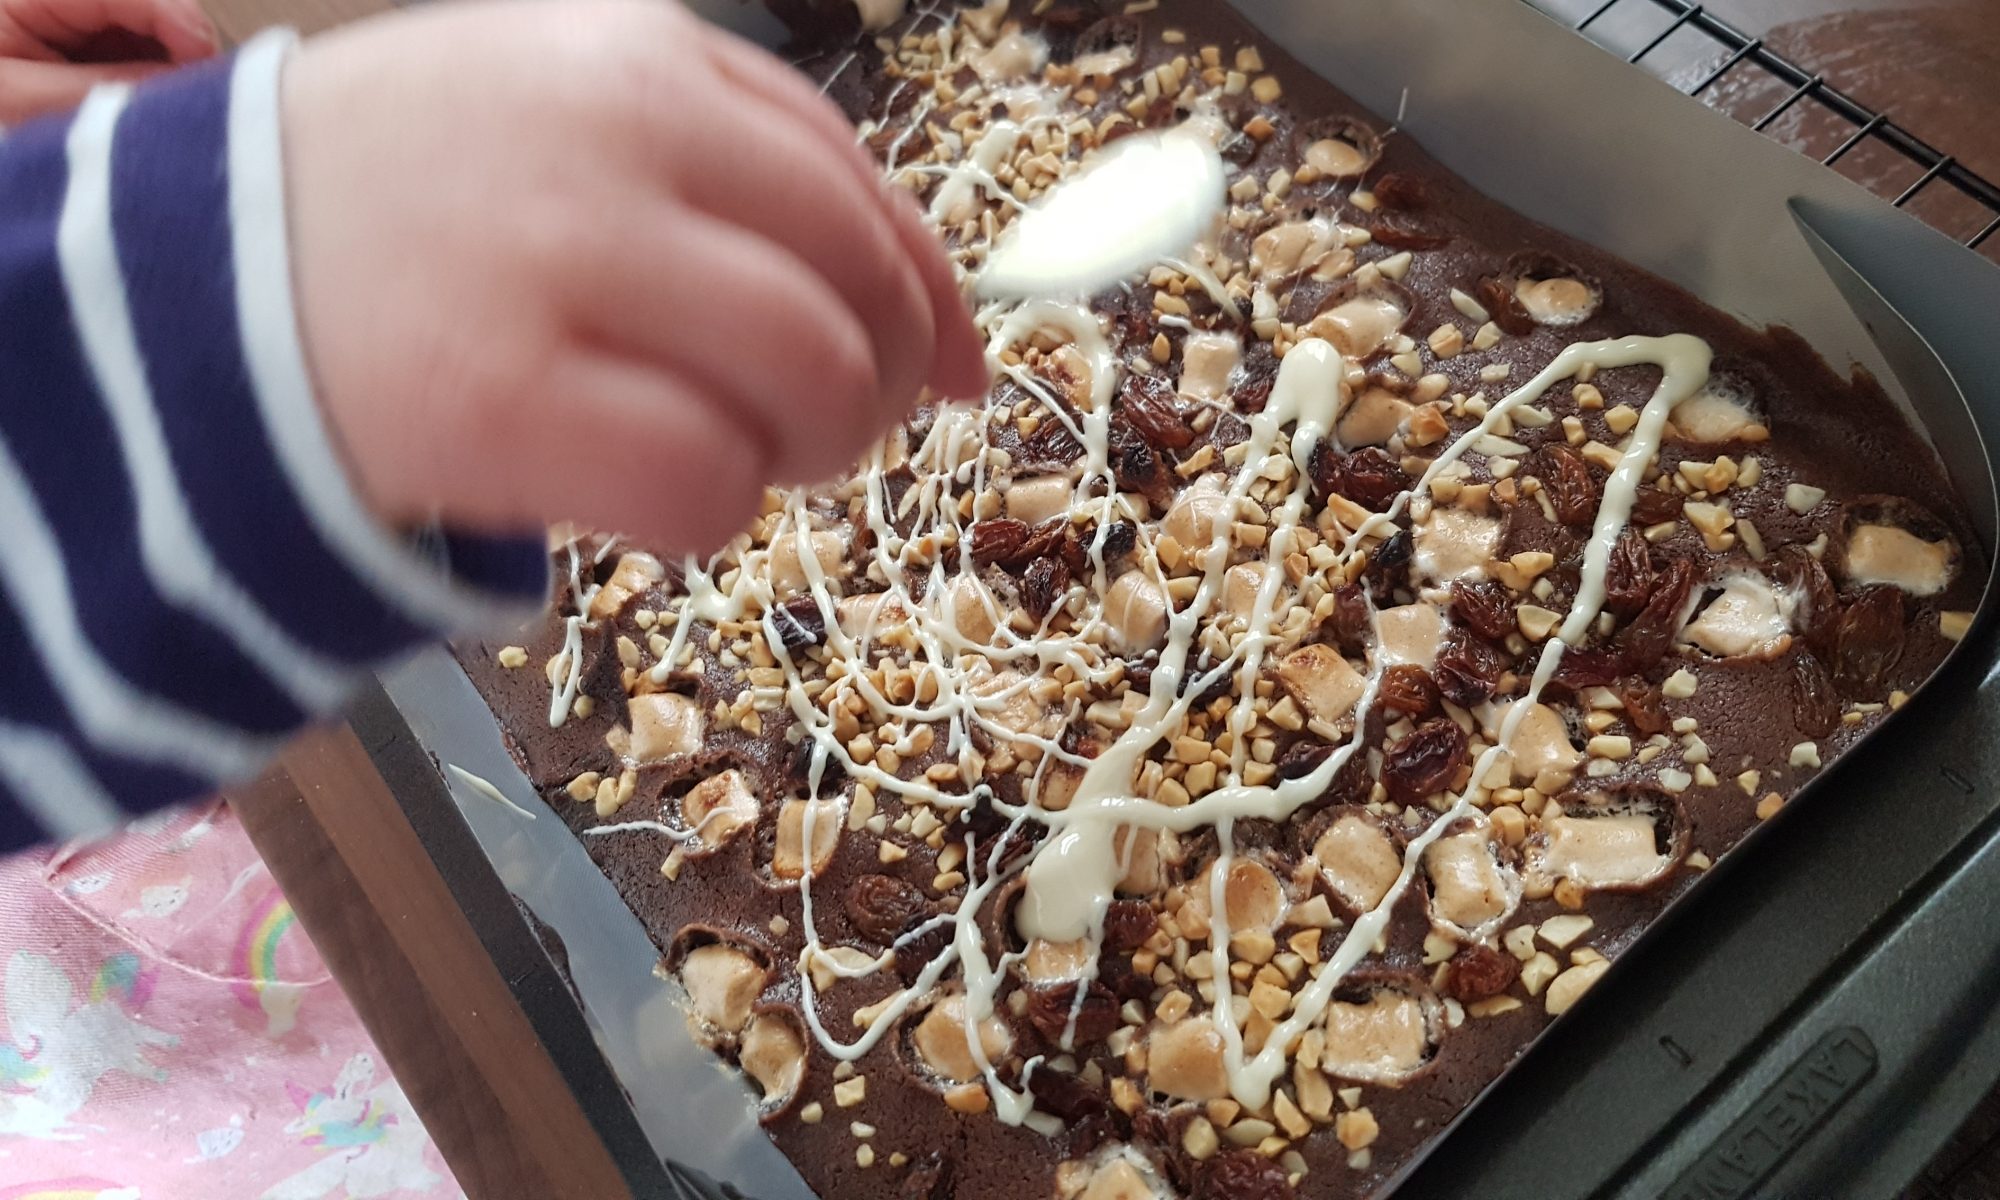
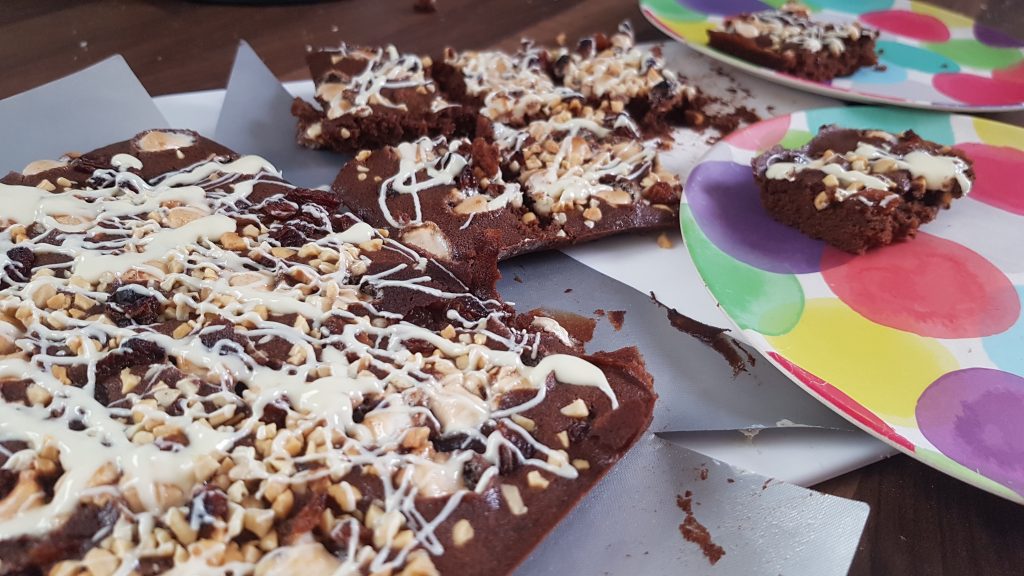
To mark the opening of our gigantic bag of marshmallows, we made this Rocky Road Traybake. It is a very think cake sprinkled with raisins, chopped nuts and mini marshmallows and drizzled with melted white chocolate. You will be surprised to hear that it lasted more than 24 hours. Although this is probably because I packaged it away and hid it under the bread in the bread bin! No one thought to look there so it was safe until I was ready to distribute it! However, now I have written this, I shall have to find a new cake hiding place.
Ingredients

  • 115g butter/margarine
  • 115g dark brown sugar
  • 100g plain flour
  • 15g cocoa powder
  • 1 medium egg
  • 5tbsp milk
  • 50g chopped nuts
  • 40g raisins
  • 20g mini marshmallows
  • 40g white chocolate, melted

Method

  1. Grease and line a brownie pan, or small square/rectangular cake pan and preheat the oven to 160°c fan.
  2. Cream the butter and the sugar together until smooth.
  3. Add the egg and beat.
  4. Sift in the flour and cocoa powder and mix until combined.
  5. Add the milk and mix until smooth.
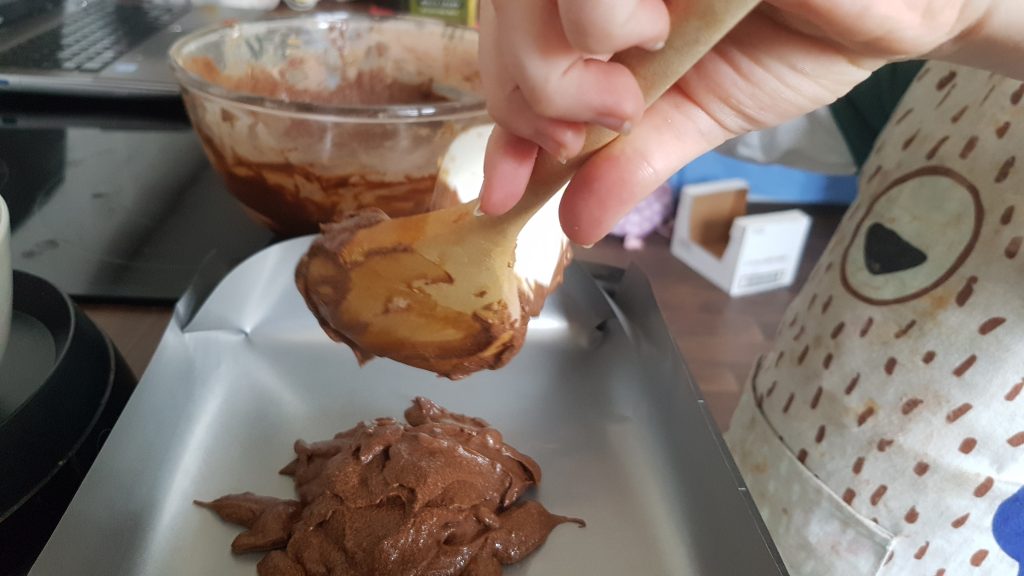
  6. Dollop the batter into the baking tin and spread so all the edges are covered. This is meant to be a thin cake, so it may require a bit of effort.
  7. Sprinkle the nuts, raisins and marshmallows on top and place in the oven for 15 minutes until a skewer comes out clean (unless you go through a marshmallow!
  8. Allow to cool fully before drizzling with melted chocolate.

I hope you enjoy this traybake as much as my family did and do look for a good hiding place for it so it doesn’t all disappear in a blink!

Look at that chocolatey goodness!

Banana, Orange and White Chocolate Muffins

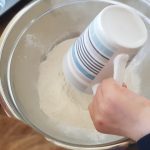
Still using cups while we wait for the scales to arrive!

We are in the home stretch. Our shipping crate is allegedly imminent. We will soon have all of the baking supplies that I packed including my scales and beloved brownie pan! To celebrate this auspicious occasion, what did we do?! Yes you’ve got it, we baked! We made Banana, Orange and White Chocolate Muffins.

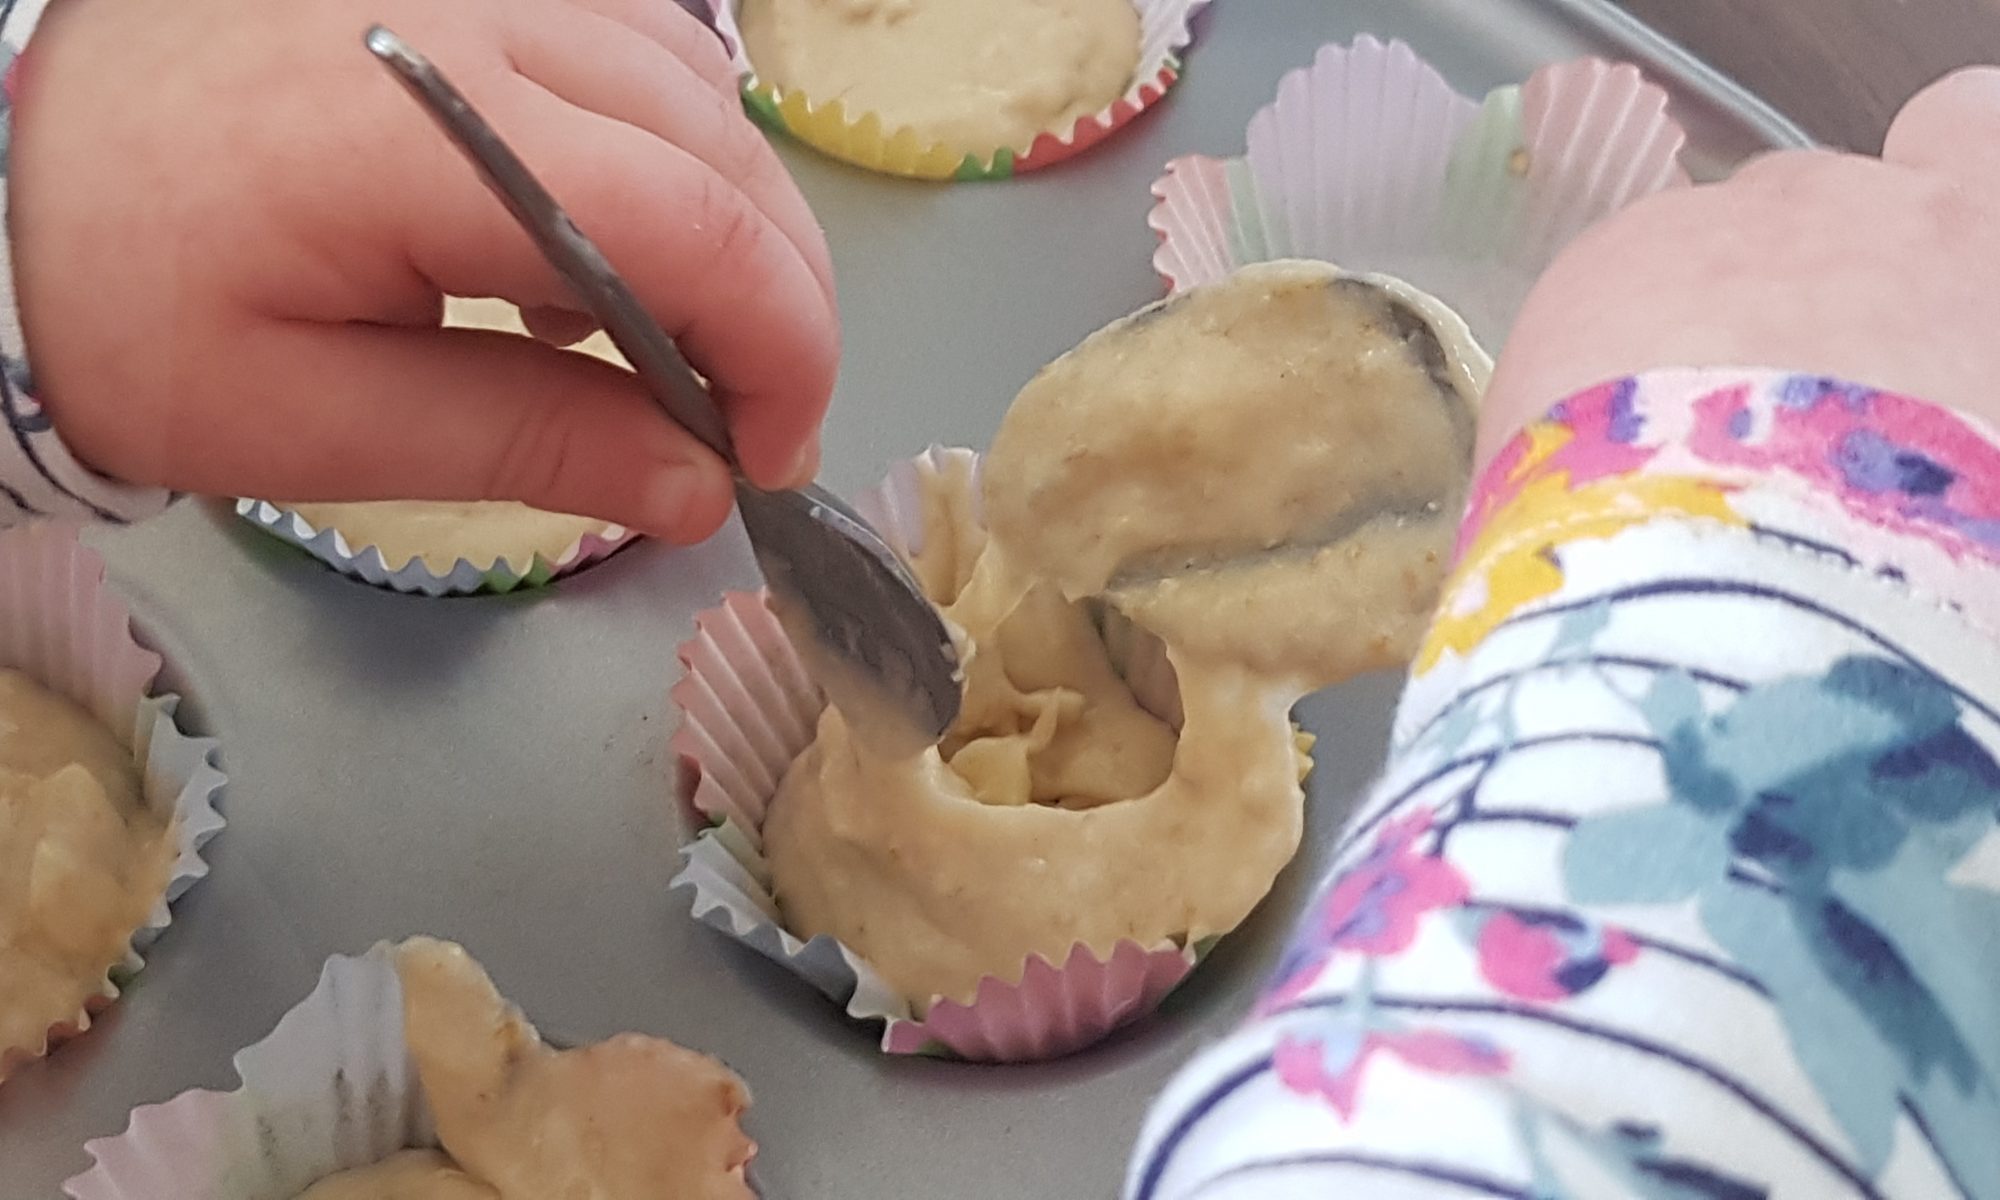
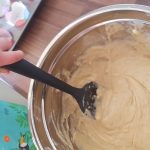
Mix it all up!

There were bananas in the supermarket recently. Back in the UK I would think nothing of weighing out my bananas and buying them so Seb could eat a daily banana. Here in Stanley, I have to remind myself how lucky I am that Seb is the only one in the family who really loves bananas. In our local supermarket they sell for 50p each unless they are brown when they sell for 25p each. I must confess that after seeing a friend buy brown bananas for banana bread and to freeze for smoothies I quickly followed suit. I bought a 10 bananas and promptly froze 8 in slices to put in cakes. Yes I did also ensure that I cut each banana into the same amount of pieces so that I knew how many slices made up a banana. In case you need to know, in this instance it was 6.

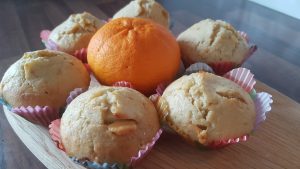
Spot the orange between the muffins!

Having all those bananas in the freezer meant that a banana bake was on the cards. I was in the fortunate enough position to have some leftover white chocolate following my raspberry blondie making session for Simon’s birthday so combined with some orange zest and bananas and boom! There you have it these yummy muffins were born!

Ingredients

  • 2 ripe bananas
  • 2 cups self-raising flour
  • 1/2 cup sugar
  • 1/2 cup milk
  • 4tbsp melted butter
  • 2 eggs
  • Zest of 2 oranges
  • 100g chocolate chips/chopped chocolate

Method

  1. Preheat the oven to 180°c fan.
  2. Mush the banana with a fork and make it as smooth as you can.
  3. Put the mashed bananas, flour, sugar, milk and melted butter into a large bowl.
  4. Crack the 2 eggs into a small bowl and gently whisk.
  5. Add the whisked eggs to the bowl and then mix until all the ingredients are fully combined.
  6. Add the chocolate and the orange zest and mix to ensure they are distributed evenly.
  7. Divide the mixture between 12 muffin cases and place in the oven for 18-20 minutes until they are golden and springy to the touch.

These didn’t last long, and it wasn’t because we had friends popping in to share them! Atticus and Ophelia did a stellar job and even helped with the washing up and were rewarded with a clean bowl of water with bubbles for their boats. Yes they did get rather soggy and it did necessitate a change of clothes for each child, oh and several tea towels to absorb all the water that had spilled onto the floor!

Peanut Butter Eve’s Pudding

There are two big things we are currently doing; waiting for our shipping crate with the kids’ toys and books and our car to arrive and adjusting to the new house, living in a small community, the weather conditions and the price and availability of food. The first hurdle for me was that the key to our back door, which faces the sea, is labelled front door and the key for the front door which faces the street is labelled back door. It turns out that the sea is used as point of reference. The first time I tried to lock the front door with the key labelled accordingly, Simon had to come to my rescue as I was getting increasingly frustrated at my lack of progress. Have I changed the key rings around? Nope, I have adapted to that fact and moved on.

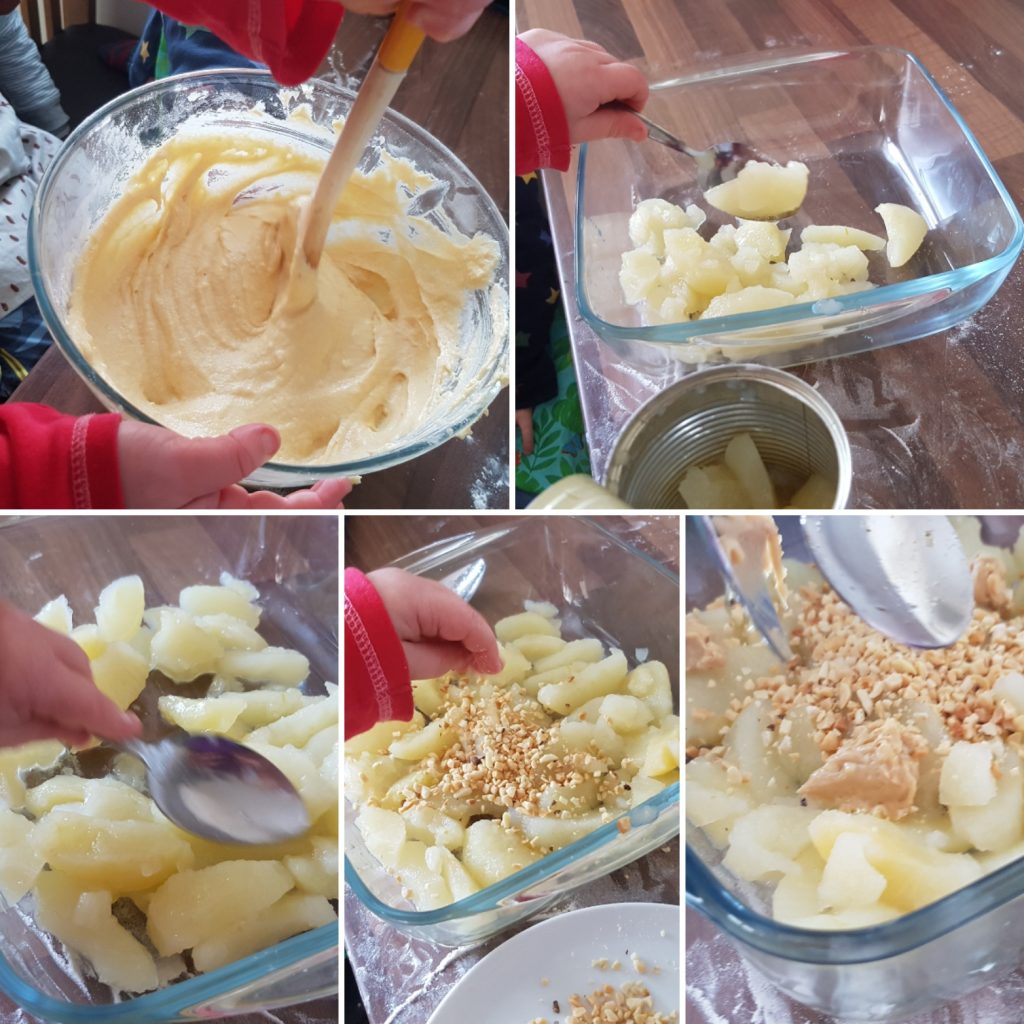
Fresh fruit and vegetables are expensive. Yes you can buy them, but gone are the 6 small apples for under £1. This has meant that I have adapted. I found some tinned apples in the supermarket. Now had we still been in the UK, I wouldn’t have contemplated using tinned apples. It does have to be said they are significantly less faff than having to peel, core and chop apples and then stew them. We just opened the tin and spread them out in the Pyrex! Simple!

Simple process and yummy results!

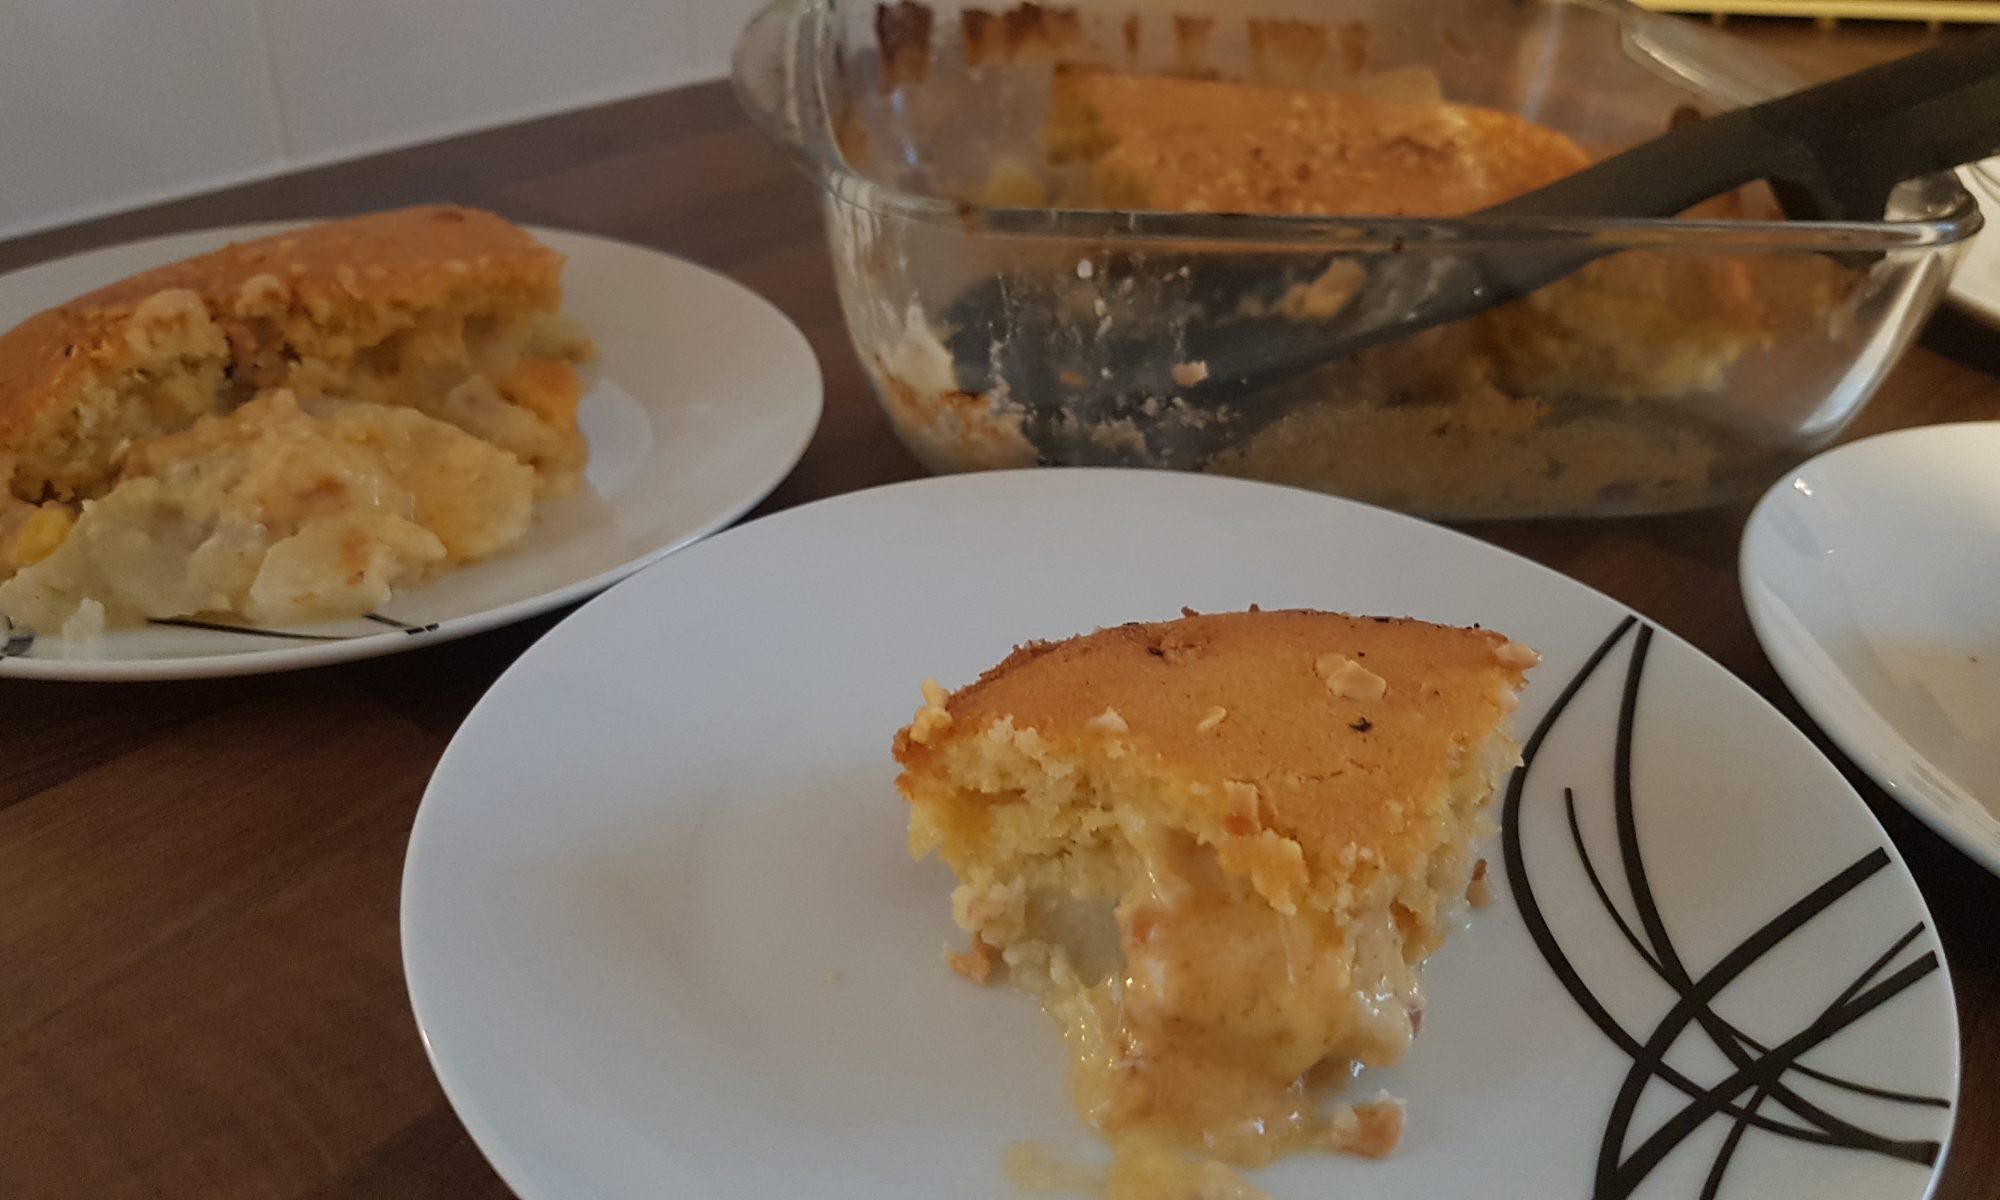
Now apple and peanut butter is a favourite snack of mine and I thought adding the chopped nuts and the peanut butter would make this pudding a bit different. I believe I was right as the peanut butter gave it the qualities of a self-saucing pudding. I could have eaten the whole pudding, but I think I would have had an exceptionally grumpy family had the refrain all the yummies are mummy’s turned out to be true on this occasion!

Ingredients

  • 1 tin of apples
  • 2 eggs
  • 8tbsp self raising flour
  • 8tbsp butter/margarine
  • 8tbsp caster sugar
  • 4 tbsp chopped nuts (3 to put with the nuts and one for the top)
  • 3-4tsp peanut butter.

Method

Dolloping the cake batter on top of the apple and nut mixture.
  1. Preheat the oven to 150°c fan.
  2. Spread all the tinned apples out into the bottom of a Pyrex dish or baking tin. I like to use Pyrex dishes for this kind of pudding so you can see the apple and the cake layer.
  3. Sprinkle or spoon 3tbsp of the chopped nuts over the apples.
  4. Gently dollop the tsps. of peanut butter in random places over the apples.
  5. Put all the cake ingredients into a large bowl and mix them all together quickly until they are fully combined.
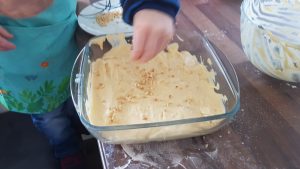
  6. Spread the cake over the apples and peanut butter and then sprinkle the remaining chopped nuts over the top.
  7. Place in the oven for 15-17 minutes until the cake is golden brown and springs back when gently touched.
Sprinkling nuts

Much to my delight, this recipe was featured in the Falkland Islands Newspaper, Penguin News. I really hope that you enjoy this pudding as much as we did. Please do get in touch if you make this as we love to hear from people who have used our recipes.