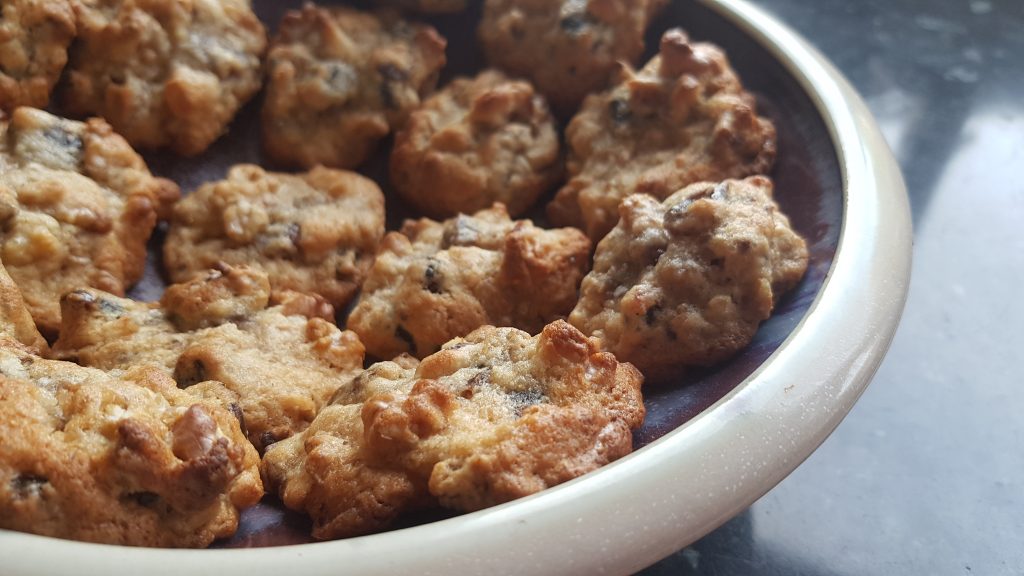
Chocolate Popcorn Cookies

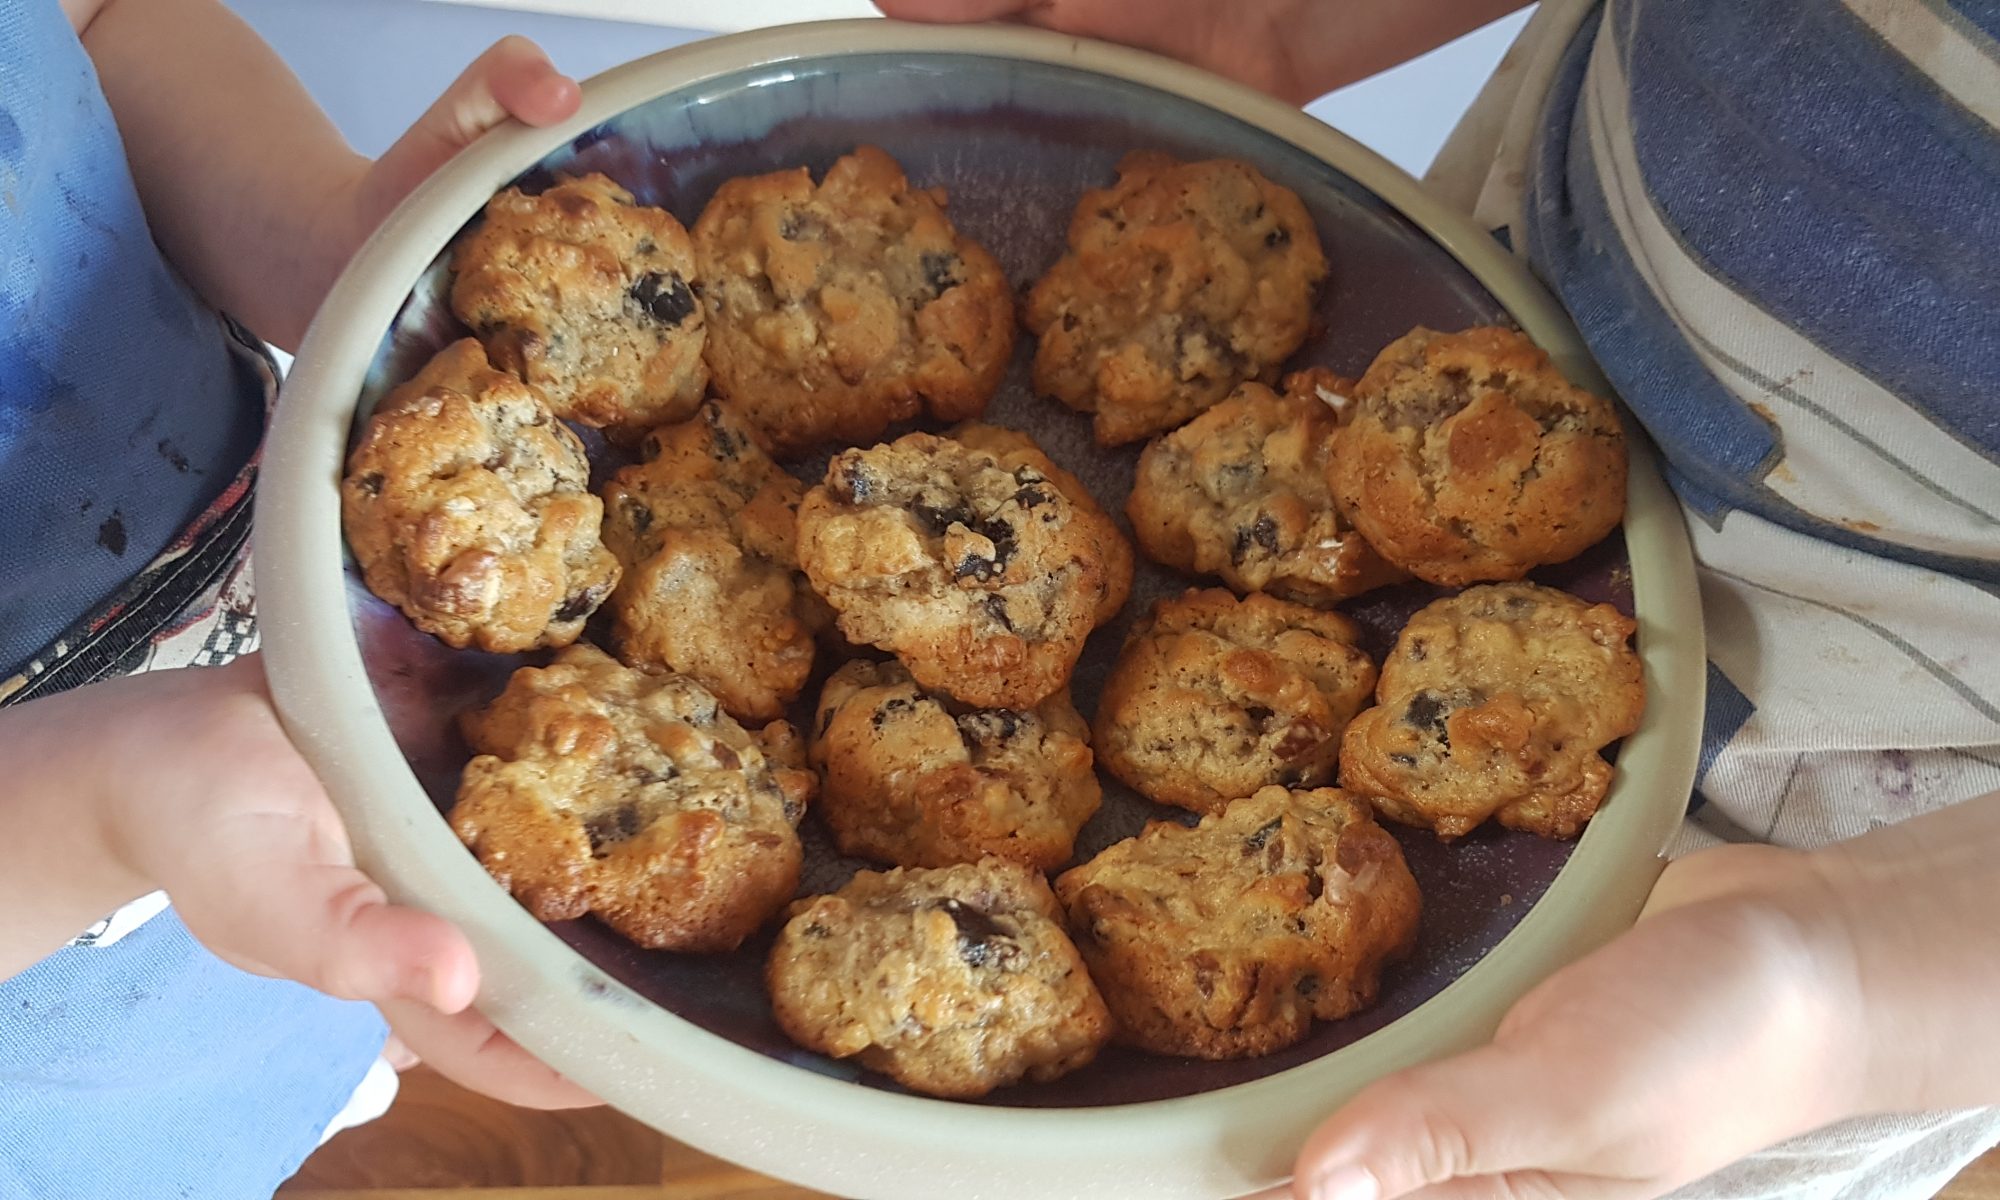
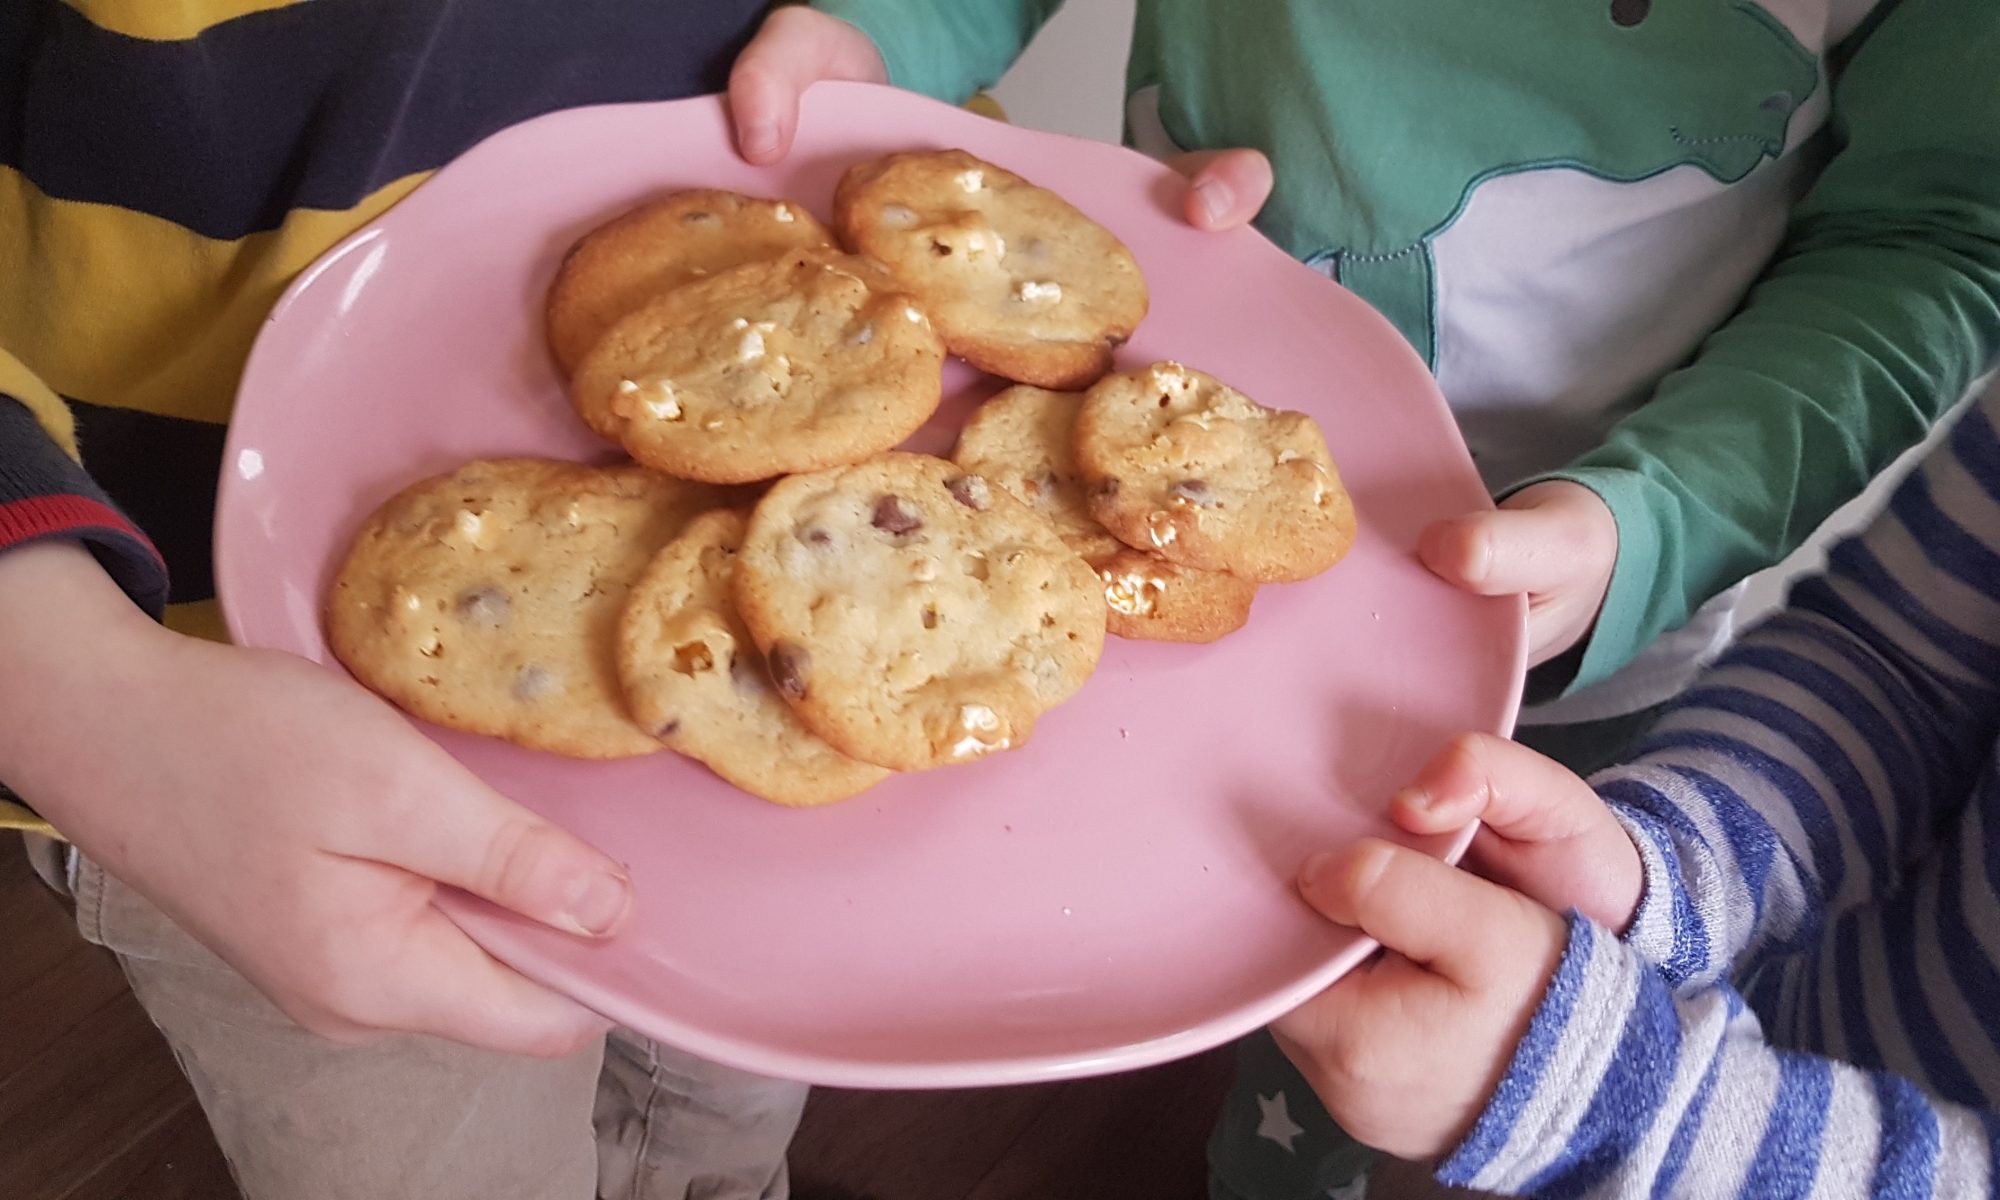
The kids love meeting up with their friends and I love it when the kids meet up with their friends. It generally means a calmer afternoon when they are all playing and I get a hot drink which is actually still hot or maybe even 2 if all the kids are happy. I love it even more when I don’t have to host. Don’t get me wrong, we do invite people to our house, but the organisation it requires for me to have enough of our chaos tidied away stresses me out somewhat. To balance out my reluctance to host playdates, we never turn up empty handed. This means cake, or biscuits or sometimes even both! For our most recent playdate I went armed with these Chocolate Popcorn Cookies. Note to the wise though, next time, don’t place them in a backpack and jog alongside the four year old who is gaining confidence on her bike without stabilisers. When we arrived, most of the cookies were broken. This did reduce my guilt at eating cookie pieces as I didn’t eat a single cookie at once!
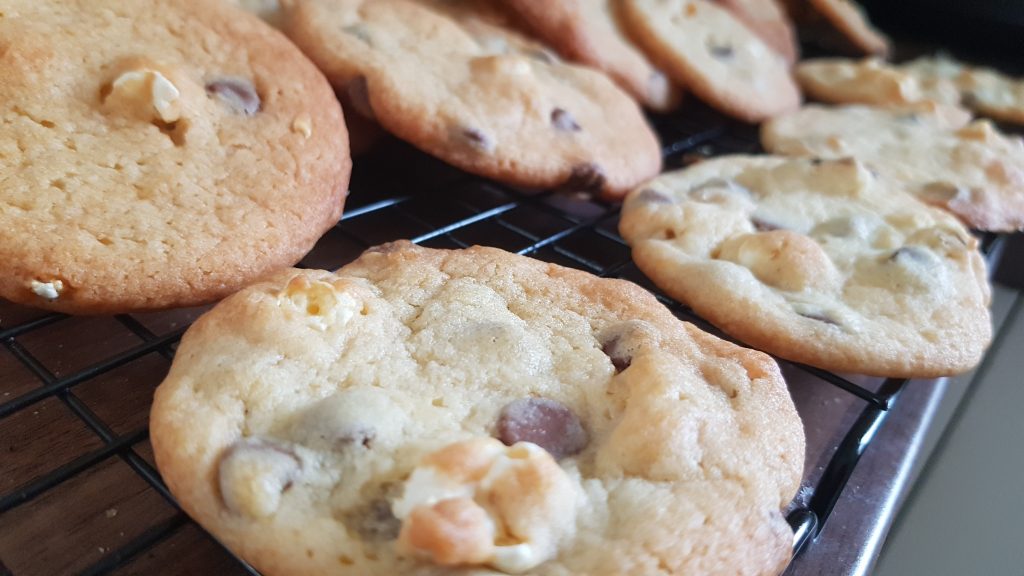
A cookie or two a day keeps the grumps away!

These cookies were an experiment. Finch has inherited his mum and dad’s love of the chocolate/coconut combination. Unfortunately, the playdate hosts disagree so I wouldn’t allow him to add desiccated coconut to the cookies. To placate my gingernutter I suggested we added some of the leftover popcorn from our movie night the evening before. This suggestion was met with immediate enthusiasm and as a result I cannot say for sure how much popcorn we actually added… Oh well! This recipe is versatile and can easily be made vegan by using vegan spread and chocolate. We used golden syrup as it was what we had in the house, but maple syrup would work just as well.

To make Chocolate Popcorn Cookies you will need:

  • 250g margarine/dairy free butter
  • 225g caster sugar
  • 2tsp vanilla extract
  • 1tbsp golden syrup/maple syrup
  • 300g plain flour
  • 1tsp baking powder
  • 100g chocolate chips
  • 1.5 cups of plain popcorn
  • 1/2-1tsp salt

Method:

  1. Preheat the oven to 160°c fan and line 3-4 baking sheets with parchment or silicone baking mats.
  2. Put the margarine, butter, sugar, vanilla extract and golden syrup in a large bowl and mix with electric beaters until fully creamed together.
  3. Add the flour, baking powder and salt (if you want a stronger sweet/salty taste add the full tsp of salt) and slowly mix together to form a dough.
  4. Add the chocolate chips and popcorn and gently combine.
  5. Put tablespoon-sized amounts on to the baking trays and cook each tray for 12-15 minutes in the oven until golden. We put 6 on each tray to ensure they didn’t spread into each other.
  6. Leave to cool on the rack for about 10 minutes before transferring to a wire rack to fully cool.

In my mind these cookies are a perfect accompaniment to a lovely cup of coffee. The kids enjoyed them while running around with their friends. I am currently fighting the urge to go and make more popcorn to make another batch…
Garibaldi Biscuits

Carefully cutting in two.

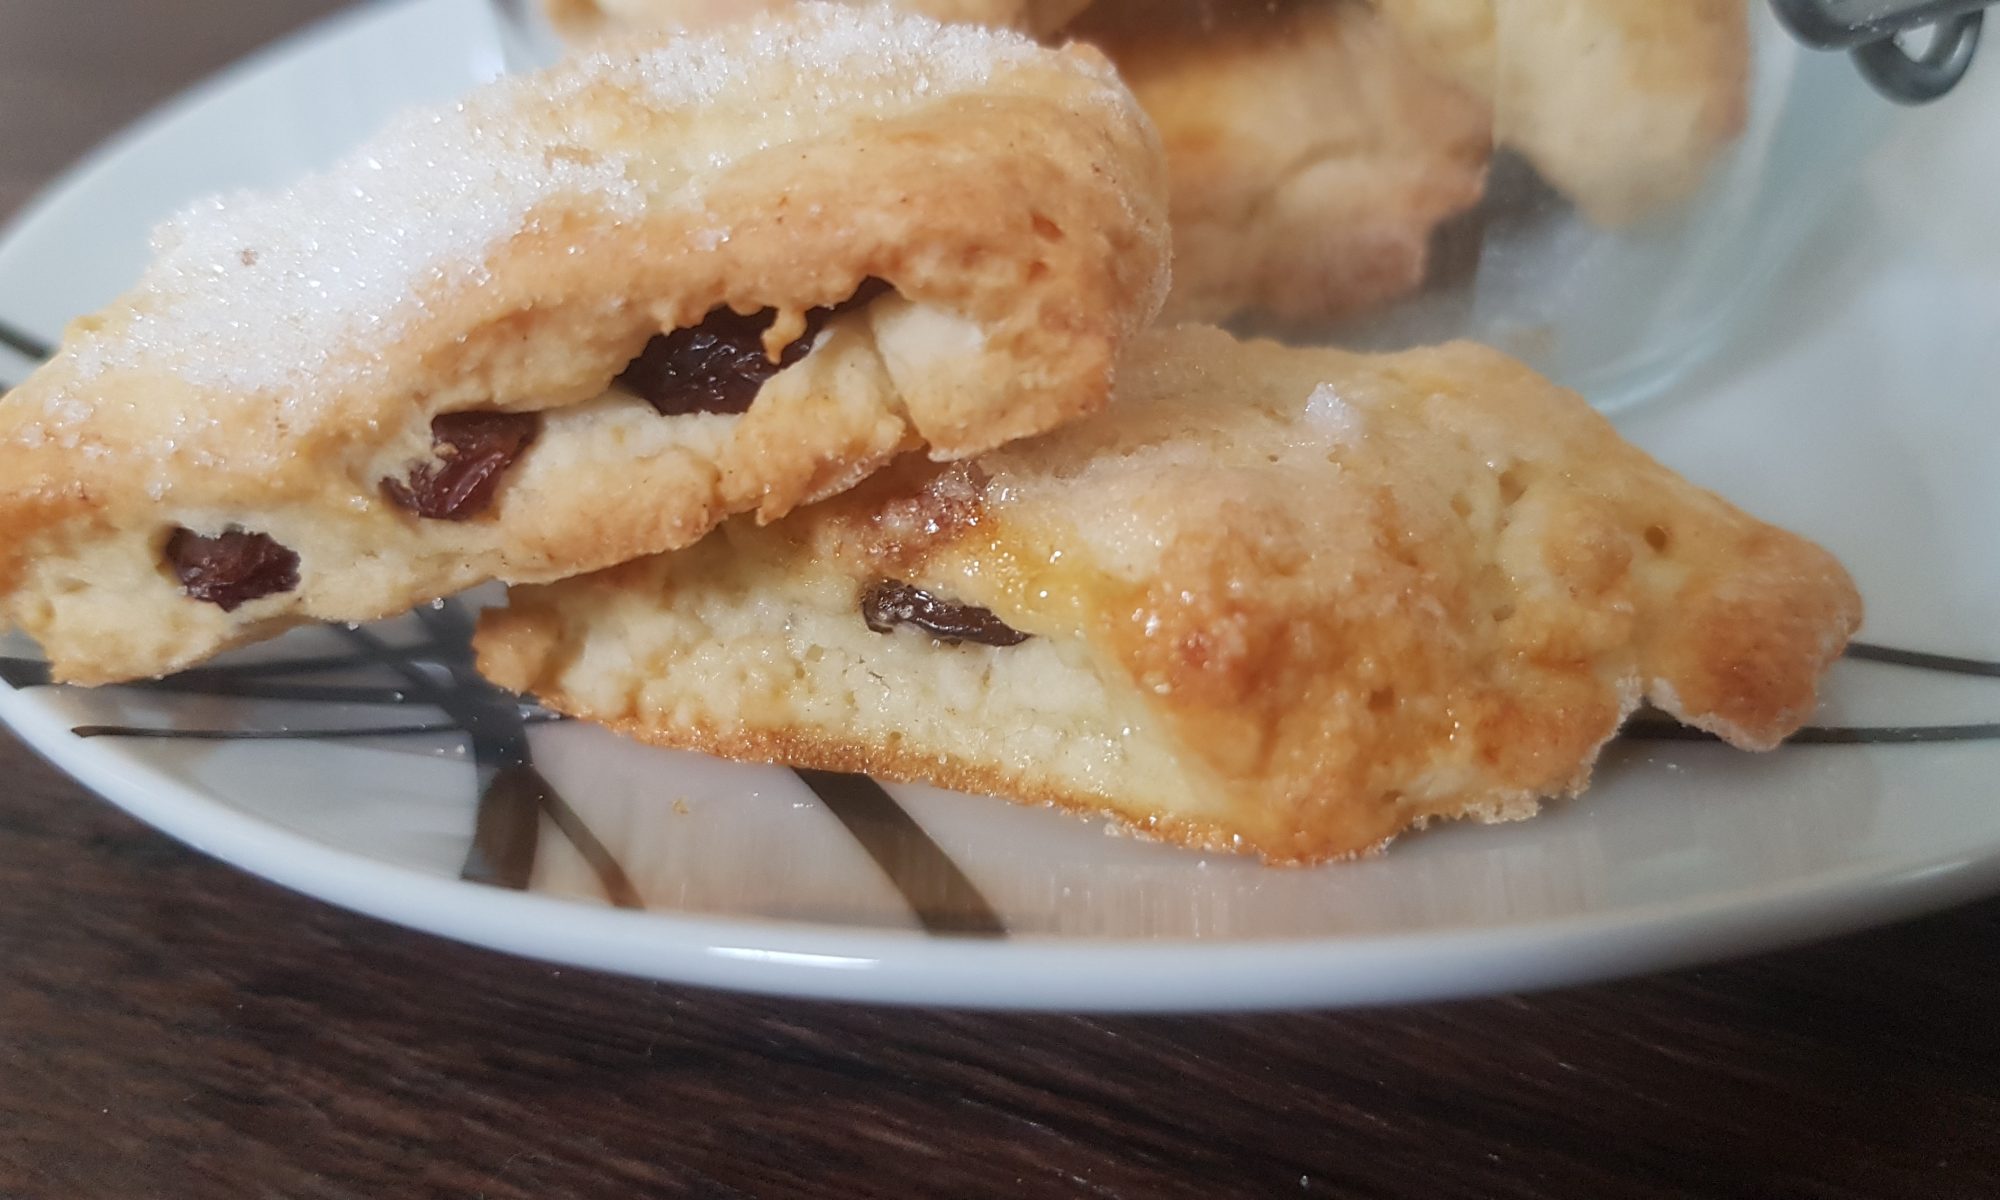
I sent my husband to the supermarket for biscuits and he returned with a nice selection including Garibaldi Biscuits. To our horror, we realised that the kids had never seen, let alone tried Garibaldi biscuits. In order to fill this gap in their culinary education, we described this favourite teatime treat and told them that they are also known as squashed fly biscuits. They found this hilarious and after trying them they were an instant hit. As all good things come to an end, we finished the packet (not really surprising in a household of five!) and we had three rather sad children. Ophelia and I hit the kitchen to have a go at making some ourselves.

Brushing with egg white

This is a very tactile recipe for kids. Ophelia loved rubbing the flour, butter and salt together to make fine crumbs. She was talking to it, telling it that she was tickling it and listening out for it laughing. Then there came mixing and flattening it out with her hands before attacking it rolling it out with a rolling pin. More raisins than I can count were diverted into her mouth rather than the recipe, so we did have to replenish them. My main thought was at least this time she wasn’t trying to guzzle a mixture with raw eggs!

Sprinkle with sugar.

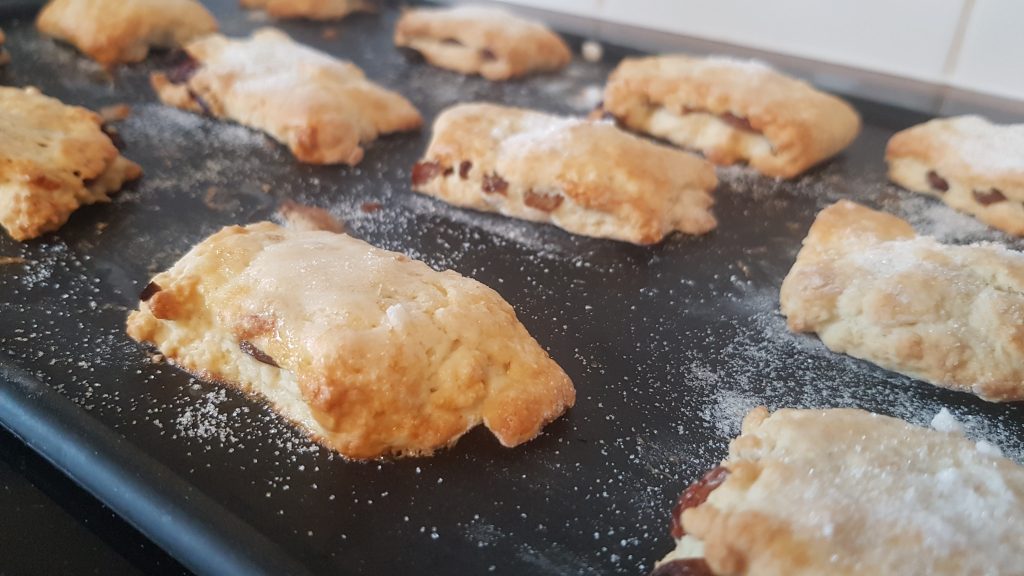
Our biscuits definitely didn’t look professional, but Ophelia was rather insistent that she wanted to do as much as she could by herself. This didn’t affect how yummy they were, only that ours were somewhat thicker than your average shop bought Garibaldi. They disappeared in less than 48 hours and there have been requests to make more for our biscuit tin.

Garibaldi here, Garibaldi there, Garibaldi everywhere!

To make Garibaldi Biscuits you will need:

  • 110g self-raising flour
  • Pinch of salt
  • 25g margarine
  • 25g caster sugar and an extra 2tbsp for sprinkling
  • 35g raisins
  • 2tbsp milk
  • Egg white
  1. Preheat the oven to 180°c fan and line a baking tray with greaseproof paper.
  2. Measure out the flour, salt and margarine and place in a single bowl. Rub together to create fine crumbs.
  3. Add in the sugar and milk and mix together to form a firm dough. We used both a wooden spoon and our hands to do this. Ophelia would have chosen to only use her hands given half the chance!
  4. Flour your surface, and pat the dough into a flat shape. Roll it out to a rectangle. Ours was 15cm by 20cm. If it is bigger, then your biscuits will be thinner.
  5. Sprinkle the raisins on half of the rectangle.
  6. Fold the half without the raisins onto the other half and gently pat down. I folded it over and Ophelia patted it down.
  7. With a table knife or child safe knife, divide the mixture into 6 rectangles and cut with a sharp knife. Older children may be able to do this themselves. Cut each rectangle in 2.
  8. Brush the biscuits with some of the beaten egg white and sprinkle with caster sugar.
  9. Bake in the centre of the oven for 12-15 minutes until golden. Cool on a wire rack and store in an airtight container.

This recipe appeared in Penguin New published on 4 September 2020 and Soar Valley Life September/October Issue 2020.

Slow Cooker Easter Egg Cookie

It has been a strange month. Life has changed significantly, but as we approach Easter I am remined of new opportunity and being grateful for everything that we have. I am trying to tell myself that this extra time with the children and their dad at home is a blessing, but I am constantly reminded of my shortcomings and lack of patience as I try and help them with their school work and have them ‘helping’ me with the chores, making them take three times as long. I find safety in familiar ground with them and for me that is cooking with them. We have cooked in the happiest and hardest times of my time as a mum and for me this period is no different. In all the time we have spent in the kitchen we have had some wonderful successes as well as monumental failures. Examples the latter would be a whole bottle of coconut essence working its way into a batch of cupcakes or neglecting to add sugar to another batch… But I have to say I don’t remember how either of those bakes turned out, what I remember is the delight in my kids’ voices when they have been able to do something they hadn’t managed before, or their happy chocolate-stained faces after licking the bowl.
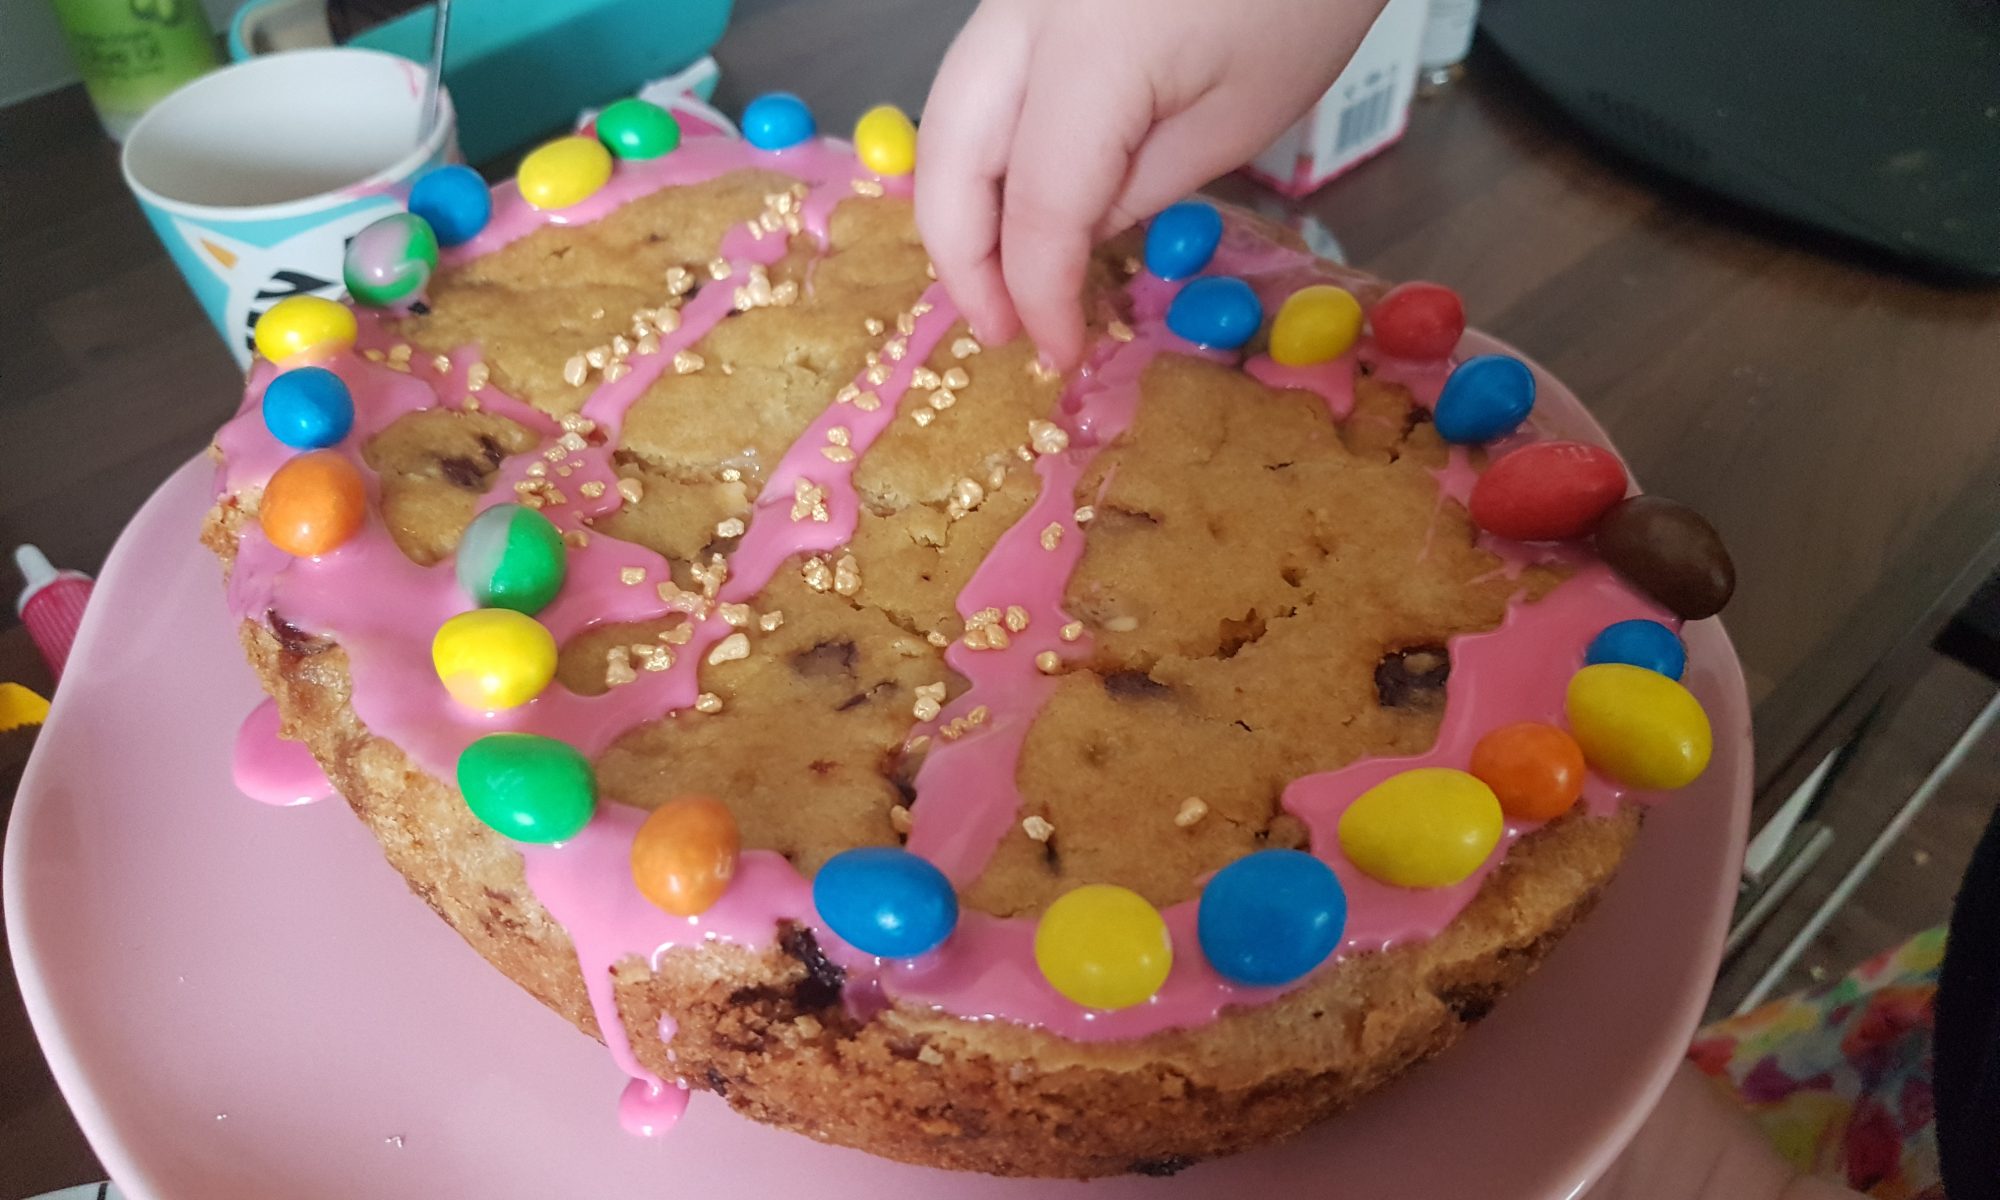
Easter Egg Cookie anyone?

The kids and I frequently make soup in the slow cooker and have also used it to make a delicious steamed lemon sponge, but after brainstorming Easter cooking activities with my cook books all around me, I realised that the base of my slow cooker is shaped like an Easter Egg. When I pointed this out to the kids, they were excited. They could tell their mum was about to suggest an activity and indeed I was; a Slow Cooker Easter Egg Cookie.

For the cookie:

  • 350g plain flour
  • 1tsp bicarbonate of soda
  • 1tsp baking powder
  • 200g softened butter or margarine
  • 250g caster sugar
  • 1 egg
  • 1tsp vanilla extract
  • 200g chocolate chips/dried fruit

To decorate:

  • 50g icing sugar
  • 2 tbsp water
  • Decorations of choice
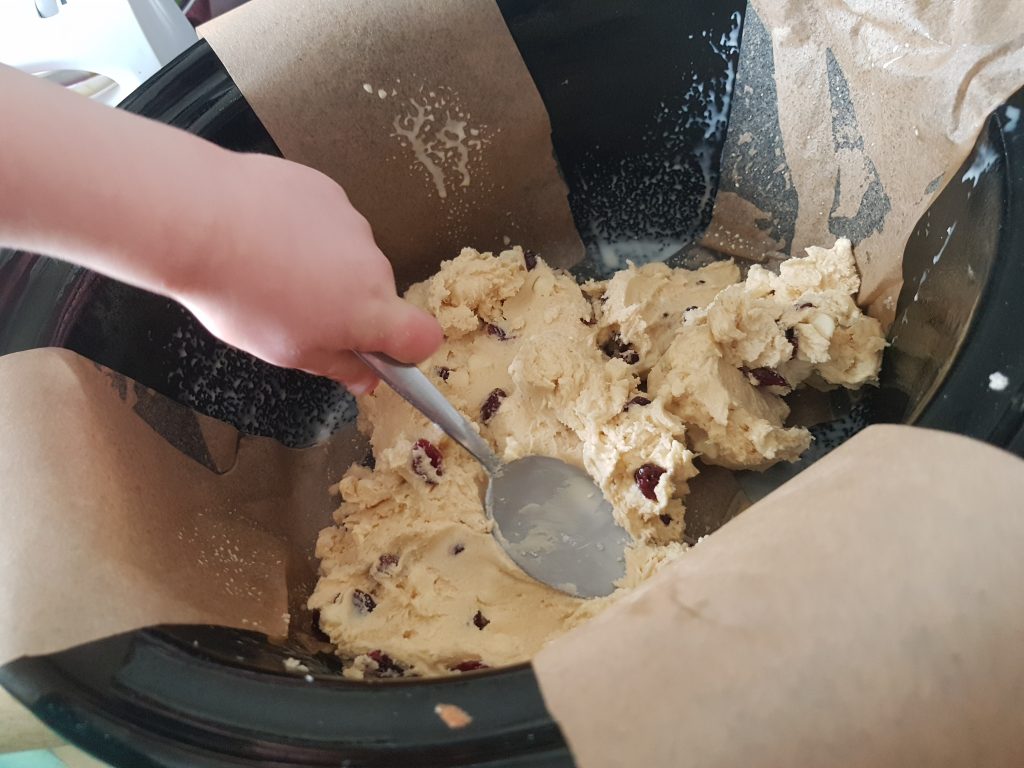
The slow cooker lined with baking parchment.

Method:

  1. Generously grease the inside of the slow cooker with butter or cooking spray.
  2. Cut two long, thick strips of baking parchment and put in the slow cooker in the shape of a cross. You need to ensure that the parchment is long enough to reach over the edges of the slow cooker. If using cooking spray, spray again.
  3. Cream together the butter and sugar until pale using an electric hand mixer.
  4. Add the egg and vanilla and combine.
  5. Gradually sift in the flour, bicarbonate of soda and baking powder and mix to form a stiff dough.
  6. Once all the flour has been incorporated, add the chocolate chips and dried fruit and mix.
  7. Dollop into the slow cooker and spread all around with the back of a spoon.
  8. Cover and cook on high for 1hr and 45 minutes. Remove the slow cooker bowl using oven gloves and place on a heat proof surface to cool for at least half an hour.
  9. Gently remove from the slow cooker either by using the baking parchment or by turning out onto a cooling rack. You may want to loosen the edges with a table knife before removing.
  10. Once fully cooled, make up the icing by mixing the water and icing sugar. Add more icing sugar for a thicker consistency and then use to stick on decorations.

Why Share a Cookie?!

I have seen many recent posts on Facebook and Instagram when people are making too many batches of cakes and mentioning that they would be a size larger at the end of lockdown. I have really taken this to heart and started pondering the idea of making a single cookie.  One means you don’t have to share it and also that you get the satisfaction of a delicious baked cookie and doing an activity either on your own or with your kids and not worrying that it could be a piece of cake (or cookie) too far and risk sending you into a sugary haze. Kids how about you try to convince your grown up that this is the best idea?  You can scoop out all the ingredients yourself and not have to share the cookie! Did I mention that this recipe doesn’t contain egg and can easily be made dairy free or vegan by using vegan spread and chocolate. It uses only a small amount of ingredients so you don’t have to be overly concerned about running out.

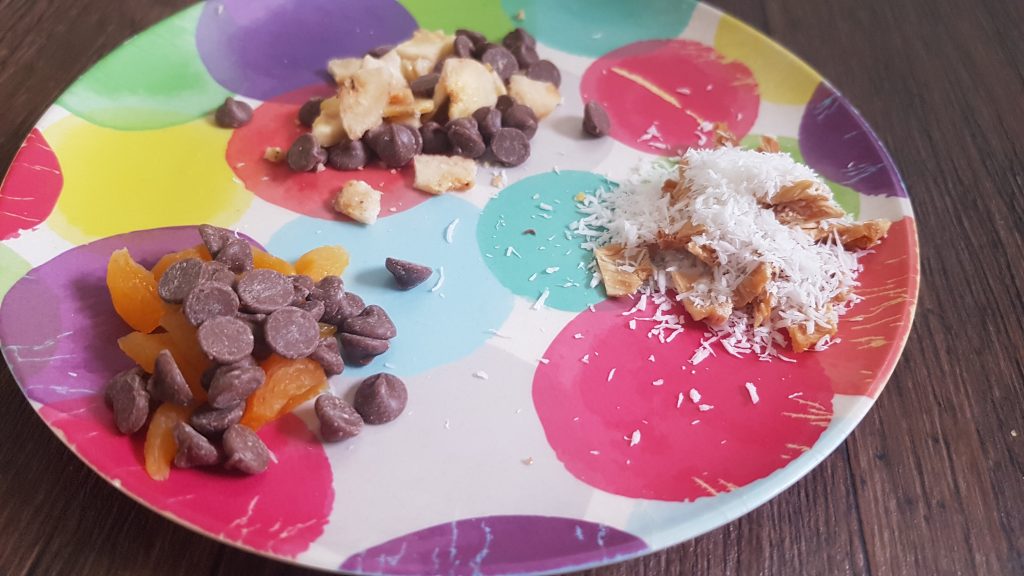
The add ins for the cookies.

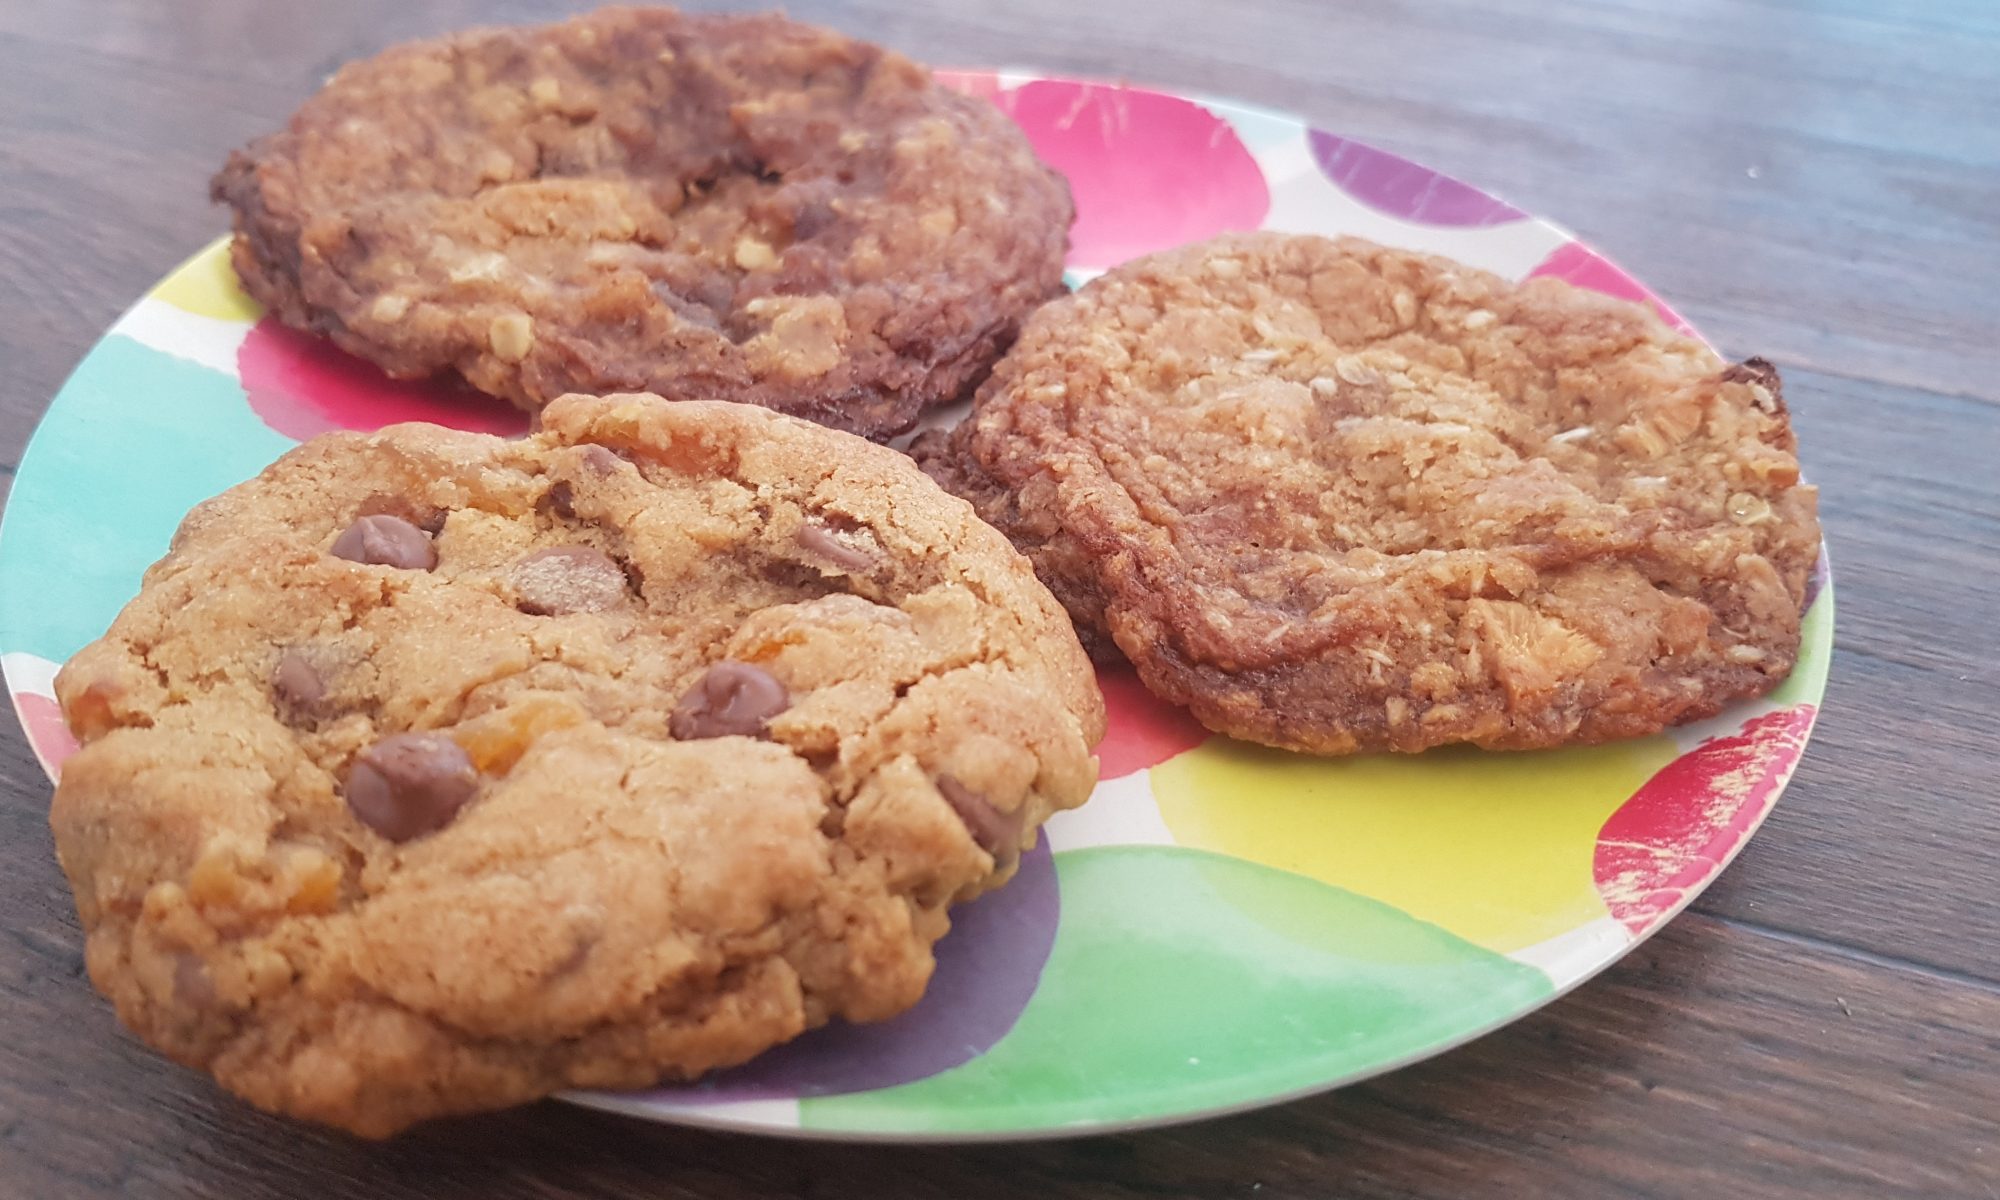
My kids each chose a different tablespoon of add ins to make their cookie personal so we ended up with apricot and chocolate, dried banana and chocolate and dried pineapple and coconut. They all smelled delicious and I was honoured when Ophelia deigned to share some cookie with me! Surprised would be an understatement.

The kids would like to see your cookies; it would really brighten our day. Please do put them on our Facebook page or tag Just Add Patience on Instagram so we can see how you have got on!

To make a single-serve cookie you will need:

  • 1tbsp margarine/unsalted butter – we have found margarine is easier for the kids to scoop as I never remember to take it out of the fridge in advance.
  • 1tbsp light brown sugar
  • 1/4tsp vanilla extract
  • 2tbsp flour
  • 1/8tsp bicarbonate of soda
  • Pinch of salt
  • 1tsp oats
  • 1tbsp chocolate/dried fruit
Gently flatten.

To make a cookie:

  1. Preheat the oven to 160°c fan and line a baking sheet with a silicone baking mat or parchment.
  2. Put the butter, sugar and vanilla in a small bowl and cream together using a teaspoon.
  3. Add the flour, bicarbonate of soda and oats and salt into the bowl and mix to combine. My kids enjoyed using their hands to bring it together.
  4. Add in the chocolate/dried fruit and roll into a ball.
  5. Place on the baking tray and flatten slightly with your hand.
  6. Cook for 10-12 minutes and allow to cool on the tray – warm cookies are fragile.

Kiddie Amaretti Biscuits

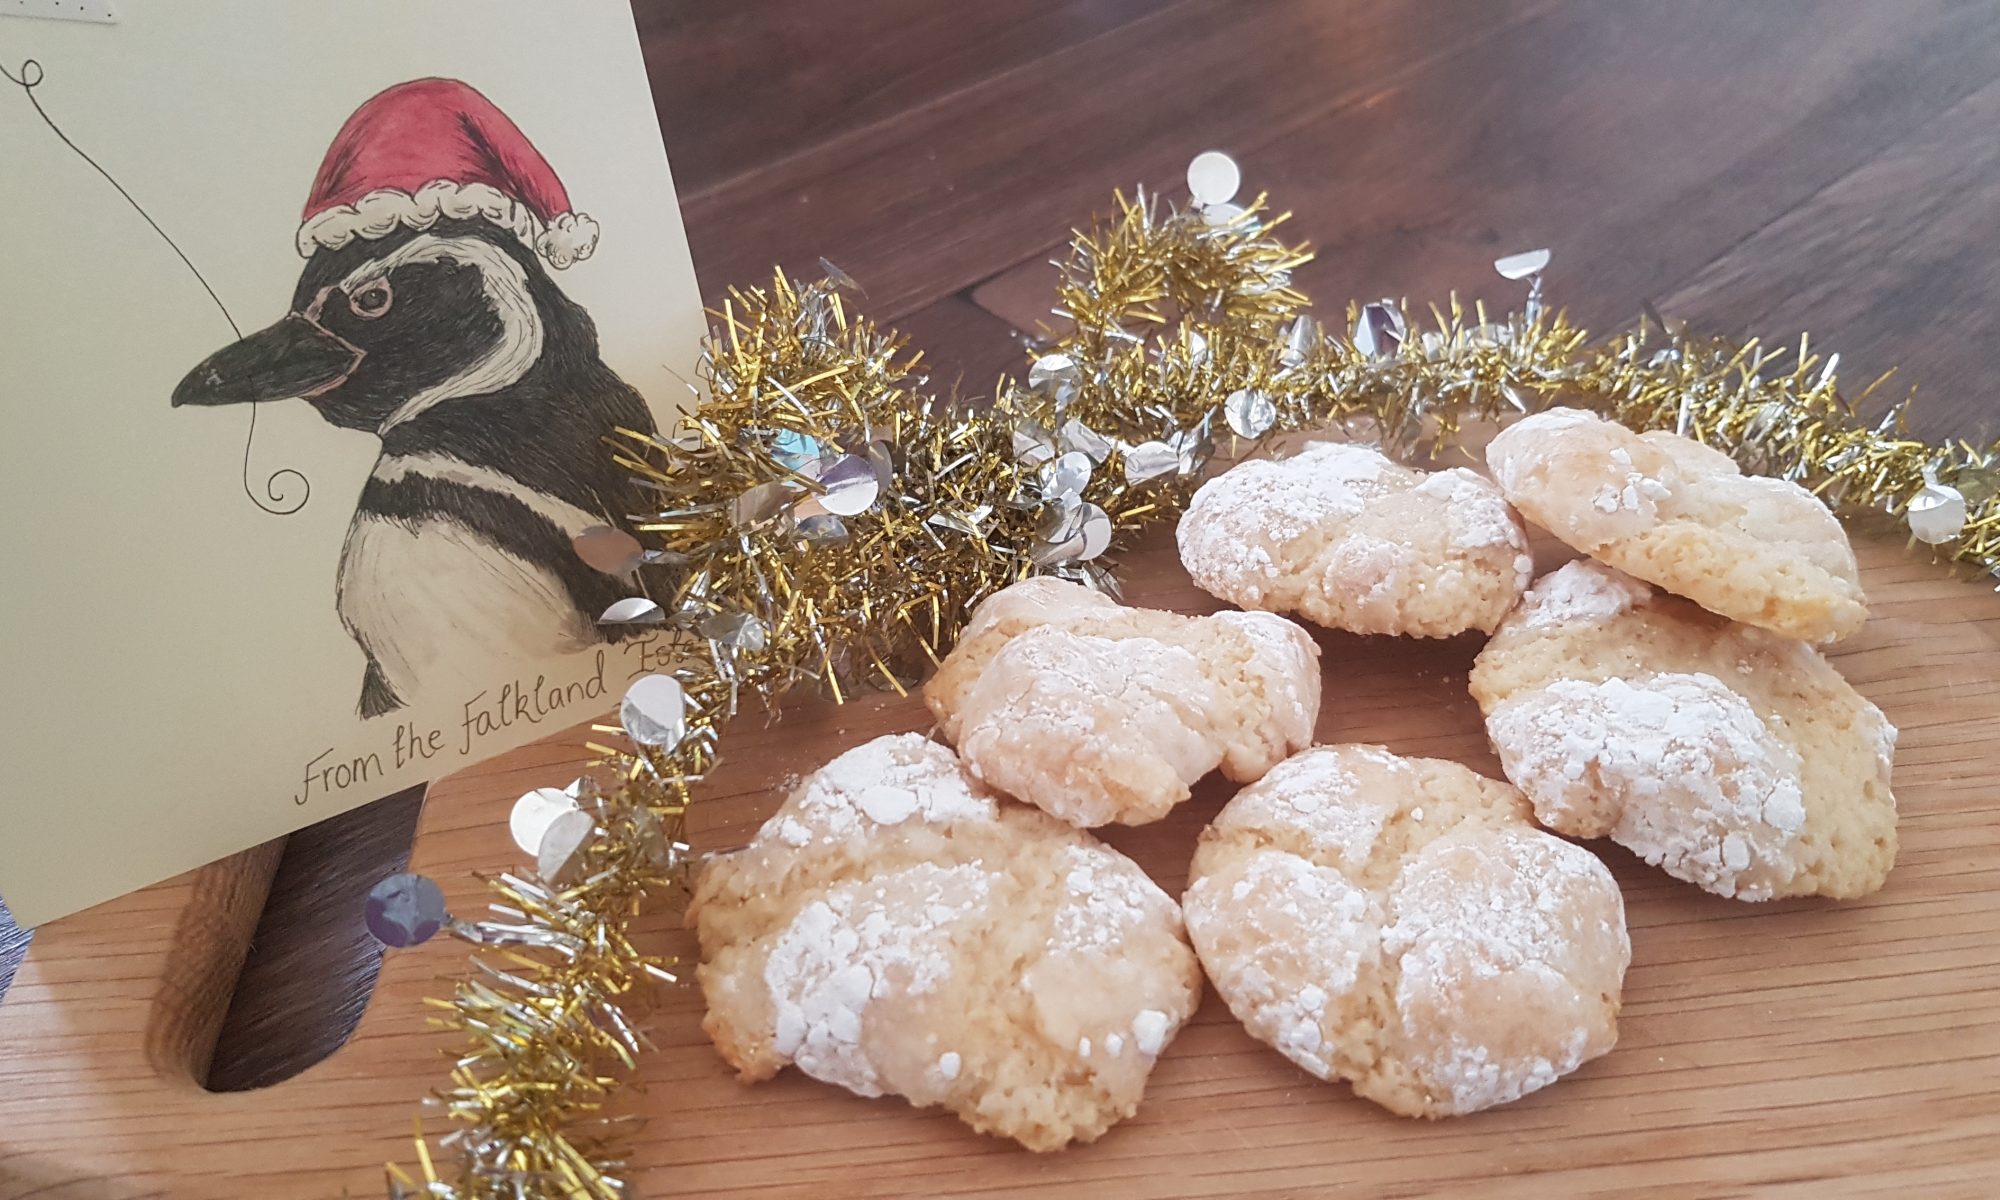
Unless I am being super duper productive next week, this will be my last post before Christmas. So I want to take this opportunity to wish you all a very Merry Christmas from the Falkland Islands. We have just begun our Christmas/summer holidays and the whole family, including my teacher husband, is looking forward to not having to get up early and sort stuff for school! Although that said, I hit the gym early this morning trying to compensate for all the treats I have eaten in the run up to Christmas…
I have fond memories of tins of Amaretti biscuits at Christmas time as a kid and being allowed one or maybe two if I was lucky. The excitement of choosing which coloured wrapper I wanted and gently unwrapping it to reveal the delicious almond biscuit which was always savoured. I never wanted to throw the wrappers away either as they were so elegant and reminded me of yummy Christmas treats. I always felt very grown up being allowed to share in what felt like a very indulgent Christmastime ritual under the watchful eyes of my dad, who wanted to ensure I took no more than I had been allowed. I don’t think he was very good at sharing what he considered to be his food. My sweet tooth certainly came from him!

What’s not to love?
Some of the steps in action.

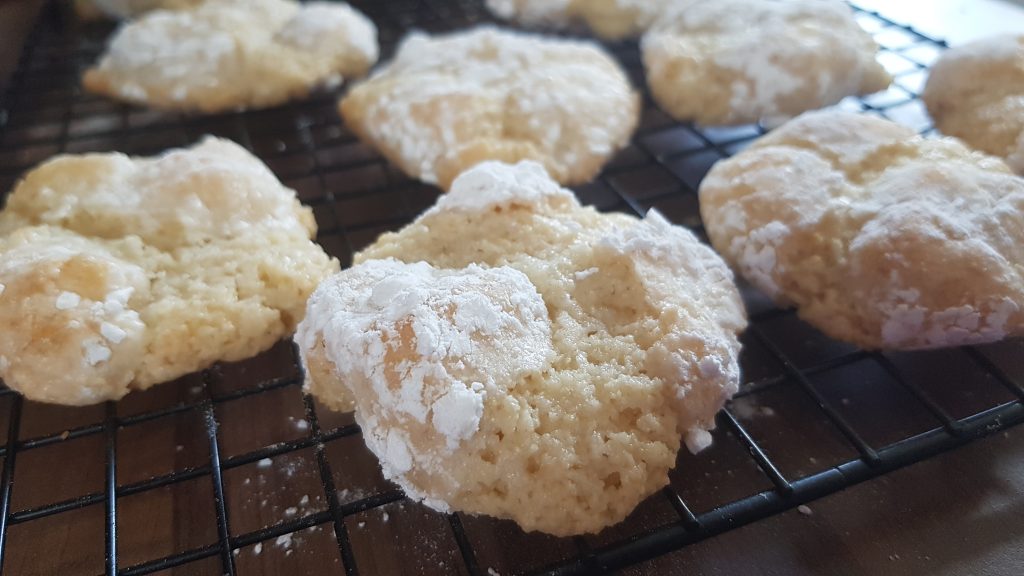
This year, I decided that it would be fun to recreate them with the kids in the kitchen, but without the alcohol. It was a hands on activity which kept all three children amused. With the set up of our kitchen in Stanley, it isn’t always particularly easy to give everyone space to have a go, but this time around the kids managed to share a couple of chairs and leave room for me to instruct from the side lines. We did make ours somewhat larger than shop bought ones, but it did make them less fiddly for small hands to roll into balls and then coat in icing sugar without squishing them into a pulp! These a naturally gluten free as they contain no flour and with the ground almonds they make me feel like they are a bit healthier.

Ingredients

  • 2 egg whites
  • 175g caster sugar
  • 175g ground almonds
  • 1tbsp almond extract
  • Icing sugar for dusting

Method

  1. Preheat oven to 160°c fan and line two baking sheets with silicone baking mats or parchment.
  2. Whisk the egg whites with hand mixer until stiff peaks form.
  3. Gently mix in the caster sugar and ground almonds with a metal spoon and then bring together with your hands.
  4. Make tablespoon-sized balls for big biscuits or teaspoon-sized balls for smaller biscuits.
  5. With damp hands, roll each ball in a plate of icing sugar to coat and place on baking sheets ensuring that you space them apart.
  6. Cook for 15-20 minutes until they are a light golden colour and slightly puffy.
  7. Leave to cool on the baking trays for around 10 minutes before transferring to a wire rack to cool completely.

These are totally yummy biscuits and I will probably be making these outside the festive season too! But that is probably because I love biscuits, but I hate the pressure of trying to decorate them nicely as I am not the most artistic of people!

Date & Walnut Cookies

You know it is going to be one of those days when you are up before 7am with the kids in the school holidays. You know it is going to be longer than you want when in order to retain your sanity, you start baking before you would normally be leaving the house for the school run. Before you start yelling at your screen that I am crazy, my theory that over the summer it is cooler earlier in the morning and therefore easier to have the oven on without turning the whole house into a sauna and turning your children into little dragons set to breathe fire at each other and at you.

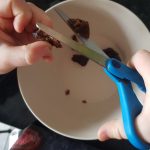
Snipping the dates

We made this recipe as we have a lot of dried fruit and nuts in the house – it seems I always put them in the trolley regardless of the quantity that I already own. So if you see me anywhere in the vicinity of a supermarket until the new academic year, please do feel free to remind me that I don’t need anymore of the aforementioned item or even remove them from my trolley unless I can tell you their exact date of use and purpose.

It was another baking in pyjamas session!
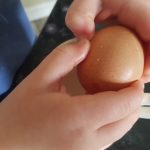
Cracking the egg into a separate bowl to whisk means it is easier to retrieve any stray bits of shell!

These cookies are ridiculously moreish; I managed to polish of significantly more of them than necessary for a healthy diet (after successfully completing a spin class, but still….) and the batch lasted under 24 hours from when they were made. The kids loved these and enjoyed bashing the walnuts and cutting the dates with scissors. I did also catch Atticus squeezing honey into his mouth directly from the jar. I was so surprised that I admonished him and he was so surprised that he dropped it. Luckily in this instance the jar was plastic. It is also a rather good thing that I wasn’t planning on sharing the honey with anyone outside the family.

The finished product!

Ingredients

  • 150g dates
  • 100 walnuts
  • 25g melted butter/margarine
  • 100g demerara sugar
  • 100g self raising flour
  • 1 egg, beaten
  • 1tbsp honey

Method

  1. Place greaseproof paper or silicone baking mats onto a couple of baking trays.
  2. Using scissors, cut the dates into small pieces.
  3. Using a pestle and mortar or a rolling pin gently bash the walnuts into small pieces.
  4. Crack the egg into a small cup or bowl and gently beat it.
  5. Place all the ingredients apart from the flour into a bowl
  6. Sift in the flour and mix until fully combined.
  7. Take tbsp. of the mixture and either roll into balls (beware it is sticky!) or just dollop onto the baking tray.
  8. Depending on the size of your cookies, you will have between 12 and 15.
  9. Place in the oven for 10-12 minutes until golden.
  10. Leave on the tray to cool for a couple of minutes before transferring to a cooling rack.
  11. Scoff the lot with or without the kids!

Vegan Choco Nutty Biscuits

Caught you!
Cookie scoop, she needed help to operate it, but was determined to give it a go!

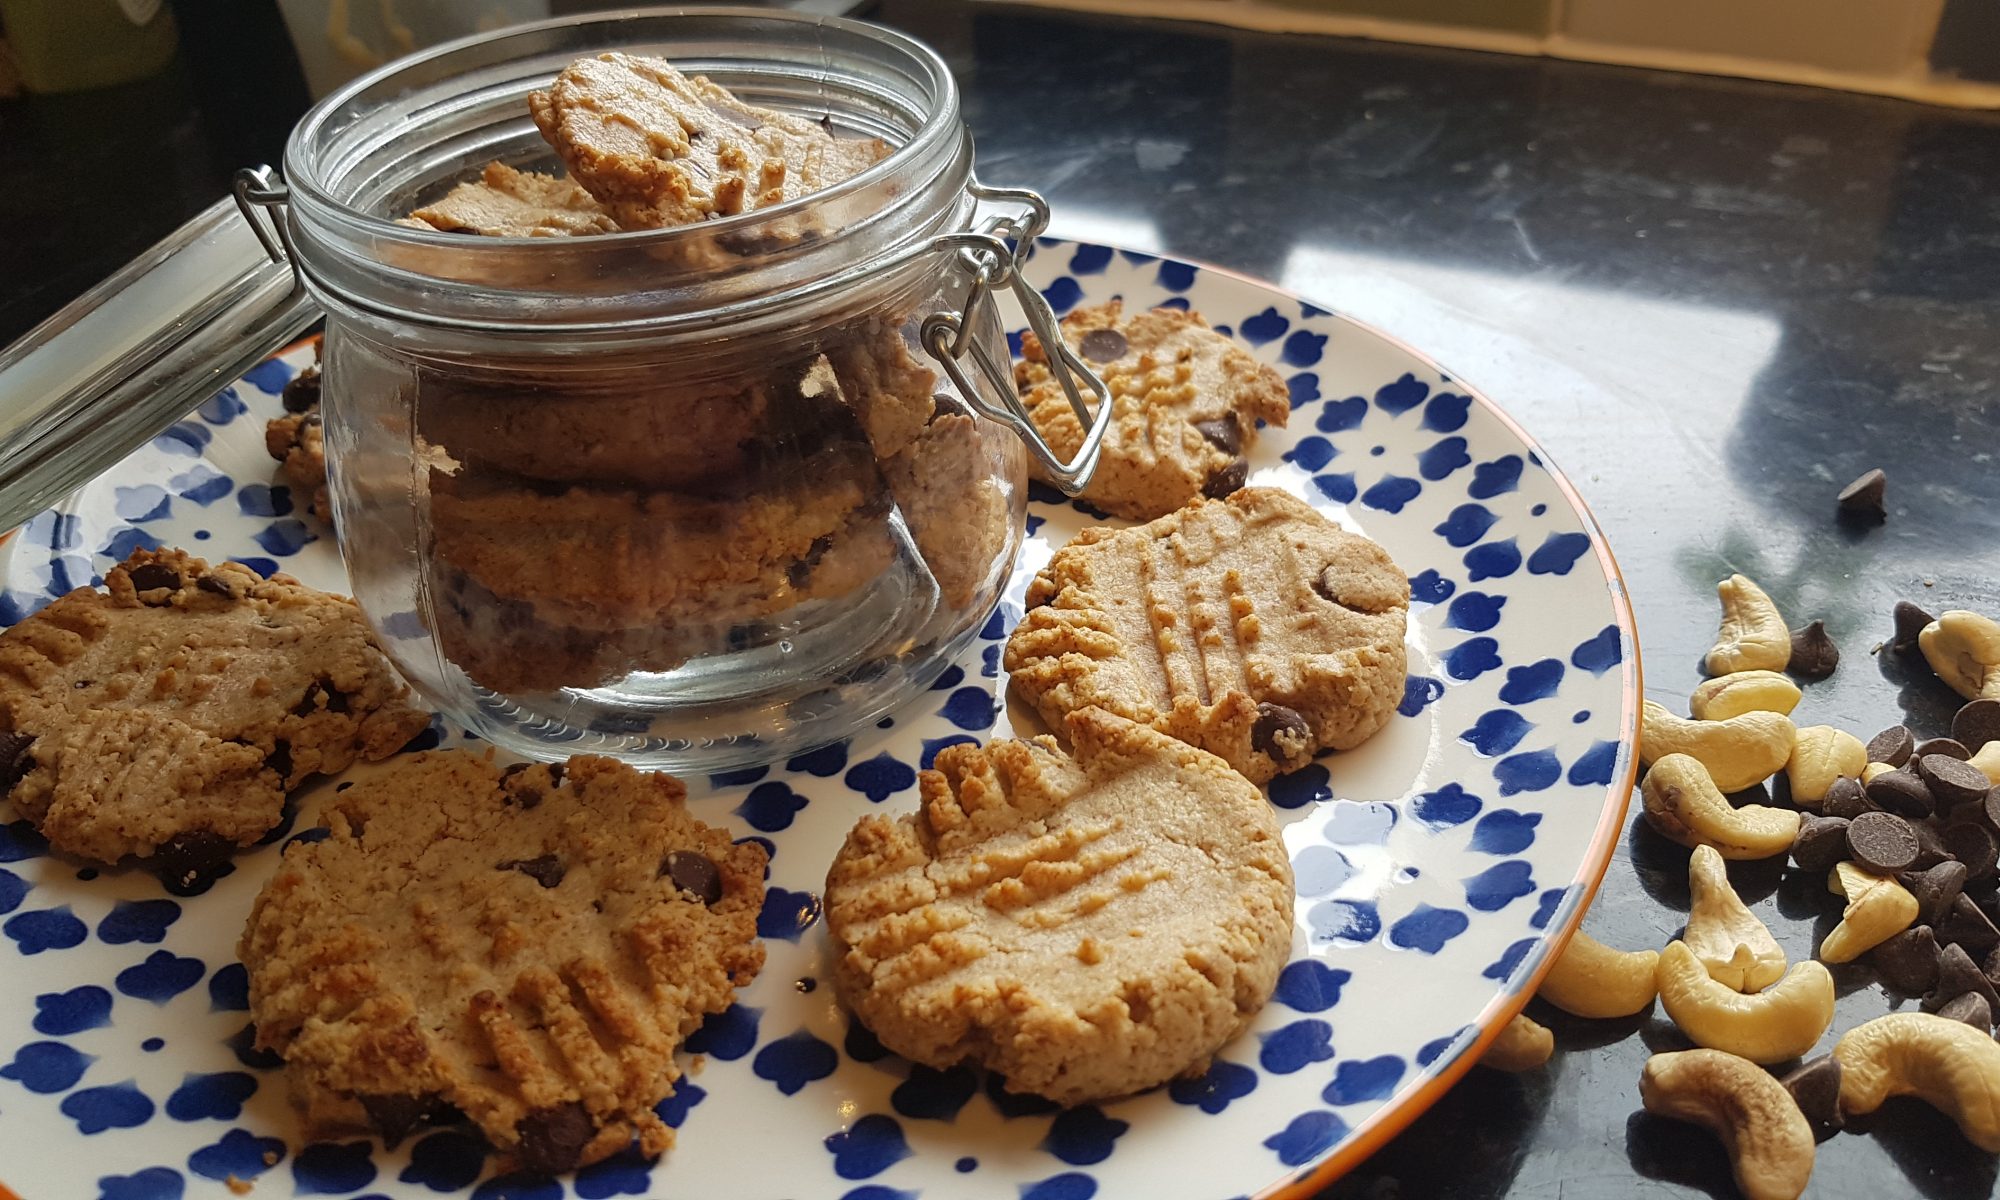
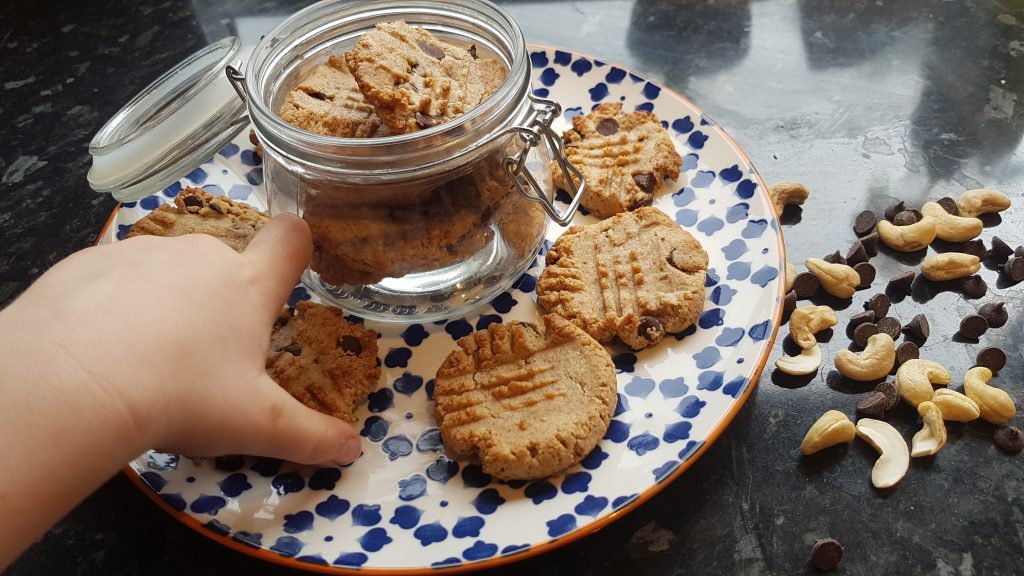
We are not vegan, but I don’t think that vegan treats should be only for those who are following a vegan diet. Sometimes they are just far too tasty not to want to gobble them up. These biscuits are an example of a vegan snack that I could easily eat my weight in. Why did we decided to make a vegan biscuit though? As part of my seriously epic spring/summer clean, I have been double checking the ingredients I have stored in my pantry. My baking supplies always tend to overflow out of their allotted shelf space. I have come to conclude that I am a baking magpie. What I mean is that I am drawn to baking ingredients in the same way that a magpie is drawn to shiny things. So I buy things that I don’t have space for with plans in mind that may or may not materialise. During this stock take I discovered half a jar of maple syrup. So this meant vegan cookies were on the menu. Luckily for me, I have a little bit more left so I can make another batch!

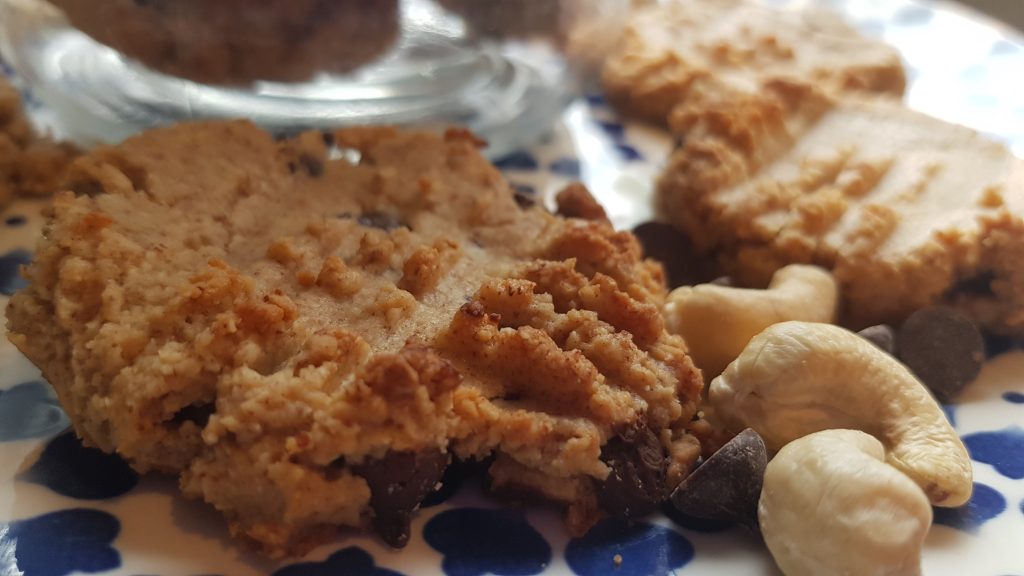
Squishing to make the lattice pattern. Dunking the fork in water helps to prevent the cookie dough sticking to the fork.

This was another mummy-daughter baking session. She was her usual chirpy self and absolutely delighted with the fact that we were making cookies as they are one of her favourite snacks. It was lots of fun scooping the peanut butter out of the tub and dolloping it into the mixing bowl and licking the spoon.

Ingredients

  • 75g ground cashews (we did this in food processor)
  • 75g ground almonds
  • 100g smooth peanut butter
  • 65g maple syrup
  • 50g vegan chocolate chips
  • 1/2tsp baking powder
  • 1/2tsp vanilla extract

Method

  1. Place all the ingredients except the chocolate chips in to a large bowl and mix to bring together.
  2. Add the chocolate chips and knead with hands to distribute the chocolate chips evening in the mixture.
  3. Using a tbsp., measure of balls of the dough and place on a baking tray.
  4. Dunk a fork into a cup of water and then push down on the top of each cookie to create a lattice pattern (both directions).
  5. Place in the fridge for 15 minutes and preheat the oven to 150°c fan.
  6. Cook for 8-10 minutes until golden brown and allow to cool before eating.
I could definitely do with another batch of these!

Easter Florentines

There are generally copious amounts of chocolate in our pantry. I keep on contriving new places to sneak more into the house away from the kids’ (or my husband’s) prying eyes. Usually this is a challenge, but when we approach Easter (or even Christmas for that matter), my task seems to become nigh on impossible! However, I am a stubborn woman and where there’s a will there is a way! In our house, chocolate falls into several categories; general eating chocolate, chocolate for a particular purpose (such as a cake or bake) and Kat’s chocolate. Over the years, Simon has learnt, that he is better not to waste his breath asking me to share my chocolate as it will end in an argument. The safer course is for him to wait for me to offer him some. I am very good at offering him the dark chocolate, which he doesn’t like so I get to keep, but not so accomplished at sharing the chocolate that he would actually enjoy!

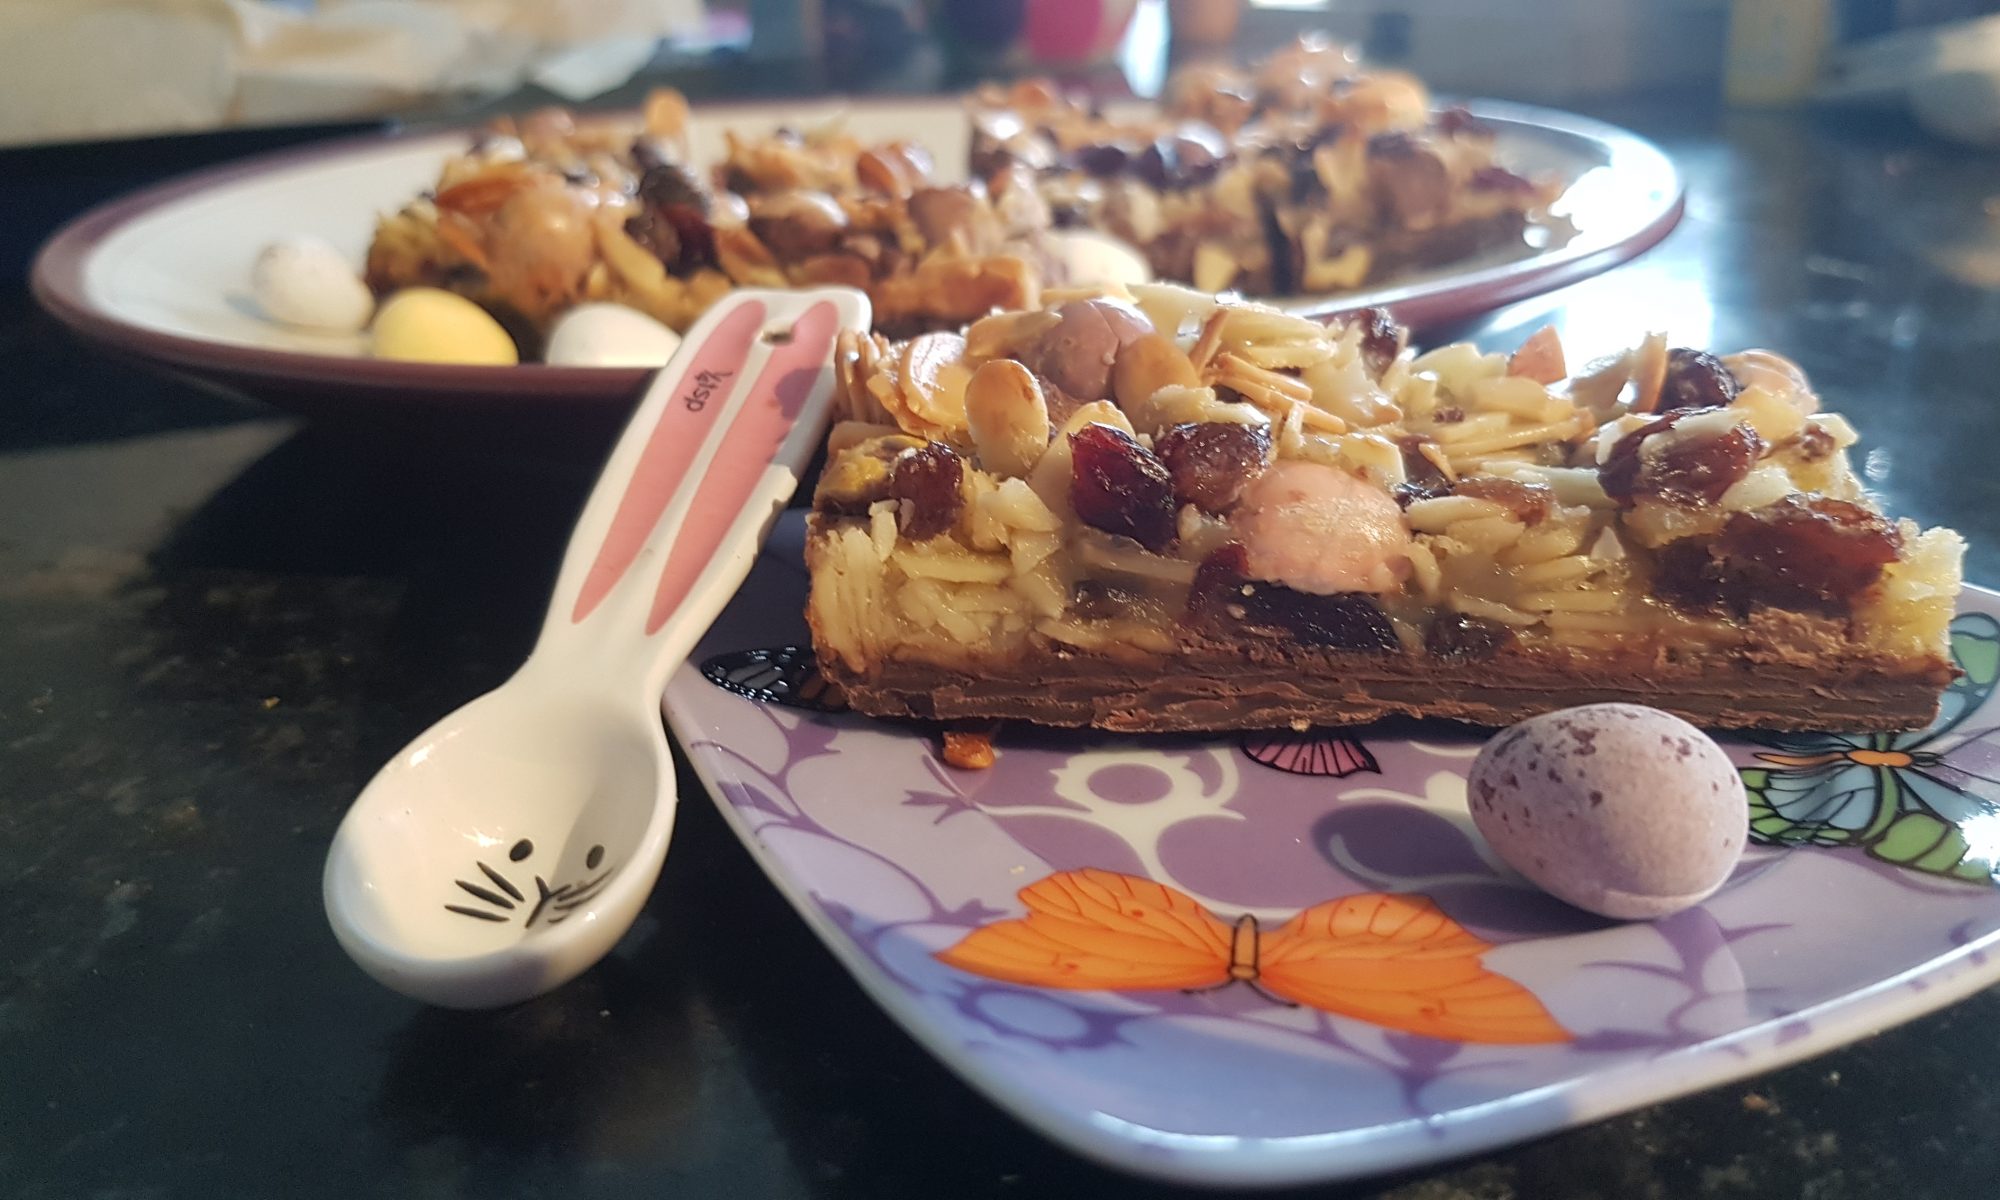
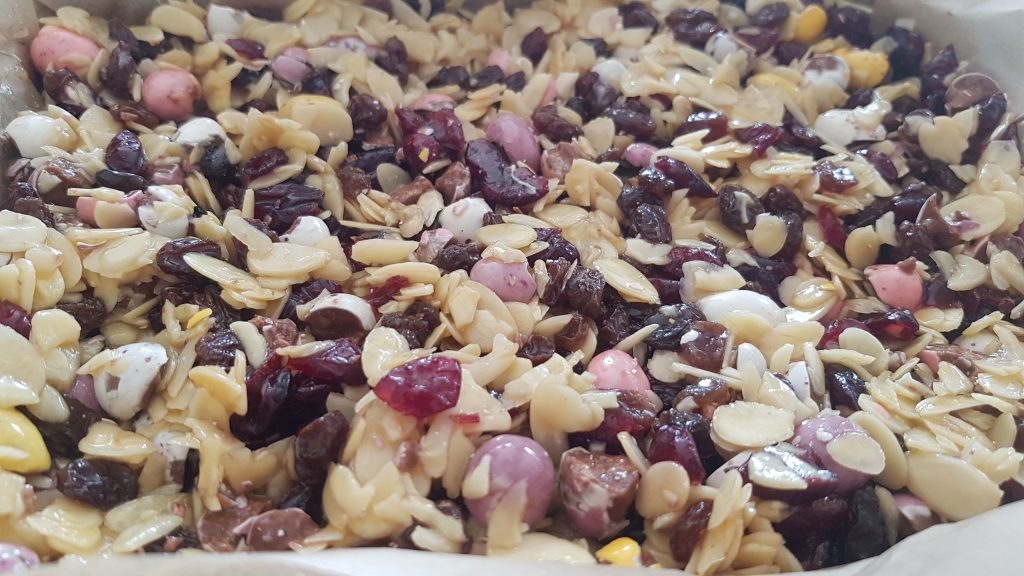
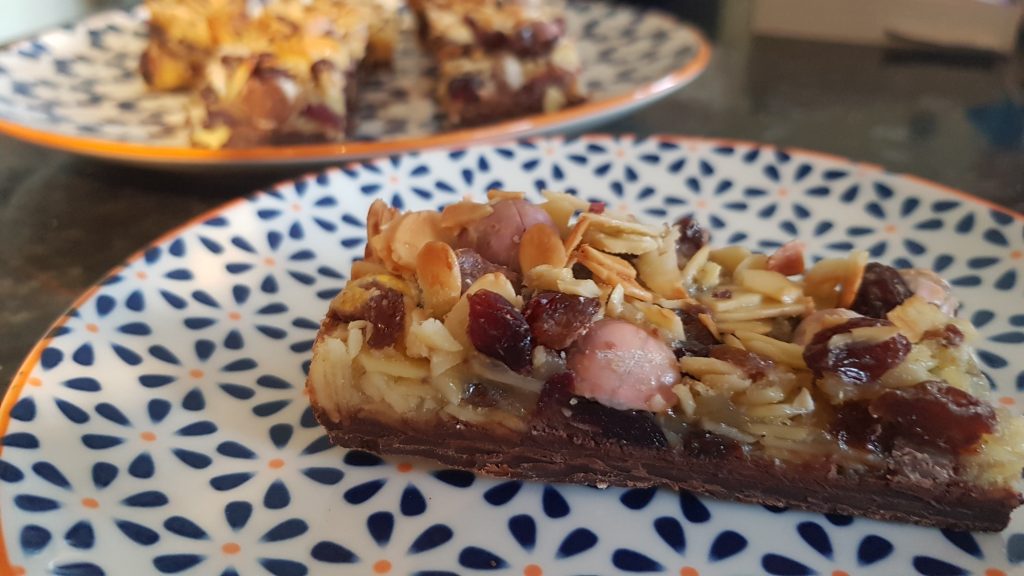
Easter baking wouldn’t be complete if it didn’t involve Mini Eggs. They are totally addictive and would be welcome all year round! This year, I decided to put Mini Eggs into my mum’s favourite biscuit – the Florentine. These Florentines are not at all authentic, but that doesn’t stop them from being remarkably moreish. We melted the base chocolate and allowed it to set in the bottom of the pan before cooking so it didn’t take quite so much time to make. Please please please though, if you are baking with Mini Eggs and small children do not ignore the step to crush them or chop them up.

Ingredients

  • 300g dark chocolate
  • 100g raisins
  • 100g dried cranberries
  • 175g flaked almonds
  • 175g Mini Eggs (crushed)
  • 100g caster sugar
  • 50g melted butter
  • 2 beaten eggs
Ready for the oven!

Method

  1. Grease and line a brownie tin with baking parchment.
  2. Break up the chocolate and put in a heatproof bowl and place over a simmering pan of water to melt.
  3. Once melted (the bowl will be hot), adult pour it into the lined brownie tin and ask your little chef to tilt the tin so that the chocolate covers the entire base. Put in the fridge to set.
  4. Preheat the oven to 170°c fan.
  5. Put the mini eggs into a ziploc bag and bash with a rolling pin until they are all crushed.
  6. Crack the eggs into a small bowl or mug and whisk.
  7. Put the dried fruit and almonds in a large bowl and mix.
  8. Add the sugar, melted butter and beaten eggs and mix until fully combined.
  9. Add the crushed mini eggs and mix again.
  10. Remove the brownie tin from the fridge and put the egg mixture on top of the chocolate and gently spread to completely cover it.
  11. Put in the oven for 20-25 minutes until golden brown.
  12. Leave to cool completely in the tin and once fully cooled cut into fingers or squares and store in the fridge. We left ours to refrigerate overnight before slicing to ensure they were completely cool and sliced with a knife heated in boiling water.
Oh yum!

Unfortunately we are not seeing my mum until just before Easter and it is highly unlikely there will be any left by then! Sorry mum! I peer at them every time I open the fridge, just to check they are still there (and inhale their gorgeous scent) and to ensure no bandits children have come to treat-nap them! I should also add, the kiddies had small squares. I did have a large slice or three after giving blood, but I considered that that was well deserved!

Hot Cross Cookies

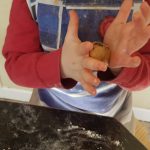
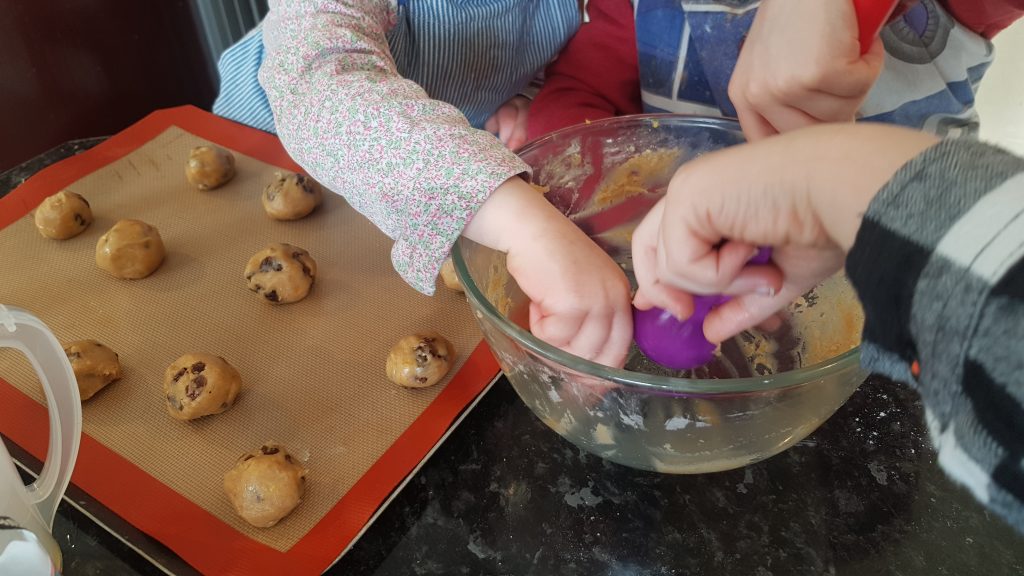
Working as a team to mix together the dough.

I love a good hot cross bun. They are wonderfully squidgy and are so yummy when toasted and lathered in chocolate spread (sorry I am not a purist as I am not a fan of butter). I don’t make a habit of buying hot cross buns until the Easter holidays as if I do, I know that I will eat them all and happily forget that the kids also enjoy them. My husband is out of sync with the rest of the family on this one – he would prefer, well not to be obliged to eat a hot cross bun I am sure!

Scooping out the dough
Rolling into balls

I have made hot cross buns in the past, but not with the kids. I remember it being a somewhat lengthy process and not necessarily compatible with my kids’ tiredness levels during term time. However, I did want us to make something related to our faith and have an opportunity to talk with them about the Easter story so I decided we would make cookies as they take less time. As an added bonus, we could make them smaller and perfect for an afterschool snack without having to share a whole hot cross bun and causing arguments over who gets which bit! I don’t know about your kids, but mine will argue over literally anything and make it look like an Olympic sport! Anything not to run the risk of an argument over what I would consider a small inconsequential occurrence, which is clearly the biggest injustice since the previous occasion!

Time to lick the bowl!

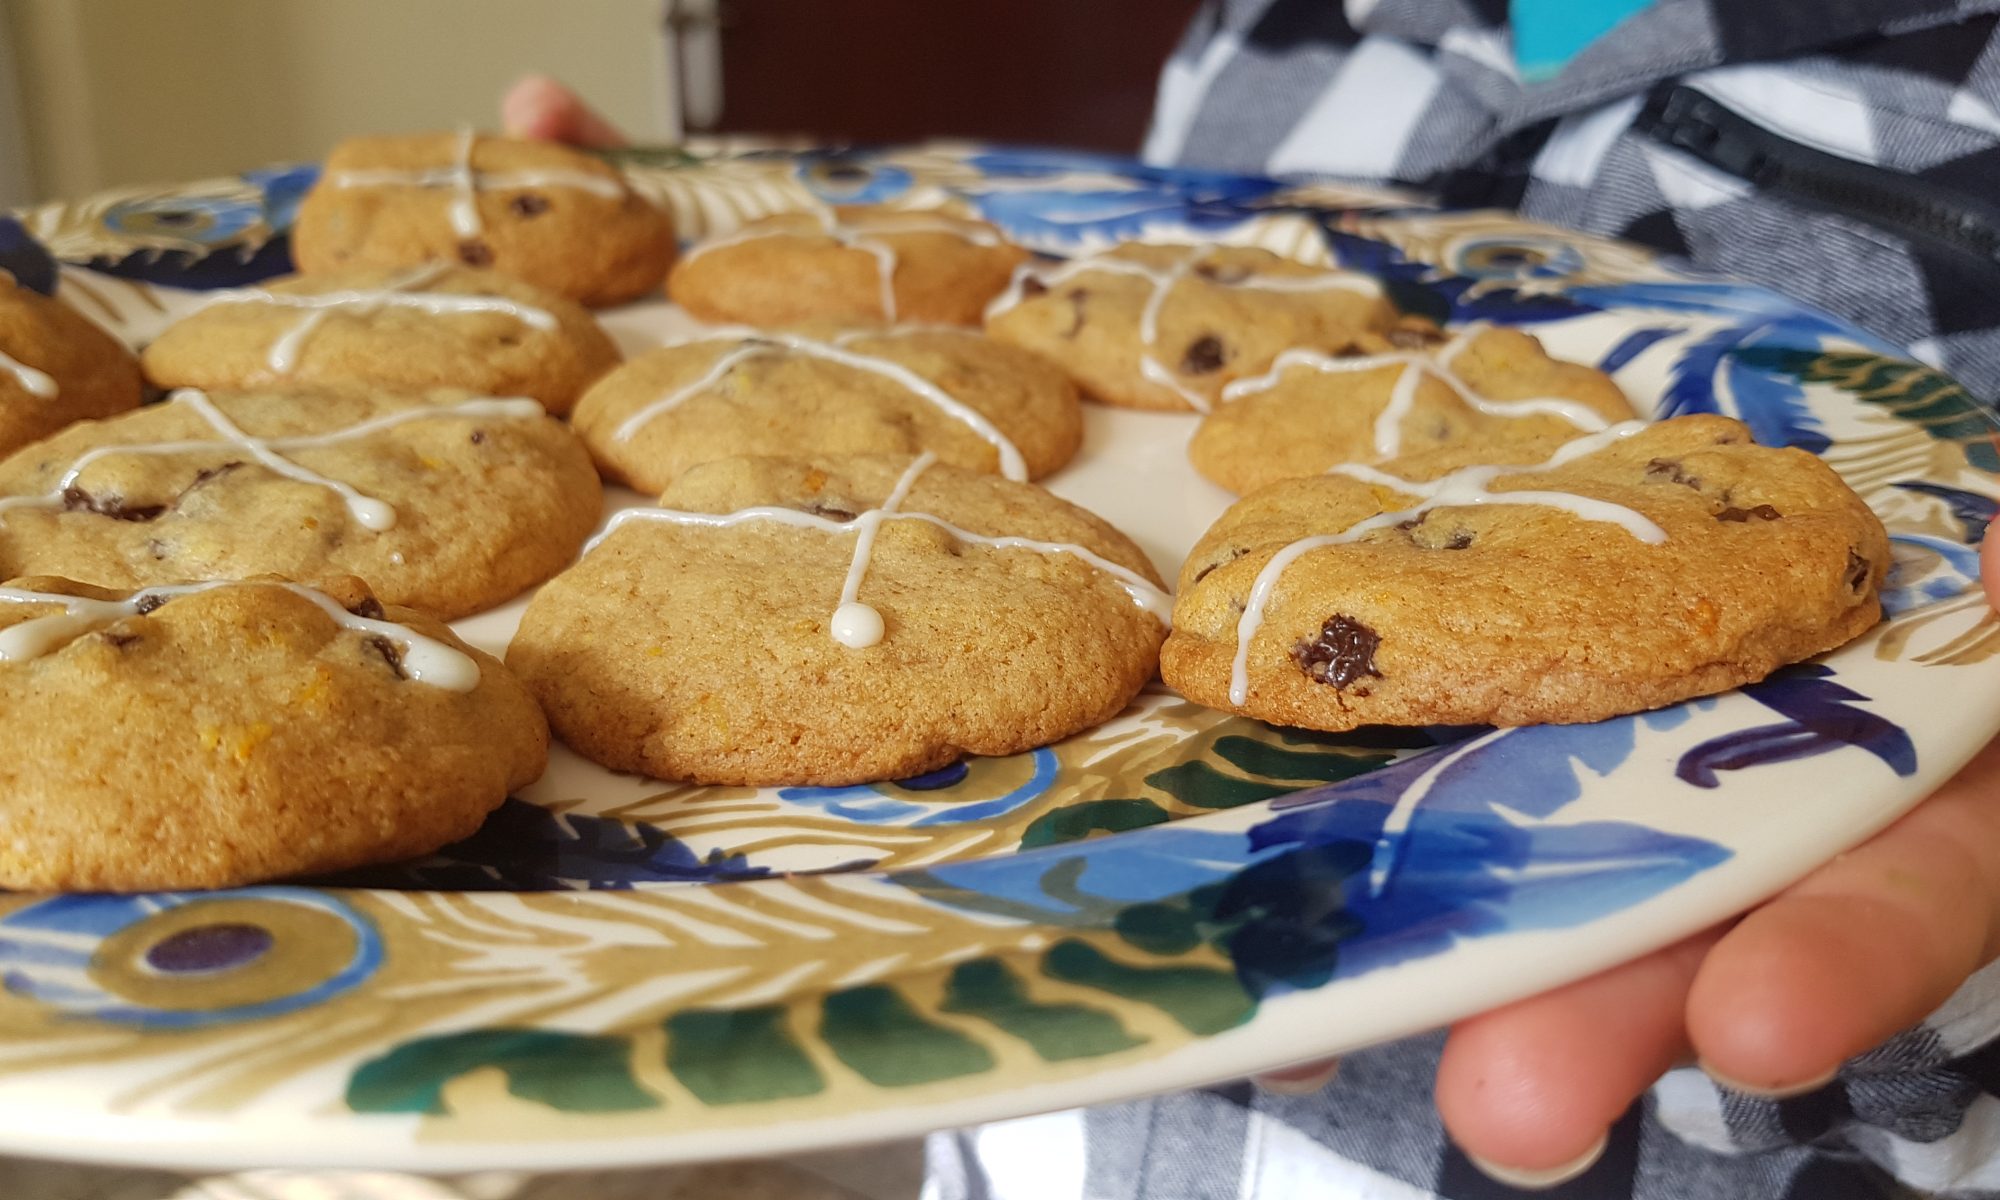
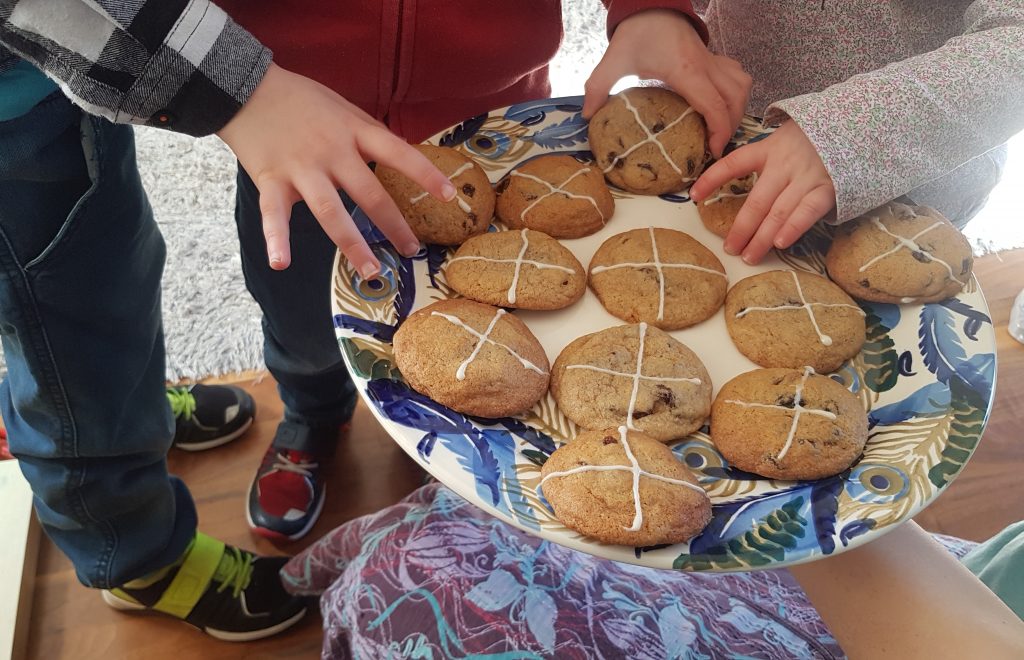
We used melted butter in these cookies to recreate the squidgy texture of a hot cross bun, and added orange zest, cinnamon and raisins to replicate the flavours of them. We used icing pens for the crosses, but my eldest had some difficulties piping these out so had help. Alternatively, you could use icing sugar and water, melted white chocolate to pipe a cross on them or cut crosses out of rolled marzipan to stick on. It seems the options are endless! Seb actually quite enjoyed directing me and rating my attempts at putting crosses on the cookies!

Ingredients

  • 225g plain flour
  • 1 egg
  • 150g melted butter
  • 160g soft light brown sugar
  • 1tsp bicarbonate of soda
  • 1 tsp cinnamon
  • 150g raisins
  • Zest of an orange
  • 1tsp vanilla
  • 1tsp of orange extract
  • 1/4 tsp salt

Method

  1. Preheat the oven to 180° or 160°c fan and line two baking sheets with silicone baking mats.
  2. Mix the melted butter and sugar together until light and fluffy.
  3. Crack the egg in and add the vanilla and orange extract and beat it in until fully combined.
  4. Add the flour, orange zest, cinnamon and bicarbonate of soda and bring together until a dough forms.
  5. Add in the raisins and squish and squash to ensure an evenish distribution of fruit in the dough.
  6. Using a tablespoon to measure, get small pieces of dough and roll them into balls and put then on the baking sheets. Remember to leave space for spreading.
  7. Bake for 12-15 minutes until golden. Leave on the trays to cool as they are a little fragile directly out of the oven.
  8. When they have cooled slightly make the crosses using icing pens, melted white chocolate, icing or even marzipan.
Who wants a cookie?! Silly question!

These were delicious cookies. If your little ones aren’t a fan of raisins, you could substitute them for chocolate chips. Do let me know if you make these with your monkeys or without them as that is also an option!

Choccy Toffee Squares

I try alone mummy!

I find baking therapeutic. I even find baking with children relatively therapeutic. This is especially true when the alternative is a 20-minute argument about what board game they should play or TV show they should watch or a meltdown because one little Gilbert didn’t listen to any other little Gilbert’s ideas. The reason for this is generally because any argument can be solved by licking the bowl or by consuming copious amounts of leftover melted chocolate. Yes there are times when the melted butter pot gets knocked over or the flour manages to escape out of the packet and everyone swears they didn’t touch it, but the good in it definitely outweighs the bad and most of the time I get through the activity with my frazzled temper relatively intact! Disclosure; I would like to remind my lovely readers that the more children you try to cook with, the more stressful the undertaking for the ‘responsible’ adult. As a mum who has been cooking with little people for around 5 years, if you manage to get through the planned recipe with no mistakes or cross words I salute you! You deserve all the chocolate!

When I managed to decorate without the children!

These squares were initially mummy-daughter baking time. The boys didn’t participate as they had agreed on a game and were tearing around the garden completely immersed in their imaginations (completely lovely to see especially seeing as it was a rather rotten day). But as is so often true, two is company and three a crowd so Ophelia was at a loose end. And as it is a darn sight easier to cook with just one child rather than my whole tribe, I enjoyed this time with just her and she seemed to enjoy having me completely to herself!

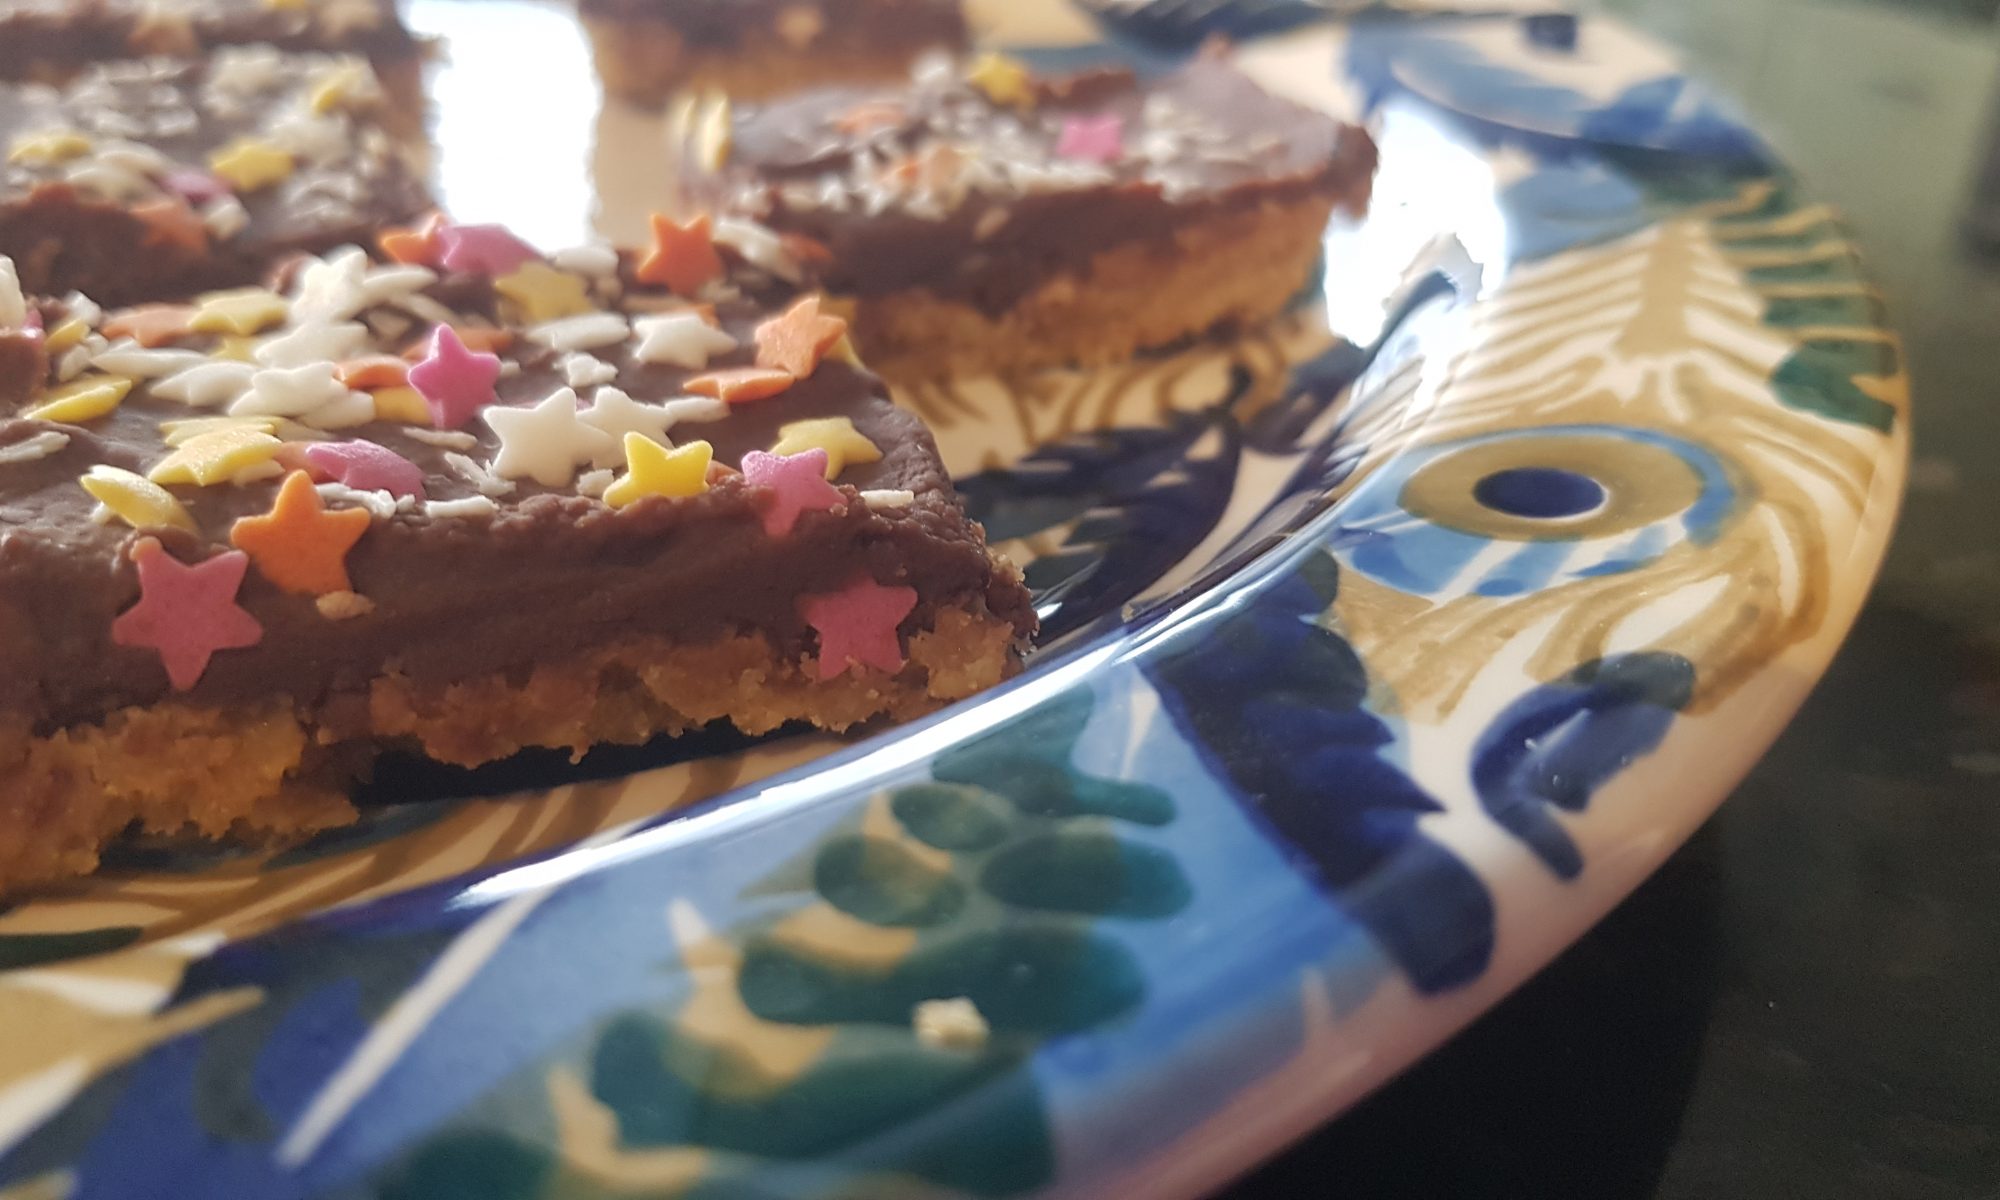
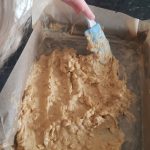
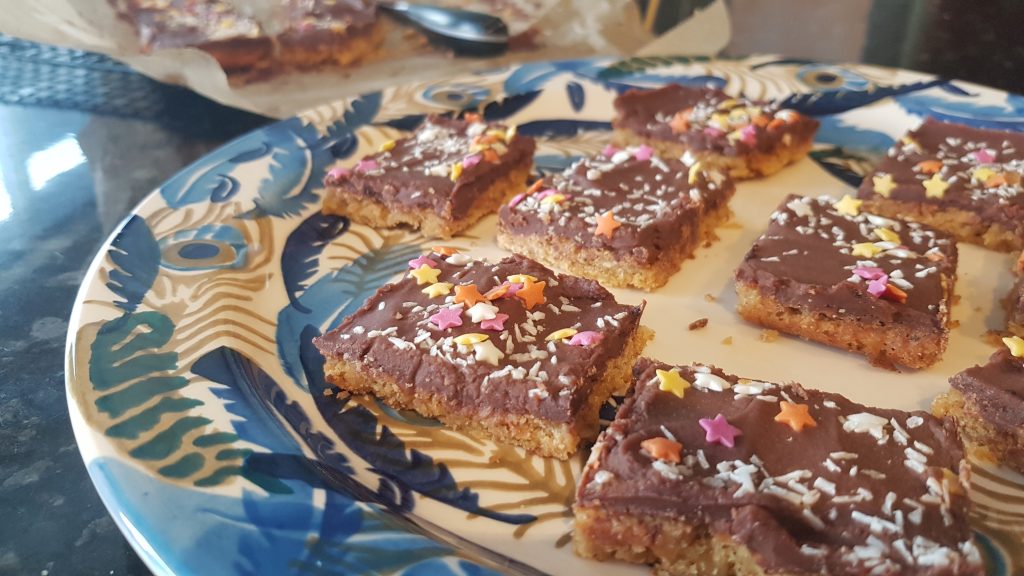
This recipe makes a thin biscuit bar coated in chocolate. Don’t be tempted to place it in a smaller tin for a thicker biscuit. It will fit in a brownie pan when spread out thinly – your little chef may need a bit of help to achieve this. If you are making these bars with small children I recommend using more chocolate to coat them as it is easier to spread a thicker layer of chocolate than a thin one to ensure that the top of the bar doesn’t get damaged. I think these are yummy with desiccated coconut or chopped almonds on the top. Unsurprisingly, Ophelia prefers them with sprinkles – the pinker the better! You will see that she and I compromised and both coconut and multi-coloured stars to decorate one of the batches.

Ingredients

For the biscuit base

  • 100g margarine (or softened butter)
  • 100g light soft brown sugar
  • 1 egg yolk
  • 50g plain flour
  • 50g porridge oats (this recipe works best with bog standard oats rather than jumbo ones)

For the top

  • If for young children 200g milk chocolate and 50g margarine/butter
  • For older children 150g milk chocolate and 40g margarine/butter
  • Chopped nuts, desiccated coconut or sprinkles to decorate

Method

The concentration level was immense!
  1. Preheat the oven to 180°c fan and grease a brownie pan with a silicone baking brush and line it with greaseproof paper.
  2. Put the margarine, sugar and egg yolk into a bowl and mix until smooth, pale and creamy.
  3. Sift in the flour and add the oats and gently mix them in.
  4. Carefully spread in the brownie tin (adult help may be required here) and cook for 15-20 minutes until golden.
  5. Remove from the oven and melt the chocolate and margarine. This can be done in a double boiler on the stove or in the microwave. If you are using the microwave, melt it in short bursts on medium power, ensuring you mix it frequently.
  6. Pour the chocolate over the biscuit base (the tin will probably still be hot, so carefully) and spread with a silicone spatula. Decorate with your toppings of choice.
  7. Cut into squares while still warm and then leave in the tin until they have completely cooled.
The compromise: sprinkles and desiccated coconut!

Every time these are made I am surprised when they survive the night as I am always worried I may decide to sneak down stairs and devour the whole batch before the children wake! Do get in contact if you make these and let me know what you think.