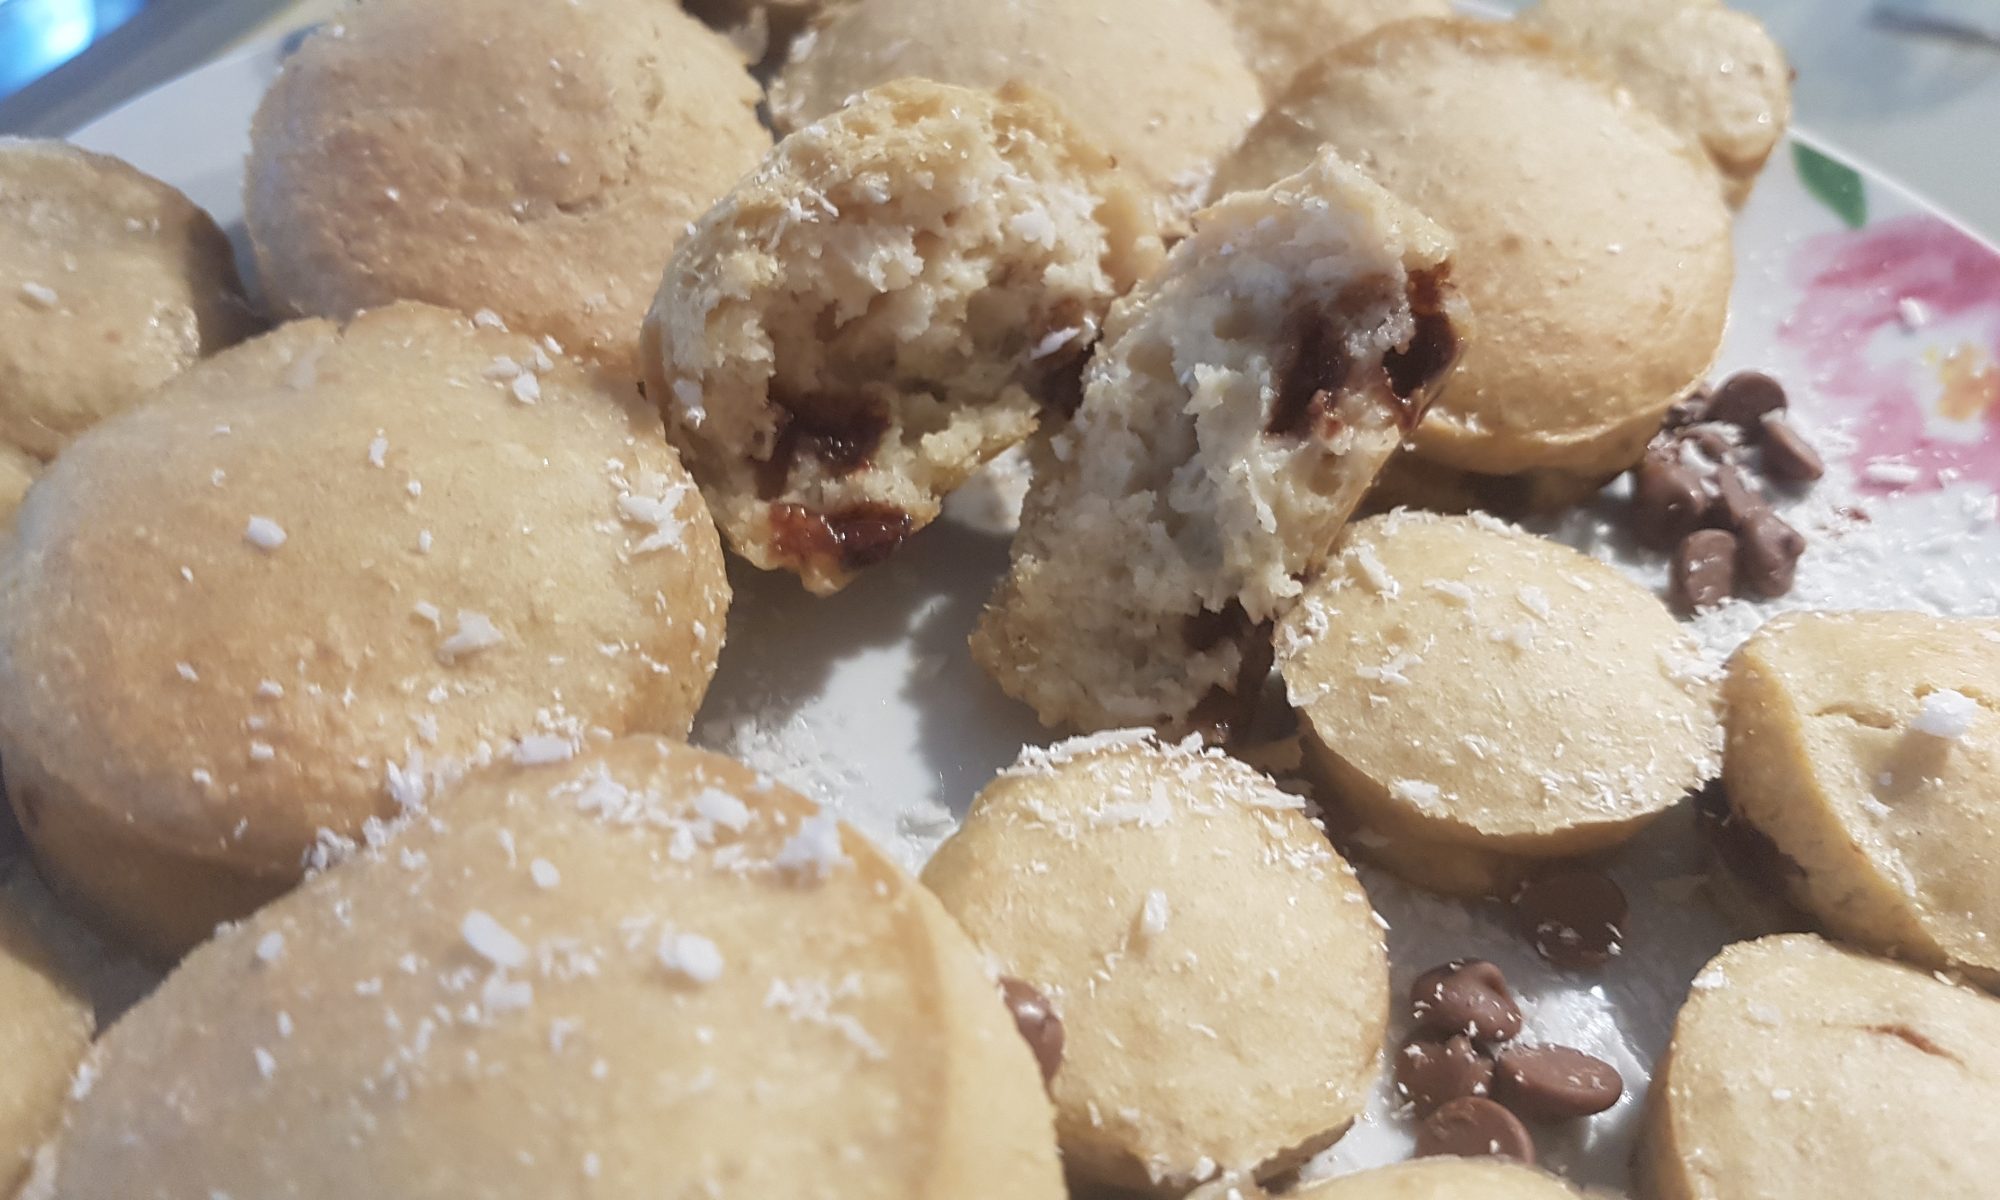
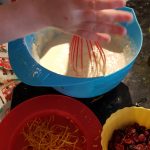
My children are all pancake fiends. There are frequent requests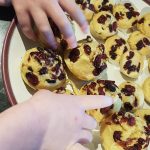 for pancakes during the school week and I feel terrible having to say no. The stove time with normal pancakes makes them impractical if not impossible when faced with the stark reality of getting three children out the house for the school run and morning activities. They are generally reserved for the weekends, unless I am being super organised like I was yesterday. Atticus and I made the pancake batter last night before our bedtime routine and stored it in the fridge overnight. All we had to do this morning, was put the batter into our silicone muffin and mini muffin trays, add the toppings and bake.
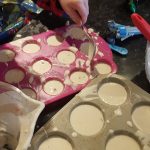
We like several flavour combinations, but the most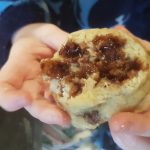 popular in our house are coconut chocolate chip or orange and cranberry. There are generally discussions about not eating the toppings while preparing the pancake muffins and they usually fall on deaf ears, but this does not distract the enjoyment that all the participants get (me included!) from the process!
Ingredients
Makes 12 large muffins or 24 mini muffins (or even 6 large and 12 mini muffins). Best served warm and eaten on day of making. Batter can be made the night before and kept in the fridge overnight, but leave out dried fruit and chocolate chips until just before cooking.
- 200g self raising flour
- 1 egg
- 1/4tsp bicarbonate of soda
- 320ml unsweetened almond milk
For coconut chocolate chip
- 3 tbsp desiccated coconut
- 60g chocolate chips
For orange and cranberry
- zest of 1 orange
- 40ml orange juice (and only 280ml unsweetened almond milk)
- 1/4tsp orange essence (if you want a really orangey flavour)
- 60g dried cranberries
Method
 Preheat the oven to 170°c and grease the muffin trays.
- Place all the pancake ingredients in a bowl and whisk until fully combined and there are no lumps left (add the orange juice here if you are using it).
- Add the flavourings that you want (the zest or the desiccated coconut.
 It is better to add the chocolate chips or dried cranberries after putting them in the muffin holes in the trays.)
 - Divide the mixture between the muffin holes.
- Add the chocolate chips or dried fruit.
- Put in the oven for 15 minutes if they are mini muffins and 18-20 minutes if they are big muffins.
I hope that your little chefs enjoy these as much as mine do. I must admit it is definitely the way forward for pancakes during the working week!
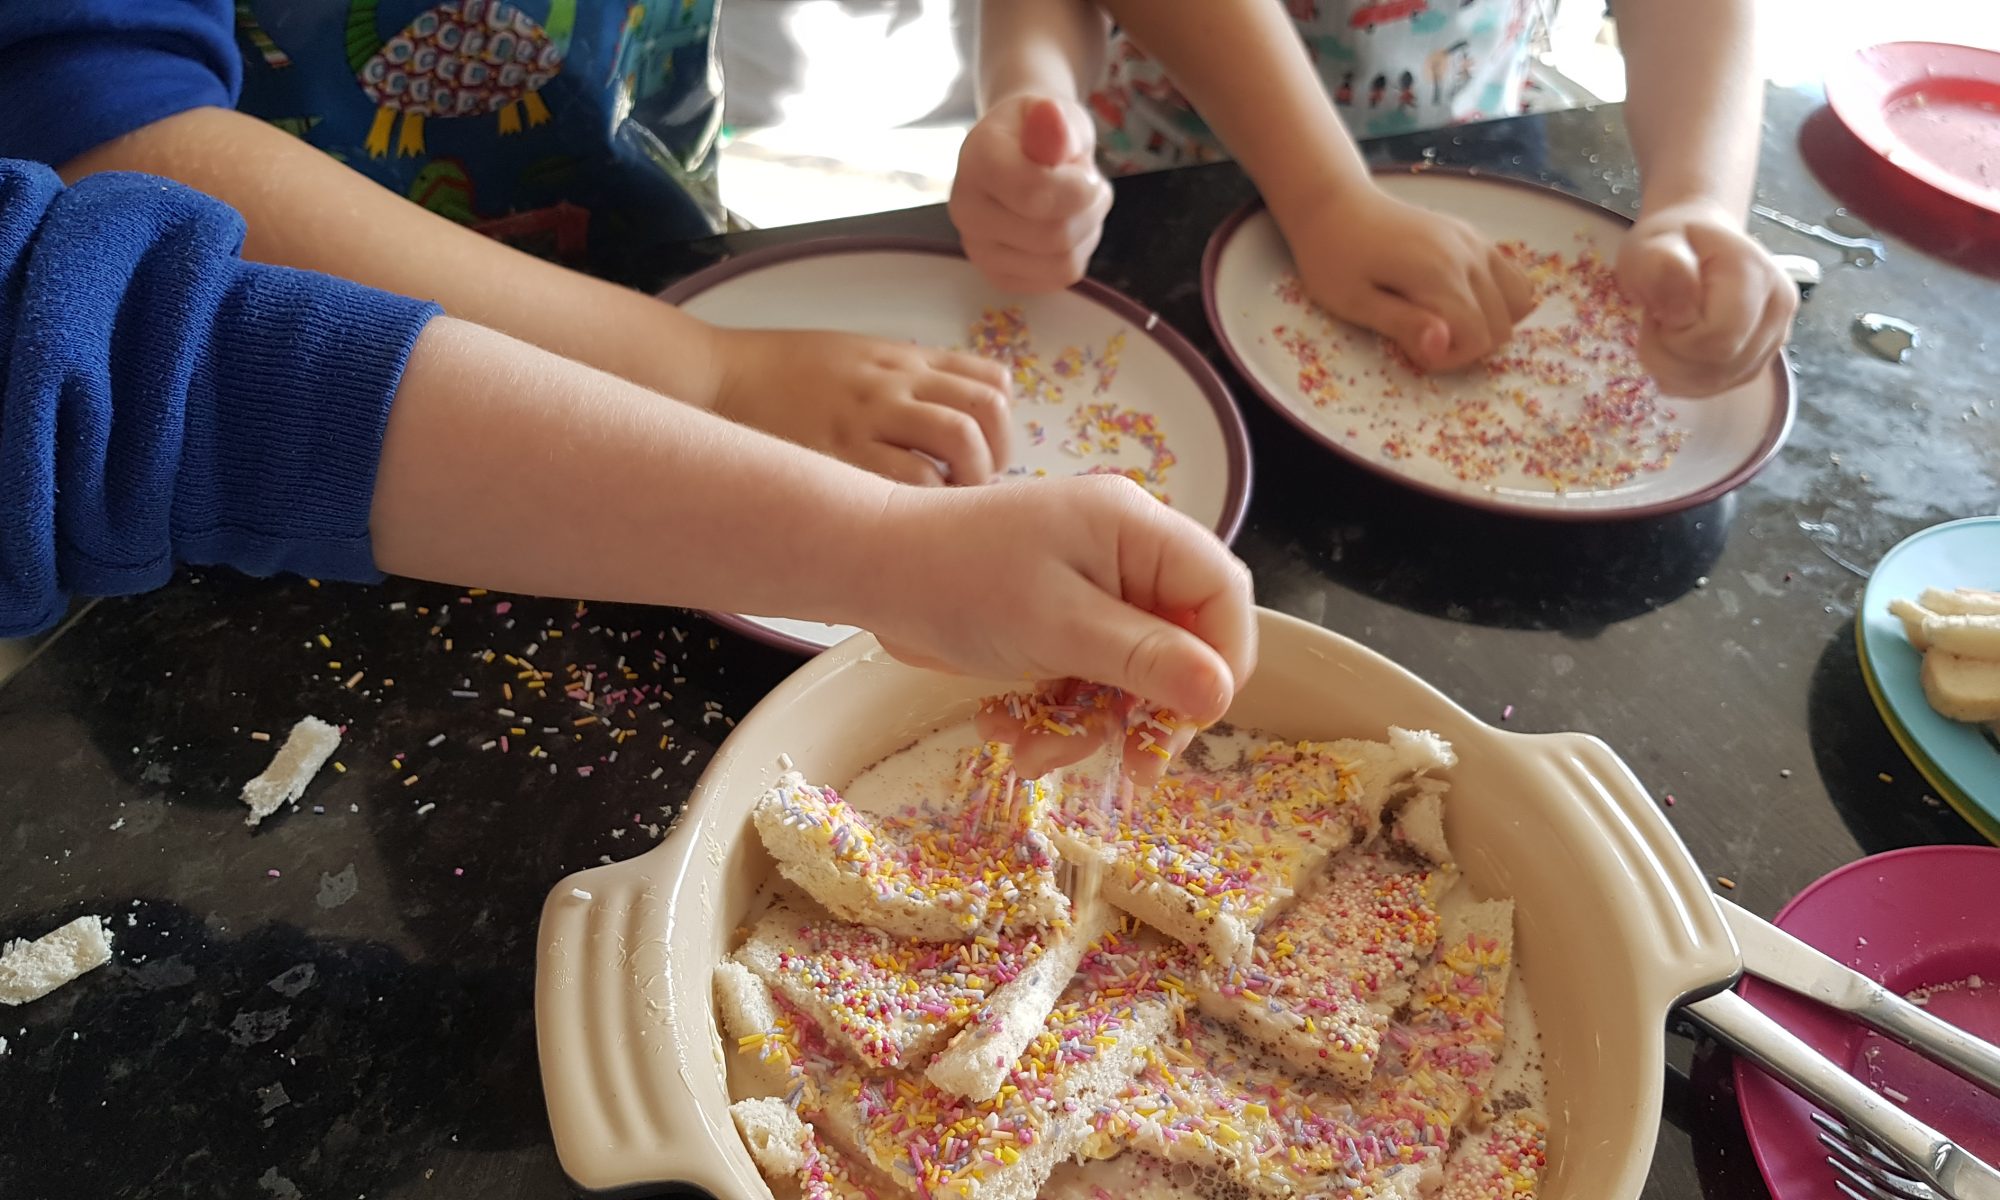
 Confession time; our kids have fairy bread when we really need to go shopping, but haven’t quite made it. Normally when I need to wait for Simon to return from work as I can’t stand the idea of braving the supermarket with three children in tow. Have I mentioned how much I really hate taking children to the supermarket?! I recently discovered that taking Ophelia was far from the mother-daughter bonding time I was anticipating. I made the mistake of attempting to use the self service scanner and she managed to reset not one, but two machines in the space of 20 minutes. I really don’t know what she was doing to them. She’s two, and she managed it twice! We had to go through the tills instead. I had to take a couple of really deep breaths to prevent me from having a tantrum on the floor of the supermarket. She remained oblivious to my frustration and continued to chat to everyone with whom she could make eye contact.
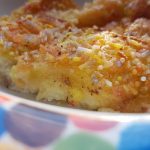 it would be fun for them to make the pudding. I had been wanting to try Fairy Bread and Butter Pudding for a couple of weeks, but wanted to leave it for a special occasion and this seemed to be it. I was somewhat concerned that the sprinkles would just dissolve or leak their colour out. They did do the latter a bit, but it looked really fun and everyone had a lot of fun so I am going to declare it a success. You could use darker coloured sprinkles and they would then be more visible.
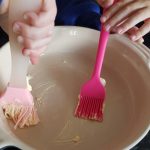 Preheat the oven to 170°c fan.
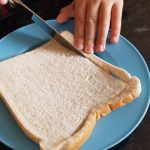 pastry brush.
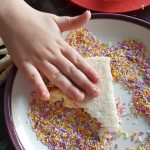 triangles.
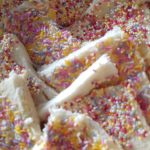
 Crack the egg into the milk and mix together thoroughly.
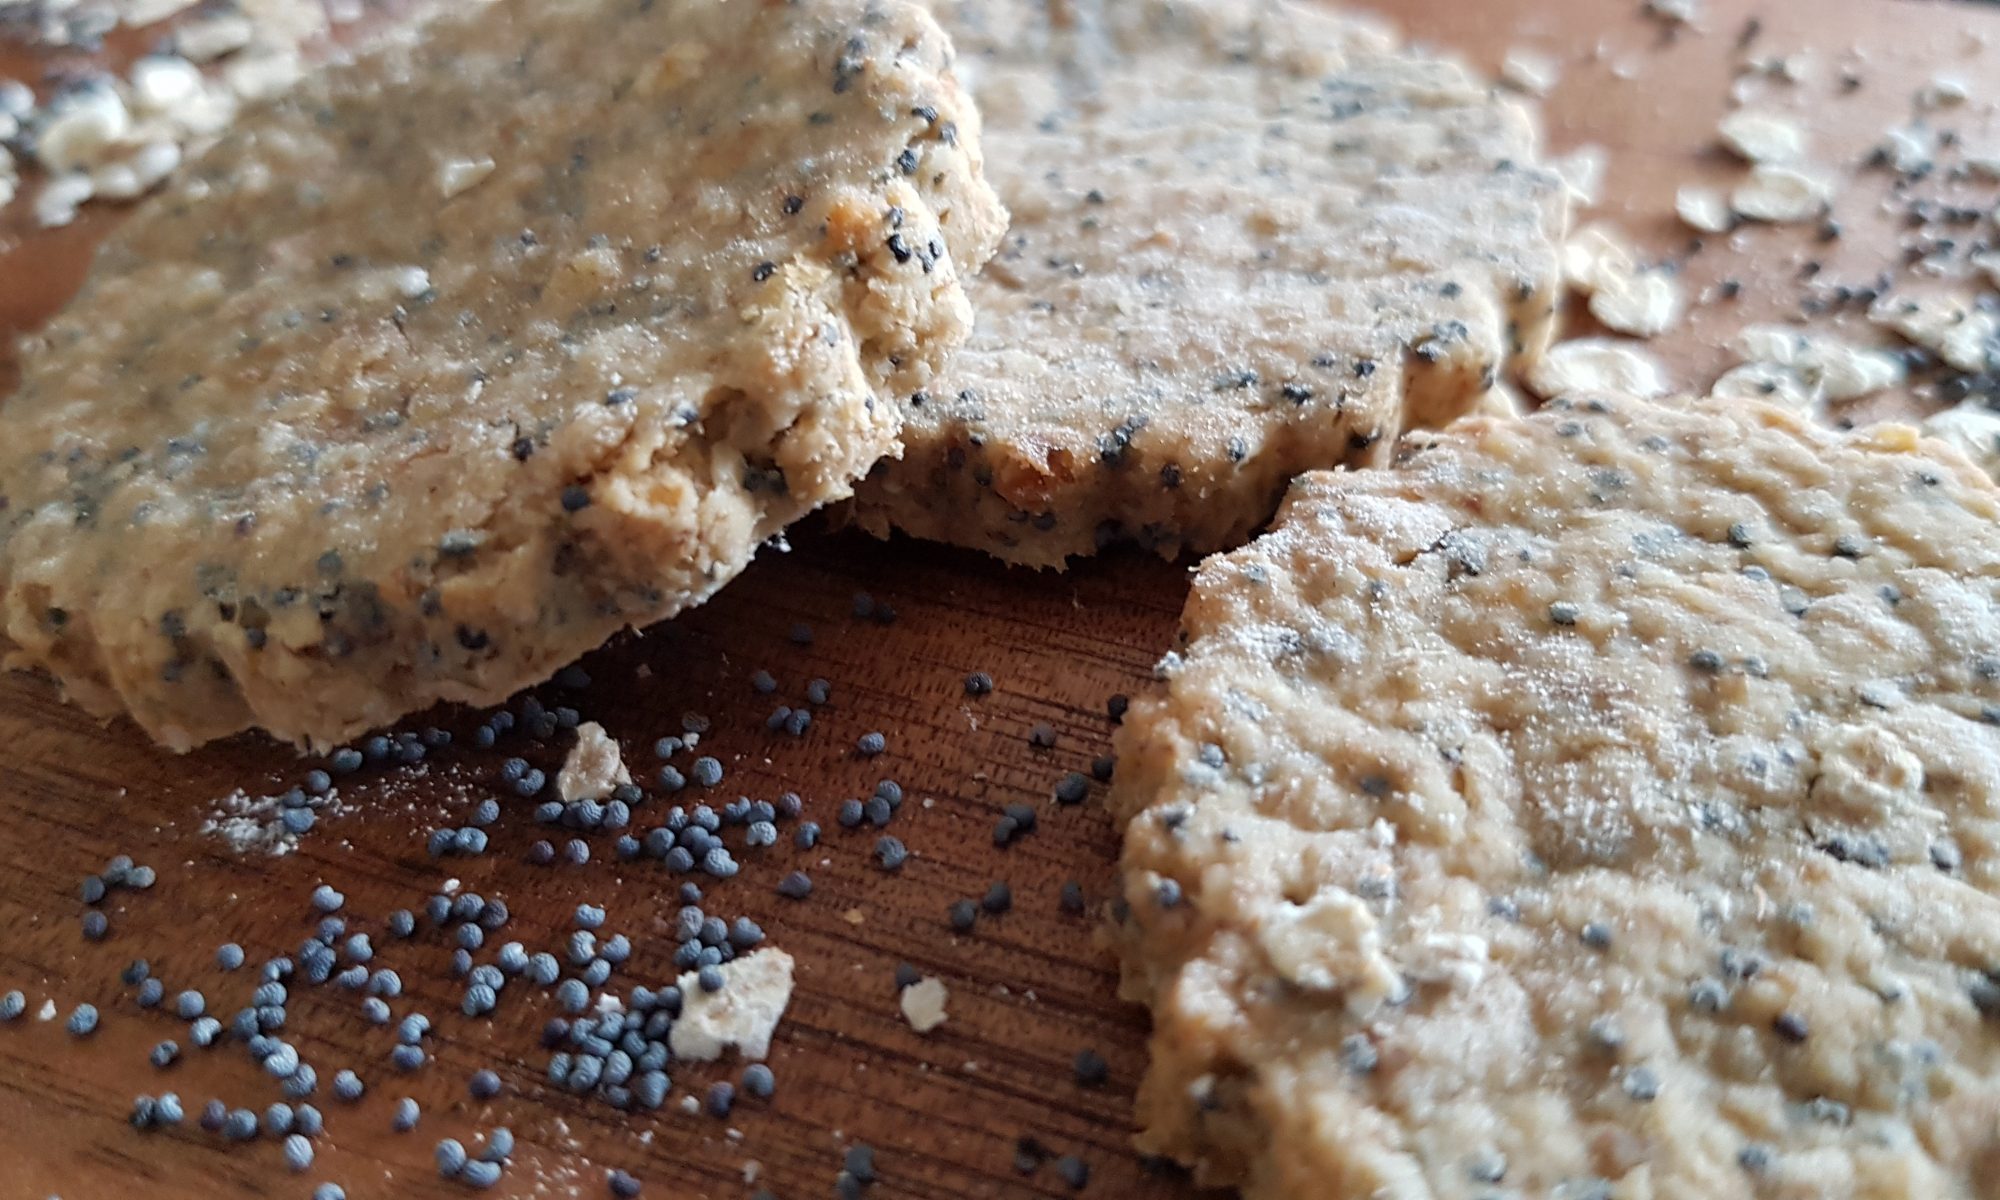
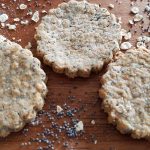 it is organised chaos, I found them and started to wonder what I could make with them. My initial thought was to combine them with lemon in something. But, while looking at my list of ideas of things I would like to make with the kids oatcakes jumped out at me. Then I realised that we also had some parmesan left in the fridge from making pesto and decided to combine the two. I also like the alliteration of parmesan and poppy seed! The latter was, of course, a big factor!
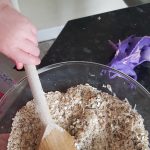
 butter and mix with a wooden spoon.
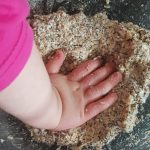
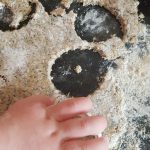 Flour your surface and the rolling pin and roll out the oatcake mixture as thin as you can (some bits of ours were thinner than other bits) and cut out biscuits with the cutter.
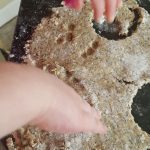 It seems that Ophelia thought that the oatcake was playdough as she insisted on poking and prodding it while cutting out the rounds. I can understand why she thought that, and I didn’t begrudge her a bit of time doing that and she didn’t have the patience or concentration to cut out all the rounds on her own.
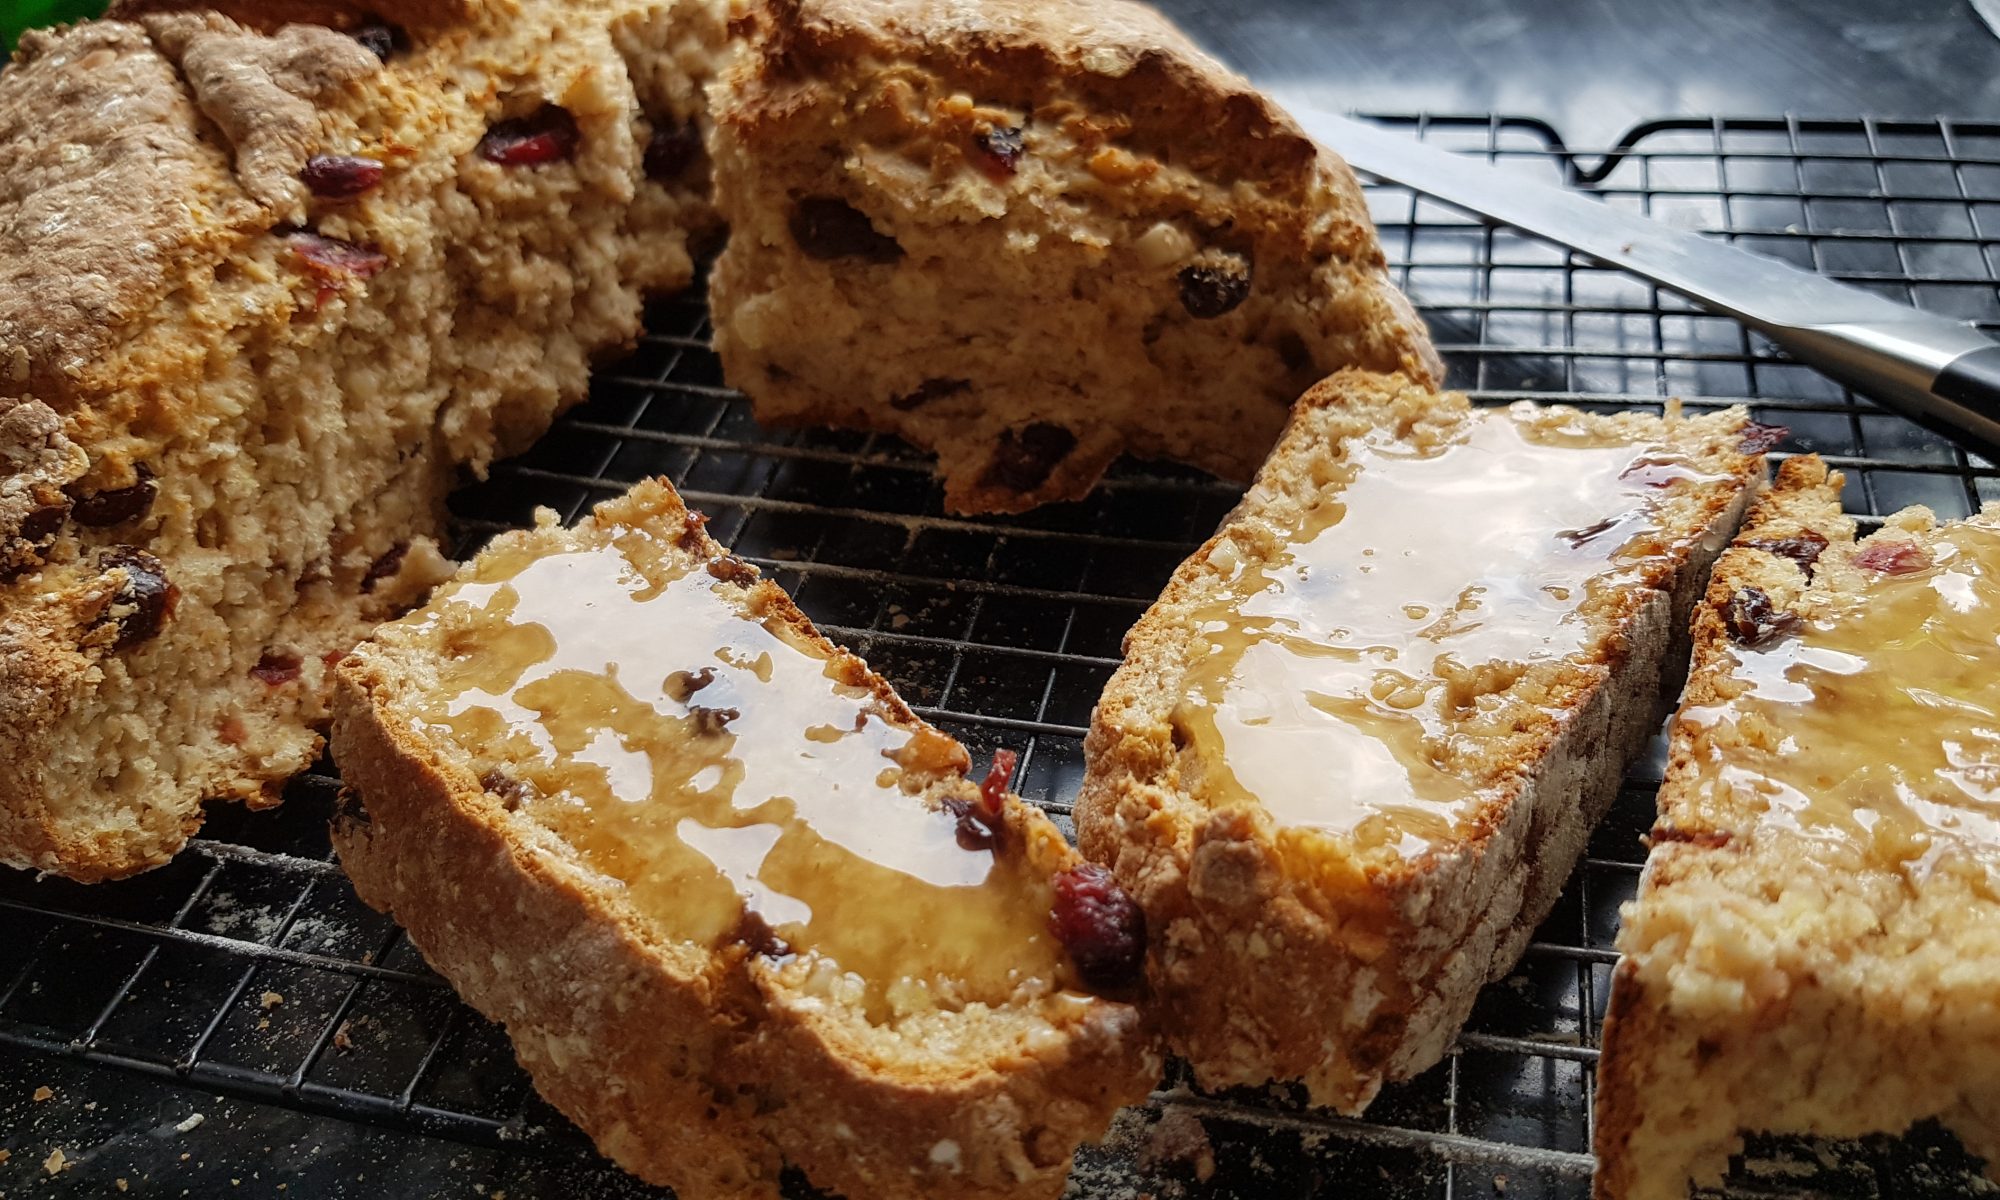
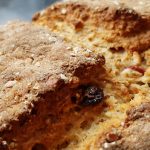 Soda bread is made without yeast. The bicarbonate of soda was traditionally activated with soured milk. Instead of soured milk, it is more common now to use either buttermilk or a mixture of milk and natural yoghurt. The iconic cross dividing the bread into quarters helps the bread cook through, but when reading many soda bread recipes, I learnt that traditionally it was said the let the fairies out. This makes me smile and that is how I will put it next time I am asked why we are scoring bread!
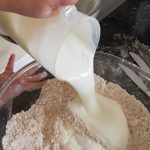 in and squishing and squashing the dough with my help to bring it all together. She was desperate to put her beloved apricots in it, but they didn’t make the cut this time. She wasn’t bothered for long when she saw the raisins and dried cranberries though. That is one good thing about the short attention span of a toddler!
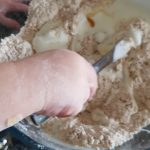 fingers.
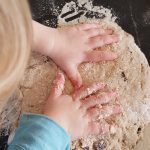
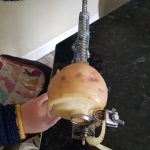 – it is usually used for apples in our house for crumbles and pies etc)
 Once you have made all the potatoes all curly, cut each long curl in half so they are smaller and put
 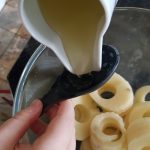 them in the large bowl.
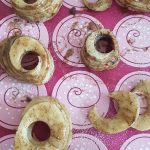 them in the oven to cook. Ours took 35 minutes and were turned half way through baking.
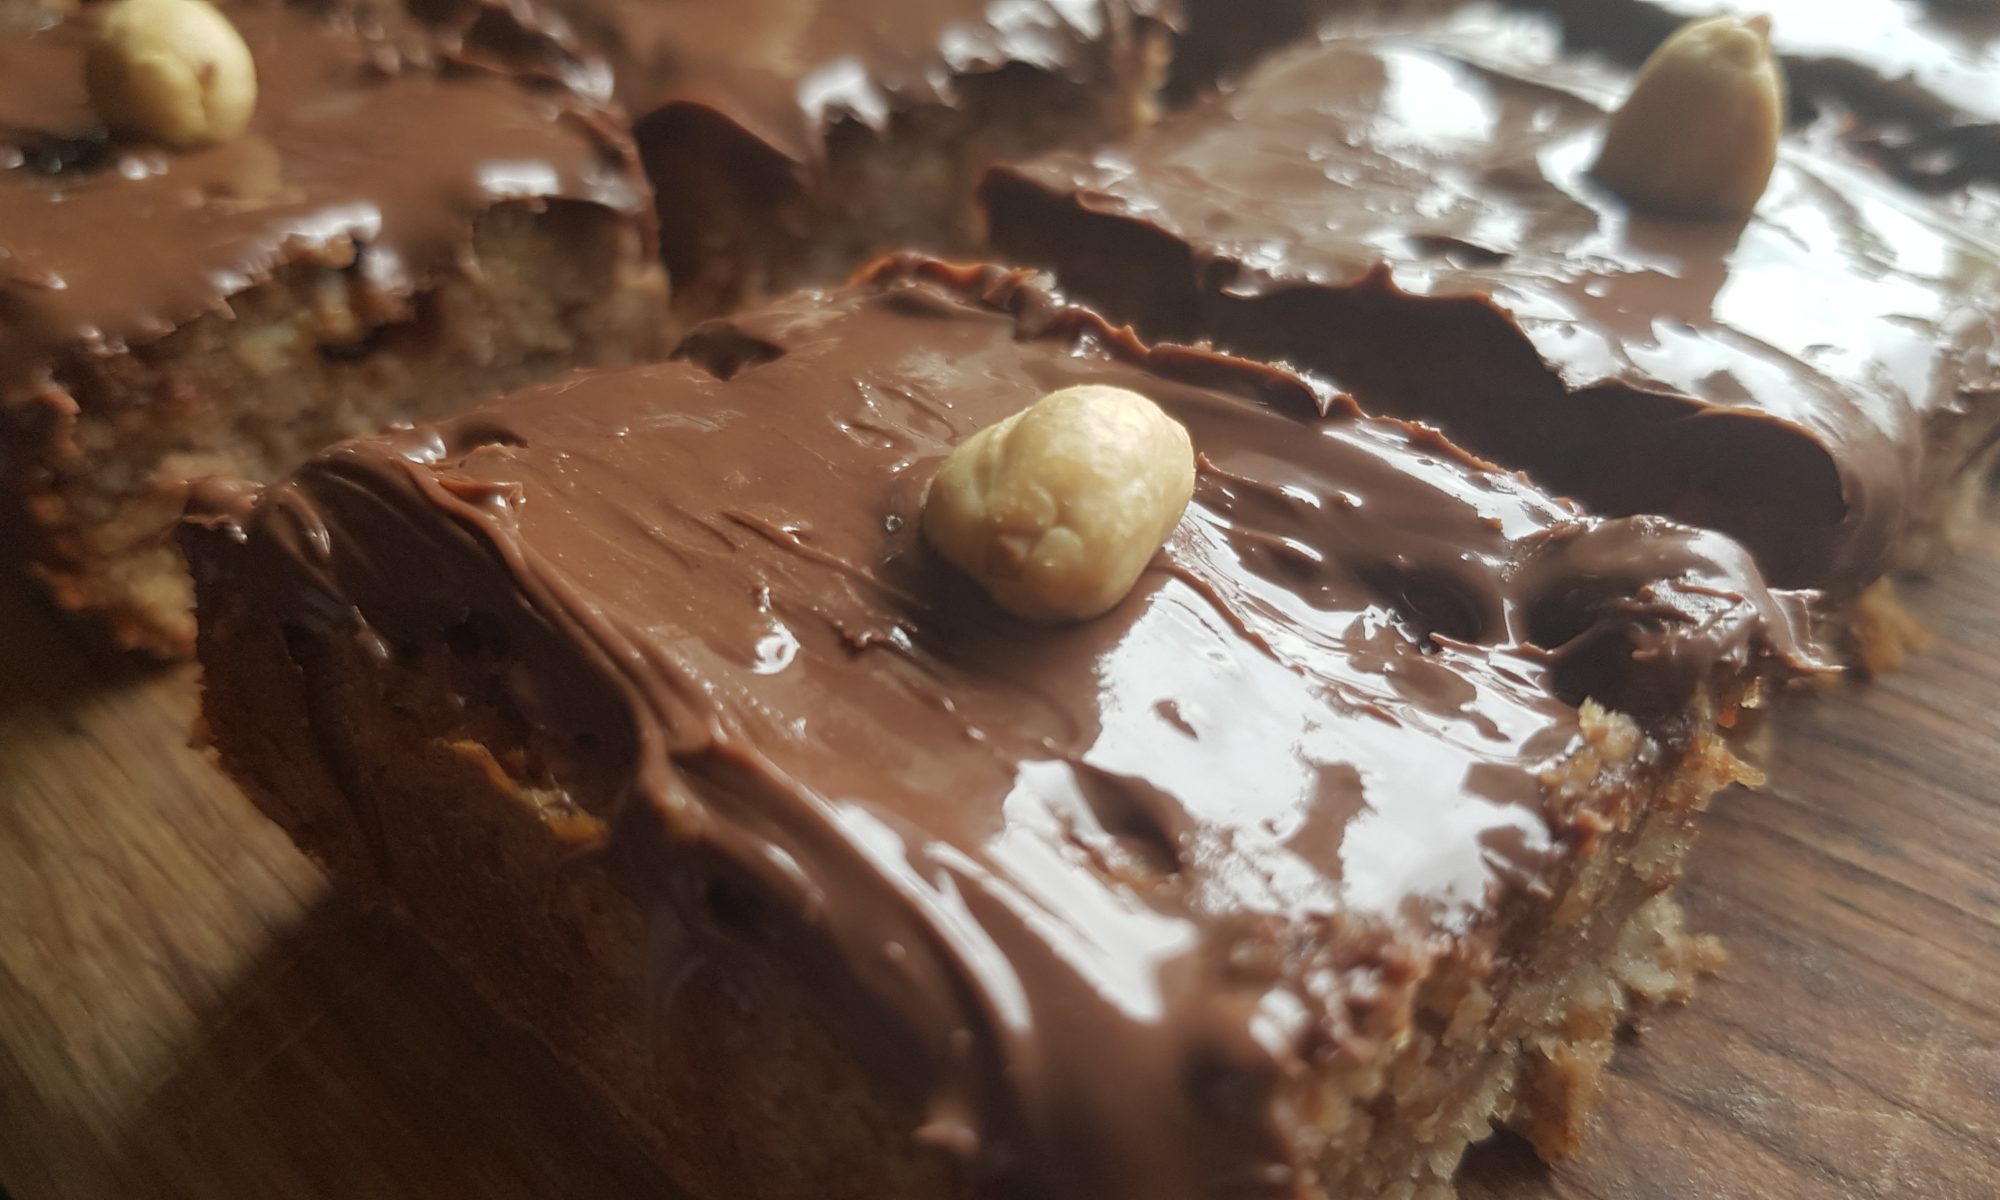

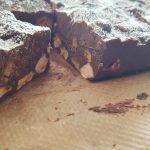
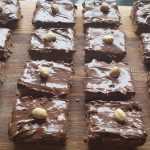 Everything is better with Nutella right?! It did make them a lot messier too so they never ended up being eaten on the way home from school, only at the table to try and contain the inevitable mess! We did get 16 evenish looking pieces all decorated the same – we added an peanut on each of the slices to try and make them look elegant.
 Preheat the oven to 160°c fan and grease and line a brownie tin.
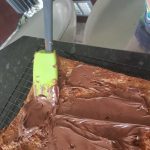 onto a cooling rack.
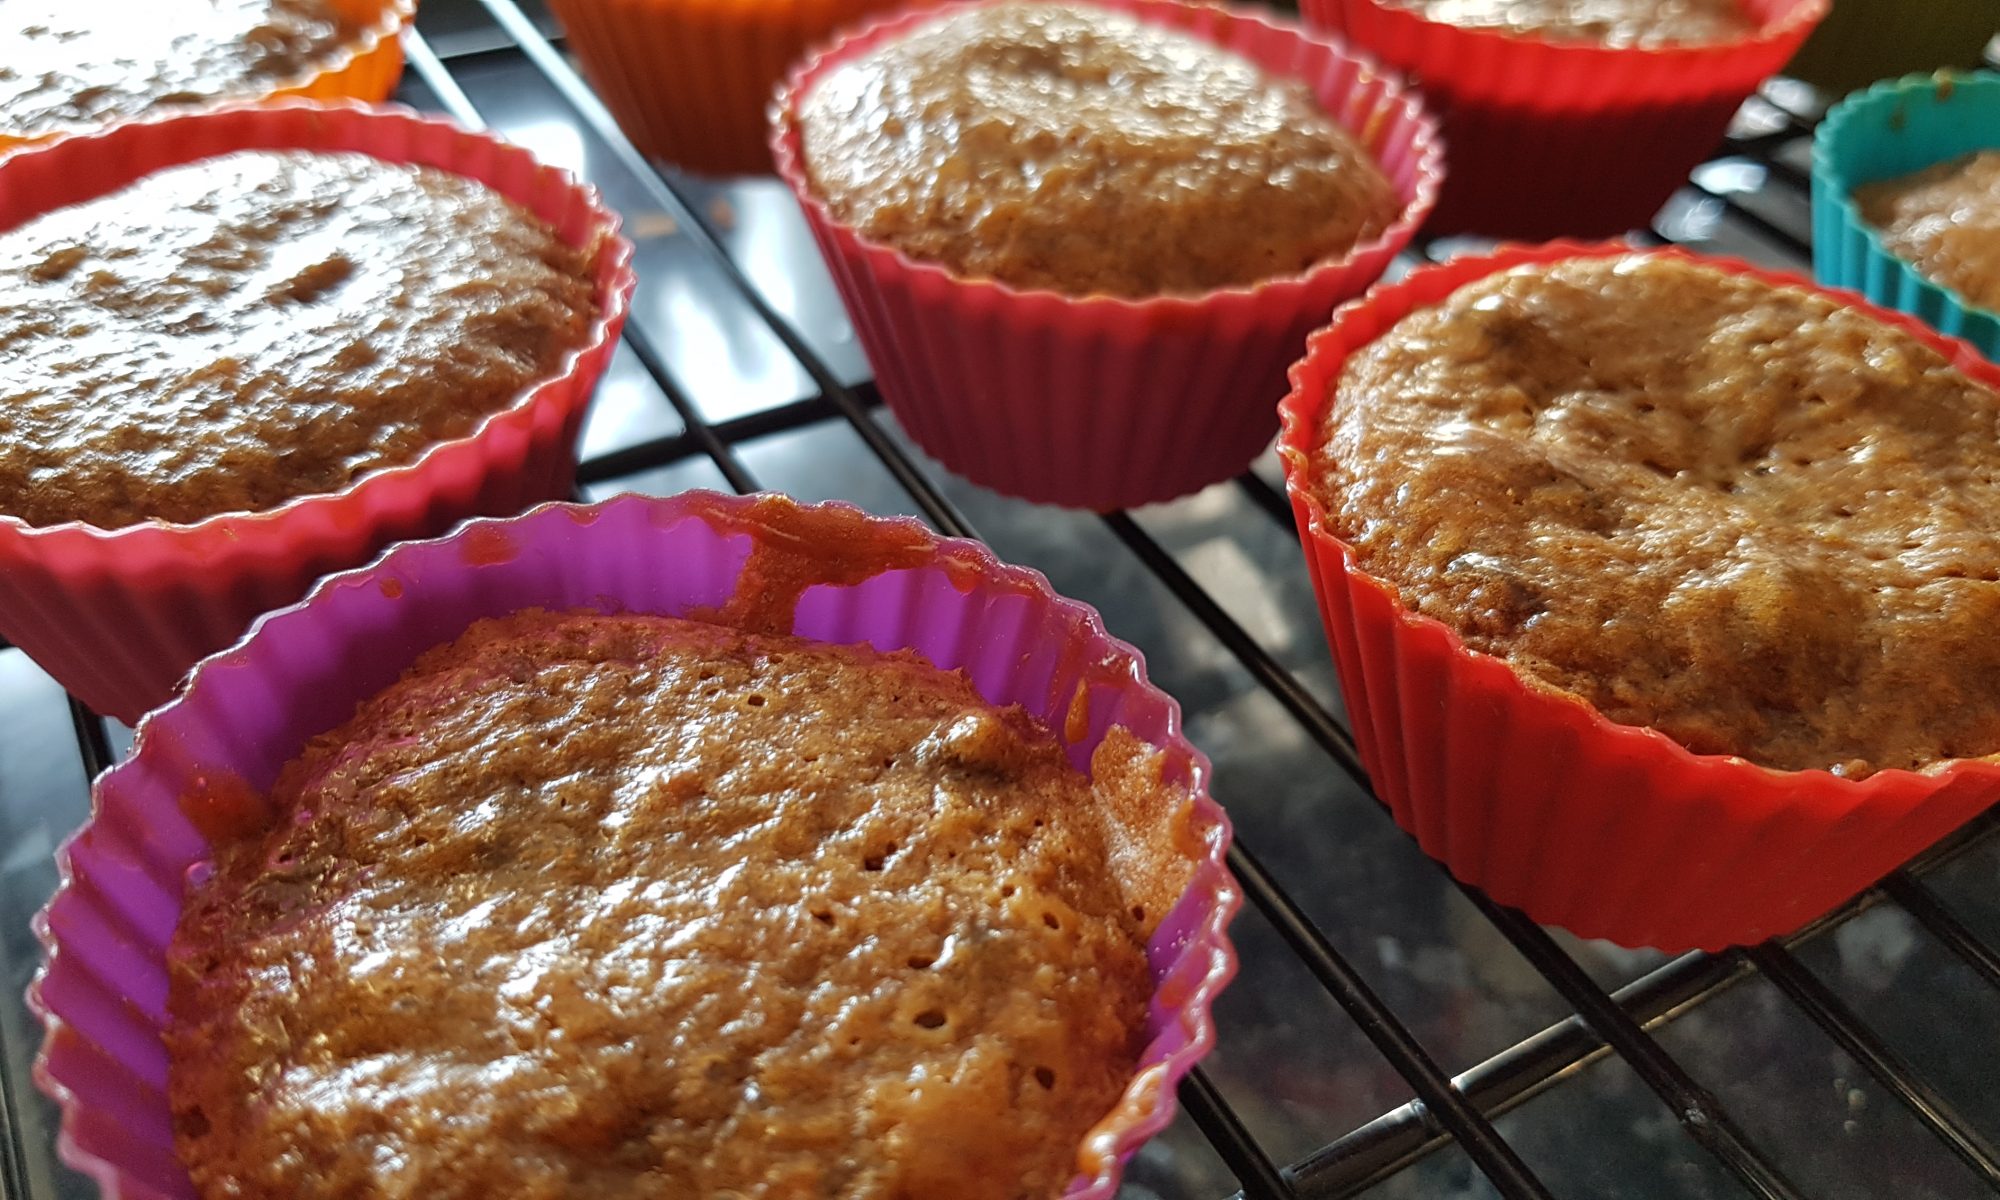

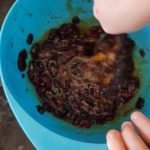 Pour the hot tea into a medium-sized bowl and add the dried fruit, the sugar and the malt extract. Beware, the malt extract isn’t as thick and viscous as it looks and it comes out rather quickly! Mix well until fully combined.
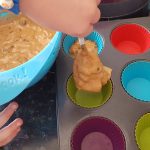 and put in the oven to bake for 17-20 minutes until they are firm
  and well risen.
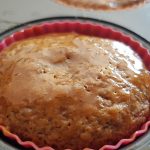

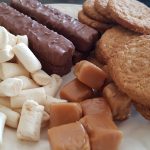
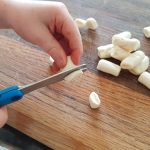 the marshmallow (if they aren’t mini) and the fudge pieces.
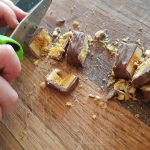 Slice the Crunchie bars.
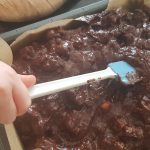 brownie pan and gently smooth with the back of the wooden spoon or a spatula.