
Are you a fan of a Sunday roast? In our house it is a family tradition. It is the meal for which daddy is usually responsible; it is best not to leave the vegetarian in charge of roasting the meat – she may instead decide to serve a nut roast. This would cause a riot. Simon is relatively happy eating veggie once or so during the week, but would never choose to eat a vegetarian Sunday Dinner! There would probably be mutiny in the ranks if I served a vegetarian Sunday Dinner…
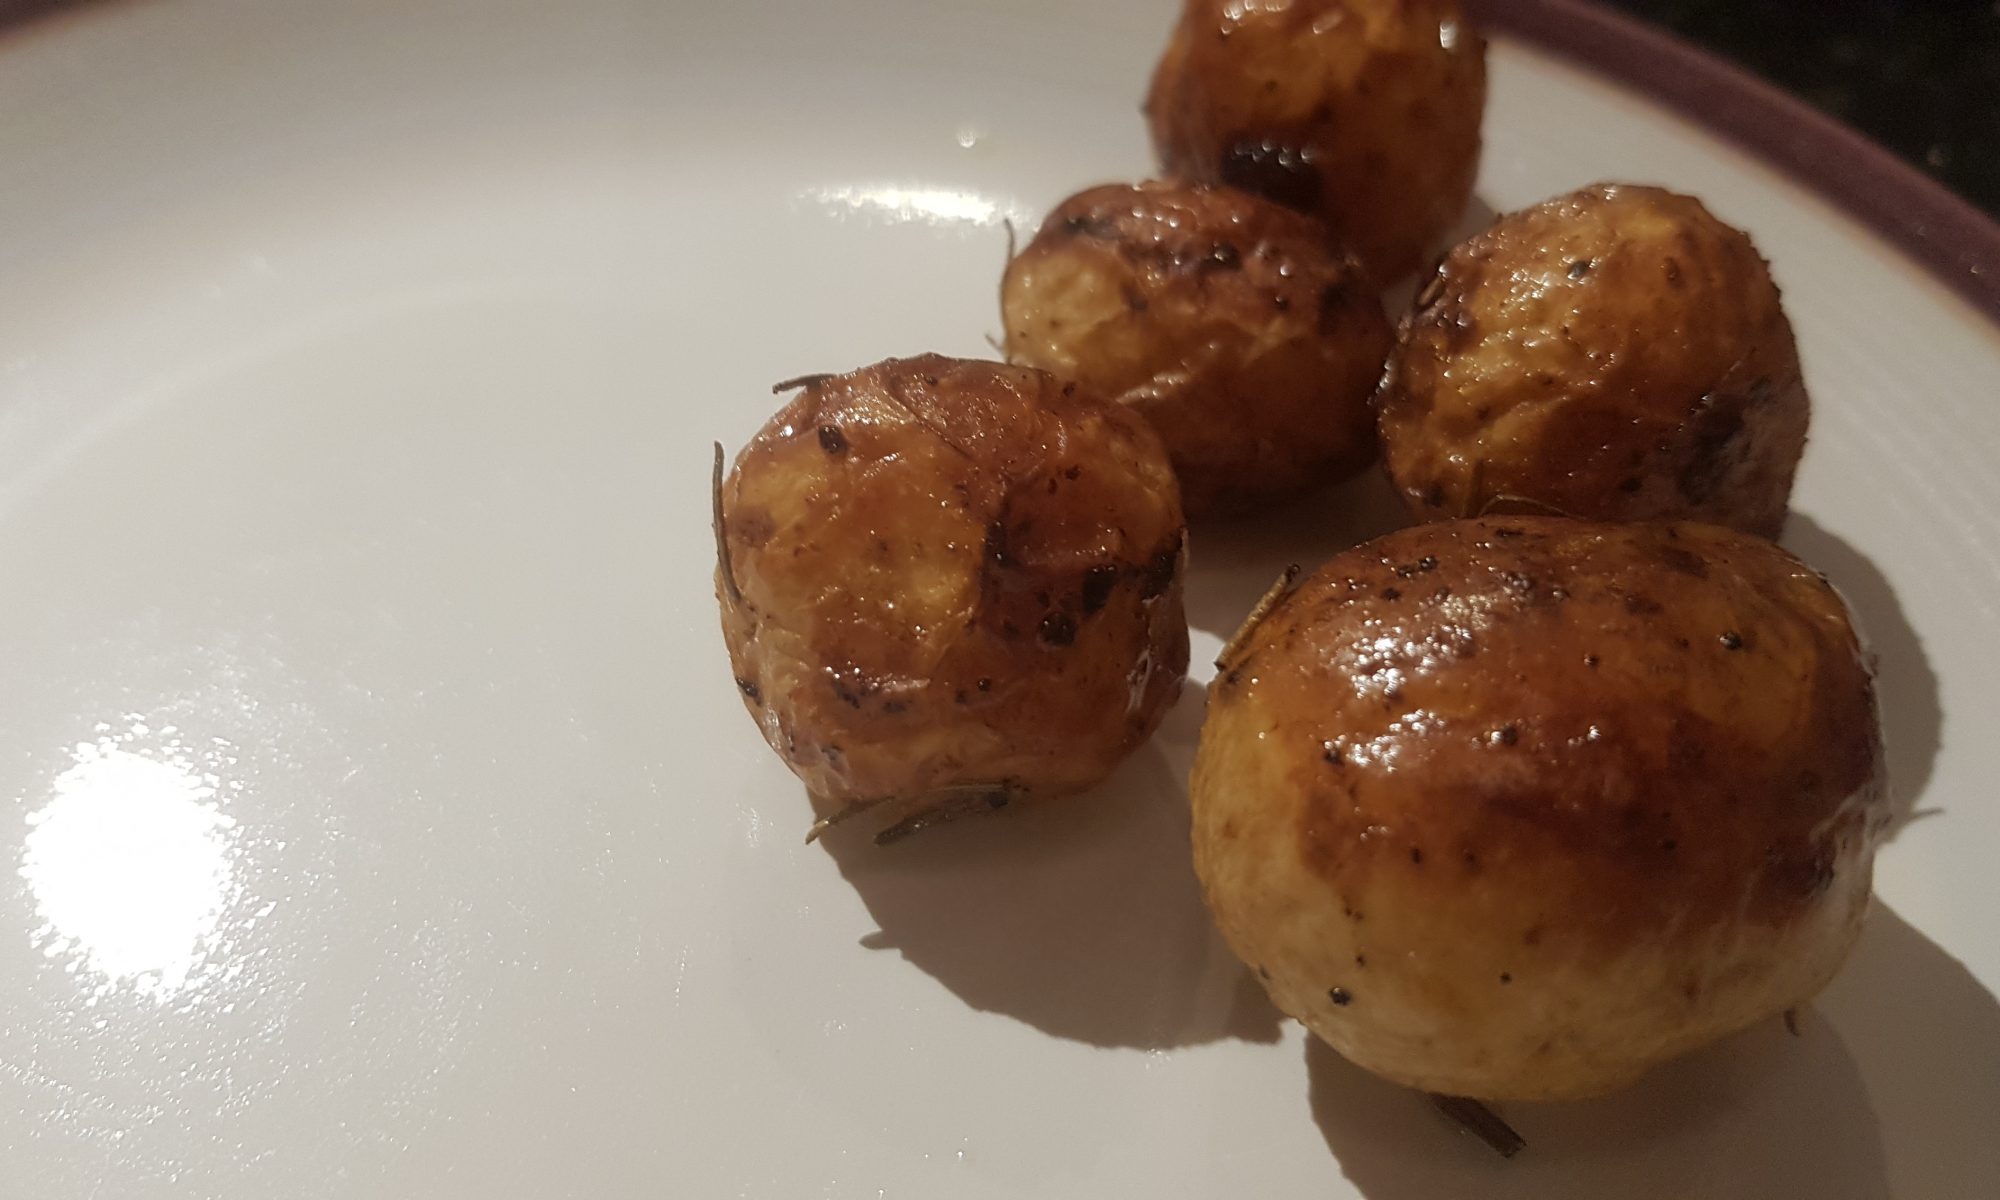
Pretty much my favourite part of a roast dinner is the roast potatoes. I seem to easily put away considerably more roast potatoes than seems logical or sensible even. They are just so comforting and warm. As you have probably already guessed from my previous posts we wholeheartedly encourage our children to help out in the kitchen and when I found some Minature Potatoes during my weekly shop, they set me thinking about mid-week roast potatoes . I walked around the supermarket with a grin fixed upon my face thinking about having roast potatoes on an non-Sunday. Smaller potatoes means less roasting time which is perfect for mid-week and with them being small they have the added bonus of appealing to the children.

The hands on time for this recipe is minimal. The youngest of little kitchen helpers could definitely manage this recipe under supervision. I gave my two boys the instructions and they proceeded and successfully executed it by themselves (once I had decanted the oil into a smaller vessel to pour it – I did not want to have to clean an oil spillage). You could make this recipe with new potatoes or any type of small potatoes. If you are unable to find small potatoes, you could even cut down larger potatoes. Please do remember that the larger the potato, the longer the roasting time. Yes I am stating the obvious, but just in case as these things do sometimes slip my mind…
When the boys made this, they only made enough for thei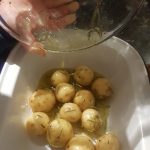 r dinner as us grown-ups tend to eat later. This recipe can easily be increased to make enough for a family roast. Don’t judge us, but we always make more roast potatoes than it seems our family could eat, but by the end of Sunday they have generally all disappeared. I am not at liberty to divulge who tends to gobble them up between meals, only that they are never wasted!
Ingredients
- 150g miniature potatoes
- 3tbsp olive oil
- 1tbsp lemon juice
- 1/4 tsp garlic salt
- A couple sprigs of fresh rosemary/2tsp dried rosemary
- Pepper to season
Method
- Preheat the oven to 180°c and get an oven proof dish.
- Pour the olive oil, lemon juice, garlic salt and rosemary into a bowl and mix around. If you are using fresh rosemary, you will need to remove the rosemary leaves from the stalks and consider tearing large leaves in half.
- Add the potatoes to the bowl and gently shake it from side to side (not up and down unless covered!) to ensure that all of the potatoes are coated in the oil mixture.
- Add pepper to season the potatoes and mix again.
- Pour the oil-coated potatoes into the oven proof dish and place in the oven for 35-45 minutes until they are tender. Ours took just under 40 minutes. They may well require turning to prevent them from getting too coloured on the top.
- Sprinkle some salt on top before serving if you desire.
These were hit the spot and provided my midweek roast potato fix. They would also work really well if you have time restrictions on making your roast, or you are just somewhat impatient. I hope you enjoy them as much as we did. Our resident potato-hater managed one whole one and some of the insides of another – so maybe we are making potato progress!
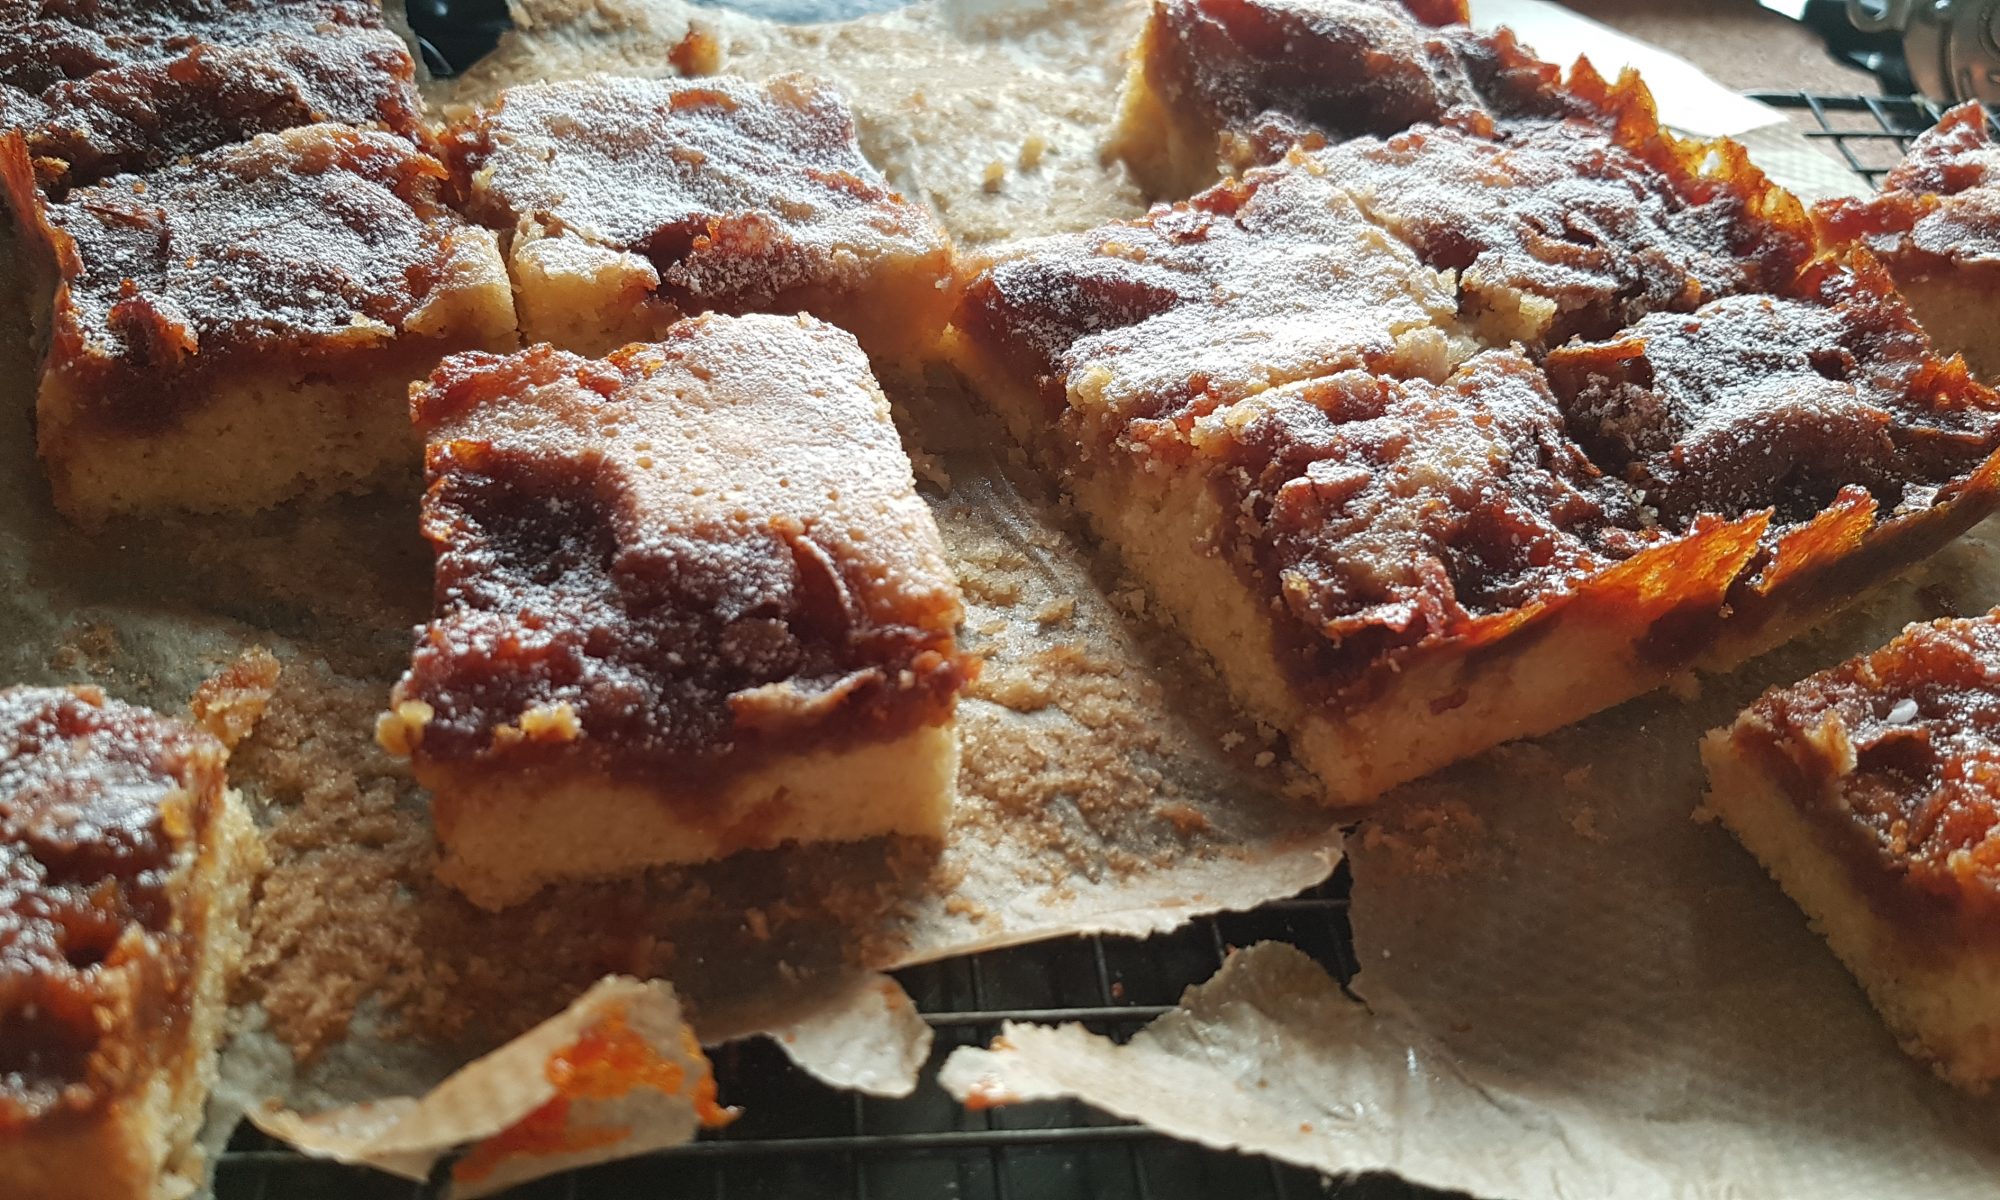
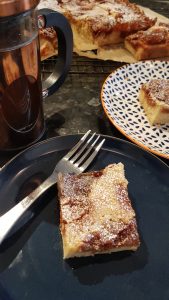 After our foray into making cinder toffee, I decided to find something to do with the leftover honeycomb. I decided that it would work nicely in some blondies. Ophelia had a lot of fun mixing and putting the toffee into the mixture. I was impressed at how restrained she was as none of the toffee ended up in her mouth! These are really easy to make with little chefs as they contain melted butter which makes it really easy to mix entirely by hand. We did have rather a lot of flour on the surface during the process, but the result was a truly scrummy baked good. It was so tasty that Seb was heartbroken when daddy ate the last couple of pieces without saving him any. Simon was forbidden from taking the second batch into work after that reaction. This means I have to exercise some super human restraint and ignore them while he is at work. So if I do happen to be in your vicinity with baked goods, please do save me from myself and remove the baked goods from my possession – my waistline will thank you!
 These blondies will not win any prizes in a beauty contest, but the honeycomb caramelised beautifully and rises to the top giving a sort of irregular patchwork effect. They have become a new family favourite particularly with Simon and Seb.
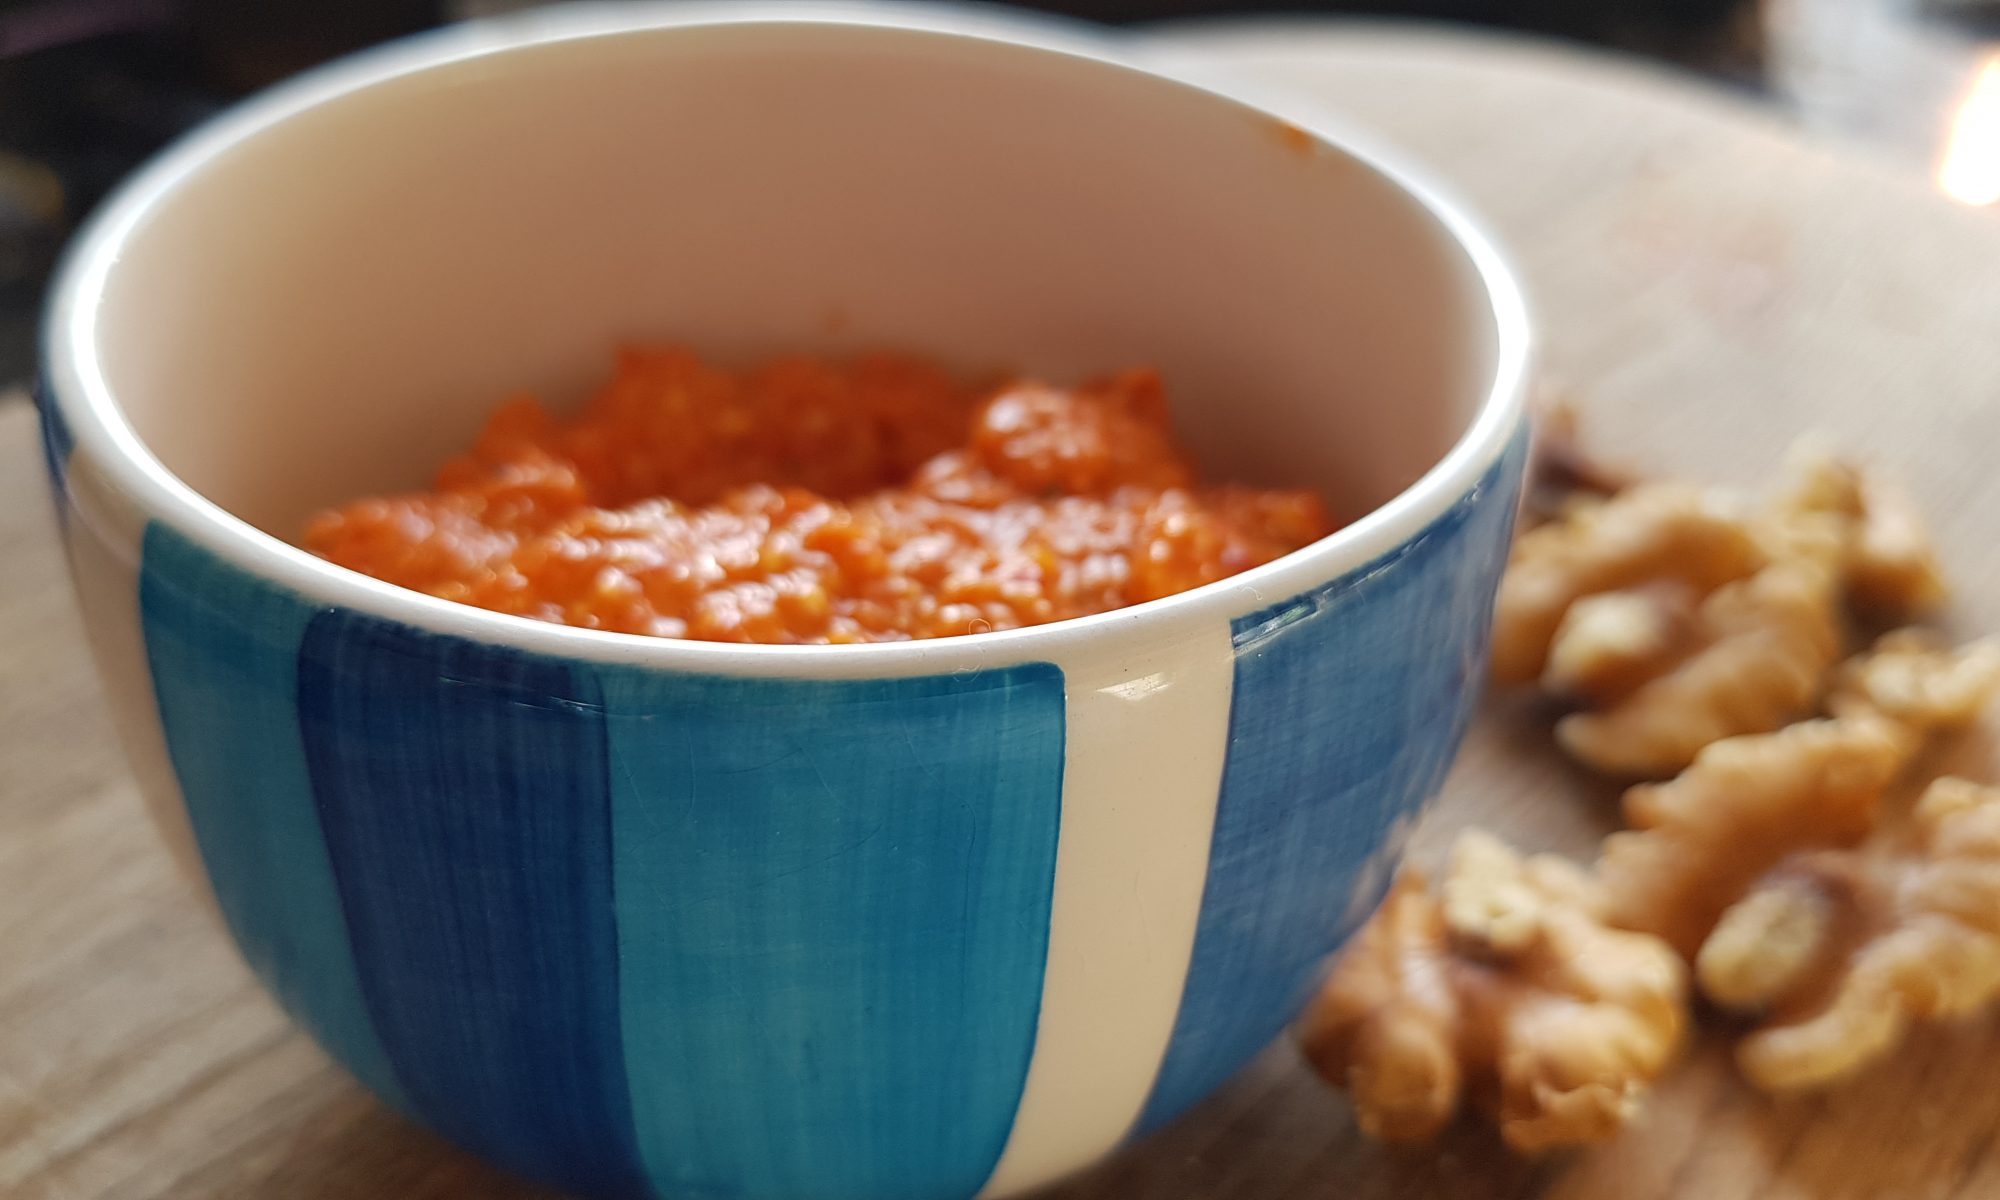
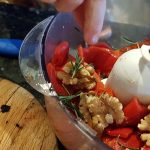 with the kids, but always the traditional basil and pine nut pesto. Since the children have decided they also like red pesto, I thought we would try and make some with a jar of red peppers I had lurking in the pantry. We added some walnuts and fresh rosemary from our garden – yes the rosemary bush seems to be taking over again. Red pesto generally has a sweeter taste than its green counterpart, so if your kids haven’t tried pesto, it is a good one with which to introduce its flavour and texture.
 Atticus chopped the peppers with a table knife, but Ophelia decided that using her hands to tear them apart was preferable to trying to use the knife in this instance. I wasn’t going to complain as she was doing a really good job this way and the result was the same.
 with pasta, but also as the sauce on tortilla wraps for homemade pizzas. I definitely love how versatile pesto is. In all honesty, both Atticus and Ophelia would have eaten it out of the jar with a spoon had the opportunity arisen!
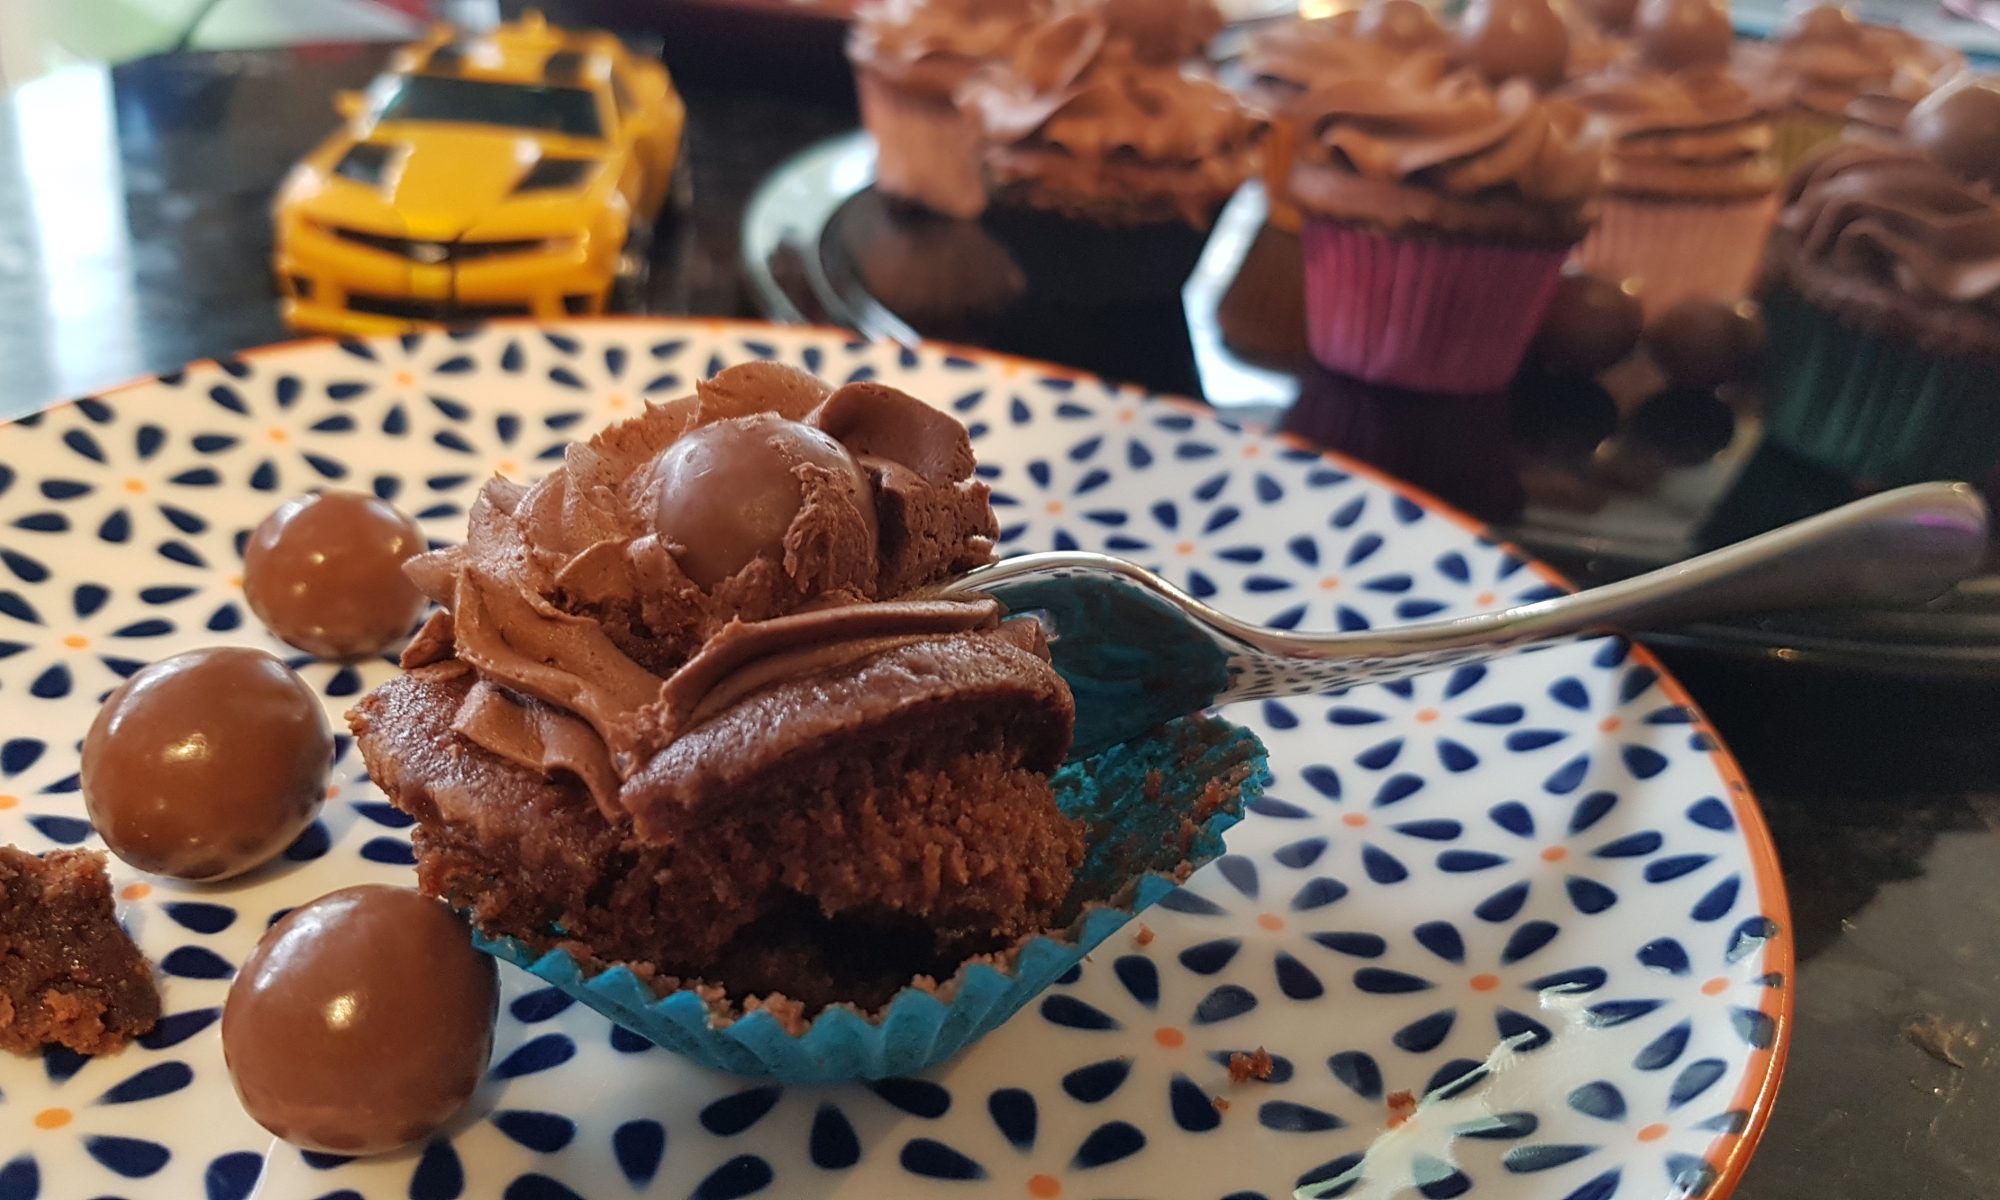
 Maltesers are dangerously addictive. I find it near impossible to open a sharing bag and not guzzle the lot at top speed – sharing chocolate is a real struggle for me! So imagine my surprise when I bought a couple of sharing bags of Maltesers to use in mini cupcakes with the kids and then didn’t get round to making them for a couple of weeks and they sat there huddled together in the pantry with their packets completely intact! Practically a miracle.
 Ophelia, it turns out needs further practice with the piping bag. This is not surprising as she is only two. It was rather funny to see her reaction when she had a go; the icing missed the cake and also came out of the top. However, she was in her element putting a single Malteser on top of each decorated cake.
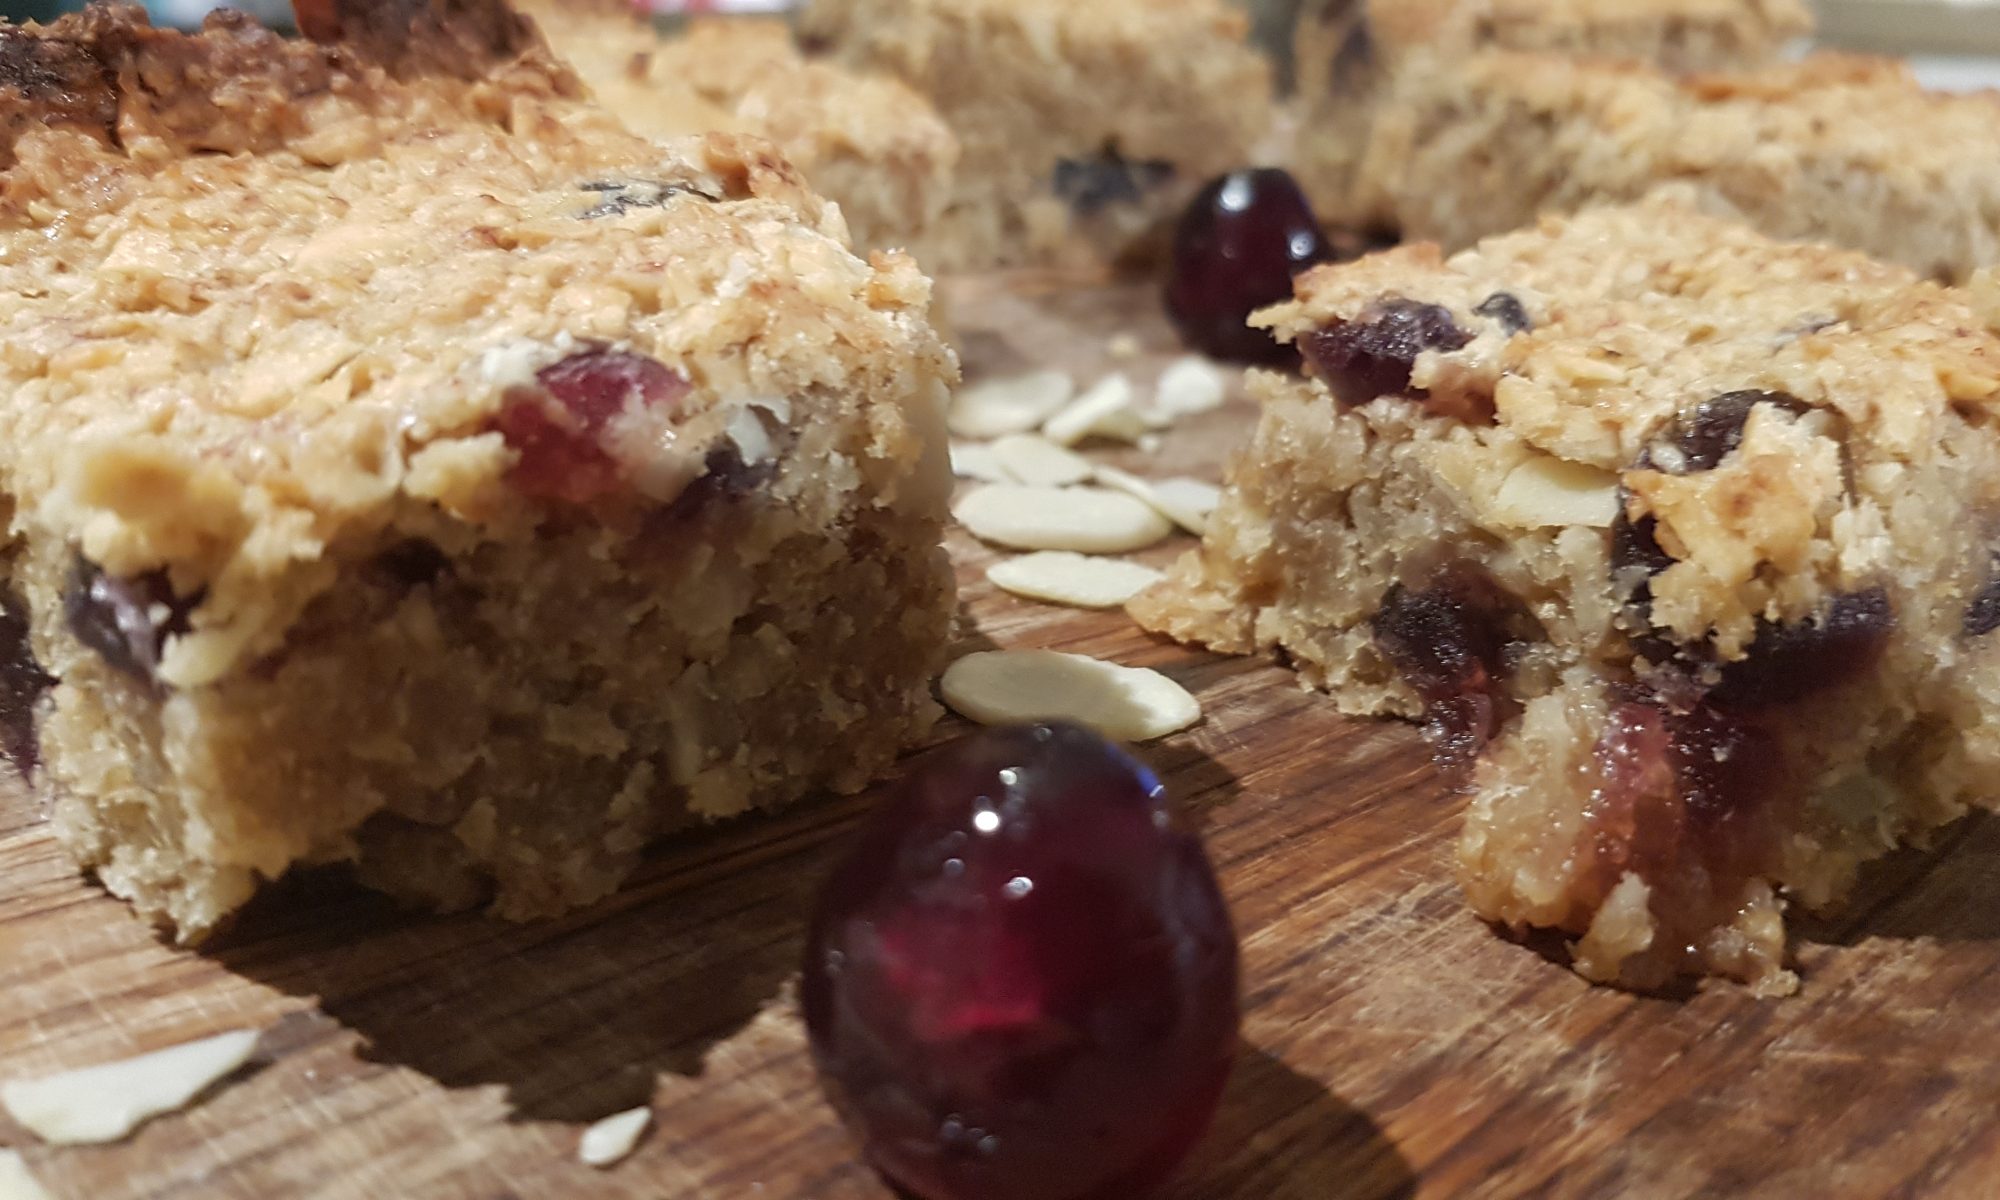
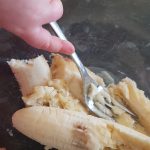 Bananas are a problematic fruit in our house. Up until recently Seb was the only one who would even contemplate eating them. Then about a fortnight ago, Atticus decided that he does now like bananas. When Atticus announced that he liked bananas (it did feel somewhat like a proclamation at the time), all of a sudden, I had to increase the weekly amount of bananas. This, however, then left me with a plethora of bananas
 as it turns out that Atticus’s new found love of bananas only really means he likes bananas on some days and sometimes only three quarters of a banana. Seb has taken to finishing off stray bits of Atticus’s bananas and I had to search for recipes to use up the overripe bananas that no-one wanted to eat. Rest assured, I have now reduced the weekly amount of bananas again – I can always go and buy more later in the week!
 This recipe was a ‘What do I make with all the bananas that isn’t cake?’ recipe. It is an easier way of making flapjack with small children as it has no stove time; banana, oil and golden syrup bind it together. I made these with Ophelia and she really enjoyed making them and then proudly sharing them with her big brothers.
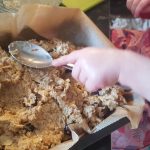
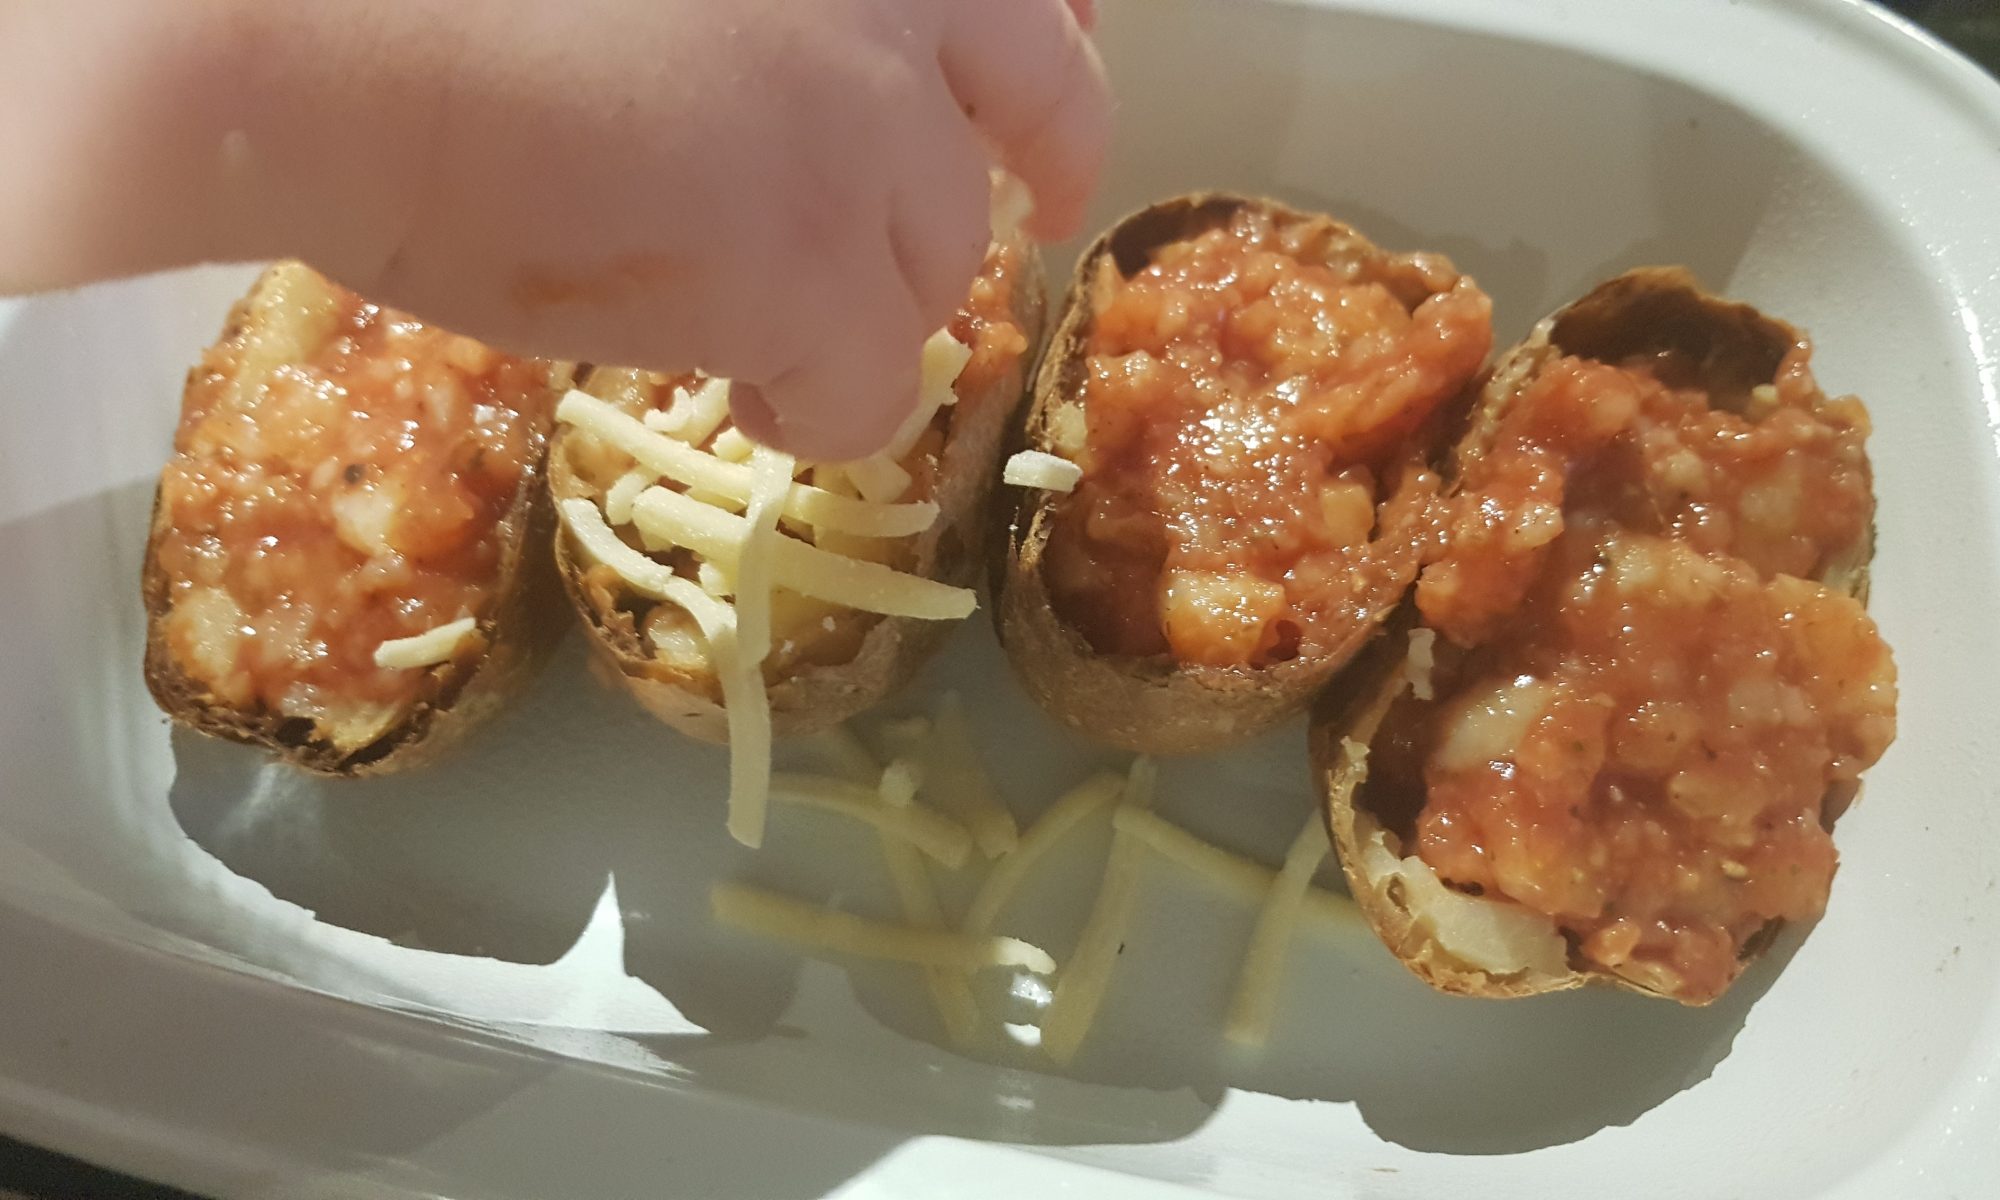
 been increasing my efforts to make potato more appealing and appetizing to my little potato-hater. We did try making hash browns, and he really did love using the food processor to grate the potato, but the entire recipe failed to entice him to devour a potato. Maybe wanting Atticus to do a complete one-eighty on his opinion of potatoes is a long shot, but I am really, really hoping that he will all of a sudden discover his Irish roots and the love of potatoes that everyone in my side family seems to have.
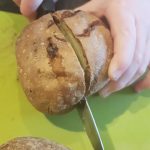 Slice each cooked jacket potato in half (lengthways). The boys (6 and 4) used a sharp knife to do this).
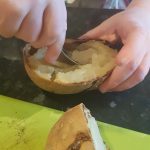 with a spoon being careful not to tear the skin and put in a large bowl. Place the skins in an oven proof dish.
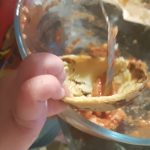 fully coated in the passata.