Vegan Apple & Blackberry Cakes

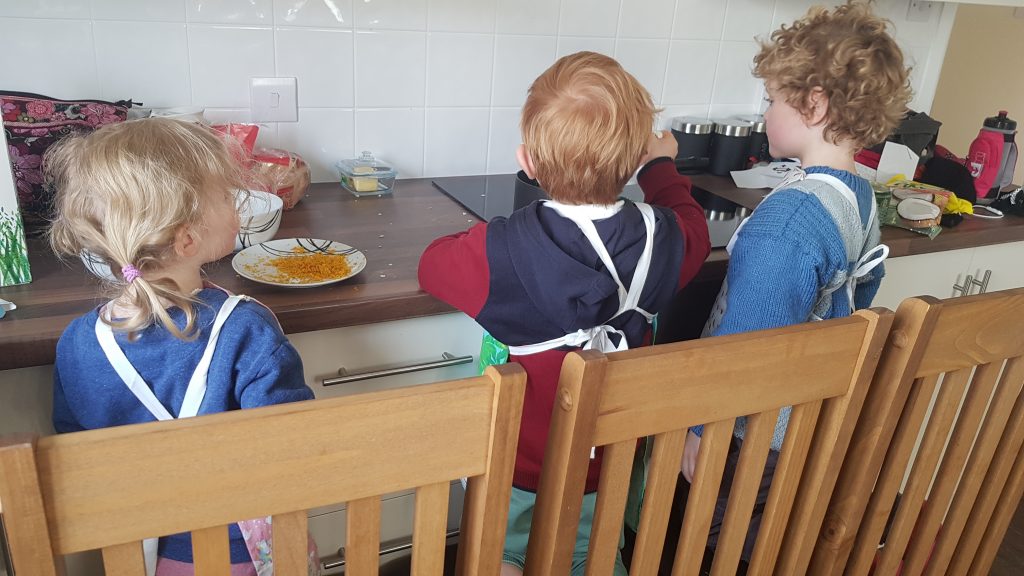
This year, instead of making New Year’s Resolutions that I know I am not going to have the will power or inclination to strive to keep, I opted for a promise to myself to spend more time individually with each of our children. So often, we all cook together and I love all the chaos this inevitably brings and the fact that no one misses out on the fun, but it does mean I am not spending time with each child on their own.

Squishing and squashing blackberries into icing sugar.

My New Year’s Day baking in pyjamas session was with Seb. It was considerably earlier than I would have chosen, but he was awake and seeing as he gets his early bird tendencies from me, I thought it fell to me to keep him occupied. I did not want three children awake at that hour slowly chiselling away at my patience! This did mean we were making these cakes at 7am and they were in the oven by 7.30am and cooled and iced before 9am.

Icing cakes.

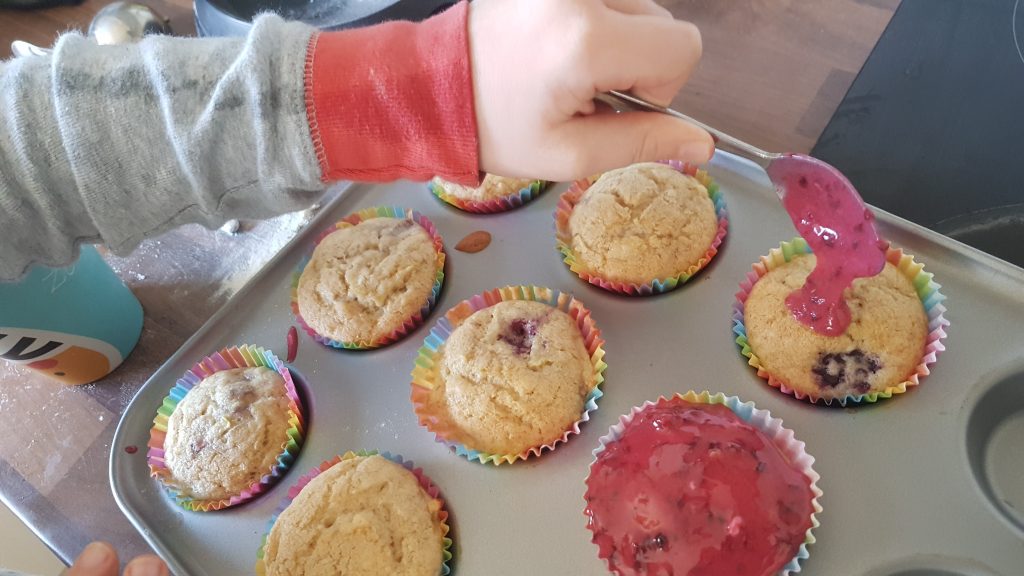
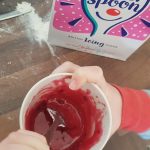
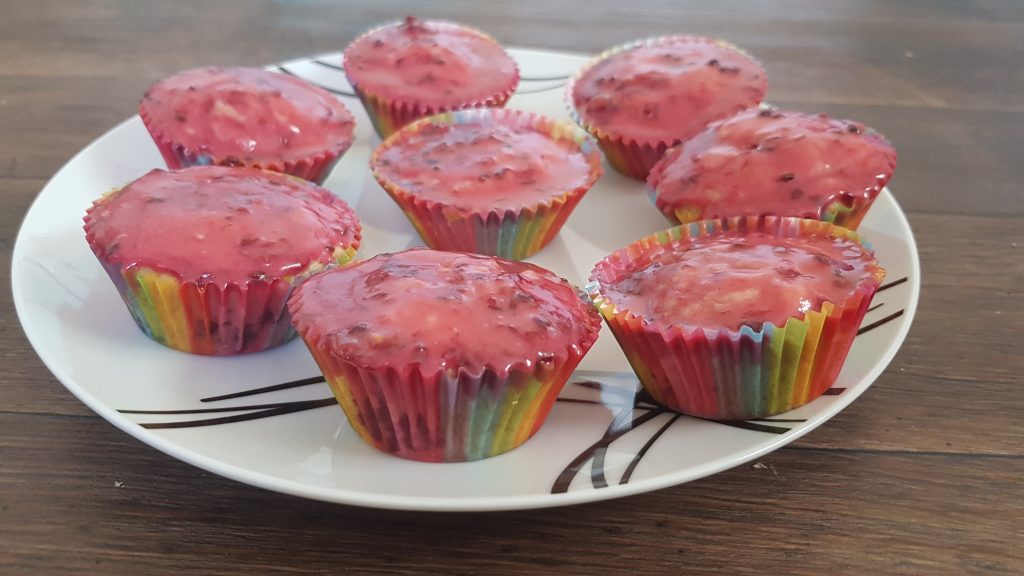
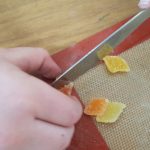
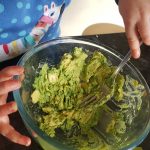
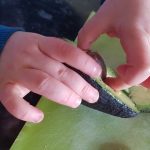
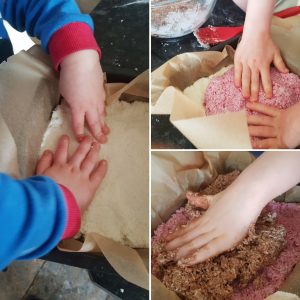
As it is January, we decided on a vegan recipe to coincide with Veganary. Please don’t switch off here, because if I hadn’t mentioned that these were vegan and you tried one, I doubt you would realise. As an added bonus, they contain apple and blackberries so that definitely makes them healthier than the cakes without fruit, right?! It is an easy recipe to make, but young children may well need help grating the apple. We used frozen blackberries, but for the icing we did let them defrost so we could squish and squash them and mix with the icing sugar to create a vibrant icing for the cakes. This recipe makes 8 cakes and they will keep in the fridge for a couple of days if they last that long.

Yummy, yummy in our tummies!

To make our Vegan Apple & Blackberry Cakes you will need:

  • 100ml plant-based milk (we used hazelnut, but any will do)
  • 100g caster sugar
  • 30ml vegetable oil or rapeseed oil
  • 1/2tsp vanilla extract
  • 1/2tsp baking powder
  • 120g self raising flour and an extra half tbsp
  • 40g blackberries (frozen is OK)
  • 50g grated apple
  • 80g icing sugar
  • 30g blackberries (defrosted if frozen)

Method

  1. Preheat the oven to 160 °c fan and line eight holes of a muffin tray with paper or silicone cases.
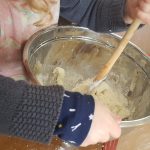
  2. Put the sugar, grated apple and the liquid ingredients in a large bowl and mix to combine.
  3. Sift the self raising flour and baking powder into the mixture and gently fold together.
  4. Sprinkle half a tablespoon of flour over the frozen blackberries and ensure they are all completely coated – this should prevent them from all sinking to the bottom of the cakes.
  5. Add to the cake mixture and gently fold them in.
  6. Divide the mixture between the eight cake cases and place in the oven for around 20 minutes until springy to the touch and a cake tester comes out clean (unless you hit a blackberry).
  7. Remove from the oven and set aside to cool. While the cakes are cooling, squish and squash the defrosted blackberries until they are liquidy. Mix with the icing sugar and add more icing sugar if you want a thicker icing.
  8. Cover the cakes and allow to set. Store in the fridge.

This recipe was featured in Penguin News on 10 January 2020.

Coconut Penguins

Cutting the beaks in half
Stir it up!

We may have only moved to Stanley back in August, but the family’s knowledge of penguins and love of them is much more ingrained. It all started when we were still a family of 4 and took a trip to London Zoo when we were visiting my parents. Atticus, at just over a year, was completely mesmerised by the penguins and it seems they stole his heart. When in the gift shop, he made a beeline for the toy penguins and Grandma purchased him one. It went everywhere with him and we ended up buying a second one online in case the first went missing in action. That initial penguin has made the trip out here, but we did have to limit the number of toy penguins the kids brought as I was sure we would be convinced to add to their collection during our time here.

Turning them into penguins!

I was compiling my list of potential Christmas bakes when I found a coconut mice recipe. The first thought that struck me was how much I love coconut. Then the idea of Coconut Penguins popped into my head. What could be better?! I mean it is a penguin made of coconut and sugar! Unsurprisingly the kids were fully on board with this idea and we have had requests for more Coconut Penguins ever since we finished the first batch.

Ingredients

  • 250g icing sugar, sifted
  • 200g condensed milk
  • 175g desiccated coconut
  • Black food dye
  • Silver balls
  • Jelly diamonds (orange and yellow)
  • White chocolate buttons (or yellow smarties!)
  • Mini smarties (orange and yellow)

Method

  1. Line two baking sheets with baking parchment or silicone baking mats.
  2. Sift the icing sugar into a large bowl (my kids love doing this job and always shriek; “it’s snowing!”)
  3. Add in the condensed milk and desiccated coconut and mix. The mixture will be stiff, so smaller children may require some help.
  4. Add generous squirts of the black food dye (it is difficult to get it truly black and ours looked more grey, but this didn’t detract from the kids’ enthusiasm for them) and mix again.
  5. Take tablespoon-sized amounts and shape them into oval patties and put on the baking sheets. There is a sticky fingers warning here! Slightly damp hands will prevent this to a degree.
  6. Decorate with two silver balls for eyes, half a jelly diamond for the beak, a white chocolate button for the tummy and two mini smarties for the feet.
  7. Put in the fridge to set and then enjoy.
Penguins on an iceberg and one in in the sea!

This recipe appeared in Penguin News on Friday 13 December 2019.

Peanut Butter Eve’s Pudding

There are two big things we are currently doing; waiting for our shipping crate with the kids’ toys and books and our car to arrive and adjusting to the new house, living in a small community, the weather conditions and the price and availability of food. The first hurdle for me was that the key to our back door, which faces the sea, is labelled front door and the key for the front door which faces the street is labelled back door. It turns out that the sea is used as point of reference. The first time I tried to lock the front door with the key labelled accordingly, Simon had to come to my rescue as I was getting increasingly frustrated at my lack of progress. Have I changed the key rings around? Nope, I have adapted to that fact and moved on.

Fresh fruit and vegetables are expensive. Yes you can buy them, but gone are the 6 small apples for under £1. This has meant that I have adapted. I found some tinned apples in the supermarket. Now had we still been in the UK, I wouldn’t have contemplated using tinned apples. It does have to be said they are significantly less faff than having to peel, core and chop apples and then stew them. We just opened the tin and spread them out in the Pyrex! Simple!

Simple process and yummy results!

Now apple and peanut butter is a favourite snack of mine and I thought adding the chopped nuts and the peanut butter would make this pudding a bit different. I believe I was right as the peanut butter gave it the qualities of a self-saucing pudding. I could have eaten the whole pudding, but I think I would have had an exceptionally grumpy family had the refrain all the yummies are mummy’s turned out to be true on this occasion!

Ingredients

  • 1 tin of apples
  • 2 eggs
  • 8tbsp self raising flour
  • 8tbsp butter/margarine
  • 8tbsp caster sugar
  • 4 tbsp chopped nuts (3 to put with the nuts and one for the top)
  • 3-4tsp peanut butter.

Method

Dolloping the cake batter on top of the apple and nut mixture.
  1. Preheat the oven to 150°c fan.
  2. Spread all the tinned apples out into the bottom of a Pyrex dish or baking tin. I like to use Pyrex dishes for this kind of pudding so you can see the apple and the cake layer.
  3. Sprinkle or spoon 3tbsp of the chopped nuts over the apples.
  4. Gently dollop the tsps. of peanut butter in random places over the apples.
  5. Put all the cake ingredients into a large bowl and mix them all together quickly until they are fully combined.
  6. Spread the cake over the apples and peanut butter and then sprinkle the remaining chopped nuts over the top.
  7. Place in the oven for 15-17 minutes until the cake is golden brown and springs back when gently touched.
Sprinkling nuts

Much to my delight, this recipe was featured in the Falkland Islands Newspaper, Penguin News. I really hope that you enjoy this pudding as much as we did. Please do get in touch if you make this as we love to hear from people who have used our recipes.

Tropical Flapjacks

Welcome to my first blog post from the Southern hemisphere! I apologise for the somewhat haphazard recipe, but I must confess I have no scales so all measurements were in cups, well mugs actually, and I doubled the recipe below as we were using a roasting tin. The latter doesn’t bother me though; it merely means that we have more flapjack than I originally planned. Faithful readers are bound to have had enough of me droning on about my love of flapjack, but I shall repeat – my love for flapjacks runs deep and true. I am, however, point blank refusing to buy more baking equipment when we should be receiving my stuff at the end of next month. We shall see how firm my resolve is after another fortnight without my stuff, but for now it is cast-iron strong and not at all faltering…

We are starting to settle into our new home, well we must be if the kids are in the kitchen. It was a bit touch and go when I realised that we had no hangers, but I solved that problem so nearly everything has a home with my slightly wonky logic. I really do hate unpacking so Simon may well have had to delve into his savings of patience while I was putting off the inevitable chore!

Our kitchen set up here is a little different, and to tell the truth it may well take some getting used to, don’t think for a second that the kids would let any of this hinder us. I did let Ophelia wash up after this and I did think that it was going rather well and then I realised that she had used nearly an entire bottle of washing up liquid! Why oh why did I turn my back on her?!

A different set up, but we get on with it!

These are Tropical Flapjacks as they contain orange juice and zest, raisins and desiccated coconut. Tropical in flavour but, it’s just a shame that the August weather in Stanley doesn’t match the summery fruity vibes of these yummy flapjacks. They make me think of sunny memories in Loughborough and Surrey before our departure from the UK. They are perfect for after school snacks (if you are lucky enough that your angels have returned) or puddings or even if the kids are driving you around the bend and you need a little treat.

Ingredients

In they go!
  • 1/2 cup of butter or margarine
  • 1/2 cup of brown sugar
  • 1/4 cup of golden syrup
  • 1 cup jumbo oats
  • 1 cup regular oats
  • 1/2 cup of desiccated coconut
  • zest of 1 orange
  • 60g raisings
  • 3tbsp orange juice

Method

  1. Preheat the oven to 140°c fan.
  2. Grease a brownie pan or medium-sized roasting tin if you double the recipe like we did!
  3. Put the raisins in a bowl and cover with the orange juice.
  4. Melt the butter, sugar and golden syrup over a low heat.
  5. Zest the orange, we used a box grater for this – I did have to remove it from Finch as he was about to grate the orange as well.
  6. Pour both types of oats, the desiccated coconut, the orange zest and the raisins into the melted sugary mixture and mix with a wooden spoon until completely combined.
  7. Dollop the oat mixture into the tin and gently spread it around with the back of the wooden spoon. Make sure there is an even layer.
  8. Cook for 20-25 minutes until the flapjacks are golden. Allow to cool in the tin before removing and slicing.

As usual, I demonstrated my lack of patience by endeavouring to slice them before they were fully cooled. Despite the fact that they crumbled a bit, they were really yummy. I think the kids will have to keep a close eye on me tomorrow morning to ensure that I don’t decide to eat the rest of them for breakfast!

Chocolate Muddy Puddles

Ophelia had a Muddy Puddle walk for Save the Children at nursery today. By the sounds of it, grown ups and pre-schoolers alike had fun and managed to get drenched! In anticipation of this event, I thought it would be fun to make some muddy puddles of our own to get into the spirit. She had lots of fun spooning, mashing and squishing, mixing, dolloping and sprinkling. It has to be said that you do have to use your imagination when looking at them, because they could be described as looking a bit like cow pats. This was the reason for adding the leaf shaped sprinkles to make people realise their true nature!

This recipe is essentially a truffle made with only 3 ingredients (4 if you include the sprinkles!), but instead of rolling them into truffles, we dolloped teaspoons of the mixture onto greaseproof paper and flattened with the back of a spoon. To make these you will only need 1 small ripe avocado, chocolate and some vanilla extract. We used only dark chocolate as that is what I had in the house, but I would recommend using half dark chocolate and half milk chocolate if you are making this recipe for small children so that it is a little sweeter. To make them dairy free or vegan, you just need to ensure that your chocolate is dairy free/vegan.

Ophelia was rather intrigued by the large stone in the middle of the avocado and after several attempts managed to get it out. I loved the fact that she tried several times to get it out and didn’t give up until she had achieved it. I feel the need to add at this point, that this is the only way the boys will eat avocado! Ophelia seemed to like it on its own, but the boys have turned their noses up at it several times in salad and homemade guacamole. To my delight, Atticus asked for a second and as he was consuming avocado, I was happy to let him have another!

Ingredients

  • 1 small ripe avocado
  • 175g chocolate of choice (see above paragraph for further advice on chocolate choice)
  • 1/2tsp of vanilla extract
  • Sprinkles of choice (we used autumn leaves ones which I managed to get on offer at TKMaxx, but anything, would work such as chocolate or coloured strands, etc)
Adding the sprinkles.

Method

  1. Adult slice the avocado in half.
  2. Melt the chocolate in a double boiler.
  3. If sufficiently ripe, ask your child to pull out the stone. They may need encouraging to hold the avocado with one hand and to pull the stone out with the other hand.
  4. Scoop out the flesh of the avocado and put it into a bowl. Mash with a fork until smooth. You may want to use a stick blender to ensure that it is completely smooth.
  5. Add the vanilla extract and the melted chocolate to the mashed avocado and mix to combine fully.
  6. Take tsp amounts and spoon onto a greaseproof lined baking tray and gently press down with the back of the teaspoon.
  7. Add the sprinkles to the top and store in the fridge until you want to eat.

I thought these were really yummy and the kids enjoyed them too. They felt less naughty as they contained avocado rather than double cream. So two thumbs up from our family and a big yippie as they contain a hidden vegetable!

Neapolitan Coconut Ice

Do you have a go to treat that makes you feel better no matter what the world (or the nearly pre-schooler) may decide to throw at you? There are some days when we our smallest small displays all the world’s emotions within the space of a couple of hours. This goes some way to explaining why toddlers throw tantrums when these big emotions burst out even if it doesn’t make it any easier to cope with them! Anyway back to treats. The combination of chocolate and coconut transports me to my happy place from where I can cope with any new obstacles that our little monkeys may decide to hurl at us next. Needless to say it is also one of the children’s favourite flavour combinations too!

Coconut ice wasn’t a treat of my childhood, it seems to have featured more prominently in Simon’s. When brainstorming for this recipe, I was wondering how we could put our own stamp on it. It didn’t take me long to conclude that adding chocolate and raspberries to it would be the perfect way to do so. Practically everything is better with chocolate! Unless you are thinking along the lines of cheese then I would have to disagree.

Patting it all down.

The kids loved pretty much the whole of this recipe from decanting the condensed milk into the bowl, blitzing the raspberries, measuring the chocolate syrup and patting a layer in the tin each. Having three children may also have contributed to my conviction that this recipe needed a third layer so each child could have a go on their own! So just a way of reducing my stress levels and increasing my chocolate intake at the same time!

Ingredients

This recipe was featured in the May/June 2019 Soar Valley Life Magazine

  • 1 can sweetened condensed milk
  • 400g desiccated coconut
  • 400g icing sugar
  • 75g raspberries
  • 1tbsp Sweet Freedom Coconut Chocolate Shot (or chocolate syrup of your choice)
  • 1tsp vanilla extract

To make:

  1. Allow the raspberries to defrost a little bit.
  2. Put the condensed milk, and 340g of both the desiccated coconut and the icing sugar in a large bowl and mix together with a wooden spoon. When the mixture becomes stiff and difficult to mix, use your hands to bring it fully together.
  3. Divide the mixture equally between three bowls.
  4. Add 1tsp of vanilla extract to one bowl and mix or knead to combine.
  5. Add 1tbsp of chocolate syrup to another bowl and mix or knead to combine.
  6. With a hand held blender, blitz the frozen raspberries until smooth. You could also do this with the back of a fork or a food processor. Add to the final bowl and mix. Add enough of the remaining desiccated coconut and icing sugar to make the raspberry layer the same consistency as the other two.
  7. Grease and line a tin with greaseproof paper (we used a 16cm square tin).
  8. Dollop the vanilla layer into the bottom of a tin and flatten with the back of a metal spoon to reach all the edges. Pat even with fingers.
  9. Spread the raspberry layer on top of the vanilla layer and spread a pat down.
  10. Add the chocolate layer a spread to cover the raspberry layer.
  11. Put in the fridge for at least 3 hours to set (we left ours overnight) and then cut into small squares or rectangles.
The article in print.

This treat graced our lunchboxes when we visited Legoland over the Easter holidays and it was a most welcome addition. We did receive some rather envious looks from other children queuing for the same ride while the kids were enjoying this! The icing on the cake for me in this instance was to see this recipe in print in Soar Valley Life Magazine.

Marshmallow Sheep

Pushing the legs in.

It is officially spring! In our front garden the daffodils are out in their splendour. They make me happy even if I am yelling at the kids to run as we have set out late for school. The temperature is getting warmer and we seem to have said goodbye to winter. Well now I have said that you can guarantee the snow will arrive next week, but I am holding onto the sunshine that we saw last week and hoping for the spring-like conditions to stay! In my head the only bad thing about spring is the fact that we lose an hour of sleep when British Summer Time begins!

On go the eyes.

I have been thinking about making these sheep since Christmas when I was thinking how the kids and I could make the nativity scene out of food items. Unfortunately, I only really got as far as the sheep and then ran out of time to think of more ideas and execute them before Christmas. It may well be on the list for this Christmas, but as usual it depends on time and if I can take precious time away from making mince pies and Christmas cake! I was then racking my brain to see when I could appropriately make them and it occurred to me that new lambs traditionally mark the beginning of spring so there we go! A start of spring activity instead then!

Atticus’s efforts.
Seb’s efforts

As this was a super quick Saturday morning baking in pyjamas activity, I decided to use the opportunity to get the boys, Atticus in particular, to practise their handwriting skills. I find he is more eager to have a go at writing something when it is fun and these sheep and more specifically the promise that he could have one for snack time really spurred him on to have a go. I must say I am super proud of his efforts. His teacher is always advocating him having a go at writing something about something that interested him or that he enjoyed so this certainly fit the bill.

Ingredients

  • Rocky Mountains Mega Marshmallows
  • Giant chocolate buttons
  • Matchmakers
  • Edible eyes
  • Melted chocolate
A pyramid of sheep drying!

Method

  1. Grown up cut each Matchmaker into four for legs.
  2. Push each leg into the bottom of the marshmallow. You will need to push it in quite far for it to work. Some of ours didn’t stand properly, but most did. It is all a matter of making them even.
  3. Put the sheep on its bottom and coat the back (with a spoon or by dipping although the latter is messier in this case!) of the chocolate button in melted chocolate and stick to the sheep’s face.
  4. Put a tiny bit of chocolate on each eye and stick to the chocolate button.
  5. Leave the sheep on their bottoms (so chocolate button facing upwards) until the melted chocolate has set so they don’t move around.
  6. Enjoy!
What you doing?!

My kids are now waiting to be allowed to eat one of these sheep. I am quite enjoying having an ovine (yes the adjective for sheep is ovine in case you didn’t know) audience as I write this up for you all. Please do send me pictures of your sheep if you do make some!

Honeycomb Blondies

I recently discovered how easy it is to make honeycomb, or cinder toffee if you prefer to call it that.  Seb and I were rather mesmerized by how it bubbled and fizzed and had great fun smashing it!

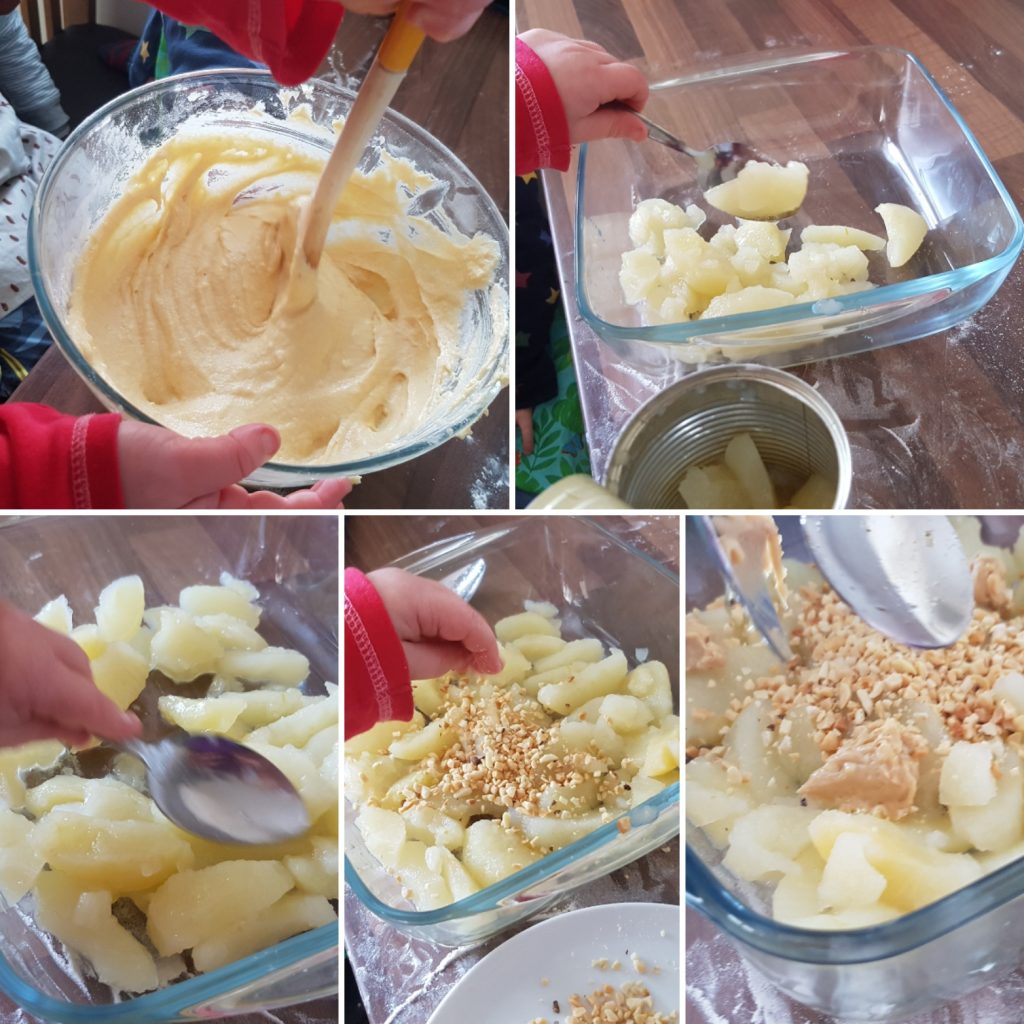
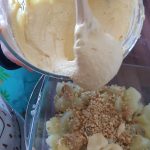
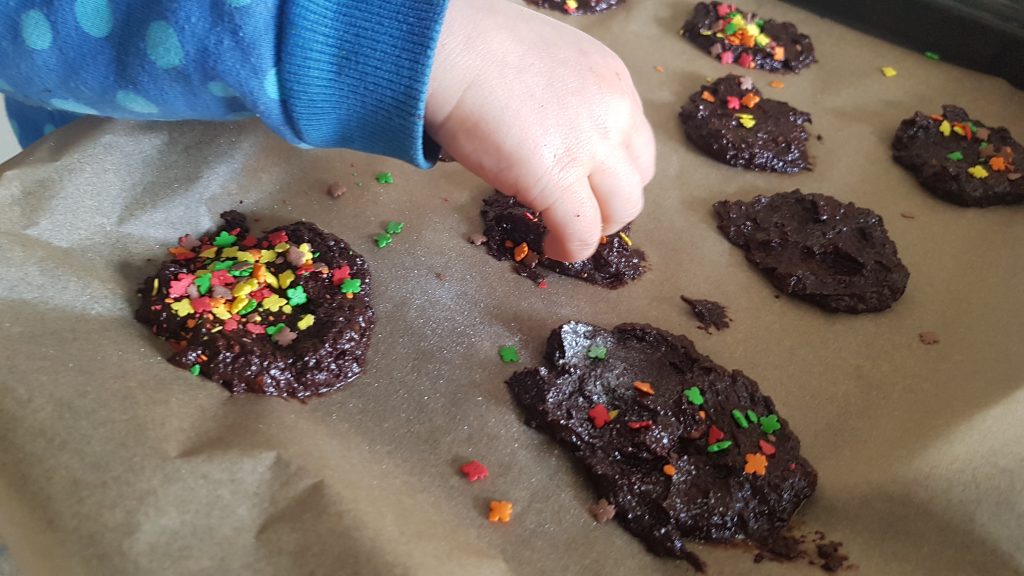
After our foray into making cinder toffee, I decided to find something to do with the leftover honeycomb. I decided that it would work nicely in some blondies. Ophelia had a lot of fun mixing and putting the toffee into the mixture. I was impressed at how restrained she was as none of the toffee ended up in her mouth! These are really easy to make with little chefs as they contain melted butter which makes it really easy to mix entirely by hand. We did have rather a lot of flour on the surface during the process, but the result was a truly scrummy baked good. It was so tasty that Seb was heartbroken when daddy ate the last couple of pieces without saving him any. Simon was forbidden from taking the second batch into work after that reaction. This means I have to exercise some super human restraint and ignore them while he is at work. So if I do happen to be in your vicinity with baked goods, please do save me from myself and remove the baked goods from my possession – my waistline will thank you!

Ophelia in charge of the egg.

We also used this recipe to help Ophelia practise her egg cracking skills. The first one she watched me crack and then she had a go on her own. This time we had no egg shell in the mixture and a happy little girl with a round of applause from her mother and grandmother.

You don’t have to have homemade honeycomb for this recipe, you could use some chopped up Crunchie bars and that would also have the added benefit of adding chocolate to the recipe too. Now I have that idea in my head, I may have to go and make another batch of them with Crunchie bars. If you do want to have a go making your own honeycomb, I have left a recipe at the end of this post.

Ingredients

  • 240g plain flour
  • 300g golden caster sugar
  • 225g melted butter
  • 1tsp vanilla
  • 1/2tsp salt
  • 1/2tsp baking powder
  • 160g cinder toffee or Crunchie bars

Method

  1. Preheat the oven to 170°c or 150°c fan and line a brownie pan.
  2. Mix the melted butter and sugar until fully combined.
  3. Add in the eggs and vanilla and beat.
  4. Put the flour, baking powder and salt and mix together.
  5. Gradually add the flour mixture to the wet ingredients and mix until smooth.
  6. Add the honeycomb and mix.
  7. Put the mixture in the lined brownie pan and cook for 30-35 minutes.
  8. Once cooled sprinkle with sifted icing sugar and cut into squares.

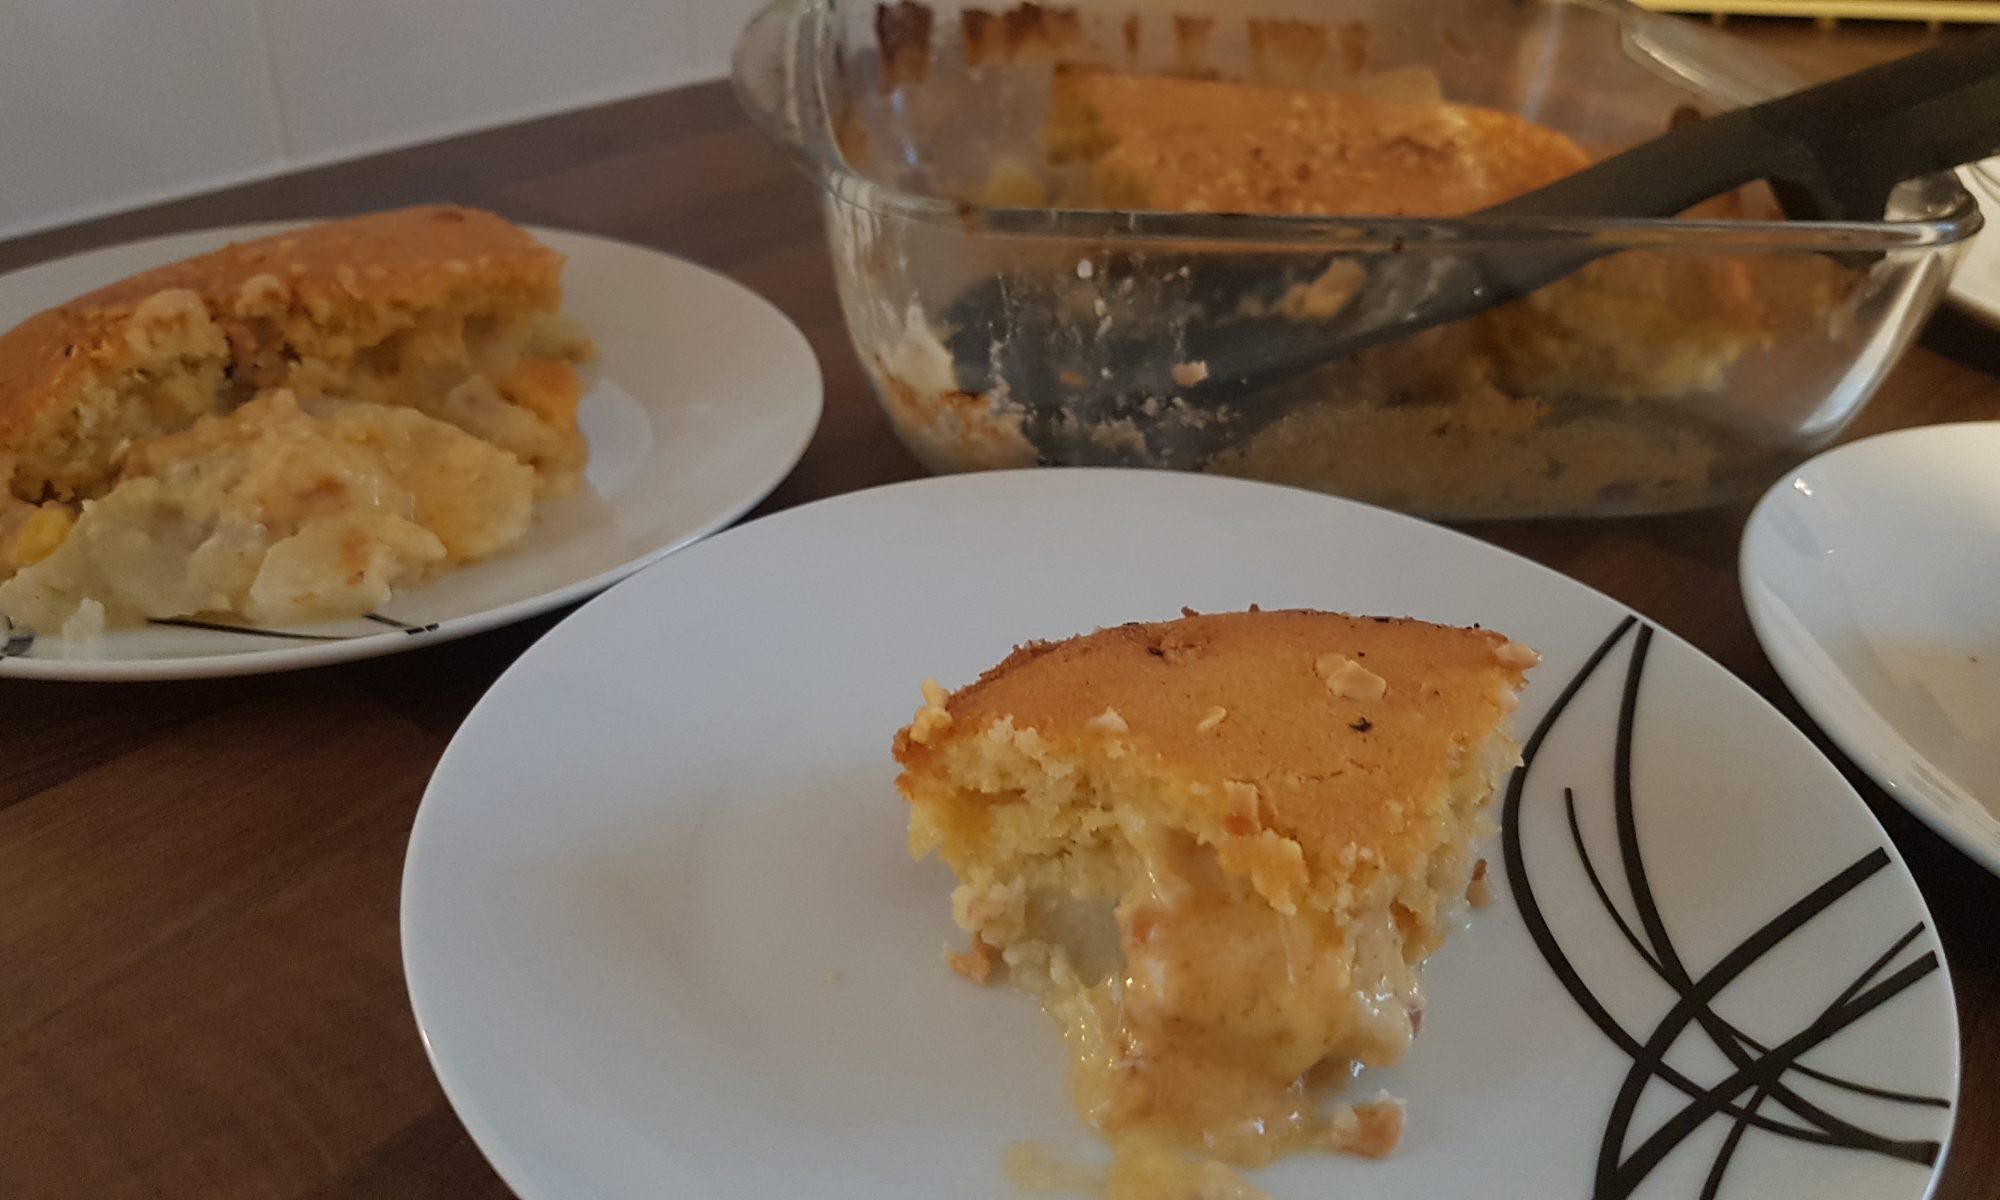
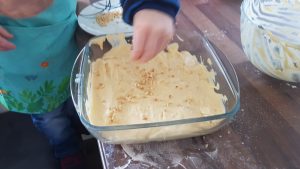
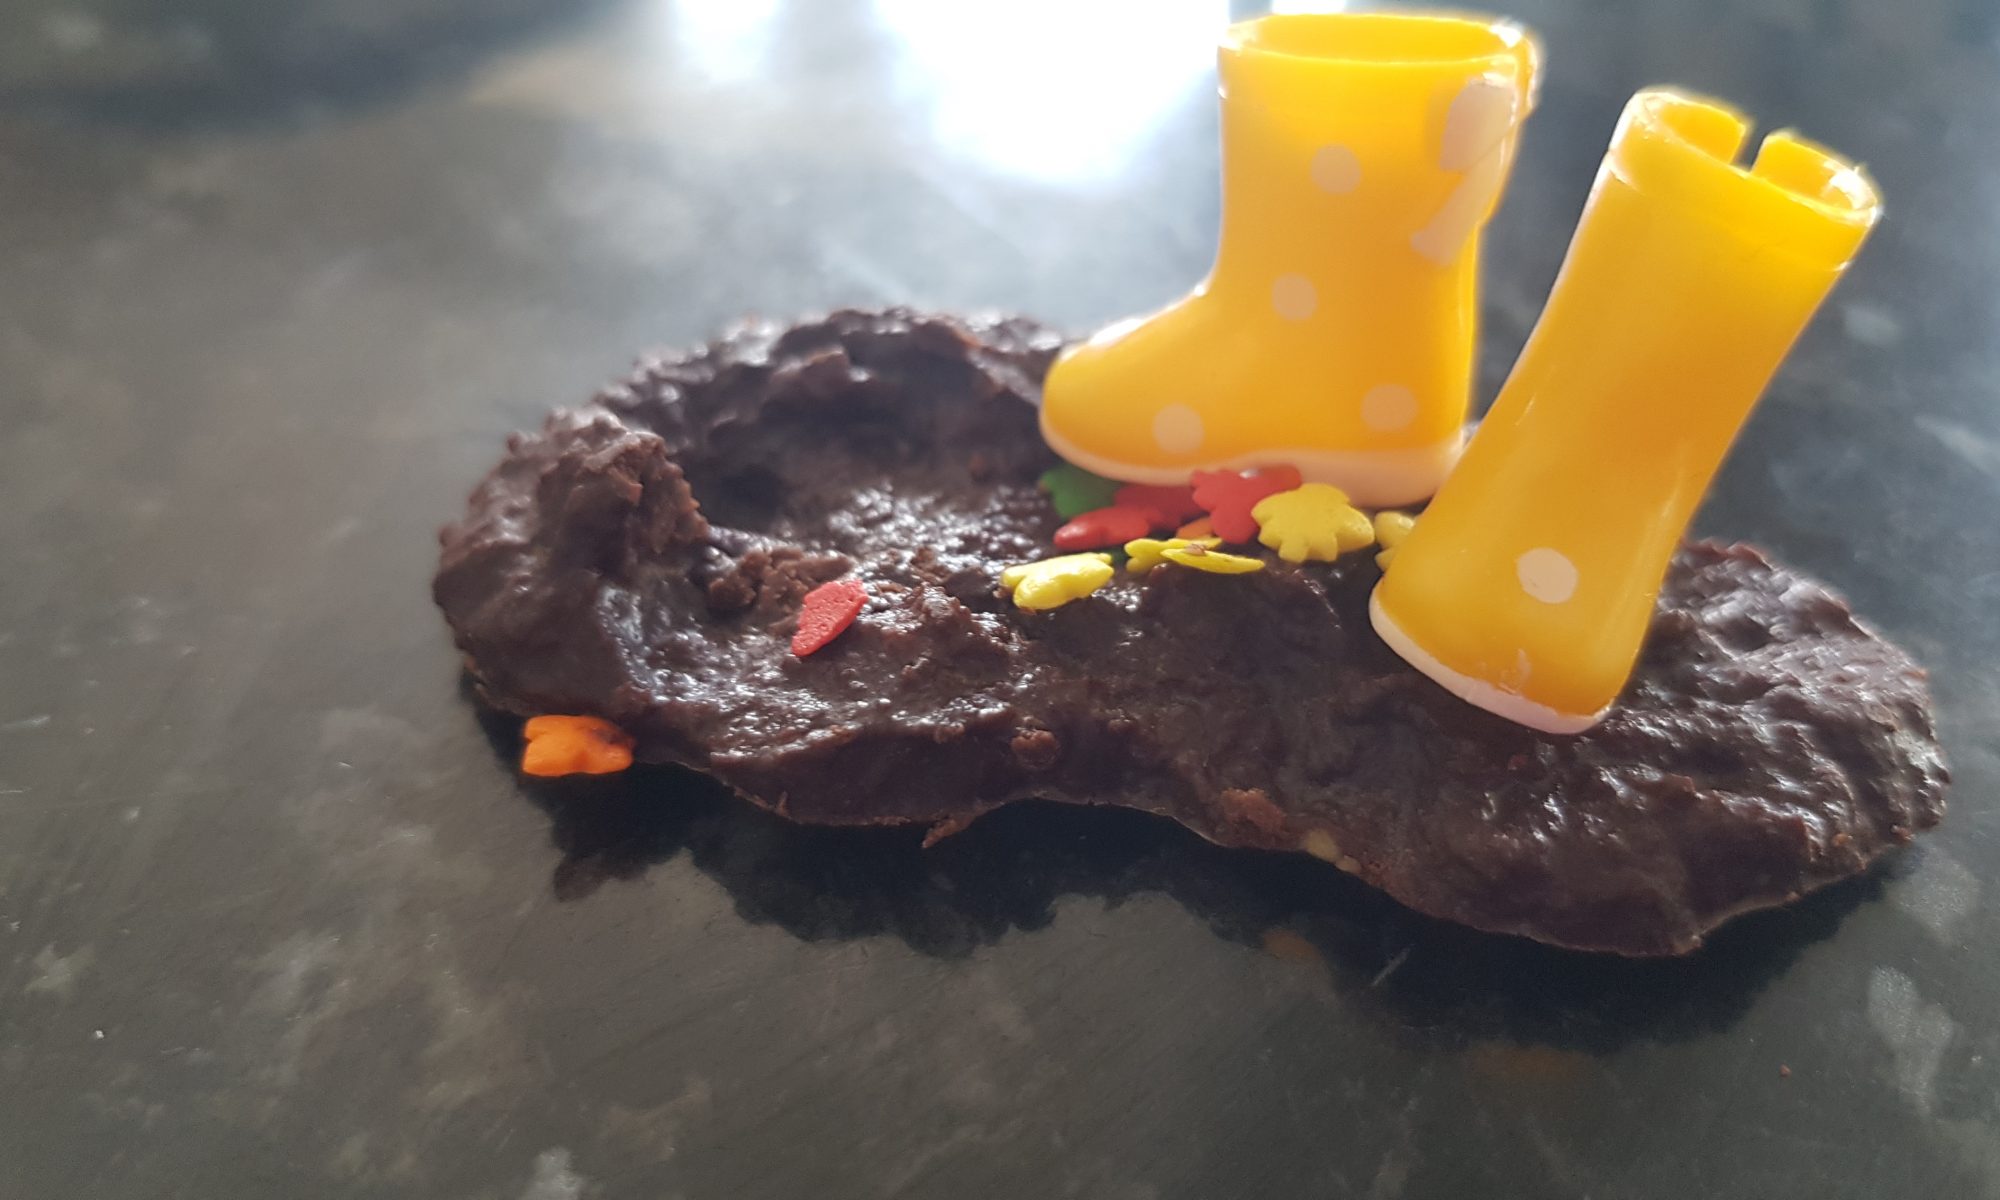
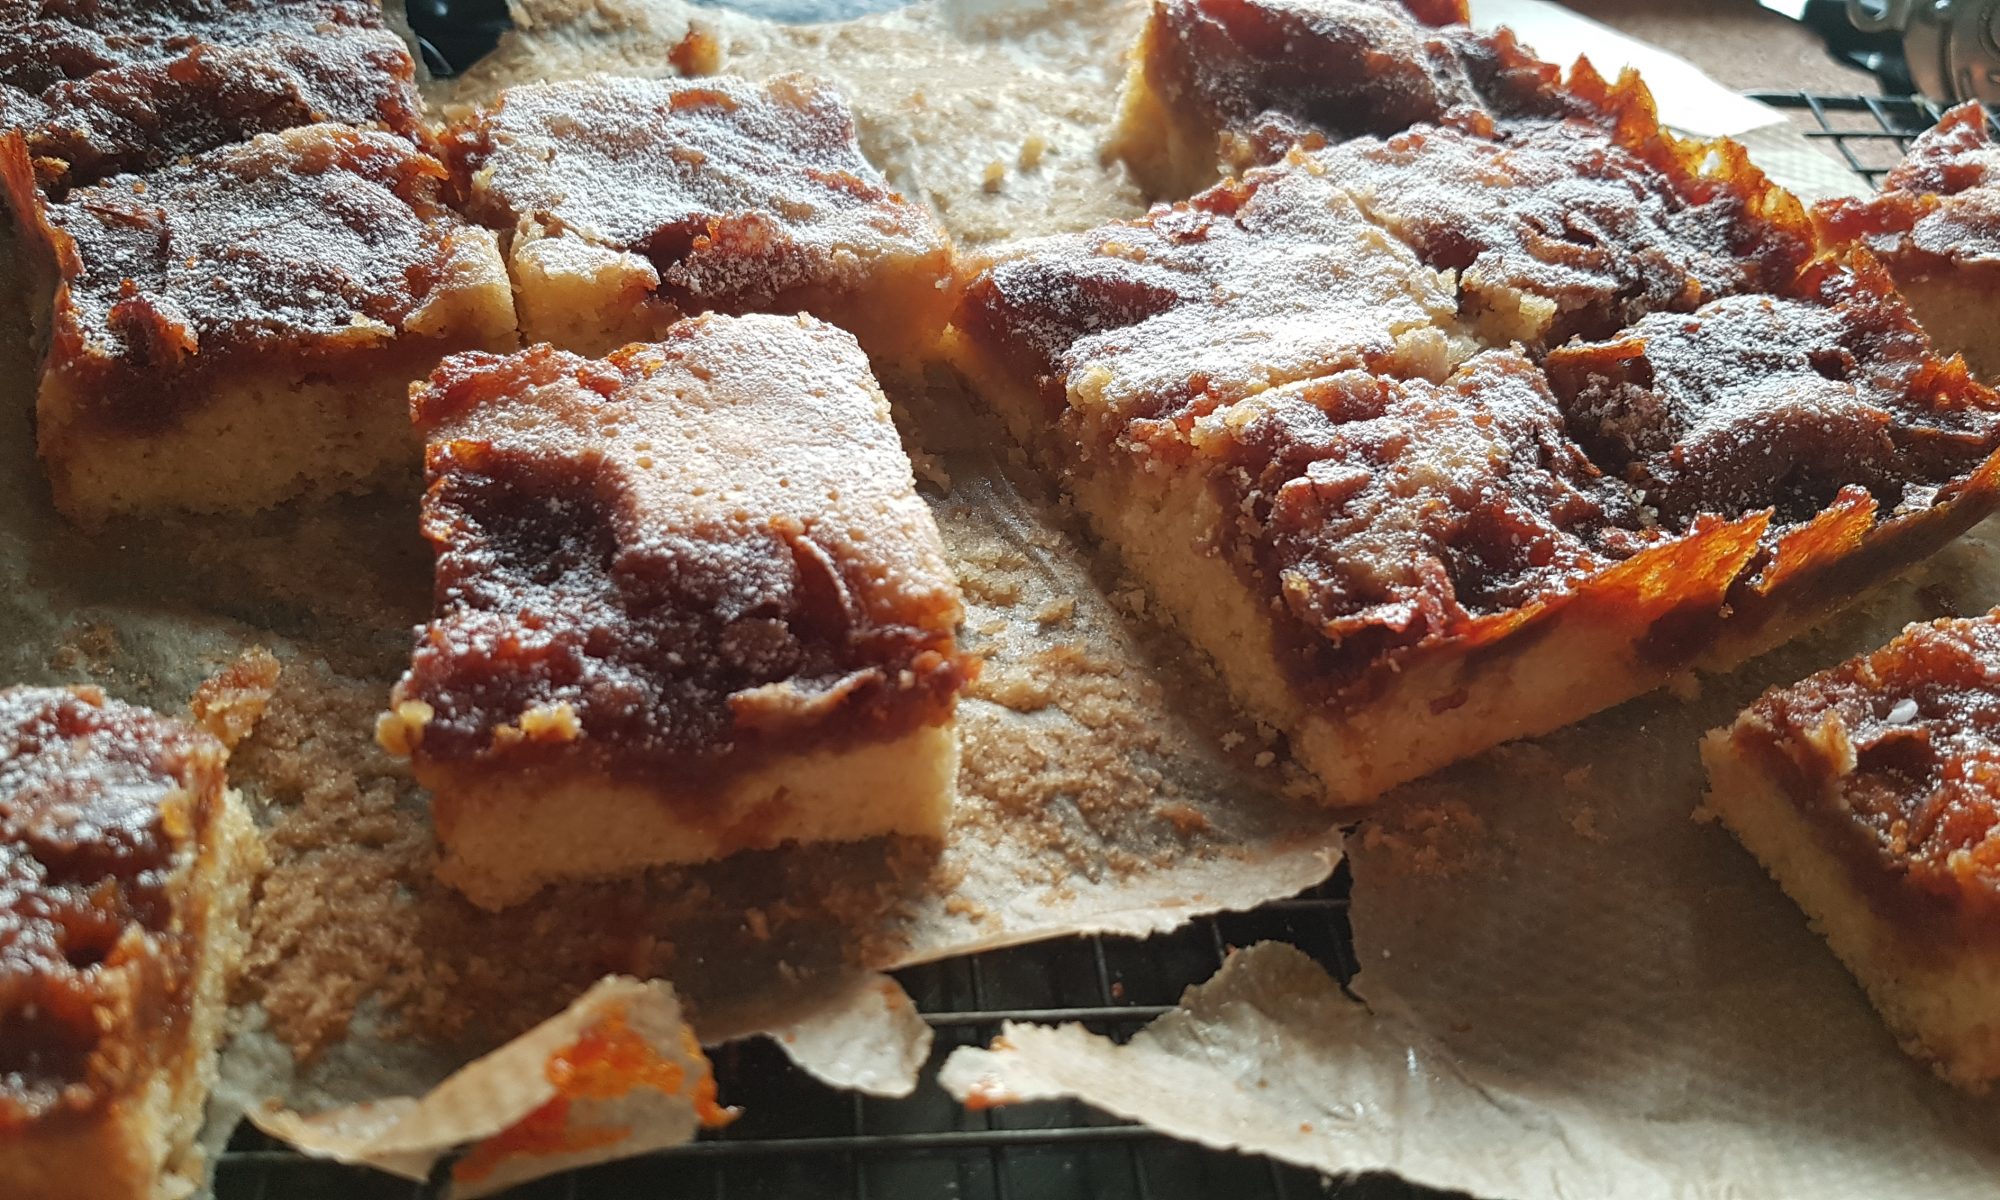
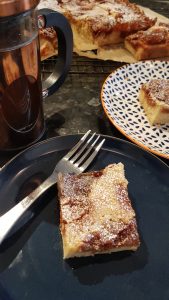
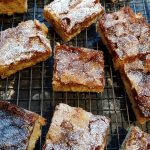
These blondies will not win any prizes in a beauty contest, but the honeycomb caramelised beautifully and rises to the top giving a sort of irregular patchwork effect. They have become a new family favourite particularly with Simon and Seb.

If you want to make your own honeycomb, you will need:

400g caster sugar
100ml runny honey
2tbsp liquid glucose
1.5tsp bicarbonate of soda

Put the sugar, honey and glucose in a heavy-based pan and heat to 160°c. Oil a square cake pan with oil . Once the sugar mixture has reached 160°c remove from the heat and quickly add the bicarbonate of soda and whisk. Adult, pour into cake pan and once set smash. We used one of the kids wooden hammers for this.

Fudgy Toffee Rocky Road

I am a massive chocaholic. It is a weakness and I dream of living on chocolate. But the harsh reality is that I would be a whole lot bigger and subsiding on chocolate alone isn’t exactly a healthy diet. So I have many, many cake books and books dedicated to chocolate and when Simon is working late, I can often be found sitting on the sofa reading the recipes and salivating over the yummy cake pictures secure in the thought that this is a more slimline way to enjoy chocolate! I value the hard work I put into losing the baby weight I put on during my first pregnancy to binge on chocolate on a weekly basis.

After reading that, it isn’t a surprise that my children love chocolate too. Birthday cakes are chocolate as standard and you can guarantee that there is always chocolate in some form or other in our pantry.

Ingredients ready!

Rocky Road is a favourite of our kids; it contains chocolate, marshmallows and biscuits – incidentally all items which I am sure my children would classify in a food group of their own if they had a chance (I am very glad that they don’t!). I don’t tend to share the rocky road with them when we have it as marshmallows make it unsuitable for a vegetarian diet. But, in addition to ensuring his wife always has a good supply of caffeine (in the form of coffee), Simon bought me a whole load of vegetarian marshmallows. Yes I could go out and buy them for myself, but it makes them all the more special when they are bought for you.

So this time the rocky road was to be vegetarian. I decided that instead of a traditional rocky road I would fill it with chocolate and treats that I like so we put fudge, Crunchie bars and oaties biscuits (like Hobnobs) in. It was epic. Honestly I was worried that no-one else would get a look in, but I am happy to report I shared this creation admirably.

Ingredients

  • 400g chocolate (we used a mixture of dark and milk)
  • 125g butter
  • 5tbsp golden syrup
  • 150g Crunchie Bars
  • 150g Oaties biscuits (or Hobnobs)
  • 100g vegetarian marshmallows
  • 100g fudge

Method

  1. Grease and line a brownie pan.
  2. Weigh out the chocolate, butter and golden syrup in a large bowl and melt in a double boiler on the stove.
  3. Meanwhile, using scissors chop 
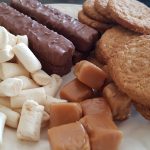
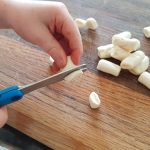
the marshmallow (if they aren’t mini) and the fudge pieces.
  4. Bash the biscuits in a zip lock bag with a rolling pin or a wooden spoon. You want a selection of bigger and smaller biscuit pieces.
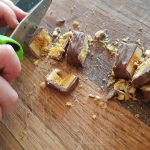
  5. Slice the Crunchie bars.
  6. Once the chocolate mixture has fully melted take it off the stove.
  7. Add the crushed biscuit, marshmallows, fudge and Crunchie bars and mix well with a wooden spoon.
  8. Transfer the mixture to the lined 
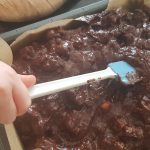
brownie pan and gently smooth with the back of the wooden spoon or a spatula.
  9. Place in the refrigerator until set, sprinkle on icing sugar

    The ridiculously big slices before they underwent an operation to reduce their size!

    and then slice. I initially cut this into large slabs (clearly I was thinking about how much of it I wanted to eat!), but later I cut each piece into three smaller pieces. This made them more suitable for snacks for the kids!

I hope you enjoy this recipe as much as we do and please do let me know if you give it a go.


Blackberry and Mint Cereal Bars

A couple of days ago while Simon was sorting out the plumbing following our downstairs bathroom’s cosmetic makeover, I had to get the children out from under his feet. Simon had let the boys ‘help’ him with the painting, but our mutual feeling was that they would definitely be a significant hindrance rather than a help during the plumbing process.

The kids don’t tend to react well when I attempt to take them away from daddy when he is around. I am sure that as I am the permanently at home parent, they see me as the boring parent as most of the disciplining falls to me. After persuasion, everyone agreed (with varying amounts of complaint at the situation) to accompany me and we left the house with tubs.

They were all rather excited about the tubs and I got asked what the tubs were for. As we approached our destination, the boys 
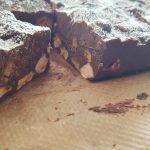
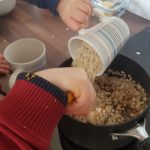
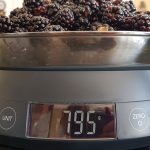
guessed our purpose which was blackberrying. Finally they seemed happy! Lots of fun was had by all on the trip. We collected nearly 800g of blackberries. I am sure Ophelia ate quadruple what she collected. She only seemed to find it necessary to store the blackberries which were still red that she had collected in her pot. The rest ended up in her tummy and all over her face and clothes! Maybe next time she will understand the task at hand a bit better! I am now feeling very grateful for the new washing machine that we had to buy last month because the old one finally gave up the ghost – something it had been threatening for around 18 months!

Lots of blackberry recipes immediately came to mind. Initially I intended to 
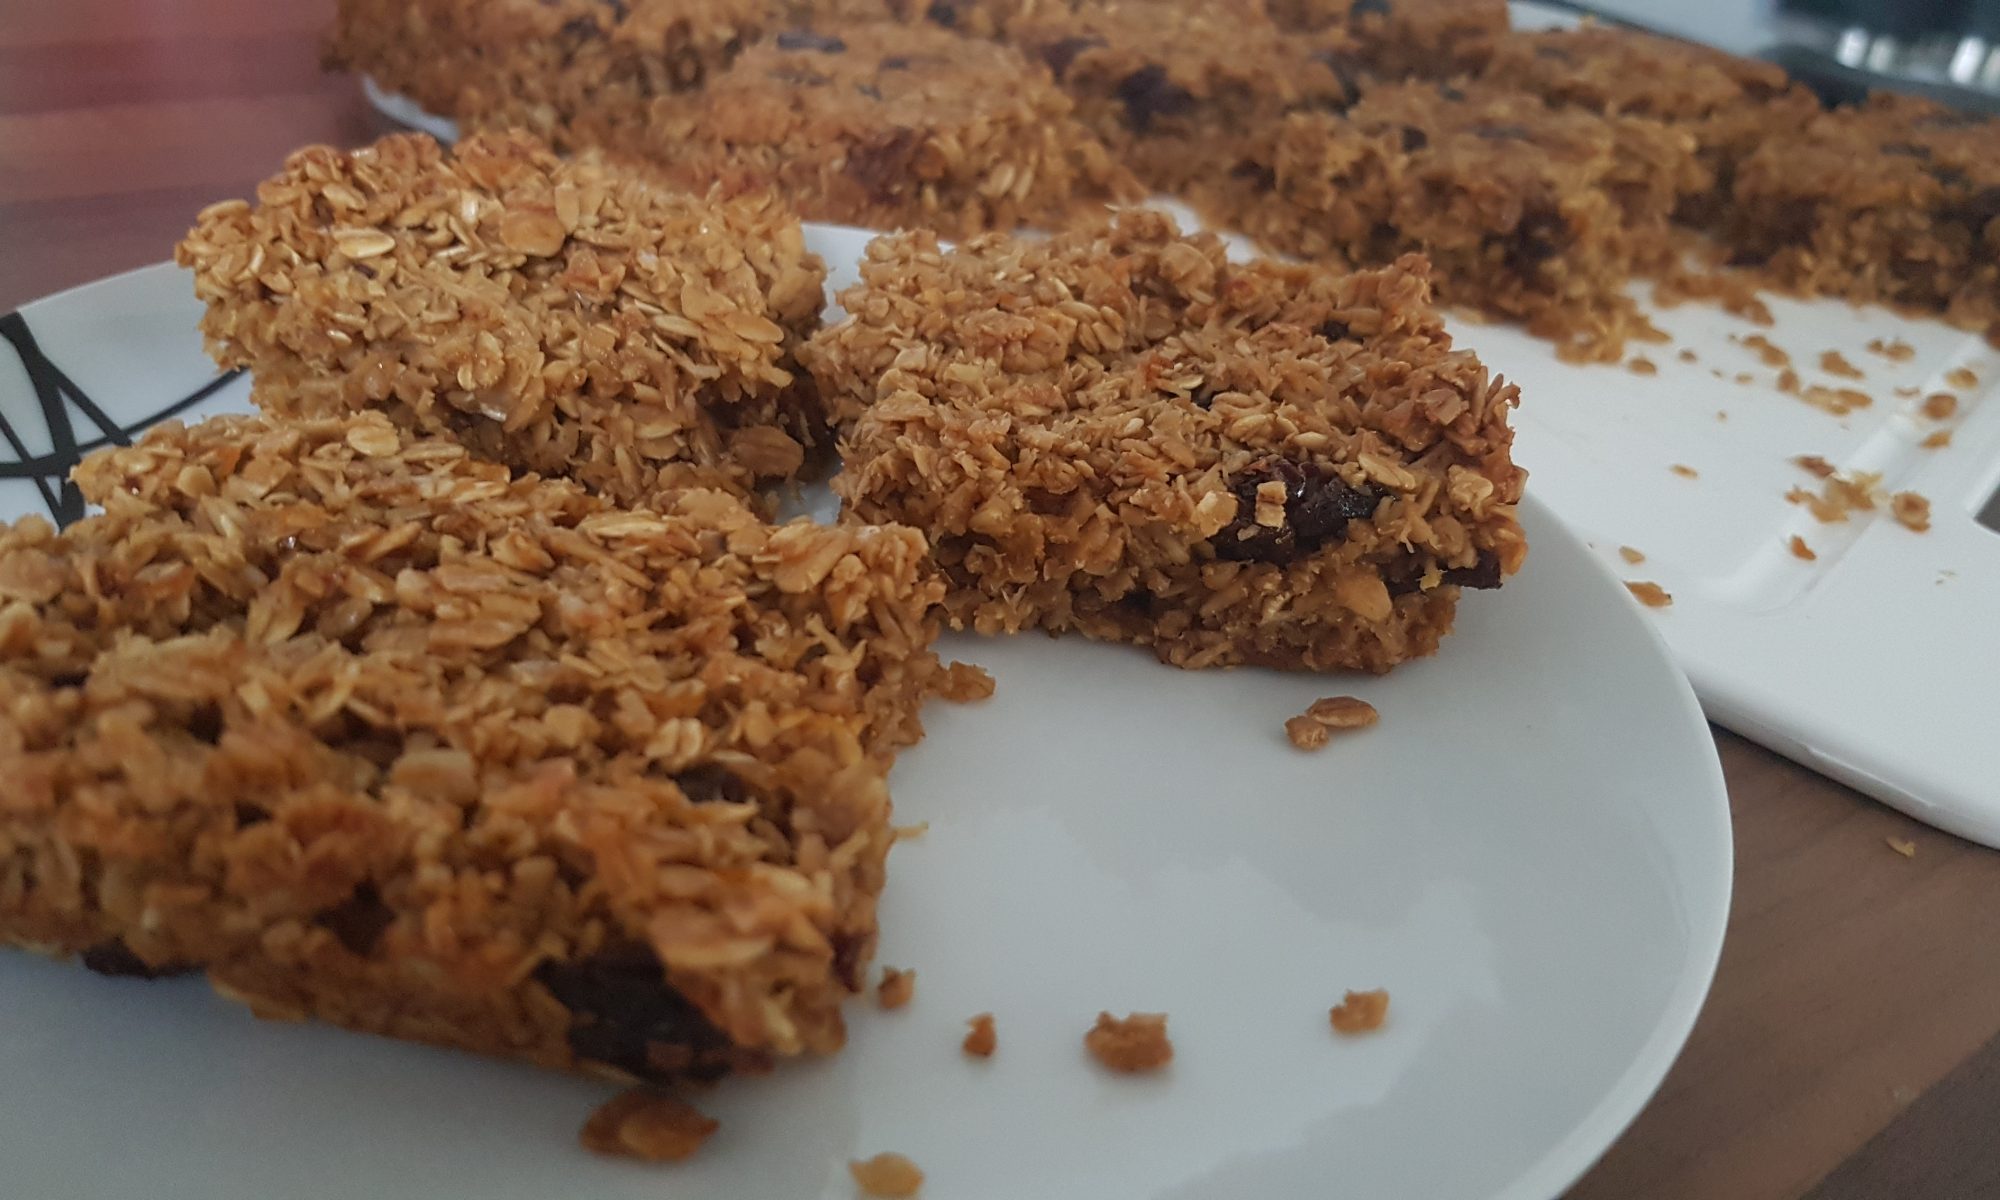
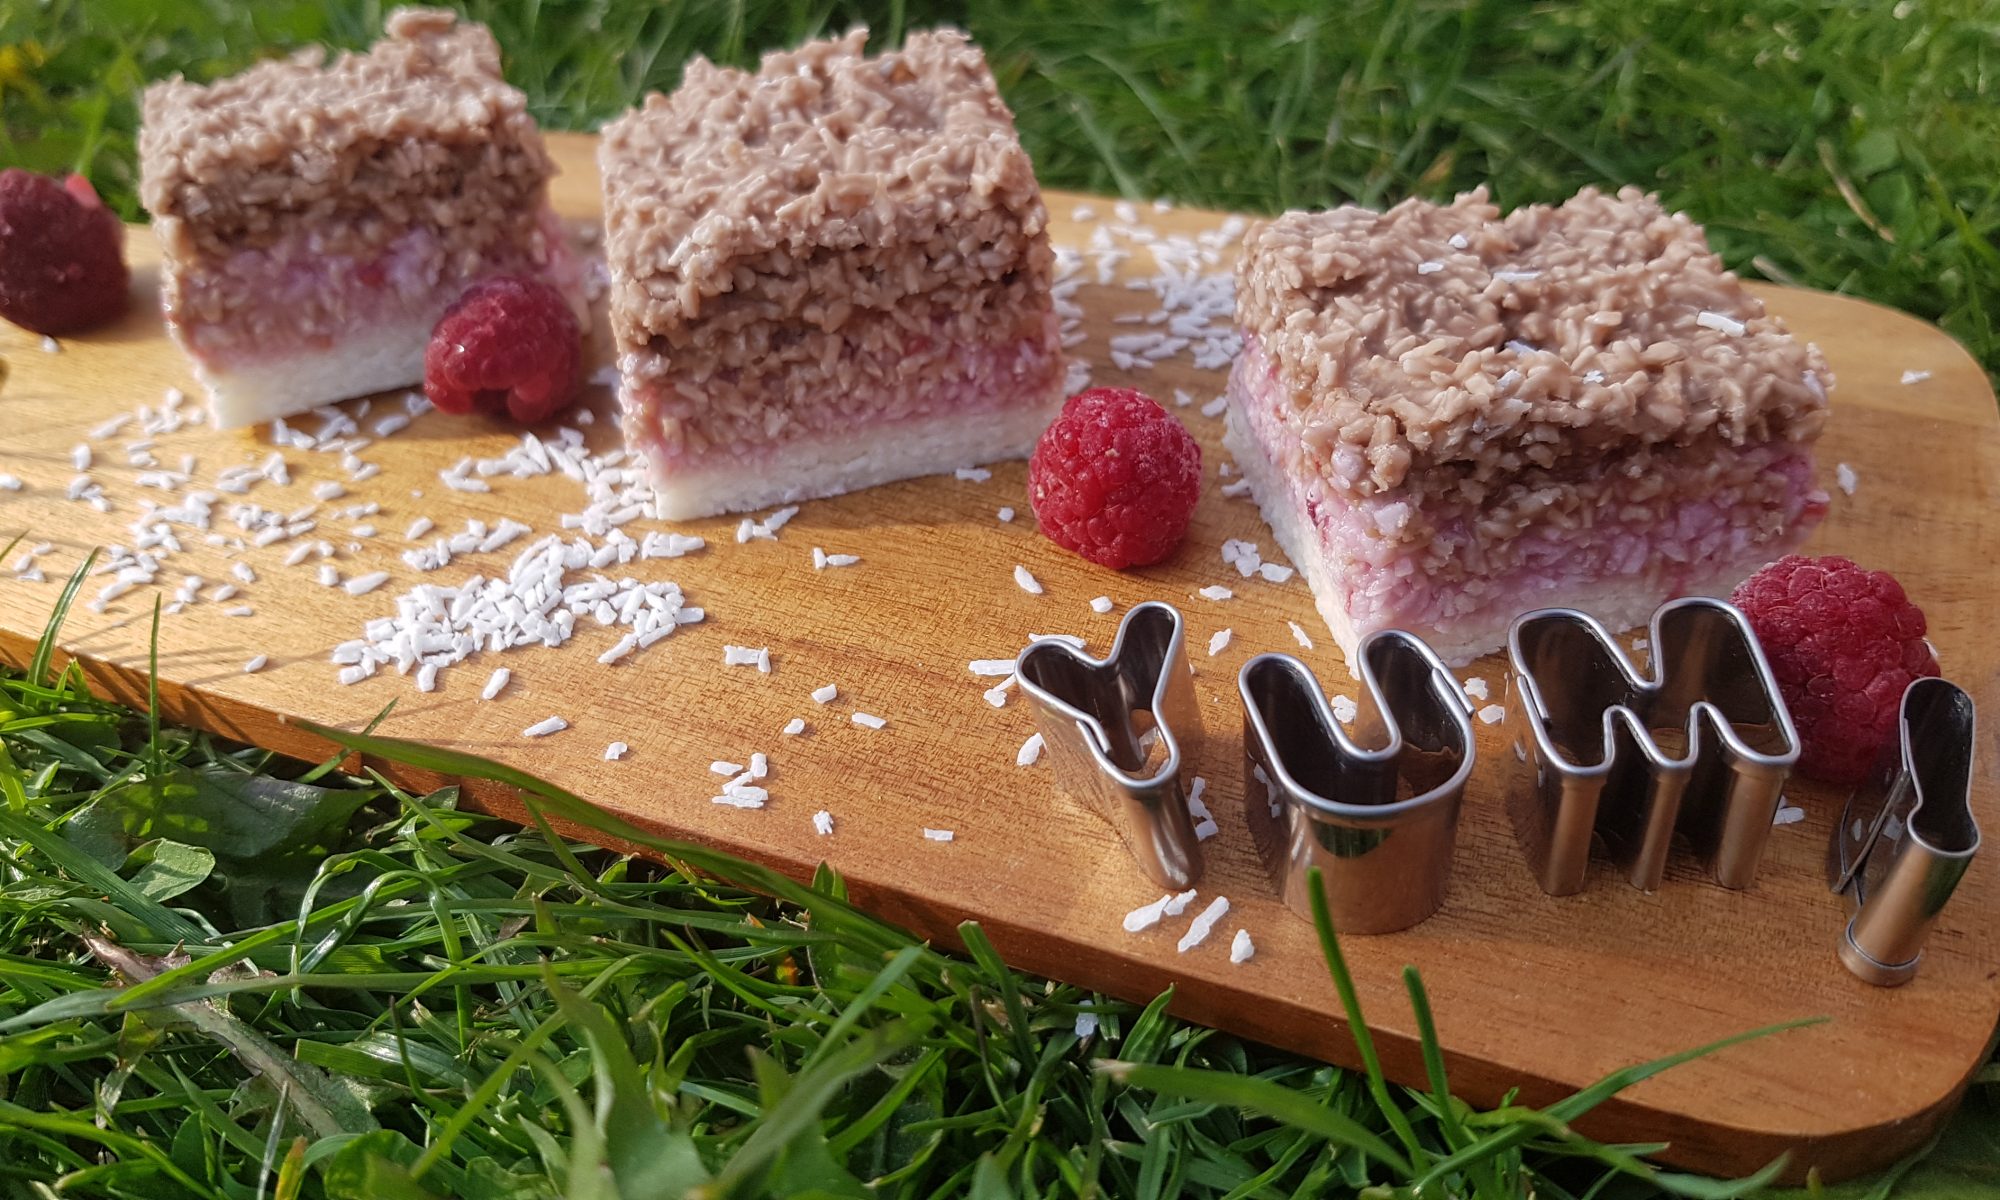
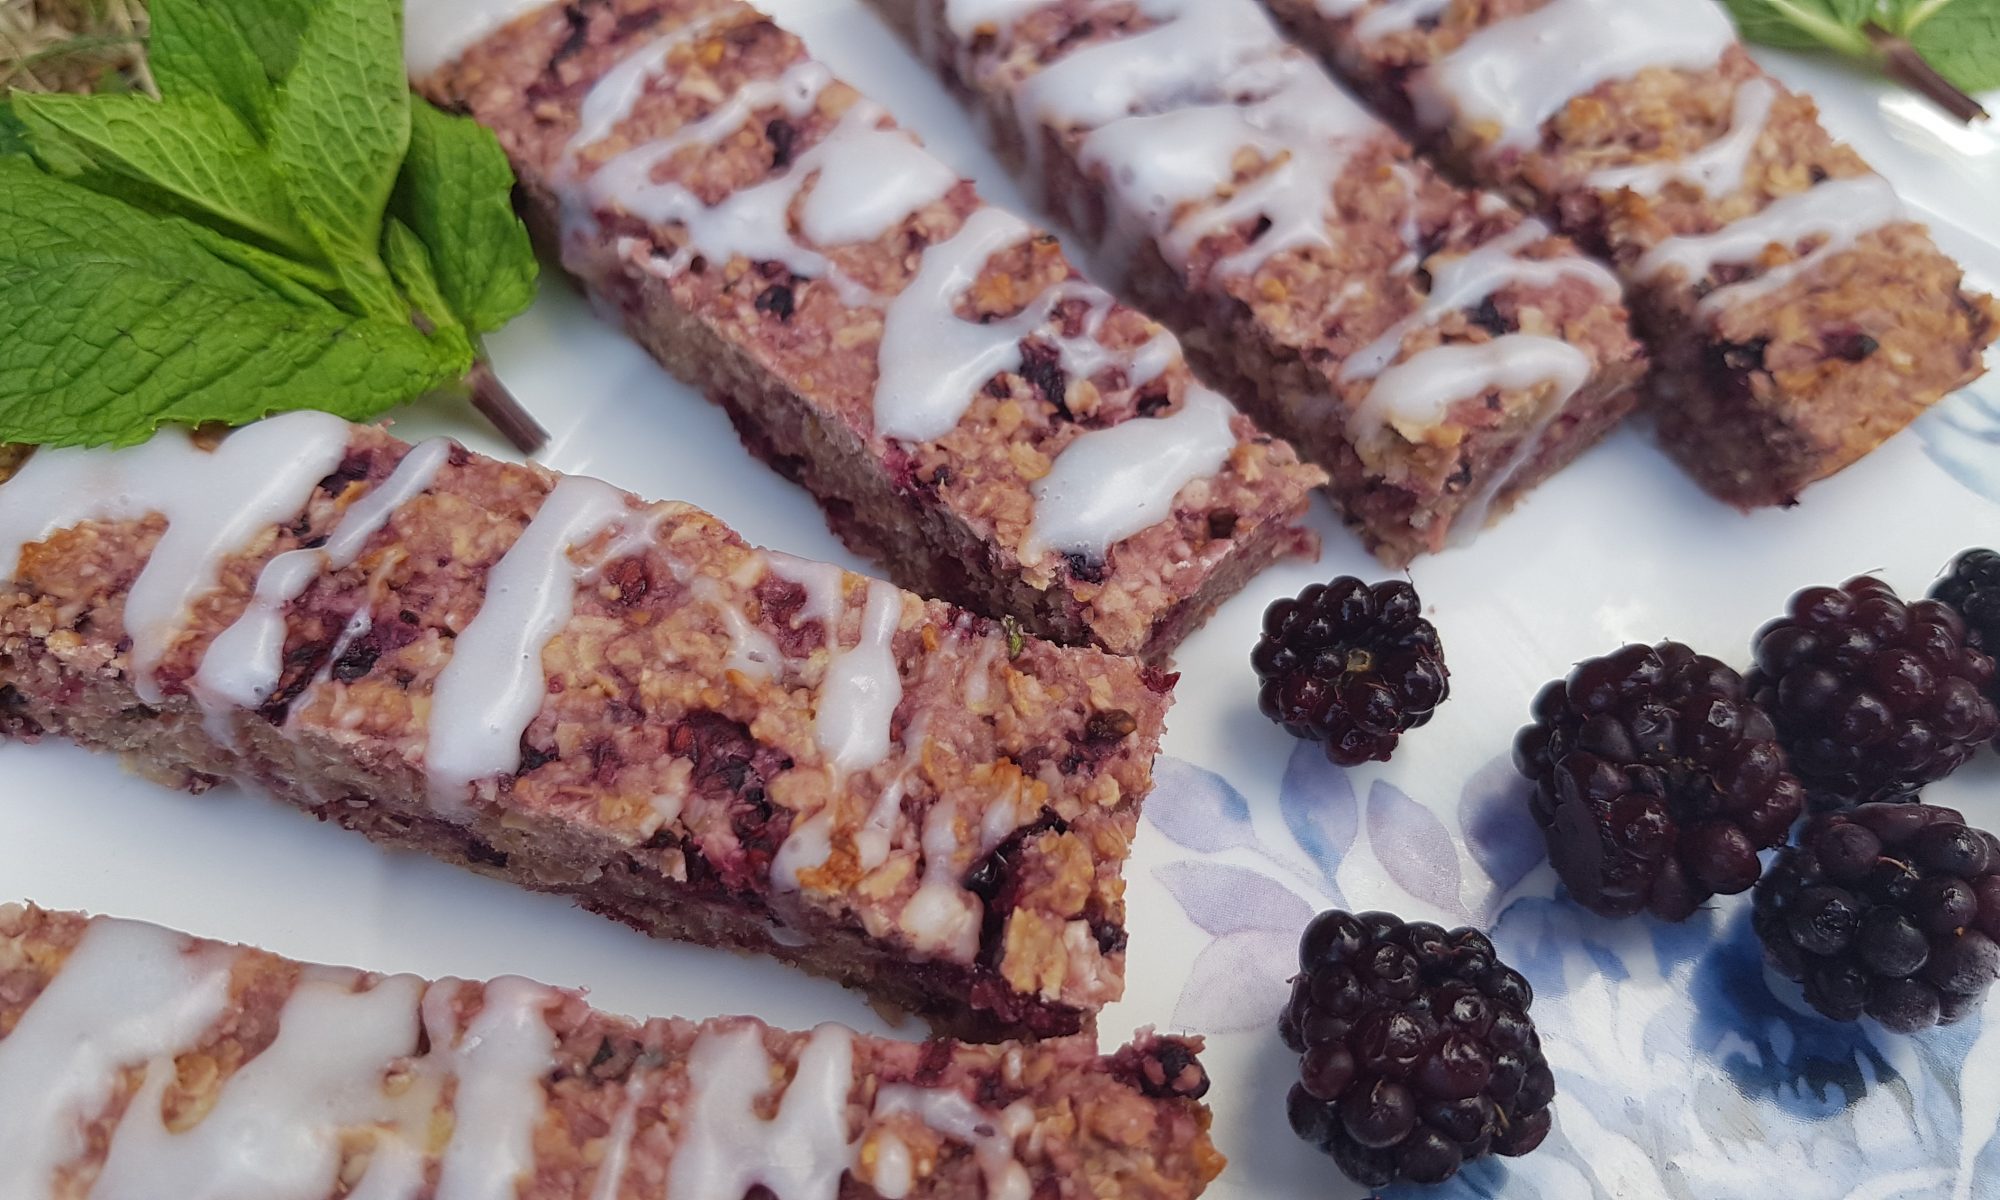
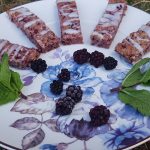
make a chocolate and blackberry tart, but Simon suggested it was time that I made something slightly healthier for the blog. After a bit of thinking, I decided that some of the blackberries would go nicely in some cereal bars. As a nod to my love of using herbs and spices in my baking I decided to pair them with some fresh mint. The aim was to achieve a hint of mint so that they tasted fresh rather than an overpowering wow that’s a lot of mint flavour! If mint isn’t your cup of tea, by all means, leave it out of the recipe all together.

Ingredients

Makes 12 bars, store in the fridge eat in 2-3 days.

For the cereal bars

  • 100g blackberries
  • 15 fresh mint leaves
  • 200g oats
  • 1 egg white
  • 4tbsp honey
  • 1tbsp melted coconut oil
  • 50ml Greek-style natural yoghurt

For the drizzle

  • 1/2tbsp Greek-style natural yoghurt
  • 3-4tbsp icing sugar

Method

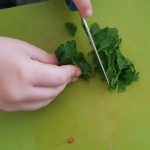
  1. Preheat the oven to 170°c fan and grease and line a 16cm square pan.
  2. Count out the mint leaves and tear or chop into tiny pieces
  3. Squash the blackberries with a fork and add the mint and mix around.
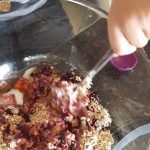
  4. Add the rest of the ingredients for the cereal bars into a large bowl and mix thoroughly.
  5. Add the blackberries and mint to the oat mixture and fully combine.
  6. Put in the cake pan, spread out so it reaches all the corners. Use the back 
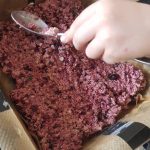
of a wooden or metal spoon to flatten the mixture in the tin.
  7. Put in the oven and bake for 15-20 minutes until firm to the touch.
  8. Leave to cool in the tin for around 15 minutes before turning out and putting on a cooling rack to finish cooling before slicing. If you have difficulty slicing them, put them in the fridge for 5-10 minutes first.
  9. Once cooled, make the yoghurt drizzle by mixing the Greek-style natural yoghurt with the icing sugar and then drizzle it over the bars. I put a tea towel under the cooling rack while we were drizzling the icing as I didn’t want to have to clear up a sticky mess from the counter. I learn from the doughnut glazing experience that that was best!

These cereal bars had a beautiful purple colour and are sweetened with just honey and the icing sugar for the yoghurt drizzle. They make a perfect snack for little hands and Seb enjoyed them even more as he helped me make them without his brother or sister. Let me know if you have a try as I love to hear and see pictures if you create any of my recipes.