Marshmallow Sheep

Pushing the legs in.

It is officially spring! In our front garden the daffodils are out in their splendour. They make me happy even if I am yelling at the kids to run as we have set out late for school. The temperature is getting warmer and we seem to have said goodbye to winter. Well now I have said that you can guarantee the snow will arrive next week, but I am holding onto the sunshine that we saw last week and hoping for the spring-like conditions to stay! In my head the only bad thing about spring is the fact that we lose an hour of sleep when British Summer Time begins!

On go the eyes.

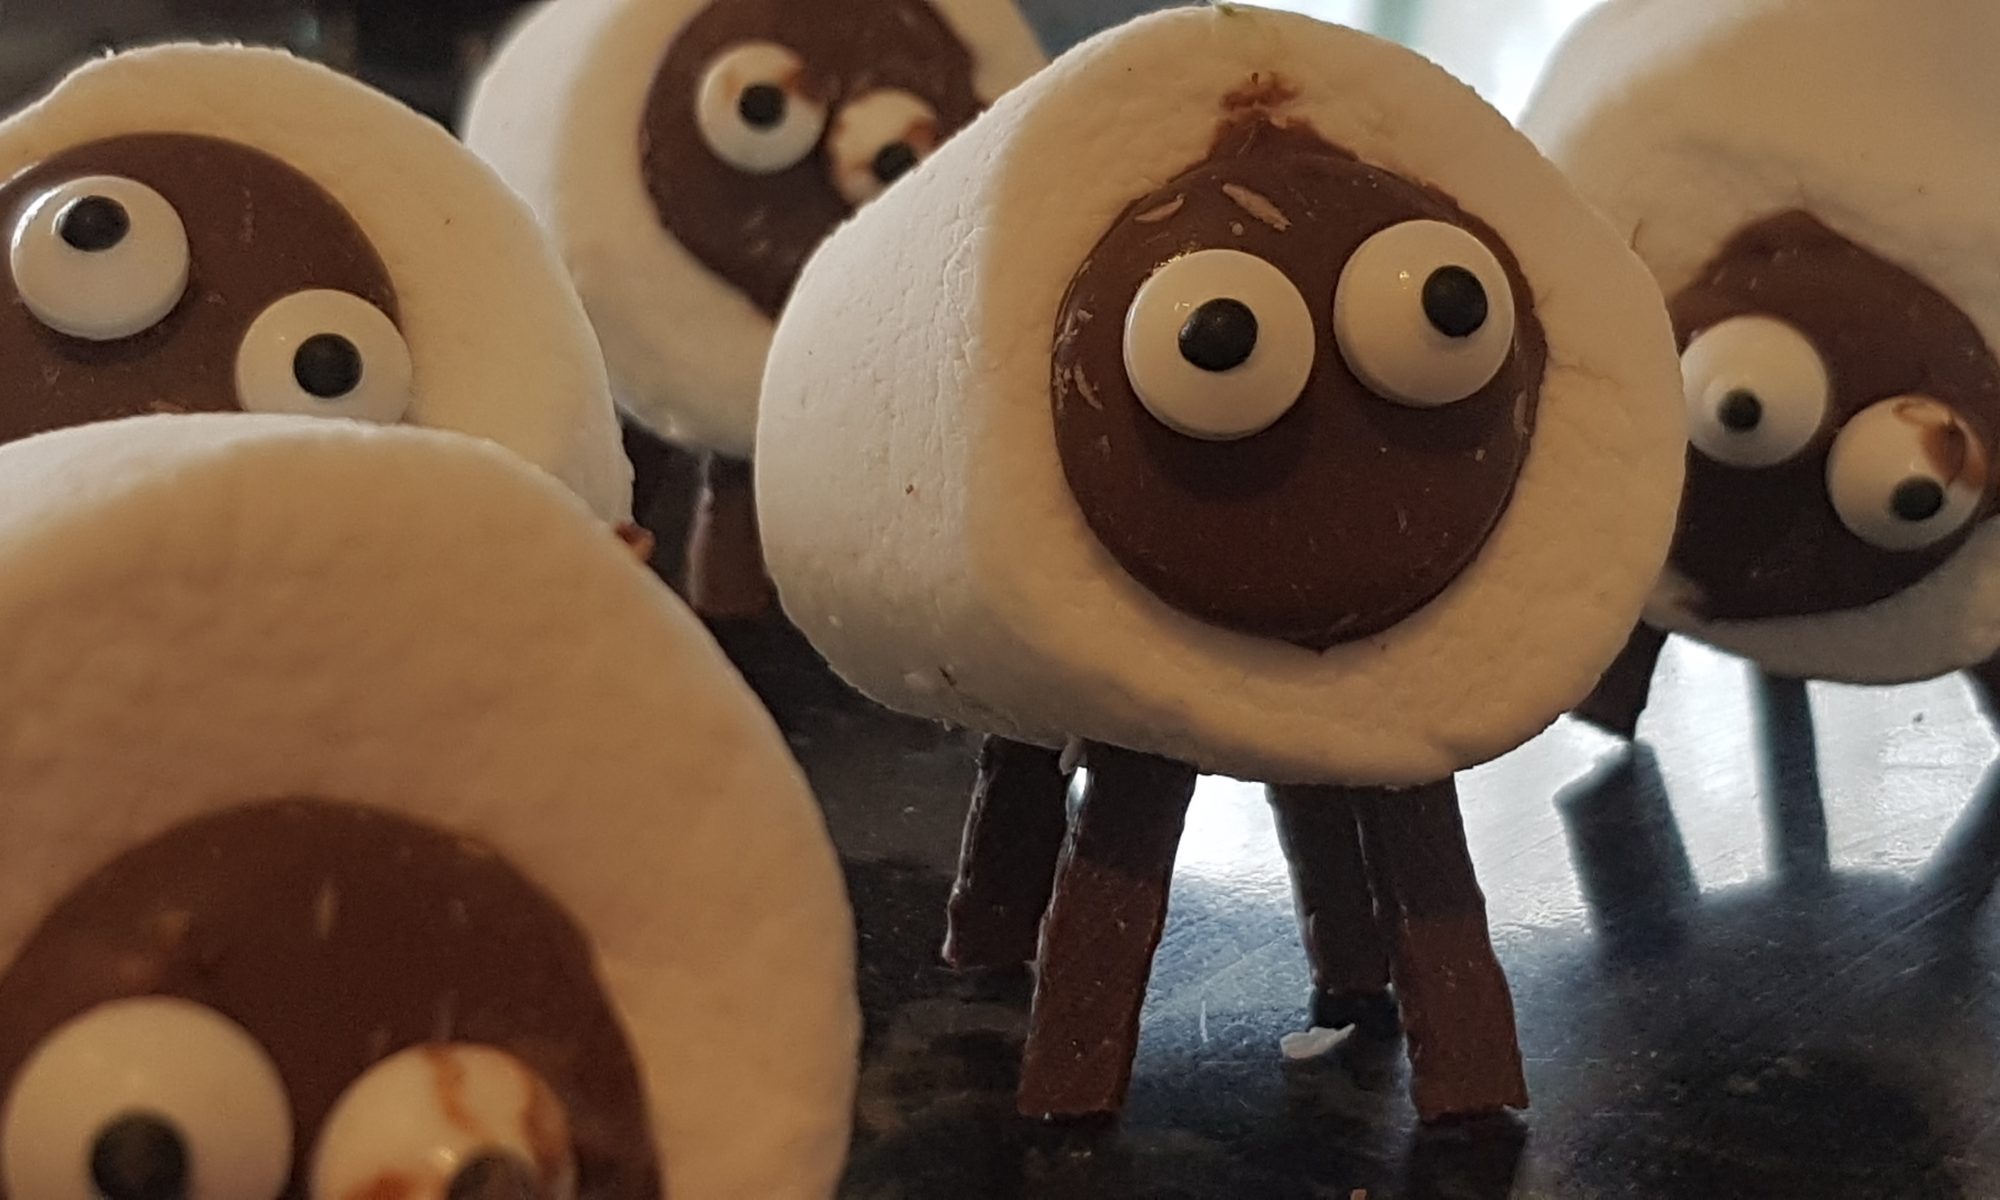
I have been thinking about making these sheep since Christmas when I was thinking how the kids and I could make the nativity scene out of food items. Unfortunately, I only really got as far as the sheep and then ran out of time to think of more ideas and execute them before Christmas. It may well be on the list for this Christmas, but as usual it depends on time and if I can take precious time away from making mince pies and Christmas cake! I was then racking my brain to see when I could appropriately make them and it occurred to me that new lambs traditionally mark the beginning of spring so there we go! A start of spring activity instead then!

Atticus’s efforts.
Seb’s efforts

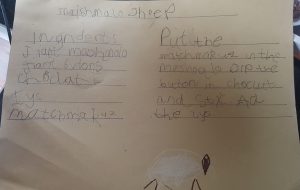
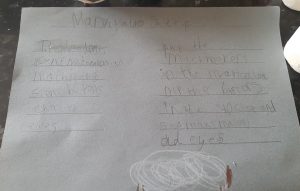
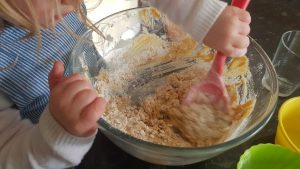
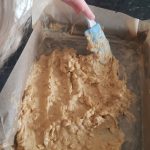
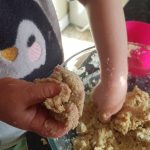
As this was a super quick Saturday morning baking in pyjamas activity, I decided to use the opportunity to get the boys, Atticus in particular, to practise their handwriting skills. I find he is more eager to have a go at writing something when it is fun and these sheep and more specifically the promise that he could have one for snack time really spurred him on to have a go. I must say I am super proud of his efforts. His teacher is always advocating him having a go at writing something about something that interested him or that he enjoyed so this certainly fit the bill.

Ingredients

  • Rocky Mountains Mega Marshmallows
  • Giant chocolate buttons
  • Matchmakers
  • Edible eyes
  • Melted chocolate
A pyramid of sheep drying!

Method

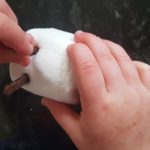
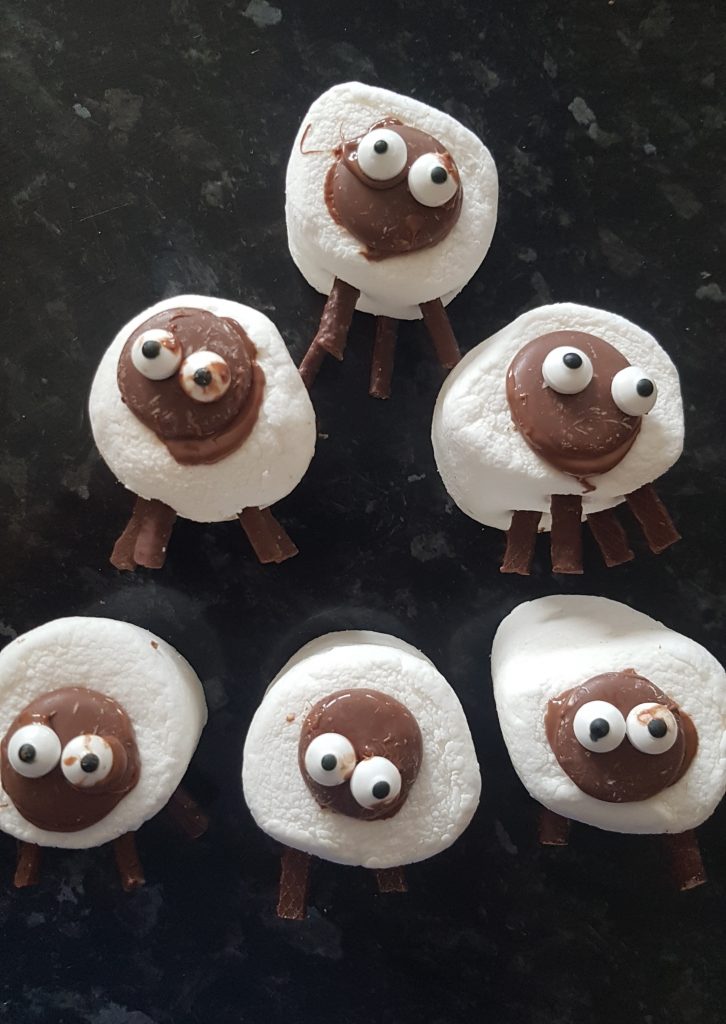
  1. Grown up cut each Matchmaker into four for legs.
  2. Push each leg into the bottom of the marshmallow. You will need to push it in quite far for it to work. Some of ours didn’t stand properly, but most did. It is all a matter of making them even.
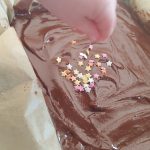
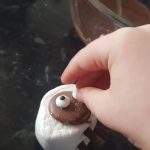
  3. Put the sheep on its bottom and coat the back (with a spoon or by dipping although the latter is messier in this case!) of the chocolate button in melted chocolate and stick to the sheep’s face.
  4. Put a tiny bit of chocolate on each eye and stick to the chocolate button.
  5. Leave the sheep on their bottoms (so chocolate button facing upwards) until the melted chocolate has set so they don’t move around.
  6. Enjoy!
What you doing?!

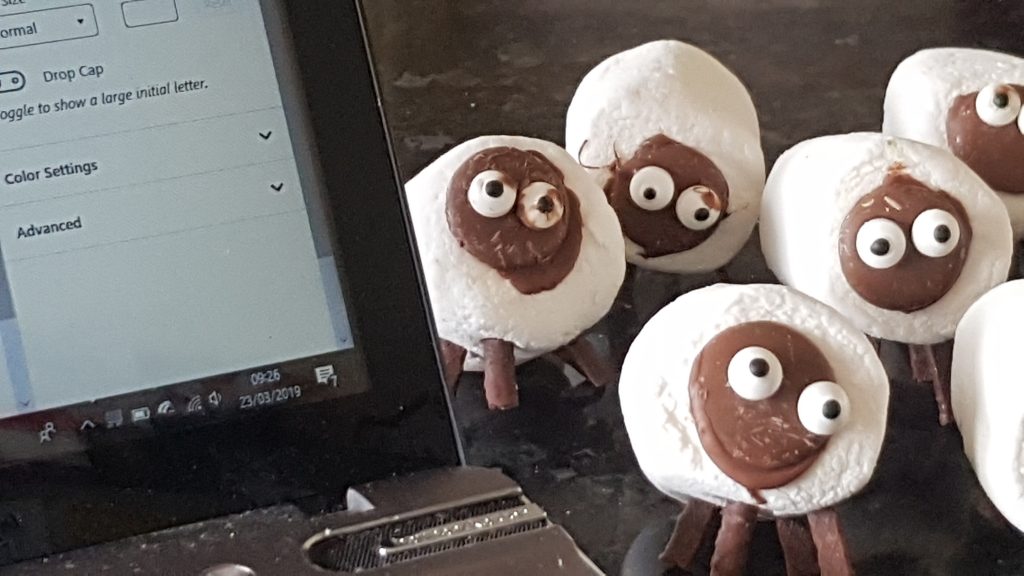
My kids are now waiting to be allowed to eat one of these sheep. I am quite enjoying having an ovine (yes the adjective for sheep is ovine in case you didn’t know) audience as I write this up for you all. Please do send me pictures of your sheep if you do make some!

Potted Crab

Transporting the crab from the mixing bowl to our large ramekin.
Squishing the piece of lime.

You may be rather sceptical when you learn that I made potted crab with my 2 year old. I encourage you to read on despite any misgivings as this really was a fun recipe to make with her. She had fun counting out the tablespoons of yoghurt and squishing the slice of lime, twisting the salt and pepper mills, mixing, transporting and pouring – lots of activities which are present on early years schemas. It also allowed me to introduce a fish with a different texture to her and hopefully encourage her to widen her pallet when she is older. She wasn’t a huge fan, but I remain undeterred as tastes change as children get older and the boys did enjoy it.

When Ophelia went ‘shaky shaky’ with the paprika!

This recipe could be managed solo by an older child, but Ophelia did need some encouragement to stay on task and not go ‘shaky shaky’ with the paprika or try and eat the rest of the lime. I managed to prevent the latter, but was unfortunately completely incompetent at the former… More vigilance was required and in this instance I was lacking! I would also be lying if I said that I managed to remain completely calm… What this picture doesn’t show is the rest of the kitchen counter!

Time to pour the melted butter on top of the crab.

Ingredients

  • 1 tin of white crabmeat, drained. Recipes for potted crab generally call for fresh crabmeat, but as this was for making with kids we opted for tinned crab and the result was delicious.
  • 2 tbsp. Greek-style natural yoghurt
  • Zest from half a lime
  • Juice from 1/8 of a lime (or just a small slice)
  • Seasoning
  • 50g unsalted butter, melted (easiest in a small jug)
  • 1/8tsp of paprika

Method

  1. Put the crabmeat into a bowl and count in the tablespoons of Greek-style natural yoghurt. Add the lime zest, juice and seasoning and mix well. We used a tub grater with the fine grater attachment to zest the lime.
  2. Spoon the mixture into a shallow dish, one large ramekin or two smaller ramekins and gently flatten.
  3. Add the paprika to the melted butter and mix.
  4. Pour the melted butter over the ramekin(s) and refrigerate until set. This will take around 30 minutes.
  5. Remove from the fridge around 30 minutes before serving to make it easier to spread. Enjoy with toast, crackers or crumpets.
Remember to remove from the fridge around half an hour before you want to spread it. The boys enjoyed this in sandwiches.

Choccy Toffee Squares

I try alone mummy!

I find baking therapeutic. I even find baking with children relatively therapeutic. This is especially true when the alternative is a 20-minute argument about what board game they should play or TV show they should watch or a meltdown because one little Gilbert didn’t listen to any other little Gilbert’s ideas. The reason for this is generally because any argument can be solved by licking the bowl or by consuming copious amounts of leftover melted chocolate. Yes there are times when the melted butter pot gets knocked over or the flour manages to escape out of the packet and everyone swears they didn’t touch it, but the good in it definitely outweighs the bad and most of the time I get through the activity with my frazzled temper relatively intact! Disclosure; I would like to remind my lovely readers that the more children you try to cook with, the more stressful the undertaking for the ‘responsible’ adult. As a mum who has been cooking with little people for around 5 years, if you manage to get through the planned recipe with no mistakes or cross words I salute you! You deserve all the chocolate!

When I managed to decorate without the children!

These squares were initially mummy-daughter baking time. The boys didn’t participate as they had agreed on a game and were tearing around the garden completely immersed in their imaginations (completely lovely to see especially seeing as it was a rather rotten day). But as is so often true, two is company and three a crowd so Ophelia was at a loose end. And as it is a darn sight easier to cook with just one child rather than my whole tribe, I enjoyed this time with just her and she seemed to enjoy having me completely to herself!

This recipe makes a thin biscuit bar coated in chocolate. Don’t be tempted to place it in a smaller tin for a thicker biscuit. It will fit in a brownie pan when spread out thinly – your little chef may need a bit of help to achieve this. If you are making these bars with small children I recommend using more chocolate to coat them as it is easier to spread a thicker layer of chocolate than a thin one to ensure that the top of the bar doesn’t get damaged. I think these are yummy with desiccated coconut or chopped almonds on the top. Unsurprisingly, Ophelia prefers them with sprinkles – the pinker the better! You will see that she and I compromised and both coconut and multi-coloured stars to decorate one of the batches.

Ingredients

For the biscuit base

  • 100g margarine (or softened butter)
  • 100g light soft brown sugar
  • 1 egg yolk
  • 50g plain flour
  • 50g porridge oats (this recipe works best with bog standard oats rather than jumbo ones)

For the top

  • If for young children 200g milk chocolate and 50g margarine/butter
  • For older children 150g milk chocolate and 40g margarine/butter
  • Chopped nuts, desiccated coconut or sprinkles to decorate

Method

The concentration level was immense!
  1. Preheat the oven to 180°c fan and grease a brownie pan with a silicone baking brush and line it with greaseproof paper.
  2. Put the margarine, sugar and egg yolk into a bowl and mix until smooth, pale and creamy.
  3. Sift in the flour and add the oats and gently mix them in.
  4. Carefully spread in the brownie tin (adult help may be required here) and cook for 15-20 minutes until golden.
  5. Remove from the oven and melt the chocolate and margarine. This can be done in a double boiler on the stove or in the microwave. If you are using the microwave, melt it in short bursts on medium power, ensuring you mix it frequently.
  6. Pour the chocolate over the biscuit base (the tin will probably still be hot, so carefully) and spread with a silicone spatula. Decorate with your toppings of choice.
  7. Cut into squares while still warm and then leave in the tin until they have completely cooled.
The compromise: sprinkles and desiccated coconut!

Every time these are made I am surprised when they survive the night as I am always worried I may decide to sneak down stairs and devour the whole batch before the children wake! Do get in contact if you make these and let me know what you think.

Almond Shortbread

Bringing the shortbread together. “I do it alone mummy”

Apologies for my lack of posts in the last week. I am undergoing a period of adjustment and for a creature of habit, it is hard to accept change. I find myself I torn between delight and the feeling that it is the beginning of the end. The reason for my current inability to decipher my own emotions is because my youngest, my baby, has started nursery. While it is true that for the time being she will only be going one morning a week, it seems to herald the true beginning of the end of my period as a full-time stay-at-home-mum. I am not quite yet rushing back into work, but I need to get my thinking cap on vis-à-vis paid employment and what I plan to do with my time. I wish that I possessed the ability to be truly decisive, but I am not ready for this new independent stage which I can no longer deny is occurring in my not so little littilest. So instead of researching what my next step should be, I thought I would tell you about the almond shortbread that Ophelia and I made together as the memory of making this with her makes me smile.

Gently press the almond in.

I don’t know about you, but I really love the depth of flavour and the texture that ground almonds bring to baking. We made this shortbread in a circular tin and adorned it with flaked almonds. It was a yummy, nutty shortbread which the kids absolutely loved. Yes, it is more crumbly that traditional shortbread, but I think the almonds make it special and truly yummy.

The aroma of this shortbread filled the kitchen for quite a while. It was such a temptation to eat it warm, but do let it cool fully in the tin as it has a very crumbly texture.

Ingredients

  • 125g butter or margarine (we used Flora Buttery) plus extra for greasing
  • 60g soft light brown sugar
  • 100g plain flour
  • 80g ground almonds
  • 25g flaked almonds to decorate

Method

  1. Preheat the oven to 170°c fan.
  2. Paint the baking tin (we used a 20cm circular one, you could use a square one or even a loaf tin).
  3. Mix the sugar and the flour.
  4. Add the butter and rub in with your fingertips
  5. Next add the ground almonds and bring together with your hands. The texture will be a bit grainy due to the ground almonds.
  6. Place in a tin and pat it down until flat and score out your pieces.
  7. Gently press the flaked almonds on the top of the shortbread.
  8. Bake for 25-30 minutes until firm to the touch and golden brown.
  9. Gently complete the slices while warm and leave to cool fully in the tin before removing it.
Ready to enjoy!

This shortbread was the perfect accompaniment to a calm afternoon cup of coffee. The kids also enjoyed munching on this on our walk home from school. I was rather sad when it was no more, but as it is really very simple to make it really isn’t a problem or a hardship to make another batch! I hope you enjoy this recipe and do let me know if you make it.