Raisin Bran Muffins

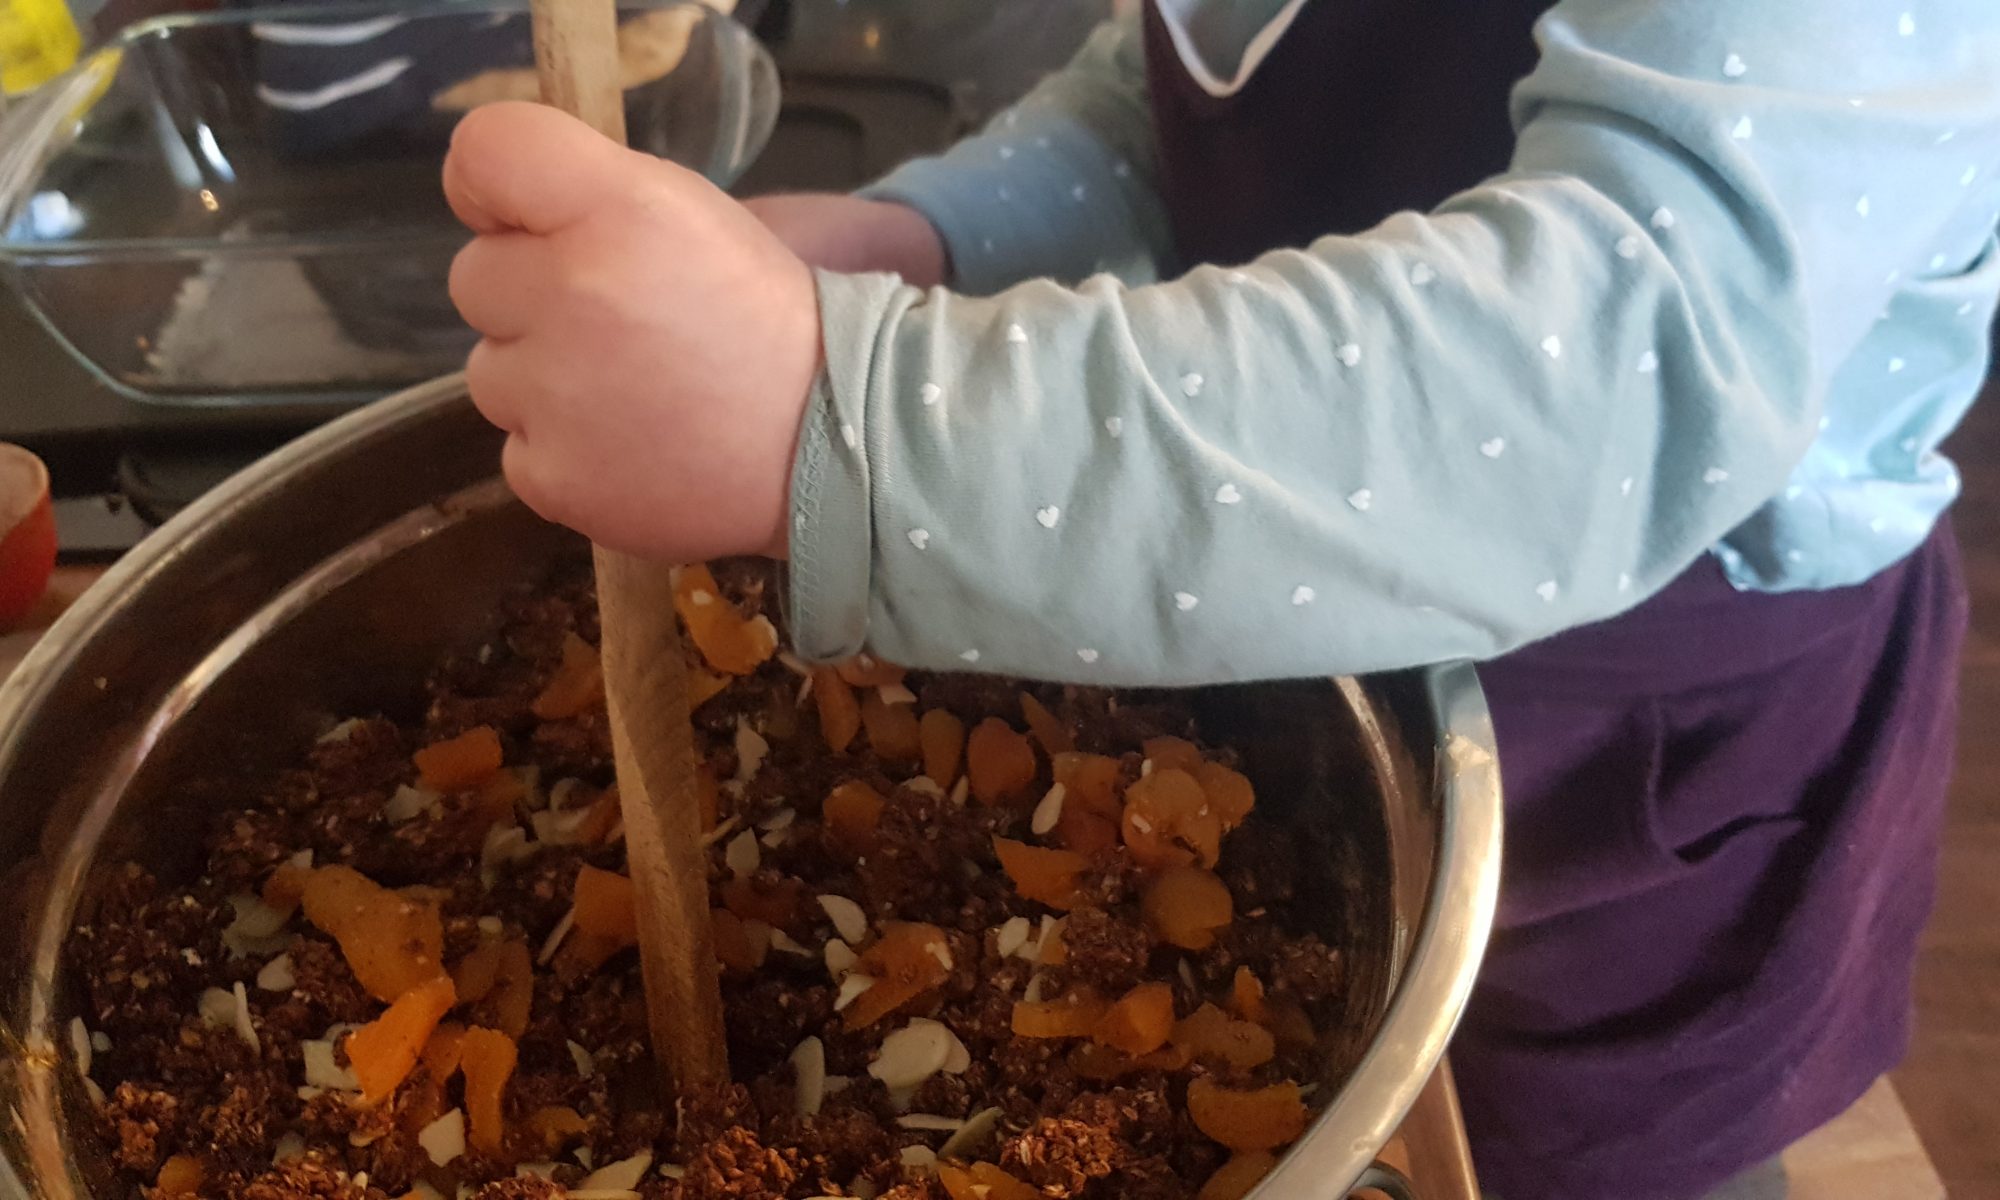
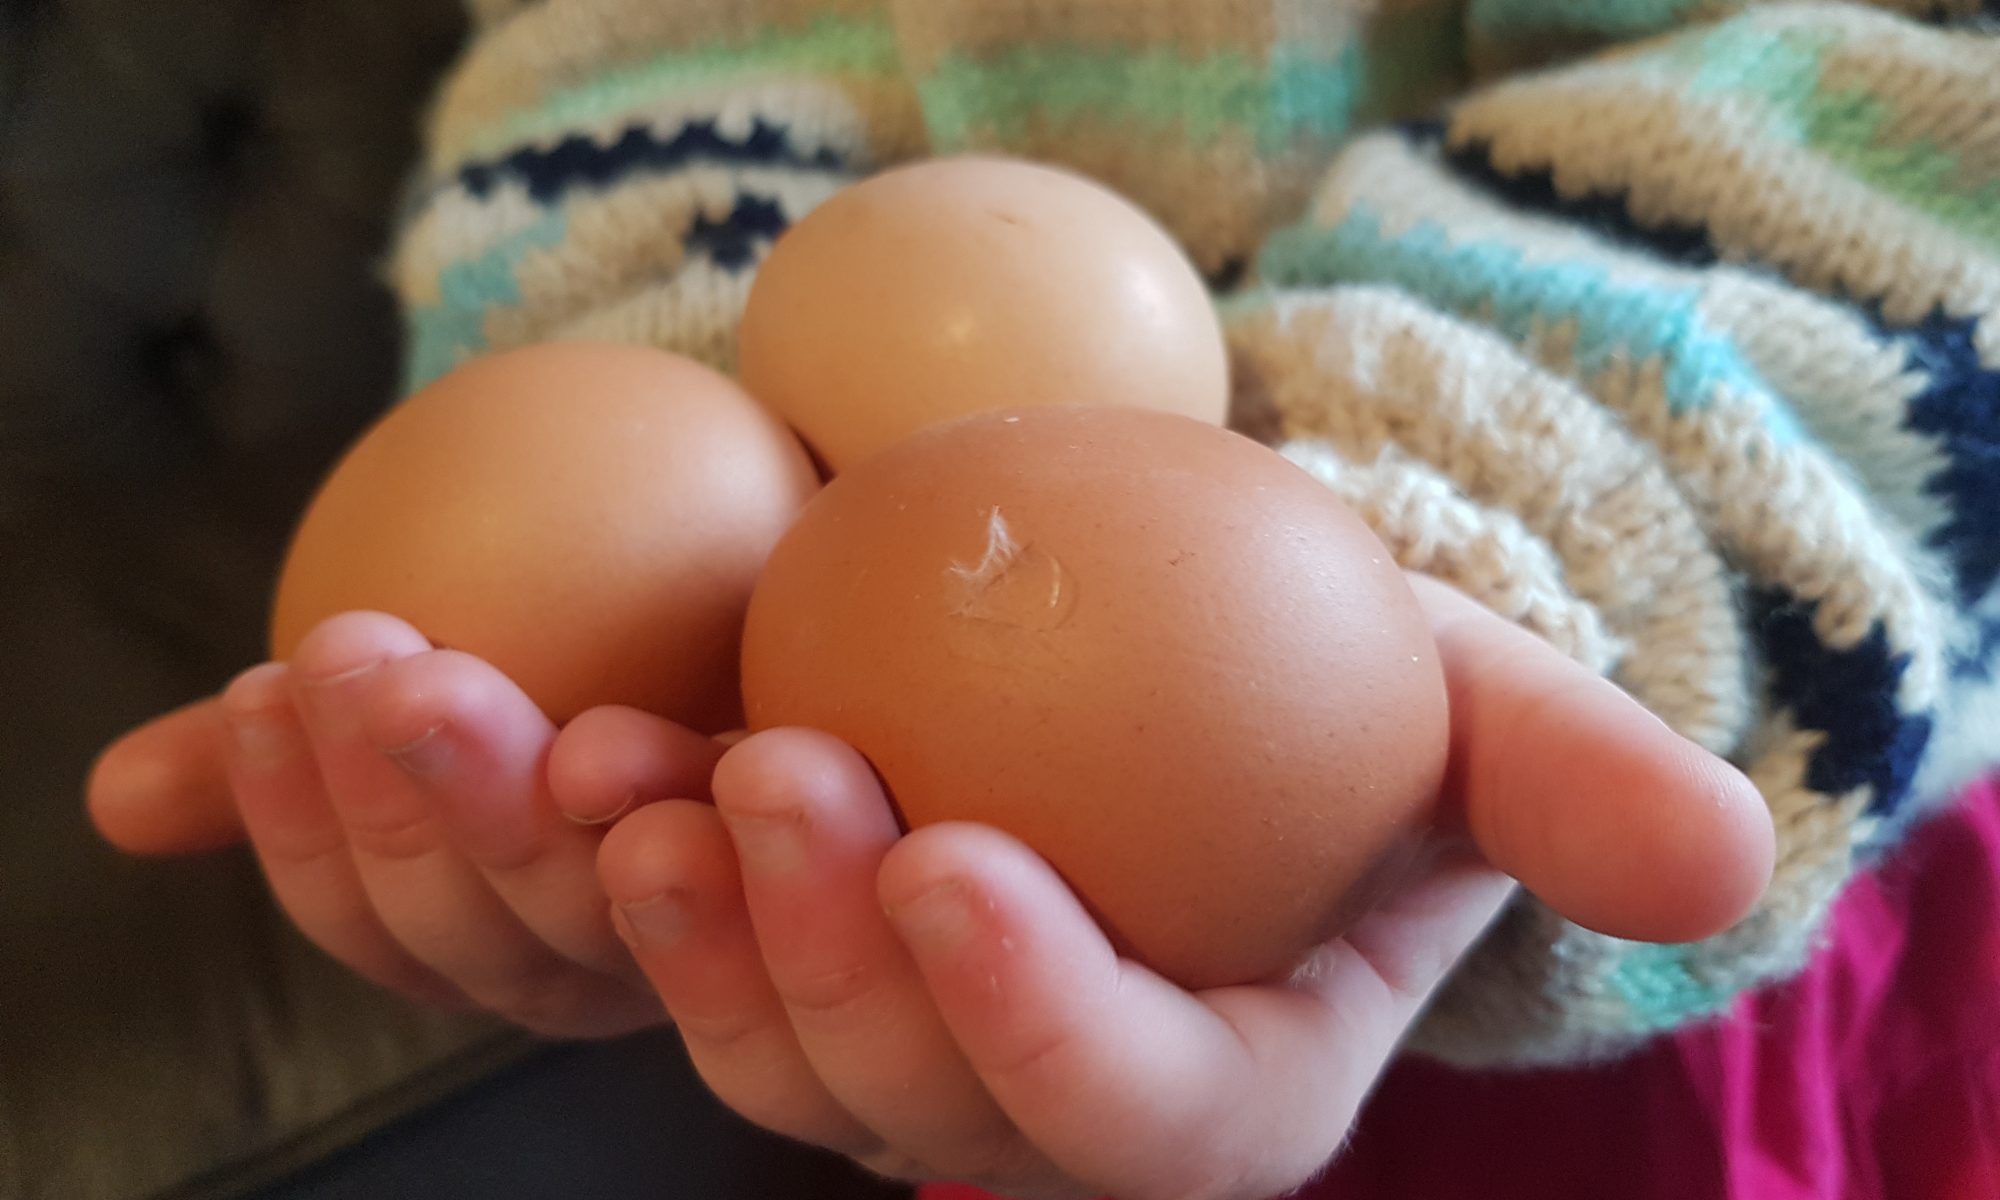
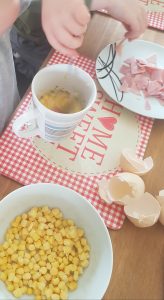
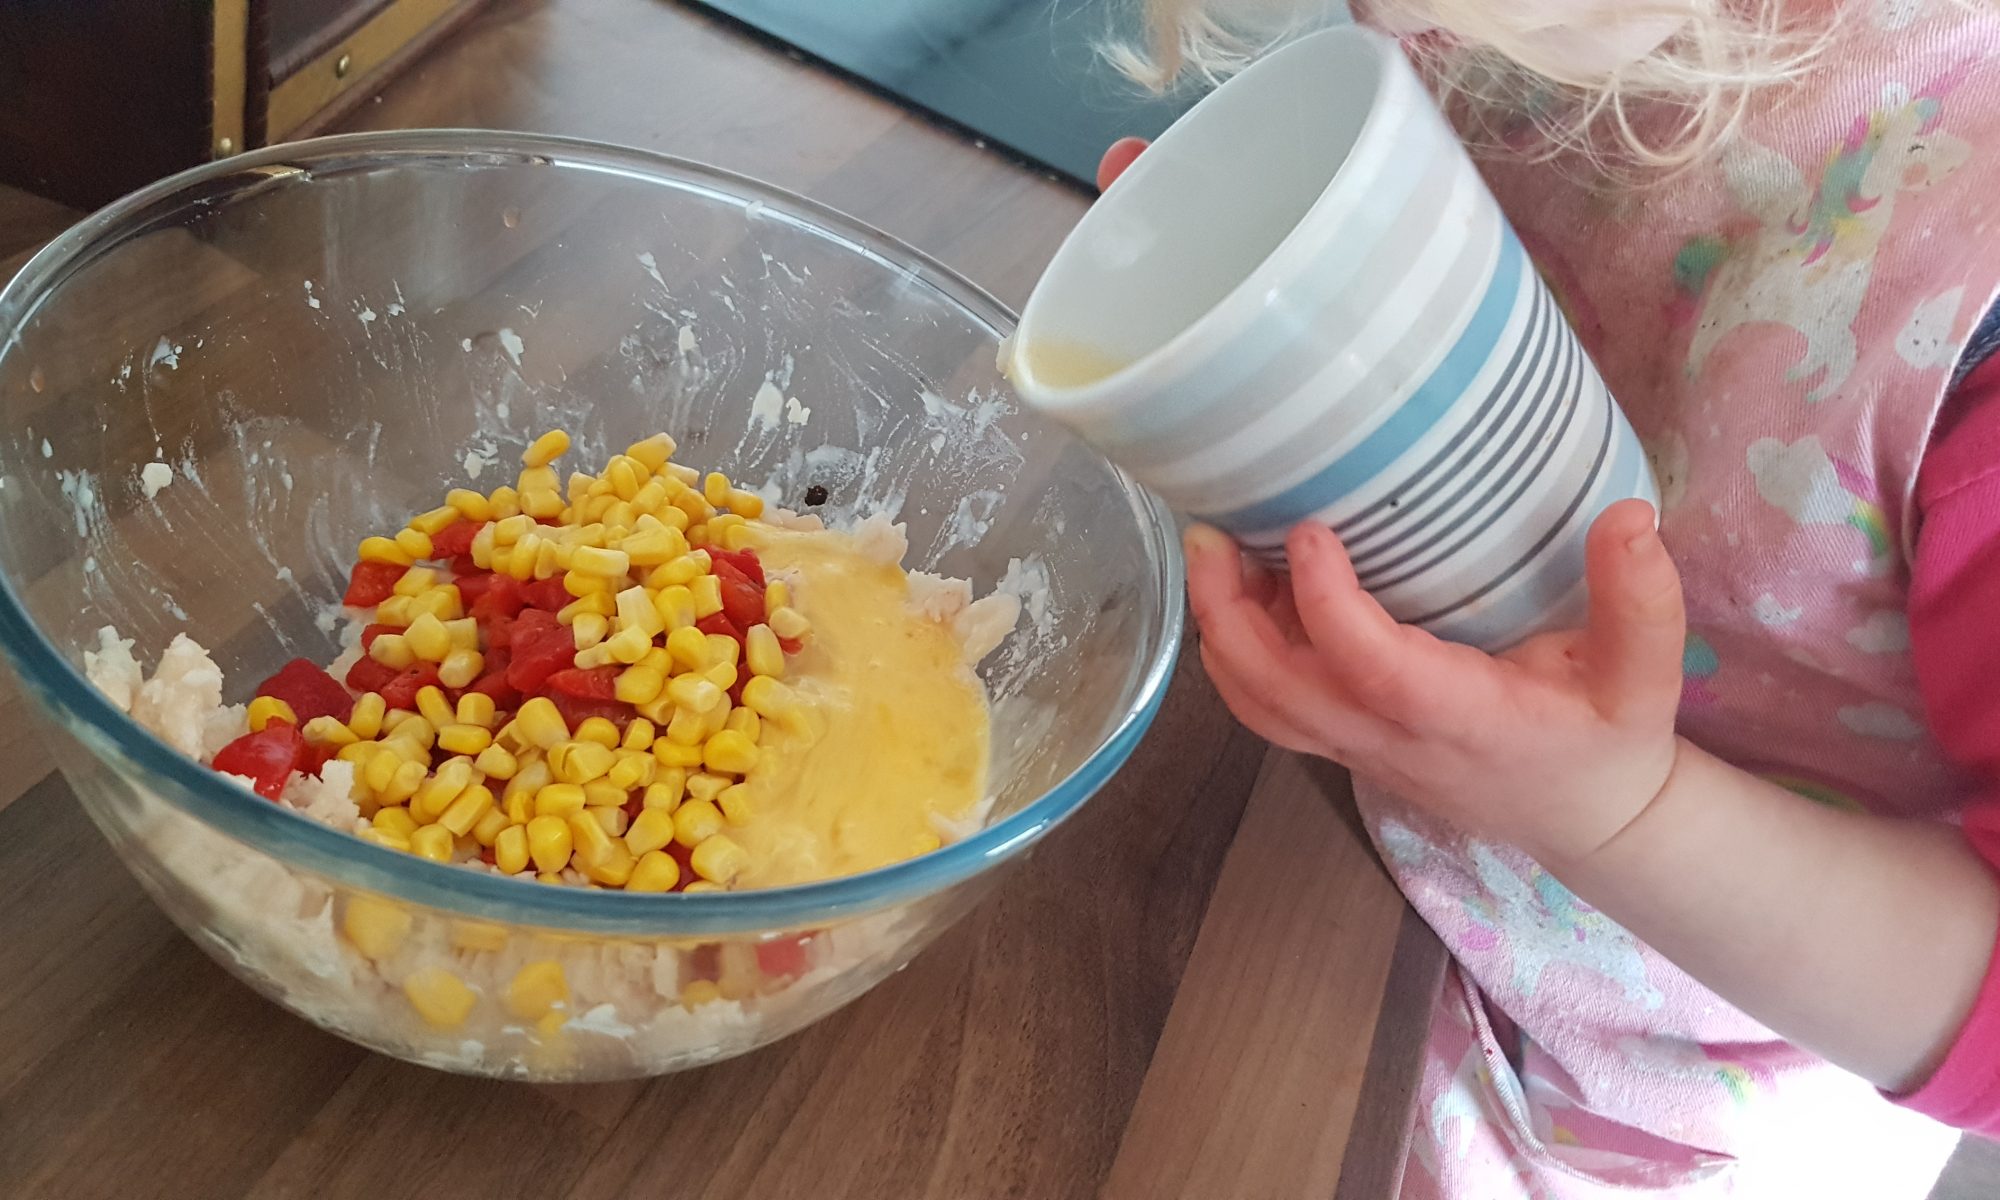
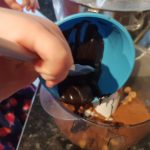
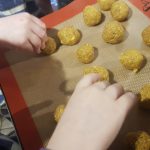
Cake was the subject of most of my conversations with Ophelia while her brothers were at school last week. This meant we had tea parties, the dolls had tea parties and we made and ate rather a lot of cake. The poor kitchen must have felt rather sorry for itself with flour and sugar all over the surfaces and even an egg cracked on the floor all at the hands of my increasingly independent three-year-old who has decided that mummy can only help in certain circumstances.

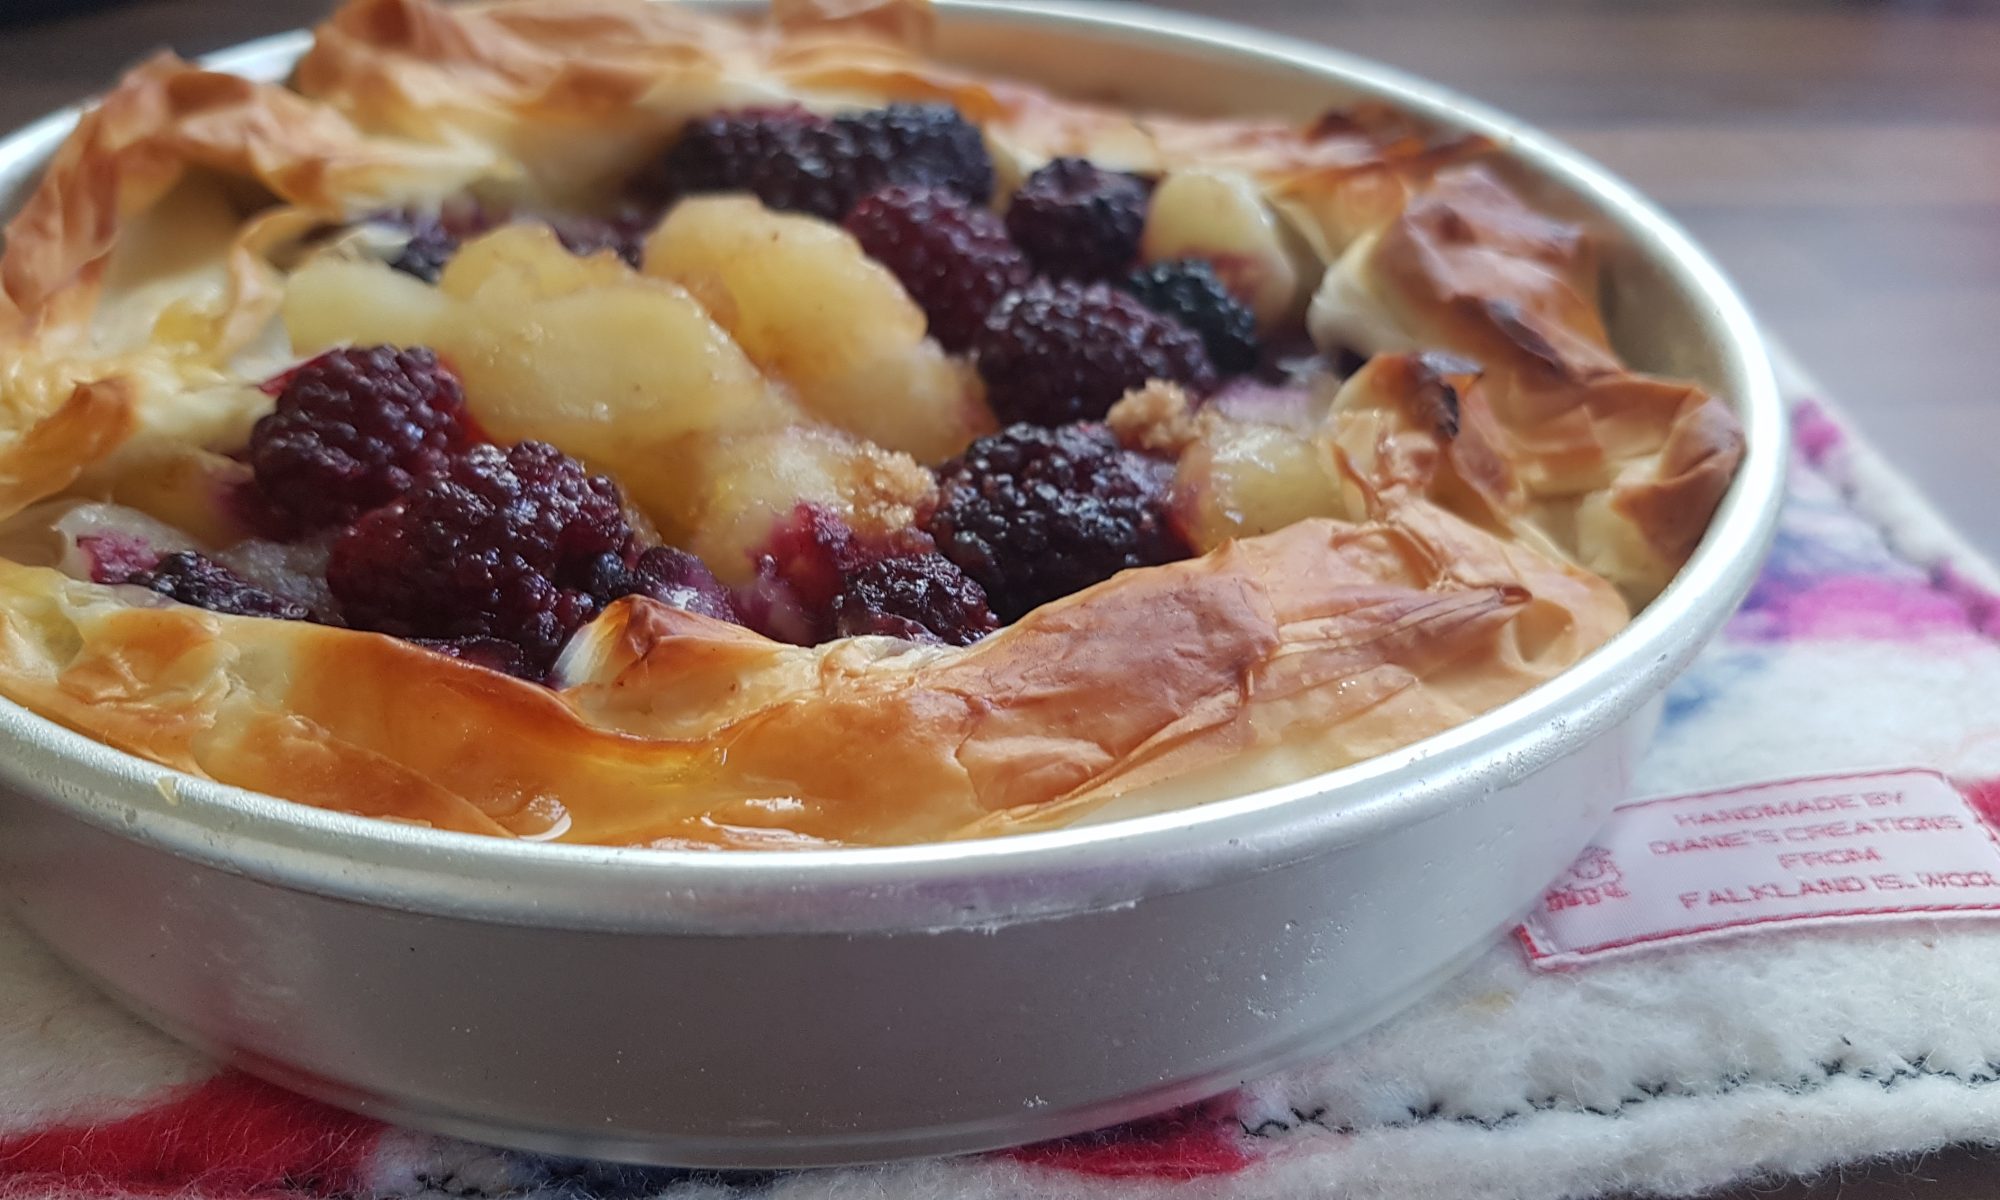
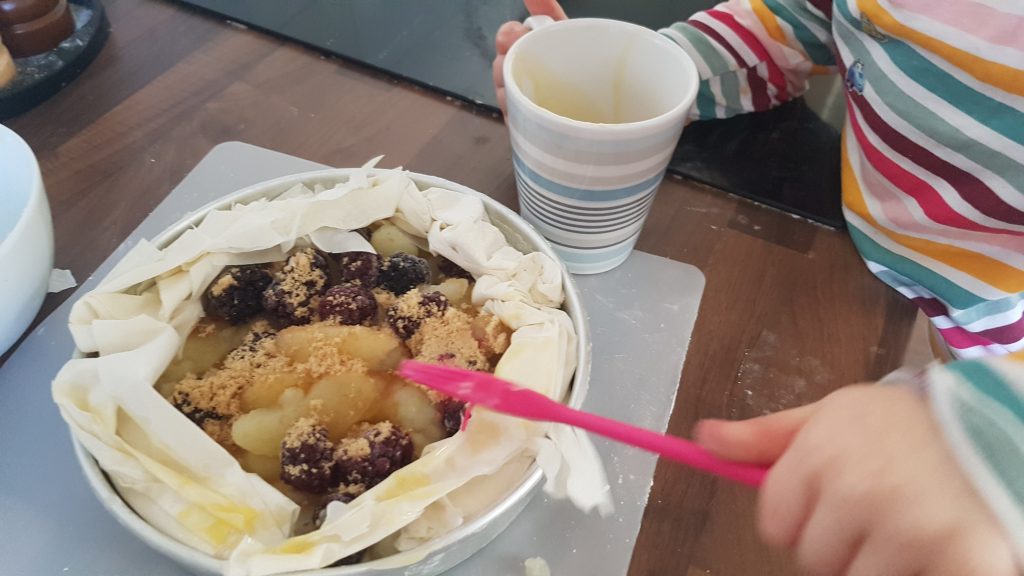
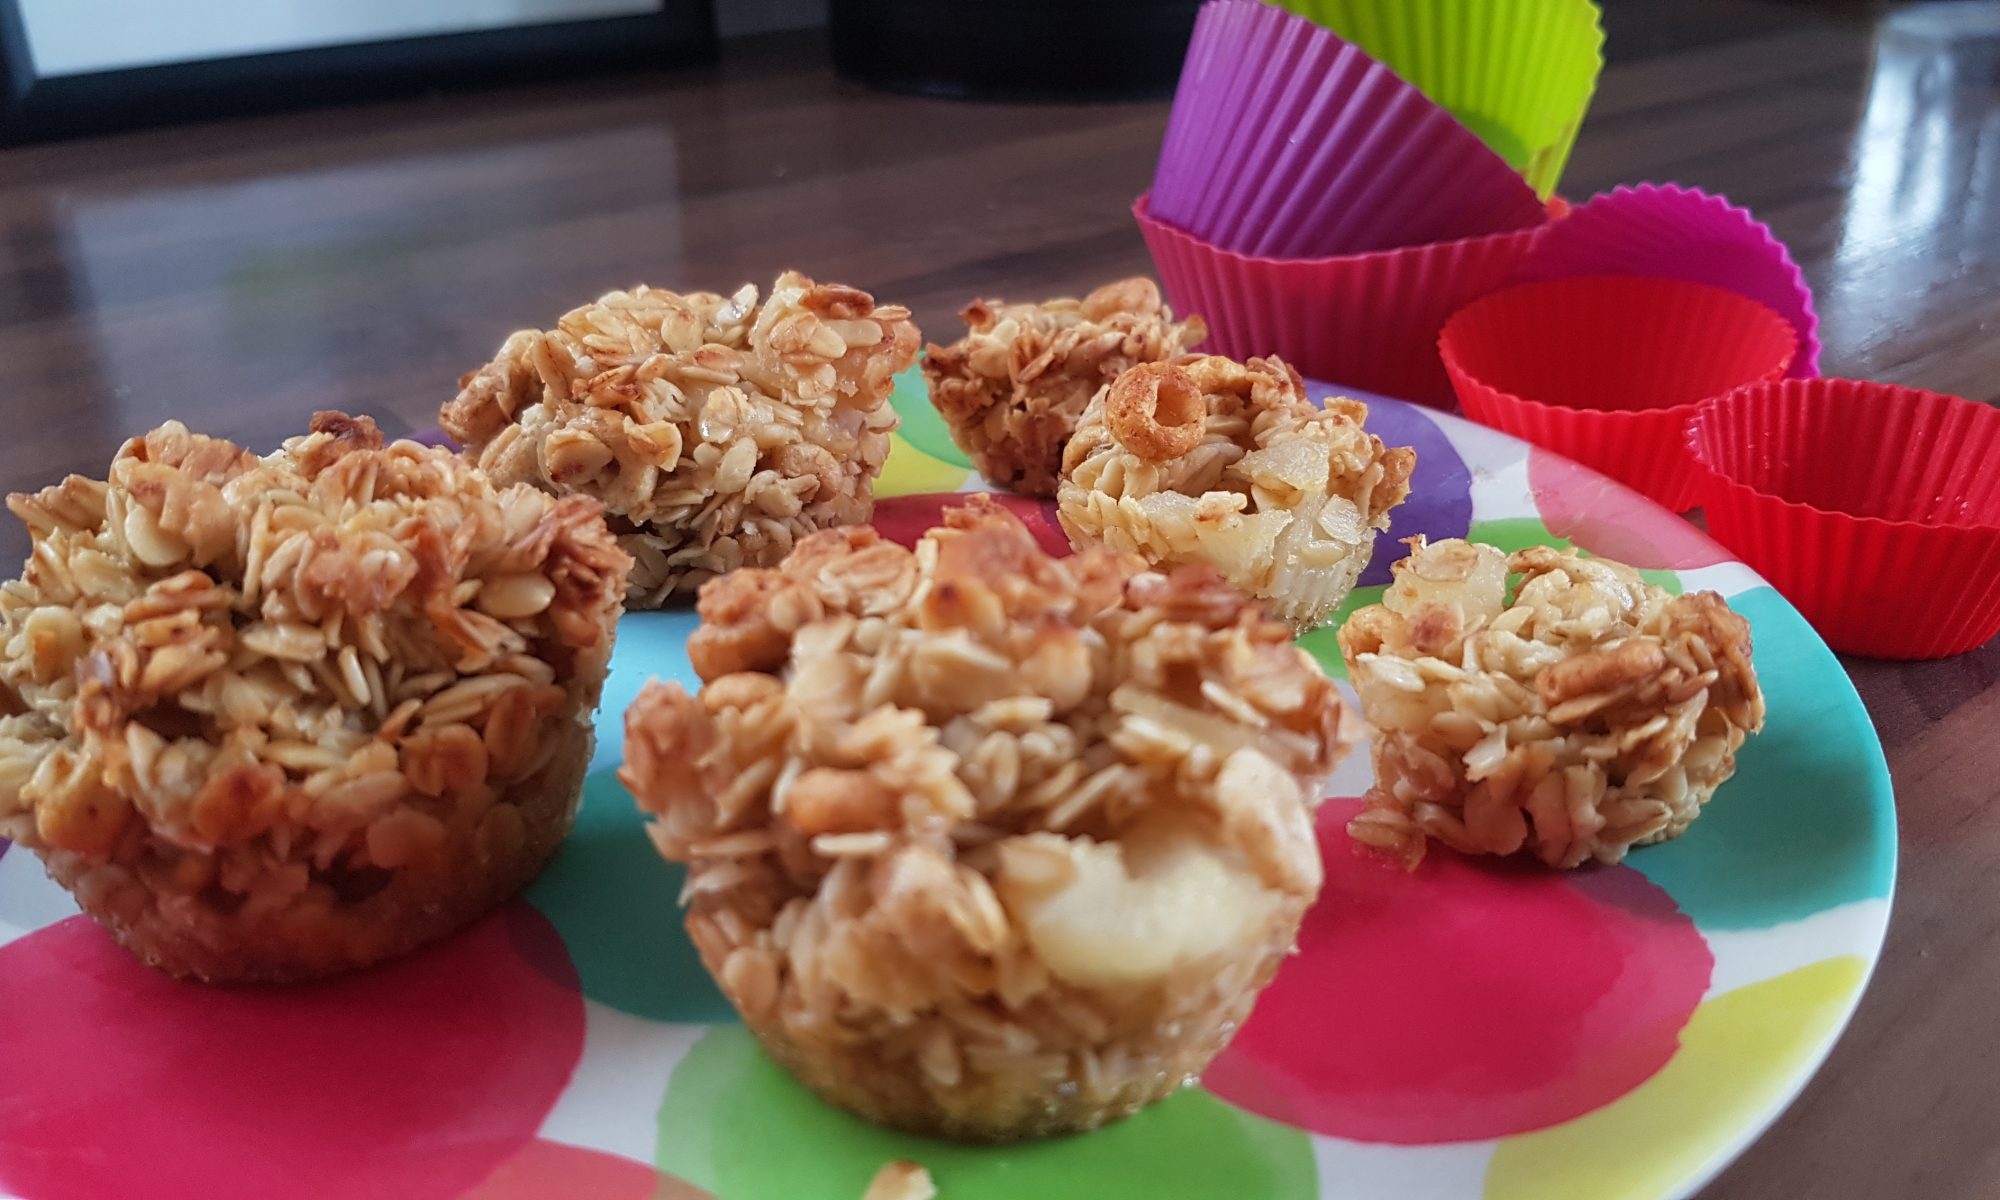
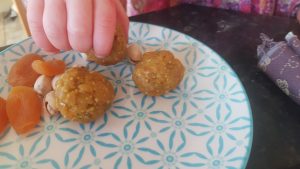
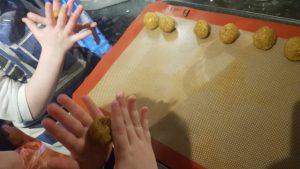
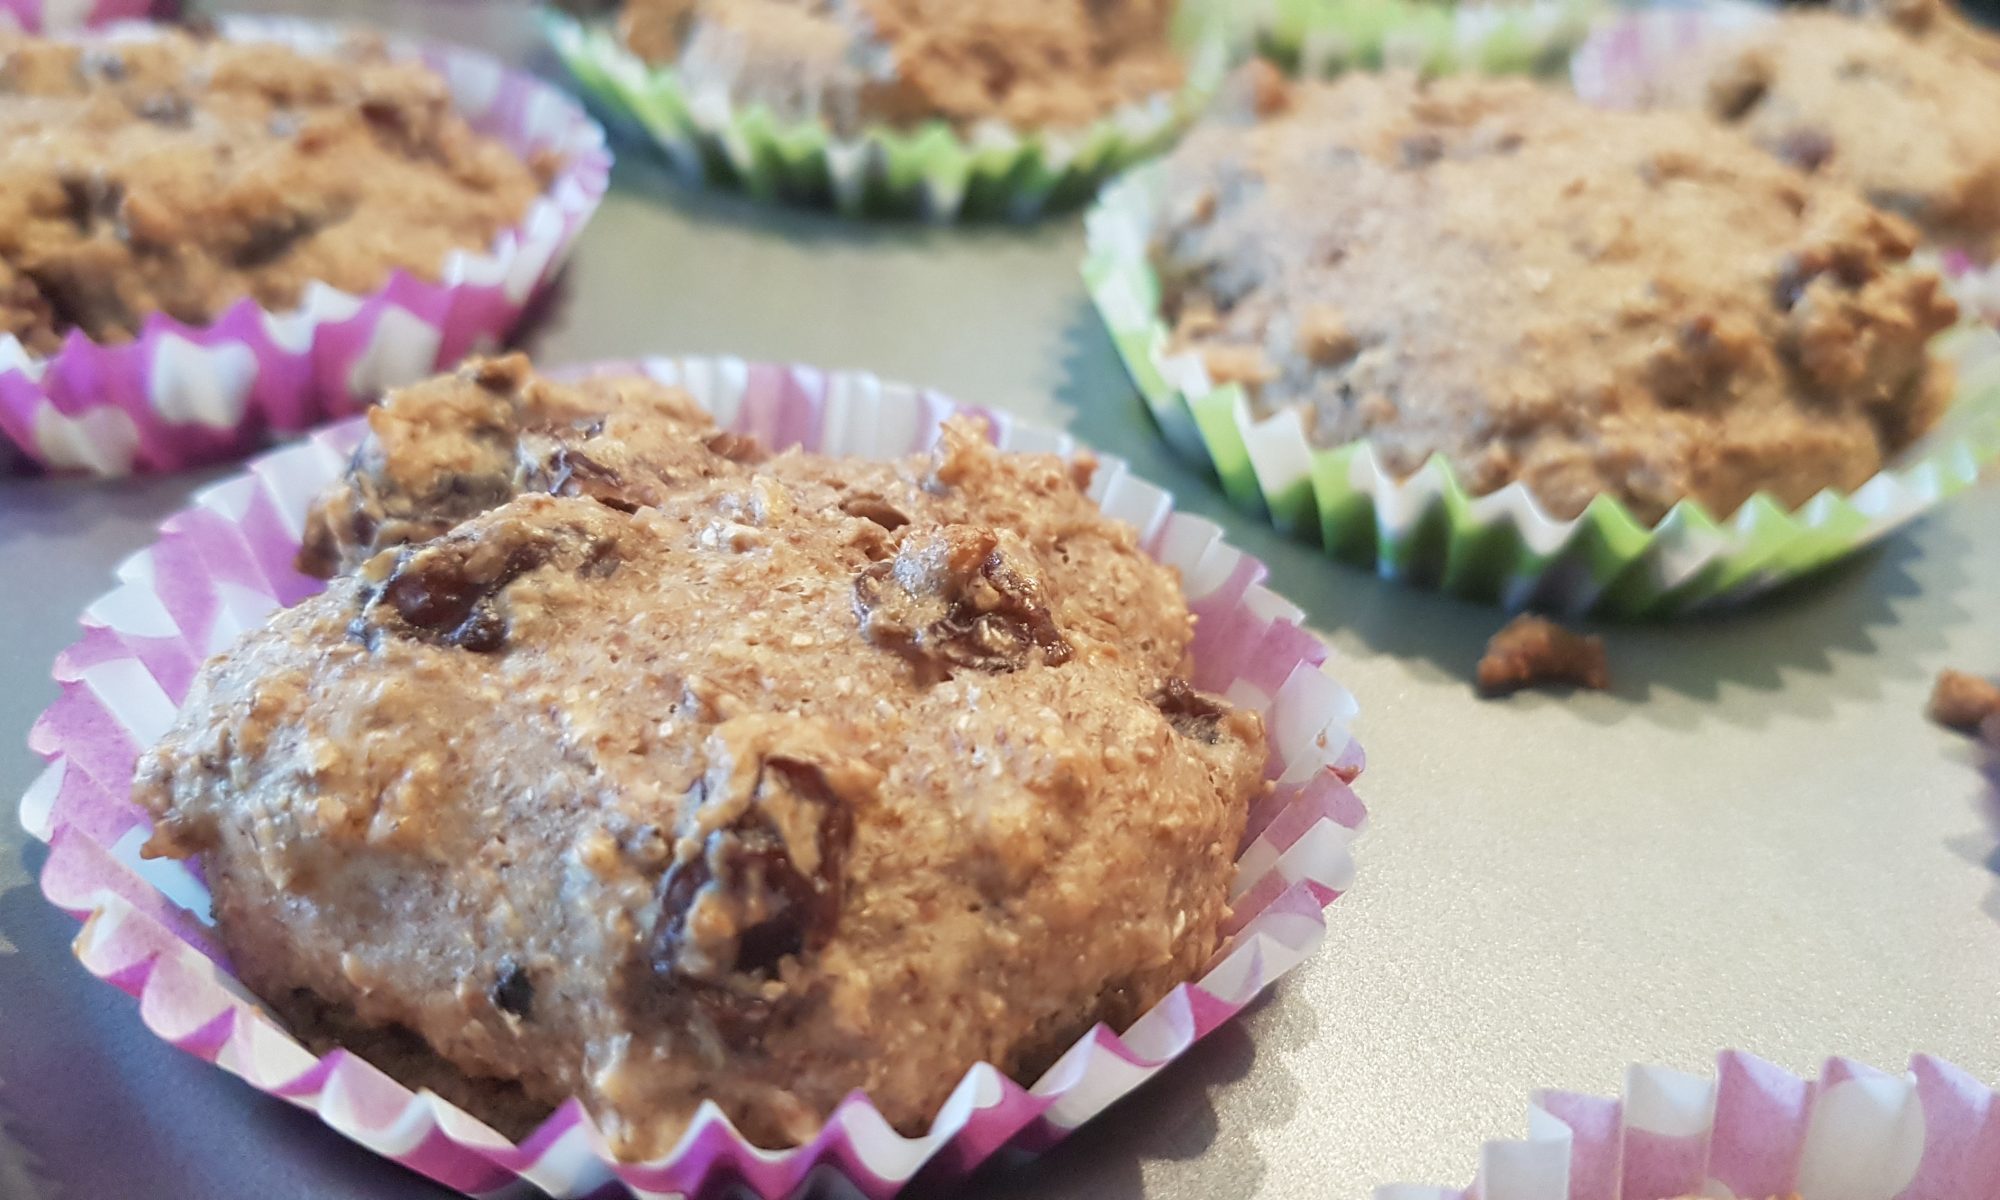
I was quite happy when the weekend came around and wrongly thought the older kids might dilute my daughter’s enthusiasm. What I didn’t bank on was the kids having gotten accustomed to the steady stream of cake and their reluctance for it to stop! On Friday evening there was the discussion about what flavour cake would be next. Looking back at the rocky road, flapjack brownie, lemon cupcakes and chocolate cake which had sweetened the week, I decided it was time to steer the kids towards something a bit less sugar-filled. In the past, I have discovered that this is not always a successful endeavour, but in this instance, I got my way and the kids happily made and enjoyed eating Raisin Bran Muffins.

Ready to soak overnight.

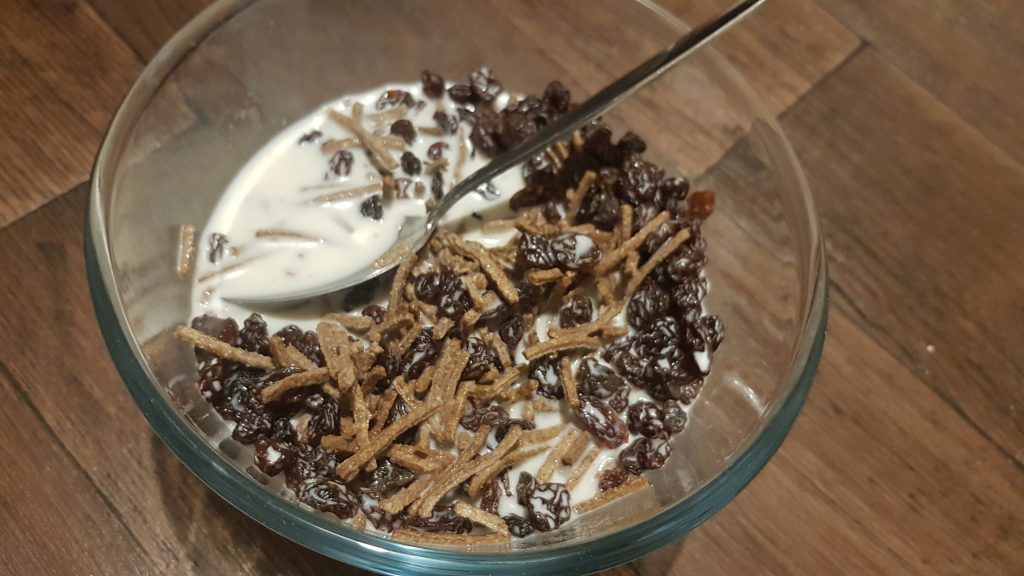
I think the majority of the enthusiasm for this recipe stemmed from the fact that the kids think it is hilarious that mummy sits eating what they think looks like sticks at breakfast as they are enjoying their Shreddies or Cheerios. Luckily for me, they were not disappointed that after soaking the All Bran, raisins and sugar overnight they had lost their structural integrity and stick-like appearance! This is a versatile recipe that can be made vegan/dairy free by using almond milk.

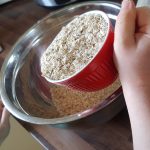
To make the Raisin Bran Muffins you will need:

  • 75g All Bran cereal
  • 75g caster sugar
  • 175g raisins
  • 300ml milk
  • 175g wholemeal self-raising flour
  • 50ml water
  • 25ml milk
Dividing the mixture between the cases.

Method:

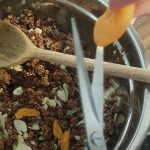
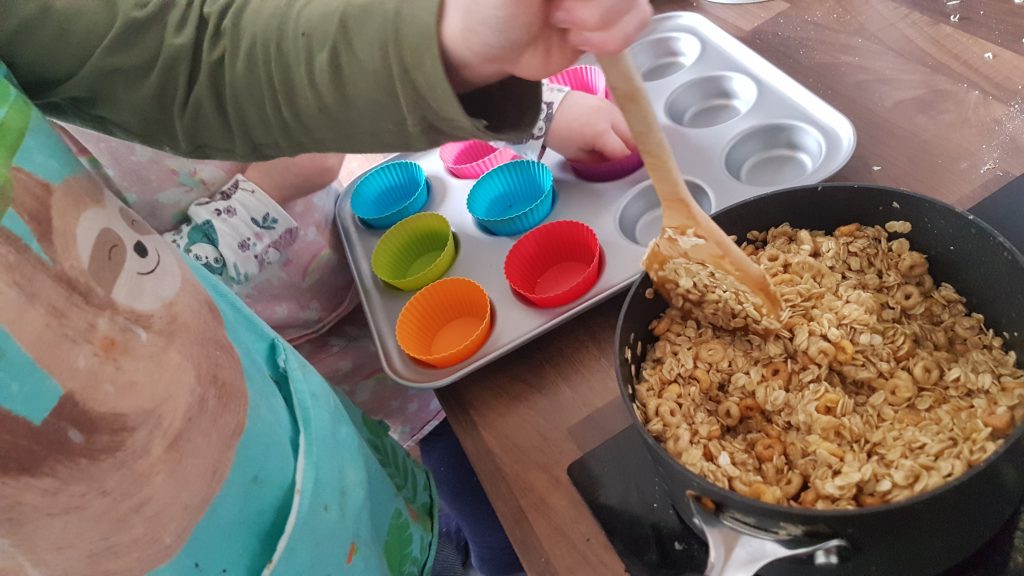
  1. Put the All Bran, caster sugar, raisins in a large bowl with 300ml of milk and mix well. Leave to soak overnight or for at least 6 hours.
  2. Preheat the oven to 160°c fan and put 12 cupcake cases into a muffin tin.
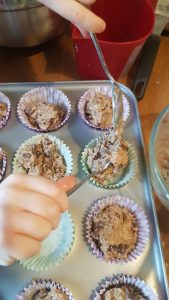
  3. Sift in the flour and add in the water and 25ml of milk and combine well.
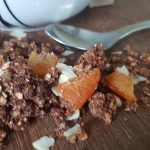
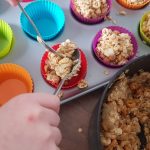
  4. Divide the mixture between the 12 cases and place in the oven for 20-25 minutes until springy.

This recipe appeared in Penguin News on 19 June 2020 and Soar Valley Life July/August 2020 edition.

Chocolate Granola

I am not entirely sure how, but breakfast seems to confuse my kids. Lunch and dinner both come with a pudding, but breakfast does not. I understand their logic, but they completely fail to understand that this just isn’t normal! Their constant requests for pudding after their cereal has led to a two-tiered breakfast system with toast or fruit following their initial bowl of cereal. The only way we can even contemplate forgoing breakfast pudding is if the breakfast is special enough to not require it. In the kids’ eyes, this generally means pancakes and there are not many mornings that I have the inclination to be sorting out pancakes even if I have been able to make the batter in advance. The other breakfast fare that seems to fit the bill is homemade granola.

Scooping in the oats.

We make granola quite frequently and the kids will happily gobble it up and it does seem to fill them. Unsurprisingly, their all-time favourite type of granola is chocolate granola. Over the years, I have learnt that some granola recipes are so full of sugar that they could practically be a pudding themselves so we have adapted and reduced the amount of sugar for this recipe. You can add whatever dried fruits or nuts to this that you like. On this occasion, we added flaked almonds and dried apricots which both went really well with the chocolate. We tend to measure this recipe in cups as it is easier for the kids to scoop oats the oats and cocoa that way.

To make our chocolate granola you will need:

  • 4 cups of oats
  • 1/3 cup of cocoa powder
  • 1/4 tsp salt
  • 1/2 cup melted coconut oil
  • 1/2 cup maple syrup or runny honey
  • 2 tsp vanilla extract
  • 3 cups of additions (we used half flaked almonds and half dried apricots)

Method:

  1. Preheat the oven to 160° fan and line two baking sheets with silicone baking mats or baking parchment.
  2. Mix the oats, cocoa powder and salt in a large bowl with a wooden spoon.
  3. Put the melted coconut oil, maple syrup and vanilla extract into a jug and mix to combine.
  4. Pour the liquid ingredients into the dry ingredients and mix well to ensure that all the oats are coated.
  5. Divide the mixture between the two baking trays, ensuring each has a thin layer of the granola.
  6. Bake for 15-20 minutes turning the granola half way through. Keep a close eye on it as it can easily burn.
  7. Once cooled, put into a large bowl and put in your additions, mix with a wooden spoon and store in an airtight container.

This recipe was published in Penguin News on 15 May 2020.

Fruity Filo Pie

I am always on the hunt for super simple dishes that the kids can help with in the kitchen. Recipes that they can take ownership of the whole way through and can proudly share with the rest of the family. This pie fits the bill perfectly. An added bonus, by using tinned fruit there is very little washing up. Although that said, my younger two are rather obsessed with washing up even if they do tend to flood the kitchen floor!

Sprinkle on the sugar.

Ophelia (three going on thirty) made this with me during the our first or second week off school during our Falklands lockdown. It hasn’t been written up until now as all the days seem to have blurred into one and the idea of writing a recipe up after trying to help all the kids with their school work just seemed like one job too many at the end of so many days!

For us here, the kids go back to school on Monday. I will miss my little partners in crime, but I am looking forward to having some time without them in the house undoing the work I have tried to do or ‘help’ me in the most unhelpful ways. Such as loading dirty dishes into the clean dishwasher or emptying the washing machine and not telling me leaving the wet laundry in a hidden place! That said, they all do love hoovering and as previously mentioned washing up. It’s such a shame they are no so eager to tidy up their toys or the remnants of the day’s school so we can eat supper on the table later in the day.

This recipe was a huge hit and has minimal added sugar, so it could be classed as a relatively healthy recipe with only 4 ingredients!

To make a fruity filo pie you will need:

  • 5-6 sheets of filo pastry
  • 1 tin of apples or other fruit (we also added a small handful of frozen blackberries)
  • 2 tbsp light brown sugar
  • 3-4 tbsp melted butter/margarine.
Painting on the melted butter.

Method

  1. Grease a 20cm shallow cake tin with melted butter.
  2. Preheat the oven to 160°c fan
  3. Gently fold the large rectangle of filo pastry in half and place on the bottom of the cake tin.
  4. Leave the excess filo pastry hanging out of the tin.
  5. Spoon in the fruit (if you have chosen a fruit with juice or syrup, take care not to add the liquid or you will end up with a soggy pie.
  6. Once the fruit is added, gently scrunch the edges of the filo pastry to create the walls of the pie.
  7. Sprinkle the brown sugar on top of the fruit.
  8. Paint the filo pastry scrunch with melted butter.
  9. Place in the over for 15-20 minutes until the pastry is golden brown and cooked.

The kids loved this pudding and Ophelia happily shared it out telling each brother which piece they could have. It didn’t last for long and we have had several requests for this pudding since then!

Mug Omelettes

The very first topic I studied as part of my Home Economics GCSE all those years ago was eggs. I have vivid memories of my teacher at the time mentioning all through the lesson that eggs are the most wholly nutritious and accessible single food; easy to cook and versatile. At the time, I remember only equating eggs with cakes and completely failing to make the connection with omelettes or any other savoury dish. I remember going home being absolutely insistent that I wanted eggs for dinner and that omelettes were going to be on the menu despite what my mum had planned. Not long after, omelettes became a regular feature and my dad took on the responsibility of making them provided that all the fillings were all ready to add at the appropriate time. These remain happy memories in the kitchen that always provoke a smile.

My kids love cooking with eggs. I am not sure what fascinates them more; the fact that they are allowed to break them and be destructive, or how they change when you whisk them and cook them. Taking full advantage of this interest, and that they love to complete an activity by themselves without my input, Mug Omelettes are a perfect lunch or breakfast. They are made, cooked and eaten from the same mug – so minimal washing up required! We always have a selection of fillings for the kids to choose from including: chopped ham, sweetcorn, olives, herbs or tuna.

To make a Mug Omelette you will need:

  • Large mug that can go in the microwave
  • Frylight or oil to grease the mug
  • 2 eggs
  • 2 tablespoons of milk
  • 2 tablespoons of cheese (although my kids use more!)
  • ¼ teaspoon of dried herbs of choice
  • Seasoning
  • Fillings of choice (ham, onion, sweetcorn, olives, tuna, peppers etc)

Method

  1. Spray the inside of the mug with the frylight or paint with oil to ensure that the egg doesn’t stick to the mug.
  2. Carefully crack the eggs into the mug and beat with a fork.
  3. Add in the milk and beat again.
  4. Add the cheese and seasonings and mix.
  5. Add additional fillings and mix again.
  6. Adult, take the mug to the microwave and microwave for 30 seconds on high. Remove it from the microwave and stir with a fork.
  7. Continue to microwave for 30 second increments, mixing in between each time, until the omelette has set.
  8. Leave to stand for a minute before giving to child to enjoy. You could even put the omelette in a fresh cup or on a plate if the mug has become very hot.

This recipe appeared in the Penguin News on 14 February 2020.

Pear & Honey Breakfast Cups

I used to be a morning person. Each new day would fill me with glee and I would be so optimistic about what it may bring me. Fast forward to now, and I can say with one hundred per cent certainty that I am no longer a morning person. I can pinpoint the exact date when my natural state was warped and unsurprisingly it coincided with the arrival of our firstborn. Mornings used to be my own personal safe haven. To reach that degree of solitude now, I have to leave the comfort of my home and run which if I am honest can be blinking exhausting! Although, running gives me an excuse, an incentive even, to eat cake and by no means cancels out the hard work of the run…

Sharing jobs; mixing and putting muffin cases in the tray.

Wen you have already had the argument over getting dressed, convincing your monkeys that school isn’t optional and gently breaking it to your youngest that they will never be the same age as their older sibling at the same time, breakfast can often seem to b a battle unworthy of your time. This recipe was born from my dual desire to refuse to comply with sugar-laden breakfast requests and give the kids the impression that they were having a fun breakfast without it being full of refined sugar. I don’t think I would be any teacher’s favourite parent if I sent my children into school saturated with sugar and unable to sit still for a single second.

Dividing up the mixture.

These breakfast cups can be made the afternoon before and stored in an airtight container in the fridge overnight and then all you have to do is present them plated up with no preparation time at breakfast! The fact that they are cooked in individual portions as well means that you don’t need to worry about cutting up the flapjack and risk uneven pieces. Yes, I really have thought this through too much. The last ting I would want is to go three rounds of such and such has a bigger piece than me! That would defeat the objective of a stress-free breakfast!

Ingredients

  • 150g tinned pear
  • 200g butter or margarine
  • 250g runny honey
  • 400g oats
  • 50g Cheerios

Method

  1. Preheat the oven to 160° fan.
  2. Measure out the butter and the golden syrup and place in a large pan on the hob and melt over a low heat stirring occasionally.
  3. Meanwhile, cut the tinned pear into small chunks using a table knife.
  4. Measure out the oats and the Cheerios.
  5. When the butter and honey mixture has melted and has been stirred to combine, add in the oats and Cheerios and mix.
  6. Add in the chopped pear and mix again.
  7. This mixture will make around 20 breakfast cups so line a muffin tray with cupcake cases (if you don’t have 2, this mixture is sturdy enough to stand up in the cases in a cake tin) and evenly divide the mixture between the cases.
  8. Cook in the oven for 20-25 minutes until golden brown. They will be fragile when removed from the oven, but they firm up as they cool.#

This recipe appeared in Penguin News on Friday 22 November 2019.

Red Pepper and Cannellini Bean Fritters

Patience is an important commodity when dealing with children. It’s mere presence bolsters success in the kitchen with children. I mean it isn’t as if you need a kilo of it or anything – a sprinkling is just fine. That said, my stockpiles of patience have been dwindling this week. I should have known it was going to be a hard week when I hurt my leg running and my favourite outlet for solitary time vanished. This was further impacted, when I ended up late to collect Seb from a school club because I lost track of time and a last minute pre-schooler toilet trip.

Contrary children have certainly greatly contributed to this feeling of frustration. Allow me to provide an example: Ophelia loved making this recipe. She ate copious amounts of the individual ingredients, but barely countenanced the idea of eating the end product. I won’t lie, I had to take some deep breaths and think of the fact that our shipment has arrived and we now have all our stuff except our car. Once I had found these happy thoughts, I realised that this meant all the more for me to gobble up!

Not hugely photogenic, but totally delicious!
Sticky fingers warning!
Chopping with a table knife

This recipe is full of processes that children love; squishing and squashing, chopping, cracking, mixing and transporting. The latter is a mucky process, and if your child doesn’t enjoy getting their fingers dirty, you may well want to consider using a couple of tablespoons to make the fritters and flatten them a bit.

Ingredients

  • 1 tin cannellini beans
  • 150g roasted red peppers from jar
  • 75g sweetcorn
  • 1 beaten egg
  • 50g flour
  • 1/2 tsp garlic (we used frozen)
  • Seasoning

Method

  1. Adult line a couple of baking trays with silicone baking mats or baking parchment.
  2. Drain and rinse the cannellini beans and place in a large bowl.
  3. Mash the cannellini beans with a fork or potato masher. Small children may well require some help to get this started. Mash until they no longer look like beans.
  4. Chop the peppers into small pieces. We used table knives.
  5. Add the chopped peppers, sweetcorn, flour, seasoning and garlic to the mashed beans.
  6. Crack an egg into a small bowl or mug and gently whisk.
  7. Pour the egg into the bowl and mix with a wooden spoon.
  8. Using your hands make patties out of the mixture. Depending on their size, you should get between 6 and 8. If you don’t want to use your hands, dollop a couple of tablespoons per fritter and pat down with the back of a spoon.
  9. Refrigerate for around 1 hour (this makes them more stable) before cooking at 180°c fan for 15-20 minutes, turning half way through. Alternatively, they can be pan fried.

This recipe appeared in Penguin News on October 11, 2019. For those of you not lucky enough to be able to purchase a copy, I have included a picture of the article from the newspaper.

Frozen Raspberry Drops

Simon’s gardening philosophy is very simple; if you can’t eat it, he would prefer not to plant it. This has led to him creating a fruit patch in pretty much every single house in which we have lived. He also grew courgettes for me despite despising them – yes it must be true love. My summertime memories with the kids in our current house are saturated with harvesting fruit and vegetables from the garden and trying to persuade the kids that if the berries are still green then they are unripe… As they get older this is obvious, but to a one or two year old it is somewhat confusing!

The fruit patch doesn’t only produce fruit, it turns out it is also a wonderful for igniting the children’s imaginations. It has been a forest to explore; to look for Gruffalos or bears. I think it has also been a kelp forest during the Octonaut obsession each of our kids seems to have had!

Back to the subject of this post – raspberries. I wanted to use them in healthy recipe for summer with the kids and a bit of contemplation this was the outcome. These will definitely feature prominently in our summer kitchen and I hope they do in yours too.

Ingredients

The nearly 3 year old managed this recipe completely by herself.

With only 4 ingredients, this is a speedy recipe that children will love making. As an added bonus, it is perfect for working on fine motor skills with younger children and is a welcome treat in the summer months.

  • 150g fresh raspberries
  • 200g Greek-style natural yoghurt
  • 1/2tbsp honey
  • Milk chocolate chips

Method

  1. Wash your raspberries and allow to dry.
  2. Line a baking tray or container (that will fit in your freezer) with greaseproof paper or a silicone baking mat.
  3. Measure out the yoghurt into a large bowl and add the honey and mix to combine.
  4. Count out the raspberries and the same amount of chocolate chips (and maybe a couple of extra for hungry tummies!)
  5. Place a single chocolate chip inside each raspberry.
  6. One at a time, gently put the raspberries into the bowl of yoghurt and cover completely using a spoon.
  7. Fish the yoghurt-coated raspberries out with a fork and gently place them on the lined baking tray.
  8. Repeat until all the raspberries are covered.
  9. Place in the freezer until frozen and leave there until you want to serve them.

This recipe features in Soar Valley Life Magazine, July/August 2019

Chocolate Dip

I love it when I plan to make something with the kids and I actually get round to making it the week I planned to. I know it sounds crazy, but I have list upon list of ideas that I want to try in the kitchen with my little chefs. Some make it to the top incredibly quickly, but others linger for a while before they have their turn in the limelight. I may have made this one the week I planned to, but writing it up to share with you all has taken another week or two. I am placing the blame for this one firmly in the court of the house spring clean. Yes I am still trying to sort our house – it is a job of epic proportions. I should maybe be calling it a summer clean now as despite the changeable weather, not even I can deny that it is in fact summer. I find myself continually distracted and I am at the stage where I find any other activity more interesting than the one at hand! Do I sort through a pile of mismatched toys or plan a list of baking activities?! Yup the latter tends to win. Oh and I am very good at planning, it seems finishing a task is my downfall.

Top; chocolate dip spread on pancakes, bottom left dolloped in cereal and bottom right as a dip for strawberries. All totally yummy and considerably less sugar than regular chocolate spread.

This recipe is essentially a chocolate hummus. We decided to call it dip as the kids had fun dipping strawberries into it. We have also discovered that it works remarkably well with pancakes and dolloped into a bowl of cereal for added protein at breakfast. I am fully aware that it is not a usual thing to make with kids. I know this because when I informed my husband what Ophelia and I were going to be making in the kitchen, a glazed expression crossed his face. He was probably thinking something along the lines of why doesn’t she just make a batch of cookies or cupcakes?!

Ophelia had fun looking at the ingredients and pouring them into the food processor. She took great delight in helping me push down the side with a spatula to ensure it was fully mixed. The best part, once again was licking the bowl. She asked to do this pretty much from the start. I am pretty sure she figured that baking on her own with me meant she wouldn’t have to share the treat. Her brothers were referenced a couple of times.

Ingredients

  • 1 can of chickpeas, drained
  • 140g 0% fat Greek-style natural yoghurt
  • 5 tbsp. cocoa powder
  • 50g Sweet Freedom Chocolate Shot
  • 3 tbsp. honey
  • 1/4 tsp salt

Method

  • Add all of the ingredients to the food processor and blitz until smooth. Stop the food processor every so often to scrape down the edges to ensure that it is all mixed.
  • Store in the fridge until ready to use.

Apricot and Pistachio Energy Balls

We are nearly at the end of January and I am taking big breathes to relax as we have made it. It really can be a really dreary and depressing month weather wise and with everyone trying to be good it can seem like the fun is sucked out of it. Let me tell you this though, it isn’t all bad as when life gets overly stressful, when the kids drive me round the bend, my wonderful husband sends me off to a café on my own, with my laptop so I can write a blog post in the day and he instructs me to eat cake. Yes my lovely readers, my gem of a husband sends me out to eat cake. Some of you may well struggle to believe that I have to be told to eat cake with all the things we make, but it turns out I do… I have just ordered my second slice and I am not feeling one bit guilty. Why? Because it has been a stressful day month and I have been really good since I devoured practically a whole batch of meringue topped mince pies – and that was last year! Please don’t remind me that that was only last month! Yes the second slice of cake may well cancel out the rest of the good in the month, but for my sanity I was ordered to eat cake, so I have. It is one thing I can tick of my list without any trouble. And I will vow to work with even greater dedication at the exercise classes I attend during the week. So if any of my instructors are reading this yes you may yell at me to work harder next week and I won’t roll my eyes at you or grimace at you. I promise. Well I promise to endeavour not to!

Ophelia deciding I had taken enough time photographing the snack and wanting to dive right in!

So before I went out to eat loads of cake, last week the boys made these delectable Apricot and Pistachio Energy Balls. We seem to get through kilos of dried fruit in cereal, cakes and snacks during the year, but looking back over the things we have made, I realised energy balls had never featured. The main reason is due to the nut content and me being super paranoid about another child getting hold of them in the school grounds. But when they have these, I herd the children out of the school grounds questioning where their snacks are, (it is after all a long walk or trek in their eyes home) and then distribute them to the eager recipients. I would maybe say though, they are probably better as a pack up snack in the winter months as they do need to be stored in the fridge.

Rolling the energy balls without licking their fingers!

I promise they couldn’t be easier to make. My children made them one evening after school and enjoyed the fruits of their labour the rest of the week and over the weekend. They are literally one of the easiest thing to make with your little chefs. We also made it a game to see who could go the longest while rolling them into balls without licking their fingers. I have to say even I was sorely tempted to lick my fingers as they were so truly scrummy and at the end we all sat there eating the remains off our fingers before hand washing! We truly must have looked a sight! Poor Ophelia though, watched from the other end of the counter as she had a particularly bad cold I that was one thing I was not eager for her to share. She was given a little spoon to lick to feel included while she chatted along to grandma.

Ingredients

  • 275g dried apricots
  • 85g shelled pistachios
  • 2tbsp runny honey (or use maple syrup to make vegan)
  • 50g oats

Method

  1. Place all the ingredients in a food processor and put the lid on.
  2. Turn it on at a medium speed. You may need switch off and scrape the sides a bit.
  3. Blend together until the ingredients form a big thick clump.
  4. Remove the lid and the blade from the food processor and take pieces of the mixture and roll into balls. Ours were all slightly different slices, but mainly around the half a tbsp. mark.
  5. Refrigerate for a couple of hours and the return to the fridge in a tub. These will store in the fridge for a week or so.
Challenge completed!

It has to be said that the boys were more fond of these than Ophelia. I do think that the no finger licking contest that they had going made this activity even more fun and made them want to eat even more of them! There were many happy sounds from them when I said I had energy balls for snacks. I think we shall be trying some different flavours next time. I am dreaming of chocolate and ginger… I shall leave that one out there and hopefully they will come around at some point!