Lolly Cake

I am always on the look out for simple recipes to make with the kids. Truth be told, I get bored if I have to make the same thing over and over again. Flapjack brownies are the exception to this; they always go down well. I do have to fight off my middle child as he is also rather partial to them, but seeing as he is considerable shorter than me, I have a certain advantage when it comes to keeping them out of his reach.

Sprinkling the coconut.
All lined up!

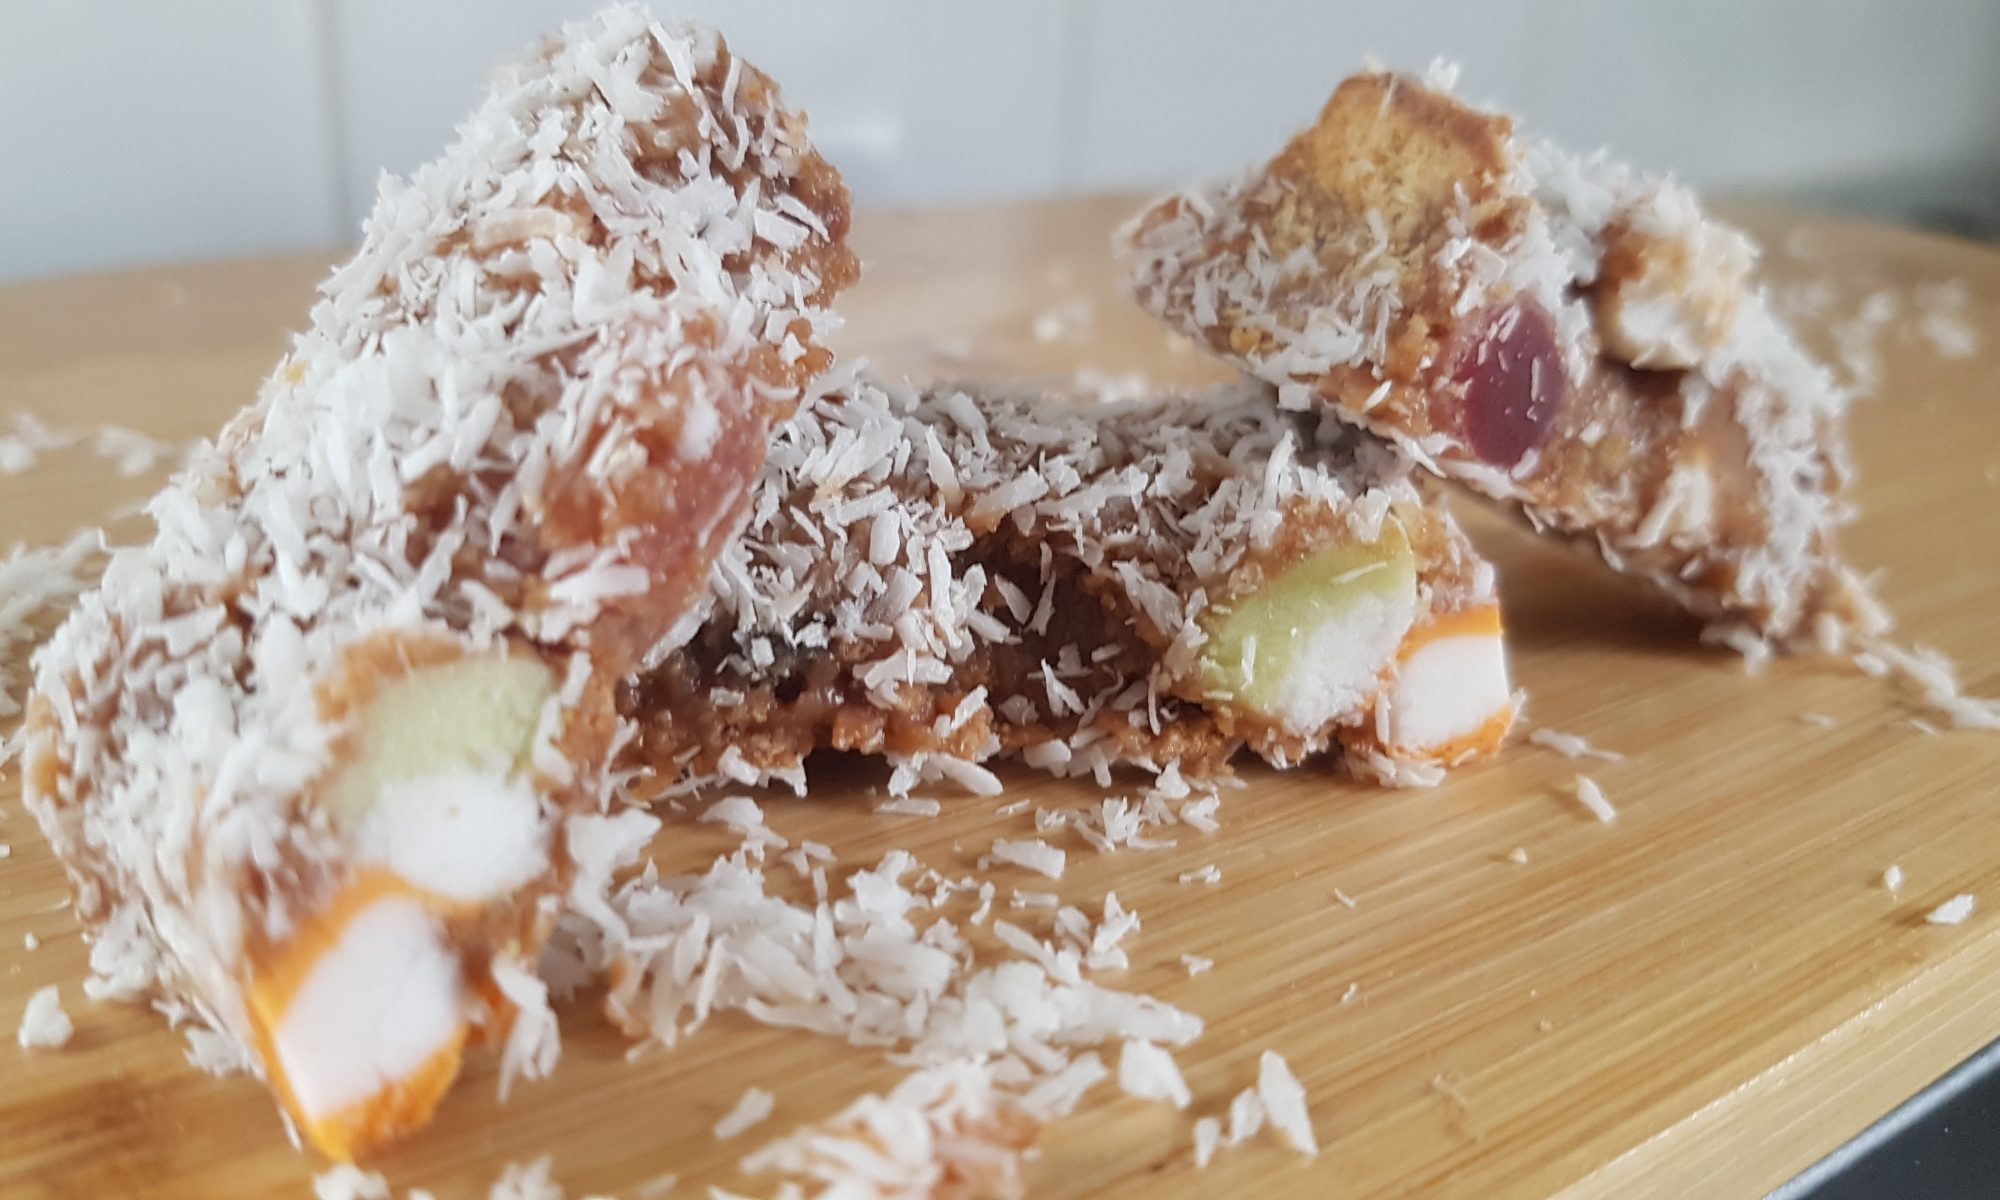
Since our move to the Falklands, we have met a few Kiwis. This got me researching recipes from there. I stumbled upon Lolly cake and thought it looked like a perfect treat for Smoko or elevenses/high tea. I decided that it would be amazing apart from the traditional idea of rolling it up – I didn’t fancy trying to role up a sticky condensed milk and biscuit concoction into a log and covering it with desiccated coconut with a small child. Can you imagine a small child faced with the instruction not to lick their fingers combined with overwhelming desire to do so when confronted with a sugary sticky messy mixture that they are shaping with their hands?! Consequently, I decided a make it as a traybake. We initially covered the bottom in desiccated coconut too, but this seemed to make it overly messy – not my aim. Therefore, my suggestion would be to just sprinkle the desiccated coconut on the top. It may be a cop out, but I think you will thank me when your surfaces and floors are not covered in desiccated coconut. It did look a bit like it had been snowing in my kitchen!
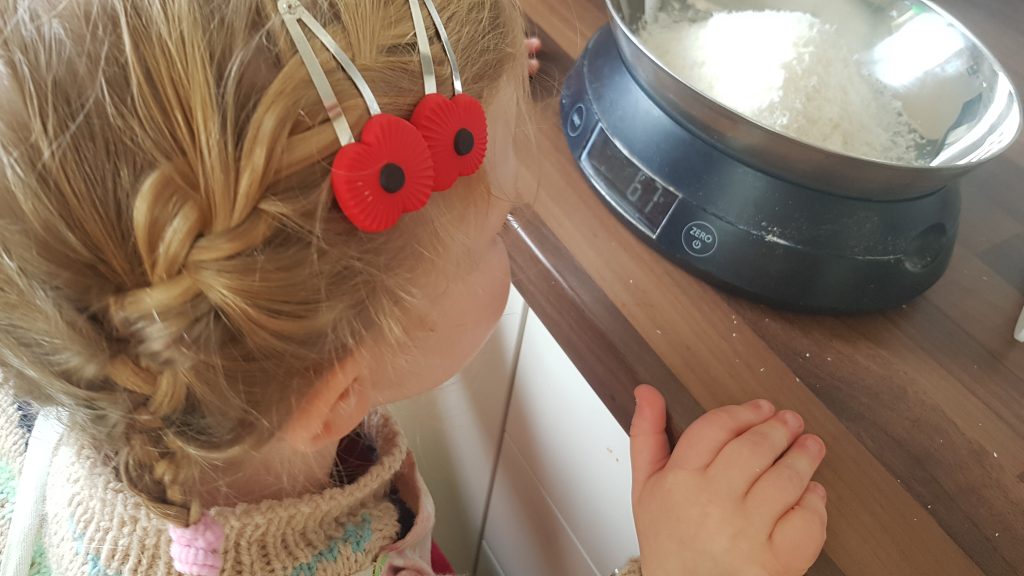
Not enough yet mummy!

This one was a recipe that Ophelia made with me when the boys were in school. Highlights included smashing the biscuits to smithereens (I totally love that word, definitely one of my top 100 words and yes, I am that language geek) and trying to sneak dolly mixtures and mini marshmallows into her mouth during the process. Daddy, who allegedly doesn’t like dolly mixtures, certainly ate more than his fair share of this bake. Not that I am pointing the finger or anything…

Ingredients

  • 250g chocolate digestives
  • 150g dolly mixtures
  • 30g mini marshmallows
  • 120g butter
  • 200g sweetened condensed milk
  • 70g desiccated coconut

Method

  1. Grease and line a brownie pan or a square cake tin (at least 20cm, ours was a bit bigger as we use a brownie pan)
  2. Put the butter and condensed milk into a pan over a low heat and melt together. We measured the condensed milk directly into the pan to prevent too many sticky spillages. Once melted put to one side to cool a little.
  3. Crush the biscuits either by placing in a zip lock bag and bashing with a rolling pin, or in a bowl and crushing with the end of a rolling pin. We did the latter, after having broken then up a bit first.
  4. Add the crushed biscuits, the dolly mixtures and marshmallows to the condensed milk/butter mixture and mix to ensure fully combined.
  5. Spoon into the prepared tray and spread with the back of a wooden spoon. You may want to let you little chef use their fingers to get the mixture into the edges of the tin.
  6. Sprinkle the top wit the desiccated coconut and put in the fridge to set.
  7. Leave to set before cutting. Please note, it is easier to cut when it is fully solid. We left ours overnight before contemplating cutting it.
  8. Try not to eat the whole batch in a single sitting (I am not looking at anyone in particular here!!!)

My aim making this treat was to spread the sugar out evenly over the week, but unfortunately this time I was unsuccessful. Anyone got any tips for baked goods security?!
Rocky Road Traybake

There are certain days when only chocolate cake will do. I would love to claim that this cake was the outcome of a desperate need for chocolate due to a bad day, but it was in fact just a way to entertain the kids and have them working towards pudding for a family dinner! Atticus helped Simon make the main course and Seb and Ophelia joined me on the other side of the kitchen to make pudding. On this occasion, dinner certainly was a full family effort. They are happy memories.

Into the pan.
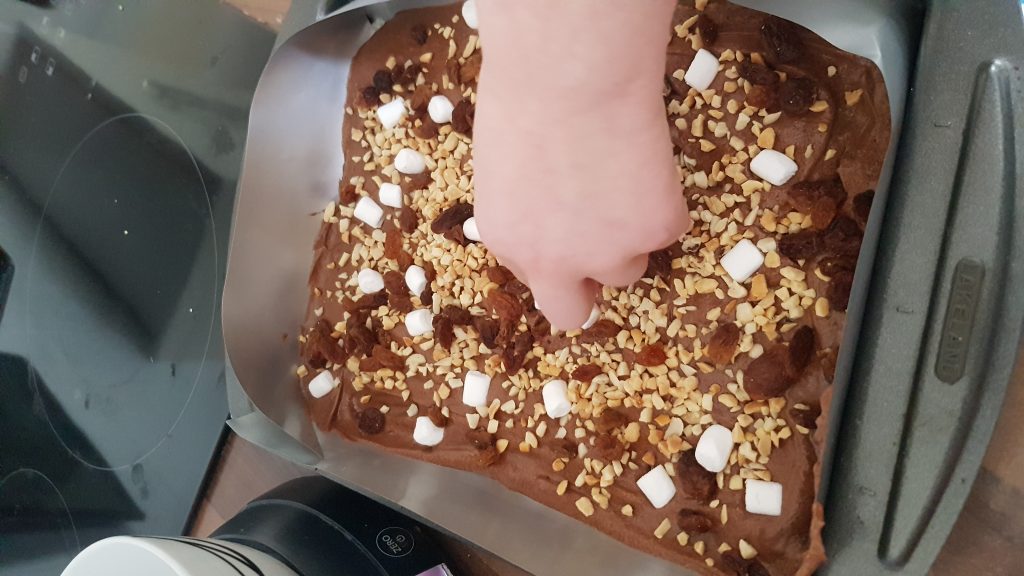
On go the marshmallows!

This cake also gave me an excuse to open the kilogram bag of mini marshmallows that I managed to find and sent Simon and the kids off to discover for themselves and purchase. There was pure delight when they saw such a large bag of mini marshmallows. Previously they had only seen the 150g bags that I would purchase in Tesco. I did miss an opportunity for a maths lesson asking how many small bags would make up the large bag. Oh well, there’s an idea for next time! I was a mean mum though; I made them wait until I had a definite recipe in mind before we opened them. I knew that if we just opened them, I would blink and they would all be finished! I have three marshmallow-loving kiddies and a husband who isn’t averse to adding them by the handful to his pudding or cereal bowl! They would have been inhaled and while this would have been an impressive feat, I really wanted to prevent this outcome.

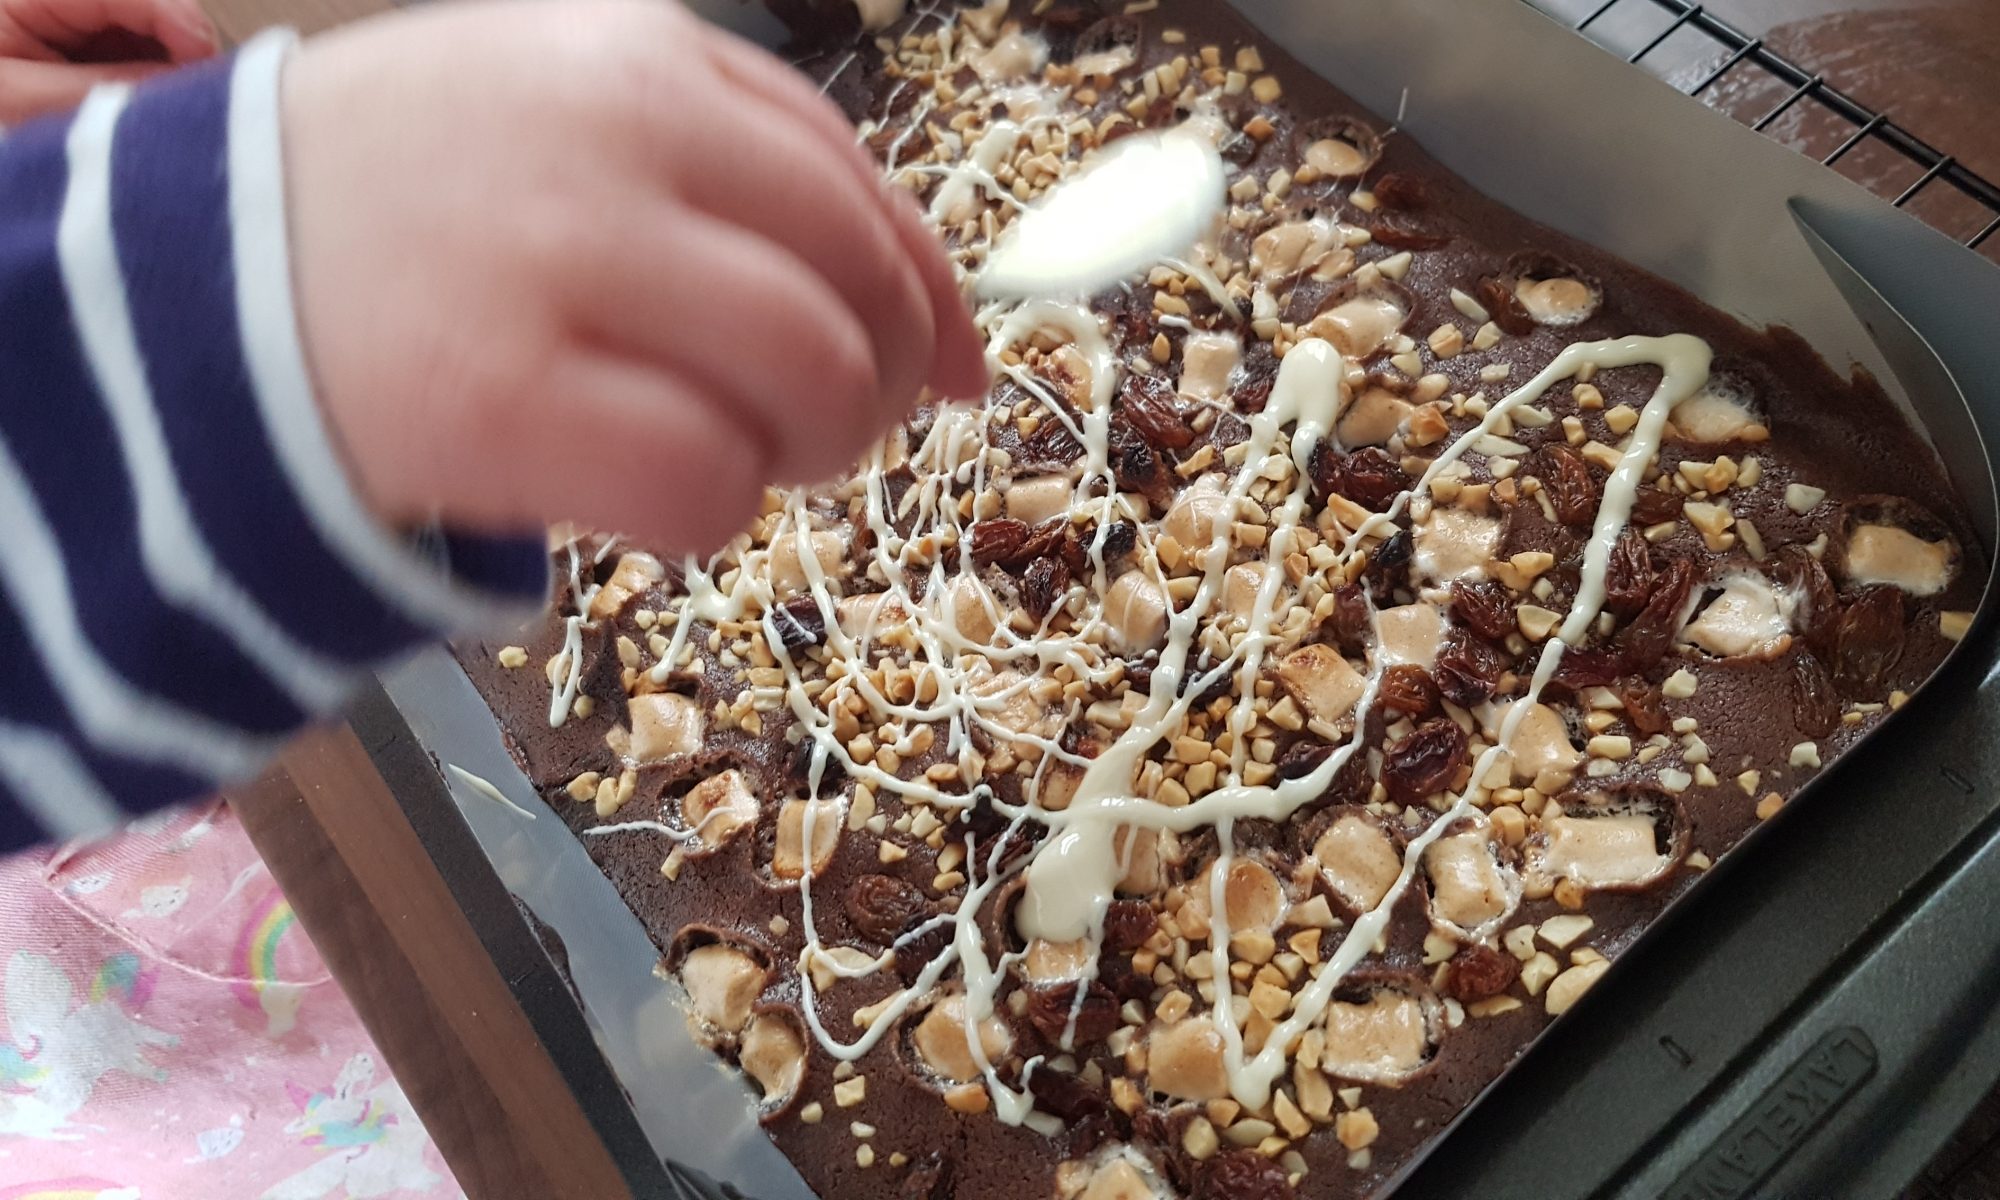
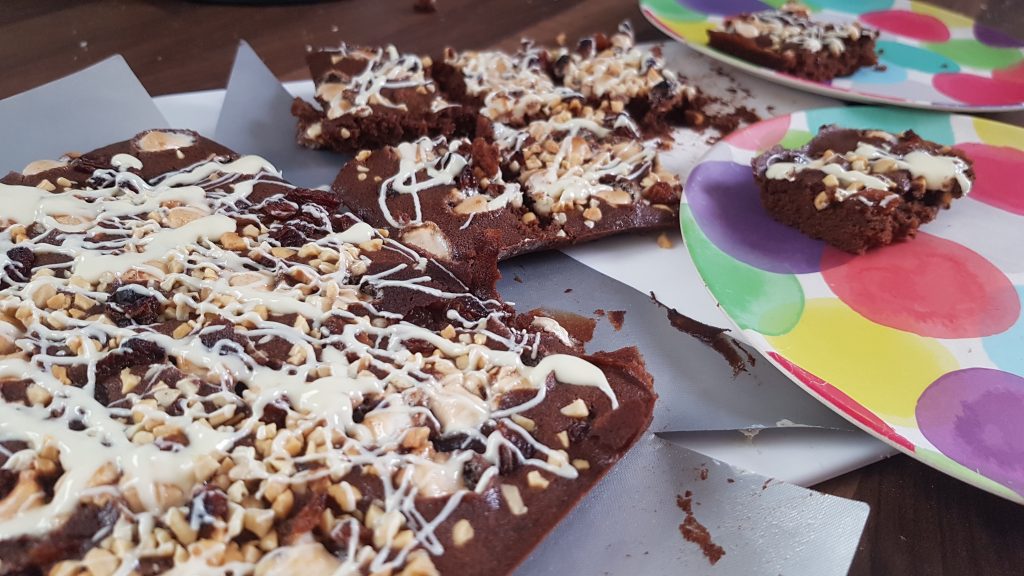
To mark the opening of our gigantic bag of marshmallows, we made this Rocky Road Traybake. It is a very think cake sprinkled with raisins, chopped nuts and mini marshmallows and drizzled with melted white chocolate. You will be surprised to hear that it lasted more than 24 hours. Although this is probably because I packaged it away and hid it under the bread in the bread bin! No one thought to look there so it was safe until I was ready to distribute it! However, now I have written this, I shall have to find a new cake hiding place.

Ingredients

  • 115g butter/margarine
  • 115g dark brown sugar
  • 100g plain flour
  • 15g cocoa powder
  • 1 medium egg
  • 5tbsp milk
  • 50g chopped nuts
  • 40g raisins
  • 20g mini marshmallows
  • 40g white chocolate, melted

Method

  1. Grease and line a brownie pan, or small square/rectangular cake pan and preheat the oven to 160°c fan.
  2. Cream the butter and the sugar together until smooth.
  3. Add the egg and beat.
  4. Sift in the flour and cocoa powder and mix until combined.
  5. Add the milk and mix until smooth.
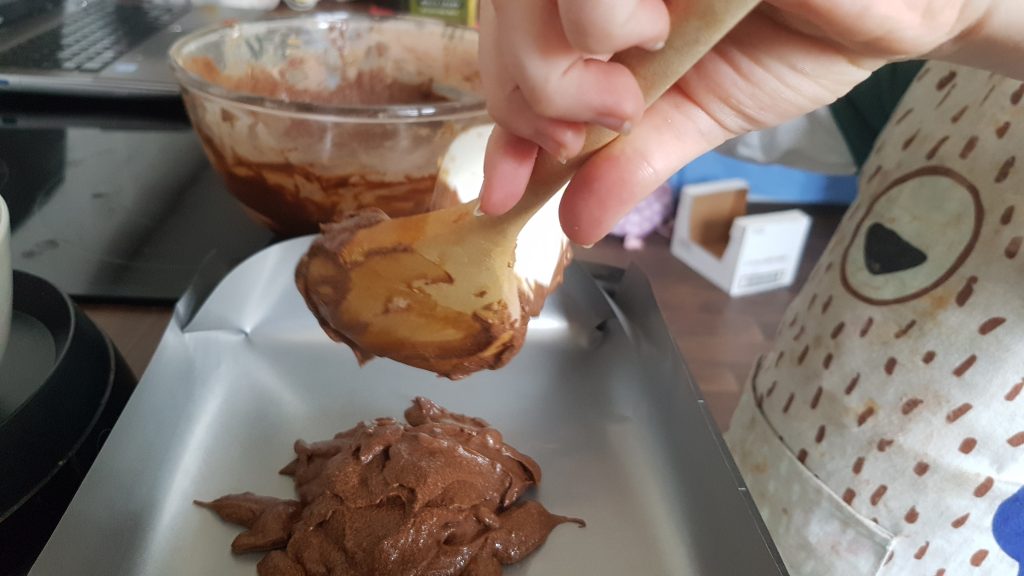
  6. Dollop the batter into the baking tin and spread so all the edges are covered. This is meant to be a thin cake, so it may require a bit of effort.
  7. Sprinkle the nuts, raisins and marshmallows on top and place in the oven for 15 minutes until a skewer comes out clean (unless you go through a marshmallow!
  8. Allow to cool fully before drizzling with melted chocolate.

I hope you enjoy this traybake as much as my family did and do look for a good hiding place for it so it doesn’t all disappear in a blink!

Look at that chocolatey goodness!

Lemon Meringue Traybake

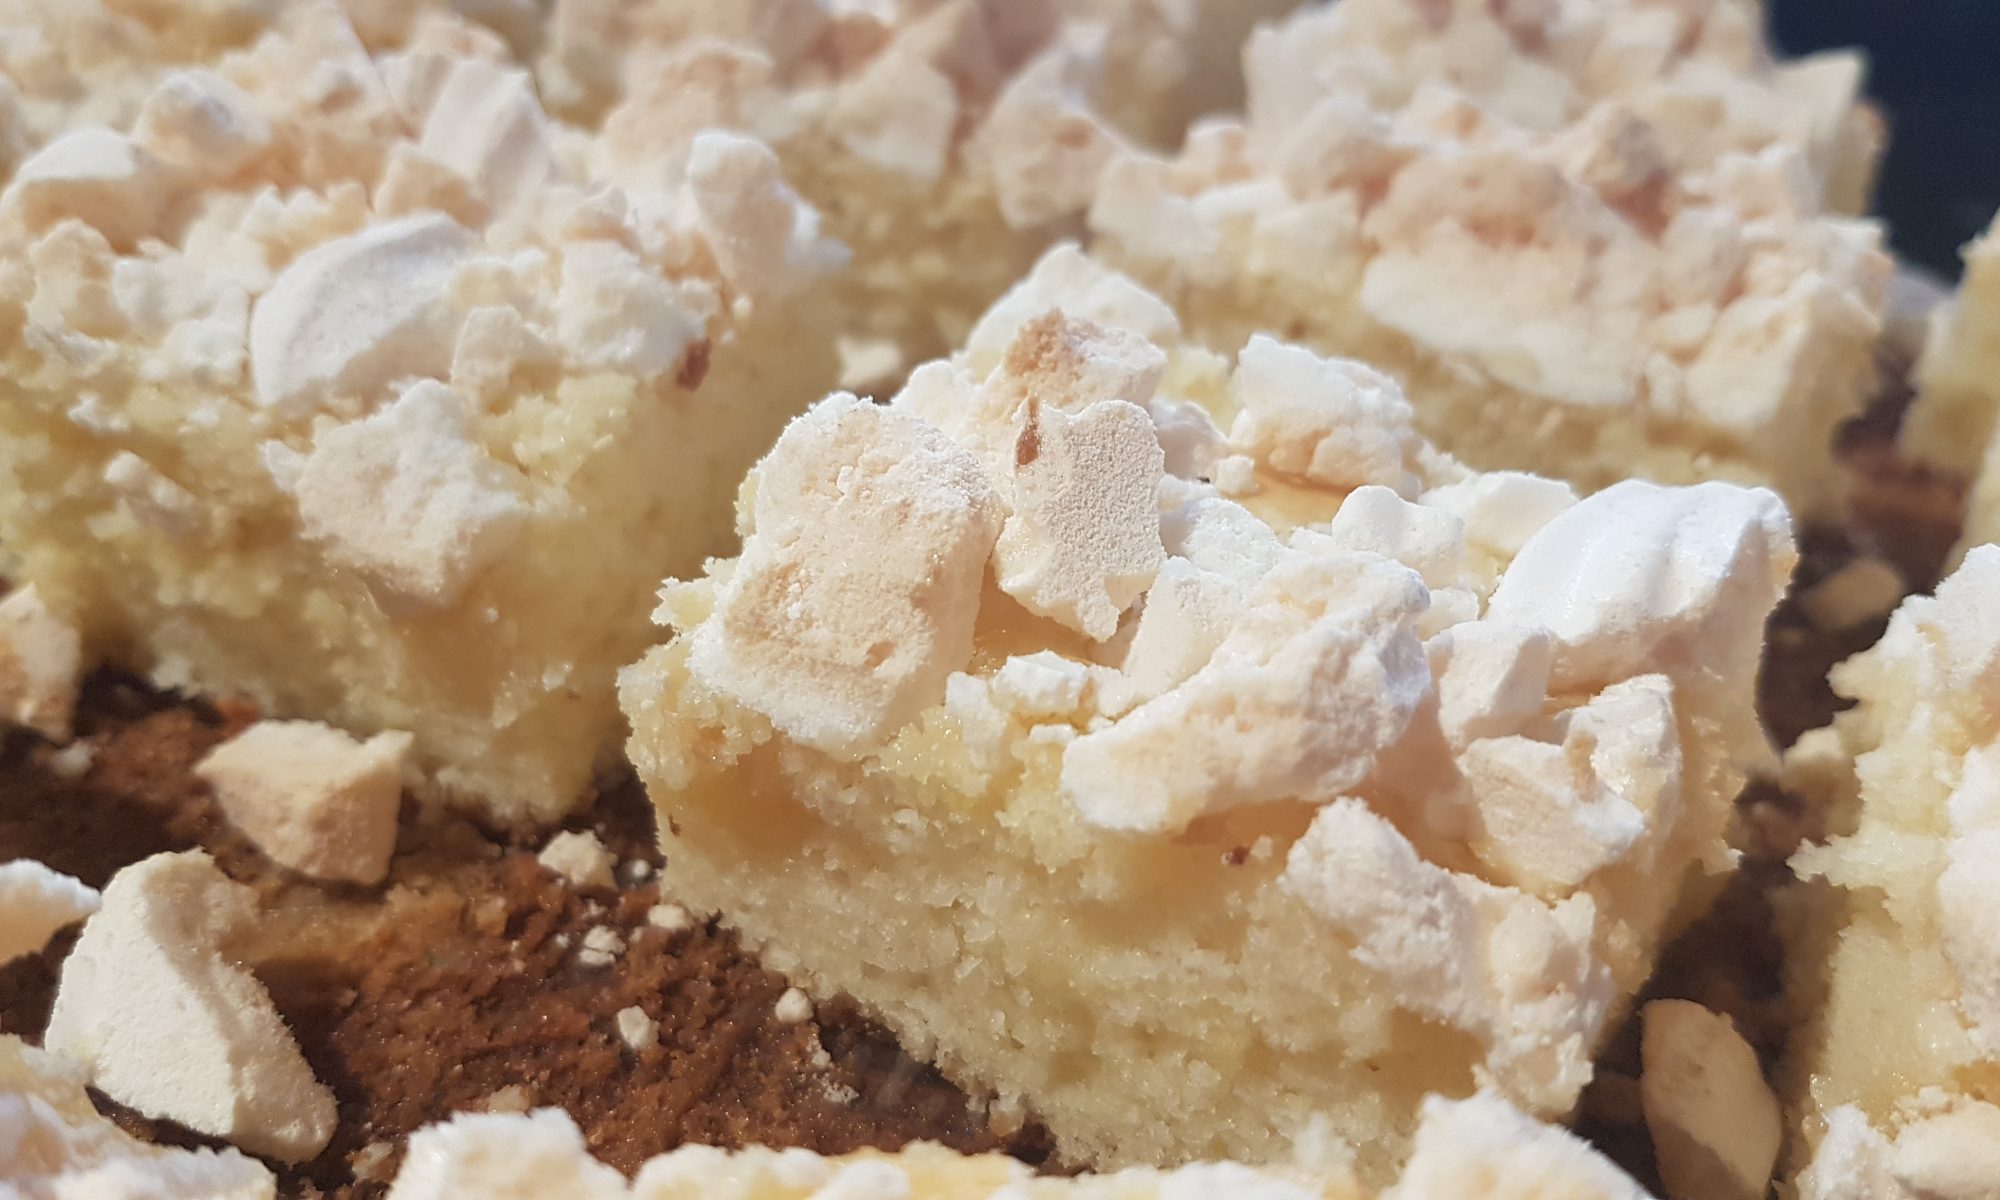
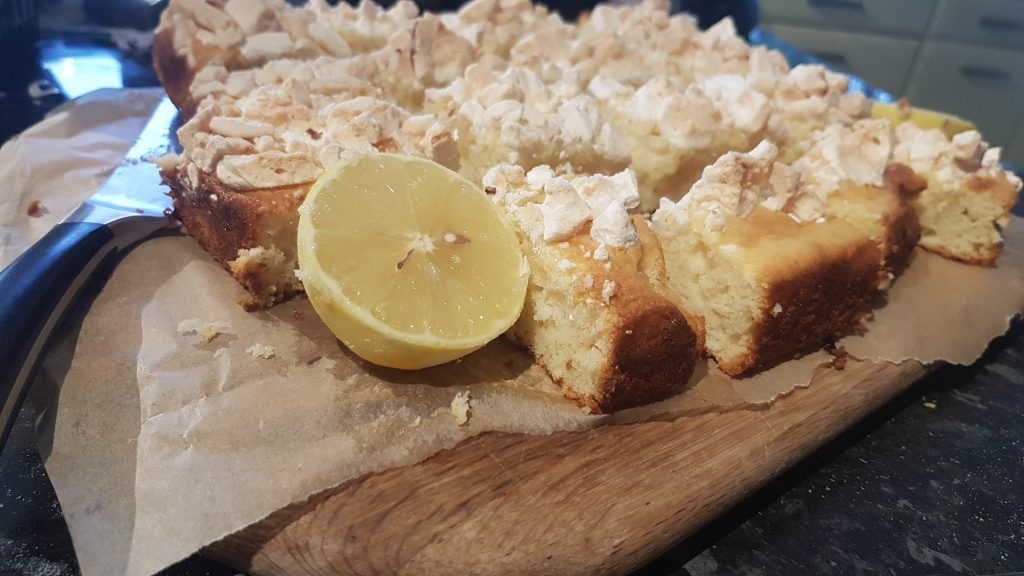
I love the tang of lemon. Citrus fruit is so very yummy and lemons are one of my favourite ingredient to bake and cook with. I do love a good lemon meringue pie, but the time between embarking upon the bake and finally getting to sample it often puts me off baking it with the kids. Enter this Lemon Meringue Traybake; a yummy, tangy moist lemon cake with loads of smashed meringue covering its top. It is completely yummy and quick to make. It also involves smashing meringues which my kids think is amazing. I think it must be that I am giving them something to destroy on purpose!

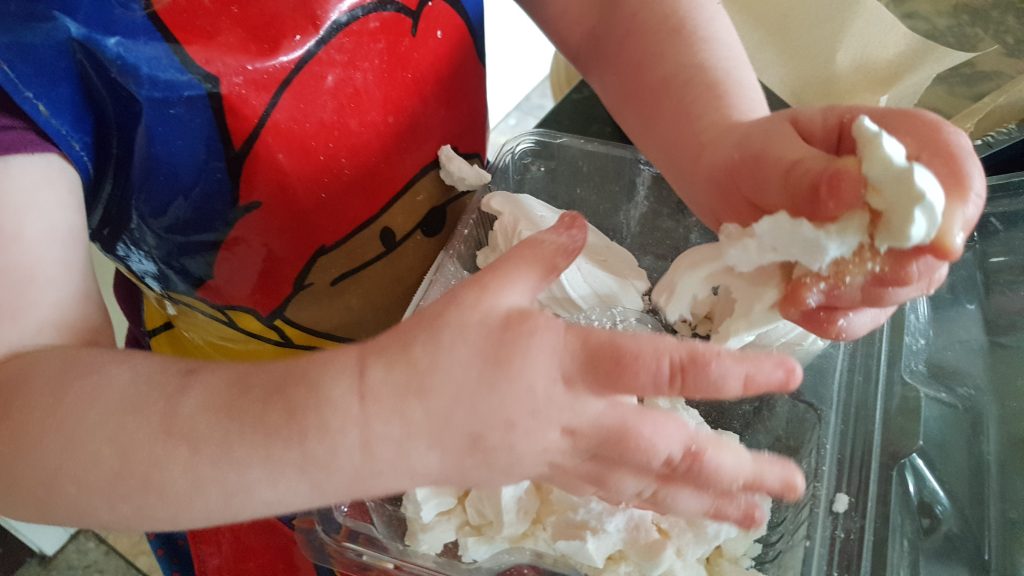
Yes Ophelia, you may smash the meringue!
Picnic ready!

We took this traybake to a picnic with friends and not only did it travel well, but Seb managed to polish off 3 pieces. He tried to get away with stealing a fourth, but was stopped! This is certainly a sign of good cake!

Ingredients

  • 4 ready made meringue nests
  • 3tbsp ready made lemon curd
  • 300g caster sugar
  • 3 large eggs (separated – I did this bit for the kids)
  • 225g Greek style natural yoghurt
  • grated rind of 2 lemons
  • 175g self raising flour
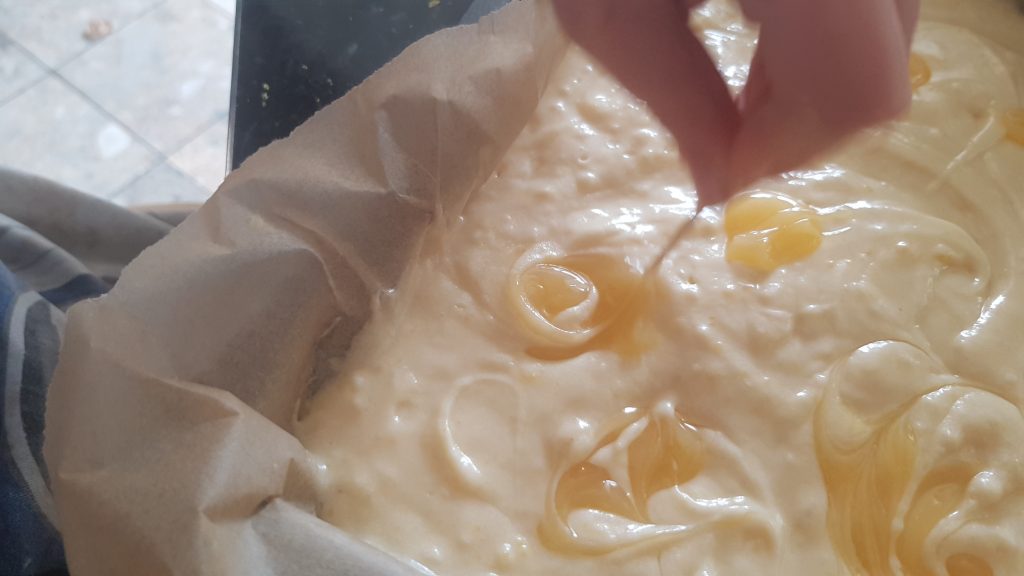
Swirling in the lemon curd.

Method

  1. Preheat the oven to 160°c fan and grease and line a brownie pan.
  2. Beat the sugar, butter and egg yolks together.
  3. Add the yoghurt and lemon zest and mix together.
  4. Sift in the flour and fold it into the mixture.
  5. With electric mixers, whisk the egg whites until soft peaks form and then gently fold into the other mixture.
  6. Pour into the brownie pan.
  7. If your lemon curd is quite thick, you may need to loosen it in the microwave for a couple of seconds. Take small amounts of the lemon curd and dollop onto the traybake in random places.
  8. With a toothpick, gently swirl the curd in a squiggle to create a pretty pattern.
  9. Crush the meringues, but make sure there are some slightly larger pieces in there too.
  10. Sprinkle the crushed meringue all over the traybake.
  11. Cover with foil, ensuring that it doesn’t touch the mixture.
  12. Place in the oven for 35-45 minutes (oven dependent – in my mum’s oven it only takes 35, but in mine it needs closer to 40). The cake is cooked when it is springy and a skewer inserted comes out clean.
  13. Leave to cool completely in the tin before removing and cutting into squares or slices.
  14. Enjoy with friends or refuse to share!

This traybake is delicious, but to prevent the meringue going too soft it is best eaten on the day it made or the following day. It will keep for up to a week in the fridge, but if you want the meringue to retain a crispier texture, it is best to eat it sooner!

Easter Florentines

There are generally copious amounts of chocolate in our pantry. I keep on contriving new places to sneak more into the house away from the kids’ (or my husband’s) prying eyes. Usually this is a challenge, but when we approach Easter (or even Christmas for that matter), my task seems to become nigh on impossible! However, I am a stubborn woman and where there’s a will there is a way! In our house, chocolate falls into several categories; general eating chocolate, chocolate for a particular purpose (such as a cake or bake) and Kat’s chocolate. Over the years, Simon has learnt, that he is better not to waste his breath asking me to share my chocolate as it will end in an argument. The safer course is for him to wait for me to offer him some. I am very good at offering him the dark chocolate, which he doesn’t like so I get to keep, but not so accomplished at sharing the chocolate that he would actually enjoy!

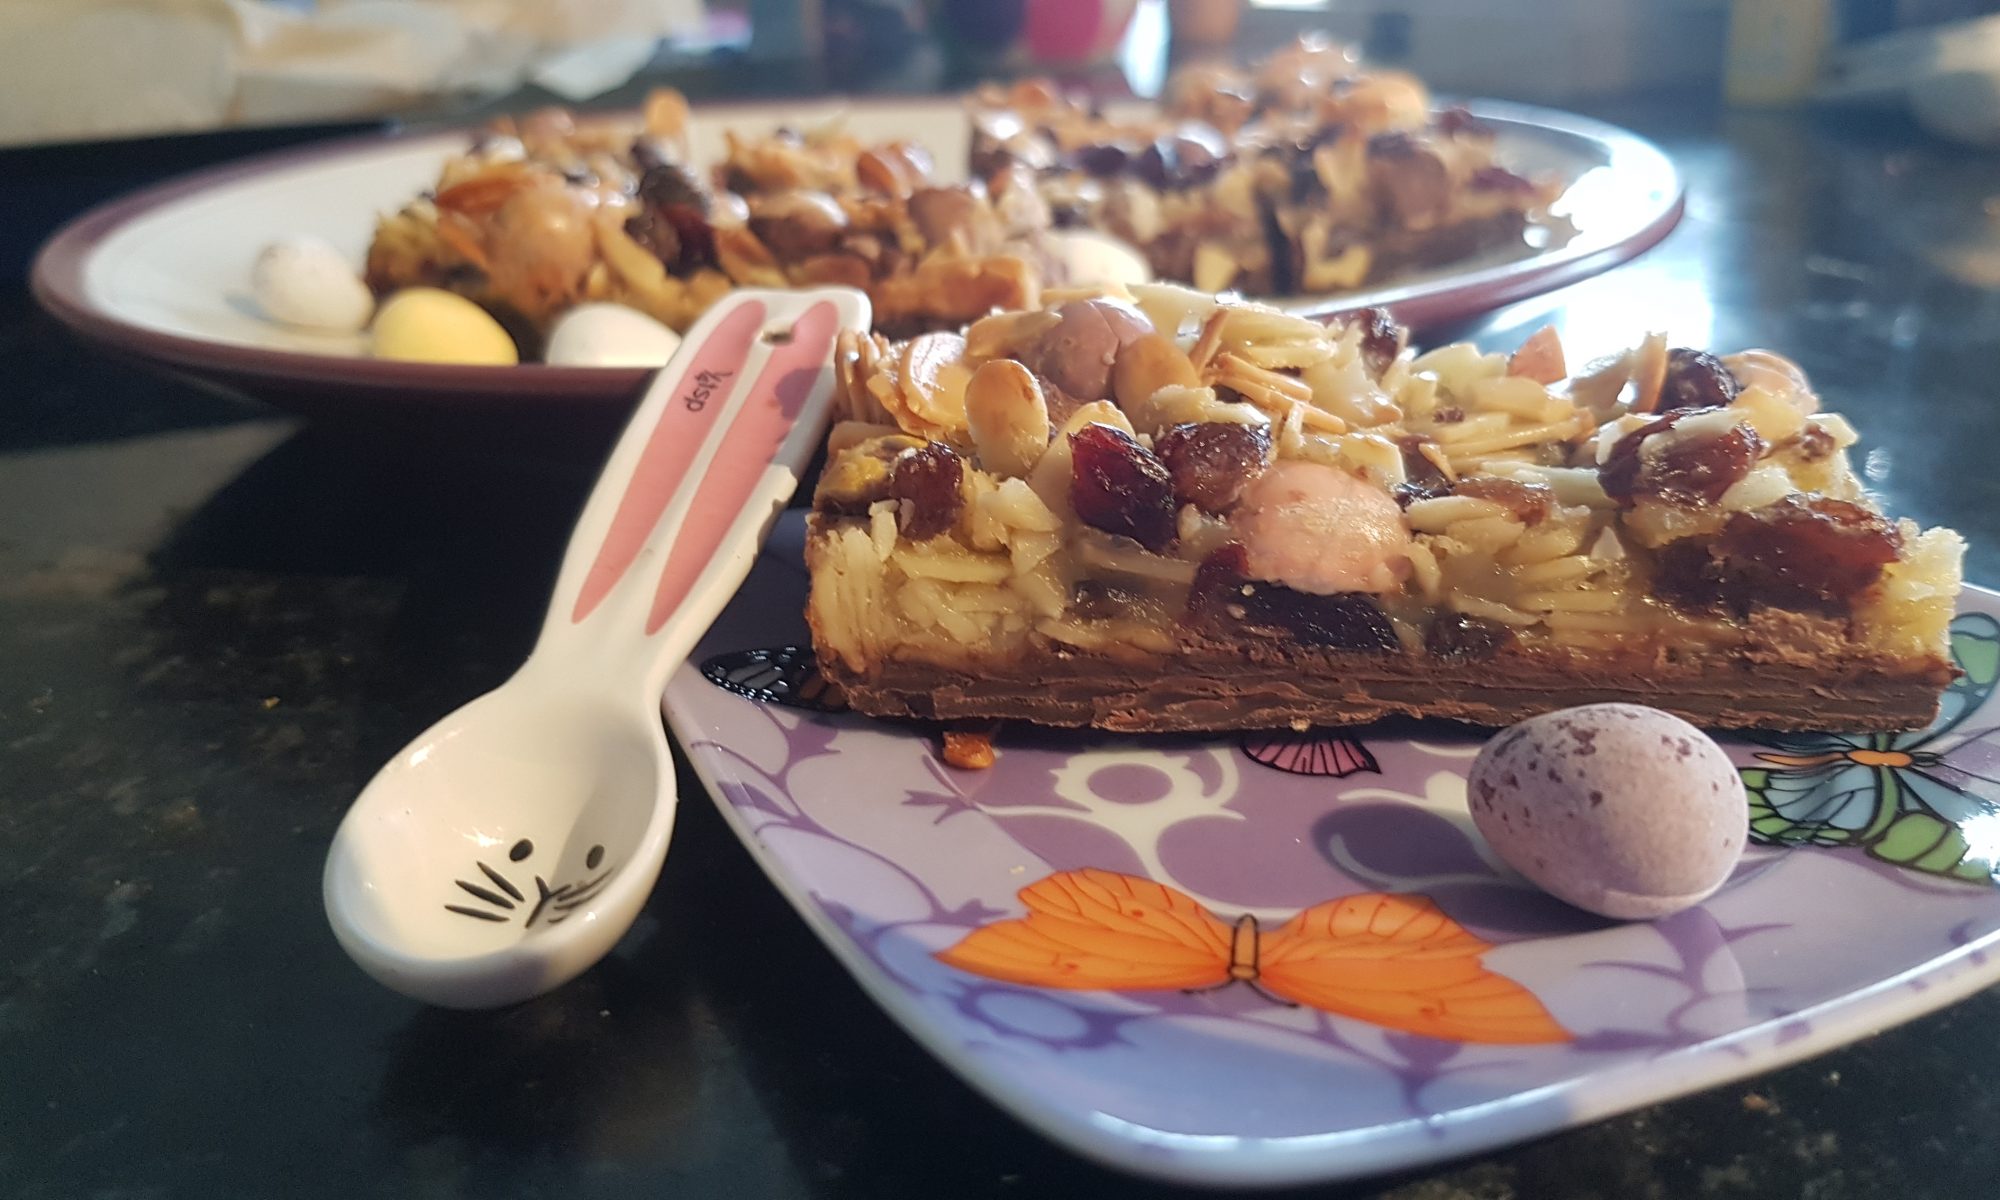
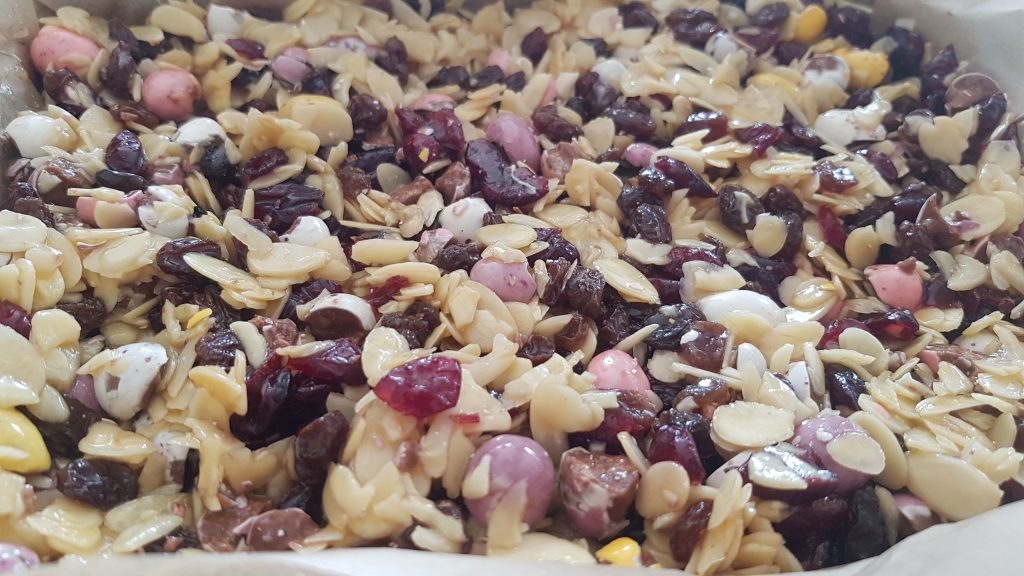
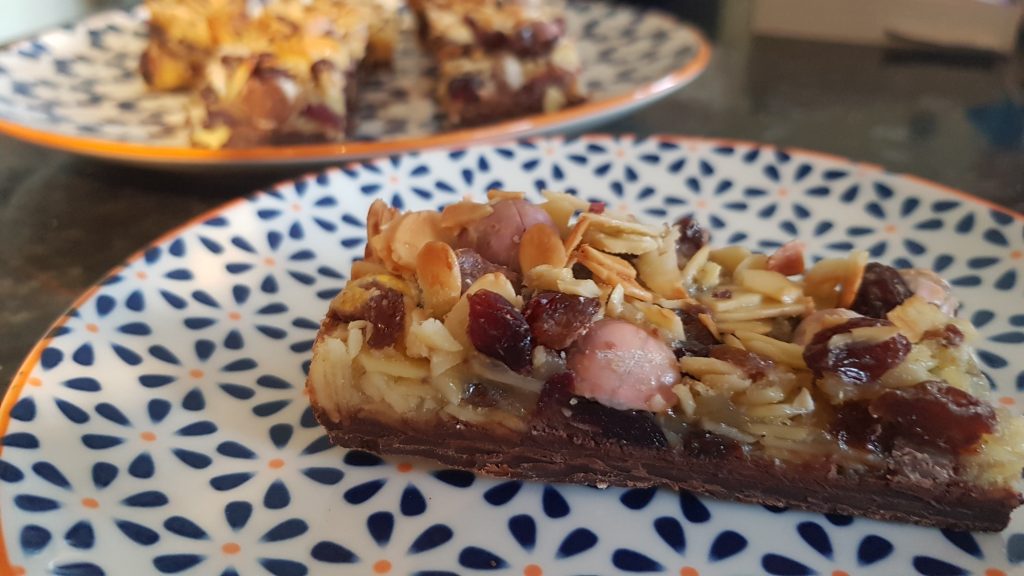
Easter baking wouldn’t be complete if it didn’t involve Mini Eggs. They are totally addictive and would be welcome all year round! This year, I decided to put Mini Eggs into my mum’s favourite biscuit – the Florentine. These Florentines are not at all authentic, but that doesn’t stop them from being remarkably moreish. We melted the base chocolate and allowed it to set in the bottom of the pan before cooking so it didn’t take quite so much time to make. Please please please though, if you are baking with Mini Eggs and small children do not ignore the step to crush them or chop them up.

Ingredients

  • 300g dark chocolate
  • 100g raisins
  • 100g dried cranberries
  • 175g flaked almonds
  • 175g Mini Eggs (crushed)
  • 100g caster sugar
  • 50g melted butter
  • 2 beaten eggs
Ready for the oven!

Method

  1. Grease and line a brownie tin with baking parchment.
  2. Break up the chocolate and put in a heatproof bowl and place over a simmering pan of water to melt.
  3. Once melted (the bowl will be hot), adult pour it into the lined brownie tin and ask your little chef to tilt the tin so that the chocolate covers the entire base. Put in the fridge to set.
  4. Preheat the oven to 170°c fan.
  5. Put the mini eggs into a ziploc bag and bash with a rolling pin until they are all crushed.
  6. Crack the eggs into a small bowl or mug and whisk.
  7. Put the dried fruit and almonds in a large bowl and mix.
  8. Add the sugar, melted butter and beaten eggs and mix until fully combined.
  9. Add the crushed mini eggs and mix again.
  10. Remove the brownie tin from the fridge and put the egg mixture on top of the chocolate and gently spread to completely cover it.
  11. Put in the oven for 20-25 minutes until golden brown.
  12. Leave to cool completely in the tin and once fully cooled cut into fingers or squares and store in the fridge. We left ours to refrigerate overnight before slicing to ensure they were completely cool and sliced with a knife heated in boiling water.
Oh yum!

Unfortunately we are not seeing my mum until just before Easter and it is highly unlikely there will be any left by then! Sorry mum! I peer at them every time I open the fridge, just to check they are still there (and inhale their gorgeous scent) and to ensure no bandits children have come to treat-nap them! I should also add, the kiddies had small squares. I did have a large slice or three after giving blood, but I considered that that was well deserved!

Unicorn Blondies

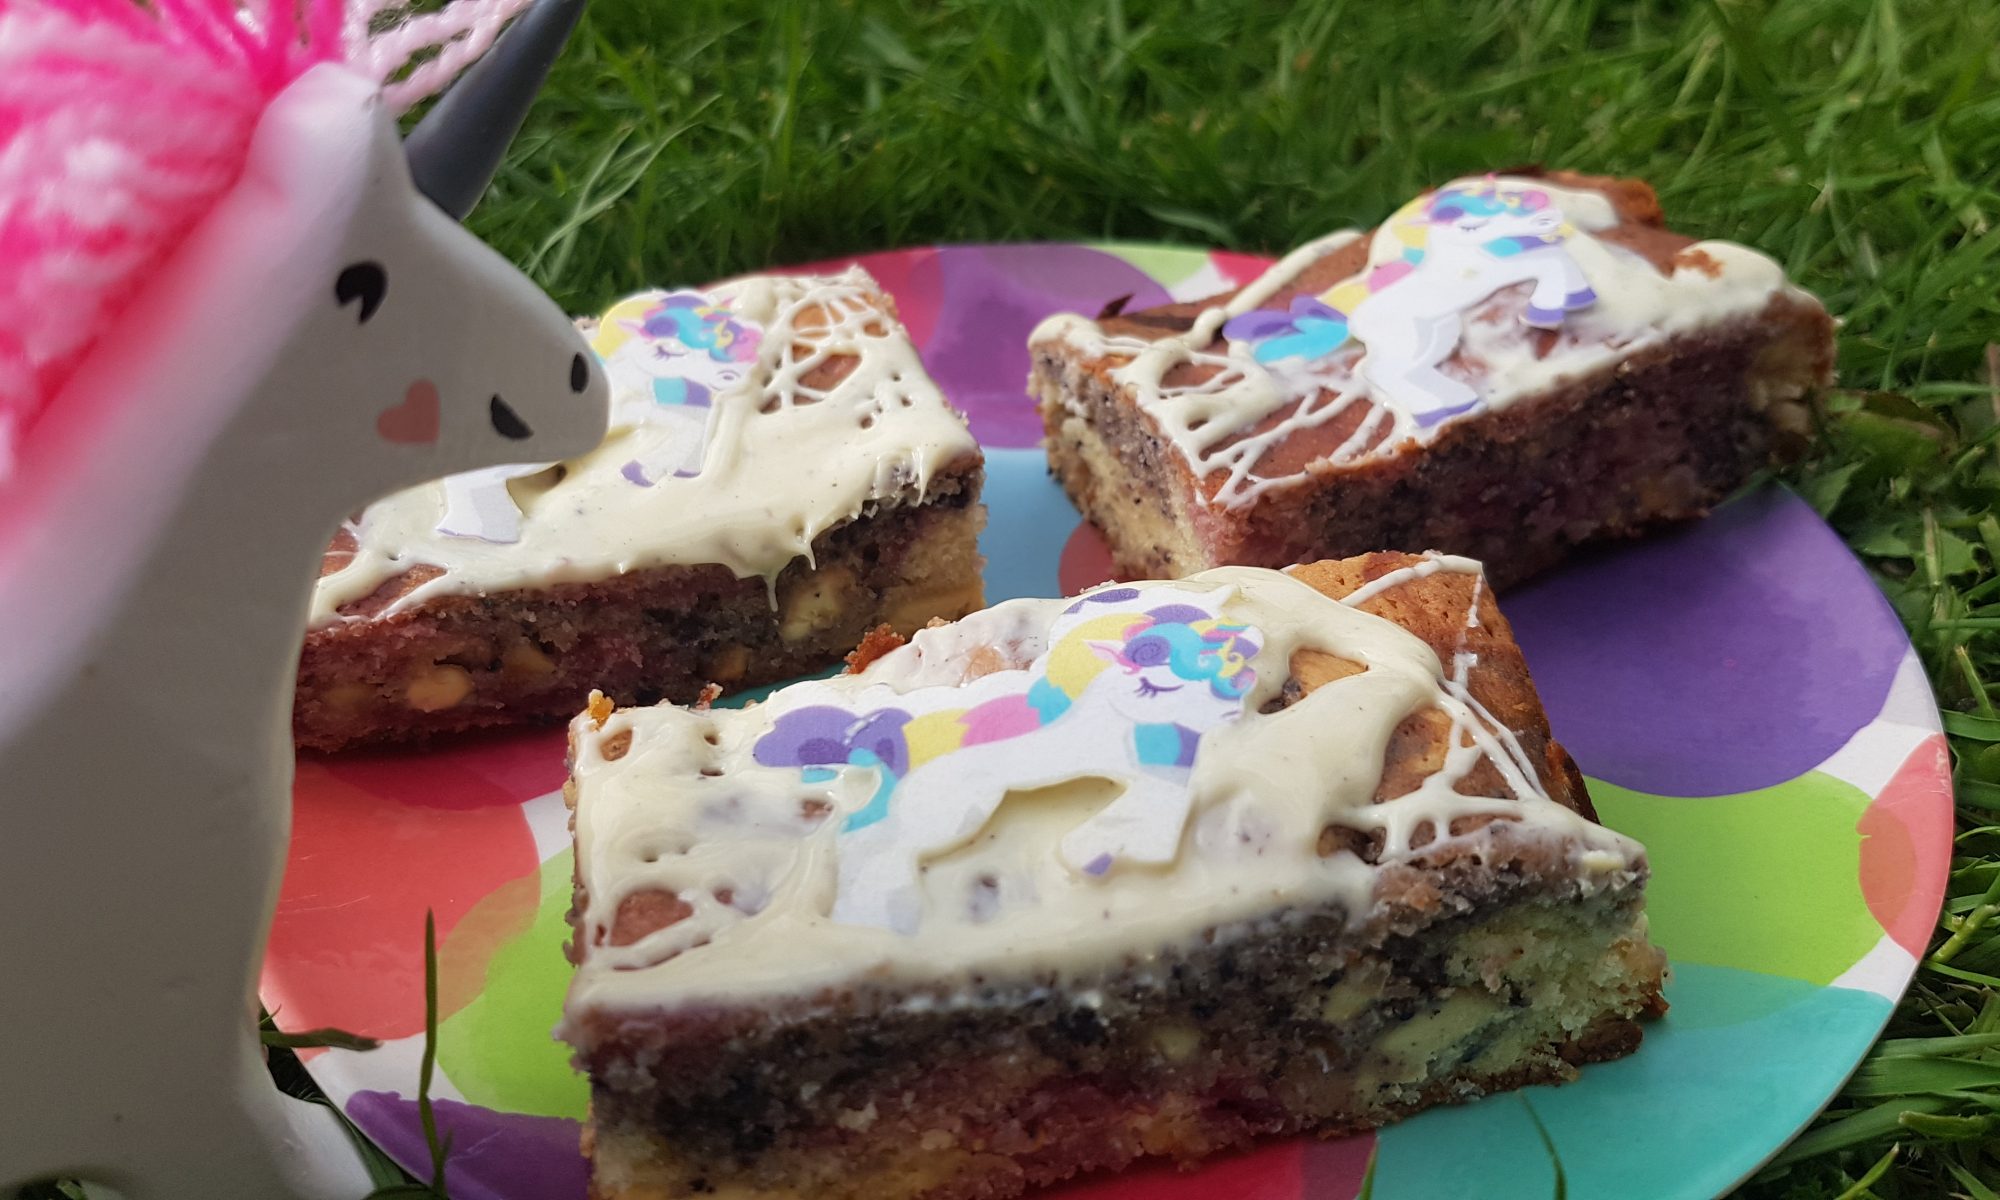
Unicorns standing to attention.

Every time it feels like I have my children pegged, they turn round an surprise me. I know they don’t do this to be contrary, but their little quirks often leave me bemused. Allow me to enlighten you all further. Ophelia, like most two year old girls, loves pink – it is her favourite colour. No one else in the house is allowed to have that colour as their favourite. I have been told that my favourite colour in no uncertain terms is purple! (This is fine by me, but have I created a little bossy monster?!) She lives for the days when she can wear as many mismatched items of pink clothing and display them to as many people as possible. She is also the little girl who refuses to be left out by her brothers and insists on joining in with their superhero games and who received a Hulk costume for Christmas so she isn’t left out.

She also loves glitter and all things that sparkle. Unicorns it seems fall into this category. She has unicorn toys, a back pack and a lunchbox. So with this bake for World Unicorn Day on the 9 April (yes this is a thing, I was unaware until a post on Instagram informed me of the fact) I thought I would be making these with just her, but the boys also eagerly insisted on joining in – an unexpected, yet welcome surprise (this proves you should never – even subconsciously – try to categorise your children…).

The success of this bake should be measured by the fact that I have had to hide them from everyone so that they don’t gobble them up without me noticing. Because I am clearly the only one who can be trusted with leftover cake in this house… My only motive is to ensure that everyone gets their fair share and so I can take a secret blondie tithe!

Beautiful colours in the blondie.

To make the different colours, we used frozen blueberries and raspberries instead of food dyes. They don’t produce as vibrant a colour as food dyes do, but they do add a really nice fruity taste to them. They also make me think that they are slightly healthier despite all the chocolate!

Ingredients

  • 400g white chocolate (300 for inside the blondies and 100 for on top)
  • 75g butter
  • 3 eggs
  • 175g caster sugar
  • 175g plain flour
  • 1/2tsp baking powder
  • 75g frozen blueberries
  • 75g frozen raspberries

Method

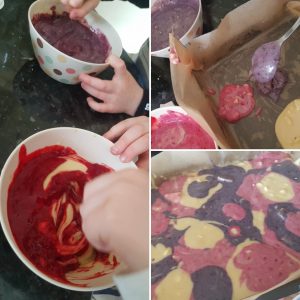
Colouring the blondie, dolloping it into the tin and the pretty pattern it created.


  1. Remove the blueberries and raspberries from the freezer and allow to defrost a little. I placed mine on defrost in the microwave for 20 seconds each.
  2. Preheat the oven to 170°c fan and grease and line a brownie pan.
  3. While still in the packets, bash the chocolate with the end of a rolling pin to make small pieces.
  4. Place 100g of the chocolate pieces into a heatproof bowl with the butter and put in a double boiler until all melted. Allow to cool a bit.
  5. Put the sugar and eggs in another bowl and whisk together until smooth and completely combined.
  6. Gradually add the chocolate mixture to the egg mixture and beat together.
  7. Sift in the flour and the baking powder and fold together.
  8. Add another 200g of the bashed chocolate and mix so all the bits are evenly distributed.
  9. Divide the mixture between 3 small bowls as evenly as you can.
  10. Using a stick blender, zap the blueberries and raspberries (in their separate containers) until they are smooth.
  11. Put the blitzed raspberries into one of the blondie bowls and the blueberries into one of the other bowl and mix to combine.
  12. With three separate spoons, dollop alternate blobs of the three mixtures into the brownie pan creating a pretty pattern as you go.
  13. Place in the oven for 25-30 minutes until cooked.
  14. Remove from the oven and allow to cool in the pan for a while.
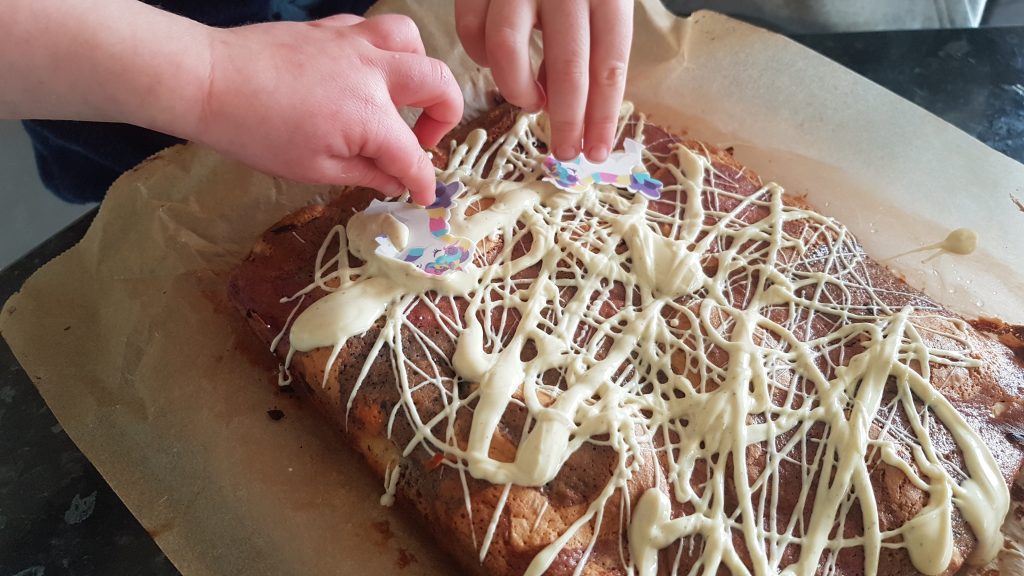
  15. Melt the final 100g of white chocolate and drizzle all over the blondies (we used a teaspoon to do this) and decorate with copious amounts of rainbow or unicorn sprinkles or even edible unicorn wafers like we did.
Adding the finishing touches to make them worthy of the unicorns.
Photo bombing unicorn!

I hope you have a sparkly and colourful World Unicorn day filled with rainbows and other beautiful things, but most importantly these Unicorn Blondies. Today is 9 April, and I am happy to report that we have three small squares of blondie left for the kids today. That is good planning and restraint on my part!

Choccy Toffee Squares

I try alone mummy!

I find baking therapeutic. I even find baking with children relatively therapeutic. This is especially true when the alternative is a 20-minute argument about what board game they should play or TV show they should watch or a meltdown because one little Gilbert didn’t listen to any other little Gilbert’s ideas. The reason for this is generally because any argument can be solved by licking the bowl or by consuming copious amounts of leftover melted chocolate. Yes there are times when the melted butter pot gets knocked over or the flour manages to escape out of the packet and everyone swears they didn’t touch it, but the good in it definitely outweighs the bad and most of the time I get through the activity with my frazzled temper relatively intact! Disclosure; I would like to remind my lovely readers that the more children you try to cook with, the more stressful the undertaking for the ‘responsible’ adult. As a mum who has been cooking with little people for around 5 years, if you manage to get through the planned recipe with no mistakes or cross words I salute you! You deserve all the chocolate!

When I managed to decorate without the children!

These squares were initially mummy-daughter baking time. The boys didn’t participate as they had agreed on a game and were tearing around the garden completely immersed in their imaginations (completely lovely to see especially seeing as it was a rather rotten day). But as is so often true, two is company and three a crowd so Ophelia was at a loose end. And as it is a darn sight easier to cook with just one child rather than my whole tribe, I enjoyed this time with just her and she seemed to enjoy having me completely to herself!

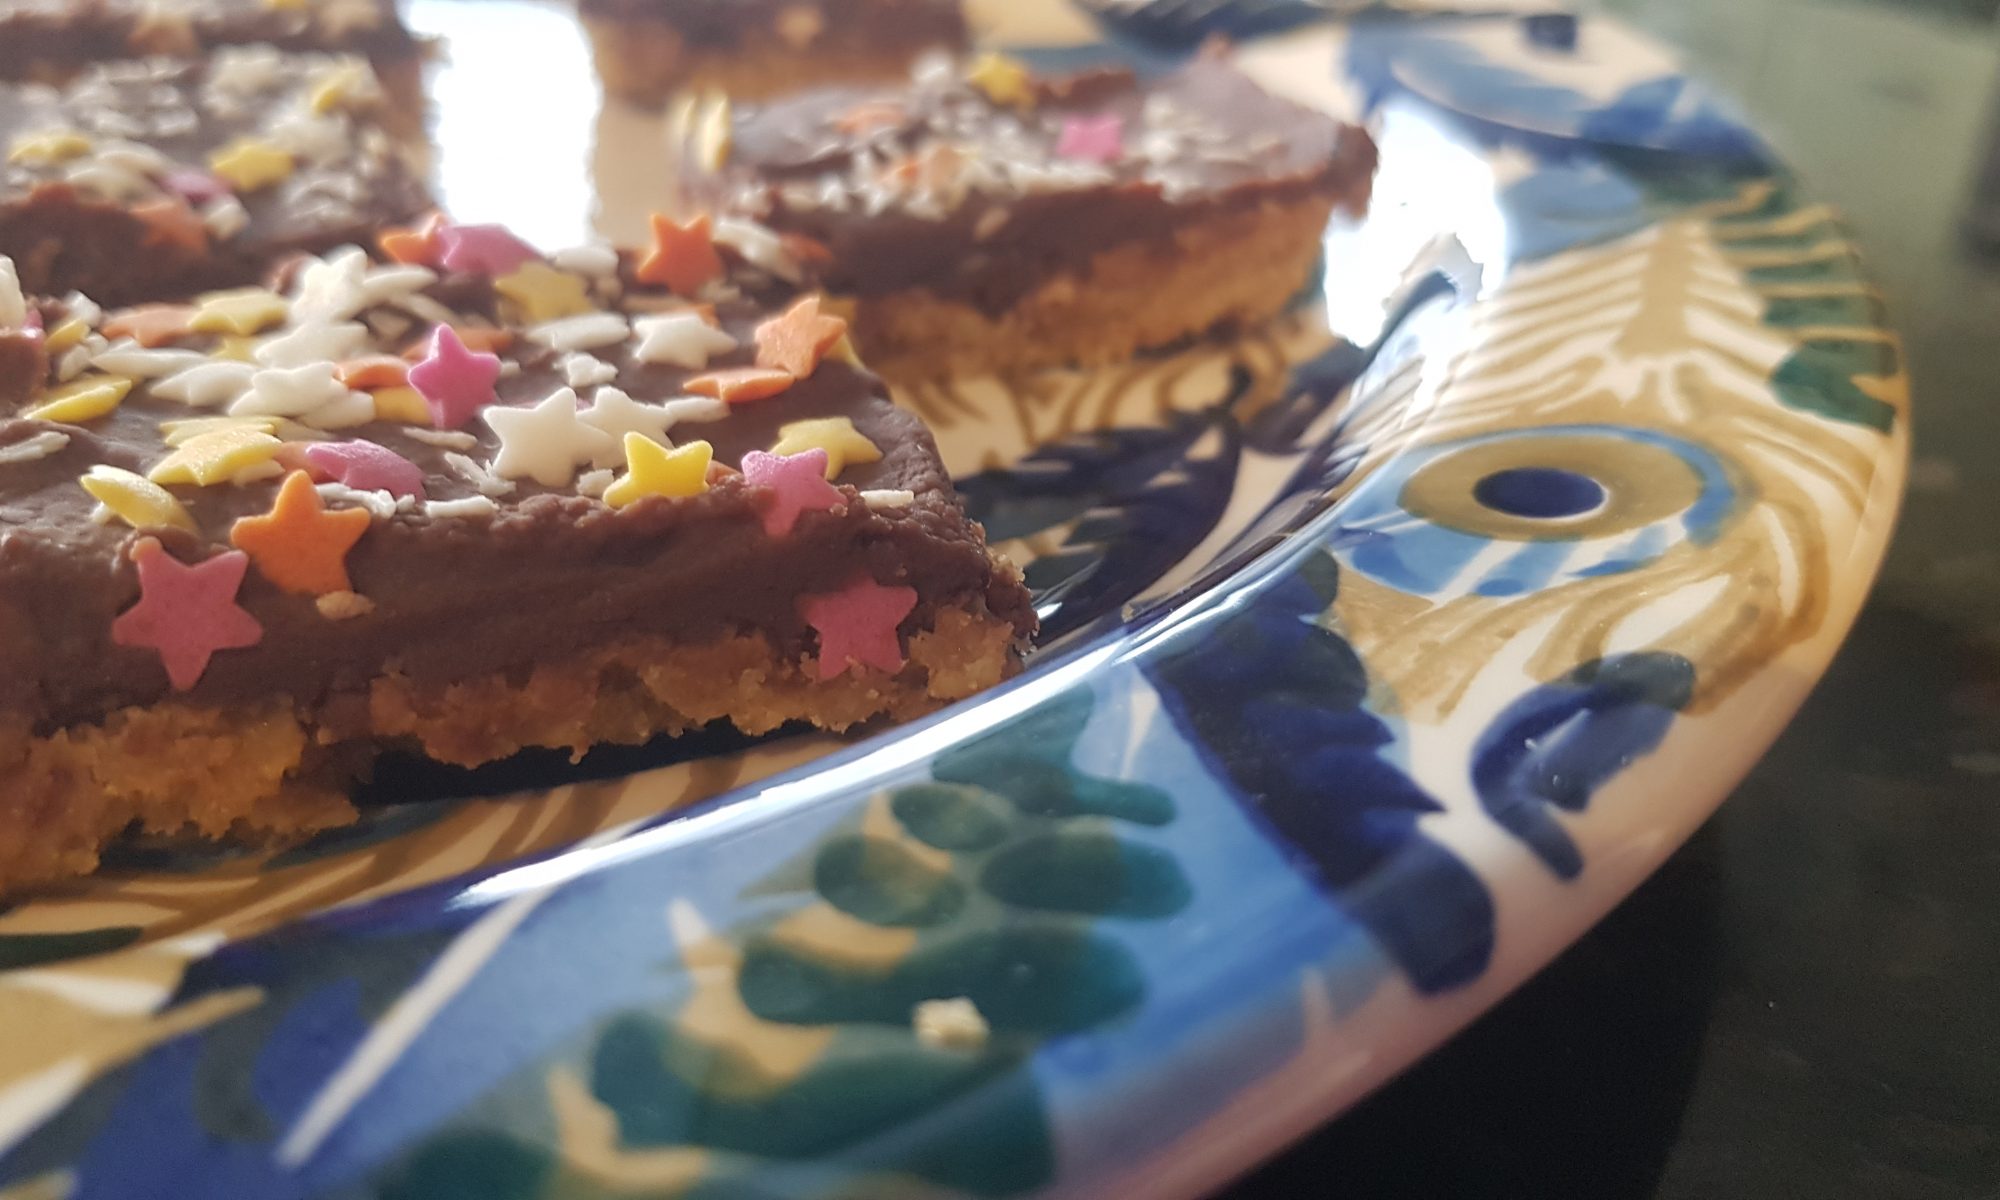
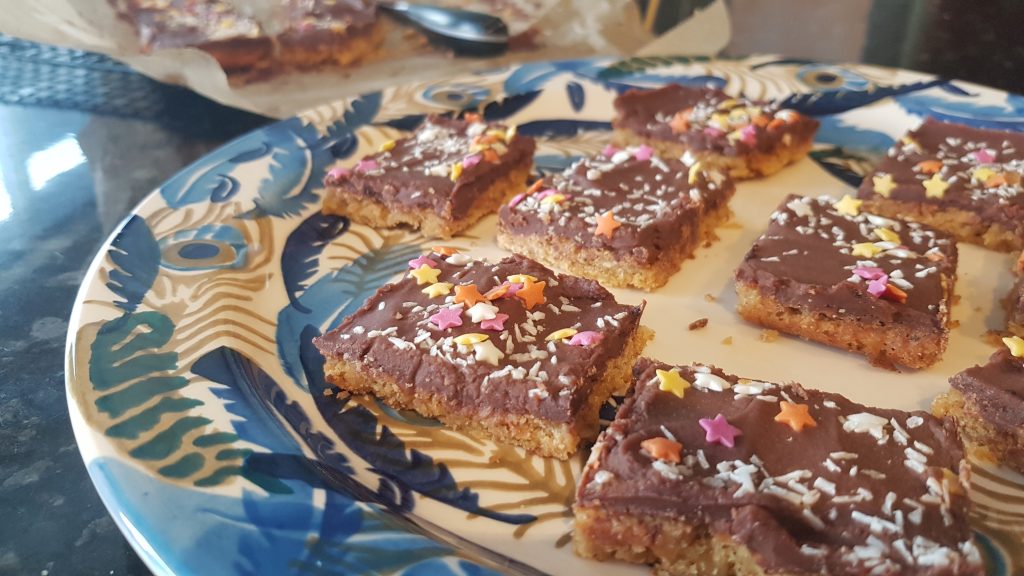
This recipe makes a thin biscuit bar coated in chocolate. Don’t be tempted to place it in a smaller tin for a thicker biscuit. It will fit in a brownie pan when spread out thinly – your little chef may need a bit of help to achieve this. If you are making these bars with small children I recommend using more chocolate to coat them as it is easier to spread a thicker layer of chocolate than a thin one to ensure that the top of the bar doesn’t get damaged. I think these are yummy with desiccated coconut or chopped almonds on the top. Unsurprisingly, Ophelia prefers them with sprinkles – the pinker the better! You will see that she and I compromised and both coconut and multi-coloured stars to decorate one of the batches.

Ingredients

For the biscuit base

  • 100g margarine (or softened butter)
  • 100g light soft brown sugar
  • 1 egg yolk
  • 50g plain flour
  • 50g porridge oats (this recipe works best with bog standard oats rather than jumbo ones)

For the top

  • If for young children 200g milk chocolate and 50g margarine/butter
  • For older children 150g milk chocolate and 40g margarine/butter
  • Chopped nuts, desiccated coconut or sprinkles to decorate

Method

The concentration level was immense!
  1. Preheat the oven to 180°c fan and grease a brownie pan with a silicone baking brush and line it with greaseproof paper.
  2. Put the margarine, sugar and egg yolk into a bowl and mix until smooth, pale and creamy.
  3. Sift in the flour and add the oats and gently mix them in.
  4. Carefully spread in the brownie tin (adult help may be required here) and cook for 15-20 minutes until golden.
  5. Remove from the oven and melt the chocolate and margarine. This can be done in a double boiler on the stove or in the microwave. If you are using the microwave, melt it in short bursts on medium power, ensuring you mix it frequently.
  6. Pour the chocolate over the biscuit base (the tin will probably still be hot, so carefully) and spread with a silicone spatula. Decorate with your toppings of choice.
  7. Cut into squares while still warm and then leave in the tin until they have completely cooled.
The compromise: sprinkles and desiccated coconut!

Every time these are made I am surprised when they survive the night as I am always worried I may decide to sneak down stairs and devour the whole batch before the children wake! Do get in contact if you make these and let me know what you think.