Coconut didn’t feature very much in my childhood. I am certainly making up for that now. I can’t seem to shake the need to buy Bounty bars or to make copious bakes with the chocolate and coconut combination. I do have to try an find a more inventive place to hide my secret stash of chocolate though as my husband has discovered it and I need to ensure its safety!
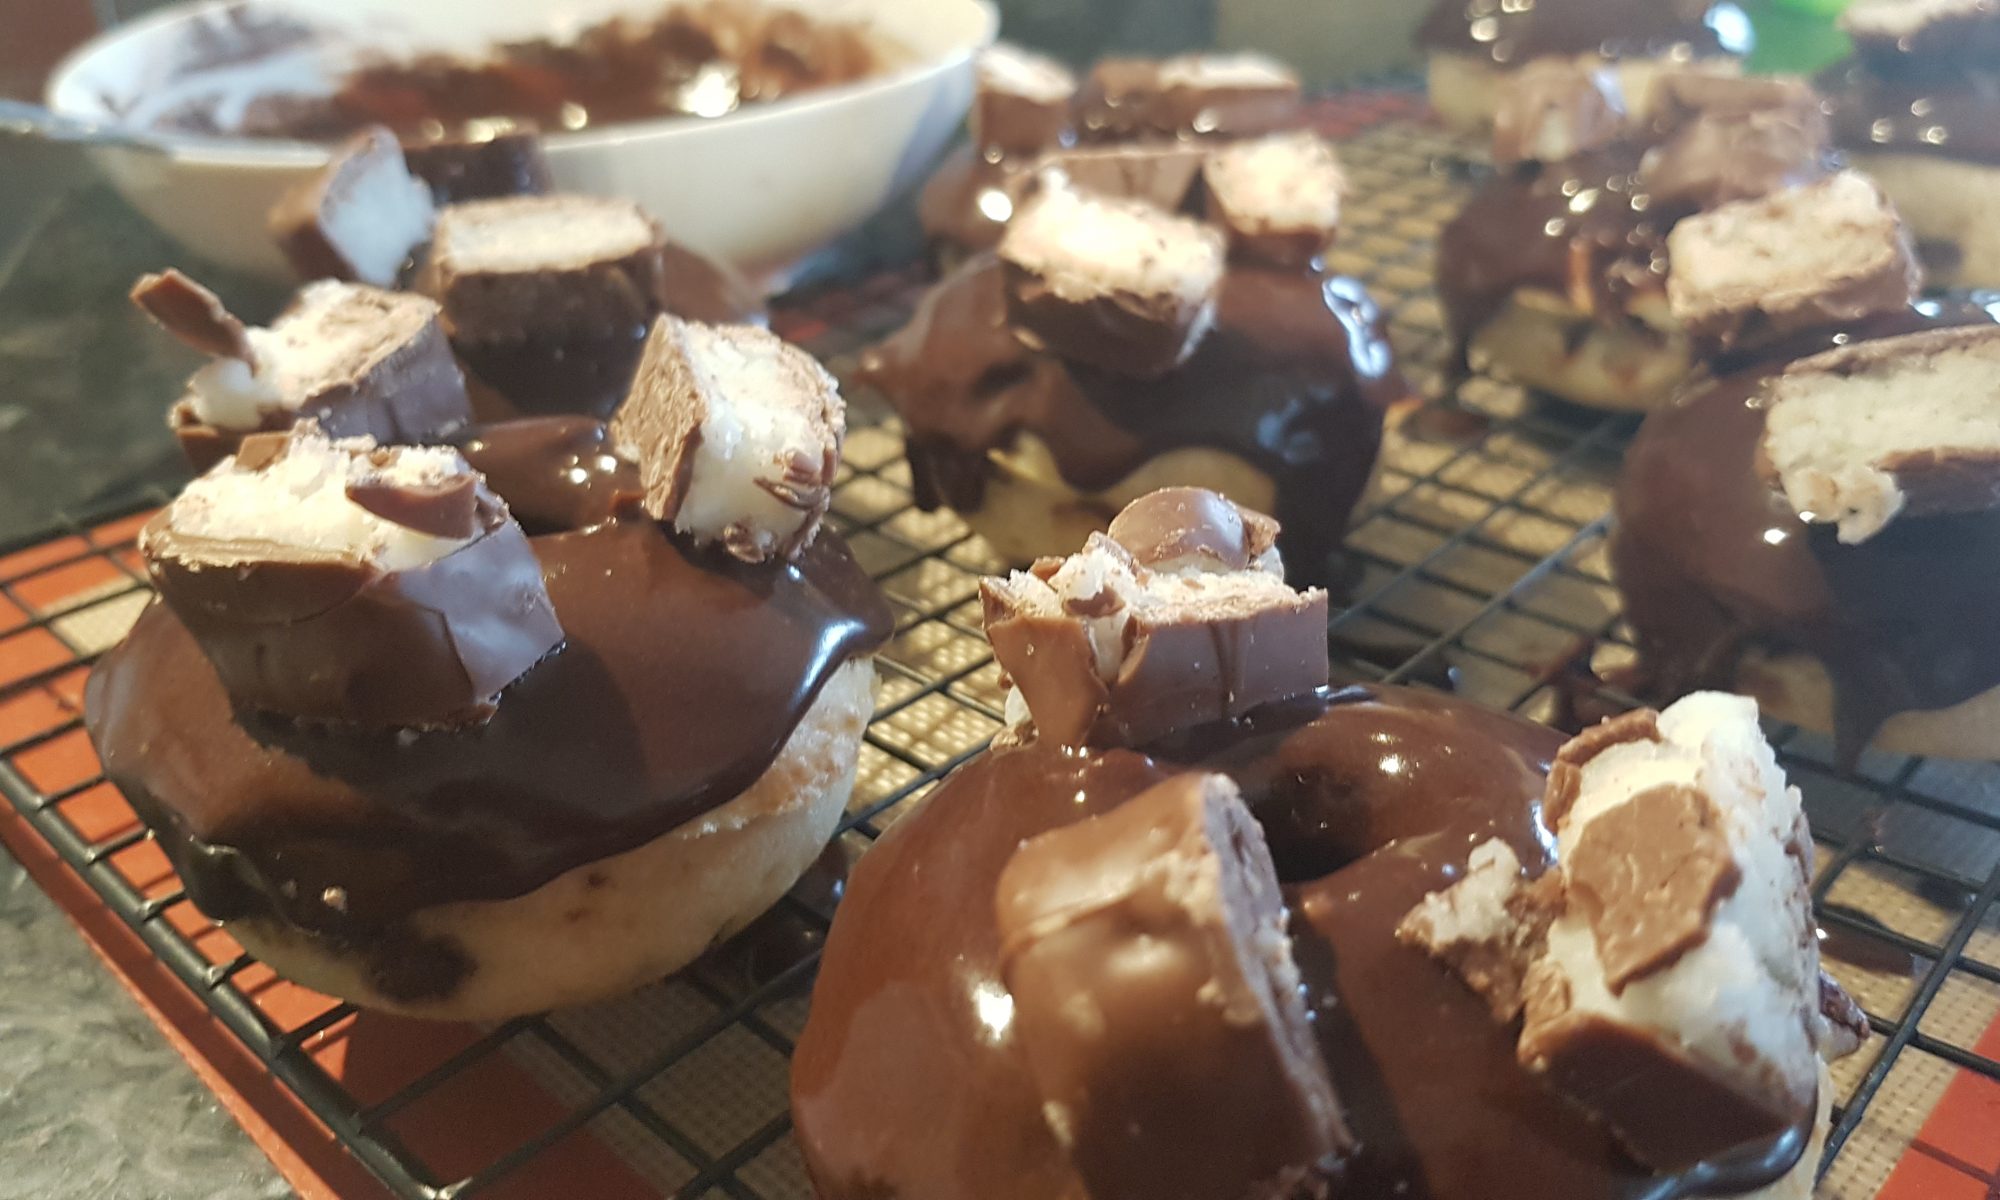
This time, I decided that we would used baked doughnuts to showcase the chocolate-coconut combination and decorate with pieces of Bounty bars. The whole process was really fun, but for the kids the best bit was dunking the doughnuts and then counting out the three slices of Bounty to decorate them. I would be lying if I said these survived 24 hours in our house. I won’t tell you how long they lasted, but I can guarantee I didn’t eat the majority of them. I am surprised by this (I have a very big sweet tooth), although you may not be.
Ingredients
This recipe makes 9 doughnuts.
For the doughnuts
- 125ml unsweetened almond milk
- 25ml melted coconut oil (just under 1/4 cup when solid)
- 100ml coconut flavour Greek style natural yoghurt
- 1tsp coconut flavour
- 190g plain flour
- 1 1/2tsp baking powder
- 100g sugar
- 25g desiccated coconut
- 100g chocolate chips
For the glaze
- 2tbsp cocoa powder (unsweetened)
- 100g icing sugar
- 3-5 tbsp water
- 3 large Bounty bars, sliced
Method
- Preheat the oven to 170°c and grease your doughnut trays. We have silicone doughnut trays, but I do tend to give them a spray with frylight anyway.
- Melt the coconut oil in the microwave and put all the liquid ingredients in a large jug and mix them until fully combined.
- Put the flour, baking powder and sugar into a large bowl and mix.
- Make a well in the centre and pour the liquid ingredients into it. Bring it all together with a spoon.
- Add the desiccated coconut and chocolate chips and make sure they are evenly distributed.
- Put an equal amount of the mixture in each of the 9 doughnut moulds and place in the oven for 15-17 minutes until they have risen, are golden and springy to the touch.
- Leave to cool in the moulds for a little bit before transferring to a cooling rack.
- Meanwhile slice the Bounty bars and make the glaze by mixing all the ingredients in a bowl.
 This glaze needs to be quite thick for the Bounty slices to stay on well. You may need to add extra icing sugar.
 - Dunk one side of each doughnut in the glaze and then decorate with Bounty slices. Leave to set before enjoying.

The kids are eager to make these again soon as they were so easy and yummy so keep your eyes peeled for more flavour variations! Do drop me a line if you make these. I’d love to hear from you. In the meantime, I shall leave you with another picture of the yummy Bounty-ful doughnuts to encourage you that you really do want to give this recipe a go!


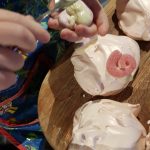

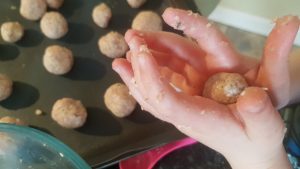 When making the meatballs we talked about textures and scents of the ingredients. We also made different sized meatballs and Seb took great delight in using as many different adjectives to mean big or small to describe them. Who said cooking with the kids only teaches them about food?
 in a bowl and mix well.
 which contain the essence of other favourites? Our kids, in particular the younger two, love baked beans. Beans on toast is a standard Monday night dinner after swimming as after trying to watch two boys swim and then help them get changed again afterwards while ensuring a two year old doesn’t disappear is a really stressful feat. Thank heavens she goes to play with her dear friends the crèche ladies for most of the lesson! (Big thank you crèche ladies.) On the occasions that she has been poolside with me, I have had to drag her away from the edge of the water to prevent her from joining her brothers’ lessons fully clothed!
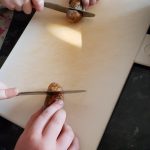 Another popular dinner choice is sausages. I think they would feature a lot more frequently if I let the kids choose the weekly menu! If you asked most children what their favourite meal is, I do think that sausages (meat or veggie) would probably prove one of the more popular choices. My children are happy eating either meat or vegetarian sausages and this dish could in fact be made veggie friendly.
 single hitch. The truth is that each child spilt the melted butter bowl once and I ended up with the contents all over the counter and the floor. I can say I was definitely getting frustrated with the three of them by the end of the process. I didn’t always remain as patient and as calm as I should have, but we soldiered on. Then when it came out of the oven, I saw their impressed faces and it was all worth it. Cliché yes, but 100% true. From experience, I would recommend using a wide-bottomed sturdy bowl for the melted butter rather than a plastic one to prevent accidental spillage.
 Add 90g of the cheese to the bean bowl and mix well.
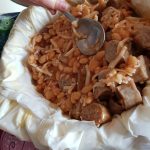
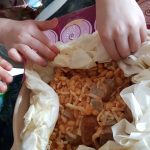 ‘bowl’ (you should have a small circle of exposed bean mixture in the centre of the pie) and brush the scrunched pastry with the remaining butter.
 slice was a bit of a challenge to get out intact, but subsequent slices came out more easily. According to Seb this is; ‘loads better than beans on toast!’ He managed to eat two slices as well as the rest of the food on his plate! I think there may well be more requests for it in the near furture. Do let me know if you try this out.
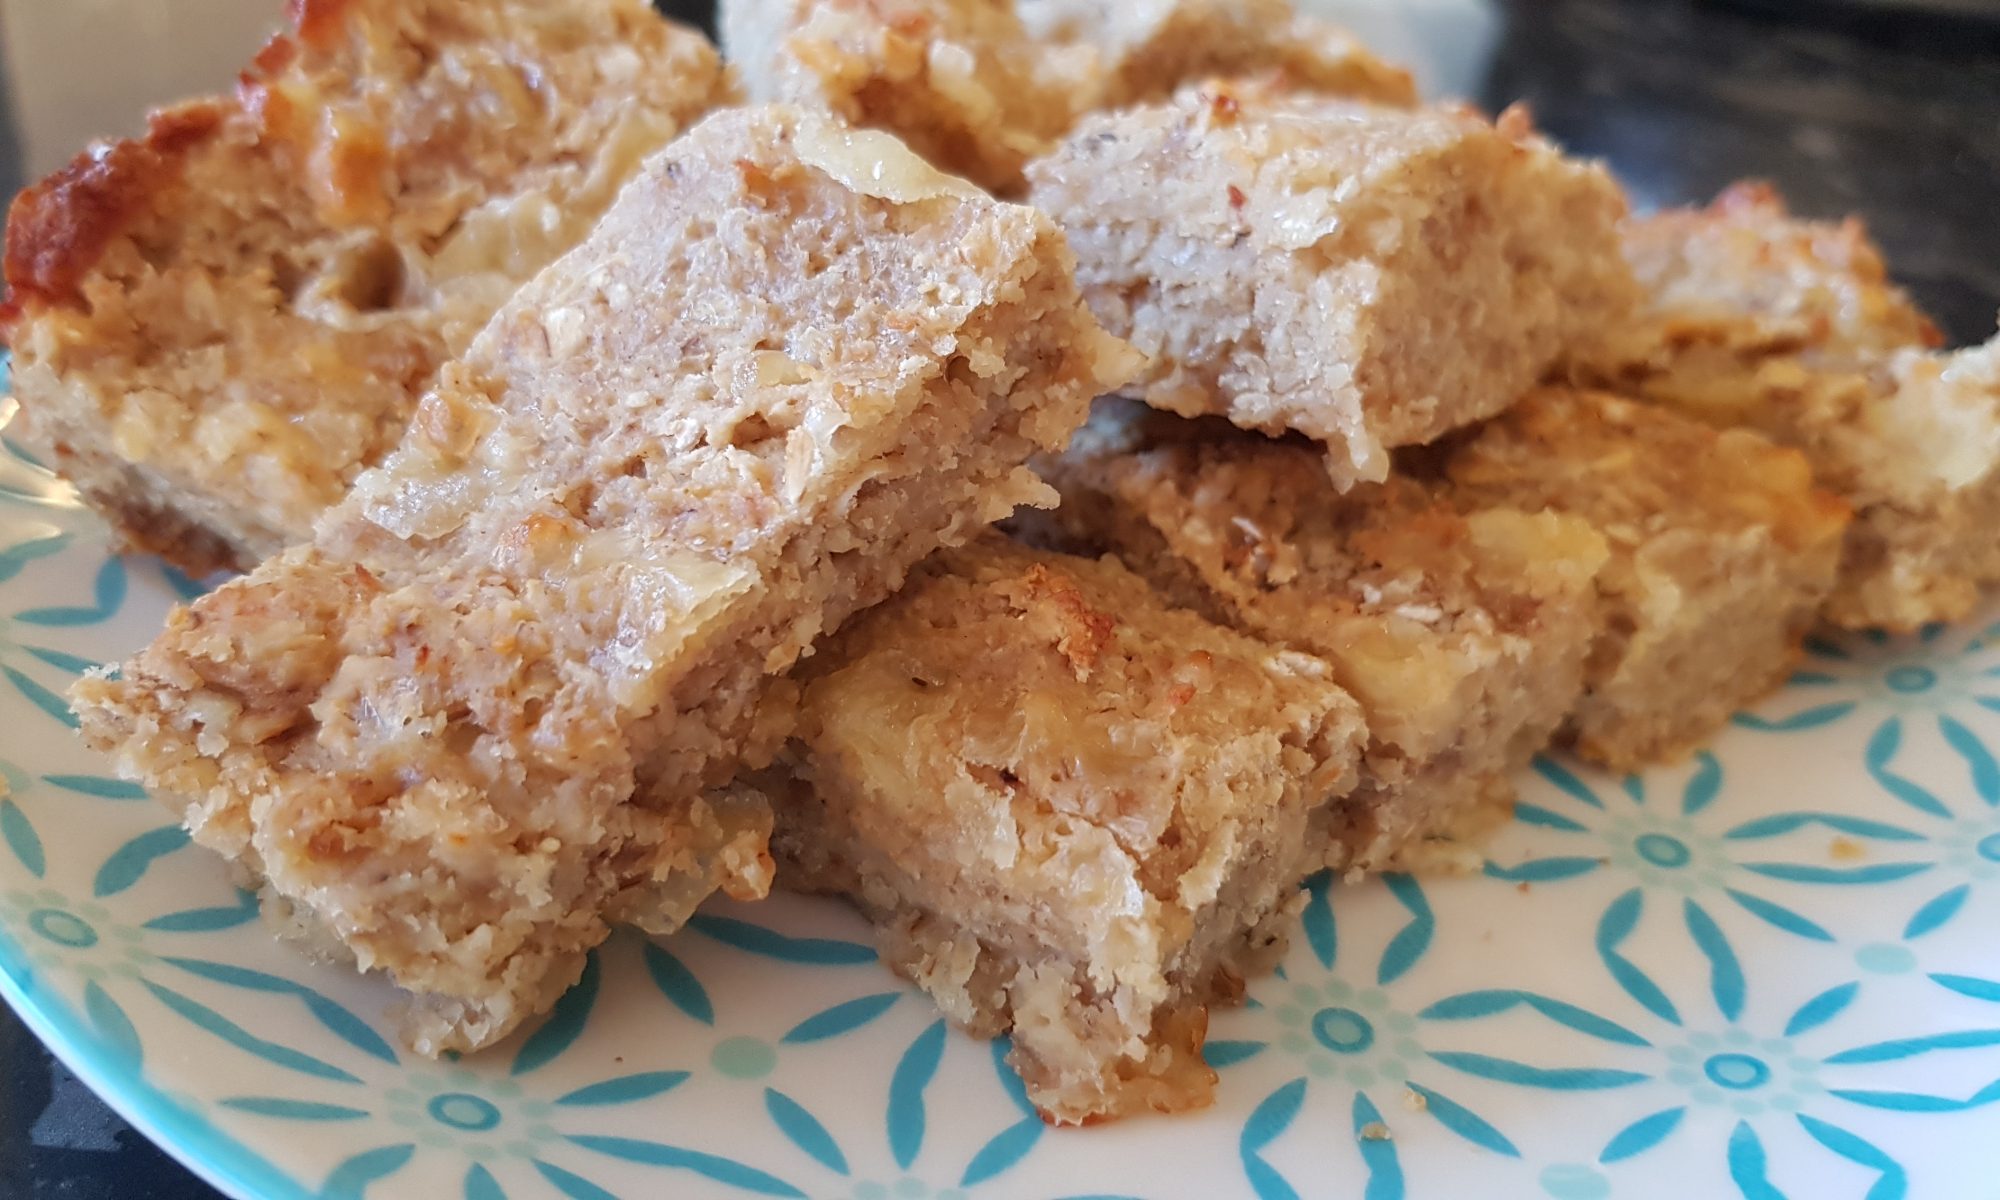
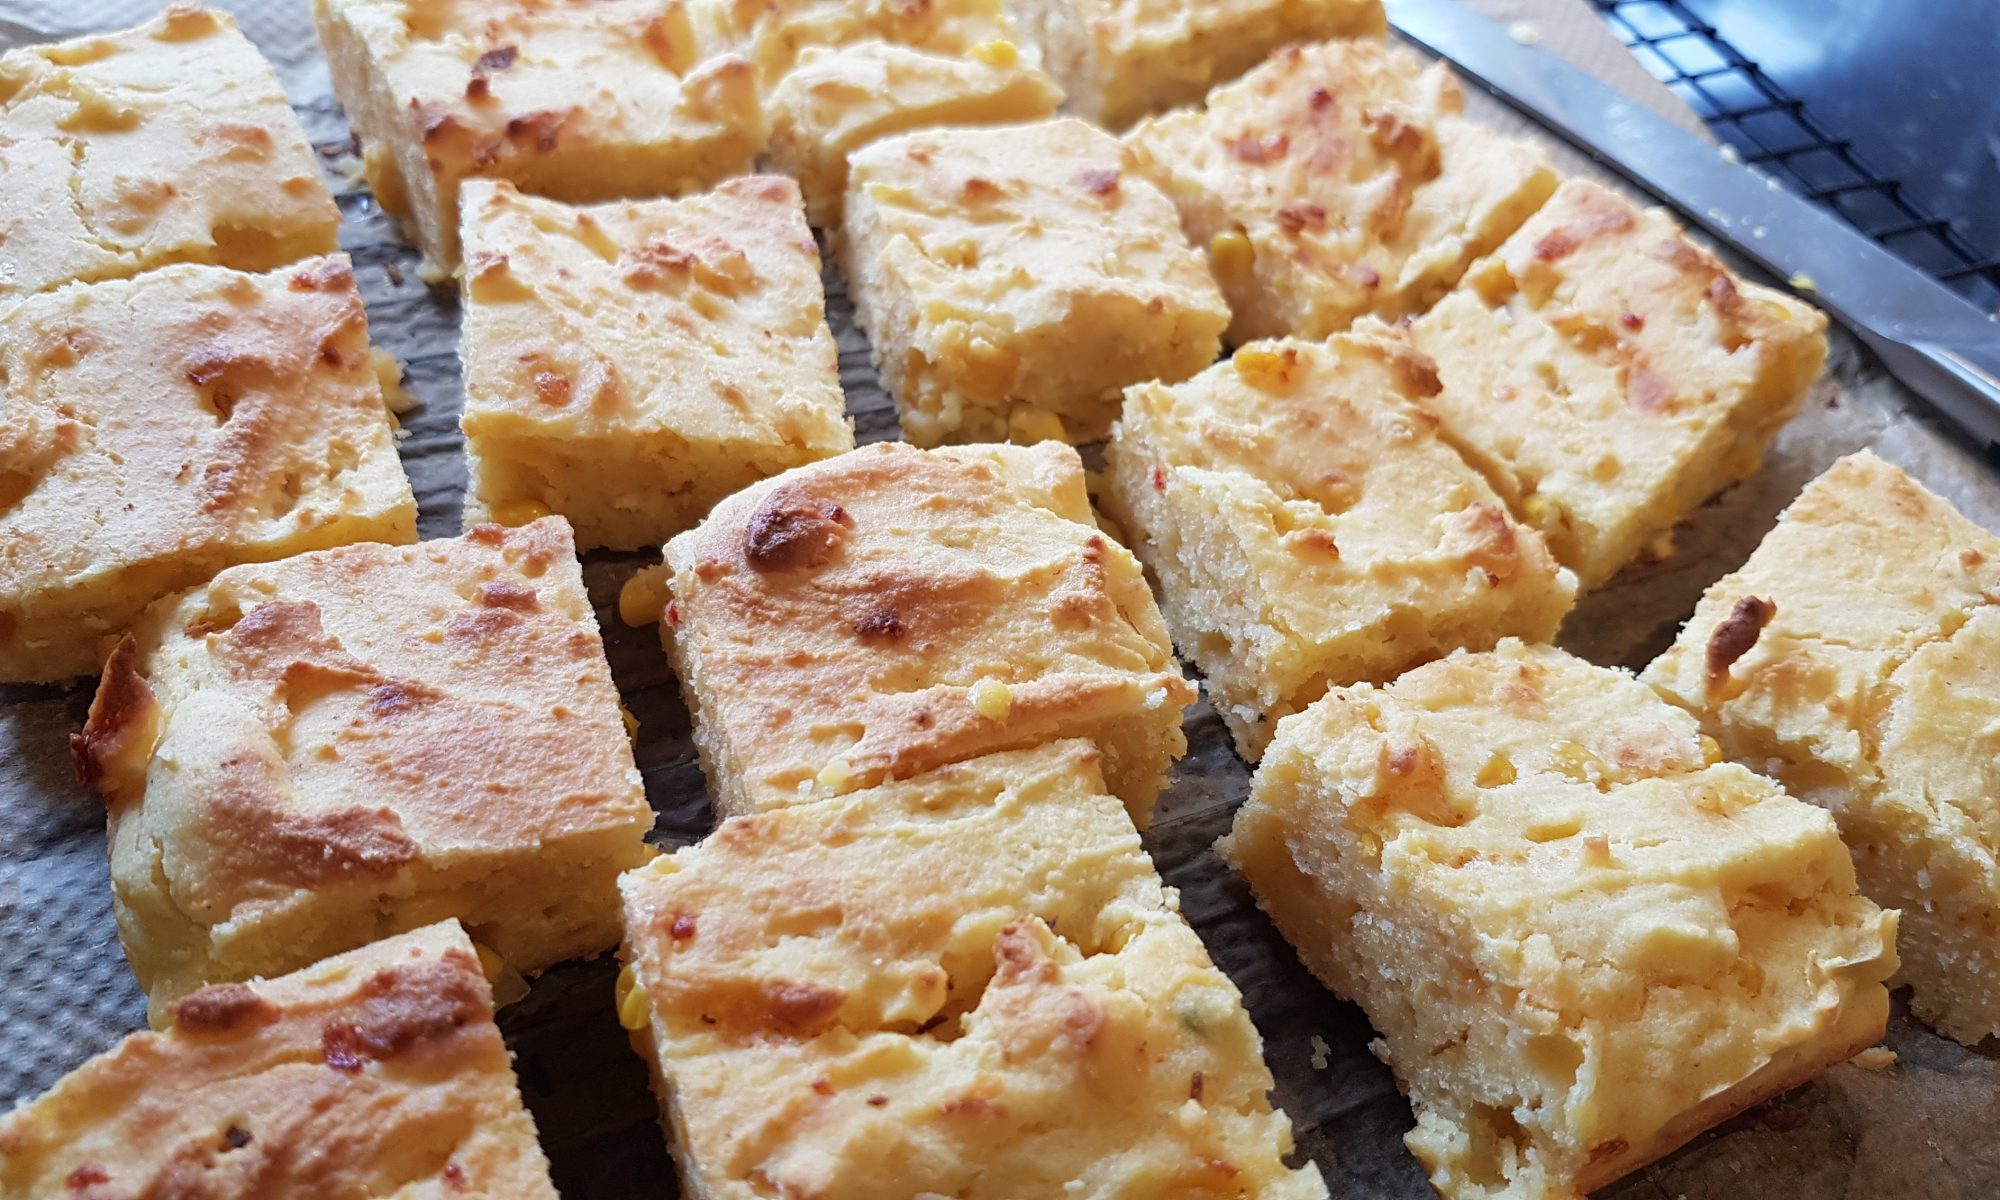
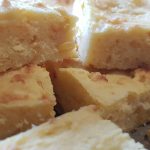
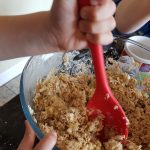 time around I decided it was time to make a savoury flapjack recipe. I was toying with the idea of a hidden vegetable flapjack, then I remembered that with the kids helping me make them they would see the so called hidden vegetables (well courgette which they all seem to despise) and therefore knowing my luck, refuse to try them. My back up was to make a recipe where cheese has a starring role. The kids will gobble up pretty much any snack item which contains cheese. They really must have very strong bones as they all drink quite a lot of milk too. Maybe I shouldn’t be so quick to jump to cheese in pretty much every savoury recipe, but that is another story altogether!
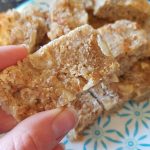 ridiculously addictive. I dare you to only manage one. I cut ours into little fingers so that I wouldn’t eat quarter of the batch in one sitting. Incidentally this also makes them finger food-sized for the smallest of foodies.
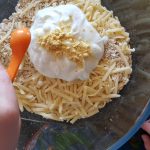 Preheat the oven to 170°c fan and grease and line at 20cm square tin.
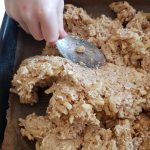
 In case you hadn’t already noticed, I enjoy messing around in the kitchen creating recipes. Furthermore, I love it when the children can get involved in making their after school snacks or meals and contribute to the activity. This makes me feel less like a general dogsbody and more like a proactive parent on a mission to teach the kiddos how to fend for themselves.

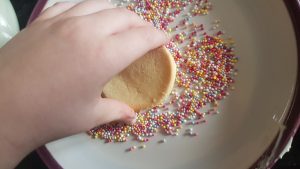
 Bread and Butter Pudding, my sprinkle fix hadn’t been abated. To try and satisfy it, we decided to make giant white Jazzies biscuits. Just in case you are imagining an epic giant biscuit coated in sprinkles, I fear I may well disappoint you when I say these can only be classified as giant when compared to the actual size of a Jazzie! I should also mention, I have been calling these sweets Jazzies for years and I only just realised that the packet says Jazzles! I am going to continue to call them Jazzies as in my head it is more fun and I am struggling to get my head around a new name for this childhood favourite of mine.
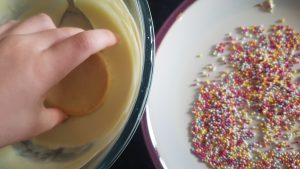 opinion that sprinkles make everything more exciting as these are essentially chocolate buttons coated in sprinkles and they never fail to brighten up my day or bring me out of a grump. I remember taking these to a friend who was ill when I was in secondary school to cheer her up. They certainly didn’t make her immediately better, but they definitely seemed to serve their purpose.
 She also had lots of fun with the
 biscuit dough. I am pretty sure she thinks we make a lot of playdough which when she is done with it goes into the oven so she can then eat it when it has cooled! I am not going to correct her just yet, as I find the mentions of playdough rather amusing; we are most definitely learning through play.