Slow Cooker Easter Egg Cookie

It has been a strange month. Life has changed significantly, but as we approach Easter I am remined of new opportunity and being grateful for everything that we have. I am trying to tell myself that this extra time with the children and their dad at home is a blessing, but I am constantly reminded of my shortcomings and lack of patience as I try and help them with their school work and have them ‘helping’ me with the chores, making them take three times as long. I find safety in familiar ground with them and for me that is cooking with them. We have cooked in the happiest and hardest times of my time as a mum and for me this period is no different. In all the time we have spent in the kitchen we have had some wonderful successes as well as monumental failures. Examples the latter would be a whole bottle of coconut essence working its way into a batch of cupcakes or neglecting to add sugar to another batch… But I have to say I don’t remember how either of those bakes turned out, what I remember is the delight in my kids’ voices when they have been able to do something they hadn’t managed before, or their happy chocolate-stained faces after licking the bowl.

Easter Egg Cookie anyone?

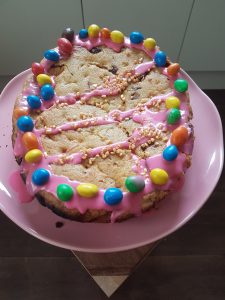
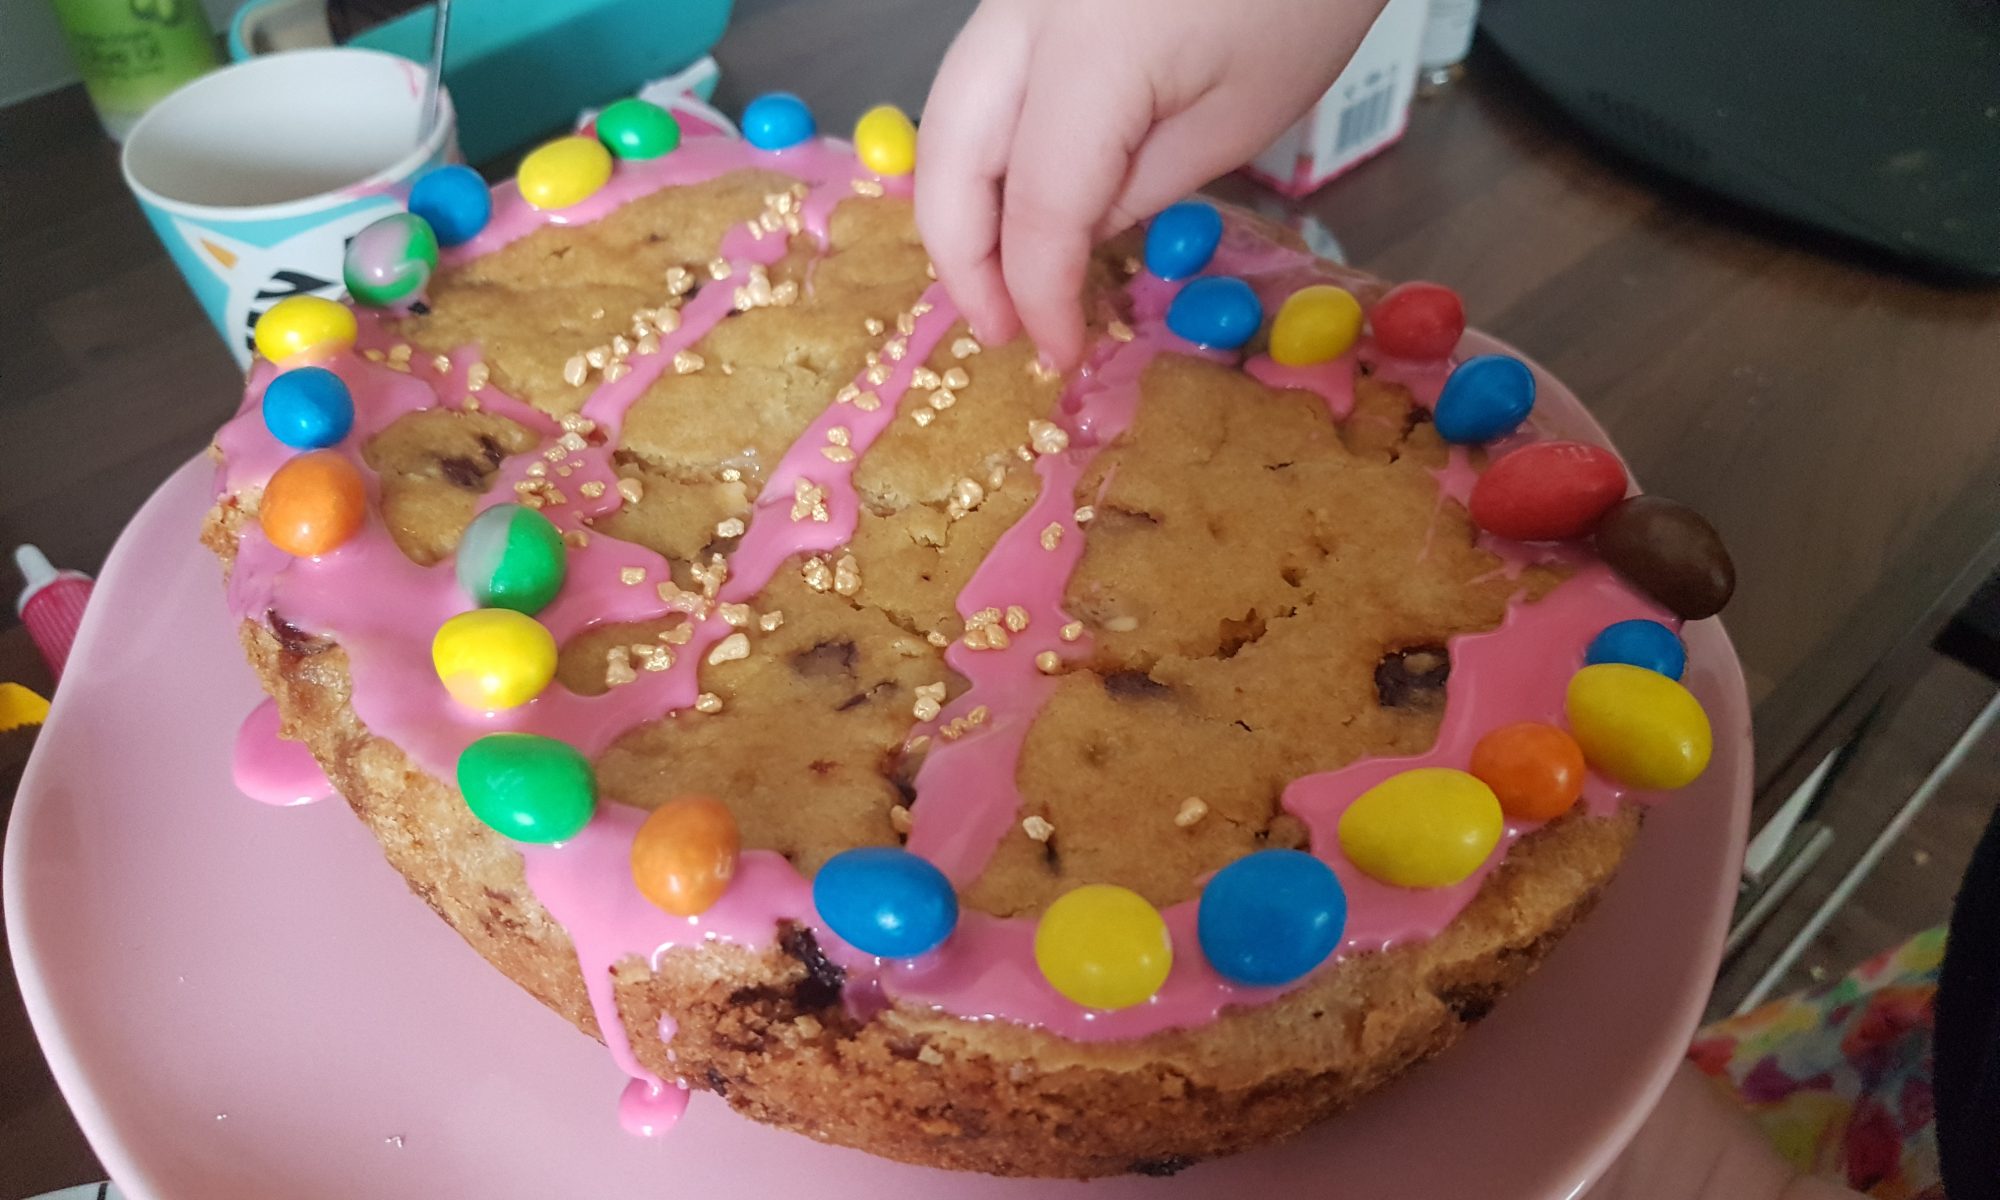
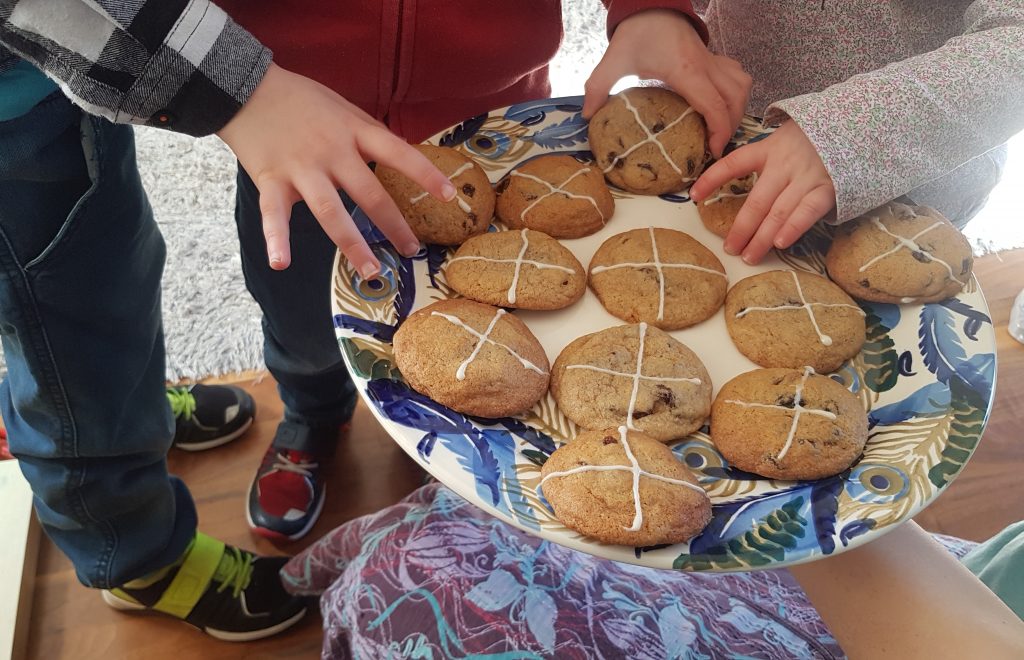
The kids and I frequently make soup in the slow cooker and have also used it to make a delicious steamed lemon sponge, but after brainstorming Easter cooking activities with my cook books all around me, I realised that the base of my slow cooker is shaped like an Easter Egg. When I pointed this out to the kids, they were excited. They could tell their mum was about to suggest an activity and indeed I was; a Slow Cooker Easter Egg Cookie.

For the cookie:

  • 350g plain flour
  • 1tsp bicarbonate of soda
  • 1tsp baking powder
  • 200g softened butter or margarine
  • 250g caster sugar
  • 1 egg
  • 1tsp vanilla extract
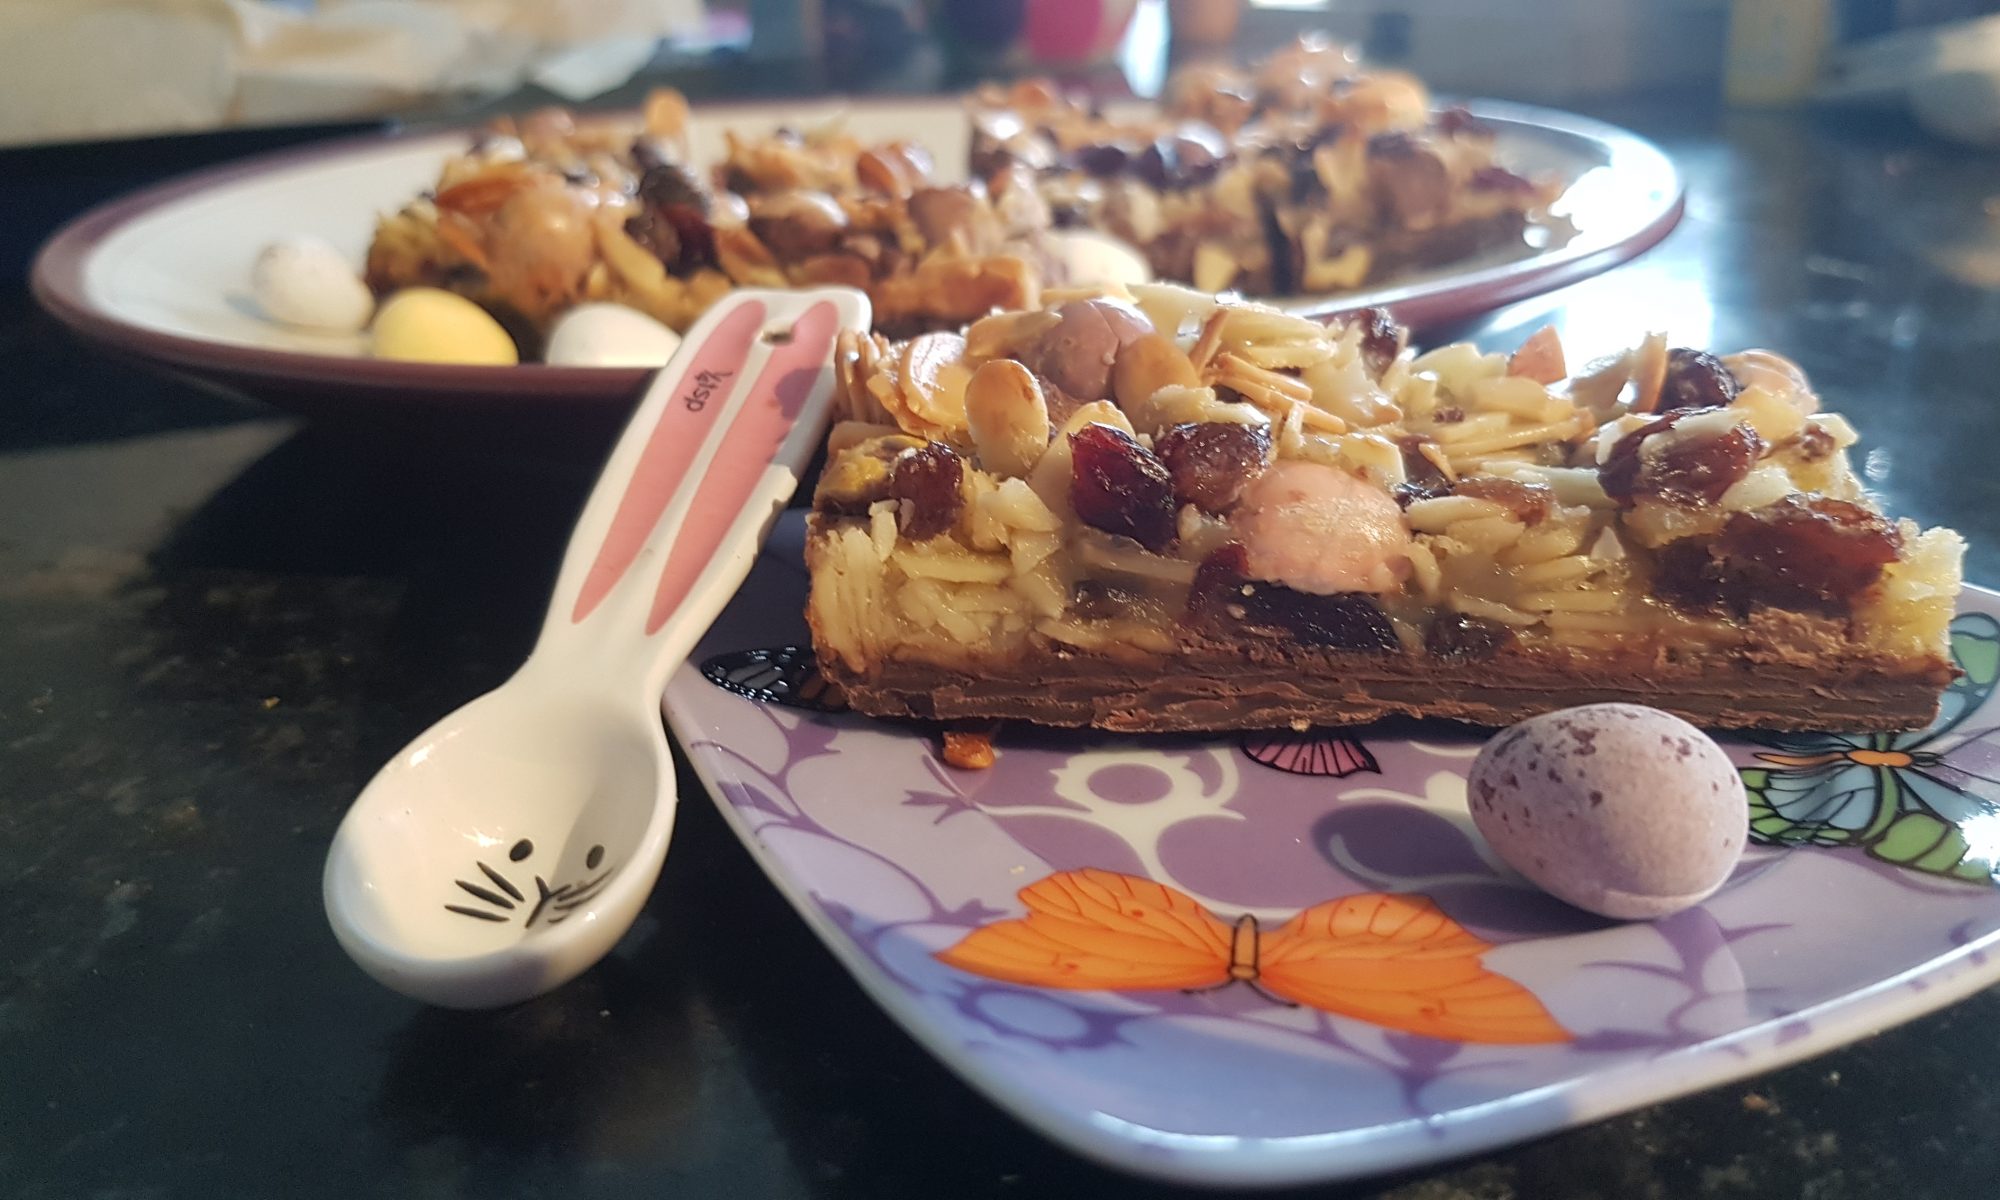
  • 200g chocolate chips/dried fruit

To decorate:

  • 50g icing sugar
  • 2 tbsp water
  • Decorations of choice
The slow cooker lined with baking parchment.

Method:

  1. Generously grease the inside of the slow cooker with butter or cooking spray.
  2. Cut two long, thick strips of baking parchment and put in the slow cooker in the shape of a cross. You need to ensure that the parchment is long enough to reach over the edges of the slow cooker. If using cooking spray, spray again.
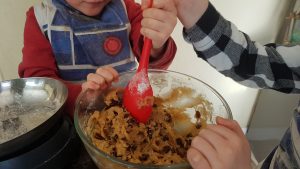
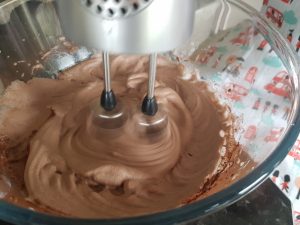
  3. Cream together the butter and sugar until pale using an electric hand mixer.
  4. Add the egg and vanilla and combine.
  5. Gradually sift in the flour, bicarbonate of soda and baking powder and mix to form a stiff dough.
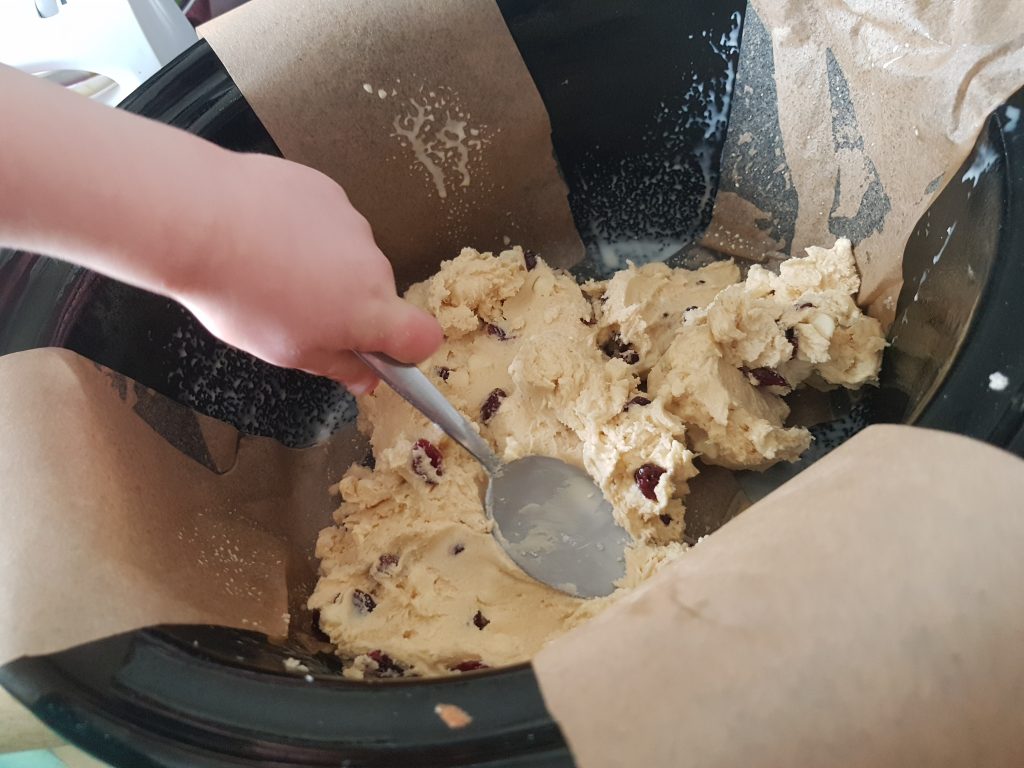
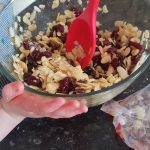
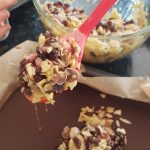
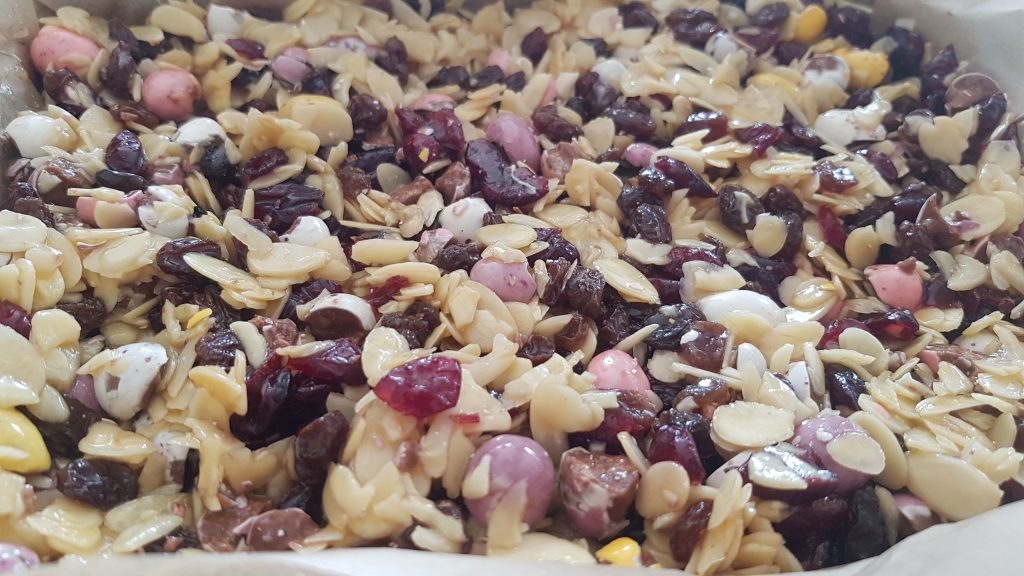
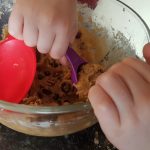
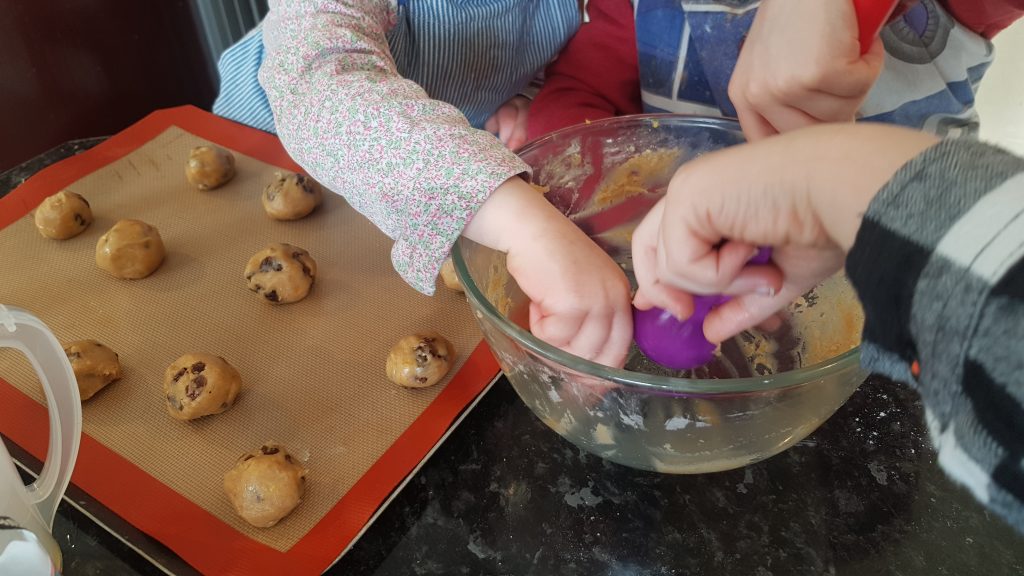
  6. Once all the flour has been incorporated, add the chocolate chips and dried fruit and mix.
  7. Dollop into the slow cooker and spread all around with the back of a spoon.
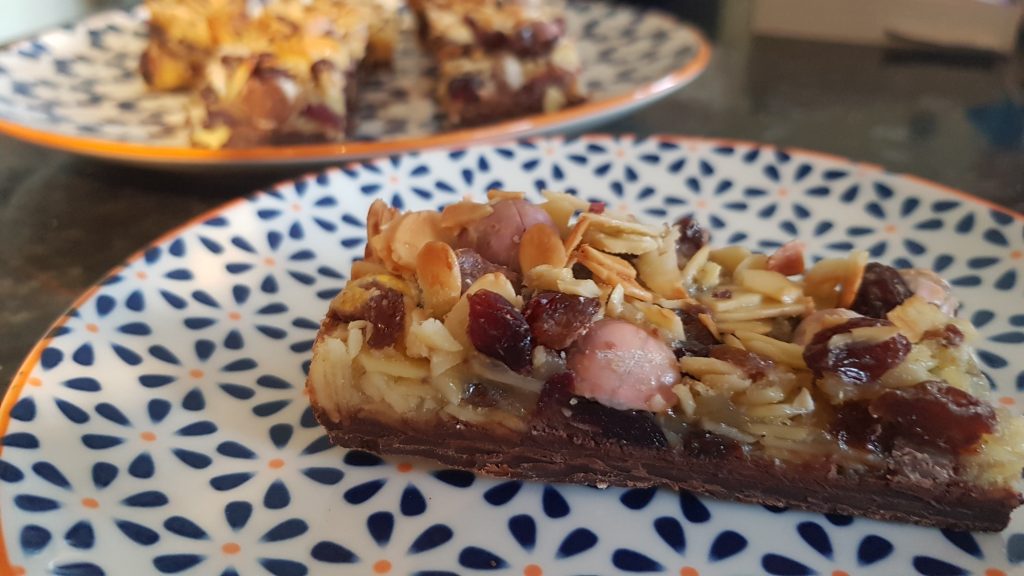
  8. Cover and cook on high for 1hr and 45 minutes. Remove the slow cooker bowl using oven gloves and place on a heat proof surface to cool for at least half an hour.
  9. Gently remove from the slow cooker either by using the baking parchment or by turning out onto a cooling rack. You may want to loosen the edges with a table knife before removing.
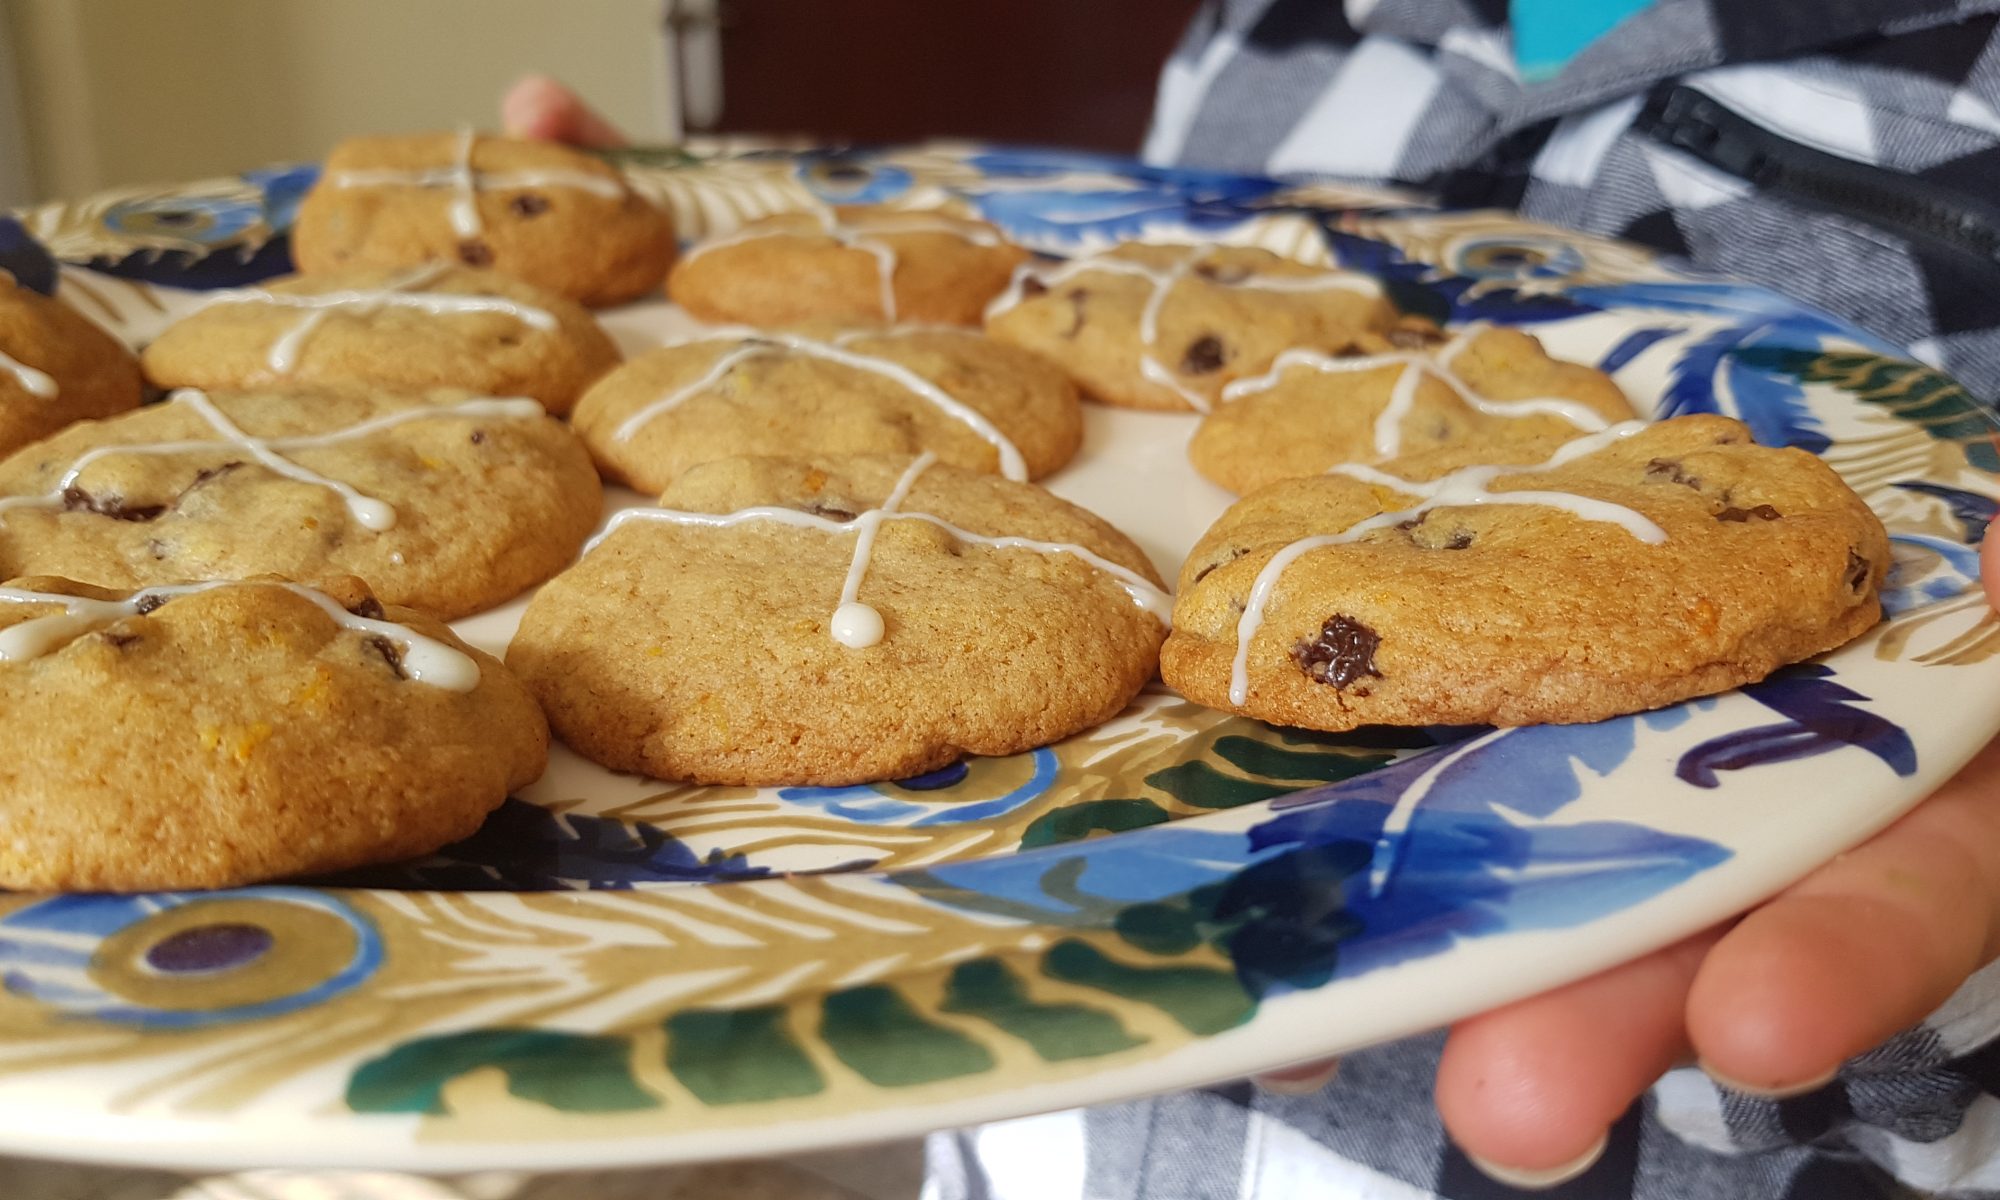
  10. Once fully cooled, make up the icing by mixing the water and icing sugar. Add more icing sugar for a thicker consistency and then use to stick on decorations.

Easter Florentines

There are generally copious amounts of chocolate in our pantry. I keep on contriving new places to sneak more into the house away from the kids’ (or my husband’s) prying eyes. Usually this is a challenge, but when we approach Easter (or even Christmas for that matter), my task seems to become nigh on impossible! However, I am a stubborn woman and where there’s a will there is a way! In our house, chocolate falls into several categories; general eating chocolate, chocolate for a particular purpose (such as a cake or bake) and Kat’s chocolate. Over the years, Simon has learnt, that he is better not to waste his breath asking me to share my chocolate as it will end in an argument. The safer course is for him to wait for me to offer him some. I am very good at offering him the dark chocolate, which he doesn’t like so I get to keep, but not so accomplished at sharing the chocolate that he would actually enjoy!

Easter baking wouldn’t be complete if it didn’t involve Mini Eggs. They are totally addictive and would be welcome all year round! This year, I decided to put Mini Eggs into my mum’s favourite biscuit – the Florentine. These Florentines are not at all authentic, but that doesn’t stop them from being remarkably moreish. We melted the base chocolate and allowed it to set in the bottom of the pan before cooking so it didn’t take quite so much time to make. Please please please though, if you are baking with Mini Eggs and small children do not ignore the step to crush them or chop them up.

Ingredients

  • 300g dark chocolate
  • 100g raisins
  • 100g dried cranberries
  • 175g flaked almonds
  • 175g Mini Eggs (crushed)
  • 100g caster sugar
  • 50g melted butter
  • 2 beaten eggs
Ready for the oven!

Method

  1. Grease and line a brownie tin with baking parchment.
  2. Break up the chocolate and put in a heatproof bowl and place over a simmering pan of water to melt.
  3. Once melted (the bowl will be hot), adult pour it into the lined brownie tin and ask your little chef to tilt the tin so that the chocolate covers the entire base. Put in the fridge to set.
  4. Preheat the oven to 170°c fan.
  5. Put the mini eggs into a ziploc bag and bash with a rolling pin until they are all crushed.
  6. Crack the eggs into a small bowl or mug and whisk.
  7. Put the dried fruit and almonds in a large bowl and mix.
  8. Add the sugar, melted butter and beaten eggs and mix until fully combined.
  9. Add the crushed mini eggs and mix again.
  10. Remove the brownie tin from the fridge and put the egg mixture on top of the chocolate and gently spread to completely cover it.
  11. Put in the oven for 20-25 minutes until golden brown.
  12. Leave to cool completely in the tin and once fully cooled cut into fingers or squares and store in the fridge. We left ours to refrigerate overnight before slicing to ensure they were completely cool and sliced with a knife heated in boiling water.
Oh yum!

Unfortunately we are not seeing my mum until just before Easter and it is highly unlikely there will be any left by then! Sorry mum! I peer at them every time I open the fridge, just to check they are still there (and inhale their gorgeous scent) and to ensure no bandits children have come to treat-nap them! I should also add, the kiddies had small squares. I did have a large slice or three after giving blood, but I considered that that was well deserved!

Hot Cross Cookies

Working as a team to mix together the dough.

I love a good hot cross bun. They are wonderfully squidgy and are so yummy when toasted and lathered in chocolate spread (sorry I am not a purist as I am not a fan of butter). I don’t make a habit of buying hot cross buns until the Easter holidays as if I do, I know that I will eat them all and happily forget that the kids also enjoy them. My husband is out of sync with the rest of the family on this one – he would prefer, well not to be obliged to eat a hot cross bun I am sure!

Scooping out the dough
Rolling into balls

I have made hot cross buns in the past, but not with the kids. I remember it being a somewhat lengthy process and not necessarily compatible with my kids’ tiredness levels during term time. However, I did want us to make something related to our faith and have an opportunity to talk with them about the Easter story so I decided we would make cookies as they take less time. As an added bonus, we could make them smaller and perfect for an afterschool snack without having to share a whole hot cross bun and causing arguments over who gets which bit! I don’t know about your kids, but mine will argue over literally anything and make it look like an Olympic sport! Anything not to run the risk of an argument over what I would consider a small inconsequential occurrence, which is clearly the biggest injustice since the previous occasion!

Time to lick the bowl!

We used melted butter in these cookies to recreate the squidgy texture of a hot cross bun, and added orange zest, cinnamon and raisins to replicate the flavours of them. We used icing pens for the crosses, but my eldest had some difficulties piping these out so had help. Alternatively, you could use icing sugar and water, melted white chocolate to pipe a cross on them or cut crosses out of rolled marzipan to stick on. It seems the options are endless! Seb actually quite enjoyed directing me and rating my attempts at putting crosses on the cookies!

Ingredients

  • 225g plain flour
  • 1 egg
  • 150g melted butter
  • 160g soft light brown sugar
  • 1tsp bicarbonate of soda
  • 1 tsp cinnamon
  • 150g raisins
  • Zest of an orange
  • 1tsp vanilla
  • 1tsp of orange extract
  • 1/4 tsp salt

Method

  1. Preheat the oven to 180° or 160°c fan and line two baking sheets with silicone baking mats.
  2. Mix the melted butter and sugar together until light and fluffy.
  3. Crack the egg in and add the vanilla and orange extract and beat it in until fully combined.
  4. Add the flour, orange zest, cinnamon and bicarbonate of soda and bring together until a dough forms.
  5. Add in the raisins and squish and squash to ensure an evenish distribution of fruit in the dough.
  6. Using a tablespoon to measure, get small pieces of dough and roll them into balls and put then on the baking sheets. Remember to leave space for spreading.
  7. Bake for 12-15 minutes until golden. Leave on the trays to cool as they are a little fragile directly out of the oven.
  8. When they have cooled slightly make the crosses using icing pens, melted white chocolate, icing or even marzipan.
Who wants a cookie?! Silly question!

These were delicious cookies. If your little ones aren’t a fan of raisins, you could substitute them for chocolate chips. Do let me know if you make these with your monkeys or without them as that is also an option!

Easter Pavlova

Easter baking is like Christmas baking in our house: I make a list of all the recipes I want to try and make and then start by prioritising what will get made according to available time, my budget and what I think the kids will enjoy most.

Easter nests make an appearance in some variation every year, but as I have been wanting to make meringues with the kids for a while and my dislike of cream prevents me from wanting to make a traditional pavlova, I decided that we would attempt a big chocolate meringue nest which could be decorated with chocolate-coated shredded wheat and a copious amount mini eggs.

I enjoy making meringues and chocolate meringues are even better, but that said mine do always end up cracked – this is generally because like an excited child I seem to lack the capacity to wait until the oven has completely cooled before opening it. That said, a crack here and there doesn’t alter the taste. It just gives it more of a rustic look, a homemade ‘we had a go and made some memories’ look which you can’t get from any shop bought pudding.

I made the meringue with Atticus. He had so much fun not having to share the electric mixer with his older brother! It also provided opportunities to discuss with him what was happening as the egg whites were whisked without Seb answering the question first. It was fabulous to hear him try using the word 
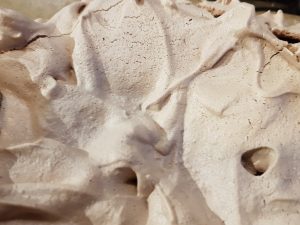
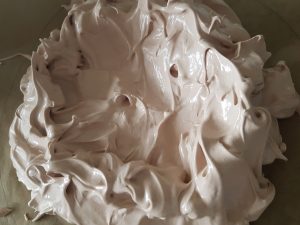
‘frothy’ and exclaim in delight as the egg whites expanded in size during whisking. Cooking is definitely a huge support for language as well as maths skills for  little mischief makers.  It was also lots of fun to dollop the meringue mixture onto the baking parchment and trying to make sure it stayed inside the circle we had drawn around a plate to mark out where it should be.

All the children, yes even Ophelia, helped to make the chocolate shredded wheat to put on top of the meringue. I am not at liberty to divulge how much chocolate (either melted or otherwise) was consumed during this process, but fun was had with very little bickering and my children all remained friends. The latter is of course of the utmost importance and I can happily report that I also managed to complete this activity with adequate levels of patience.

In order to make the big chocolate meringue you will need the following:

  • 4 egg whites
  • 250g caster sugar
  • 2tsp cocoa powder
  • 1tsp cornflour
  • 1tsp white wine vinegar
  • 1tsp vanilla extract

Method

  1. Heat the oven to 130°c fan. 
  2. Draw around a plate on baking parchment.
  3. Separate the eggs (I did this for Atticus as we don’t have an egg separator).
  4. Whisk the eggs until they form stiff peaks, sift in the 2tsp of cocoa powder and mix and then whisk in the sugar one tbsp at a time until the mixture is glossy.
  5. Whisk in the cornflour, white wine vinegar and vanilla extract.
  6. Dollop the meringue onto the baking parchment being careful to ensure that it stays inside the circle. Make the outside of the circle taller than the centre.
  7. Cook in the oven for 1 hour and then turn off the oven and leave the meringue in the oven until it is completely cool. If you are like me it will be a struggle to resist the temptation to open the oven door when the oven is still hot. But please fight against this urge as you are more likely to be rewarded with an intact meringue which has less of a rustic appearance!

For the topping

  • 300g milk chocolate
  • 30g margarine
  • 2tbsp golden syrup
  • 5 or 6 shredded wheat
  • Mini eggs

Method

  1. Melt the chocolate, margarine and golden syrup on the stove top. The boys did have a go at this under supervision.
  2. Crush the shredded wheat, we tend to do this while they are in the packet as it is less messy. Add the crushed shredded wheat to the melted chocolate mixture (you may not need all 6 shredded wheat). Mix very well.
  3. Carefully place the chocolate-coated shredded wheat on top of the cooled meringue and then add as many mini eggs as you would like.

This pudding was pretty much entirely decimated in a single sitting by my family of five and my sister-in-law and her family of four. The boys had lots of fun telling their cousins how they made it.

Cinnamon Brownie Scotch Eggs

I love chocolate, I love eating it and cooking with it. I even have a hand cream that makes my hands smell of chocolate that sometimes tricks me into believing I have had my chocolate fix for the morning without actually consuming any – this is a bonus as it means that I can eat more chocolate later! So chocolate is always good, but when combined with any sort of cake it becomes better and I seem unable to put my finger on why this is. It is the reason I tend toward homemade edible gifts at Christmas and Easter. This year I have made ‘Easter Scotch Eggs’ for family and friends. I made these for the first time last year and they went down so well that they had to have an encore. I mean the Creme Eggs were practically begging from the pantry to be snuggled in a chocolate-rich mixture to keep them warm in the unseasonably cold weather we have been experiencing recently.

Essentially what they are is a mini Creme Egg or equivalents encased in brownie mixed with buttercream and covered in crushed ginger biscuit or desiccated coconut (or sprinkles if you like). You don’t even have to bake: if you really want to cheat you could buy shop-bought brownie and buttercream. Part of the attraction of these for me though is making the brownie and buttercream. Children could put them together. That said, my oldest is only 5 and I doubt he would be able to resist licking his fingers during the process and as these were destined to be gifts, the kids made Easter cards and received a running commentary of the process. Needless to say, the boys are both desperate to help make some so they are already on our list for next year, but in a smaller batch so they can help.

To make this recipe you will need:

For the brownie

  • 300g butter or margarine
  • 300g dark chocolate
  • 450g caster sugar
  • 5 eggs
  • 200g plain flour
  • 1tbsp vanilla extract
  • 1 or 2tsp of ground cinnamon – you could omit this or use another flavouring if you like.

For the buttercream: the below amounts are guidelines as I never measure exactly, it just goes in the mixer. However, the buttercream does need to be quite rigid to hold the crushed brownie together around the Creme Egg.

  •  175g butter or margarine
  • 350-400g icing sugar
  • 2tbsp Cocoa Powder
  • 2tsp cinnamon

For the coating

  • Crushed ginger biscuits, desiccated coconut, sprinkles or even plain cocoa powder

Method

  1. Preheat the oven to 180ºc fan and line a baking tin (I used 28cm x20cm) with greaseproof paper.
  2. Melt the butter and chocolate together in a saucepan over a low heat.
  3. Beat the eggs, sugar and vanilla extract together until they become thick and creamy.
  4. Once the chocolate mixture is fully melted, remove it from the heat and beat it into the egg mixture.
  5. Sift the flour, cinnamon and the salt together, add it to the chocolate, egg mixture and beat until smooth.
  6. Pour it into the tin and bake for 20-25 minutes. The top should have formed a crust and the brownie shouldn’t wobble when it is ready.
  7. Leave to cool completely while preparing the buttercream.
  8. Cream the butter/margarine with the icing sugar, cocoa and cinnamon until smooth.
  9. Crumble the cooled brownie and add it to the buttercream bowl and gently mix it together (I did this by hand). Place the crushed biscuit (or alternative) on a small plate.
  10. Unwrap the Creme Eggs and cover them in the brownie-buttercream mixture and roll into a ball. Then roll them in your covering of choice.
  11. Repeat until all the brownie-buttercream mixture is gone – for me it covered 2 large Creme Eggs and 18 mini ones.

For these I do recommend using mini Creme Eggs or Caramel Eggs because the large ones do make a very big scotch egg, especially if you want to cover them in a thick layer of brownie like I do. However, the larges one look good when sliced in half as it is easier to expose the fondant yolk and if you don’t intend to have any other calories that day, why not?!