Herby Garlic Butter

When the boys interest in cooking began, I read about how you can make butter by vigorously shaking double cream in a jam jar. We did try it to make a small quantity of butter at the time. The boys were delighted when it turned to whipped cream and then the buttermilk separated. It was a very labour intensive way to make butter and considering all the butter that we use in baking, I decided it would be easier to just buy butter!

Cutting parsley.

While thinking about what we could make for a bring and share lunch with family, I remembered the butter I made with the boys. Ophelia never having seen it and the boys now being a bit older meant it was now time to make it again. This time we decided to make it with crushed garlic and chopped parsley for added flavour. This activity is really one in which the whole family can get involved. We took it in turns around the table to shake the jar. It also seemed to become a competition as to who could pull the funniest face and do the silliest actions while shaking the plastic jar. Yes folks, these are the activities which make up the funny stories and enrich memories!

Ingredients and equipment

  • 150ml double cream
  • 2 cloves of garlic
  • Small handful of fresh parsley
  • Jam jar (we used a plastic one)
  • Marbles (washed and we used one per child). The marbles help you to tell when the mixture is turning from cream to whipped cream to butter and buttermilk.
  • Rolling pin
  • Garlic press
The buttermilk separating from the butter.

Method

  1. Pour the double cream into the jar and allow each child to put a marble in.
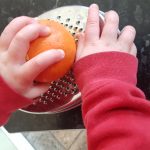
  2. Gently bash the garlic clove with the side of a rolling pin to loosen and remove the skin.
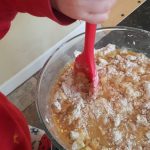
  3. Crush the garlic cloves with the garlic press. My children needed help with the press, but were ever so determined to give it a go.
  4. Add the garlic to the jar of cream.
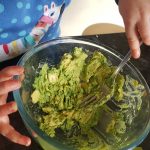
  5. Cut the parsley into small pieces using scissors and add them to the cream jar.
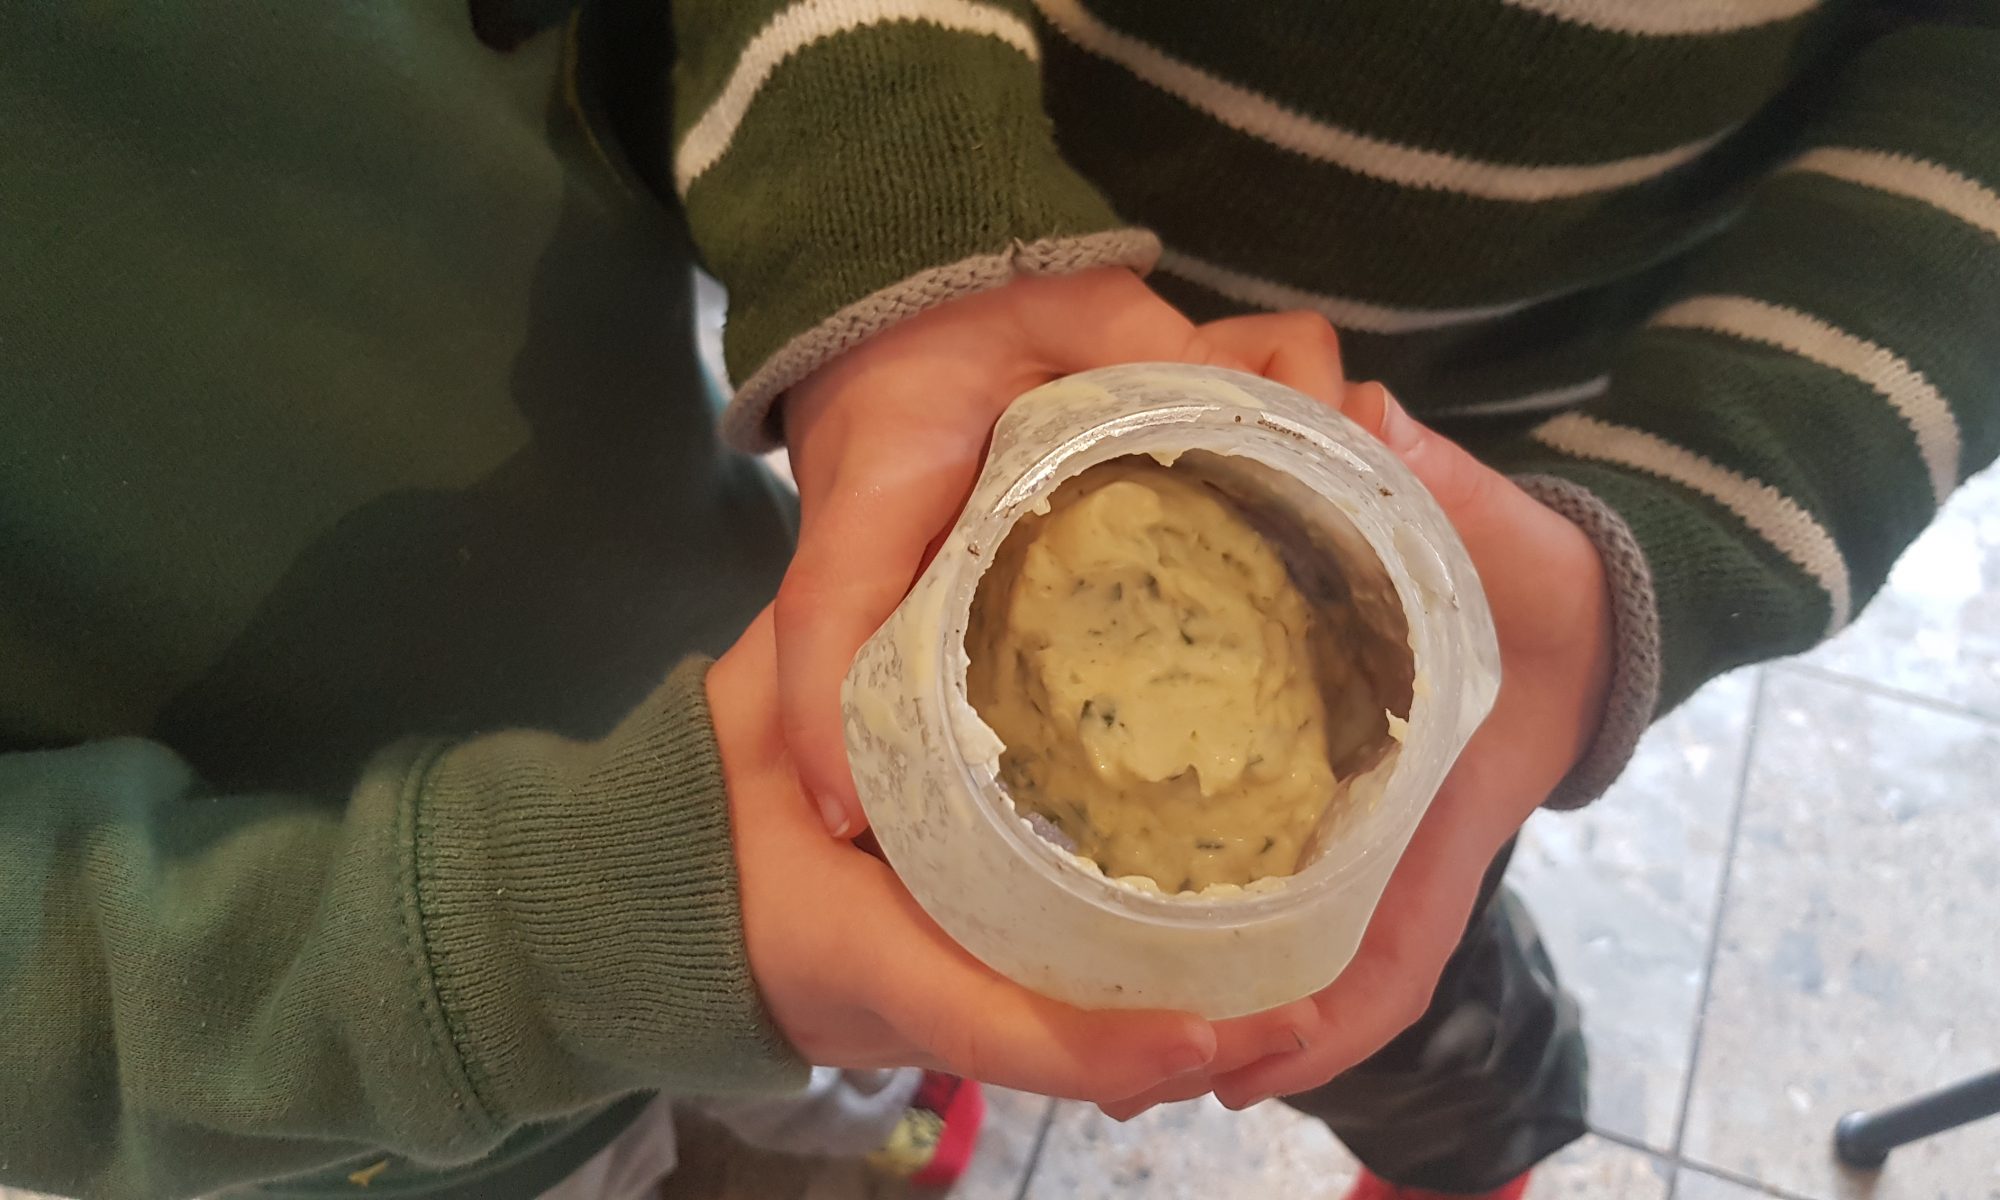
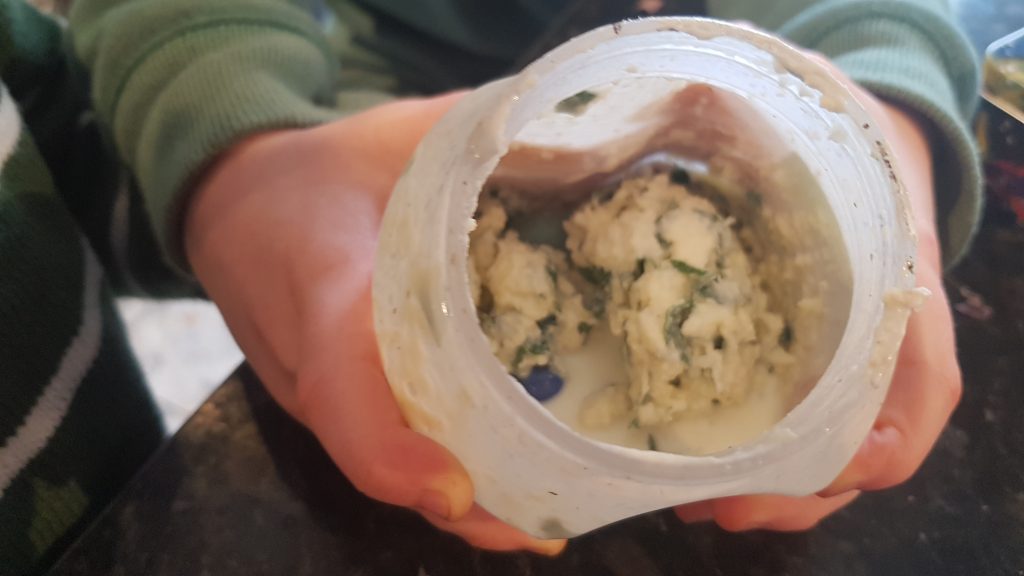
  6. Firmly secure the lid of the jar and start to shake it. This process will take around 15 minutes depending on how vigorously you shake the jar. It will turn from cream to whipped cream and then to butter and buttermilk. When it is turning to whipped cream the marbles will start to move slower and when it has become butter and buttermilk you will hear them clatter against the sides again more frequently.
  7. Pour off the buttermilk and then shake again and pour off any further buttermilk.
  8. Put in the fridge until ready to use.

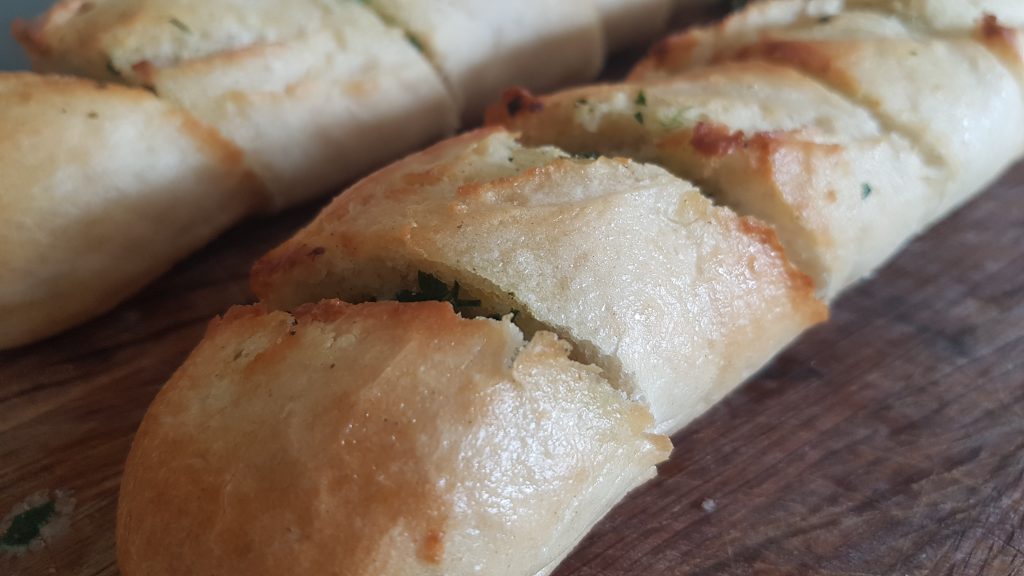
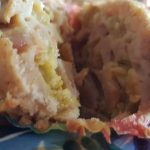
We used this butter into two partially baked baguettes to make some homemade garlic bread. This was enjoyed by the whole family at our bring and share lunch. To make the garlic bread you will need to:

Placing the butter inside the cuts.
  1. Remove the butter from the fridge around 20 minutes before starting.
  2. Take the baguettes and make small diagonal cuts the whole way across each baguette taking care not to slice them fully.
  3. Take small amounts of the butter and place inside each of the diagonal cuts.
  4. Melt the remaining butter in the microwave and paint the baguettes with it to get a yummy crispy shell for your garlic bread.
  5. Place in the oven according to the packet’s instructions and remove when golden.
Wonderfully crunchy and buttery garlic bread.

Chocolate Muddy Puddles

Ophelia had a Muddy Puddle walk for Save the Children at nursery today. By the sounds of it, grown ups and pre-schoolers alike had fun and managed to get drenched! In anticipation of this event, I thought it would be fun to make some muddy puddles of our own to get into the spirit. She had lots of fun spooning, mashing and squishing, mixing, dolloping and sprinkling. It has to be said that you do have to use your imagination when looking at them, because they could be described as looking a bit like cow pats. This was the reason for adding the leaf shaped sprinkles to make people realise their true nature!

This recipe is essentially a truffle made with only 3 ingredients (4 if you include the sprinkles!), but instead of rolling them into truffles, we dolloped teaspoons of the mixture onto greaseproof paper and flattened with the back of a spoon. To make these you will only need 1 small ripe avocado, chocolate and some vanilla extract. We used only dark chocolate as that is what I had in the house, but I would recommend using half dark chocolate and half milk chocolate if you are making this recipe for small children so that it is a little sweeter. To make them dairy free or vegan, you just need to ensure that your chocolate is dairy free/vegan.

Ophelia was rather intrigued by the large stone in the middle of the avocado and after several attempts managed to get it out. I loved the fact that she tried several times to get it out and didn’t give up until she had achieved it. I feel the need to add at this point, that this is the only way the boys will eat avocado! Ophelia seemed to like it on its own, but the boys have turned their noses up at it several times in salad and homemade guacamole. To my delight, Atticus asked for a second and as he was consuming avocado, I was happy to let him have another!

Ingredients

  • 1 small ripe avocado
  • 175g chocolate of choice (see above paragraph for further advice on chocolate choice)
  • 1/2tsp of vanilla extract
  • Sprinkles of choice (we used autumn leaves ones which I managed to get on offer at TKMaxx, but anything, would work such as chocolate or coloured strands, etc)
Adding the sprinkles.

Method

  1. Adult slice the avocado in half.
  2. Melt the chocolate in a double boiler.
  3. If sufficiently ripe, ask your child to pull out the stone. They may need encouraging to hold the avocado with one hand and to pull the stone out with the other hand.
  4. Scoop out the flesh of the avocado and put it into a bowl. Mash with a fork until smooth. You may want to use a stick blender to ensure that it is completely smooth.
  5. Add the vanilla extract and the melted chocolate to the mashed avocado and mix to combine fully.
  6. Take tsp amounts and spoon onto a greaseproof lined baking tray and gently press down with the back of the teaspoon.
  7. Add the sprinkles to the top and store in the fridge until you want to eat.

I thought these were really yummy and the kids enjoyed them too. They felt less naughty as they contained avocado rather than double cream. So two thumbs up from our family and a big yippie as they contain a hidden vegetable!

Neapolitan Coconut Ice

Do you have a go to treat that makes you feel better no matter what the world (or the nearly pre-schooler) may decide to throw at you? There are some days when we our smallest small displays all the world’s emotions within the space of a couple of hours. This goes some way to explaining why toddlers throw tantrums when these big emotions burst out even if it doesn’t make it any easier to cope with them! Anyway back to treats. The combination of chocolate and coconut transports me to my happy place from where I can cope with any new obstacles that our little monkeys may decide to hurl at us next. Needless to say it is also one of the children’s favourite flavour combinations too!

Coconut ice wasn’t a treat of my childhood, it seems to have featured more prominently in Simon’s. When brainstorming for this recipe, I was wondering how we could put our own stamp on it. It didn’t take me long to conclude that adding chocolate and raspberries to it would be the perfect way to do so. Practically everything is better with chocolate! Unless you are thinking along the lines of cheese then I would have to disagree.

Patting it all down.

The kids loved pretty much the whole of this recipe from decanting the condensed milk into the bowl, blitzing the raspberries, measuring the chocolate syrup and patting a layer in the tin each. Having three children may also have contributed to my conviction that this recipe needed a third layer so each child could have a go on their own! So just a way of reducing my stress levels and increasing my chocolate intake at the same time!

Ingredients

This recipe was featured in the May/June 2019 Soar Valley Life Magazine

  • 1 can sweetened condensed milk
  • 400g desiccated coconut
  • 400g icing sugar
  • 75g raspberries
  • 1tbsp Sweet Freedom Coconut Chocolate Shot (or chocolate syrup of your choice)
  • 1tsp vanilla extract

To make:

  1. Allow the raspberries to defrost a little bit.
  2. Put the condensed milk, and 340g of both the desiccated coconut and the icing sugar in a large bowl and mix together with a wooden spoon. When the mixture becomes stiff and difficult to mix, use your hands to bring it fully together.
  3. Divide the mixture equally between three bowls.
  4. Add 1tsp of vanilla extract to one bowl and mix or knead to combine.
  5. Add 1tbsp of chocolate syrup to another bowl and mix or knead to combine.
  6. With a hand held blender, blitz the frozen raspberries until smooth. You could also do this with the back of a fork or a food processor. Add to the final bowl and mix. Add enough of the remaining desiccated coconut and icing sugar to make the raspberry layer the same consistency as the other two.
  7. Grease and line a tin with greaseproof paper (we used a 16cm square tin).
  8. Dollop the vanilla layer into the bottom of a tin and flatten with the back of a metal spoon to reach all the edges. Pat even with fingers.
  9. Spread the raspberry layer on top of the vanilla layer and spread a pat down.
  10. Add the chocolate layer a spread to cover the raspberry layer.
  11. Put in the fridge for at least 3 hours to set (we left ours overnight) and then cut into small squares or rectangles.
The article in print.

This treat graced our lunchboxes when we visited Legoland over the Easter holidays and it was a most welcome addition. We did receive some rather envious looks from other children queuing for the same ride while the kids were enjoying this! The icing on the cake for me in this instance was to see this recipe in print in Soar Valley Life Magazine.

Rhubarb Maple Muffins

A friend very kindly gifted me some of the rhubarb she grew in her garden. Some of it made its way into rhubarb crumble, which according to another friend is an absolute must if you have any rhubarb, but the rest made its way into these Rhubarb Maple Muffins. If you have been reading my blog for a while, you will be unsurprised to hear that these were an experiment. My children and husband seem to have become quite indulgent of all the crazy and hairbrained inspired ideas that we trial in the kitchen. I certainly do have children who are eager to experiment in the kitchen and are generally willing to try new foods even if they don’t initially like them. In time, I am hoping they will learn to put their own flavour combinations together and like a wider range of flavours.

The liquid sweetener makes it easier for little hands to mix together fully.

Rhubarb isn’t known for its super sweet qualities. I quite like it when it retains some of its natural tartness in a bake and isn’t fully masked in sugar. So to compliment its flavour I decided we would use maple syrup instead of sugar in our muffins. The maple syrup adds a nutty flavour to them and as it is a liquid makes it very easy for little chefs to mix all the ingredients together. I will say that I cut all the rhubarb into small pieces as it required a bit of strength and the 2 year old wouldn’t have managed this. Her and her brothers did enjoy seeing what the whole rhubarb looked like complete with its large leaf. I think Ophelia’s favourite thing about it was that it was pink. She was over the moon when she realised we were going to use the pink branches mummy had been given!

Such yummy muffins!

This recipe does make a bakers dozen of muffins which is great when it comes to sharing the spoils, but somewhat frustrating when dividing the mixture and then using another muffin tray for a single muffin… You could make some mini muffins with it too if you are looking to control portion sizes more easily for your tinies and if you are unsure what their reaction will be to rhubarb. For full disclosure, my kids were not a fan of the rhubarb. This will not deter me, I am still going to cook it with them as some of them have enjoyed it in other bakes in the past (Strawberry and Rhubarb Flapjacks). All the grown ups who tried them did give favourable reviews so I am unperturbed!

Filled with rhubarb!

Ingredients

  • 300g plain flour
  • 1/2tsp baking powder
  • 1tsp cinnamon
  • Zest of 1 orange
  • 300g finely chopped rhubarb
  • 2 beaten eggs
  • 180ml maple syrup
  • 180ml milk
  • 100g melted butter

Method

  1. Preheat the oven to 180°c fan and line 13 muffin holes with cases.
  2. Put the dry ingredients into a large bowl and mix to combine.
  3. Add the rhubarb and orange zest and mix again.
  4. Crack the eggs into a jug and whisk.
  5. Add the milk, melted butter and maple syrup to the beaten egg and whisk again to combine.
  6. Pour into the dry ingredients and mix fully.
  7. Divide the mixture between the muffin cases and place in the oven for 25-30 minutes until springy to the touch.
  8. Allow to cool and enjoy.
Her favourite part of this bake!

It always surprises me which part of the recipe my kids end up enjoying the most. In this one, zesting the orange was definitely Ophelia’s favourite task. Licking the bowl was a close second though!

Do your youngsters like rhubarb? Do you think they would like to try these? Please do get in contact if you make this recipe; I would love to hear from you.