Sesame Toast Shapes

Yesterday morning was particularly challenging. I should have realised that it was going to be a long one when Atticus insisted on wearing daddy’s Santa hat on the way to school. I thought I had left the house with three happy children when it was located and the other two didn’t raise a single objection. I failed to realised that the Santa hat would in fact cause a meltdown of gigantic proportions as I didn’t have the foresight to name it before leaving the house and I refused to let my little gingernutter take it into school. He also had to keep on readjusting the hat so he could see where he was going while walking! We must have looked quite comical walking down the street and me yelling to remind him to readjust his hat. Oh and that is not mentioning the fact that it got drenched thanks to the beautiful school run shower we had this morning. In hindsight, I should have remembered to pick up the hat for the collection, but hey ho no-one is perfect and it was still somewhat soggy. I was delighted that he had forgotten about the hat the following morning and we avoided a repeat of the argument at the classroom door!

Used as a crouton in a festive broccoli and sprout soup.
The concentration levels were epic for this!

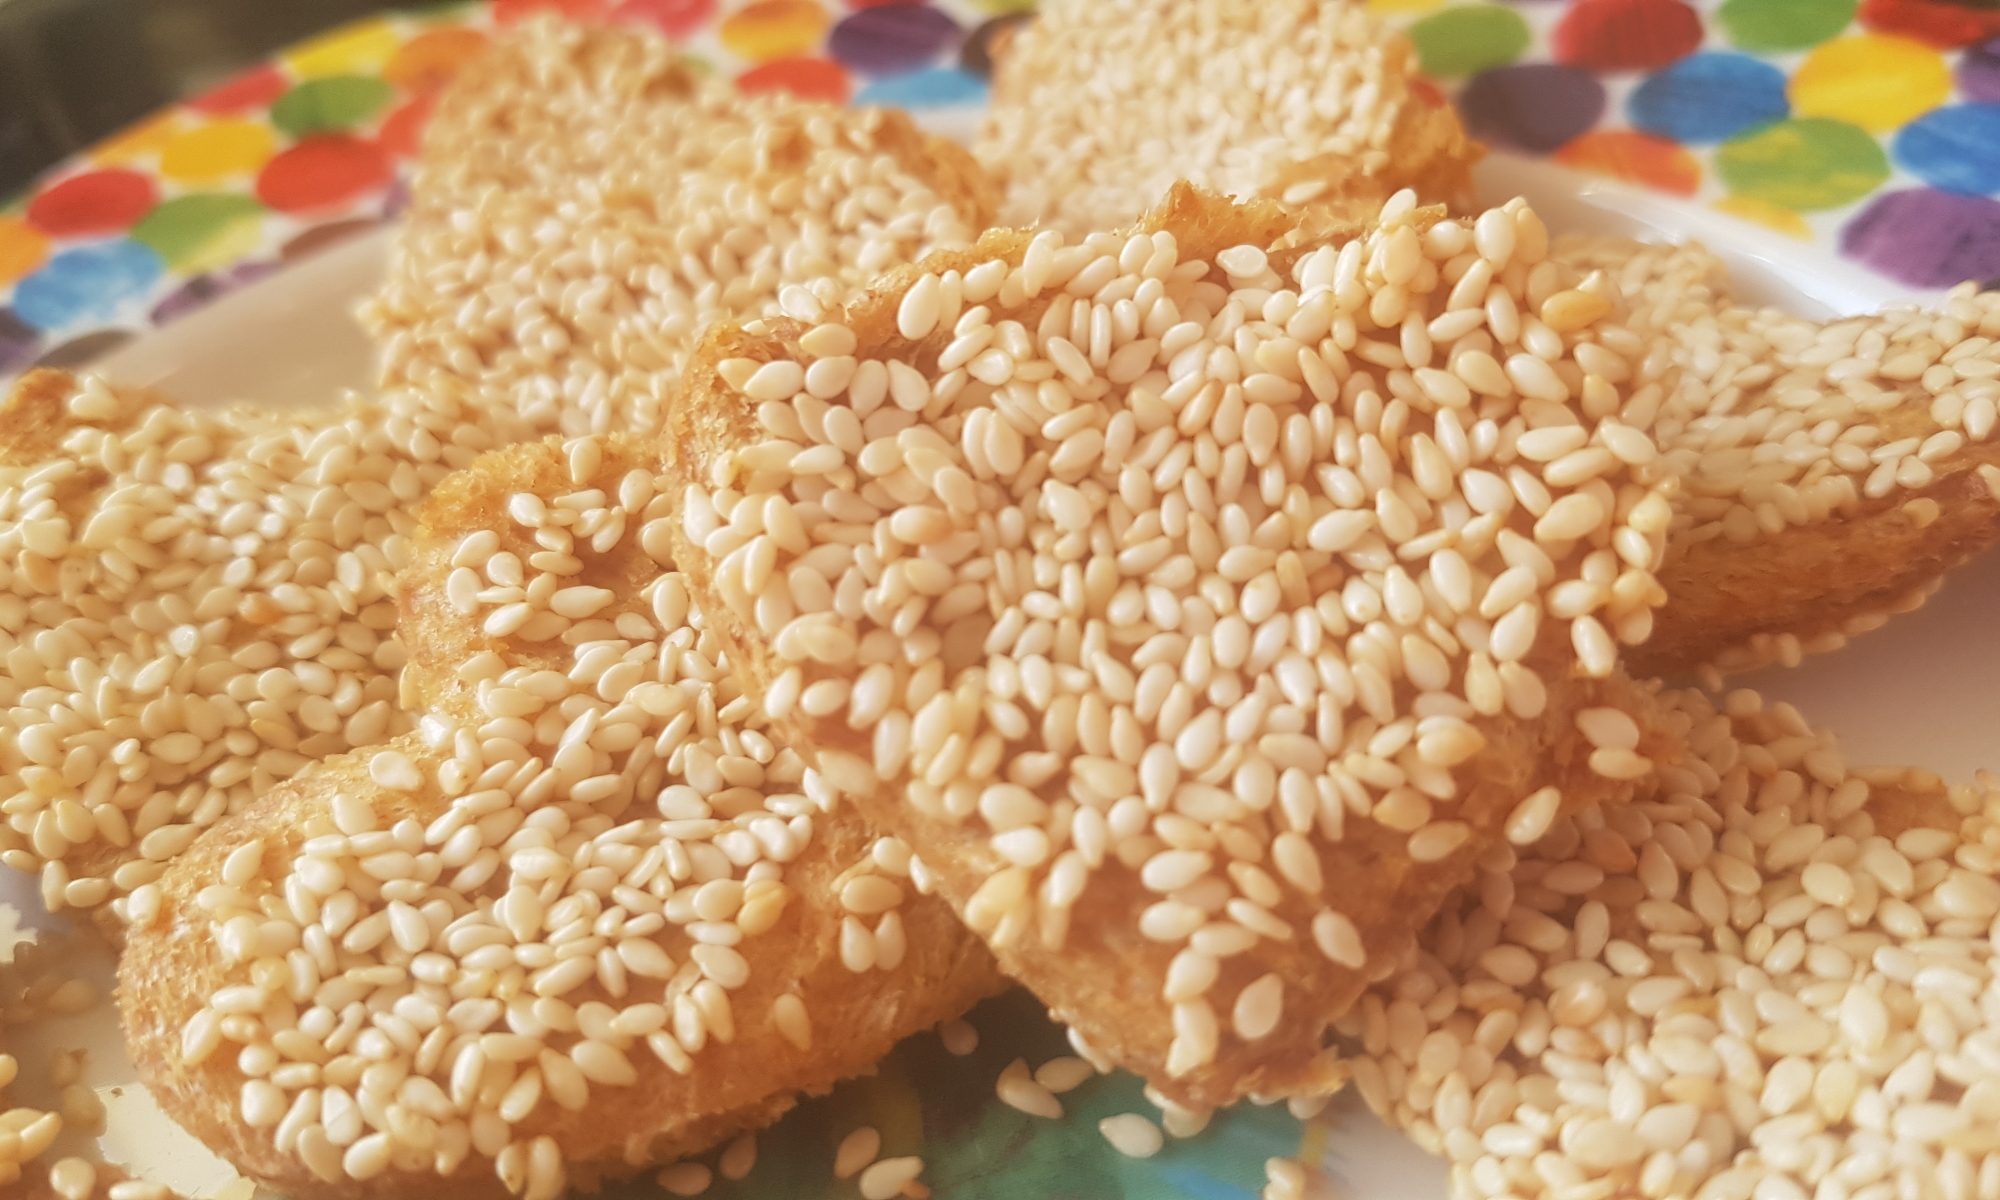
So to cheer myself up after the traumatic and rather damp school run, I decided to make some sesame toast shapes with Ophelia. You can cut these into any shape you choose and they are perfect as croutons in soup if you fancy getting children involved in Christmas food preparation. Mine also enjoyed them as a fun addition to their beans on toast. These are lots of fun to make with kids. Seb and Atticus (at 6 and 4) would be able to manage these with minimal parental input. Ophelia needed some help, but she did enjoy trying to spread the margarine and use the cookie cutters to cut out shapes before splatting them in a plate of sesame seeds. Yes they could be considered somewhat wasteful as you are stamping shapes out of bread. Alternatively you could just slice the bread into triangles or squares to avoid the wastage. 

Ingredients

  • Bread (we used 50/50, but white or wholemeal would work too)
  • Butter or margarine (we used an olive spread)
  • Sesame seeds

Method

  1. Preheat the oven to 150°c fan and line a baking sheet with a silicone baking mat or greaseproof paper.
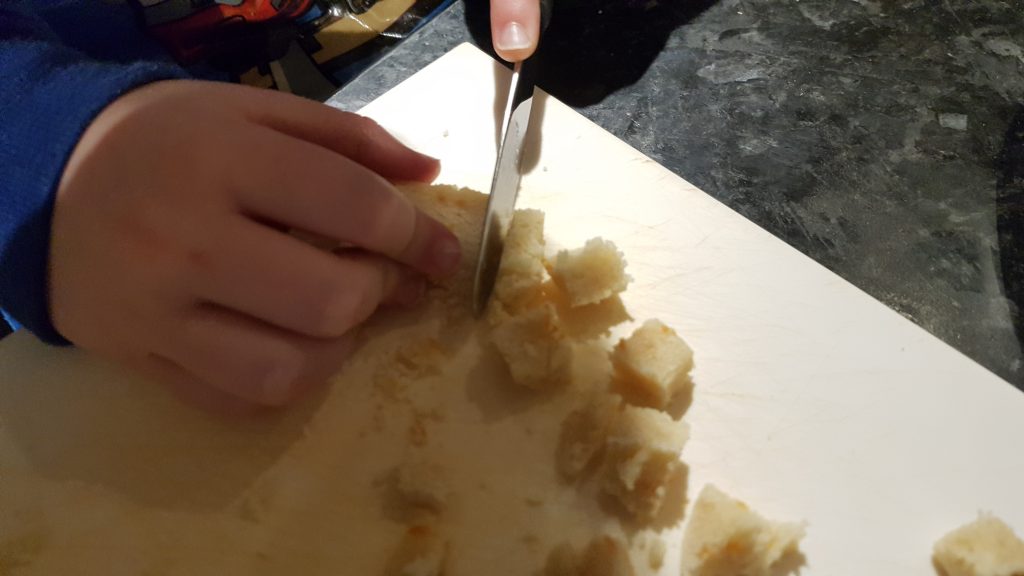
  2. Spread one side of the slice of bread with butter.
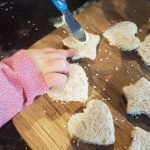
  3. If you are using shapes, cut the shapes out with the cookie cutters.
  4. Put the some sesame seeds on a plate in an even layer.
  5. Put the buttered side up into the sesame seeds so that they stick and place them sesame seed side down onto the surface.
  6. Spread the back side of the shapes with butter and put on the sesame seed plate so that both sides are covered.
  7. Place in the preheated oven for 20 minutes.
  8. Remove and turn them over and return to the oven for a further 20 minutes. They will look golden and crisp when finished cooking.

These will keep in an airtight container for a couple of days so can be made in advance of any festive celebrations. Ours didn’t survive 12 hours with the three kids and their dad! I hope that you enjoy them.


Festive Flapjacks

I never do things by half. I read the quantities in a recipe and my brain seems unable to process how much a recipe will yield despite clear measurements. I am so prone to doubling recipes and then having enough cake or dinner to serve a family twice our size. That said, when I make sweet mincemeat at Christmastime I always remember the kids are hit and miss with mince pies and Simon definitely isn’t a fan. So I never double the mincemeat recipe; it already creates enough for me to have pretty much a daily mince pie all year round! While this does, at the moment, sound wonderfully appealing, I am not so sure I would appreciate a mince pie for my birthday in April or even to mark the summer solstice. 

As not everyone likes mince pies, I did put my thinking cap on back in the autumn and came up with some alternative bakes to lace with my homemade sweet mincemeat. My first thought was brownies (see my previous post) and my second was flapjacks. As I am sure I have already mentioned more than once, I LOVE  a good flapjack. So easy to make and the illusion of being healthier than a cake or brownie while still feeling like a treat. We decided to add some of our homemade marzipan to our flapjacks too to augment the Christmassy and festive feeling of these yummy delights. Further thought also makes me realise that these would also be perfect for after Christmas as a way to use up any leftover mincemeat.

Seb chopping the homemade marzipan. Shop bought marzipan would also work well in this recipe.

Ingredients

These flapjacks also work well with gluten free oats. They don’t contain any extra sugar added in as the mincemeat contains sugar and dried fruit. The amount of mincemeat gives a subtle seasonal flavour. You could add 50-75g more if you want a stronger flavour of it.

  • 150g butter/margarine
  • 6tbsp golden syrup
  • 200g mincemeat (we used homemade, but a jar would work well too.)
  • 175g jumbo oats
  • 250g rolled oats
  • 80g marzipan

Method

This can be cooked in a brownie tin, or in individual muffin cases (we used silicone ones) 

  1. Preheat the oven to 160°c fan and either grease and line a brownie pan or use a muffin tray (silicone liners or paper would both be fine.)
  2. Put the butter, golden syrup and mincemeat in a heavy bottomed pan and put over a low heat to melt and combine.
  3. Meanwhile, chop the marzipan with a table knife or a child safe knife.
  4. Put all the oats in a large mixing bowl. Once the butter mixture has fully melted, remove from the heat and pour it into the oats and mix thoroughly. This ensures that the children are not handling the hot saucepan.
  5. Add in the chopped marzipan and mix again so ensure it is evenly distributed.
  6. Place in the oven and cook for 25-30 minutes until golden. Remove from the oven and gently slice while hot and leave to cool fully in the pan.

If you do manage to cook this before Christmas or even decide to give it a go after Christmas to use up any leftover mincemeat I would love to hear from you.

Christmas Brownies

How do you prepare for the festive season? For us it goes a bit like this: in September I start making a list of all the seasonal things I want to make and do over the Christmas period. This list tends to grow right up until Christmas eve and no matter how many activities I manage to strike off the list we never ever manage to get through the whole list.

The decorated tree.

One of the things we most certainly can cross off the list is buying a Christmas tree. Every year I think it would be wonderful to go somewhere where we can choose our tree and cut it down ourselves, but we never quite manage to make it. What we did manage to do this year is have a rather public disagreement about what size tree we should purchase. As usual I was advocating a compact yet perfectly proportioned tree. Simon wanted a tree the size of which would be more suited to Trafalgar Square or the Great Hall at Hogwarts. The kids seemed to find this discord highly entertaining especially when daddy balanced Ophelia on each boys’ head in turn as a unit of measurement for trees, insisting the tree had to be taller. We returned home with three happy children and a tree too big for my liking and too small for Simon’s, but perfect in the children’s eyes. All things considered, the latter is the most important.

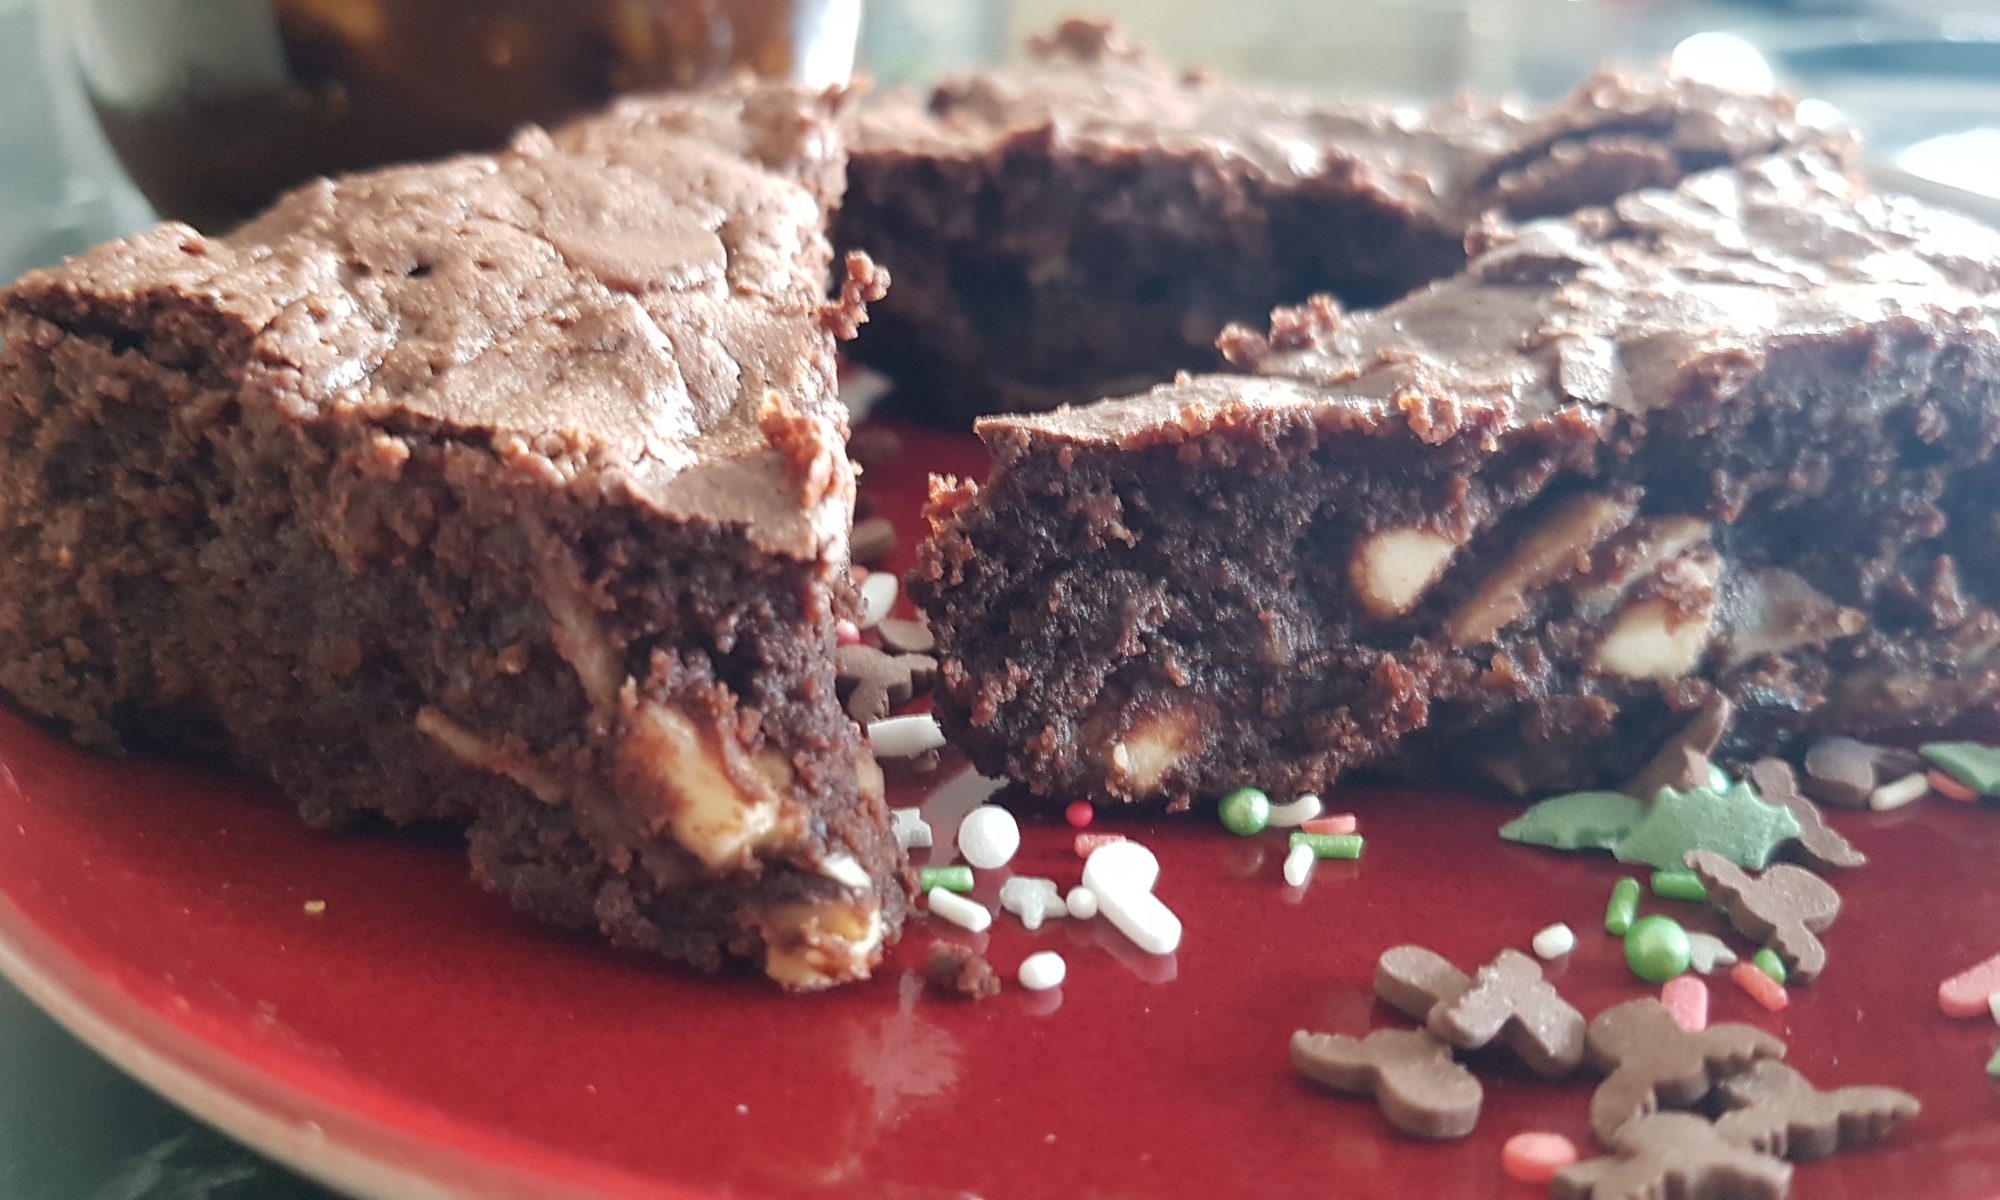
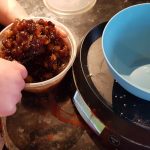
Anyway, so back to baking. I always get my way when cake is involved. Simon knows not to try and change my mind when I have an idea for a bake. So when I decided that I wanted to run some sweet mincemeat through my brownie batter with some flaked almonds there was no opposition despite the fact he isn’t a fan of sweet mincemeat. In the end, he did try one and ended up liking it so I am glowing in my victory!

Ingredients

  • 185g unsalted butter
  • 185g dark chocolate
  • 185g light brown sugar
  • 3 large eggs
  • 85g plain flour
  • 40g cocoa powder
  • 200g mincemeat (we used homemade cranberry, orange and Cointreau)
  • 75g flaked almonds
  • 100g white chocolate chips

Method

  1. Put the butter and chocolate into a bowl and put over a saucepan with water. Make sure the water in the pan doesn’t touch the bowl with chocolate and butter. Heat until the chocolate and butter have melted and stir every so often.
  2. Remove the pan from the heat and allow to cool a bit. Preheat the oven to 180°c or 160°c fan and grease and line your brownie pan.
  3. Break the eggs into a large bowl with the sugar and whisk until they become thick and creamy.
  4. Pour the cooled chocolate mixture over the egg mixture and fold together with a rubber spatula.
  5. Sieve the flour and cocoa powder into the chocolate and egg mixture and gently fold.
  6. Zap the mincemeat in the microwave for 20-30 seconds to loosen it. Add the chocolate chips, flaked almonds and mincemeat and gently fold and stir so they are all evenly distributed.
  7. Pour the mixture into the prepared tin and cook for 25-30 mins and bake until the centre doesn’t wobble when removed from the oven.

If your mincemeat doesn’t contain any alcohol, you could add a tbsp. to the brownie batter to make them more adult flavoured if you so choose. Ophelia and I had fun making these and she looked like a chocolate swamp monster when we were through. Yes I did let her lick the bowl so that is my fault! To my surprise, she didn’t take much convincing to share them. But that said, when her brothers had some, she made it very clear (read at a loud volume) that she made them! I hope you enjoy these Christmas Brownies as much as we did.

Bacon, Brie and Cranberry Muffins

It is easier to cut the brie when it is straight out of the fridge as it is less sticky!

In my head, bacon, brie and cranberry is inextricably linked with Christmas festivities. While it is true, it normally comes in a sandwich or maybe even a pie, I wanted to make something a bit more transportable and with a lower potential of creating a sticky mess with little fingers. These muffins work both hot and cold so can be eaten fresh from the oven or even once cooled on the way home from school or while waiting to see the man in the red suit. I bet the aforementioned man would also appreciate one to help him on his long journey on Christmas Eve!

I have never been particularly fond of the smell of meat cooking.  This is probably because I am a vegetarian. Early in our marriage, I banished my husband from my presence as he smelt of chicken. Moreover, while working in East London, I  used to get off the tube and there was a greasy spoon which served bacon butties every morning and seemed to do very good trade. I remember having to hold my breath as I walked past as I really couldn’t stand the smell of bacon cooking.

Anyway, fast-forward 6 years and I am now at the stage where I can cook meat for the kids and Simon. I frequently cook bacon and I don’t even have to hold my breath now! This may not seem like a big thing, but for me it really is! I was determined that I wasn’t going to insist my children be vegetarian; it is their choice just as it was mine.

Ingredients

Makes 12 large muffins or 15 slightly smaller muffins.

  • 250g self raising flour
  • 1tsp baking powder
  • 5 rashers of bacon, cut into small pieces and cooked
  • 1tsp dried mixed herbs
  • 3 eggs
  • 100ml milk
  • 90g grated cheddar (50 for inside muffins and 40 for sprinkling)
  • 100g brie, chopped into small pieces
  • 3tbsp cranberry sauce
  • Seasoning

Method

  1. Preheat the oven to 170°c fan and put the muffin cases in a muffin tray.
  2. Mix the flour, baking powder, herbs and seasoning in a large bowl.
  3. Make a well in the centre of the flour bowl and add the eggs and milk and cranberry sauce.
  4. Mix to form a smooth batter.
  5. Add the bacon, brie and 50g of the cheddar and mix well.
  6. Divide the mixture between the cases and sprinkle the remaining cheddar on the top.
  7. Place in the oven for 20-25 minutes until the muffins feel firm to the touch and are golden. These can be enjoyed both warm and cold.

Every time we make these, they are gobbled up quickly. I think that because it is a muffin and looks like a cake, the children feel that they are getting a treat when in fact it isn’t a sugar loaded snack! I would love to hear from you if you make these.

Pesto and Mozzarella Turkey Steaks

Now we are in December I have my festive hat on vis-à-vis Christmas recipes. I found some discounted turkey steaks a while back and placed them in the freezer until I was struck with inspiration for a dish that the kids could make for dinner one evening.

That is when I started thinking about putting a pesto and cream cheese spread on top of them to keep them succulent while baking them. The boys decided that the mozzarella was a good idea. We find in a savoury dish the amount of cheese is proportional to the kids’ happiness; the more cheese, the happier the children. 
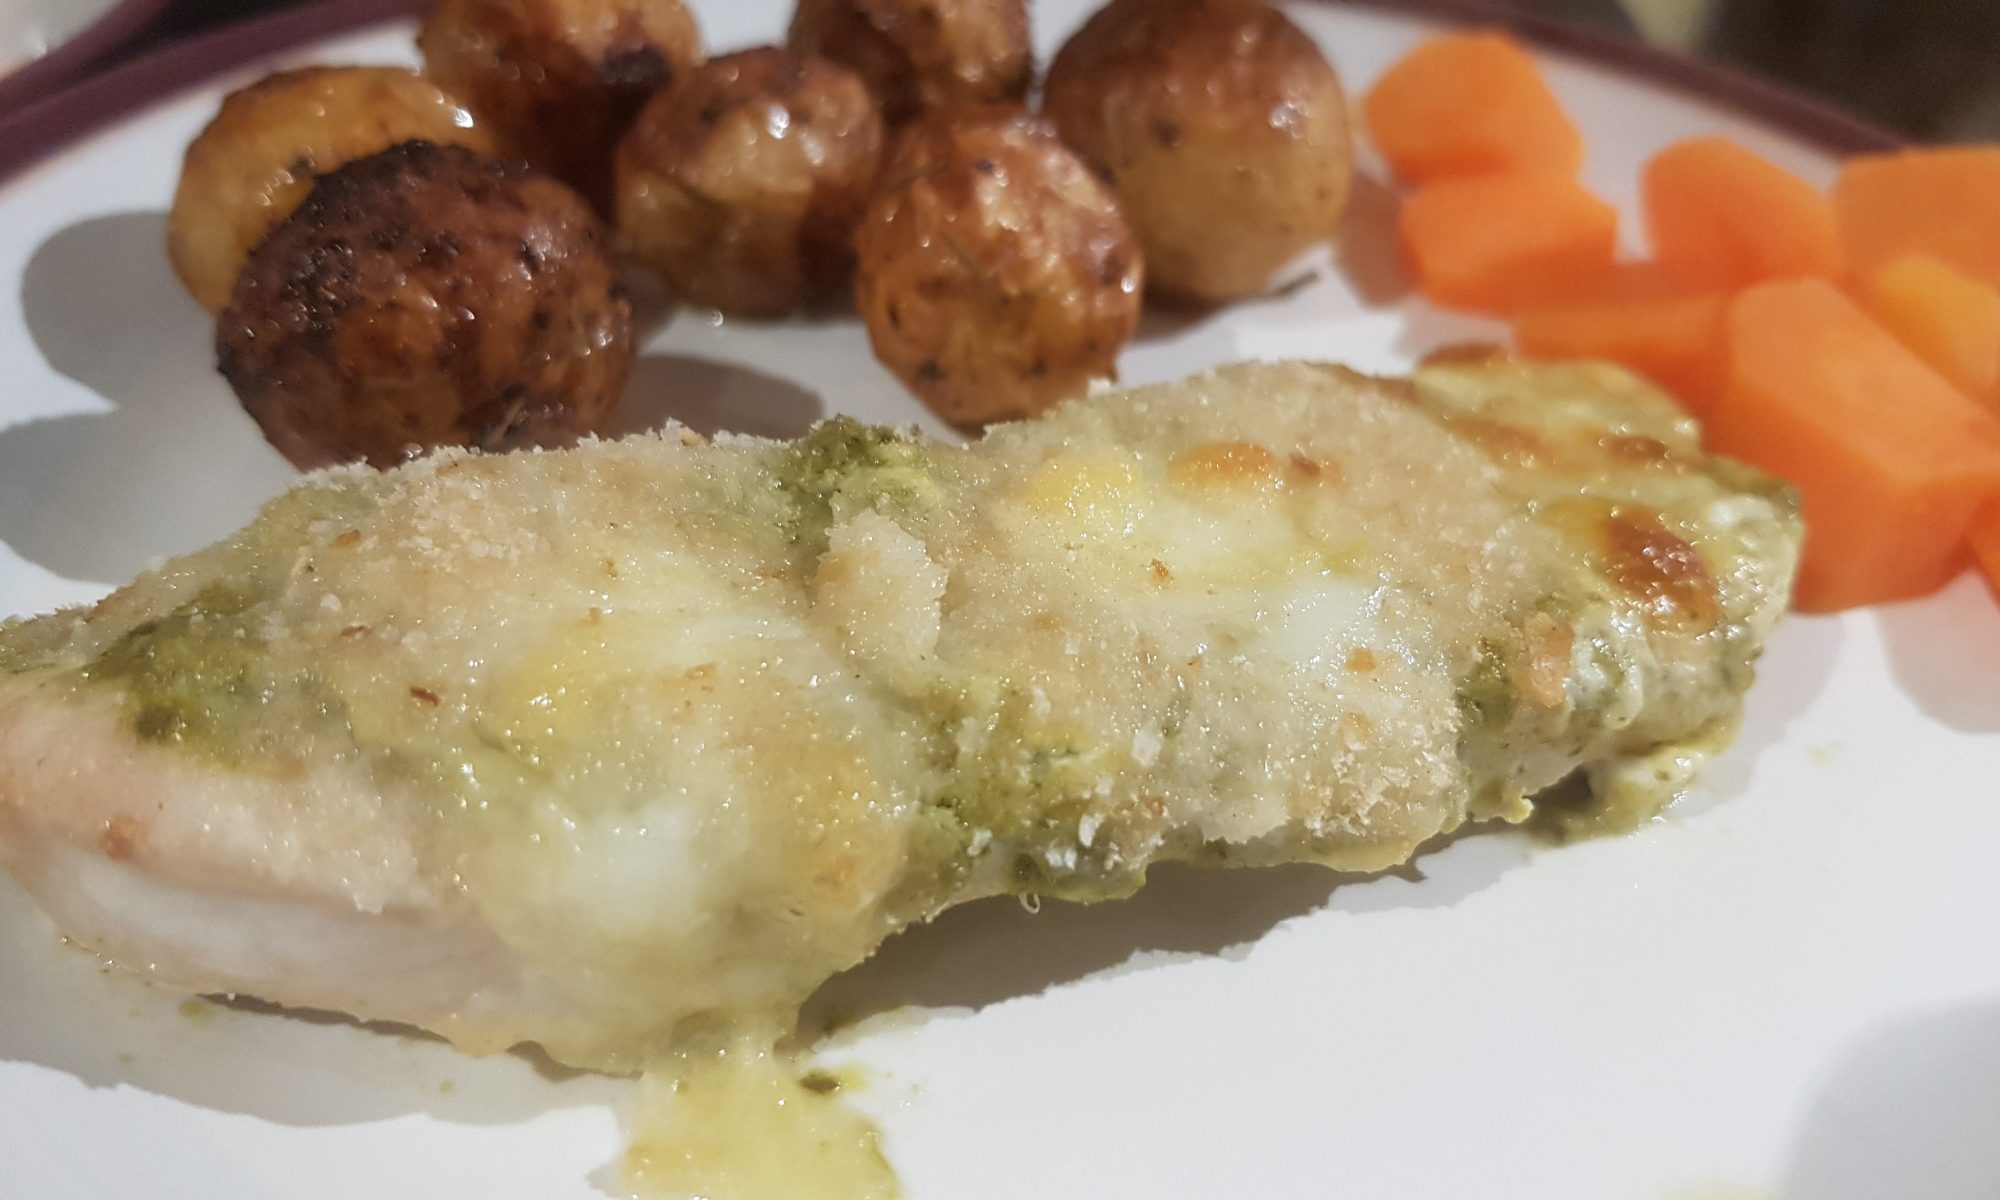
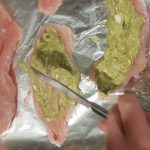
We added a sprinkling of dried bread crumbs to create a contrast in textures. Essentially, the turkey acts as a high protein pizza base – it didn’t take much convincing for my children to eat this! This means that if you do have any leftover turkey breast after your Christmas dinner, you could consider following this recipe, but grilling it to heat the meat through and melt the topping.

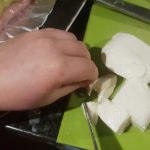
The kids loved spooning the pesto out of the jar and counting the same amount of tablespoons of cream cheese and then mixing it all together. They did a really good job of spreading it on top 
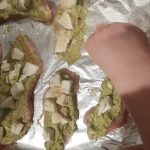
of the turkey steaks and then counting out bits of mozzarella to make sure all the steaks got their fair share of mozzarella. I think they had the most fun sprinkling the breadcrumbs and trying to make sure they landed on the steaks rather than the baking tray (with varying degrees of success, but they seemed to make a game out of it). As children are handling raw meat in this recipe, keep a close eye to ensure no little fingers end up in mouths.

Ingredients

  • Pack of turkey steaks or 4 thick slices of roast turkey breast
  • 2tbsp cream cheese
  • 2tbsp pesto
  • 1 ball of mozzarella
  • Breadcrumbs for sprinkling

Method

  1. Preheat the oven to 170° fan and line a baking sheet with tin foil or a silicone baking mat.
  2. Place the turkey steaks on the baking sheet. It may be easier for you to do this for the children to prevent cross contamination.
  3. Scoop 2tbsp of cream cheese out and place in a bowl. Add 2tbsp of pesto and mix well.
  4. Spoon out small amounts of the mixture and place some on top of each turkey steak. Spread out the dollops with a table knife or the back of a spoon (we used a table knife) so that all of each turkey steak is well covered.
  5. Cut the mozzarella into small cubes with a table knife and place some on top of the pesto mixture on each steak.
  6. Sprinkle each steak with some breadcrumbs and place in the oven to cook for 20-25 minutes until the meat is well cooked (clear juices and hot the whole way through). If you are doing this with already cooked roasted turkey, grill until warm through and the topping has melted nicely.
  7. Best enjoyed warm.

The whole family (minus the vegetarian) enjoyed these for dinner and there have already been requests for an encore! We hope you enjoy these as much as my family did.


Candy Cane Breadsticks

Happy December everyone! Welcome to the busiest, 
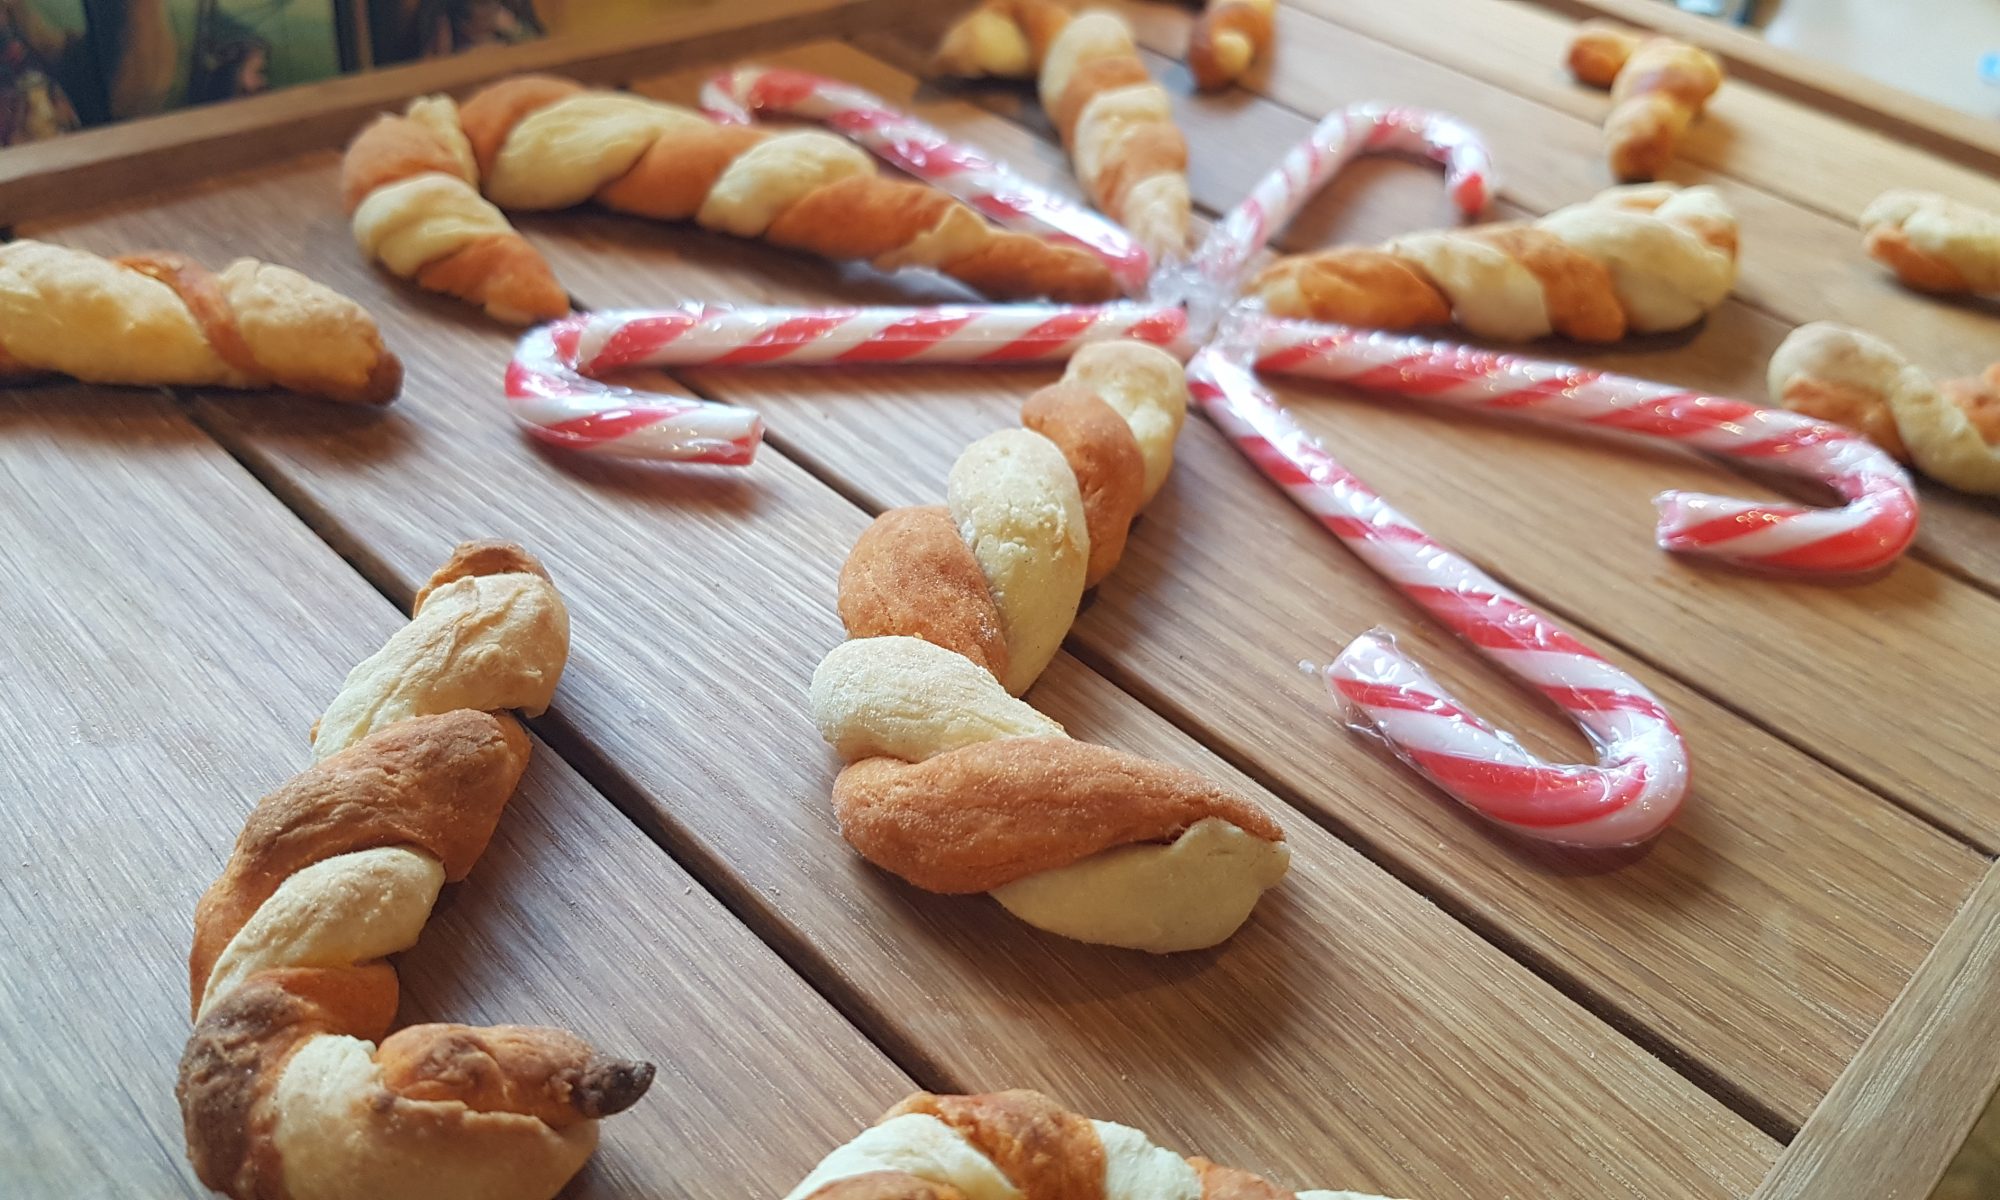
friendliest and most expensive month of the year. I hope you are all well prepared as I find that it is also the most exhausting. Exhausting because of everything going on and also because you have to contend with not only all the activities, but also the inherent excitement that Christmas brings. The excitement levels of my children always end up making me snap or shout at some point, bringing the inevitable mum guilt that I am spoiling their fun. This year I am trying my best to avoid that scenario. I shall let you know how I am doing slightly nearer Christmas.

Anyway onto happier thoughts. I have had these breadsticks on my brain since I started this blog back in March. Just after Christmas last year I stumbled upon The Crafty Gentleman’s version and decided that I wanted to make a simpler, more child friendly recipe when we reached Christmas again. So now we are back in December again, they were the first item to be ticked off my ever growing list of Christmas cooking.

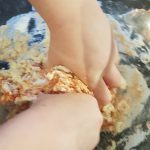
The breadsticks we made were two different flavours. Unsurprisingly the red strand was tomato flavoured and we used garlic salt to flavour the white strand. 
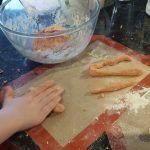
This was a beautifully hands on activity with the kids and all three of them had so much fun squishing and squashing the dough together and rolling out the sausages. They did need help to twist them together, and yes they do look 
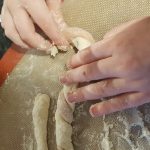
homemade, but they all had a lot of fun and were delighted to make something Christmassy. As each child always had a job whether it be kneading the dough, making more snakes or having a go twisting the tomato and garlic strands together, it meant there was no bickering! We found that all of ours ended up being different sizes, but I had one baking tray of bigger ones and a second with smaller ones so the smaller ones were removed from the oven earlier than the others.

Ingredients

Recipe adapted from Tickle Fingers Cookbook

For the garlic strand

  • 90g self raising flour
  • 60ml milk
  • 1/8tsp garlic salt
  • Olive oil
  • Plain flour

For the tomato strand

  • 90g self raising flour
  • 50ml milk
  • 2tbsp tomato paste
  • 1/8tsp salt
  • Olive oil
  • Plain flour

Method

  1. Preheat the oven to 220°c and put silicone baking sheets or greaseproof paper on two baking sheets.
  2. Put the ingredients for the garlic strand (apart from the oil) in a medium-sized bowl and mix. Use your hands to bring the dough together and gently knead until smooth. Put to one side.
  3. Put the ingredients for the tomato strand (apart from the oil) in a medium-sized bowl and mix. Use your hands to bring the dough together and gently knead until smooth. This one will be slightly wetter than the garlic one.
  4. Dust your surface with plain flour. Roll out sausages with each of the doughs. These do work better if they are quite thin and about 10 cm long. If they are thick they will need to be longer to retain their shape.
  5. Take two strands which are around the same length. Pinch them together at the top and twist together quite tightly. Put on the baking sheet and bend the top to form the candy cane shape. We found the easiest way to twist them together was me holding the top and the kids twisting the strands together. This ensured they were twisted tightly and held their shape whilst in the oven.
  6. Gently paint each candy cane with the olive oil with a pastry brush.
  7. Place in the oven for 10-15 minutes for smaller and thinner candy canes and 15-20 for the larger ones. They are cooked when the are light golden and crisp. They do start to burn easily so keep an eye on them.

I hope your kids enjoy making these savoury candy canes as much as mine did. Breadsticks are always a good snack choice and especially at Christmas when everything seems to be full of sugar! I would love to hear from you if you make these.