

The kids went to stay with their grandparents earlier in the summer. It seems they were, much to our relief, delightful. We were informed upon our return that Atticus had taken a liking to his grandmother’s lunch one day and had eaten quite a lot of bulgur wheat. This was surprising on a couple of counts; firstly in the past he has shown no interest in any of the grains I have offered him and secondly he seemed to eat all the vegetables that it came with including leeks. It was one of those moments when I had the feeling that another child was being described!
We should have taken advantage of this interest in a new food stuff sooner as by the time we had got round to purchasing more bulgur wheat a couple of days later, Atticus had become less enthusiastic. Maybe we didn’t cook or present it the same way his grandparents did. Or maybe he secretly wants to keep us on our toes and eating certain foods for grandparents and not for us is his way of doing so. Speculation aside, his reaction to the bulgur wheat that he previously professed to love now seemed to be tepid at best.
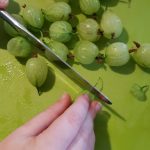
A couple of years ago I made a strawberry and cucumber salsa and I  remembered how odd I thought the combination was and then after eating it how happy I was with how it turned out. With this in mind, I decided that strawberries and cucumber would make a nice addition to a bulgur wheat salad along with basil, orange zest and orange juice. It may well sound like another crazy combination, but it does work and makes a lovely summery salad. Other additions could include dried apricots or raisins and if you want a bit of crunch some sunflower or pumpkin seeds. But having eaten too much cake recently, I decided that I should really try and make a slimming world-friendly recipe that the whole family could enjoy.
Ingredients
- 250g bulgar wheat cooked according to packet instructions and cooled
- 100g cucumber
- 100g strawberries
- 10 basil leaves
- Zest of 1/2 an orange
- Juice of 1 orange
- 1tbsp white wine vinegar
- Seasoning
Method
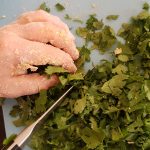
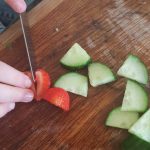 Cut the cucumber and strawberries into small pieces.
- Count out the basil leaves and chop or tear into smaller pieces.
- Add the cucumber, strawberries and basil to the bulgar wheat.
- Zest half the orange (I generally
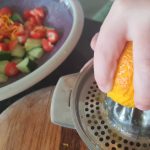 need to help the kids with this) and add to the bulgar wheat.
 - Juice the orange. The kids enjoyed using the juicer with a bit of help. Mix 1tbsp of white wine vinegar with the
 orange juice and add to the bulgar wheat and combine well.
 - Mix well and season with salt and pepper. Refrigerate until you want to use it.
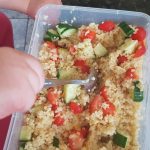
This salad was enjoyed with both 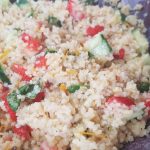 fish and chicken. It has to be said, Atticus picked all the strawberries and cucumber out and only ate some of the bulgar wheat. Ophelia happily gobbled the whole lot up and so did I! It definitely did make a change from a potato salad or coleslaw with our lunch.
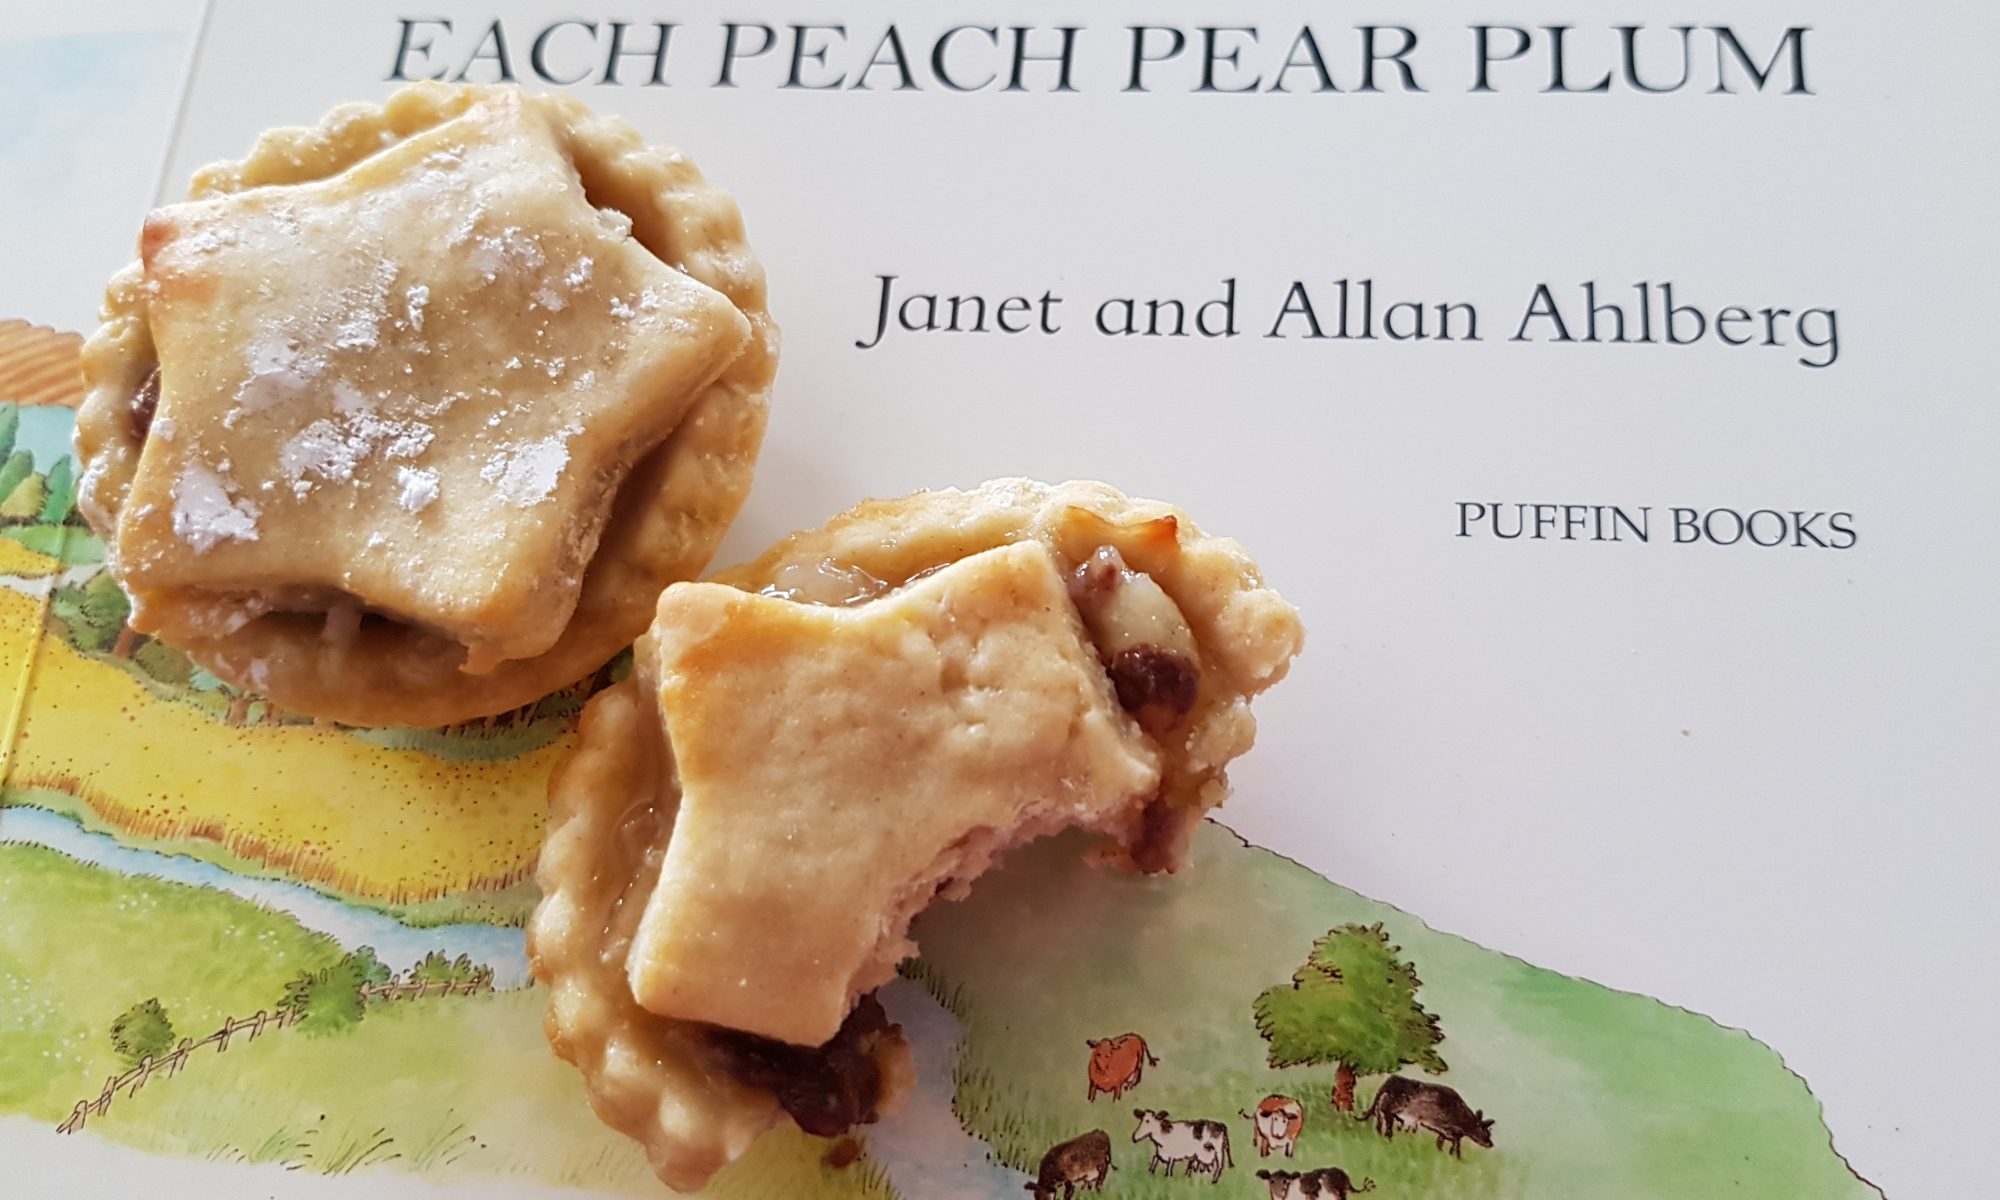
 Ophelia’s favourite story is Each Peach Pear Plum by Janet and Allan Ahlberg. She will wander around the house saying any combination of the title fruits and often I think she is asking for a snack and she wants a story instead and vice versa! In all fairness, I think she decides that she wants the opposite of whatever I suggest and does it to fluster me… She can be quite contrary. Just reading that back makes me think I have become cynical in my old age. I never used to have a cynical bone in my body, but since having children there are times when I find myself thinking something and I end up questioning where the cynicism came from. But that is another story…
 very much I thought it was about time it was incorporated into our baking repertoire. My initial thought was that a lovely big pie would be really yummy. But the kids really do enjoy stamping out pastry circles and placing them in the bun tray so much that little pies won out. That and it meant we could top them with stars which is always well received. As the children (yes Atticus I am talking about you) are very hit and miss with cooked fruit, I decided that we would mix in honey, flaked almonds and chocolate chips in as all the little people in our house love them.
 Wrap in clingfilm and place in the fridge while you make the filling and put the oven on to heat at 180° fan.
 almonds and chocolate chips and mix.
 Grease your shallow bun tin. Cut out circles to fit inside your shallow bun tin and gently press in.
 Spoon around 1tsp of filling into Each Peach Pear Plum Pie (Simon was adamant that this line had to appear in this post!).
 the top on and then brush the tops with milk.
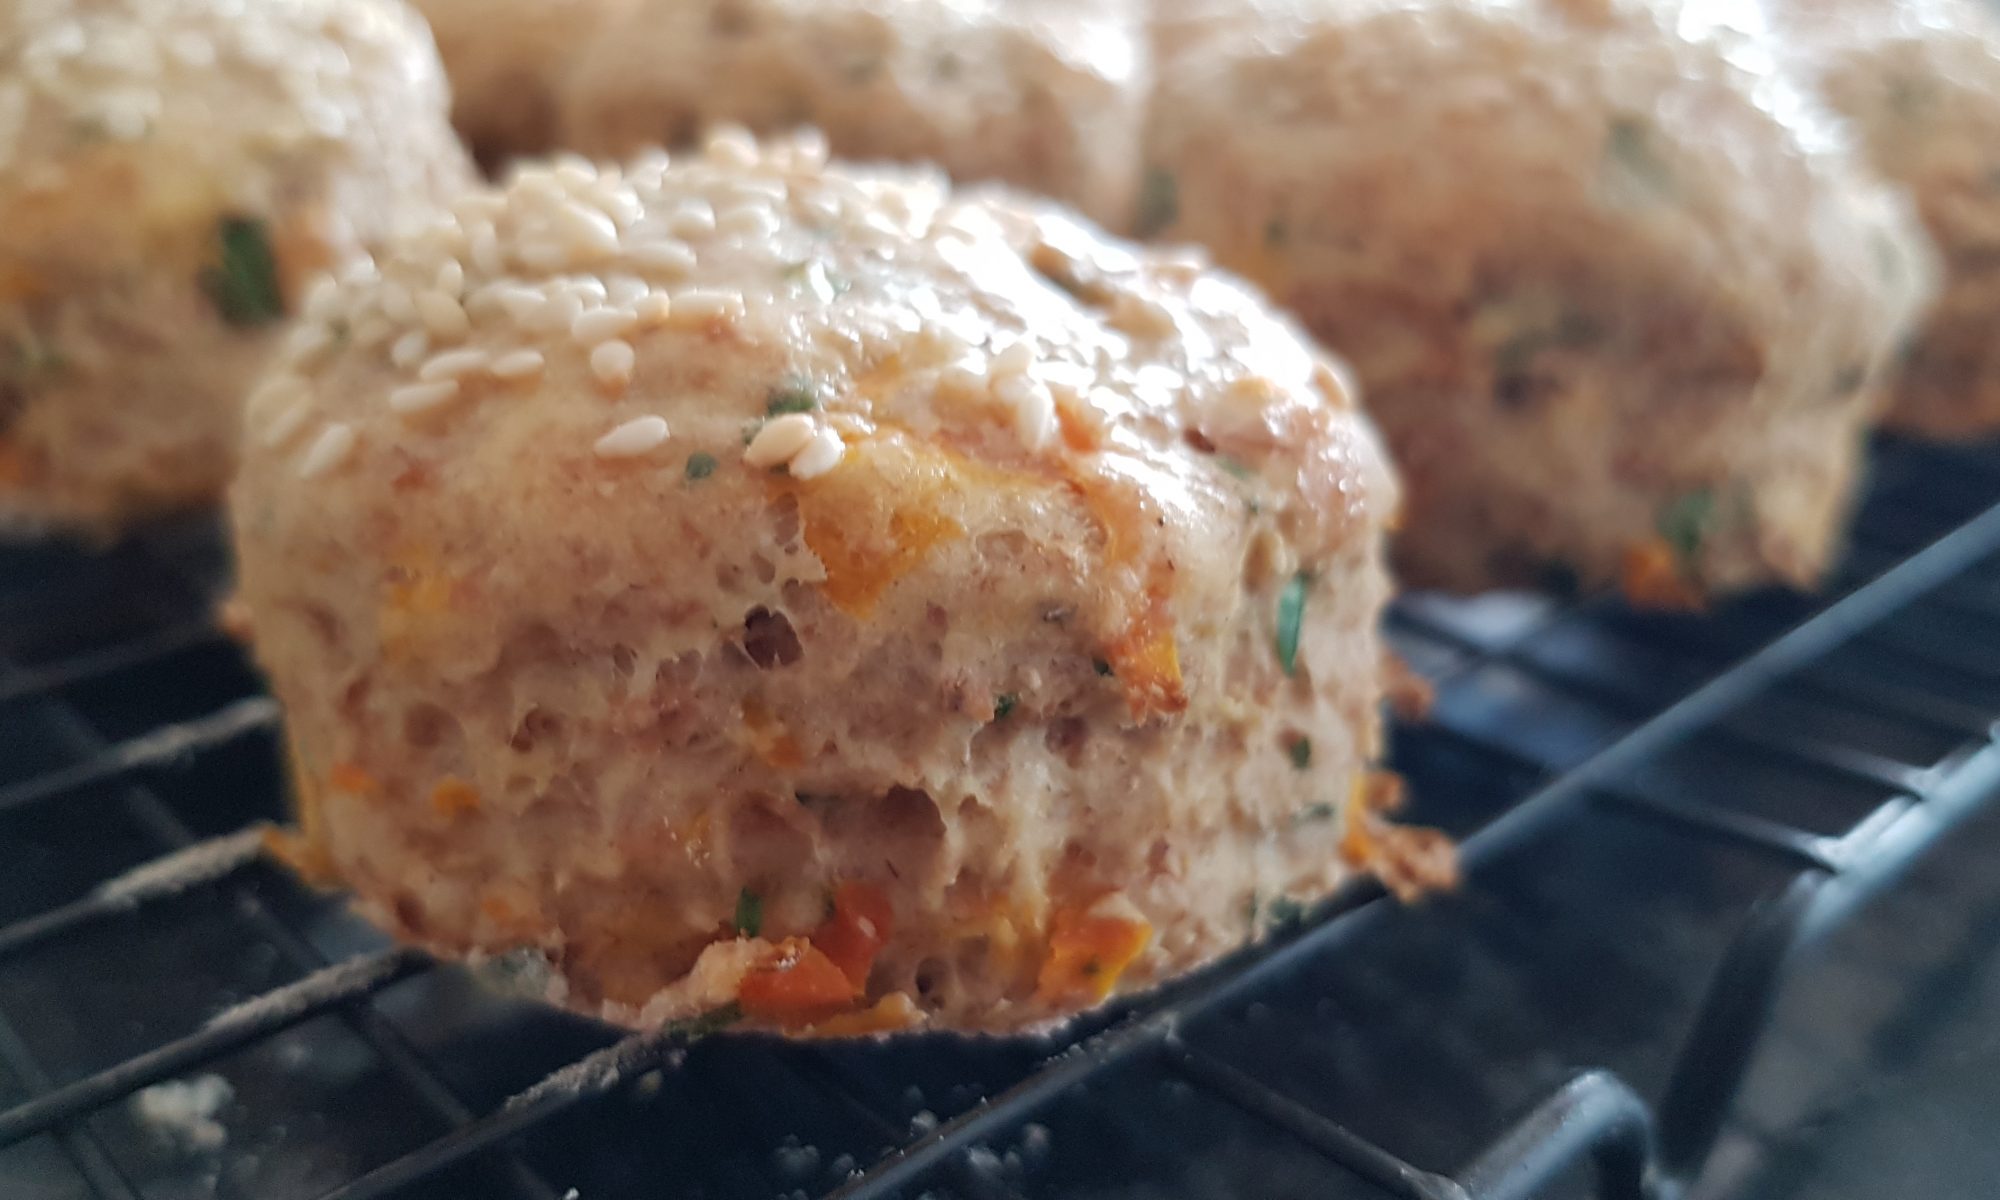
 In my world, the closest I am going to come to having high tea in my schedule is me offering the kids scones after collection from school in order to fuel our 25 minute walk home. This helps them and me survive the inevitable tiredness to which they are likely to succumb without immediate sustenance and preventing me from saying something I may well regret on the return journey.
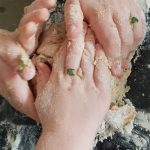
 Bash the garlic clove with a wooden spoon to loosen the skin and peel the skin off. Crush the garlic and add to the breadcrumbs.
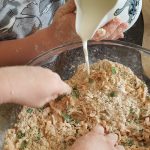 together with your hands until a dough forms.
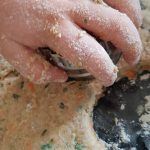 Cut into rounds and place on a lined baking tray. Do this until the dough is all finished. You may have to consolidate the dough to be able to cut more rounds out.
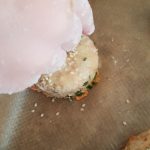
 Seb in particular enjoyed these with cheese or ham for his lunch as well as a snack while walking home from the playground one afternoon. It seems the other two are more partial to fruit scones.
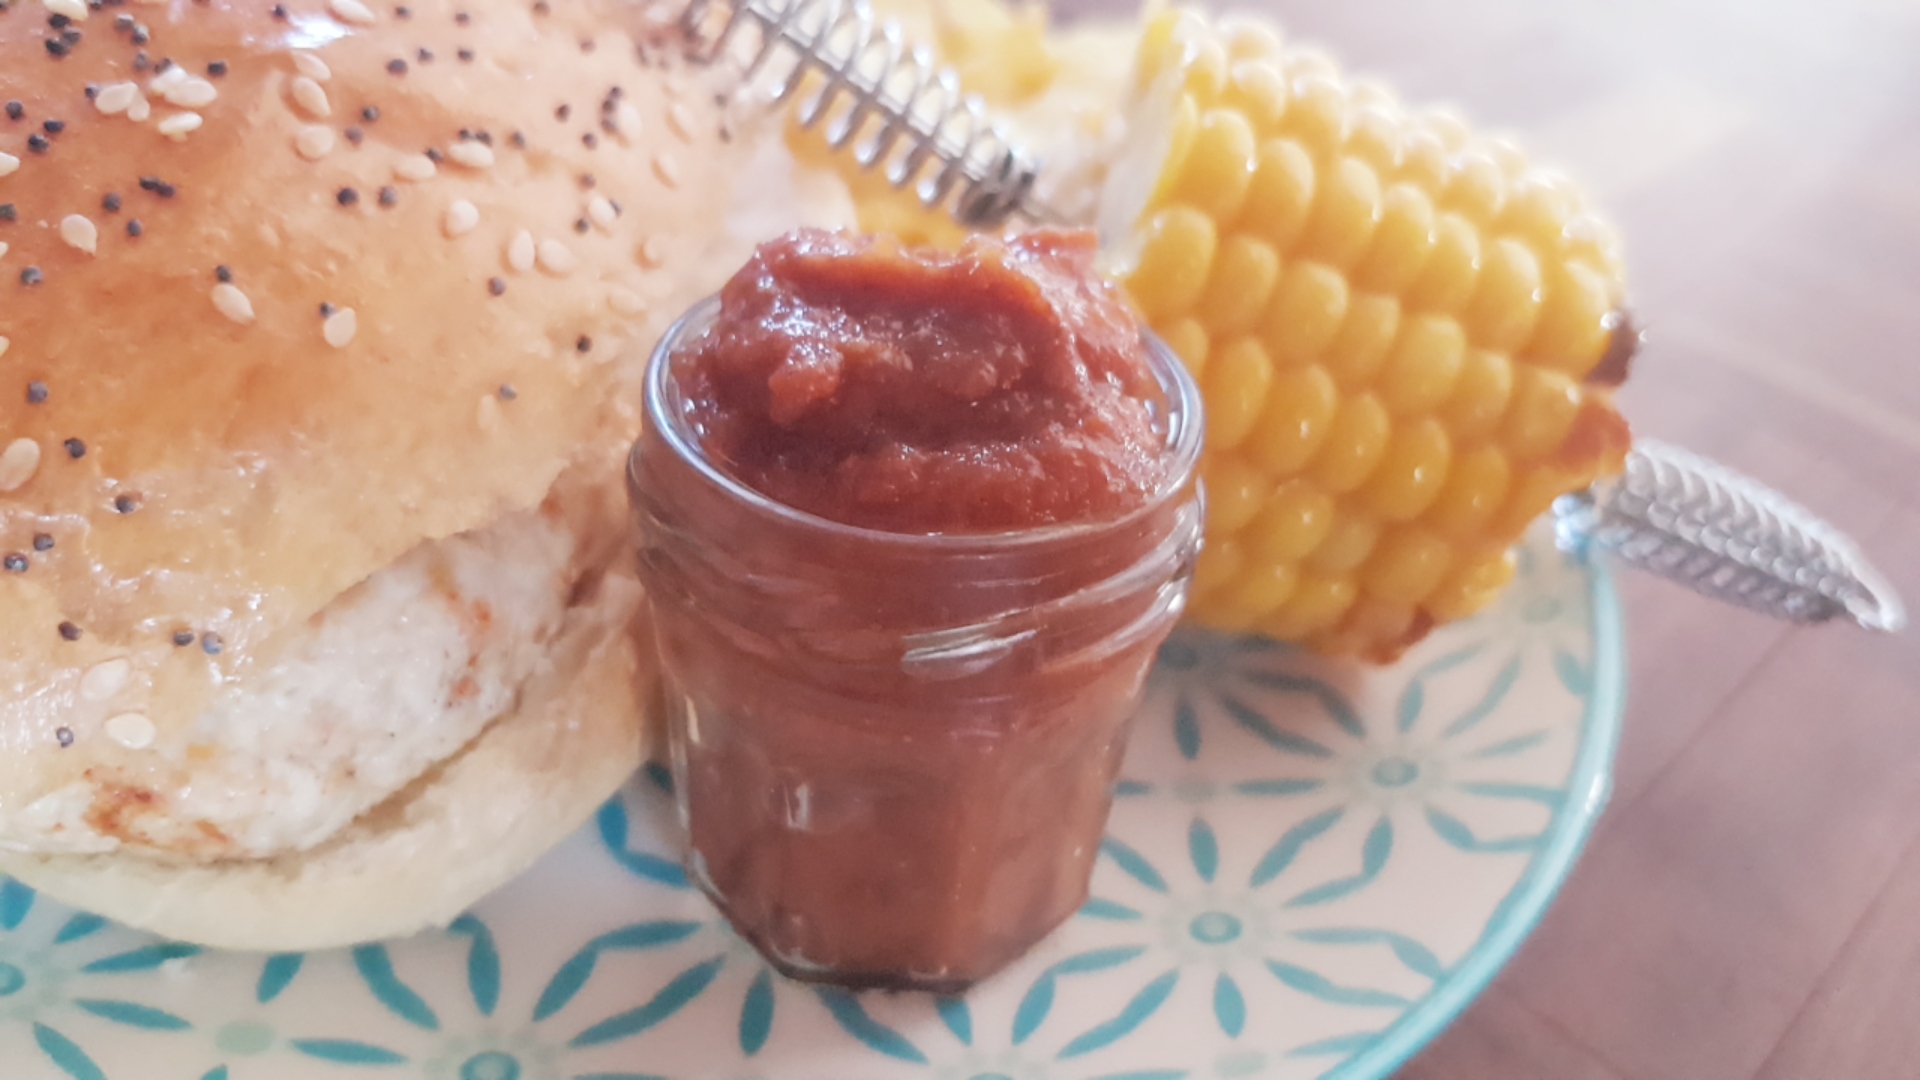
 Then I remembered the slow cooker. We haven’t used it in a while and it would be perfect to fit around all the other little bits we had planned for the day. As I was racking my brain for a recipe idea, I realised our supply of tomato ketchup was perilously low. This made me realise that we could in fact make tomato sauce in the slow cooker. Yes it is a rather labour intensive way to get a jar of tomato sauce, but the kids would have fun chopping vegetables and then mixing it all up.

 into the slow cooker.
 remove it, then slice and add to the slow cooker.
 add them to the pot.
 remaining. This took ours around 3 hours.
 Ophelia is the tomato lover of our children. She loves them nearly as much as I do. The surprise was how much Atticus enjoyed the tomato sauce. As our resident ‘fussy eater’, he will often refuse tomatoes and will try and sneak them to his sister when I am not watching. But he devoured the ketchup on his homemade burger and chips and even asked for more!
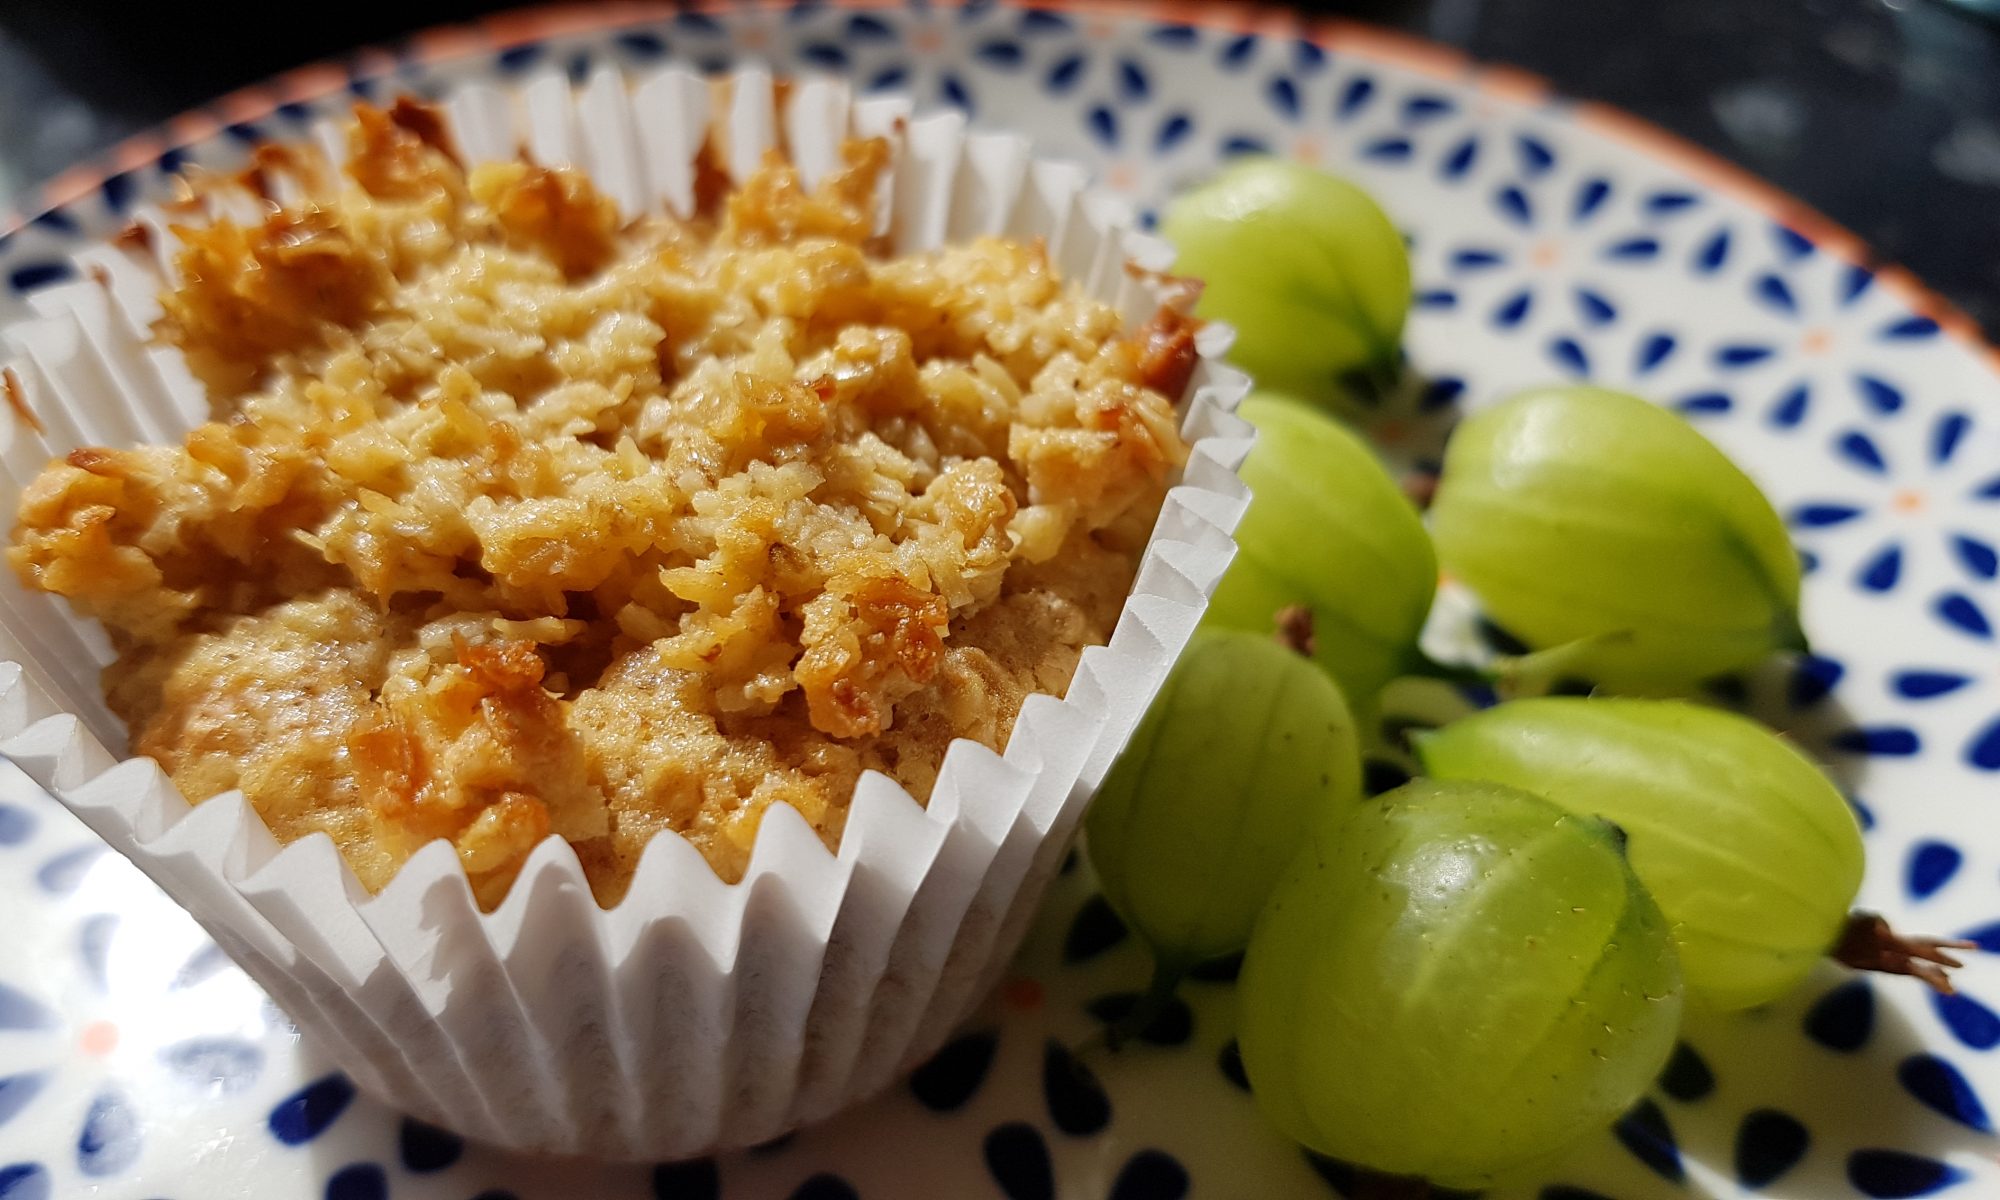
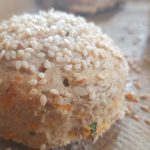
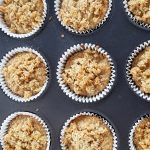 As I was looking at it, I found that my mind was thinking about how I could alter the recipe to turn them into muffins. In this house, individual cakes tend to be more popular than large cakes that need to be sliced. After adding in oats and swapping self raising flour for wholemeal self raising flour and choosing light brown soft sugar, I decided that Seb and I were ready to make these muffins.
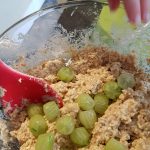 Crack in the two eggs and beat them in.
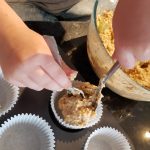 between 12 muffin cases.
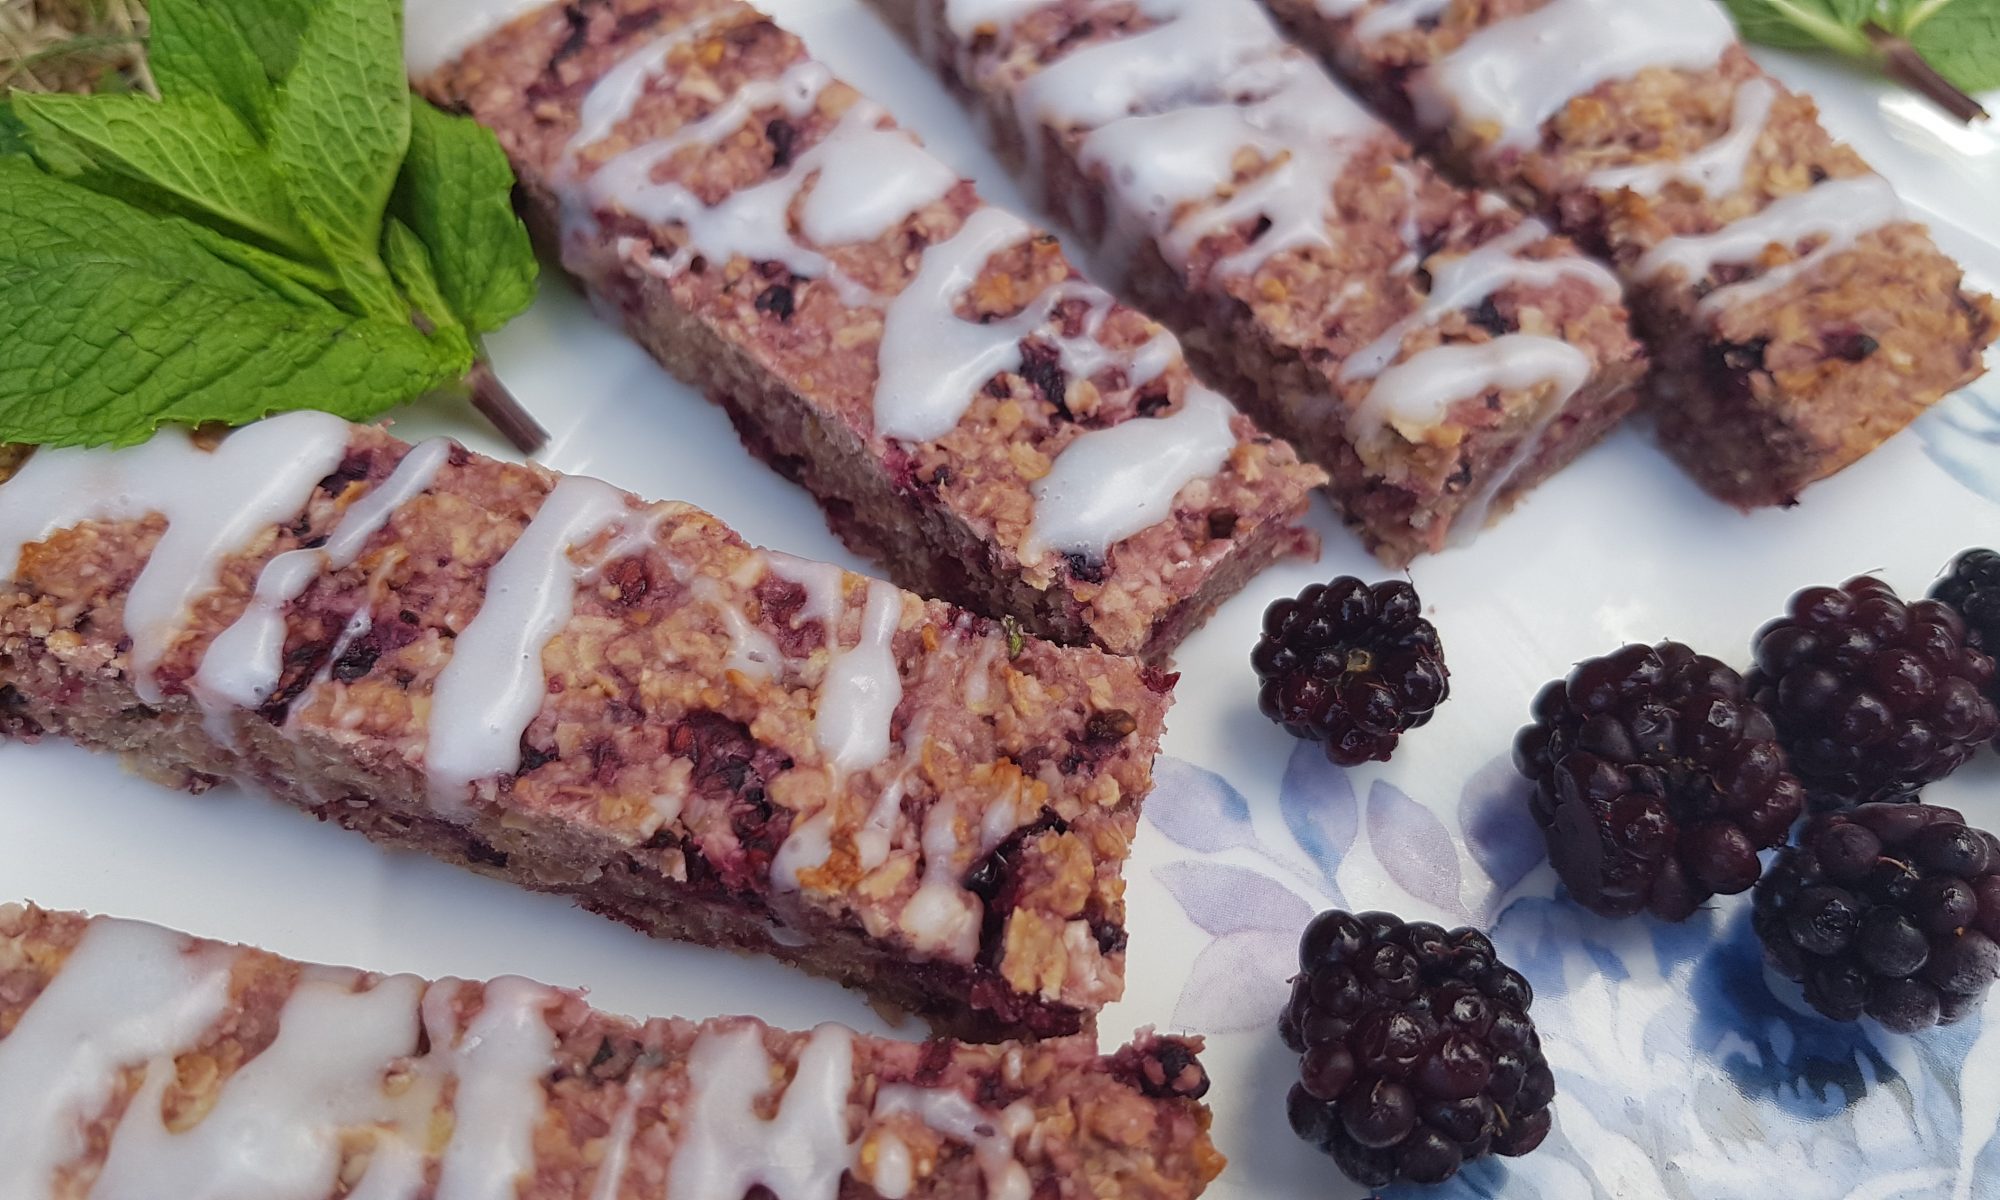
 guessed our purpose which was blackberrying. Finally they seemed happy! Lots of fun was had by all on the trip. We collected nearly 800g of blackberries. I am sure Ophelia ate quadruple what she collected. She only seemed to find it necessary to store the blackberries which were still red that she had collected in her pot. The rest ended up in her tummy and all over her face and clothes! Maybe next time she will understand the task at hand a bit better! I am now feeling very grateful for the new washing machine that we had to buy last month because the old one finally gave up the ghost – something it had been threatening for around 18 months!
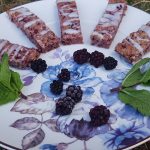 make a chocolate and blackberry tart, but Simon suggested it was time that I made something slightly healthier for the blog. After a bit of thinking, I decided that some of the blackberries would go nicely in some cereal bars. As a nod to my love of using herbs and spices in my baking I decided to pair them with some fresh mint. The aim was to achieve a hint of mint so that they tasted fresh rather than an overpowering wow that’s a lot of mint flavour! If mint isn’t your cup of tea, by all means, leave it out of the recipe all together.
 Preheat the oven to 170°c fan and grease and line a 16cm square pan.
 fork and add the mint and mix around.
 fully combine.
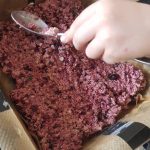 of a wooden or metal spoon to flatten the mixture in the tin.
 have difficulty slicing them, put them in the fridge for 5-10 minutes first.
 people Spanish, I pounced on the paella rice in the supermarket when I found it. I normally grab risotto rice on autopilot as going to the supermarket without any ‘help’ is a luxury! I tend to walk around the supermarket revelling in my child-free status and barely looking at the shelves, just grabbing the usual. My hope was that the rice would reignite my efforts to immerse my kids in Spanish and provide them with a yummy, hands on and stress-free dinner. Stress-free because rice is a universally accepted carbohydrate in our house and doesn’t elicit the horrible reaction that certain forms of potato produce.
 If you are doing this recipe with children over 4, you may want to let them have a go at chopping the chorizo, chicken and fish with supervision and help as required. Otherwise, you can chop in advance for them or buy pre-chopped. With the chorizo you could buy slices and have the children tear it up instead. If you are using stock pots rather than stock cubes it is easier to make them dissolve with boiling water so your children may require help pouring it in. If you are using stock cubes they can crumble them into cold water.
 and small prawns and mix well.
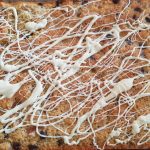 I have had a packet of pistachios in the pantry for about 3 months. Every time Simon tried to go near them for a snack, I would angrily fend him off them citing that I intended to put them in an imminent cake. At each request to eat them the cake changed as I could never quite choose what to make with them. I am not sure if he noticed this or not, but I am guessing that he did and he chose to keep his silence. The cake excuse seemed to work to my advantage in this instance, this is not always the case!
 into with my daughter. Not that I am complaining, I am absolutely delighted that she loves fruit. I do, however, sort of begrudge having to share every single cherry with her: half for mummy, half for Phe. With this love of fruit in mind, I decided to combine the pistachio with dried apricot in a traybake.
 entertaining her. We had sugar and coconut all over not only the surface, but her too her. Oh and there was also her half-eaten apple which she refused to relinquish. She was so enthusiastic with every step of this recipe. She did, however, need help finishing off some of the steps and doing the more challenging bits.The 5 and 4 year old would have managed it with minimal help.
 Cream the butter and golden caster sugar together until light and fluffy (you can use an electric hand mixer for this, but we used wooden spoons).
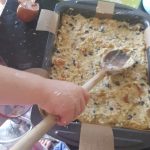 then gently flatten with the back of a wooden spoon or a spatula.
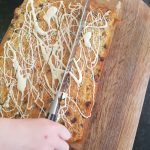 Once fully cooled, melt the white chocolate (we did this in the microwave for 10 seconds at a time, mixing after each 10 seconds). Drizzle over the cooled cake and allow to set before cutting into 16 squares.