When the boys interest in cooking began, I read about how you can make butter by vigorously shaking double cream in a jam jar. We did try it to make a small quantity of butter at the time. The boys were delighted when it turned to whipped cream and then the buttermilk separated. It was a very labour intensive way to make butter and considering all the butter that we use in baking, I decided it would be easier to just buy butter!

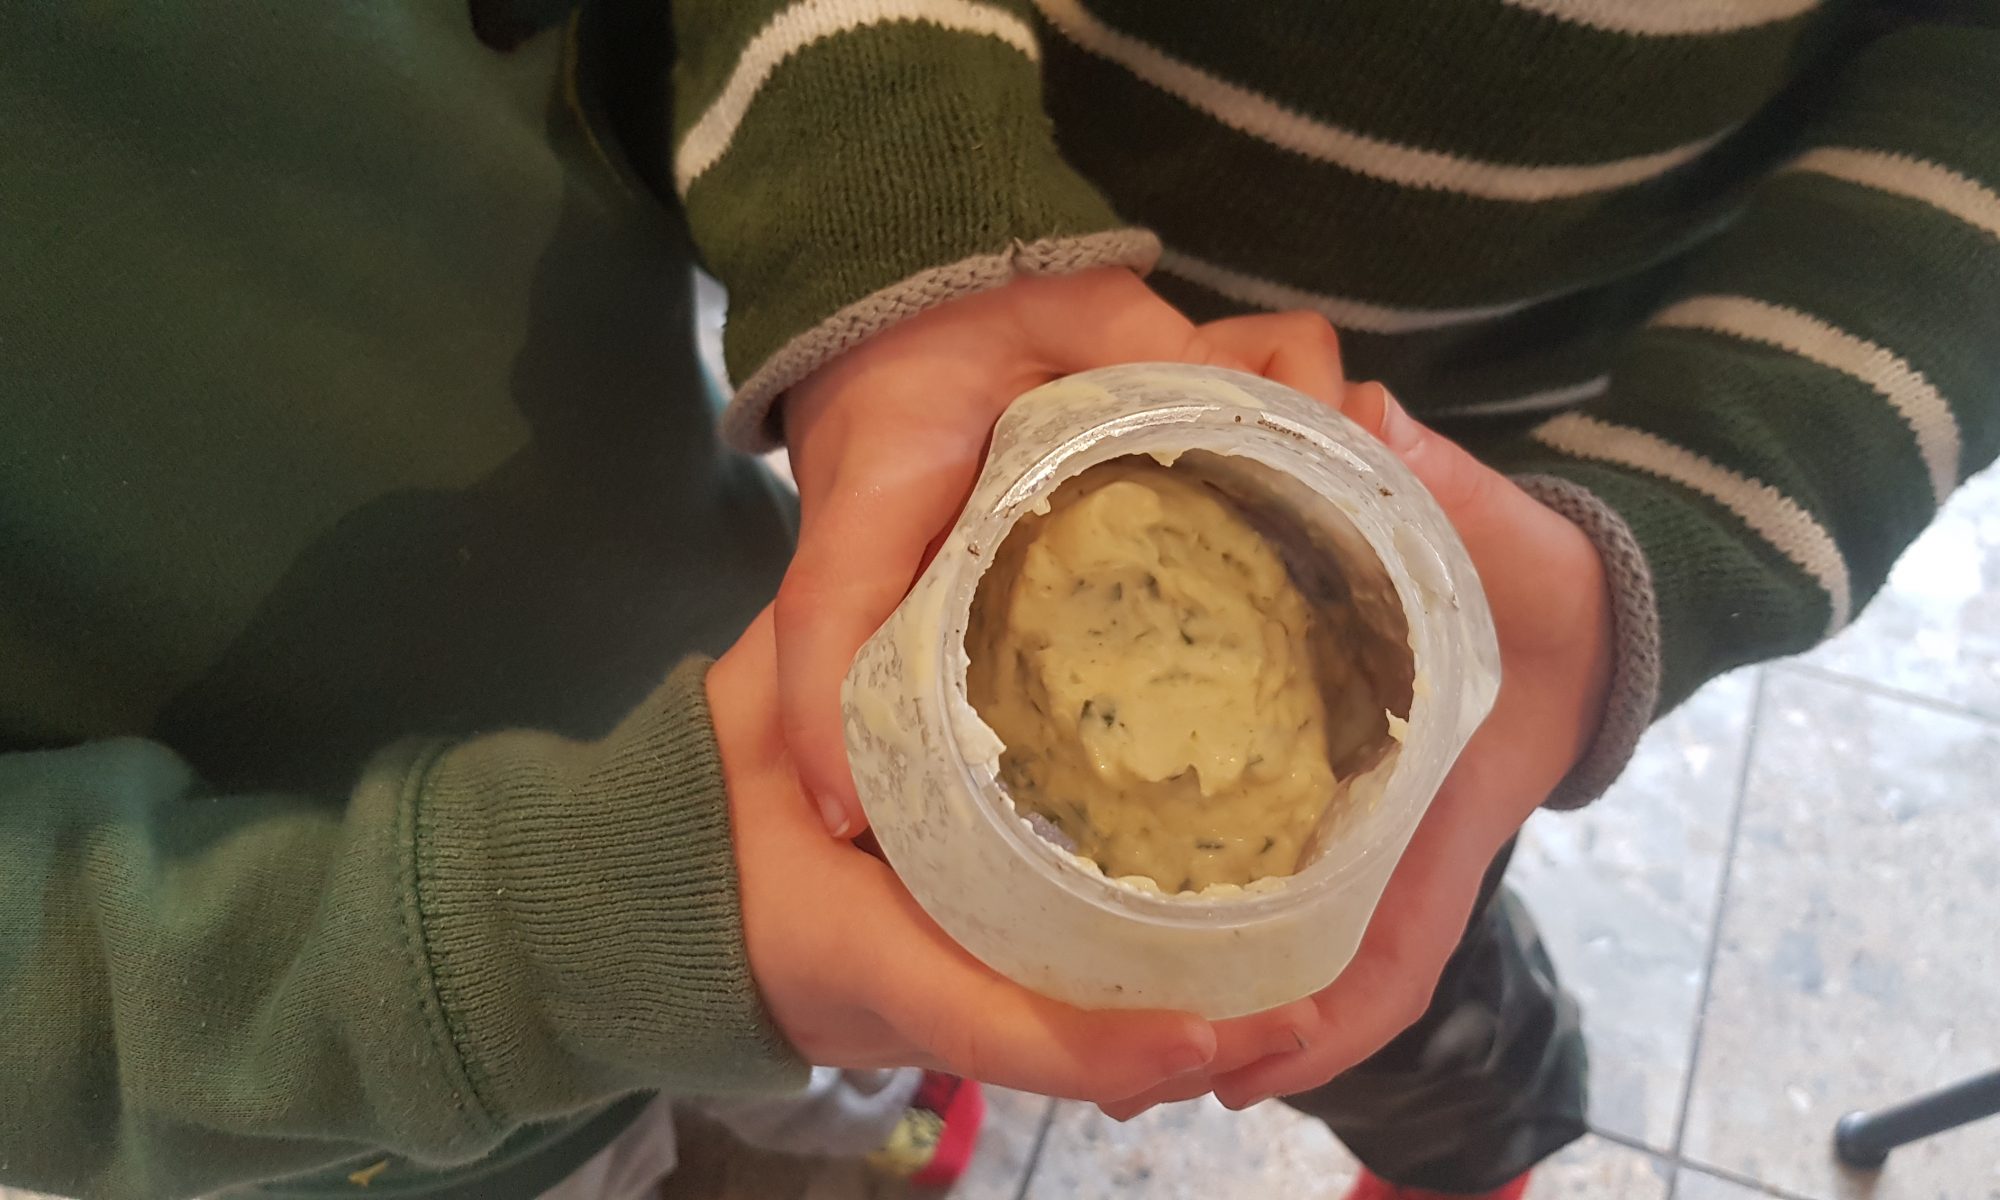
While thinking about what we could make for a bring and share lunch with family, I remembered the butter I made with the boys. Ophelia never having seen it and the boys now being a bit older meant it was now time to make it again. This time we decided to make it with crushed garlic and chopped parsley for added flavour. This activity is really one in which the whole family can get involved. We took it in turns around the table to shake the jar. It also seemed to become a competition as to who could pull the funniest face and do the silliest actions while shaking the plastic jar. Yes folks, these are the activities which make up the funny stories and enrich memories!
Ingredients and equipment
- 150ml double cream
- 2 cloves of garlic
- Small handful of fresh parsley
- Jam jar (we used a plastic one)
- Marbles (washed and we used one per child). The marbles help you to tell when the mixture is turning from cream to whipped cream to butter and buttermilk.
- Rolling pin
- Garlic press
Method
- Pour the double cream into the jar and allow each child to put a marble in.
- Gently bash the garlic clove with the side of a rolling pin to loosen and remove the skin.
- Crush the garlic cloves with the garlic press. My children needed help with the press, but were ever so determined to give it a go.
- Add the garlic to the jar of cream.
- Cut the parsley into small pieces using scissors and add them to the cream jar.
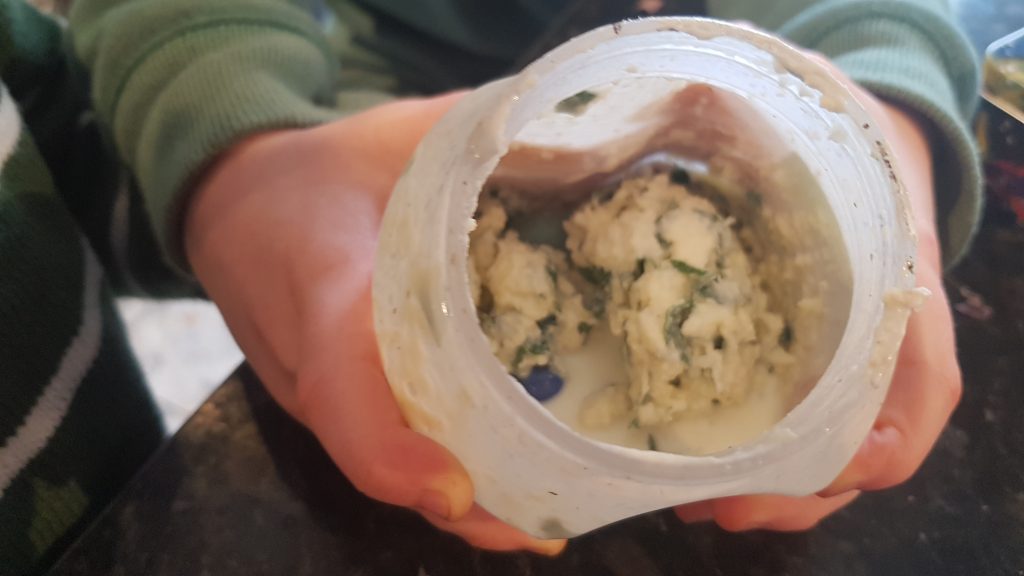
- Firmly secure the lid of the jar and start to shake it. This process will take around 15 minutes depending on how vigorously you shake the jar. It will turn from cream to whipped cream and then to butter and buttermilk. When it is turning to whipped cream the marbles will start to move slower and when it has become butter and buttermilk you will hear them clatter against the sides again more frequently.
- Pour off the buttermilk and then shake again and pour off any further buttermilk.
- Put in the fridge until ready to use.
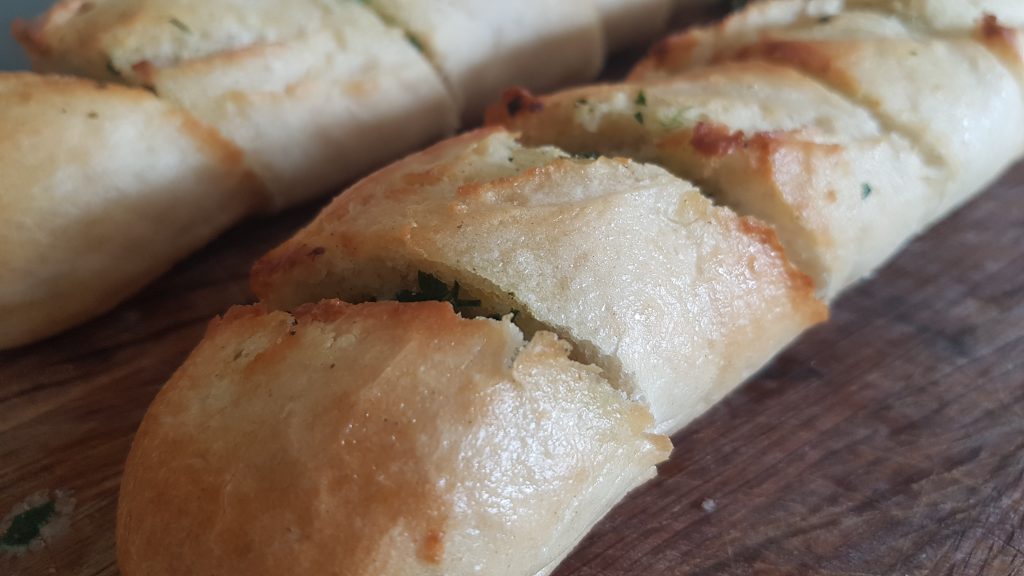
We used this butter into two partially baked baguettes to make some homemade garlic bread. This was enjoyed by the whole family at our bring and share lunch. To make the garlic bread you will need to:

- Remove the butter from the fridge around 20 minutes before starting.
- Take the baguettes and make small diagonal cuts the whole way across each baguette taking care not to slice them fully.
- Take small amounts of the butter and place inside each of the diagonal cuts.
- Melt the remaining butter in the microwave and paint the baguettes with it to get a yummy crispy shell for your garlic bread.
- Place in the oven according to the packet’s instructions and remove when golden.
 In case you hadn’t already noticed, I enjoy messing around in the kitchen creating recipes. Furthermore, I love it when the children can get involved in making their after school snacks or meals and contribute to the activity. This makes me feel less like a general dogsbody and more like a proactive parent on a mission to teach the kiddos how to fend for themselves.
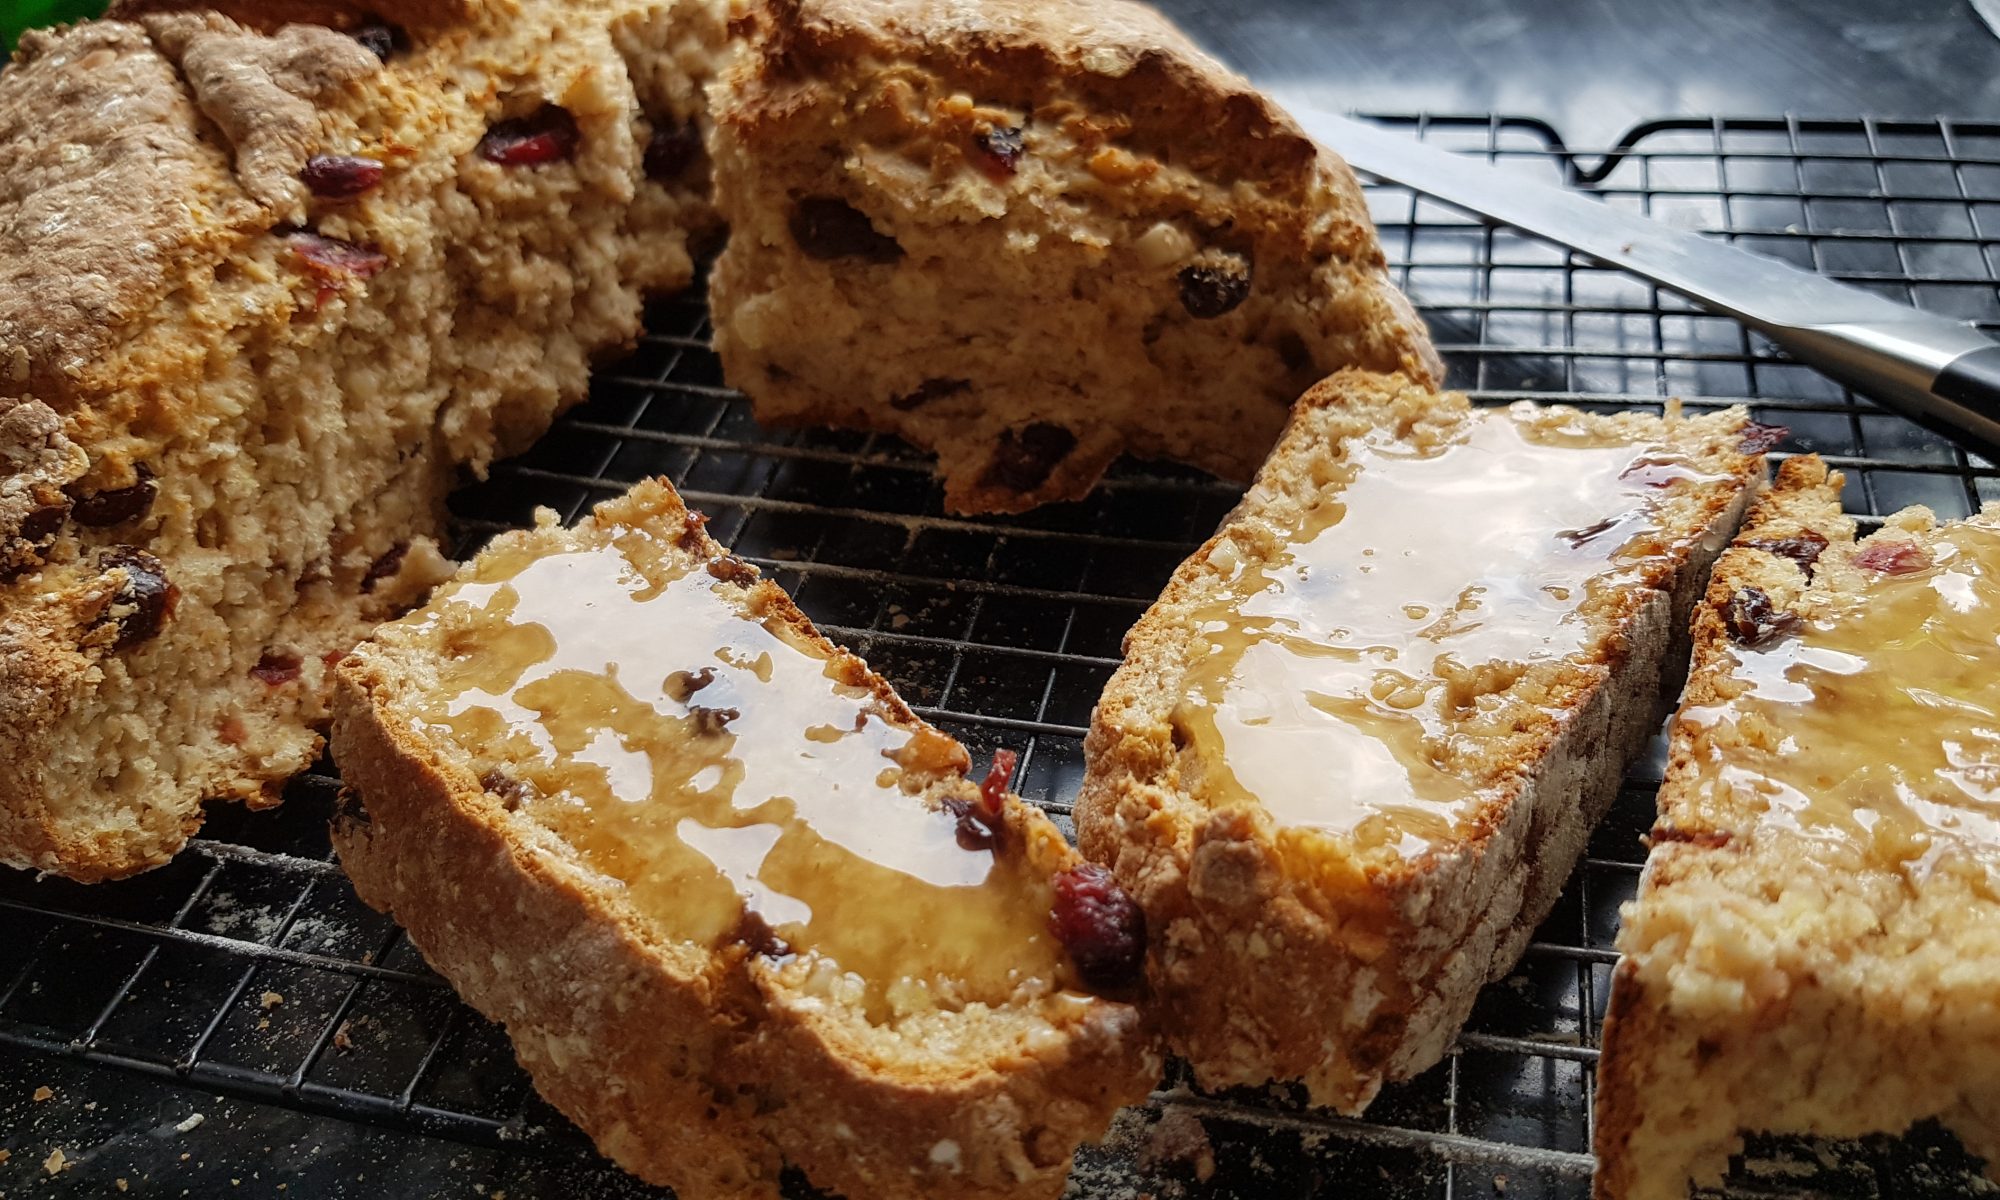
 Soda bread is made without yeast. The bicarbonate of soda was traditionally activated with soured milk. Instead of soured milk, it is more common now to use either buttermilk or a mixture of milk and natural yoghurt. The iconic cross dividing the bread into quarters helps the bread cook through, but when reading many soda bread recipes, I learnt that traditionally it was said the let the fairies out. This makes me smile and that is how I will put it next time I am asked why we are scoring bread!
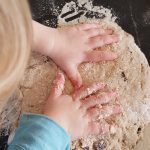
 in and squishing and squashing the dough with my help to bring it all together. She was desperate to put her beloved apricots in it, but they didn’t make the cut this time. She wasn’t bothered for long when she saw the raisins and dried cranberries though. That is one good thing about the short attention span of a toddler!
 fingers.