Lolly Cake

I am always on the look out for simple recipes to make with the kids. Truth be told, I get bored if I have to make the same thing over and over again. Flapjack brownies are the exception to this; they always go down well. I do have to fight off my middle child as he is also rather partial to them, but seeing as he is considerable shorter than me, I have a certain advantage when it comes to keeping them out of his reach.

Sprinkling the coconut.
All lined up!

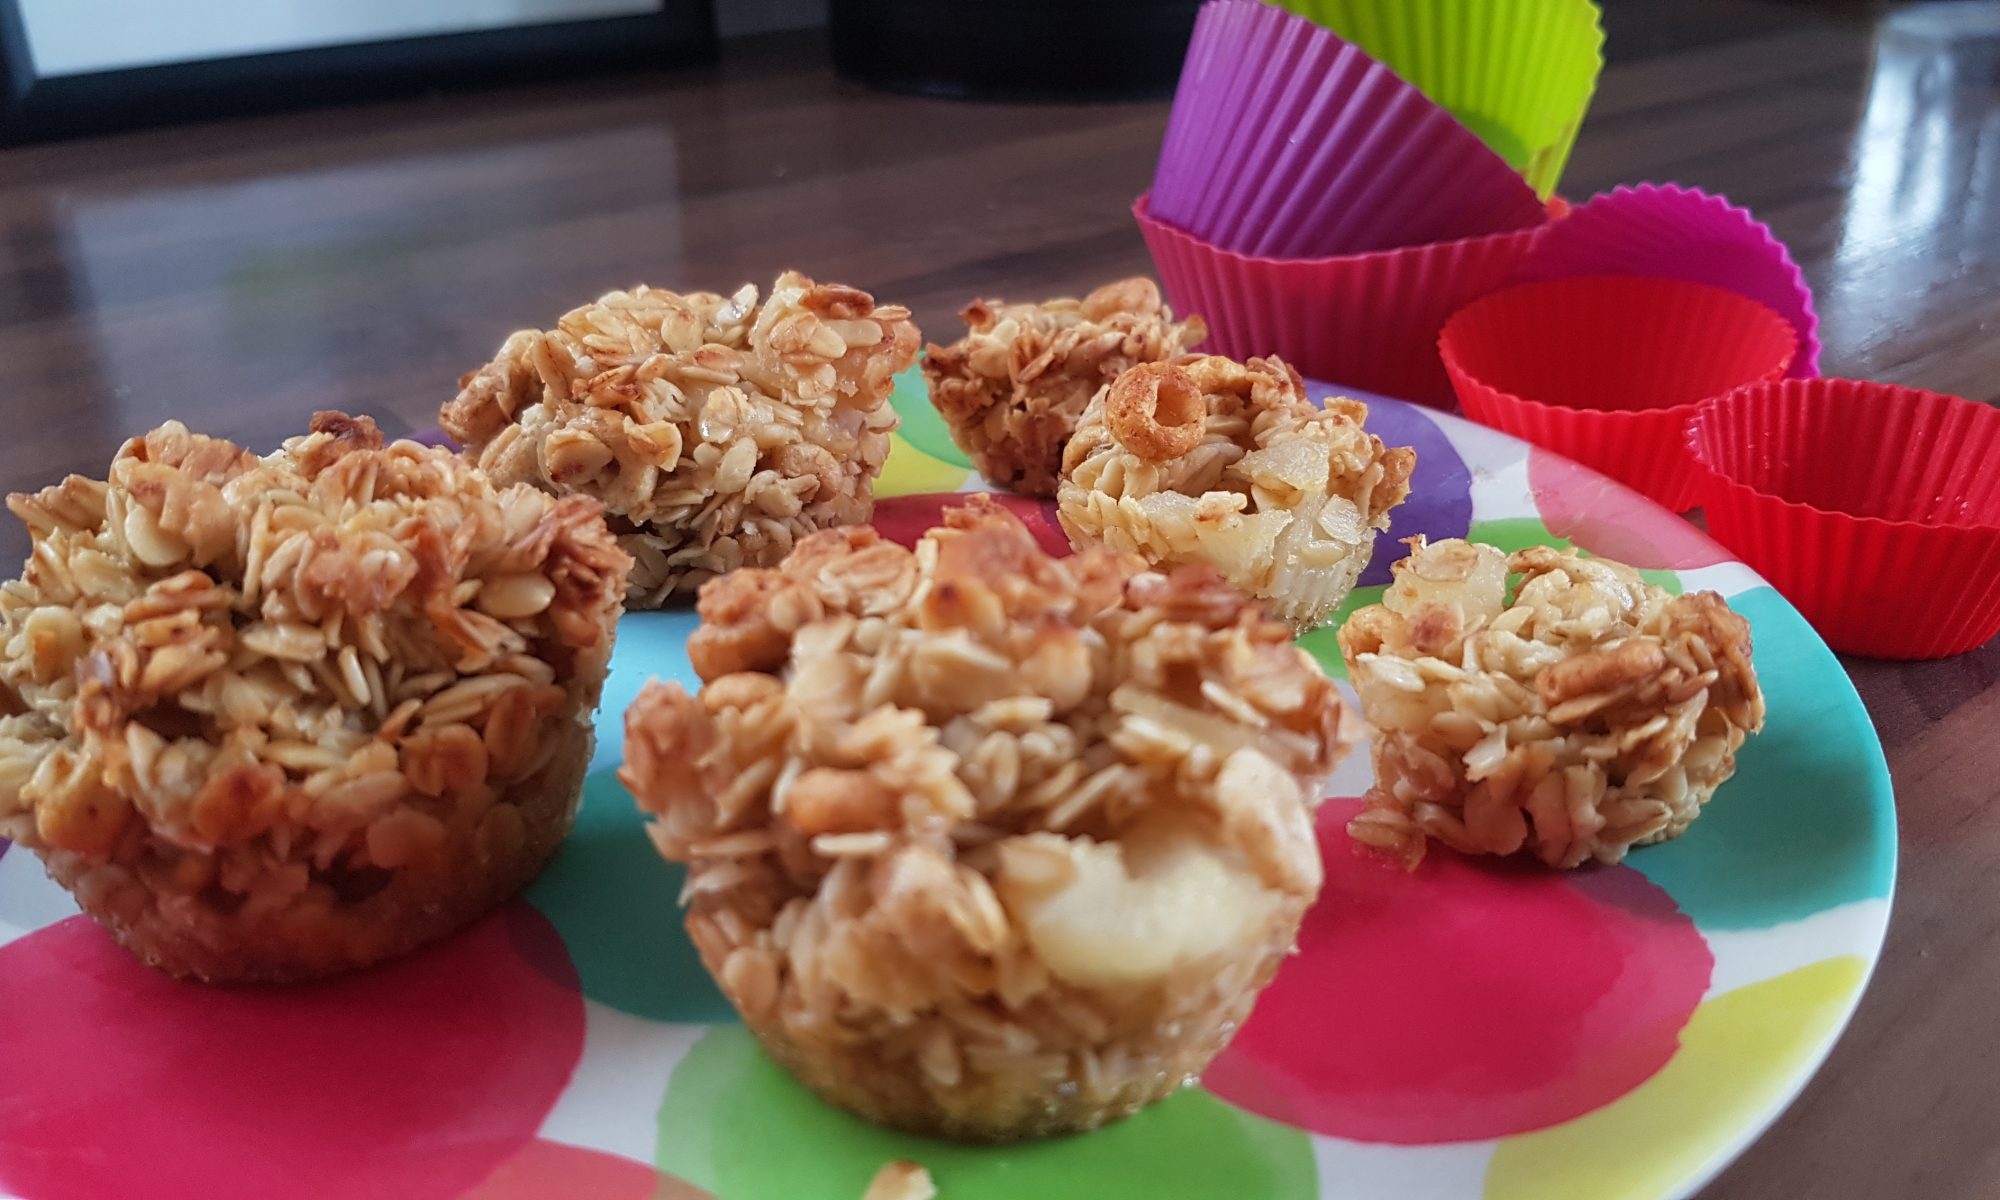
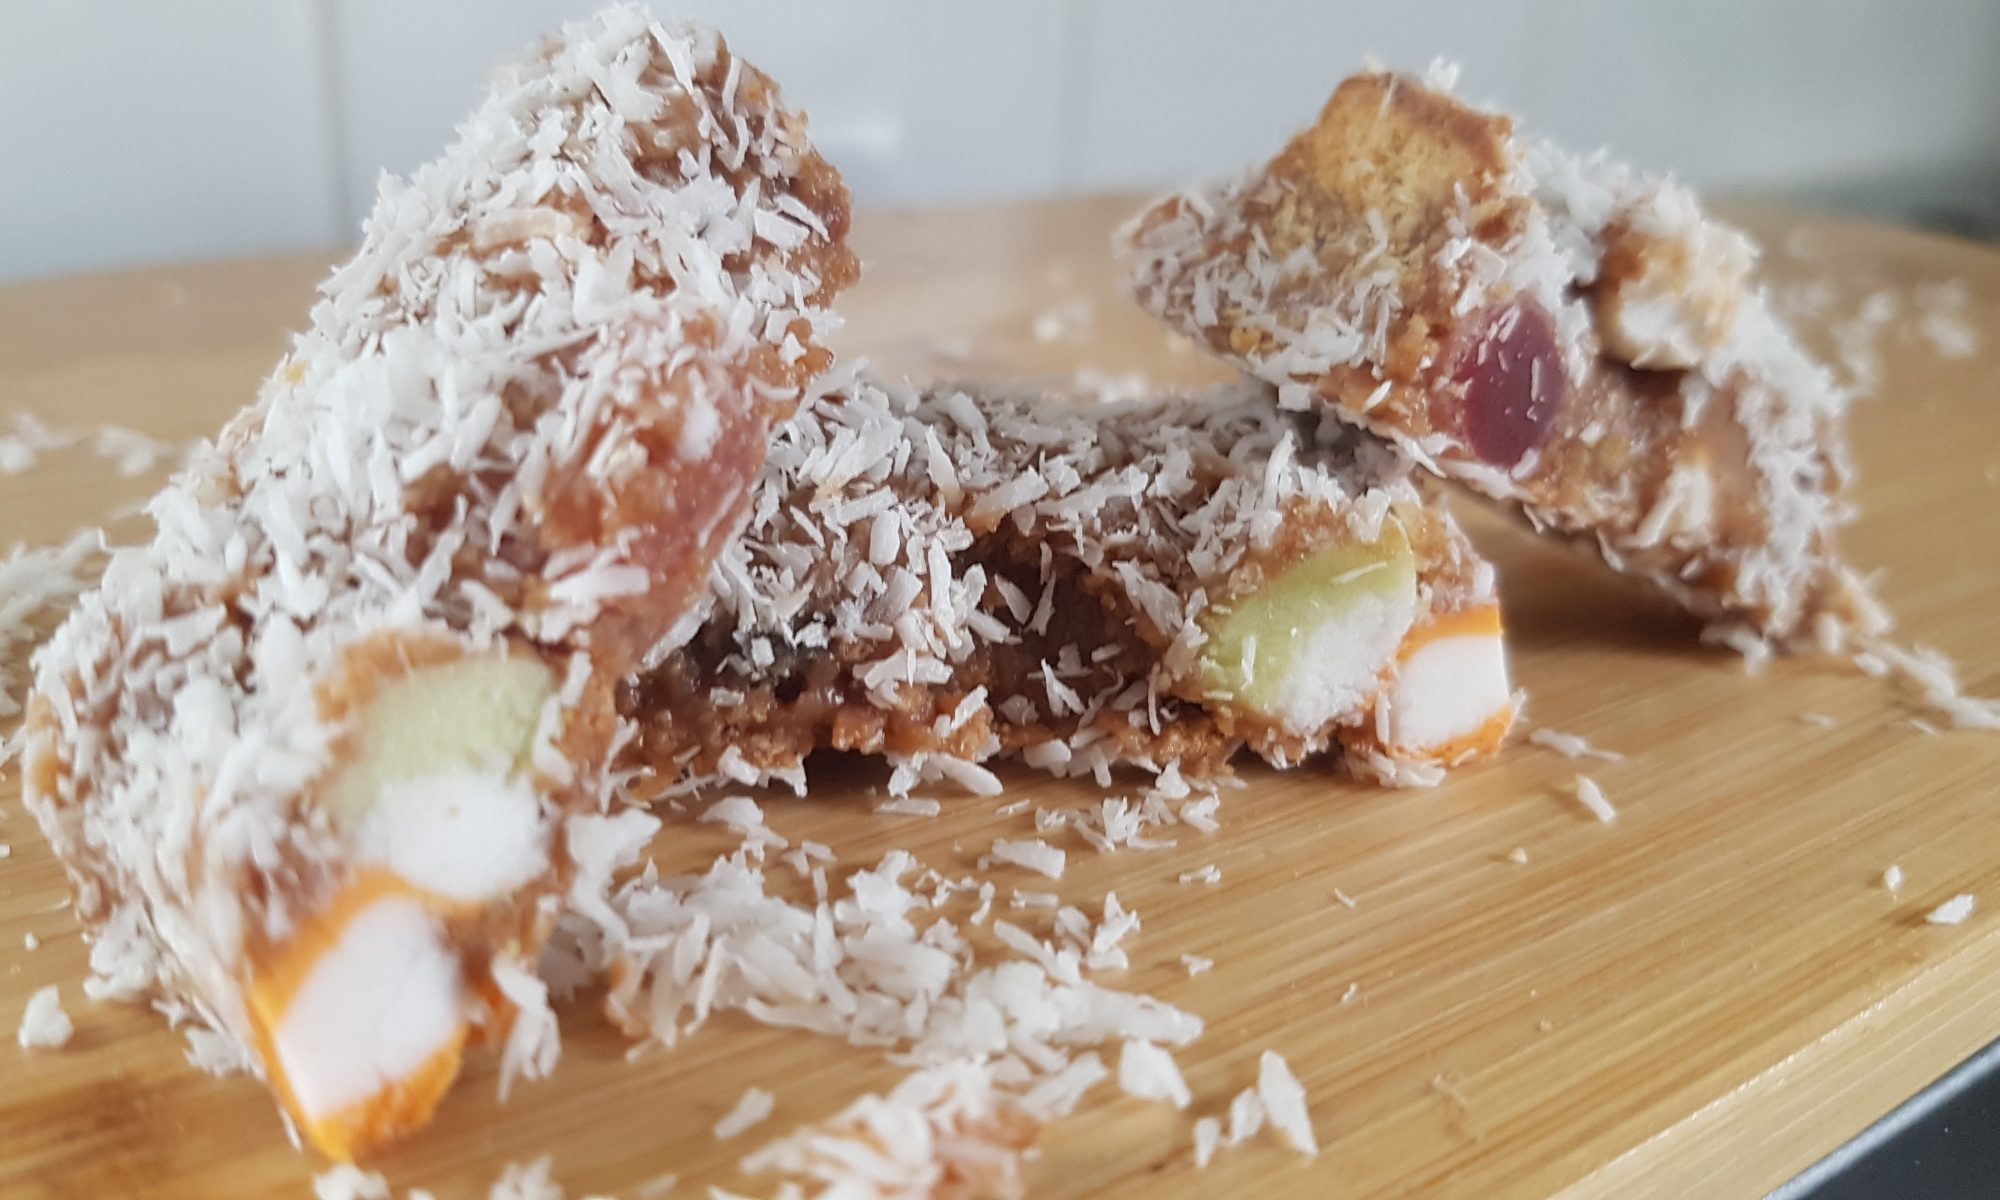
Since our move to the Falklands, we have met a few Kiwis. This got me researching recipes from there. I stumbled upon Lolly cake and thought it looked like a perfect treat for Smoko or elevenses/high tea. I decided that it would be amazing apart from the traditional idea of rolling it up – I didn’t fancy trying to role up a sticky condensed milk and biscuit concoction into a log and covering it with desiccated coconut with a small child. Can you imagine a small child faced with the instruction not to lick their fingers combined with overwhelming desire to do so when confronted with a sugary sticky messy mixture that they are shaping with their hands?! Consequently, I decided a make it as a traybake. We initially covered the bottom in desiccated coconut too, but this seemed to make it overly messy – not my aim. Therefore, my suggestion would be to just sprinkle the desiccated coconut on the top. It may be a cop out, but I think you will thank me when your surfaces and floors are not covered in desiccated coconut. It did look a bit like it had been snowing in my kitchen!

Not enough yet mummy!

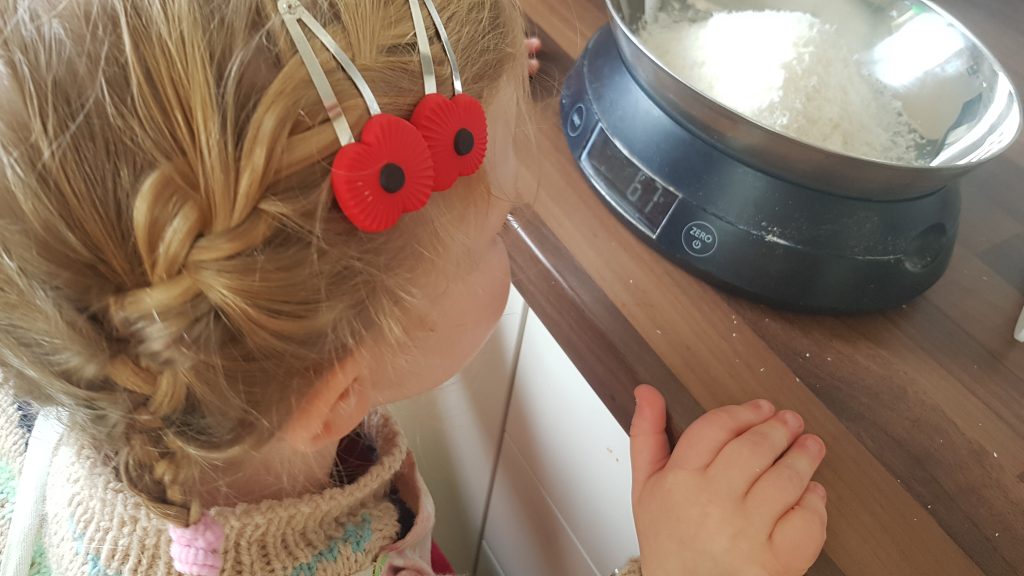
This one was a recipe that Ophelia made with me when the boys were in school. Highlights included smashing the biscuits to smithereens (I totally love that word, definitely one of my top 100 words and yes, I am that language geek) and trying to sneak dolly mixtures and mini marshmallows into her mouth during the process. Daddy, who allegedly doesn’t like dolly mixtures, certainly ate more than his fair share of this bake. Not that I am pointing the finger or anything…

Ingredients

  • 250g chocolate digestives
  • 150g dolly mixtures
  • 30g mini marshmallows
  • 120g butter
  • 200g sweetened condensed milk
  • 70g desiccated coconut

Method

  1. Grease and line a brownie pan or a square cake tin (at least 20cm, ours was a bit bigger as we use a brownie pan)
  2. Put the butter and condensed milk into a pan over a low heat and melt together. We measured the condensed milk directly into the pan to prevent too many sticky spillages. Once melted put to one side to cool a little.
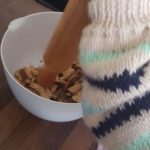
  3. Crush the biscuits either by placing in a zip lock bag and bashing with a rolling pin, or in a bowl and crushing with the end of a rolling pin. We did the latter, after having broken then up a bit first.
  4. Add the crushed biscuits, the dolly mixtures and marshmallows to the condensed milk/butter mixture and mix to ensure fully combined.
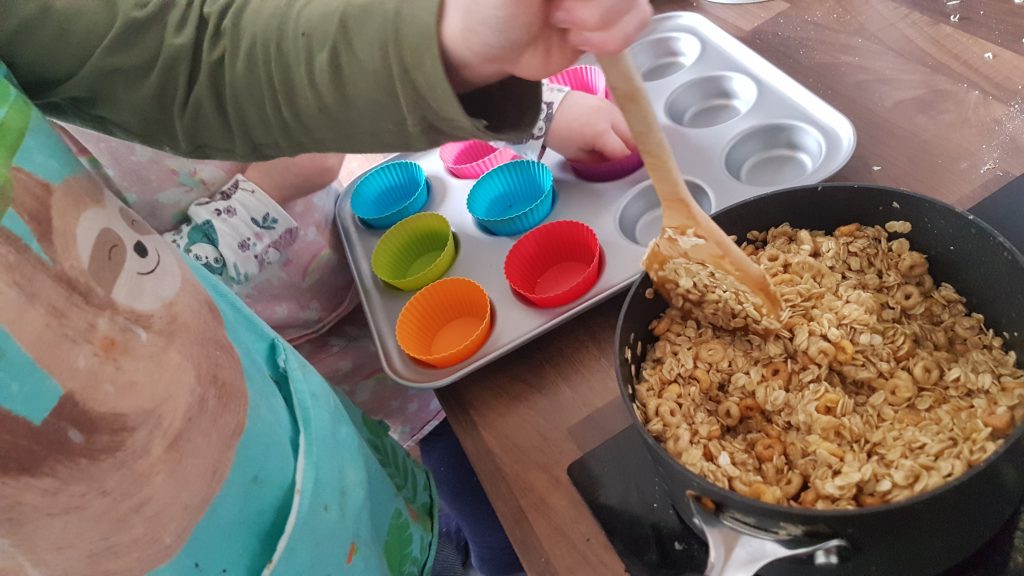
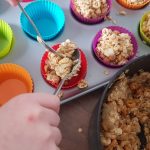
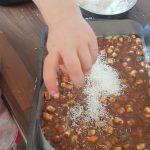
  5. Spoon into the prepared tray and spread with the back of a wooden spoon. You may want to let you little chef use their fingers to get the mixture into the edges of the tin.
  6. Sprinkle the top wit the desiccated coconut and put in the fridge to set.
  7. Leave to set before cutting. Please note, it is easier to cut when it is fully solid. We left ours overnight before contemplating cutting it.
  8. Try not to eat the whole batch in a single sitting (I am not looking at anyone in particular here!!!)

My aim making this treat was to spread the sugar out evenly over the week, but unfortunately this time I was unsuccessful. Anyone got any tips for baked goods security?!

Pear & Honey Breakfast Cups

I used to be a morning person. Each new day would fill me with glee and I would be so optimistic about what it may bring me. Fast forward to now, and I can say with one hundred per cent certainty that I am no longer a morning person. I can pinpoint the exact date when my natural state was warped and unsurprisingly it coincided with the arrival of our firstborn. Mornings used to be my own personal safe haven. To reach that degree of solitude now, I have to leave the comfort of my home and run which if I am honest can be blinking exhausting! Although, running gives me an excuse, an incentive even, to eat cake and by no means cancels out the hard work of the run…

Sharing jobs; mixing and putting muffin cases in the tray.

Wen you have already had the argument over getting dressed, convincing your monkeys that school isn’t optional and gently breaking it to your youngest that they will never be the same age as their older sibling at the same time, breakfast can often seem to b a battle unworthy of your time. This recipe was born from my dual desire to refuse to comply with sugar-laden breakfast requests and give the kids the impression that they were having a fun breakfast without it being full of refined sugar. I don’t think I would be any teacher’s favourite parent if I sent my children into school saturated with sugar and unable to sit still for a single second.

Dividing up the mixture.

These breakfast cups can be made the afternoon before and stored in an airtight container in the fridge overnight and then all you have to do is present them plated up with no preparation time at breakfast! The fact that they are cooked in individual portions as well means that you don’t need to worry about cutting up the flapjack and risk uneven pieces. Yes, I really have thought this through too much. The last ting I would want is to go three rounds of such and such has a bigger piece than me! That would defeat the objective of a stress-free breakfast!

Ingredients

  • 150g tinned pear
  • 200g butter or margarine
  • 250g runny honey
  • 400g oats
  • 50g Cheerios

Method

  1. Preheat the oven to 160° fan.
  2. Measure out the butter and the golden syrup and place in a large pan on the hob and melt over a low heat stirring occasionally.
  3. Meanwhile, cut the tinned pear into small chunks using a table knife.
  4. Measure out the oats and the Cheerios.
  5. When the butter and honey mixture has melted and has been stirred to combine, add in the oats and Cheerios and mix.
  6. Add in the chopped pear and mix again.
  7. This mixture will make around 20 breakfast cups so line a muffin tray with cupcake cases (if you don’t have 2, this mixture is sturdy enough to stand up in the cases in a cake tin) and evenly divide the mixture between the cases.
  8. Cook in the oven for 20-25 minutes until golden brown. They will be fragile when removed from the oven, but they firm up as they cool.#

This recipe appeared in Penguin News on Friday 22 November 2019.

Hulk Halloumi Bake

Are your children superhero obsessed? Mine certainly are and I am not ashamed to admit that I use this to my advantage somewhat when they are confronted with a vegetable they don’t want to try. We talk about vegetables helping them to be strong like superheroes and helping them to build up their vitamin stores for strength. In particular, the green ones which generally have a slightly more bitter taste. And as the hulk is green in colour, we make that connection too. My parents used to tell me to eat my vegetables so I would be strong like Popeye (even though it felt like a dated cartoon when I was small) so maybe this is just the modern version! So this is the reason for the name of the dish. It isn’t an original recipe of mine, but an adaptation of a recipe from one of my favourite cookery authors, Rukmini Iyer in her book the Green Roasting Tin. As a family we love Rukmini’s recipes and they frequently make an appearance on our dinner table or get sent into school with the kids on their birthdays.

The first time we made it I loved it, but my family didn’t appreciate all the Brussel Sprouts, so we adapted it to include some other green vegetables too. We make it with frozen vegetables as that is the most economical way to ensure we all get enough fruit and vegetables in our diet here in the Falklands. It also means that you can buy the ingredients for this dish and it doesn’t matter if it takes you a while to get around to making it as the vegetables won’t spoil and halloumi generally has a long shelf life when in a sealed packet.

Ronan watching Seb with his high-vis jacket (at least we would see if he fell in) and little grin.

This dish was our activity when Sebastian had Ronan, the take home knitted Beaver, for the week. Ronan sat on the counter and ‘helped’ us make this dish. We didn’t have any disasters – no falling in or unwelcome splatters and Seb happily spouting the importance of vegetables in a healthy diet the whole way through our endeavours. Ronan returned to Beavers the following week safe and sound after his Hulk Halloumi Bake! It has to be said our entry was one of the more boring ones, but it was second nature to me as the kids cook with me on a weekly basis. No extra planning required! I reckon that makes me a superhero in my own right!!!

Ingredients

  • 1 block of halloumi
  • 400g broccoli
  • 75g Brussel sprouts
  • 200g green beans
  • 2tbsp olive oil
  • 3tsp garlic
  • 2tsp nigella seeds
  • 2tsp garam masala
  • 3tbsp lemon juice
  • Seasoning
  • 350g cooked rice (warm)
Mix it all around.

Method

  1. If you are using frozen vegetables like we did, remove from the freezer and allow to defrost for half hour or so.
  2. Preheat the oven to 180°c fan.
  3. Chop the halloumi into small squares with a child safe knife. Chop any large piece of broccoli into smaller pieces.
  4. Add the halloumi, broccoli, Brussel sprouts and green beans to a roasting dish.
  5. Drizzle with the oil, add the garlic, nigella seeds, garam masala and seasoning.
  6. Gently agitate the tray so that the vegetables and halloumi are covered with spices and oil. Be careful not to shake up and down!
  7. Put in the oven for 20 minutes.
  8. Remove from the oven and mix the cooked rice and lemon juice through with the halloumi and vegetables.
  9. Distribute between bowls and enjoy warm.
Ronan looks pretty proud of his creation!

I love this dish and it is one meal that my family can all eat together as it is vegetarian. I hope it goes down as well with your family as it does with mine.