Chocolate Granola

I am not entirely sure how, but breakfast seems to confuse my kids. Lunch and dinner both come with a pudding, but breakfast does not. I understand their logic, but they completely fail to understand that this just isn’t normal! Their constant requests for pudding after their cereal has led to a two-tiered breakfast system with toast or fruit following their initial bowl of cereal. The only way we can even contemplate forgoing breakfast pudding is if the breakfast is special enough to not require it. In the kids’ eyes, this generally means pancakes and there are not many mornings that I have the inclination to be sorting out pancakes even if I have been able to make the batter in advance. The other breakfast fare that seems to fit the bill is homemade granola.

Scooping in the oats.

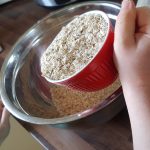
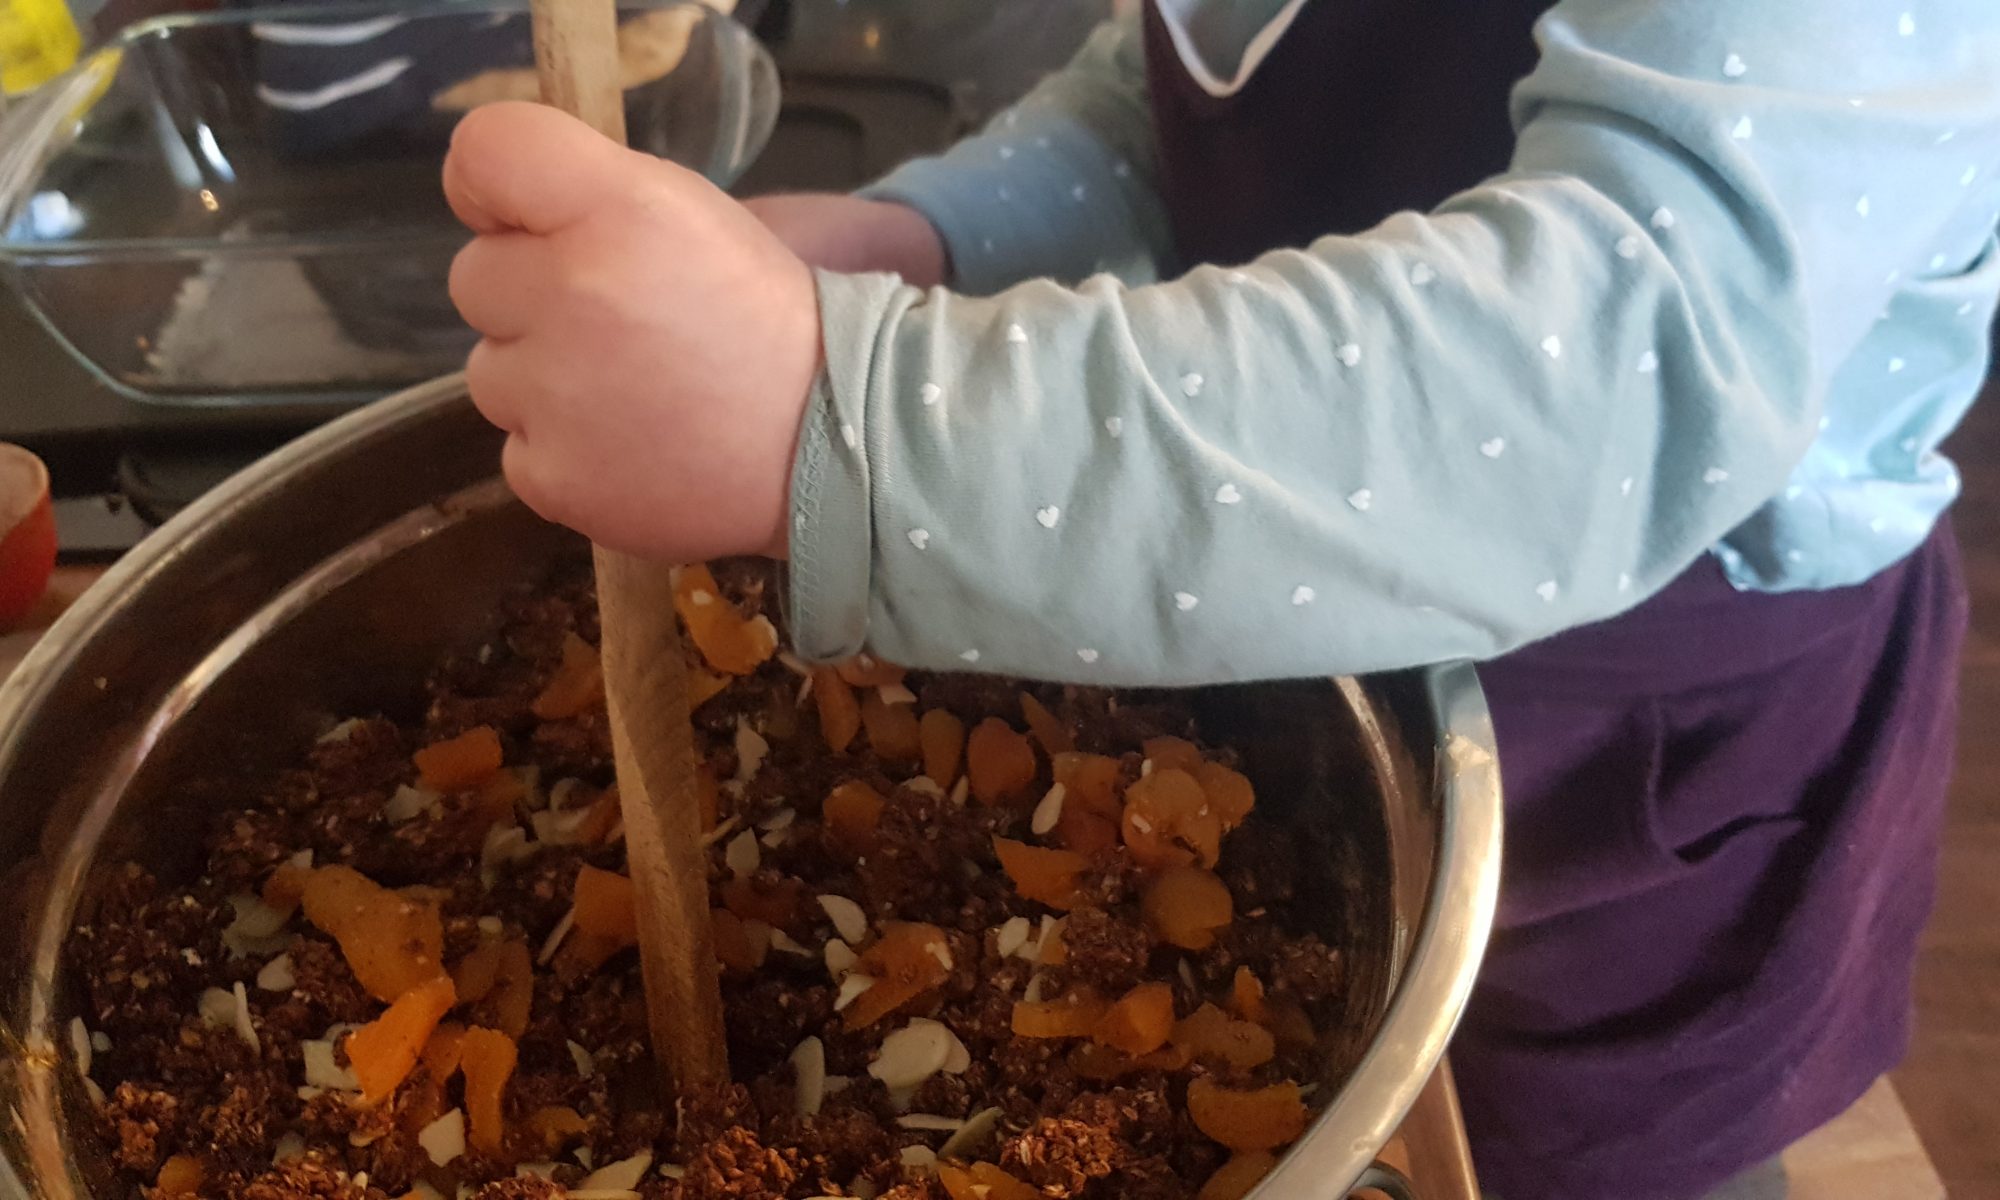
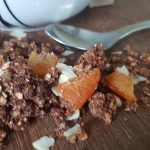
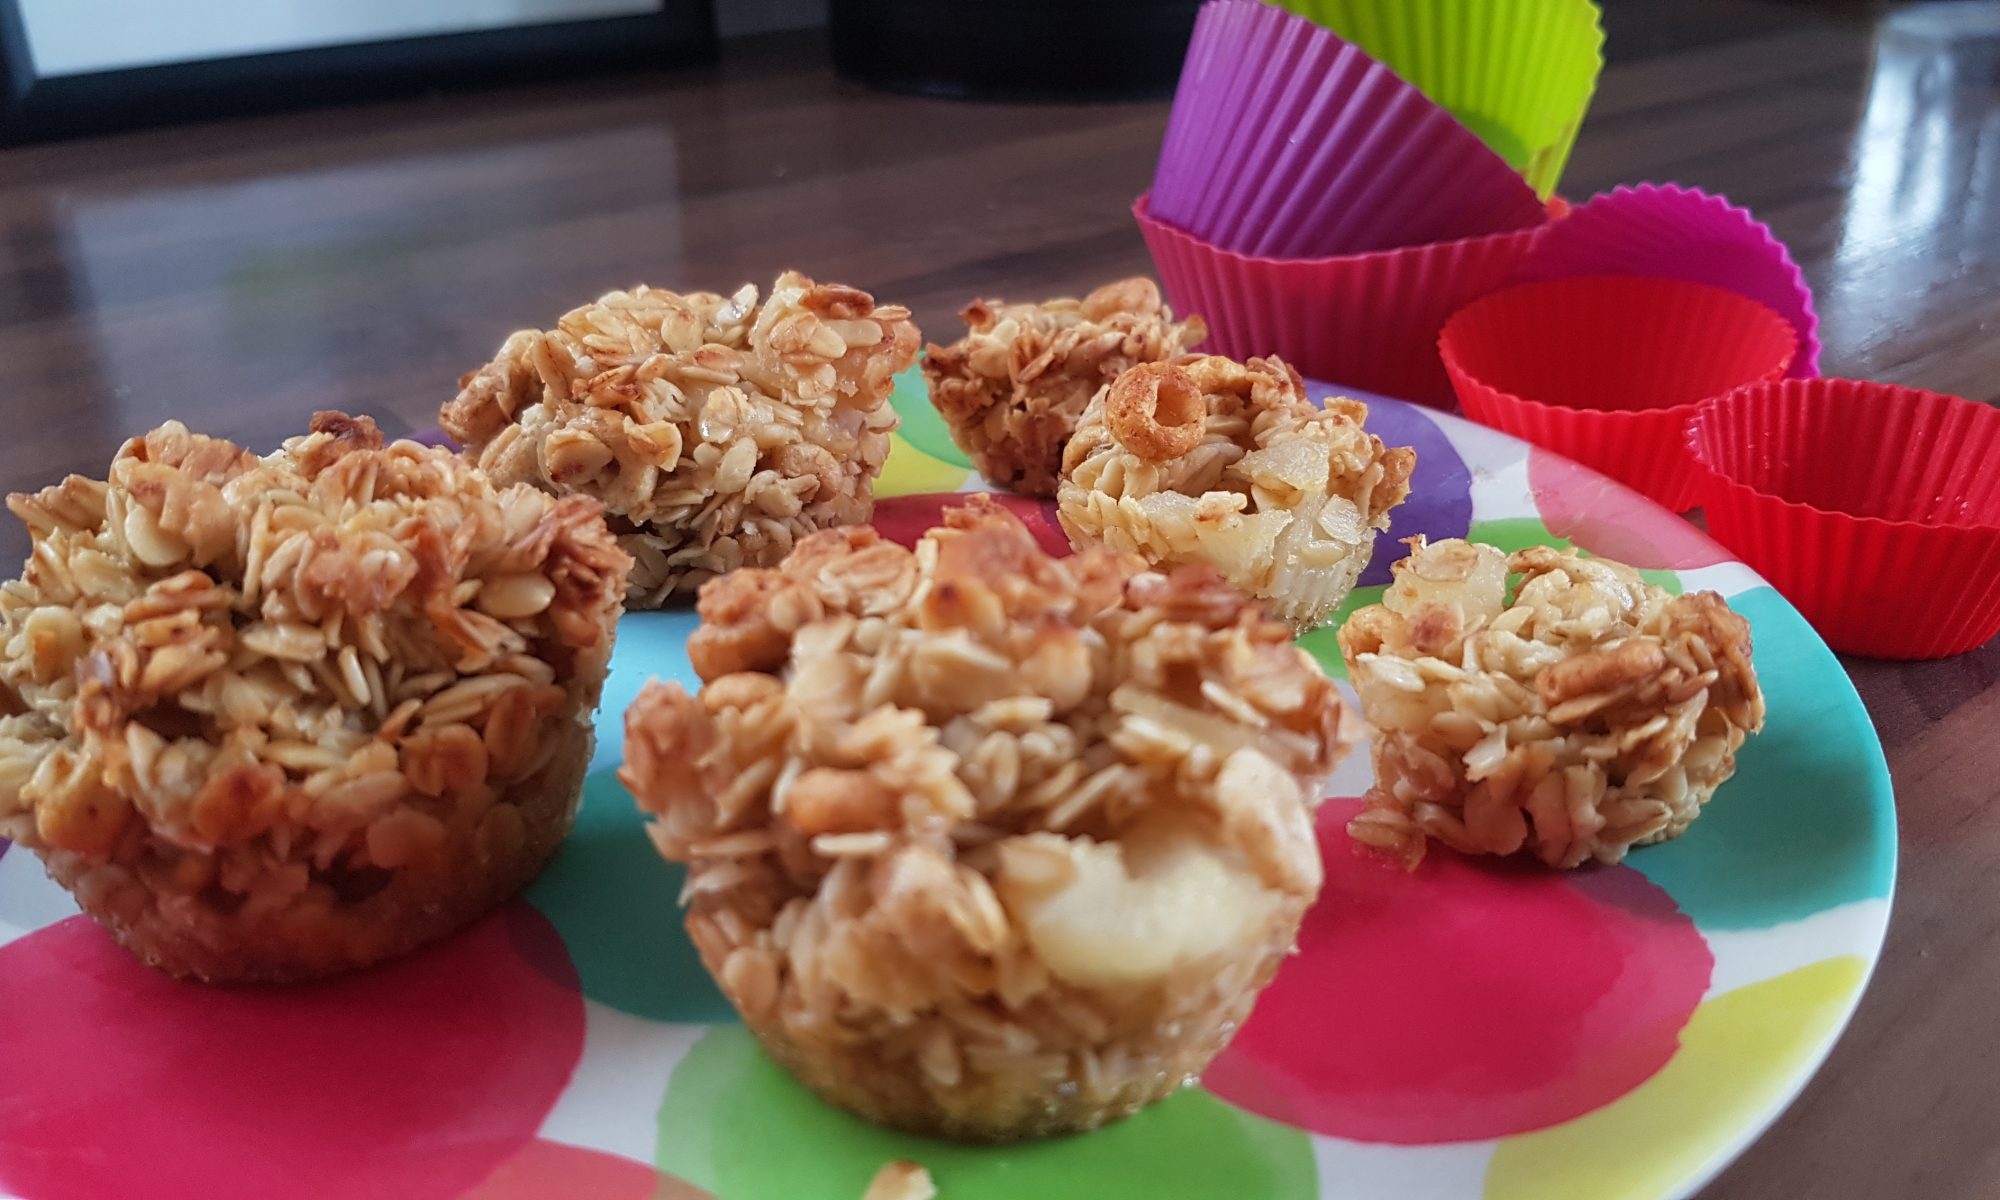
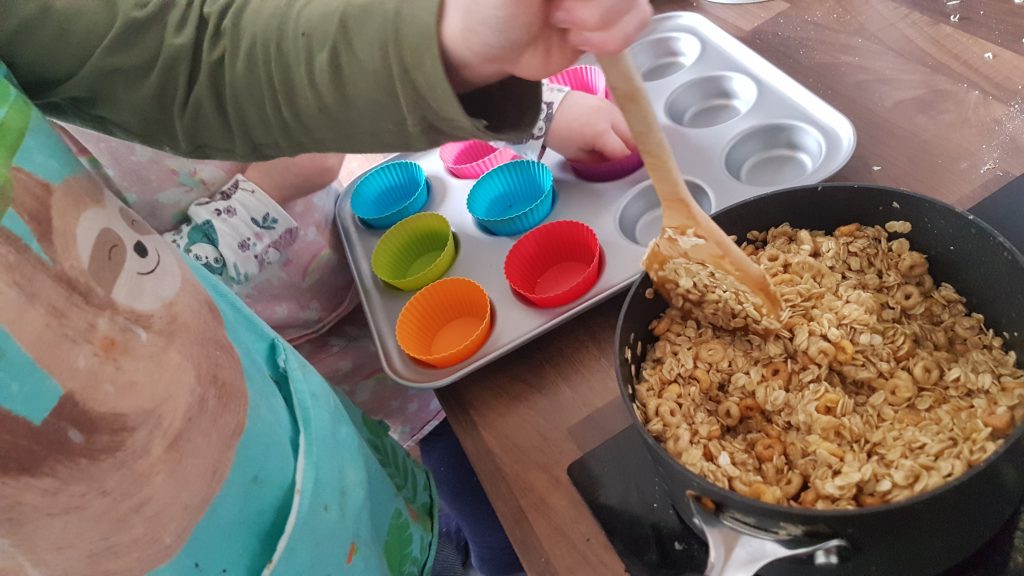
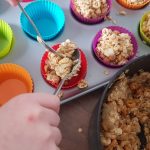
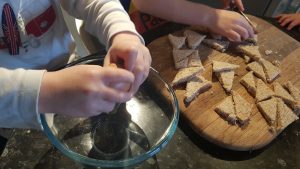
We make granola quite frequently and the kids will happily gobble it up and it does seem to fill them. Unsurprisingly, their all-time favourite type of granola is chocolate granola. Over the years, I have learnt that some granola recipes are so full of sugar that they could practically be a pudding themselves so we have adapted and reduced the amount of sugar for this recipe. You can add whatever dried fruits or nuts to this that you like. On this occasion, we added flaked almonds and dried apricots which both went really well with the chocolate. We tend to measure this recipe in cups as it is easier for the kids to scoop oats the oats and cocoa that way.

To make our chocolate granola you will need:

  • 4 cups of oats
  • 1/3 cup of cocoa powder
  • 1/4 tsp salt
  • 1/2 cup melted coconut oil
  • 1/2 cup maple syrup or runny honey
  • 2 tsp vanilla extract
  • 3 cups of additions (we used half flaked almonds and half dried apricots)

Method:

  1. Preheat the oven to 160° fan and line two baking sheets with silicone baking mats or baking parchment.
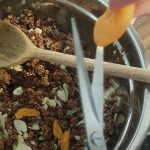
  2. Mix the oats, cocoa powder and salt in a large bowl with a wooden spoon.
  3. Put the melted coconut oil, maple syrup and vanilla extract into a jug and mix to combine.
  4. Pour the liquid ingredients into the dry ingredients and mix well to ensure that all the oats are coated.
  5. Divide the mixture between the two baking trays, ensuring each has a thin layer of the granola.
  6. Bake for 15-20 minutes turning the granola half way through. Keep a close eye on it as it can easily burn.
  7. Once cooled, put into a large bowl and put in your additions, mix with a wooden spoon and store in an airtight container.

This recipe was published in Penguin News on 15 May 2020.

Pear & Honey Breakfast Cups

I used to be a morning person. Each new day would fill me with glee and I would be so optimistic about what it may bring me. Fast forward to now, and I can say with one hundred per cent certainty that I am no longer a morning person. I can pinpoint the exact date when my natural state was warped and unsurprisingly it coincided with the arrival of our firstborn. Mornings used to be my own personal safe haven. To reach that degree of solitude now, I have to leave the comfort of my home and run which if I am honest can be blinking exhausting! Although, running gives me an excuse, an incentive even, to eat cake and by no means cancels out the hard work of the run…

Sharing jobs; mixing and putting muffin cases in the tray.

Wen you have already had the argument over getting dressed, convincing your monkeys that school isn’t optional and gently breaking it to your youngest that they will never be the same age as their older sibling at the same time, breakfast can often seem to b a battle unworthy of your time. This recipe was born from my dual desire to refuse to comply with sugar-laden breakfast requests and give the kids the impression that they were having a fun breakfast without it being full of refined sugar. I don’t think I would be any teacher’s favourite parent if I sent my children into school saturated with sugar and unable to sit still for a single second.

Dividing up the mixture.

These breakfast cups can be made the afternoon before and stored in an airtight container in the fridge overnight and then all you have to do is present them plated up with no preparation time at breakfast! The fact that they are cooked in individual portions as well means that you don’t need to worry about cutting up the flapjack and risk uneven pieces. Yes, I really have thought this through too much. The last ting I would want is to go three rounds of such and such has a bigger piece than me! That would defeat the objective of a stress-free breakfast!

Ingredients

  • 150g tinned pear
  • 200g butter or margarine
  • 250g runny honey
  • 400g oats
  • 50g Cheerios

Method

  1. Preheat the oven to 160° fan.
  2. Measure out the butter and the golden syrup and place in a large pan on the hob and melt over a low heat stirring occasionally.
  3. Meanwhile, cut the tinned pear into small chunks using a table knife.
  4. Measure out the oats and the Cheerios.
  5. When the butter and honey mixture has melted and has been stirred to combine, add in the oats and Cheerios and mix.
  6. Add in the chopped pear and mix again.
  7. This mixture will make around 20 breakfast cups so line a muffin tray with cupcake cases (if you don’t have 2, this mixture is sturdy enough to stand up in the cases in a cake tin) and evenly divide the mixture between the cases.
  8. Cook in the oven for 20-25 minutes until golden brown. They will be fragile when removed from the oven, but they firm up as they cool.#

This recipe appeared in Penguin News on Friday 22 November 2019.

Rugby Wraps

My family has never had a particular tradition or connection to one particular sport. When growing up, my dad would always, I mean without fail, watch the Grand Prix. But it was never a family activity. I believe it was a source of mild frustration for my dad that neither of his daughters showed any interest in watching the motor racing with him. As a teenager, I remember looking forward to Grand Prix weekends as it meant I could have a Sunday afternoon to myself as long as dad wasn’t disturbed!

I always knew that my husband was a rugby fan; when I first met him he was wearing a Leicester Tigers rugby shirt. Although, if truth be told, I would have been hard pushed to tell you that! Before we were married, it was very easy for me to avoid watching the rugby with him and make other plans. However, when we married, I realised that I wouldn’t be able to avoid the game my entire life. So I set about trying to understand the rules. I asked many, many questions. It may have actually been the same question over and over again and after over 10 years of marriage I am somewhat ashamed to admit my understanding of the rules hasn’t progressed!

Ready to fill the wraps.
Seb with his wrap shortly before it was demolished!

My interest in understanding rugby was dwindling and then Simon told me that the 2011 Rugby World Cup was taking place in New Zealand. He asked me if I would like to watch the matches with him. I was rather reluctant as they would all be taking place rather early and although I am an early bird, I like my time to myself in the mornings. He promised me he would make me breakfast and a deal was struck. This was when what were initially called Rugby Sandwiches were created. In their original form, we used partially baked baguettes filled with a combination of scrambled eggs, bacon and sausage and mushrooms. I had mine with vegetarian sausages. Fast forward to the present day (and the airing of the Six Nations 2019) and we are still making these. We have exchanged the partially baked baguettes for wraps as the kids eat them better and they work well if you are following Slimming World! Isn’t it funny how life changes?!

and cooking mushrooms.
Seb scrambling eggs

I was really impressed with my six year old during this process as he scrambled the eggs himself and kept an eye on the mushrooms and mixing them around while I sorted the bacon. He was so very proud of his efforts, and proudly told his dad how he cooked the eggs and the mushrooms! The kids demolished a couple of mini wraps each and the grown ups had these with potato wedges. Everyone was rather happy!

Ingredients

  • Wraps (in our house the grown ups used normal-sized wraps and the children had a couple of mini wraps each)
  • Eggs (we used one for each person)
  • Mushrooms (we used about 50-60g as not everyone likes them in this house)
  • Bacon (we allowed 2 pieces per adult and 1 piece per child) or vegetarian sausages
  • Butter Frylight or margarine

Method

  1. Chop the mushrooms and put to one side.
  2. Crack the eggs into a bowl and whisk (Seb called it this the ‘whizz mix’ which made me chuckle! Seb shows you how it is done in the video below.)
  3. Put the bacon onto grill.
  4. Spray a small saucepan with Butter Frylight and add the mushrooms to fry. Mix every so often to stop them sticking.
  5. Spray another small saucepan or frying pan with Butter Frylight and pour the beaten eggs into it. As the egg starts to set, mix it all around until the egg is fully cooked.
  6. Put the cooked mushrooms and scrambled eggs into individual little bowls with spoons to serve.
  7. Cut up the grilled bacon and place in another bowl.
  8. Give everyone a wrap on a plate and allow them to spoon in the fillings they want and roll up. If you are not eating them immediately, putting a cocktail stick in the keeps them wrapped.
  9. Enjoy in front of the rugby!

Breakfast Kebabs

Working as a team!

And breathe. It is the weekend, the reward for the long working week (well only really if you work Monday-Friday). For our kids, Saturday morning is for playing in PJs with each other and me just letting them get on with it while I catch up with my blog, eat breakfast in peace and theoretically get some down time while they have fun and before we have to start thinking about homework and the day’s activities.

Baking in PJS again! Forgot the apron though…

Saturday morning is also the morning of experimenting in the kitchen in daddy’s absence. This morning was no exception. I haven’t had the chance to get in the kitchen with the kids much this week.  But this morning, I managed to kickstart the day with breakfast kebabs. These involved chocolate cinnamon eggy bread, pears and blueberries. I don’t think I have ever seen Seb eat his breakfast so quickly!

It really is an easy breakfast which the kids enjoyed making. They could be cooked in a frying pan over the stove or grill them like we did.  Ours were grilled on greased tin foil so we didn’t loose any blueberries! I would recommend using tinned pear or ripe pear as ours was still a bit firm so it was a bit of a challenge to thread onto the skewer. The boys did patiently achieve it, but I did have to do that bit for Ophelia.

Ingredients

To make 3 kebabs

  • Three slices of bread
  • 1 ripe pear or half a tin of pears
  • A handful of blueberries (defrosted if frozen)
  • 2 medium eggs
  • 1tsp icing sugar
  • 1tsp unsweetened cocoa powder
  • 1/8tsp ground cinnamon
  • Honey to brush pear and blueberries with (this will give them a caramel flavour – it is optional though)
  • Three skewers, soaked in water for 5-10 mins

Method

  1. Cut the crusts off the bread and slice into 4 smaller squares.
  2. Cut each of the 4 squares into 2 triangles (a diagonal cut).
  3. Crack the eggs in a small bowl and whisk.
  4. Add the icing sugar, cocoa powder and cinnamon and mix well.
  5. Chop the pear into chunks. These need to be quite big.
  6. Dunk the small triangles of bread in the eggy mixture one at a time and thread onto the soaked skewers and alternate between the bread triangles and pieces of fruit.
  7. Brush the fruit with honey if you want. We didn’t as and they grilled fine.
  8. Either cook in a well greased frying pan for a couple of minutes each side, asking your grown up to turn for you or grill for a couple of minutes each side.
  9. The kebabs are ready when the eggy bread has set. Keep a close eye on them as they can easily burn.
  10. Enjoy warm.

I hope you all have a good weekend and I shall be back next week with more of the recipes that turned my kitchen into chaos with the kids!


Pancake Muffins

My children are all pancake fiends. There are frequent requests 
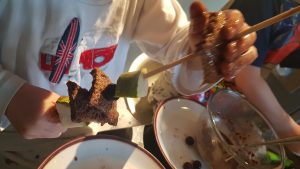
for pancakes during the school week and I feel terrible having to say no. The stove time with normal pancakes  makes them impractical if not impossible when faced with the stark reality of getting three children out the house for the school run and morning activities. They are generally reserved for the weekends, unless I am being super organised like I was yesterday. Atticus and I made the pancake batter last night before our bedtime routine and stored it in the fridge overnight. All we had to do this morning, was put the batter into our silicone muffin and mini muffin trays, add the toppings and bake.

We like several flavour combinations, but the most 
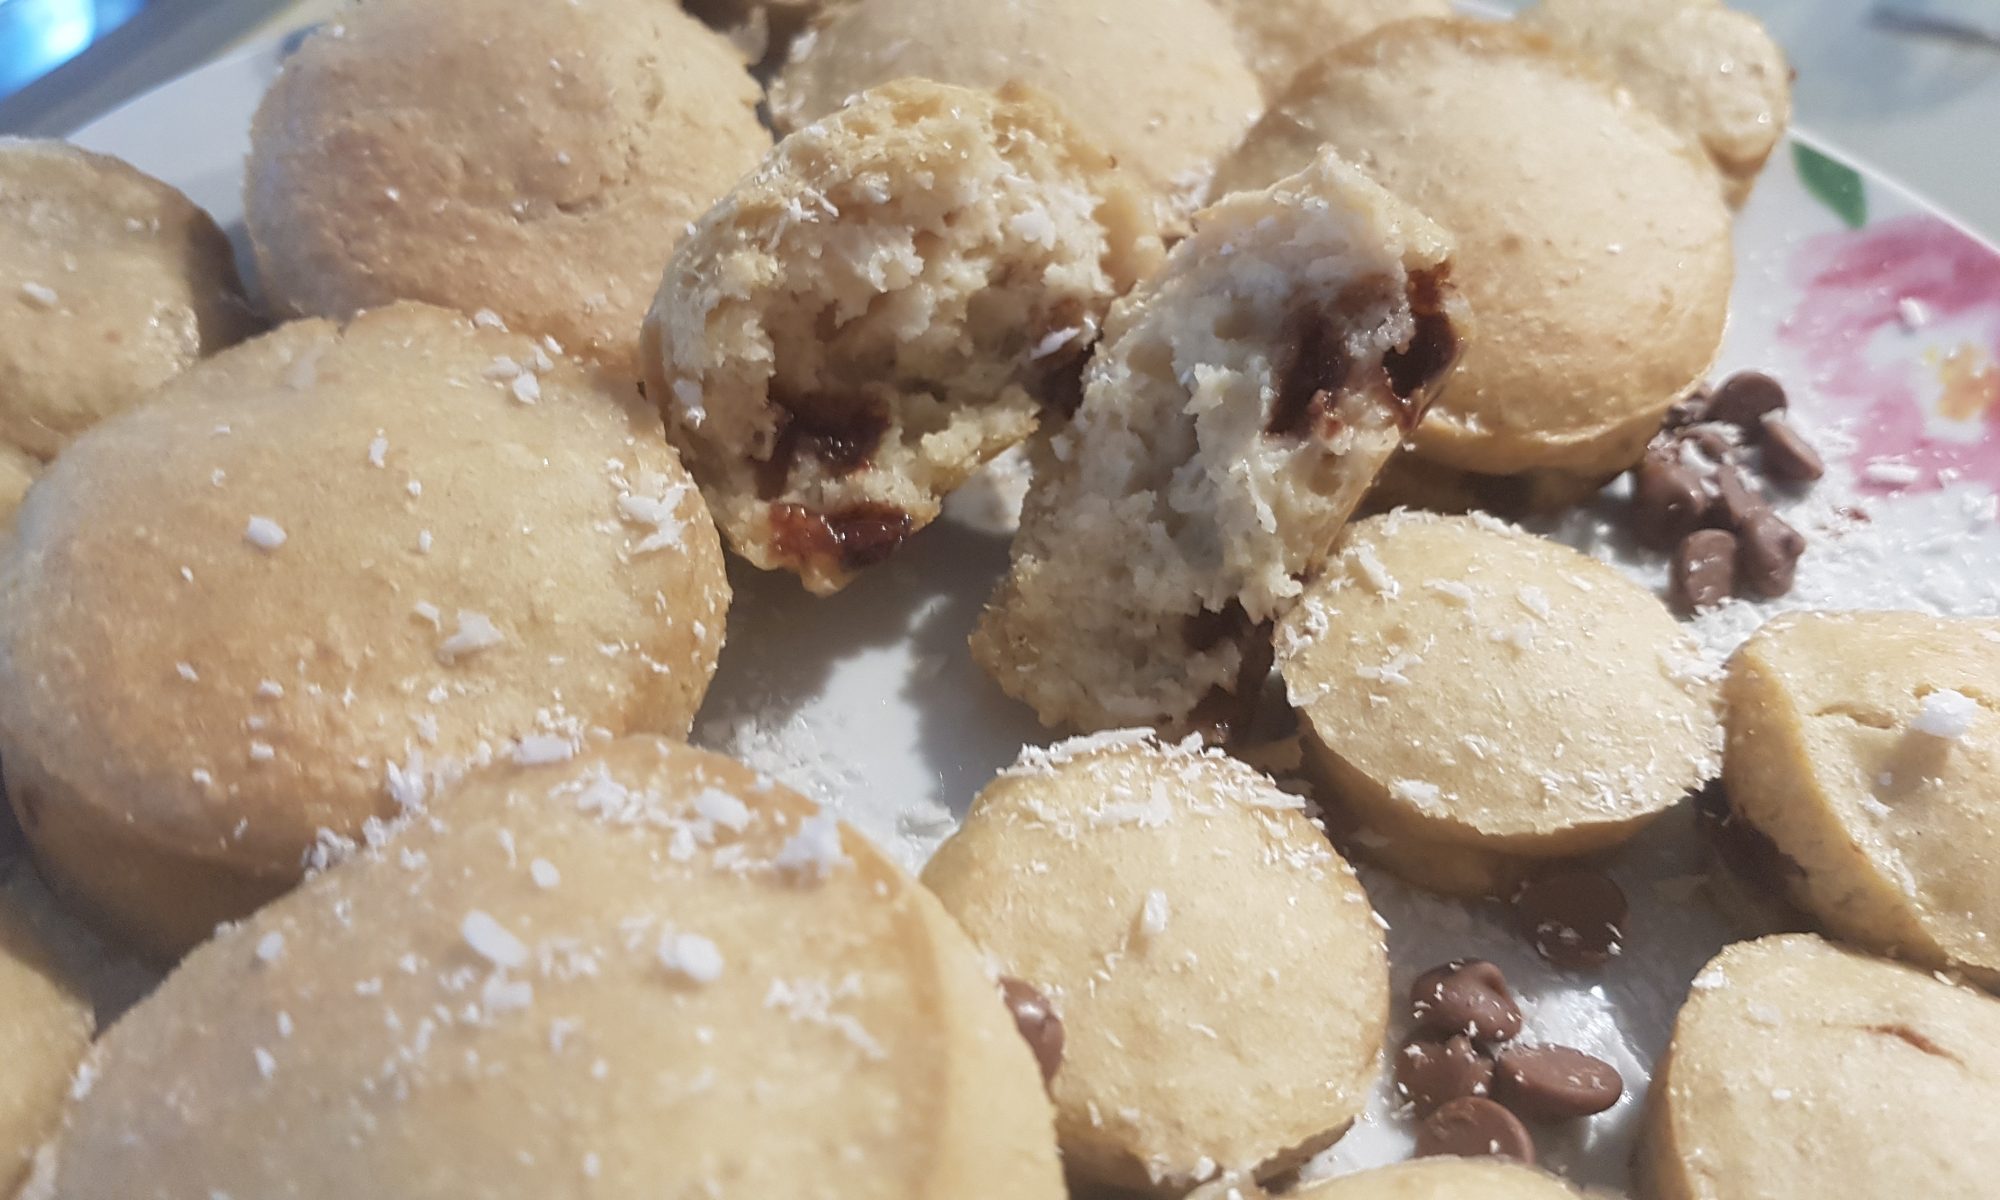
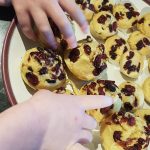
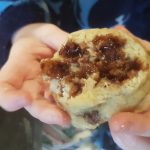
popular in our house are coconut chocolate chip or orange and cranberry. There are generally discussions about not eating the toppings while preparing the pancake muffins and they usually fall on deaf ears, but this does not distract the enjoyment that all the participants get (me included!) from the process!

Ingredients

Makes 12 large muffins or 24 mini muffins (or even 6 large and 12 mini muffins). Best served warm and eaten on day of making. Batter can be made the night before and kept in the fridge overnight, but leave out dried fruit and chocolate chips until just before cooking.

  • 200g self raising flour
  • 1 egg
  • 1/4tsp bicarbonate of soda
  • 320ml unsweetened almond milk

For coconut chocolate chip

  • 3 tbsp desiccated coconut
  • 60g chocolate chips

For orange and cranberry

  • zest of 1 orange
  • 40ml orange juice (and only 280ml unsweetened almond milk)
  • 1/4tsp orange essence (if you want a really orangey flavour)
  • 60g dried cranberries

Method

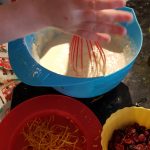
  1. Preheat the oven to 170°c and grease the muffin trays.
  2. Place all the pancake ingredients in a bowl and whisk until fully combined and there are no lumps left (add the orange juice here if you are using it).
  3. Add the flavourings that you want (the zest or the desiccated coconut. 
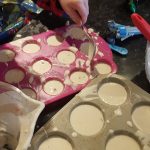
It is better to add the chocolate chips or dried cranberries after putting them in the muffin holes in the trays.)
  4. Divide the mixture between the muffin holes.
  5. Add the chocolate chips or dried fruit.
  6. Put in the oven for 15 minutes if they are mini muffins and 18-20 minutes if they are big muffins.

I hope that your little chefs enjoy these as much as mine do. I must admit it is definitely the way forward for pancakes during the working week!