Tropical Upside-down Cake

We have now been here in the Falkland Islands for one whole year. Social media provided the first reminder with photos and posts about packing this time last year. The other task that made it tangible was when I faced up to the inevitable fact that I needed to rearrange the kitchen cupboards. We were swiftly running out of space and every time I opened a cupboard, I would have to play dodge the flying items that may come tumbling out of the aforementioned cupboard! That job is now over and now I have another 12 months or so before I have to face undertaking the task again.

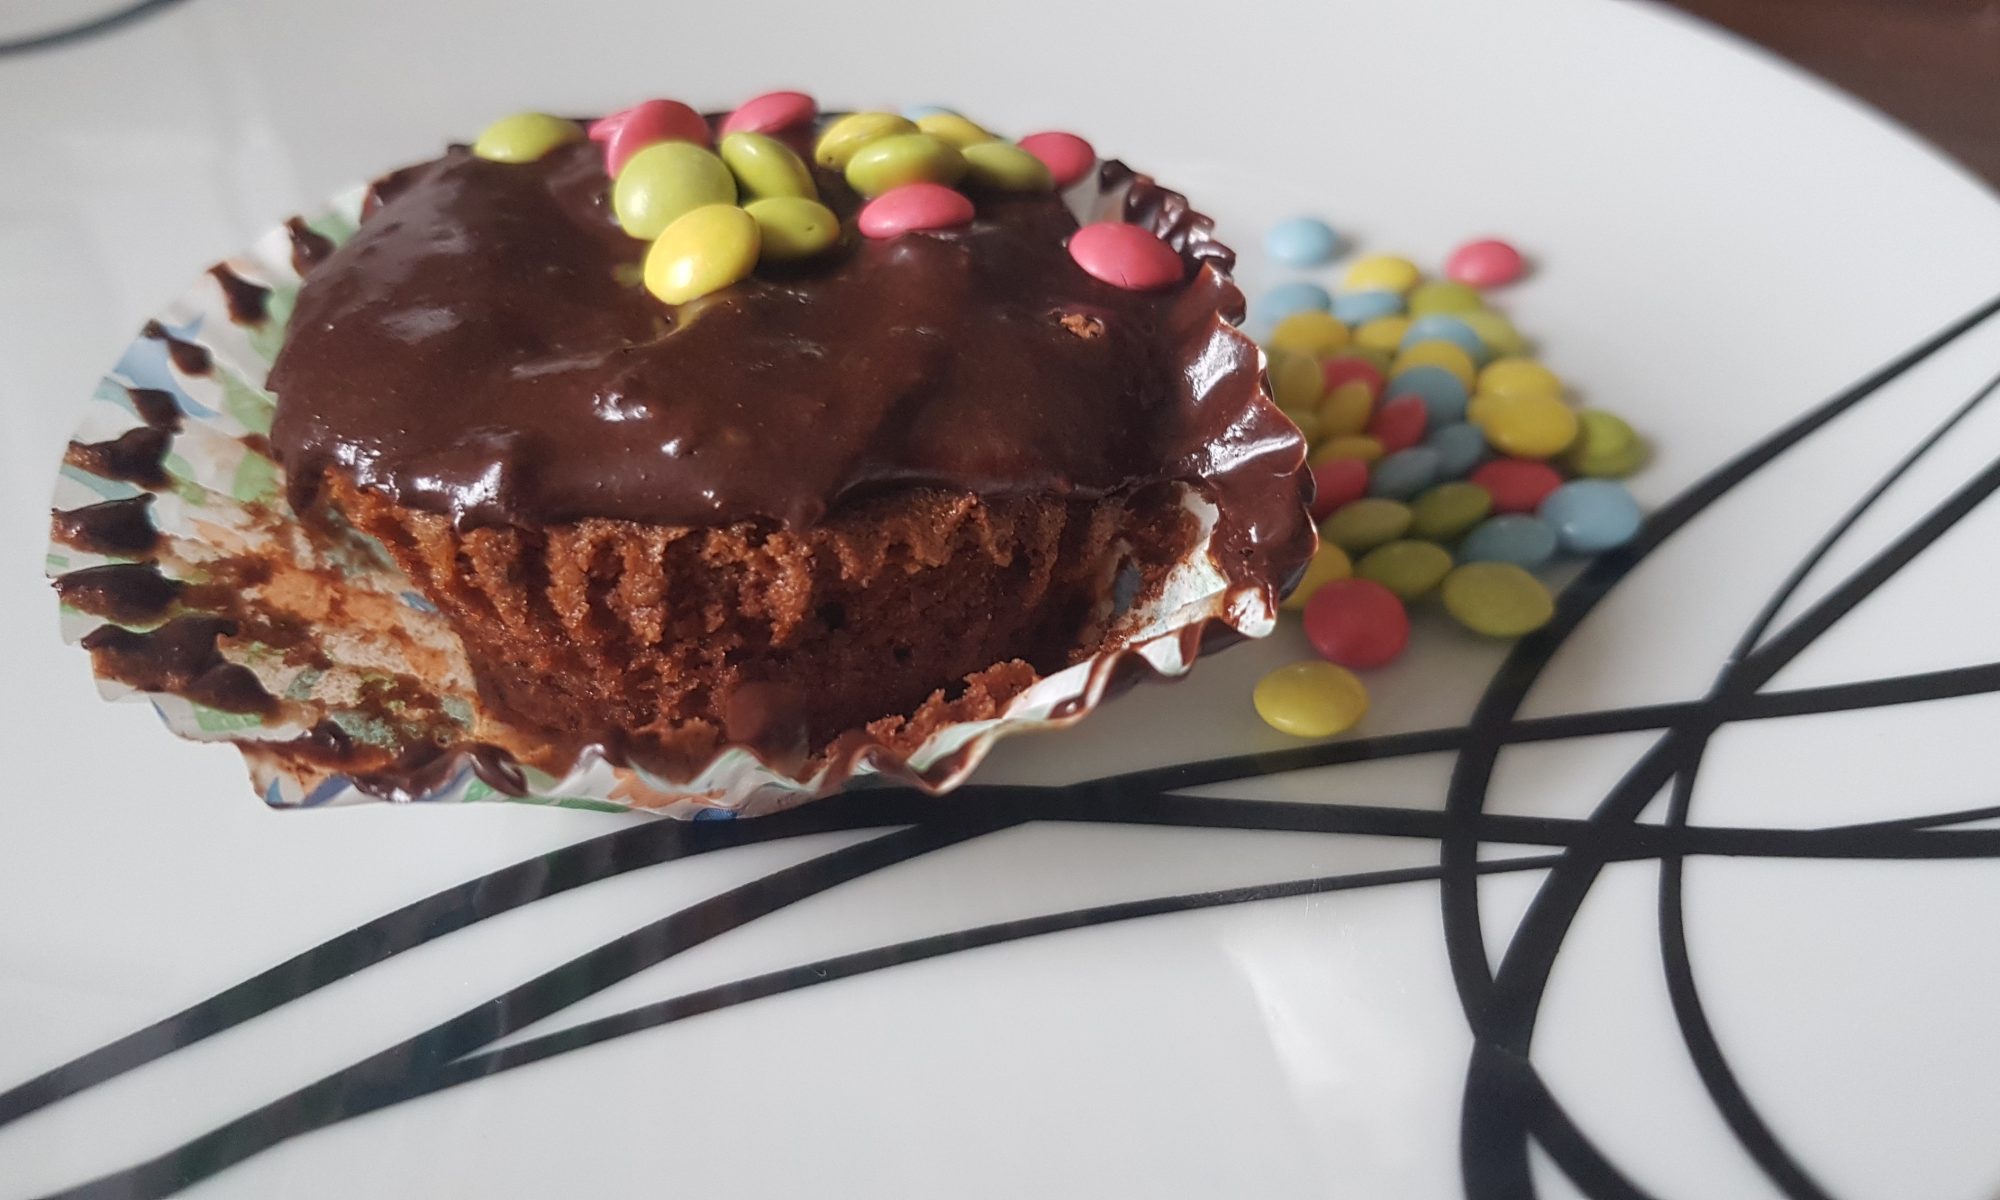
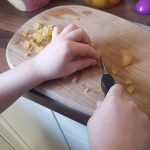
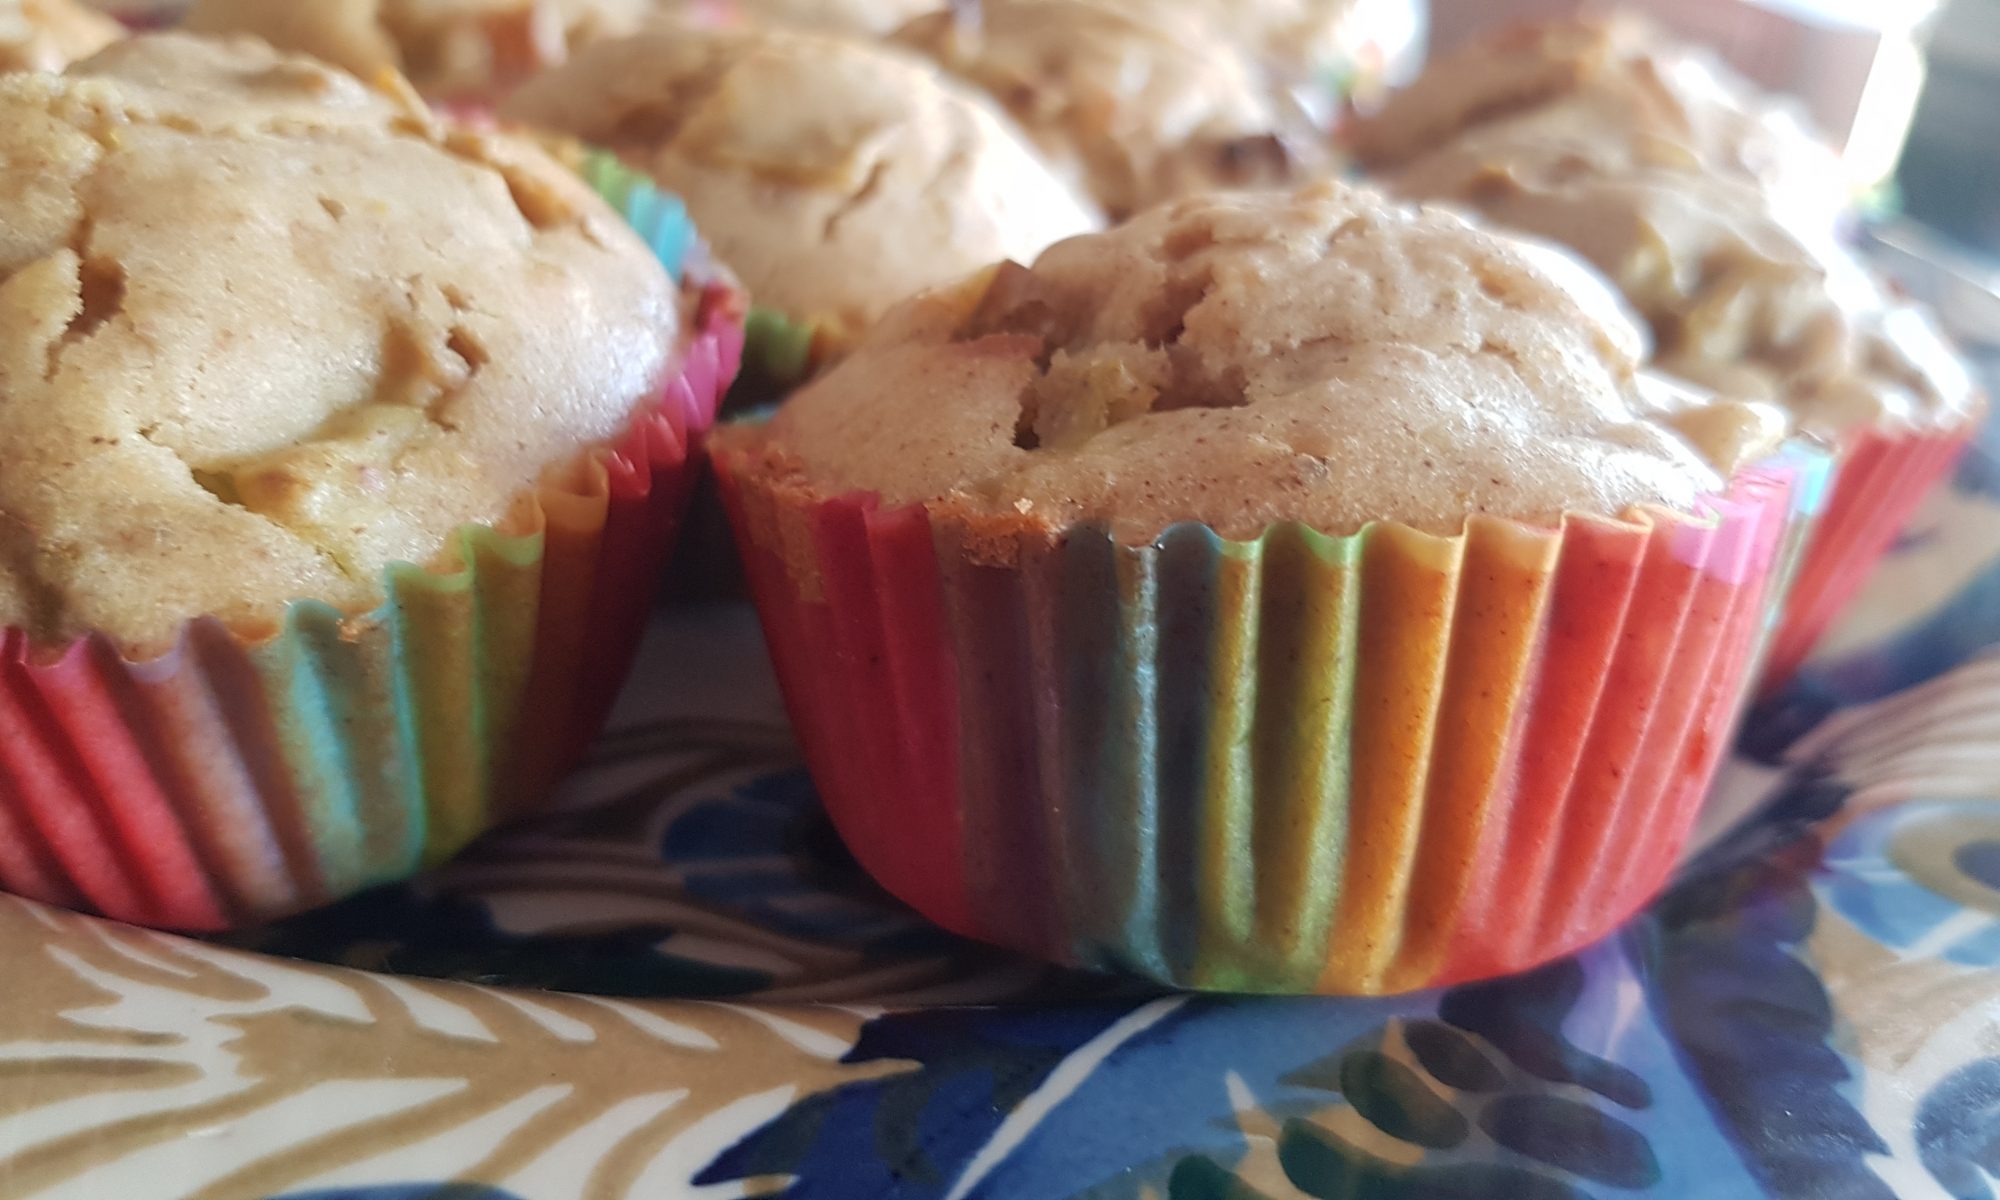
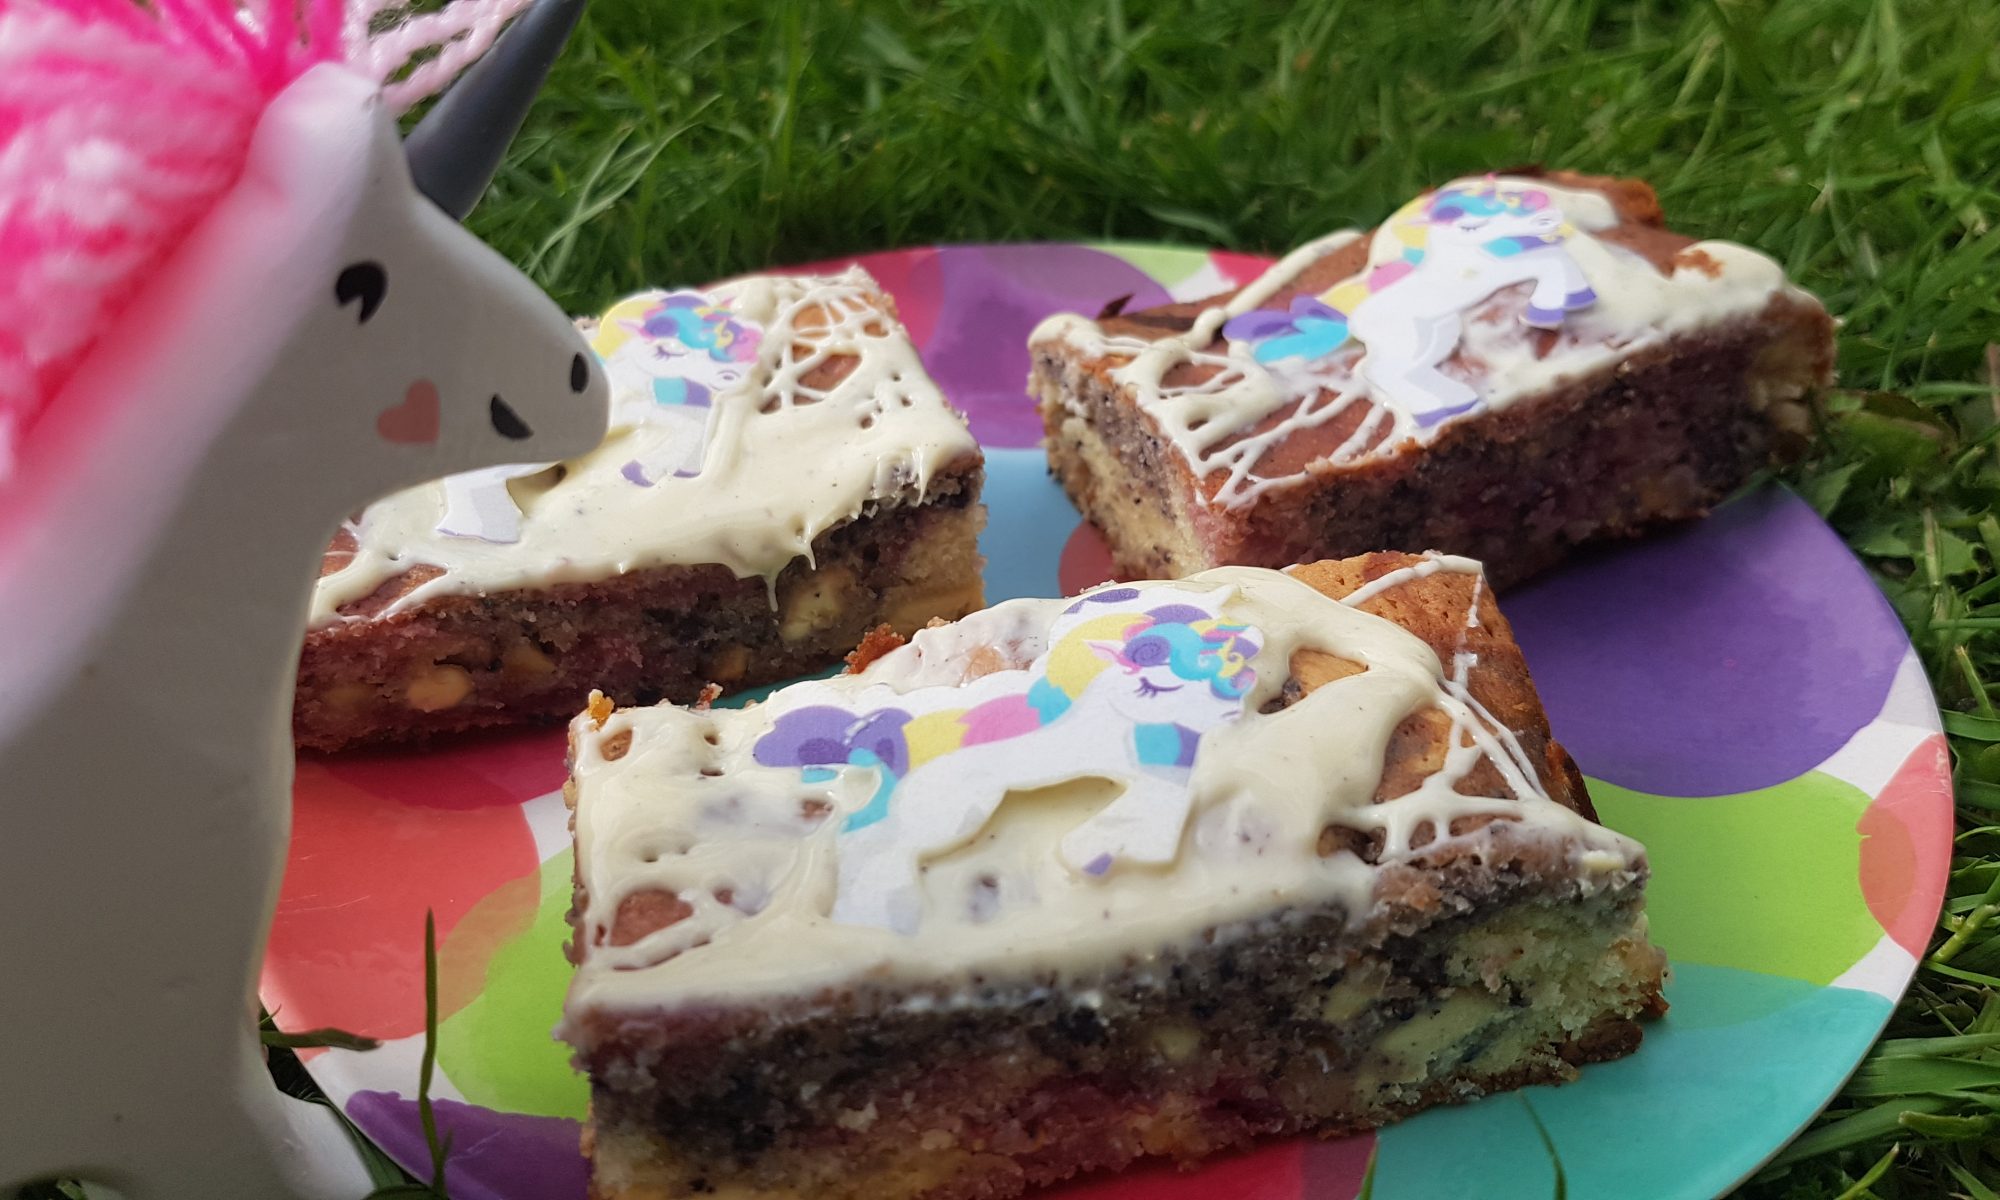
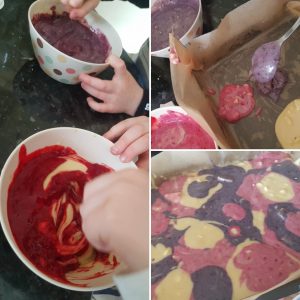
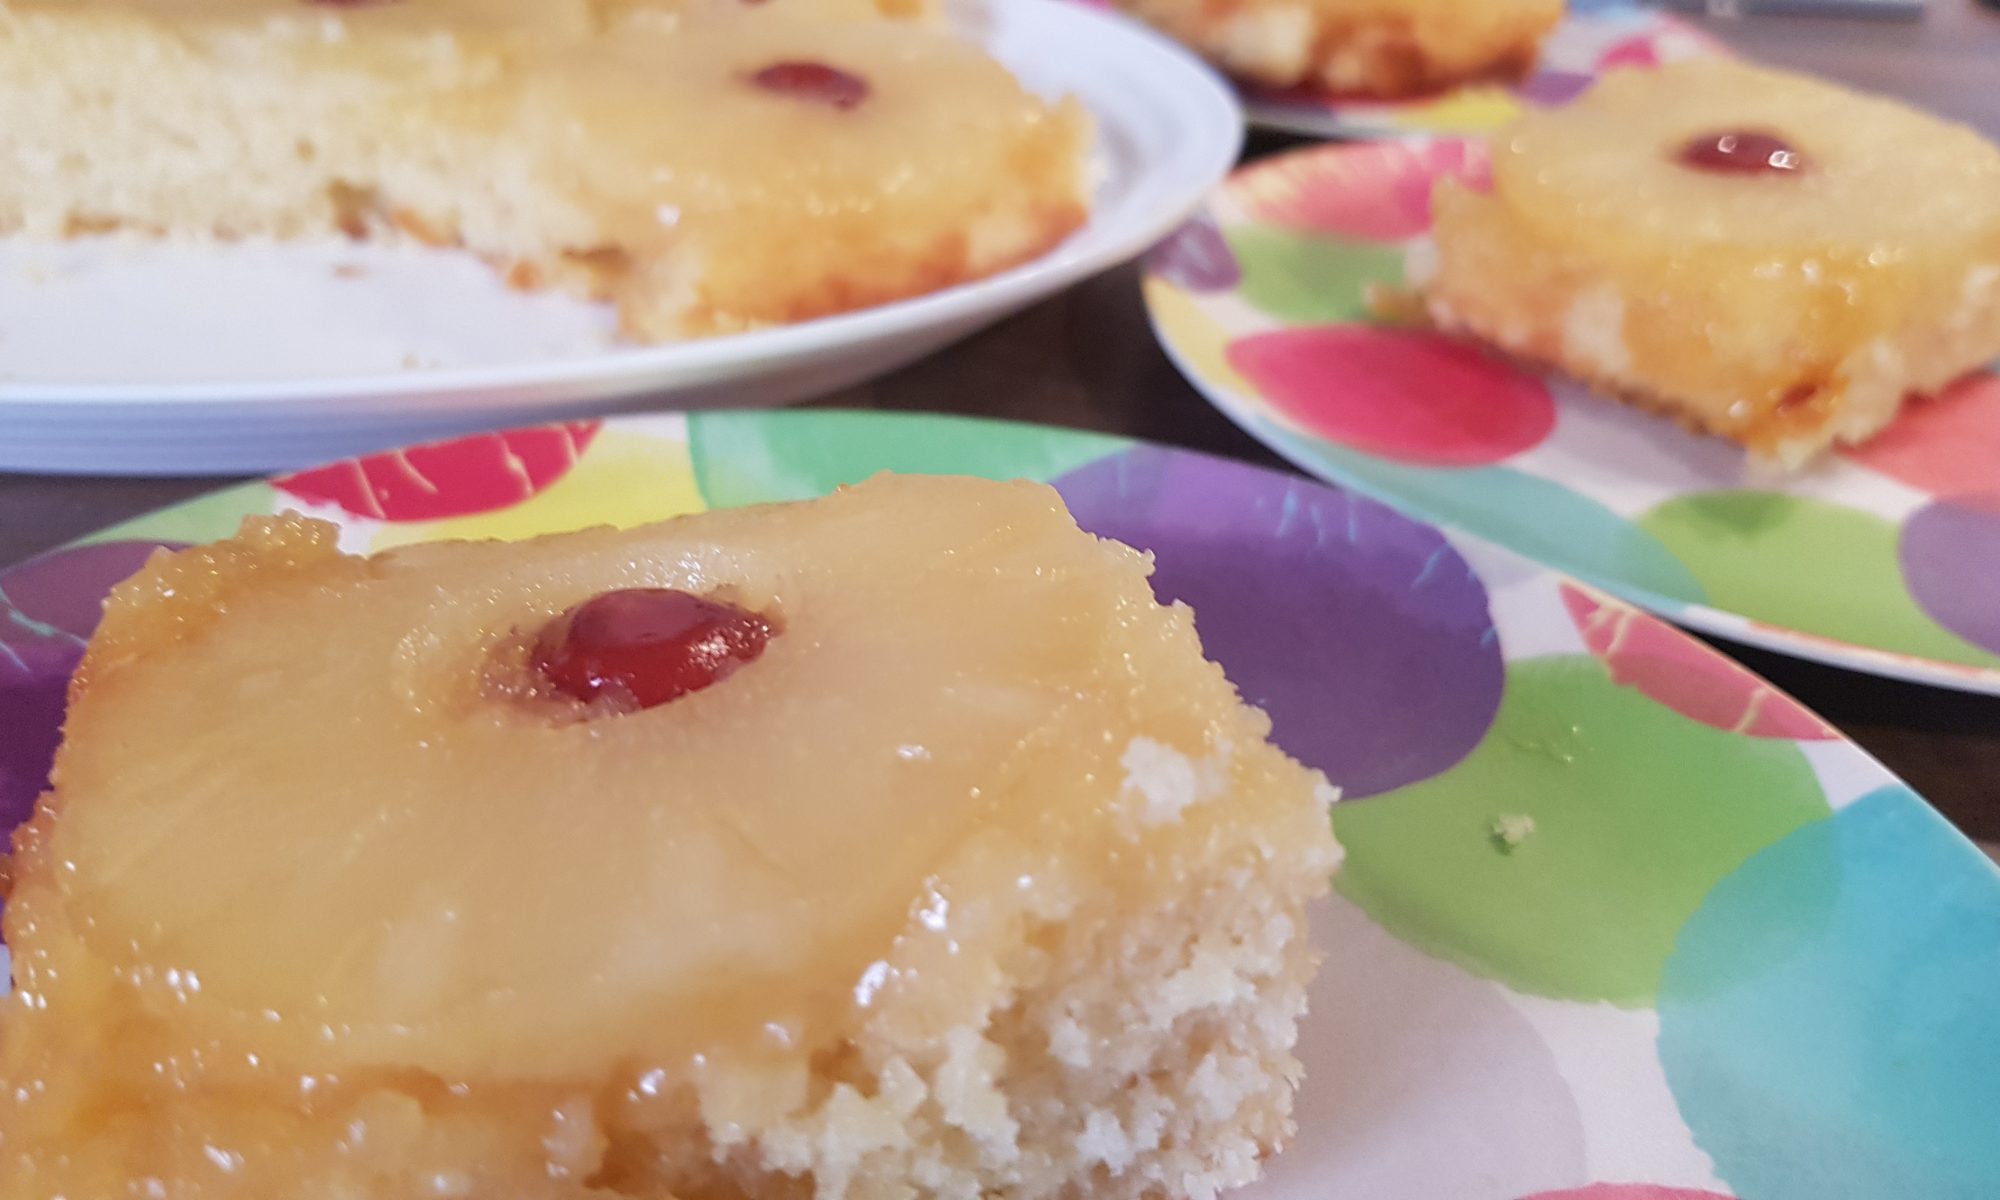
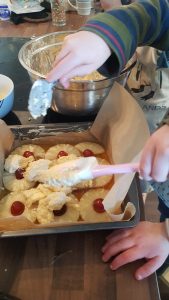
Our first post from the Southern hemisphere was for Tropical Flapjacks so it seemed rather fitting that the post to mark our year anniversary in the Falkland Islands was also tropical! The kids all helped me make this Tropical Upside-down Cake and definitely contributed to eating it! As they get older I keep on telling myself that they may not want to carry on cooking or baking with me, but as yet we haven’t reached that moment. I am hoping that we can postpone it for as long as possible.

A cherry for the middle of each pineapple ring and each half ring – to make Ophelia happy.

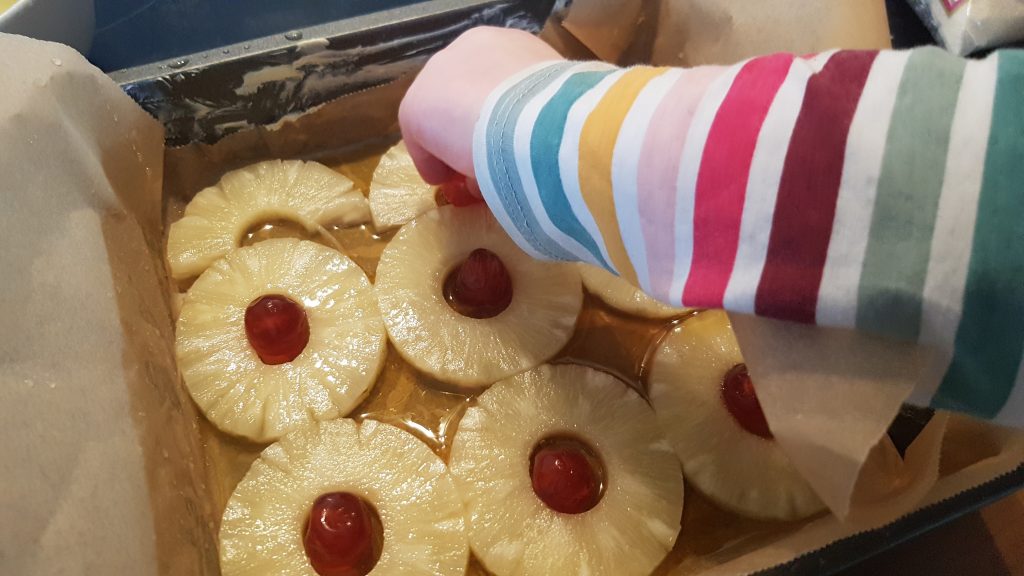
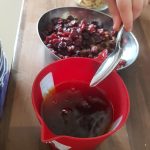
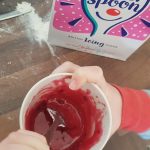
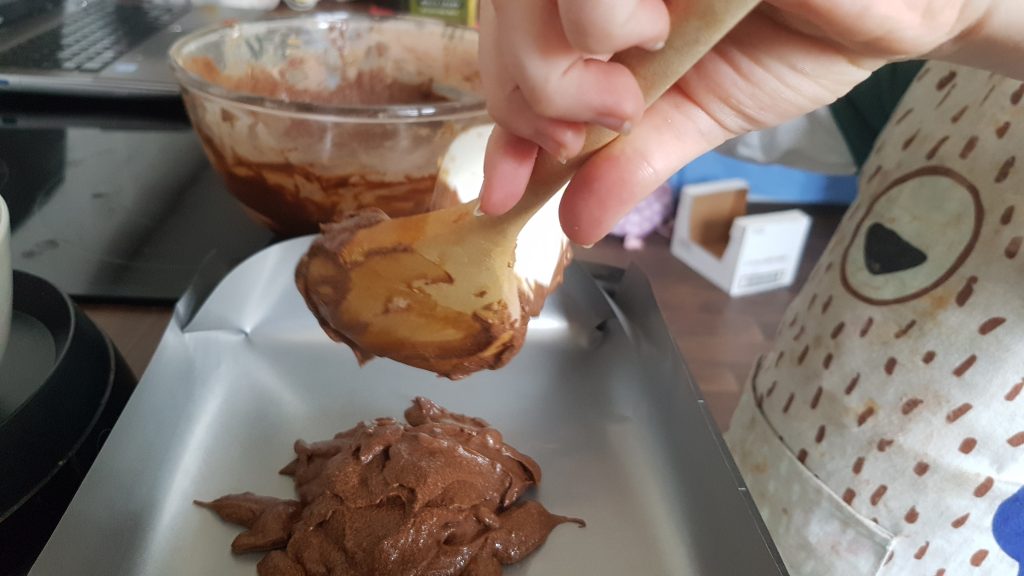
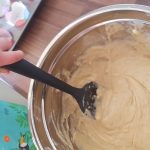
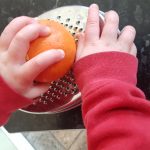
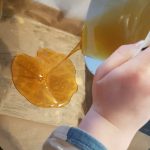
Highlights with this recipe were measuring the golden syrup (I guess for all the mess it made….), laying the pineapple out and ensuring each ring had a cherry centre. As usual, licking the spoon was also a highly enjoyable moment.

To make our Tropical Upside-down Cake you will need:

Spreading the cake over the fruit.
  • 125g butter/margarine
  • 125g golden syrup
  • 6 pineapple rings
  • 6 glacé cherries
  • 150g caster sugar’
  • 150g self-raising flour
  • 50g desiccated coconut
  • 2 eggs
  • 2-3tbsp milk
  • 2-3tbsp lime juice

Method:

  1. Grease and line your 22cm square cake tin and preheat the oven to 160°c fan.
  2. Put the golden syrup into a microwaveable bowl and gently heat in the microwave for 20-30 seconds until it is a runnier and can be poured.
  3. Pour the golden syrup into the lined cake tin and gently move the edged to ensure that the parchment in completely covered.
  4. Put your pineapple rings on top of the golden syrup and put a glacé cherry inside each one.
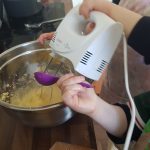
  5. Beat butter and sugar together.
  6. Add the eggs and mix.
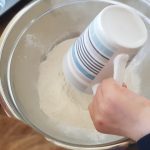
  7. Gently fold in the flour and desiccated coconut.
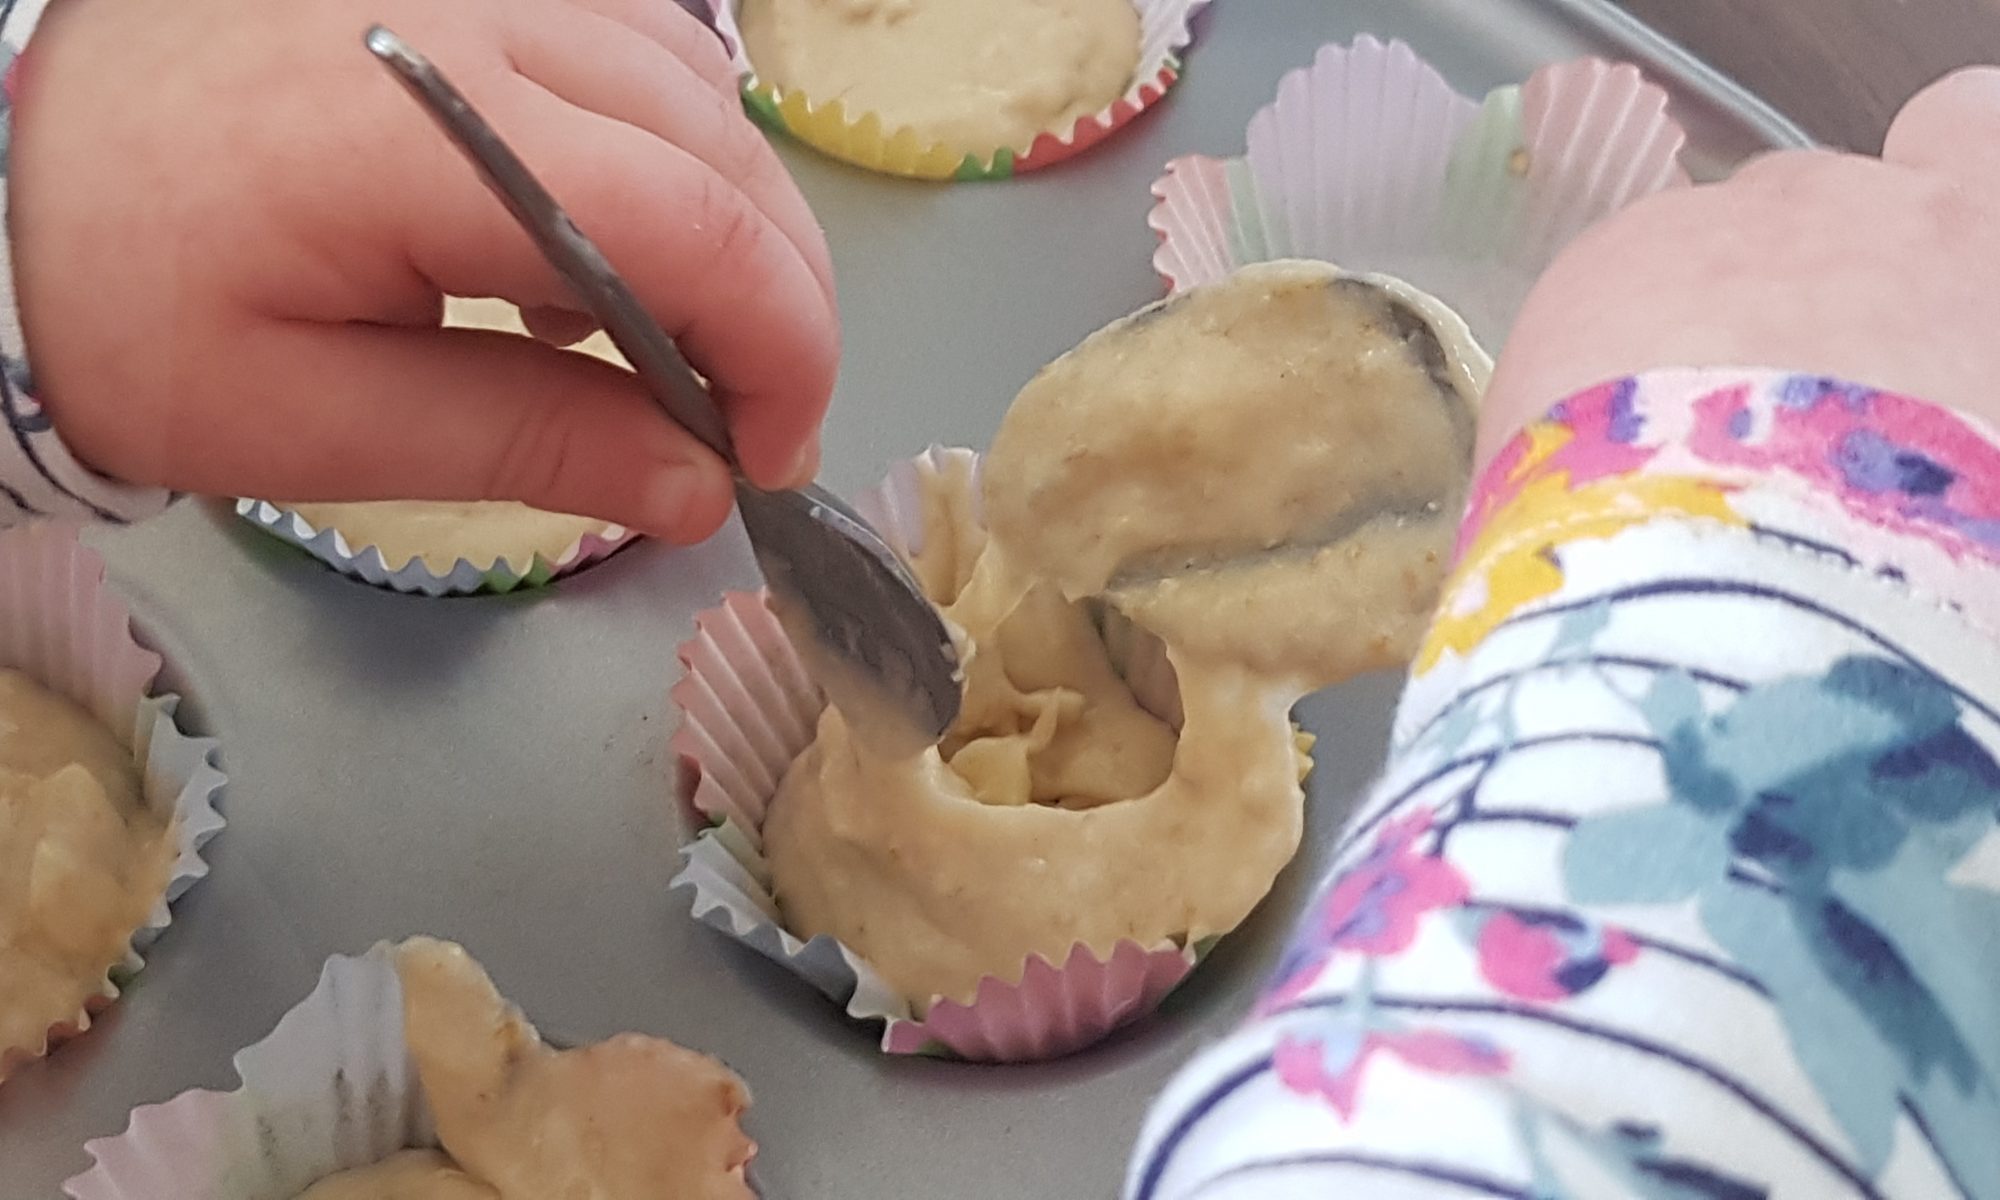
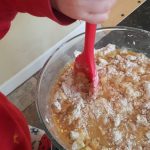
  8. Add the milk and lime juice to create a thick mixture which easily drops off the spoon.
  9. Put the cake batter over the pineapples and ensure they are all covered.
  10. Put in the oven for 30-35 minutes until golden and springy to the touch.
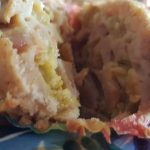
  11. Leave to cool for 5-10 minutes in the tin and turn out. Serve warm or cold.

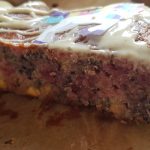
I did find this cake rather moreish and I am eager to make some more, but my list of recipes to try is growing so it might end up being relegated to the next school holiday as the kids worked so well as a team making it!

Yummy yummy cake.

Raisin Bran Muffins

Cake was the subject of most of my conversations with Ophelia while her brothers were at school last week. This meant we had tea parties, the dolls had tea parties and we made and ate rather a lot of cake. The poor kitchen must have felt rather sorry for itself with flour and sugar all over the surfaces and even an egg cracked on the floor all at the hands of my increasingly independent three-year-old who has decided that mummy can only help in certain circumstances.

I was quite happy when the weekend came around and wrongly thought the older kids might dilute my daughter’s enthusiasm. What I didn’t bank on was the kids having gotten accustomed to the steady stream of cake and their reluctance for it to stop! On Friday evening there was the discussion about what flavour cake would be next. Looking back at the rocky road, flapjack brownie, lemon cupcakes and chocolate cake which had sweetened the week, I decided it was time to steer the kids towards something a bit less sugar-filled. In the past, I have discovered that this is not always a successful endeavour, but in this instance, I got my way and the kids happily made and enjoyed eating Raisin Bran Muffins.

Ready to soak overnight.

I think the majority of the enthusiasm for this recipe stemmed from the fact that the kids think it is hilarious that mummy sits eating what they think looks like sticks at breakfast as they are enjoying their Shreddies or Cheerios. Luckily for me, they were not disappointed that after soaking the All Bran, raisins and sugar overnight they had lost their structural integrity and stick-like appearance! This is a versatile recipe that can be made vegan/dairy free by using almond milk.

To make the Raisin Bran Muffins you will need:

  • 75g All Bran cereal
  • 75g caster sugar
  • 175g raisins
  • 300ml milk
  • 175g wholemeal self-raising flour
  • 50ml water
  • 25ml milk
Dividing the mixture between the cases.

Method:

  1. Put the All Bran, caster sugar, raisins in a large bowl with 300ml of milk and mix well. Leave to soak overnight or for at least 6 hours.
  2. Preheat the oven to 160°c fan and put 12 cupcake cases into a muffin tin.
  3. Sift in the flour and add in the water and 25ml of milk and combine well.
  4. Divide the mixture between the 12 cases and place in the oven for 20-25 minutes until springy.

This recipe appeared in Penguin News on 19 June 2020 and Soar Valley Life July/August 2020 edition.

Teabread

My confession: we are not a household of tea drinkers. This may sound sacrilege for a British family, but there you go. My sister is the champion tea drinker in my family. Maybe she has tea running through her veins rather than blood like the rest of us?! I always have to check that I actually have teabags in the house before we have visitors as I have been known to be unable to provide guests with a cup of tea when visiting! When I do buy them, it takes us so long to get through them. Teabread is the only way we really use them.

Into the tin it goes

We always seem to have a load of dried fruit in the house, even more so since we moved to the Falklands. This is probably because our bulk online shop at the beginning of the year mainly comprised cereal, dried fruit, tinned tuna and squash! We are steadily working our way through the many packets of apricots and banana chips, but some of the dates, raisins and cranberries went into this yummy teabread. You could just use raisins and sultanas in this loaf, but I am a particular fan of putting some chopped dates in as they really do give it such a lovely squidgy texture. It is a versatile recipe, an easy to put your own stamp on.

Ophelia really enjoyed using a spoon to transport the dried fruit into the cold tea and spent the rest of the afternoon coming back to check their progress. The following morning after we had dropped the boys at school, the moment we got back to the house, she was immediately asking to put the soaked fruit into cake. There is no doubt at all that she gets that particular characteristic from me!

To make this teabread you will need:

  • 300g dried fruit (we used raisins, cranberries and chopped dates)
  • 2 tea bags made into 475ml tea and cooled
  • 225g soft brown sugar
  • 2 eggs
  • 450g self raising flour (we used a mixture of wholemeal and regular)

Instructions:

  1. Spoon the dried fruit into the cold tea and leave to soak overnight.
  2. Line a large loaf tin with baking parchment and preheat the oven to 160°c.
  3. Beat the eggs into the sugar until completely combined.
  4. Add the flour and the soaked dried fruit (with the remaining liquid) and mix to form a batter.
  5. Spoon the mixture into the tin and level the top with the back of a spoon.
  6. Bake in the oven for 55-60 minutes or until a cake tester comes out clean.

I am not ashamed to admit that my kids have been enjoying a small slice of this for their breakfasts recently. With all the changes in their daily routine, I wanted them to remember some of the fun things, like when mummy allowed them to have cake for breakfast! Much love from our small corner of the world to all my readers and please do stay safe.

Chocolate Ginger buns

Yum chocolate icing too!

I am a self-confessed chocaholic. I can be very good and ignore chocolate in the fridge for weeks on end, but as soon as I open the wrapper, my resolve crumbles and a single square turns into a whole family-size packet! And despite my constant insistence that the kids share, in this instance I am powerless to follow my own advice. To prevent arguments, the kids have their own treat box which was affectionately christened the ‘num num tin’ and I am categorically not allowed their treats as I refuse to share mine! I understand this logic and it seems like a fair deal to me; I can go without the other sweets that they love, but I cannot abandon my chocolate!

Chopping ginger

Chocolate bakes are always among the most popular with my kids (I wonder where they get that from?!) and these little cakes are so yummy and moreish that it’s easy to understand why. Atticus in particular was eager to make these as they contained ginger. For those of you who haven’t met my younger son, he is my fellow redhead in the family.  He piped up that they would be his special ginger cakes and under no circumstances was I to decide that they would replace him as my favourite little ginger!

The ginger isn’t overpowering in these cakes, but it adds depth to the chocolate cake. If your kids aren’t huge fans of ginger I would recommend omitting the ginger syrup from the icing or leave them plain. My kids seem to think that undecorated cakes are some kind of crime to baking.

Mix it all up

To make the buns you will need:

  • 100g caster sugar
  • 100g margarine
  • 2 eggs
  • 2tbsp syrup from a jar of stem ginger
  • 100g self-raising flour
  • 20g cocoa powder
  • 60g stem ginger from a jar, chopped into small pieces

For the icing:

  • 85g icing sugar
  • 15g cocoa powder
  • 1tsp syrup from a jar of stem ginger
  • 3-4tbsp milk
  • Sprinkles

To make them:

  1. Preheat the oven to 160°c fan and put the cupcake cases in the muffin tray.
  2. Chop the stem ginger into small pieces. Adult help may be required.
  3. Cream the sugar and the margarine together until it is light and fluffy.
  4. Add the eggs, one at a time, beating well after each one.
  5. Add the ginger syrup and mix again.
  6. Sift the flour and cocoa into the bowl and fold into the mixture.
  7. Add the stem ginger and gently mix.
  8. Divide the mixture between the 12 cases and place in the oven for 15-20 minutes until springy to the touch and a cake tester comes out clean.
  9. Once cooled, make the icing by mixing all the ingredients together. Add more milk for a thinner icing if desired. Spread it onto the cakes.
  10. Let the kids go crazy with the sprinkles!

This article appeared in Penguin News on Friday 20 March, 2020.

Vegan Apple & Blackberry Cakes

This year, instead of making New Year’s Resolutions that I know I am not going to have the will power or inclination to strive to keep, I opted for a promise to myself to spend more time individually with each of our children. So often, we all cook together and I love all the chaos this inevitably brings and the fact that no one misses out on the fun, but it does mean I am not spending time with each child on their own.

Squishing and squashing blackberries into icing sugar.

My New Year’s Day baking in pyjamas session was with Seb. It was considerably earlier than I would have chosen, but he was awake and seeing as he gets his early bird tendencies from me, I thought it fell to me to keep him occupied. I did not want three children awake at that hour slowly chiselling away at my patience! This did mean we were making these cakes at 7am and they were in the oven by 7.30am and cooled and iced before 9am.

Icing cakes.

As it is January, we decided on a vegan recipe to coincide with Veganary. Please don’t switch off here, because if I hadn’t mentioned that these were vegan and you tried one, I doubt you would realise. As an added bonus, they contain apple and blackberries so that definitely makes them healthier than the cakes without fruit, right?! It is an easy recipe to make, but young children may well need help grating the apple. We used frozen blackberries, but for the icing we did let them defrost so we could squish and squash them and mix with the icing sugar to create a vibrant icing for the cakes. This recipe makes 8 cakes and they will keep in the fridge for a couple of days if they last that long.

Yummy, yummy in our tummies!

To make our Vegan Apple & Blackberry Cakes you will need:

  • 100ml plant-based milk (we used hazelnut, but any will do)
  • 100g caster sugar
  • 30ml vegetable oil or rapeseed oil
  • 1/2tsp vanilla extract
  • 1/2tsp baking powder
  • 120g self raising flour and an extra half tbsp
  • 40g blackberries (frozen is OK)
  • 50g grated apple
  • 80g icing sugar
  • 30g blackberries (defrosted if frozen)

Method

  1. Preheat the oven to 160 °c fan and line eight holes of a muffin tray with paper or silicone cases.
  2. Put the sugar, grated apple and the liquid ingredients in a large bowl and mix to combine.
  3. Sift the self raising flour and baking powder into the mixture and gently fold together.
  4. Sprinkle half a tablespoon of flour over the frozen blackberries and ensure they are all completely coated – this should prevent them from all sinking to the bottom of the cakes.
  5. Add to the cake mixture and gently fold them in.
  6. Divide the mixture between the eight cake cases and place in the oven for around 20 minutes until springy to the touch and a cake tester comes out clean (unless you hit a blackberry).
  7. Remove from the oven and set aside to cool. While the cakes are cooling, squish and squash the defrosted blackberries until they are liquidy. Mix with the icing sugar and add more icing sugar if you want a thicker icing.
  8. Cover the cakes and allow to set. Store in the fridge.

This recipe was featured in Penguin News on 10 January 2020.

Rocky Road Traybake

There are certain days when only chocolate cake will do. I would love to claim that this cake was the outcome of a desperate need for chocolate due to a bad day, but it was in fact just a way to entertain the kids and have them working towards pudding for a family dinner! Atticus helped Simon make the main course and Seb and Ophelia joined me on the other side of the kitchen to make pudding. On this occasion, dinner certainly was a full family effort. They are happy memories.

Into the pan.
On go the marshmallows!

This cake also gave me an excuse to open the kilogram bag of mini marshmallows that I managed to find and sent Simon and the kids off to discover for themselves and purchase. There was pure delight when they saw such a large bag of mini marshmallows. Previously they had only seen the 150g bags that I would purchase in Tesco. I did miss an opportunity for a maths lesson asking how many small bags would make up the large bag. Oh well, there’s an idea for next time! I was a mean mum though; I made them wait until I had a definite recipe in mind before we opened them. I knew that if we just opened them, I would blink and they would all be finished! I have three marshmallow-loving kiddies and a husband who isn’t averse to adding them by the handful to his pudding or cereal bowl! They would have been inhaled and while this would have been an impressive feat, I really wanted to prevent this outcome.

To mark the opening of our gigantic bag of marshmallows, we made this Rocky Road Traybake. It is a very think cake sprinkled with raisins, chopped nuts and mini marshmallows and drizzled with melted white chocolate. You will be surprised to hear that it lasted more than 24 hours. Although this is probably because I packaged it away and hid it under the bread in the bread bin! No one thought to look there so it was safe until I was ready to distribute it! However, now I have written this, I shall have to find a new cake hiding place.

Ingredients

  • 115g butter/margarine
  • 115g dark brown sugar
  • 100g plain flour
  • 15g cocoa powder
  • 1 medium egg
  • 5tbsp milk
  • 50g chopped nuts
  • 40g raisins
  • 20g mini marshmallows
  • 40g white chocolate, melted

Method

  1. Grease and line a brownie pan, or small square/rectangular cake pan and preheat the oven to 160°c fan.
  2. Cream the butter and the sugar together until smooth.
  3. Add the egg and beat.
  4. Sift in the flour and cocoa powder and mix until combined.
  5. Add the milk and mix until smooth.
  6. Dollop the batter into the baking tin and spread so all the edges are covered. This is meant to be a thin cake, so it may require a bit of effort.
  7. Sprinkle the nuts, raisins and marshmallows on top and place in the oven for 15 minutes until a skewer comes out clean (unless you go through a marshmallow!
  8. Allow to cool fully before drizzling with melted chocolate.

I hope you enjoy this traybake as much as my family did and do look for a good hiding place for it so it doesn’t all disappear in a blink!

Look at that chocolatey goodness!

Banana, Orange and White Chocolate Muffins

Still using cups while we wait for the scales to arrive!

We are in the home stretch. Our shipping crate is allegedly imminent. We will soon have all of the baking supplies that I packed including my scales and beloved brownie pan! To celebrate this auspicious occasion, what did we do?! Yes you’ve got it, we baked! We made Banana, Orange and White Chocolate Muffins.

Mix it all up!

There were bananas in the supermarket recently. Back in the UK I would think nothing of weighing out my bananas and buying them so Seb could eat a daily banana. Here in Stanley, I have to remind myself how lucky I am that Seb is the only one in the family who really loves bananas. In our local supermarket they sell for 50p each unless they are brown when they sell for 25p each. I must confess that after seeing a friend buy brown bananas for banana bread and to freeze for smoothies I quickly followed suit. I bought a 10 bananas and promptly froze 8 in slices to put in cakes. Yes I did also ensure that I cut each banana into the same amount of pieces so that I knew how many slices made up a banana. In case you need to know, in this instance it was 6.

Spot the orange between the muffins!

Having all those bananas in the freezer meant that a banana bake was on the cards. I was in the fortunate enough position to have some leftover white chocolate following my raspberry blondie making session for Simon’s birthday so combined with some orange zest and bananas and boom! There you have it these yummy muffins were born!

Ingredients

  • 2 ripe bananas
  • 2 cups self-raising flour
  • 1/2 cup sugar
  • 1/2 cup milk
  • 4tbsp melted butter
  • 2 eggs
  • Zest of 2 oranges
  • 100g chocolate chips/chopped chocolate

Method

  1. Preheat the oven to 180°c fan.
  2. Mush the banana with a fork and make it as smooth as you can.
  3. Put the mashed bananas, flour, sugar, milk and melted butter into a large bowl.
  4. Crack the 2 eggs into a small bowl and gently whisk.
  5. Add the whisked eggs to the bowl and then mix until all the ingredients are fully combined.
  6. Add the chocolate and the orange zest and mix to ensure they are distributed evenly.
  7. Divide the mixture between 12 muffin cases and place in the oven for 18-20 minutes until they are golden and springy to the touch.

These didn’t last long, and it wasn’t because we had friends popping in to share them! Atticus and Ophelia did a stellar job and even helped with the washing up and were rewarded with a clean bowl of water with bubbles for their boats. Yes they did get rather soggy and it did necessitate a change of clothes for each child, oh and several tea towels to absorb all the water that had spilled onto the floor!

Rhubarb Maple Muffins

A friend very kindly gifted me some of the rhubarb she grew in her garden. Some of it made its way into rhubarb crumble, which according to another friend is an absolute must if you have any rhubarb, but the rest made its way into these Rhubarb Maple Muffins. If you have been reading my blog for a while, you will be unsurprised to hear that these were an experiment. My children and husband seem to have become quite indulgent of all the crazy and hairbrained inspired ideas that we trial in the kitchen. I certainly do have children who are eager to experiment in the kitchen and are generally willing to try new foods even if they don’t initially like them. In time, I am hoping they will learn to put their own flavour combinations together and like a wider range of flavours.

The liquid sweetener makes it easier for little hands to mix together fully.

Rhubarb isn’t known for its super sweet qualities. I quite like it when it retains some of its natural tartness in a bake and isn’t fully masked in sugar. So to compliment its flavour I decided we would use maple syrup instead of sugar in our muffins. The maple syrup adds a nutty flavour to them and as it is a liquid makes it very easy for little chefs to mix all the ingredients together. I will say that I cut all the rhubarb into small pieces as it required a bit of strength and the 2 year old wouldn’t have managed this. Her and her brothers did enjoy seeing what the whole rhubarb looked like complete with its large leaf. I think Ophelia’s favourite thing about it was that it was pink. She was over the moon when she realised we were going to use the pink branches mummy had been given!

Such yummy muffins!

This recipe does make a bakers dozen of muffins which is great when it comes to sharing the spoils, but somewhat frustrating when dividing the mixture and then using another muffin tray for a single muffin… You could make some mini muffins with it too if you are looking to control portion sizes more easily for your tinies and if you are unsure what their reaction will be to rhubarb. For full disclosure, my kids were not a fan of the rhubarb. This will not deter me, I am still going to cook it with them as some of them have enjoyed it in other bakes in the past (Strawberry and Rhubarb Flapjacks). All the grown ups who tried them did give favourable reviews so I am unperturbed!

Filled with rhubarb!

Ingredients

  • 300g plain flour
  • 1/2tsp baking powder
  • 1tsp cinnamon
  • Zest of 1 orange
  • 300g finely chopped rhubarb
  • 2 beaten eggs
  • 180ml maple syrup
  • 180ml milk
  • 100g melted butter

Method

  1. Preheat the oven to 180°c fan and line 13 muffin holes with cases.
  2. Put the dry ingredients into a large bowl and mix to combine.
  3. Add the rhubarb and orange zest and mix again.
  4. Crack the eggs into a jug and whisk.
  5. Add the milk, melted butter and maple syrup to the beaten egg and whisk again to combine.
  6. Pour into the dry ingredients and mix fully.
  7. Divide the mixture between the muffin cases and place in the oven for 25-30 minutes until springy to the touch.
  8. Allow to cool and enjoy.
Her favourite part of this bake!

It always surprises me which part of the recipe my kids end up enjoying the most. In this one, zesting the orange was definitely Ophelia’s favourite task. Licking the bowl was a close second though!

Do your youngsters like rhubarb? Do you think they would like to try these? Please do get in contact if you make this recipe; I would love to hear from you.

Unicorn Blondies

Unicorns standing to attention.

Every time it feels like I have my children pegged, they turn round an surprise me. I know they don’t do this to be contrary, but their little quirks often leave me bemused. Allow me to enlighten you all further. Ophelia, like most two year old girls, loves pink – it is her favourite colour. No one else in the house is allowed to have that colour as their favourite. I have been told that my favourite colour in no uncertain terms is purple! (This is fine by me, but have I created a little bossy monster?!) She lives for the days when she can wear as many mismatched items of pink clothing and display them to as many people as possible. She is also the little girl who refuses to be left out by her brothers and insists on joining in with their superhero games and who received a Hulk costume for Christmas so she isn’t left out.

She also loves glitter and all things that sparkle. Unicorns it seems fall into this category. She has unicorn toys, a back pack and a lunchbox. So with this bake for World Unicorn Day on the 9 April (yes this is a thing, I was unaware until a post on Instagram informed me of the fact) I thought I would be making these with just her, but the boys also eagerly insisted on joining in – an unexpected, yet welcome surprise (this proves you should never – even subconsciously – try to categorise your children…).

The success of this bake should be measured by the fact that I have had to hide them from everyone so that they don’t gobble them up without me noticing. Because I am clearly the only one who can be trusted with leftover cake in this house… My only motive is to ensure that everyone gets their fair share and so I can take a secret blondie tithe!

Beautiful colours in the blondie.

To make the different colours, we used frozen blueberries and raspberries instead of food dyes. They don’t produce as vibrant a colour as food dyes do, but they do add a really nice fruity taste to them. They also make me think that they are slightly healthier despite all the chocolate!

Ingredients

  • 400g white chocolate (300 for inside the blondies and 100 for on top)
  • 75g butter
  • 3 eggs
  • 175g caster sugar
  • 175g plain flour
  • 1/2tsp baking powder
  • 75g frozen blueberries
  • 75g frozen raspberries

Method

Colouring the blondie, dolloping it into the tin and the pretty pattern it created.


  1. Remove the blueberries and raspberries from the freezer and allow to defrost a little. I placed mine on defrost in the microwave for 20 seconds each.
  2. Preheat the oven to 170°c fan and grease and line a brownie pan.
  3. While still in the packets, bash the chocolate with the end of a rolling pin to make small pieces.
  4. Place 100g of the chocolate pieces into a heatproof bowl with the butter and put in a double boiler until all melted. Allow to cool a bit.
  5. Put the sugar and eggs in another bowl and whisk together until smooth and completely combined.
  6. Gradually add the chocolate mixture to the egg mixture and beat together.
  7. Sift in the flour and the baking powder and fold together.
  8. Add another 200g of the bashed chocolate and mix so all the bits are evenly distributed.
  9. Divide the mixture between 3 small bowls as evenly as you can.
  10. Using a stick blender, zap the blueberries and raspberries (in their separate containers) until they are smooth.
  11. Put the blitzed raspberries into one of the blondie bowls and the blueberries into one of the other bowl and mix to combine.
  12. With three separate spoons, dollop alternate blobs of the three mixtures into the brownie pan creating a pretty pattern as you go.
  13. Place in the oven for 25-30 minutes until cooked.
  14. Remove from the oven and allow to cool in the pan for a while.
  15. Melt the final 100g of white chocolate and drizzle all over the blondies (we used a teaspoon to do this) and decorate with copious amounts of rainbow or unicorn sprinkles or even edible unicorn wafers like we did.
Adding the finishing touches to make them worthy of the unicorns.
Photo bombing unicorn!

I hope you have a sparkly and colourful World Unicorn day filled with rainbows and other beautiful things, but most importantly these Unicorn Blondies. Today is 9 April, and I am happy to report that we have three small squares of blondie left for the kids today. That is good planning and restraint on my part!

Fat Rascals

I was never a particularly rebellious teenager. That said, I do remember being told off by my dad when I was thirteen for reading a book in the back of the car as we drove across the Grand Canyon National Park. I remember having looked out the window and seen the astonishing beauty of the scenery, feeling overwhelmed and then delving back into my historical fiction book about the area that I had bought earlier that day. Language and books have always held a spot very close to my heart. While translating I used to spend hours procrastinating with Roget’s Thesaurus to try and find the perfect word to convey the meaning of the text. This may seem to have no connection whatsoever to the Fat Rascals that I made with Ophelia last week, but the word rascal got me thinking of what other words I could use for them. So, drum roll please… we made Massive Scoundrels! It made me chuckle so much to myself that I had to share!

No mummy I don’t want help cutting the dough, I do it myself!

For those of you who haven’t heard of Fat Rascals before, they are a rich scone and rock cake hybrid from Yorkshire. I don’t come from Yorkshire, but my sister and I had a lovely mini break there before I had the kids, when I was between jobs. We went to the iconic Betty’s Tearooms and had a Fat Rascal and tea. It was exquisite and I still hold very fond memories of that trip and the Fat Rascal all these years later. So when I was hunting for something I could make with Ophelia and was thinking of scones, I decided we would try and replicate Betty’s yummy Fat Rascals. The exact recipe Betty’s Tearooms use is a closely guarded secret, but I did some research and drew elements from a couple of recipes I found in my cookbook collection and online. They did also resemble my memories so I was happy.

Making faces.

These are excellent to make with children as they can get involved in pretty much every stage from rubbing in butter, pouring cream, squishing and squashing to form the dough and counting out and tearing the glacé cherries and counting out the almonds to make faces on top of them.

Ingredients

For the dough

  • 125g plain flour
  • 125g self raising flour
  • 1tsp baking powder
  • 100g unsalted butter
  • 75g caster sugar
  • 150g dried fruit (we use a mixture of raisins and sultanas)
  • 1tsp cinnamon
  • 1/8tsp nutmeg
  • Zest of half a lemon
  • 1 egg
  • 60ml double cream

For decoration

  • 6 cherries halved
  • 18 whole almonds
  • 1 beaten egg

Method

  1. Preheat the oven to 200°c or 180°c fan. Line a baking tray with a silicone baking mat or greaseproof paper.
  2. Sieve the flowers into a large bowl. I tend to let the children alternate between gently tapping the side of the sieve and gently stirring the flours in the sieve.
  3. Stir in the baking powder.
  4. Add the butter and ‘tickle’ it into the flours until it looks like fine breadcrumbs.
  5. Add the sugar, lemon zest, cinnamon, nutmeg and dried fruit and mix until fully combined.
  6. Pour in the cream and the beaten egg and mix gently before bringing together with your hands. Knead until a dough has formed.
  7. Divide the dough into two equal pieces and then make three equally-sized pieces from each of the two pieces of dough. You should have 6 lumps.
  8. Shape each lump with your hands until they look like large rounds.
  9. Brush the second beaten egg over the Fat Rascals.
  10. Tear the 6 cherries in half and use two pieces on each for eyes.
  11. Use three almonds on each to make a smile.
  12. Place in the oven for between 15 and 20 minutes. They are done when golden brown. Leave to cool on the tray for 5-10 minutes before moving them.
Imagine them with long thin tails to look like the gulper eels like my daughter did or just look at the yummy Fat Rascals and decide when to make them!

When these came out of the oven and Ophelia had a look at her handiwork and she exclaimed: ‘They look like gulper eels!’ In case you are not as familiar with sea creatures as my Octonaut-loving two year old, a gulper eel is an eel with a mouth which looks disproportionate to the size of its thin tail. It’s animation in the show portrays a creature with beady eyes and small, but very prominent pointy teeth. So I suppose she was right, they do look a bit like gulper eels in their own little way…