
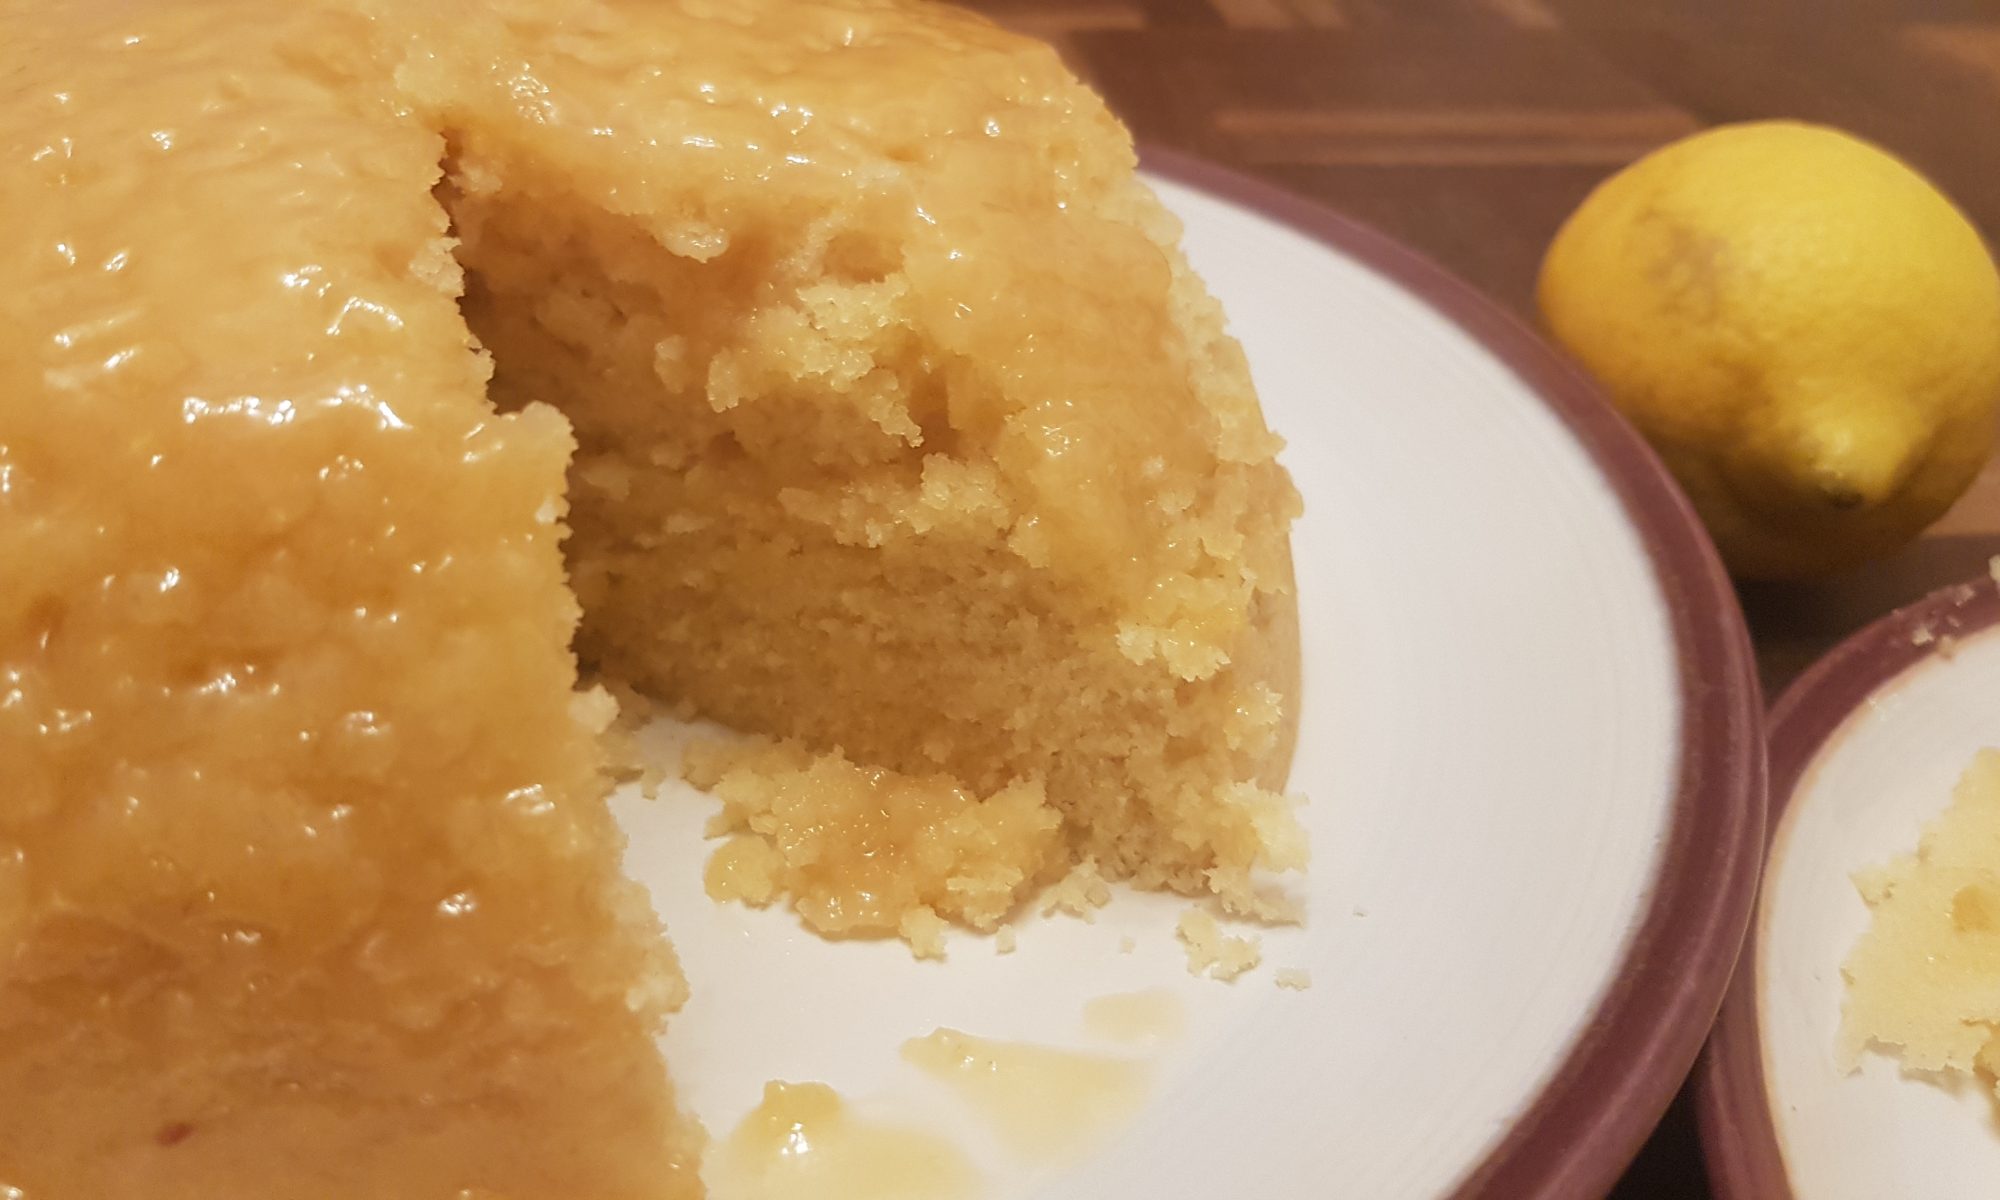
And just like that the Christmas holidays are over for another year. Part of me is rather looking forward to having a bit more time to get everything done, but the other part of me is mourning the end of the holiday time and the fact that the boys are returning to school. As a last fun activity for the holidays I thought it would be fun to experiment in the kitchen with a steamed sponge. If the thought of having to watch the pan and continuously top up the water puts you off making a steamed sponge, we cooked ours in the slow cooker.
You could make this with any flavour jam or curd that you have leftover in the fridge or even some gift jars like we did. As we made lemon sponge we put in lemon zest and juice, but altering the flavours would be really easy. For a vanilla sponge, use 1tsp of vanilla extract and your jam flavour of choice. For a chocolate sponge, remove a tbsp of the flour and add a tbsp of cocoa powder and 100g of chocolate chips and use chocolate spread instead of jam or curd. I am sure a chocolate-based pudding is pretty much a firm favourite in most households!
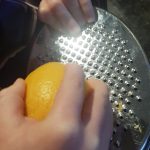
Since starting cooking with the kids regularly, I have learnt that asking small hand to hold a citrus fruit and have a go at zesting invariably ends up with somewhat grumpy children. They want to complete the task, but as yet are unable to hold such a large fruit and operate the zester at the same time. To enable them to complete more of recipes using zest on their own, we tend to use a tub grater with the small grater attachment to achieve fine zest. Atticus managed this admirably for this recipe and was quite sad when he had done it all! It may seem obvious, but maybe this tip will help someone. It took longer than it probably should have for the penny to drop for me!

The one bit of this recipe the kids didn’t do by themselves, was folding the lid and tying the string around the pudding basin. This can be a bit of a tricky process. I had Seb lay the foil down first and then the baking parchment over it. We folded it in half and then he painted the greaseproof paper with butter. I tied the string round in a double knot while he held on to the edges of the paper to ensure it all went under the string. I did also let Atticus pour the water into the slow cooker. Yes we did have a bit of a puddle on the surface and the floor as the jug was too full for him to accurately gauge the angle and say splish splosh at the same time!
Ingredients
- Butter/margarine for greasing the pudding basin and parchment
- 5tbsp of lemon curd
- 175g butter/margarine (remove from the fridge early to soften if using butter)
- 175g golden caster sugar
- 3 eggs
- 175g self raising flour
- 1tbsp milk
- Zest of 1 lemon
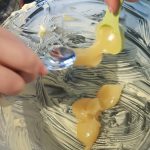
- Juice of half a lemon
Method
- Grease a 1.2 litre pudding basin with lots of butter or margarine. We always use silicone brushes to do this and the kids have fun painting the surface.
- Put the 5tbsp of lemon curd in the bottom of the basin and put to one side while making the sponge.
- Put all the ingredients for the sponge in a large bowl and mix together until fully combined. We used electric beaters to do this.
- Pour or dollop the cake mixture into the pudding basin over the lemon curd.
- Lay out a bit of foil which is large enough to cover the pudding basin with a bit extra and then a piece of baking parchment on top of it. Put a fold vertically down the middle and grease the baking parchment with butter.
- Put the baking parchment (butter side down) over the pudding basin and tie the string round in with a knot. You could also fashion a handle from the string, but I don’t tend to.
- Pour water into your slow cooker so that it reaches half way up your pudding basin. We used cold water so the kids could decant the water.
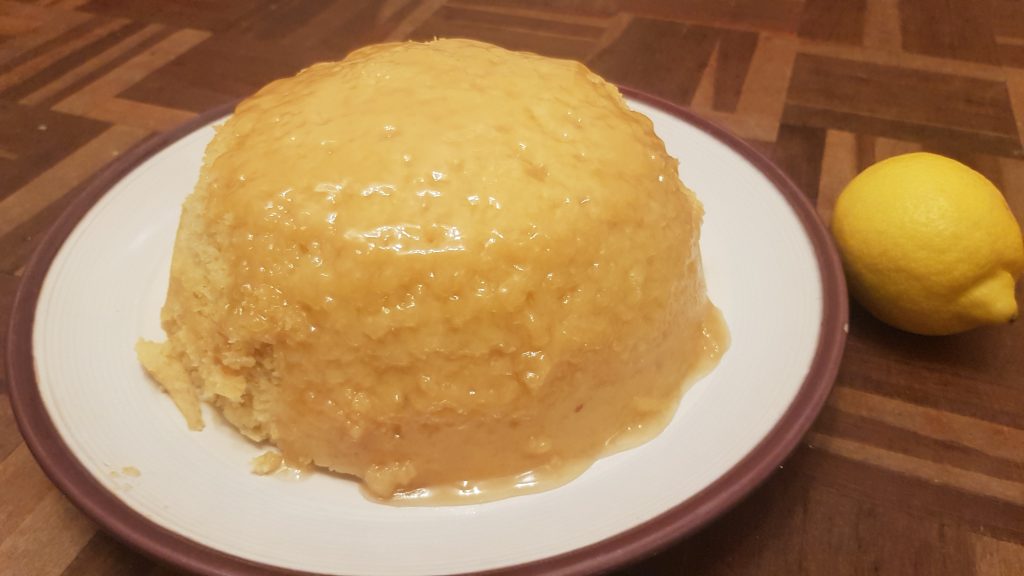
- Put the slow cooker on high for 3 hours. I checked the progress of ours by peaking under or poking a skewer through the wrapping at 2 hours. The pudding is ready when a skewer comes out clean.
- When out of the slow cooker, uncover and turn the pudding out onto a plate. Serve immediately with custard or ice cream or even plain.
You could also make this on the stove in a large pan allowing it to simmer for 2 1/2 hours. I have found that this is a wonderfully adaptable and versatile pudding. We made ours after lunch and served it for pudding at our evening meal after afternoon when it was ready.
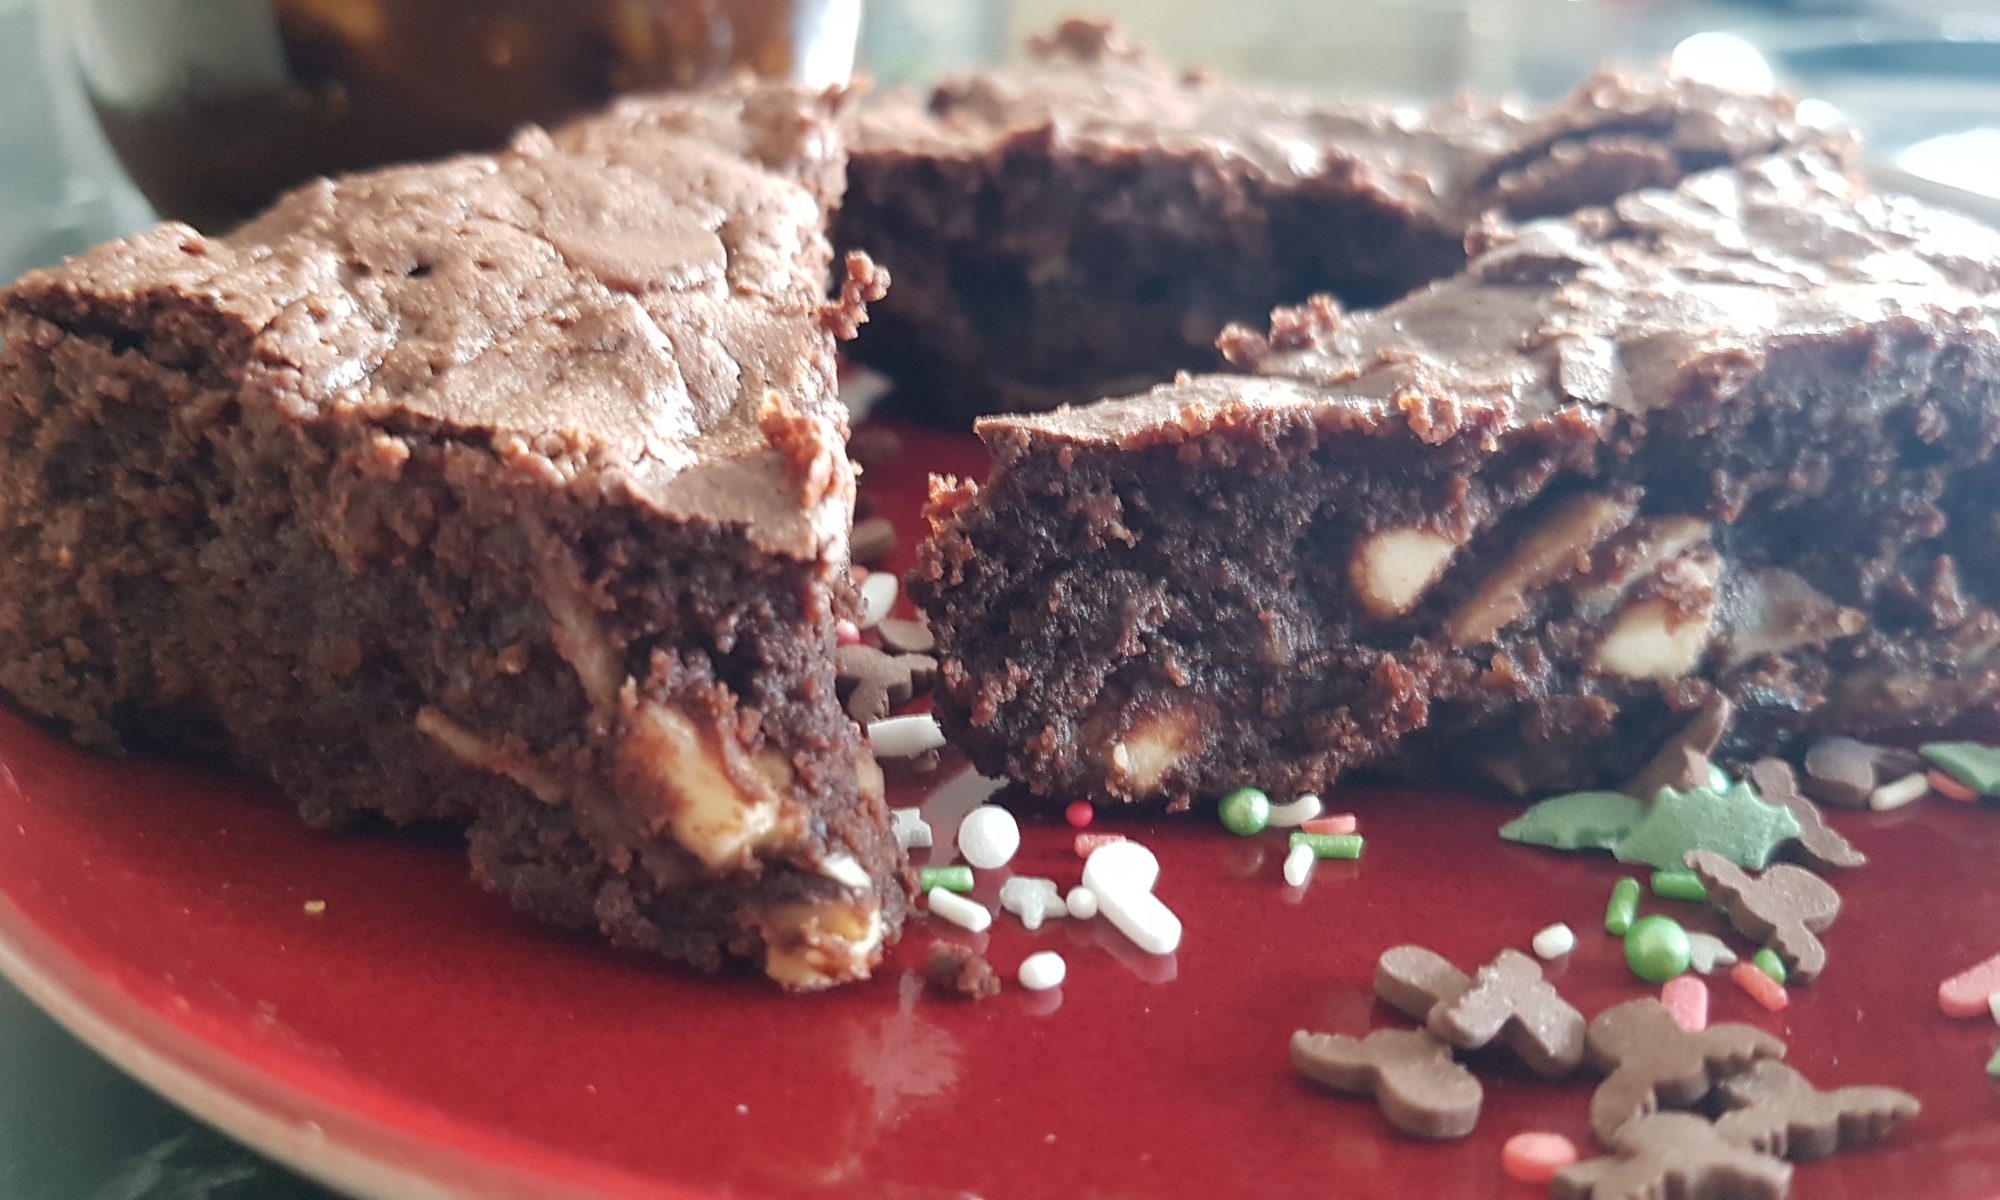

 Anyway, so back to baking. I always get my way when cake is involved. Simon knows not to try and change my mind when I have an idea for a bake. So when I decided that I wanted to run some sweet mincemeat through my brownie batter with some flaked almonds there was no opposition despite the fact he isn’t a fan of sweet mincemeat. In the end, he did try one and ended up liking it so I am glowing in my victory!
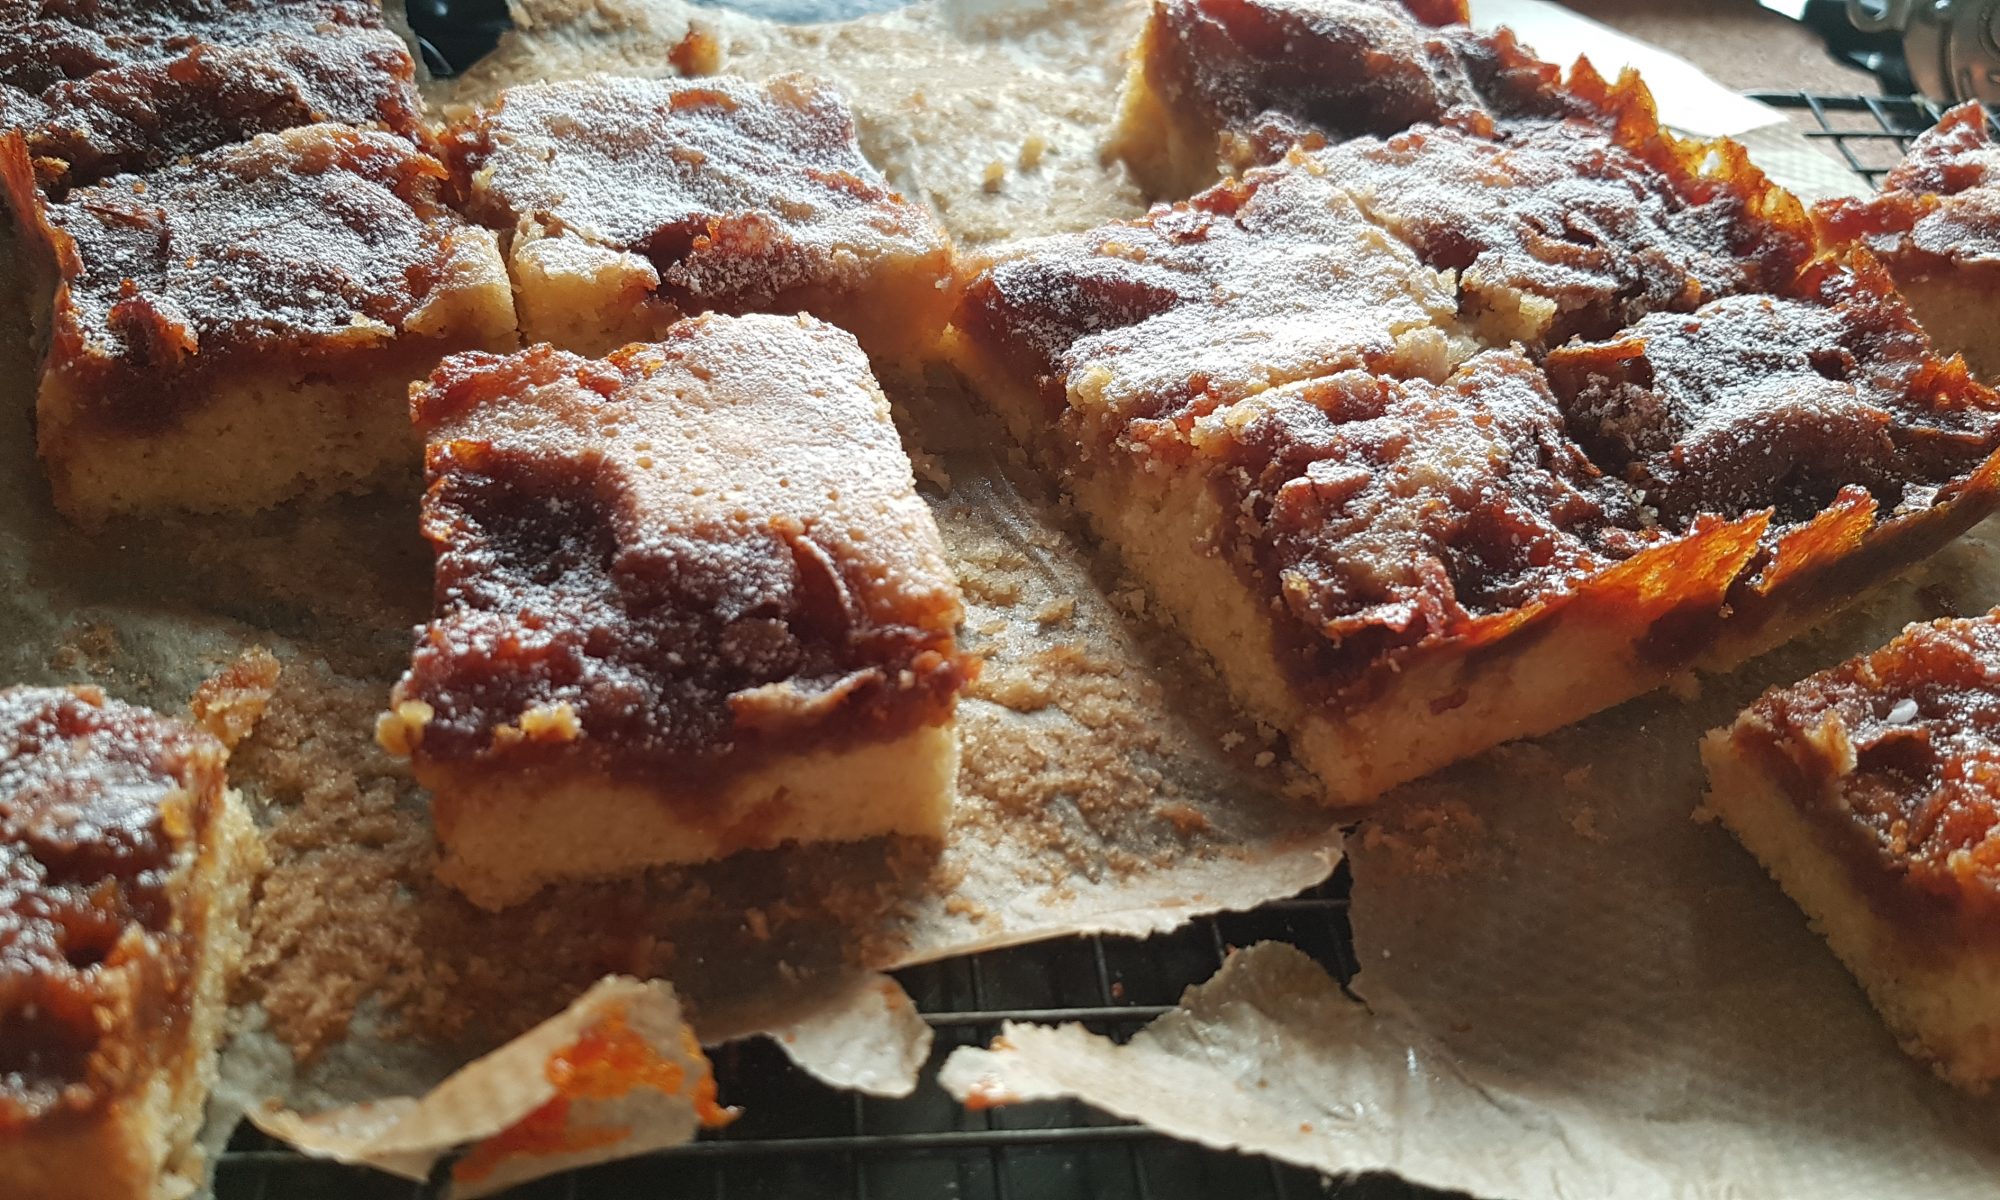
 After our foray into making cinder toffee, I decided to find something to do with the leftover honeycomb. I decided that it would work nicely in some blondies. Ophelia had a lot of fun mixing and putting the toffee into the mixture. I was impressed at how restrained she was as none of the toffee ended up in her mouth! These are really easy to make with little chefs as they contain melted butter which makes it really easy to mix entirely by hand. We did have rather a lot of flour on the surface during the process, but the result was a truly scrummy baked good. It was so tasty that Seb was heartbroken when daddy ate the last couple of pieces without saving him any. Simon was forbidden from taking the second batch into work after that reaction. This means I have to exercise some super human restraint and ignore them while he is at work. So if I do happen to be in your vicinity with baked goods, please do save me from myself and remove the baked goods from my possession – my waistline will thank you!
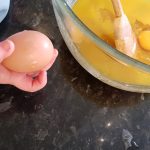
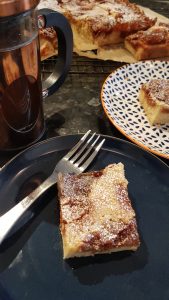
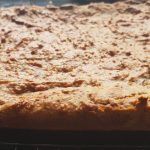
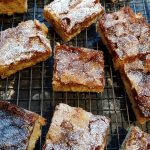 These blondies will not win any prizes in a beauty contest, but the honeycomb caramelised beautifully and rises to the top giving a sort of irregular patchwork effect. They have become a new family favourite particularly with Simon and Seb.
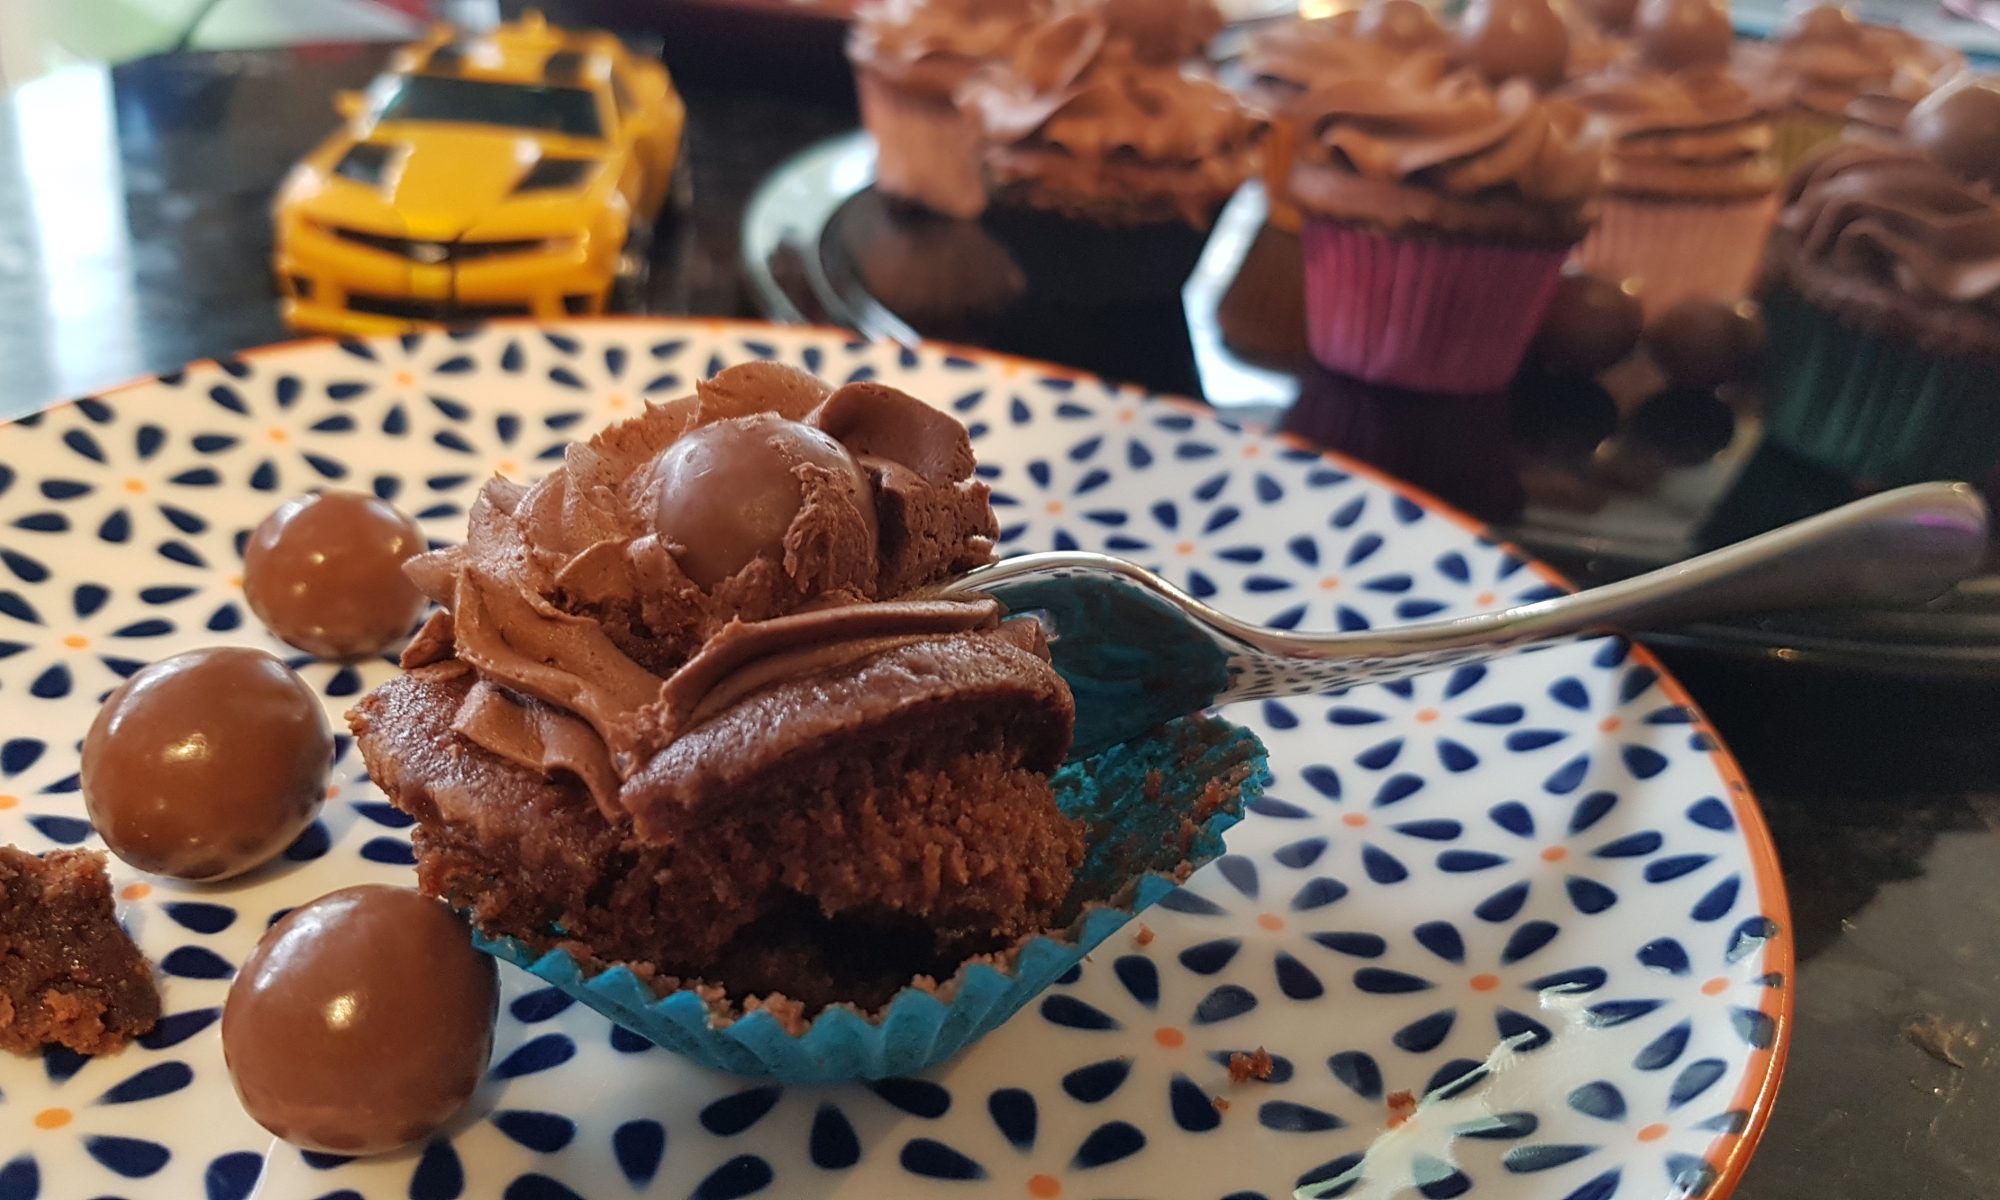
 Maltesers are dangerously addictive. I find it near impossible to open a sharing bag and not guzzle the lot at top speed – sharing chocolate is a real struggle for me! So imagine my surprise when I bought a couple of sharing bags of Maltesers to use in mini cupcakes with the kids and then didn’t get round to making them for a couple of weeks and they sat there huddled together in the pantry with their packets completely intact! Practically a miracle.
 Ophelia, it turns out needs further practice with the piping bag. This is not surprising as she is only two. It was rather funny to see her reaction when she had a go; the icing missed the cake and also came out of the top. However, she was in her element putting a single Malteser on top of each decorated cake.
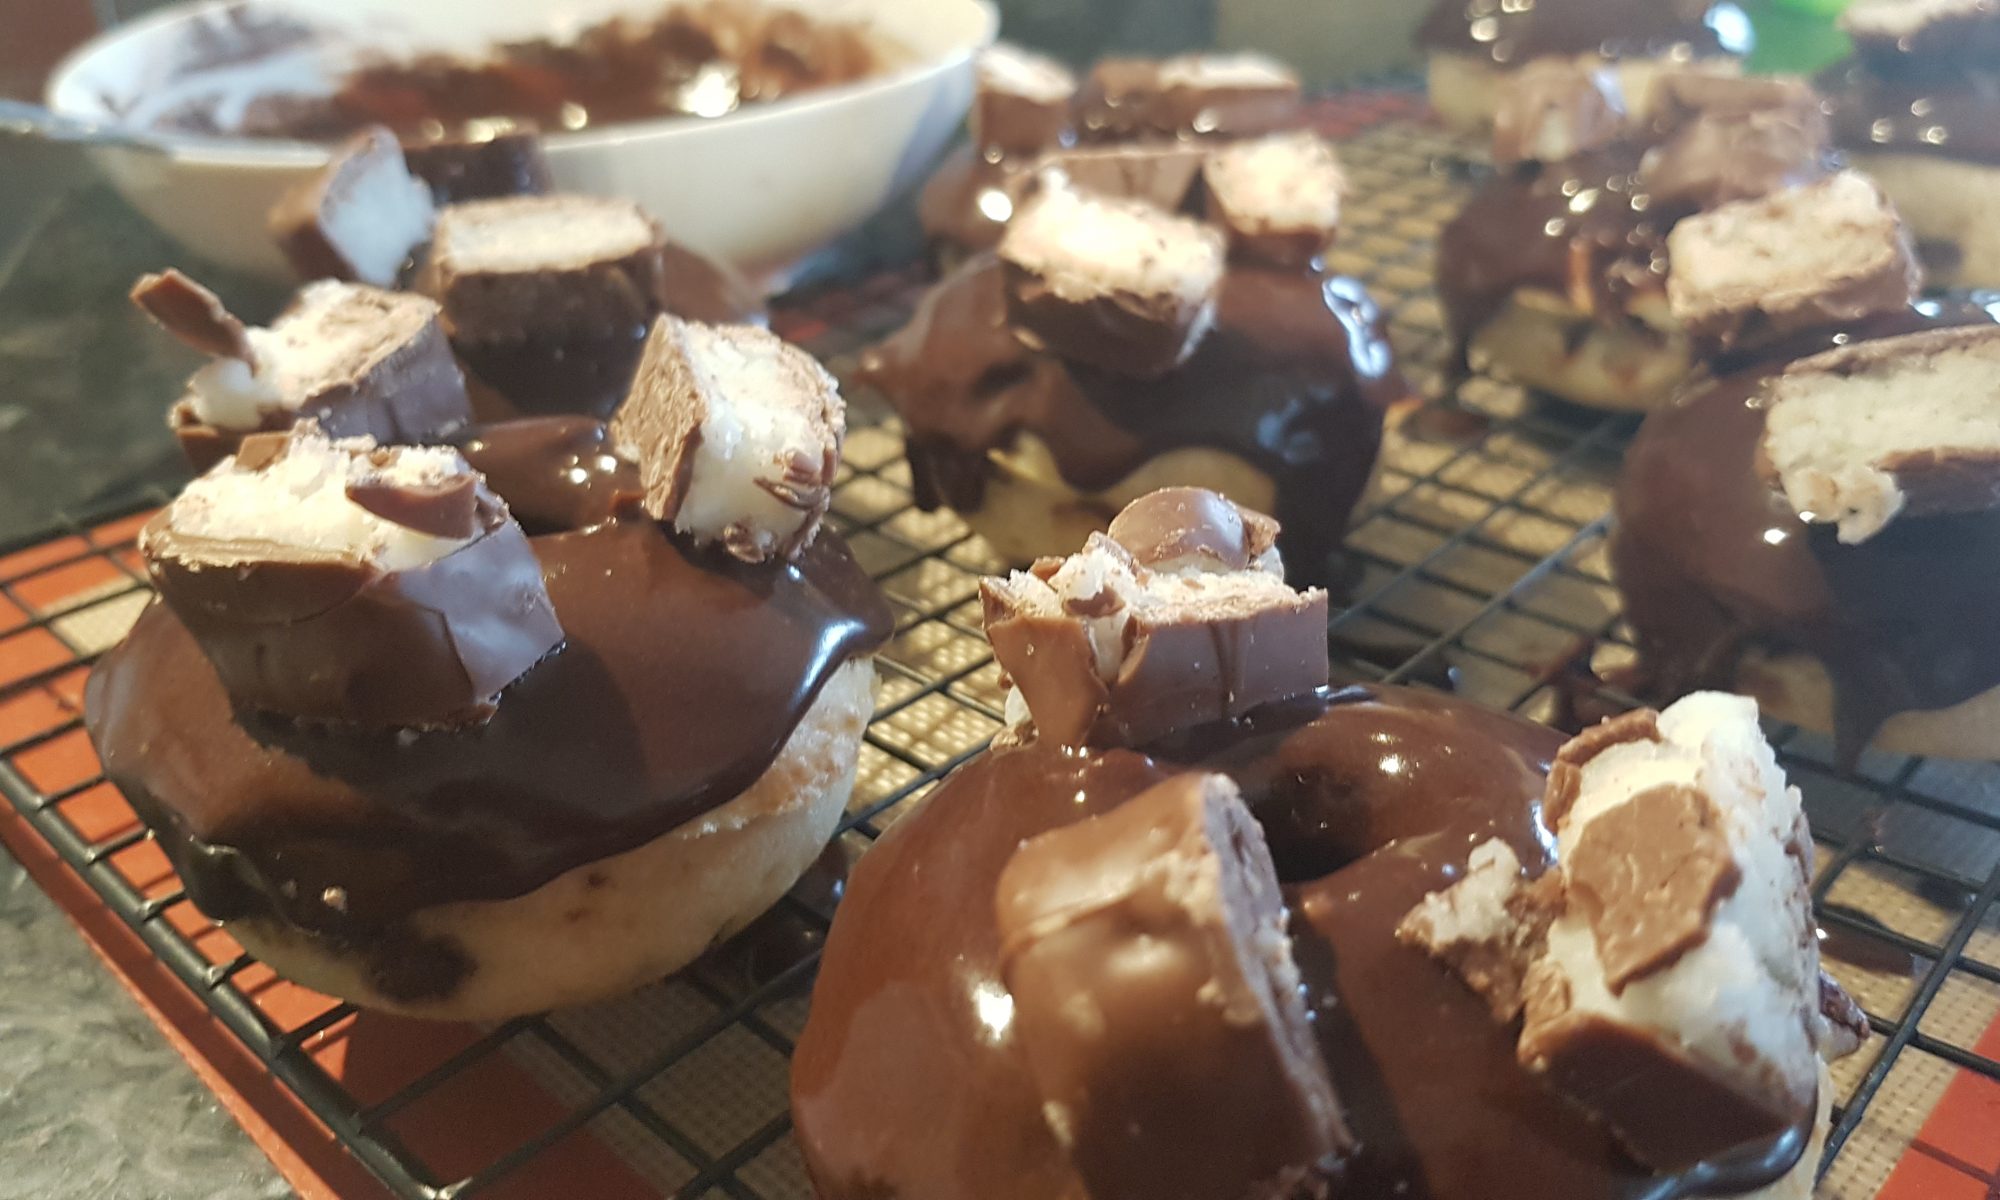
 I am certainly making up for that now. I can’t seem to shake the need to buy Bounty bars or to make copious bakes with the chocolate and coconut combination. I do have to try an find a more inventive place to hide my secret stash of chocolate though as my husband has discovered it and I need to ensure its safety!
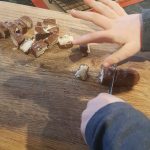 doughnuts to showcase the chocolate-coconut combination and decorate with pieces of Bounty bars. The whole process was really fun, but for the kids the best bit was dunking the doughnuts and then counting out the three slices of Bounty to decorate them. I would be lying if I said these survived 24 hours in our house. I won’t tell you how long they lasted, but I can guarantee I didn’t eat the majority of them. I am surprised by this (I have a very big sweet tooth), although you may not be.
 This glaze needs to be quite thick for the Bounty slices to stay on well. You may need to add extra icing sugar.
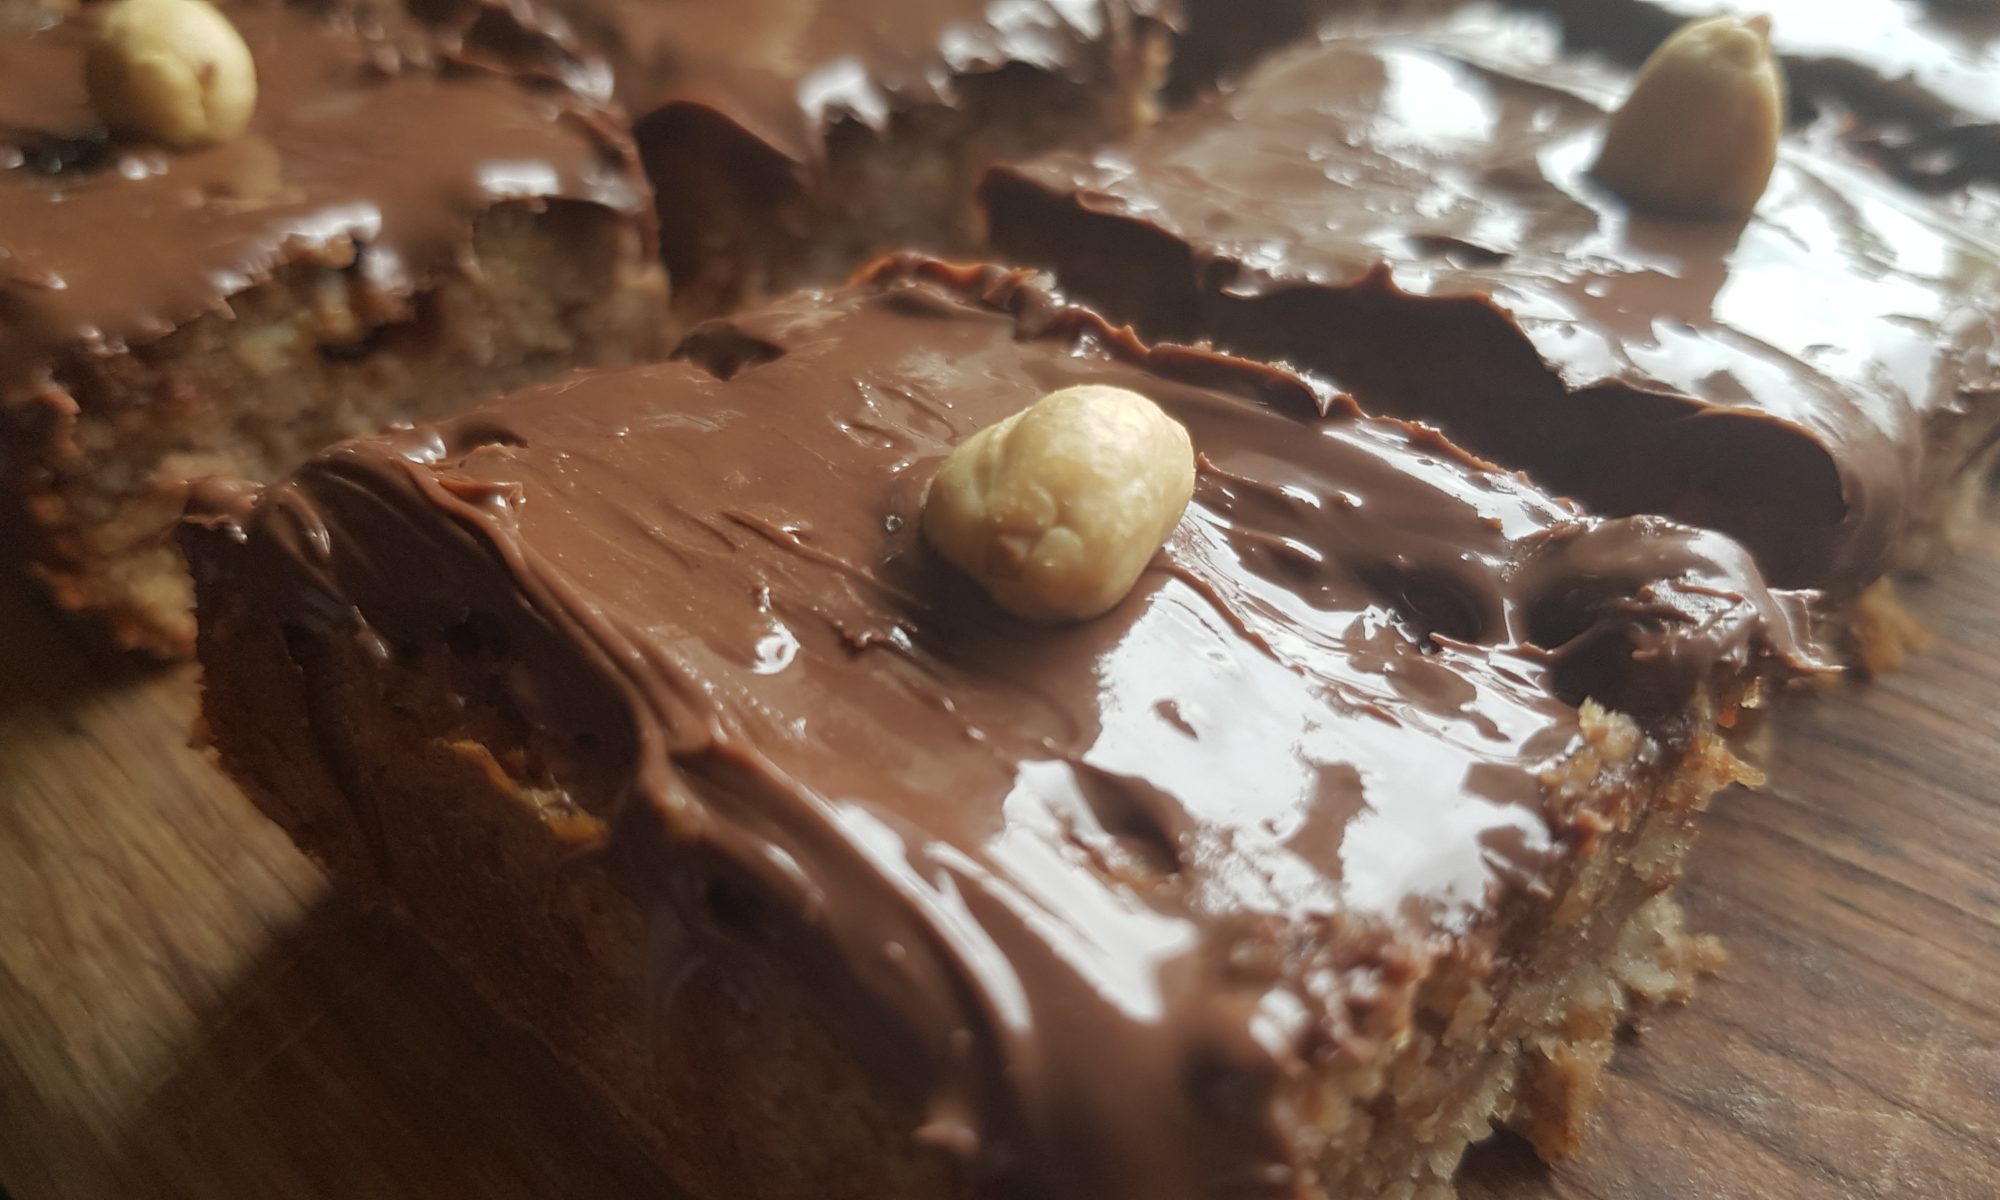

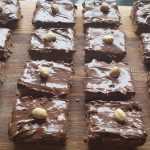 Everything is better with Nutella right?! It did make them a lot messier too so they never ended up being eaten on the way home from school, only at the table to try and contain the inevitable mess! We did get 16 evenish looking pieces all decorated the same – we added an peanut on each of the slices to try and make them look elegant.
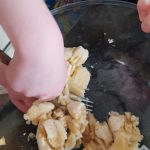 Preheat the oven to 160°c fan and grease and line a brownie tin.
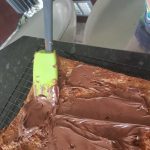 onto a cooling rack.
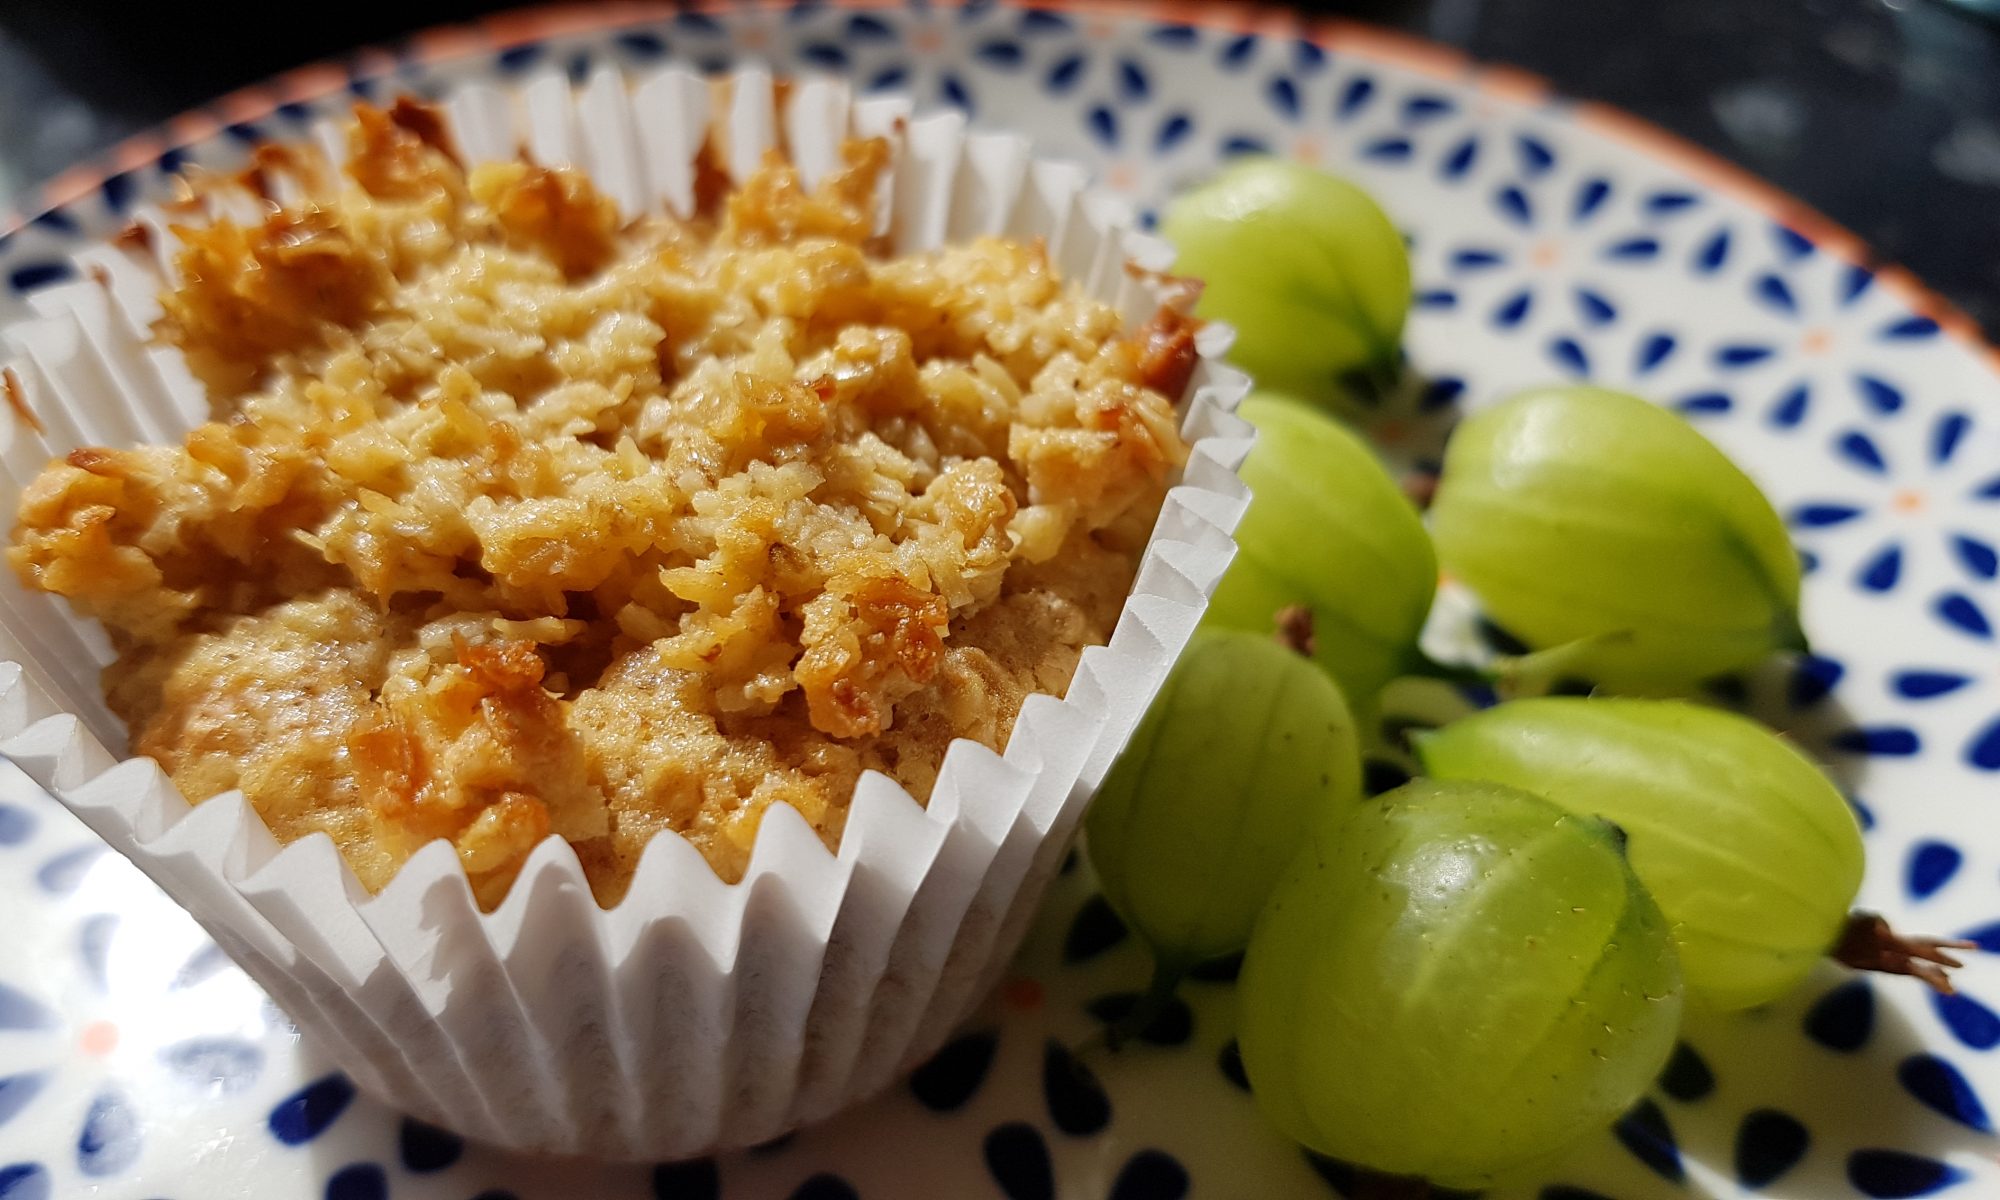
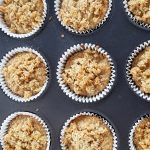 As I was looking at it, I found that my mind was thinking about how I could alter the recipe to turn them into muffins. In this house, individual cakes tend to be more popular than large cakes that need to be sliced. After adding in oats and swapping self raising flour for wholemeal self raising flour and choosing light brown soft sugar, I decided that Seb and I were ready to make these muffins.
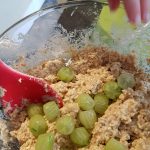 Crack in the two eggs and beat them in.
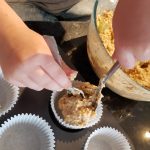 between 12 muffin cases.
 I have had a packet of pistachios in the pantry for about 3 months. Every time Simon tried to go near them for a snack, I would angrily fend him off them citing that I intended to put them in an imminent cake. At each request to eat them the cake changed as I could never quite choose what to make with them. I am not sure if he noticed this or not, but I am guessing that he did and he chose to keep his silence. The cake excuse seemed to work to my advantage in this instance, this is not always the case!
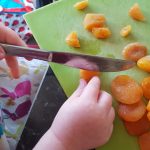 into with my daughter. Not that I am complaining, I am absolutely delighted that she loves fruit. I do, however, sort of begrudge having to share every single cherry with her: half for mummy, half for Phe. With this love of fruit in mind, I decided to combine the pistachio with dried apricot in a traybake.
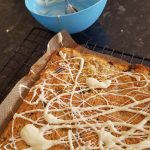 entertaining her. We had sugar and coconut all over not only the surface, but her too her. Oh and there was also her half-eaten apple which she refused to relinquish. She was so enthusiastic with every step of this recipe. She did, however, need help finishing off some of the steps and doing the more challenging bits.The 5 and 4 year old would have managed it with minimal help.
 Cream the butter and golden caster sugar together until light and fluffy (you can use an electric hand mixer for this, but we used wooden spoons).
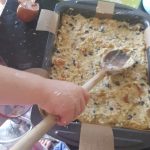 then gently flatten with the back of a wooden spoon or a spatula.
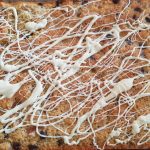
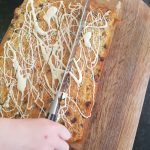 Once fully cooled, melt the white chocolate (we did this in the microwave for 10 seconds at a time, mixing after each 10 seconds). Drizzle over the cooled cake and allow to set before cutting into 16 squares.
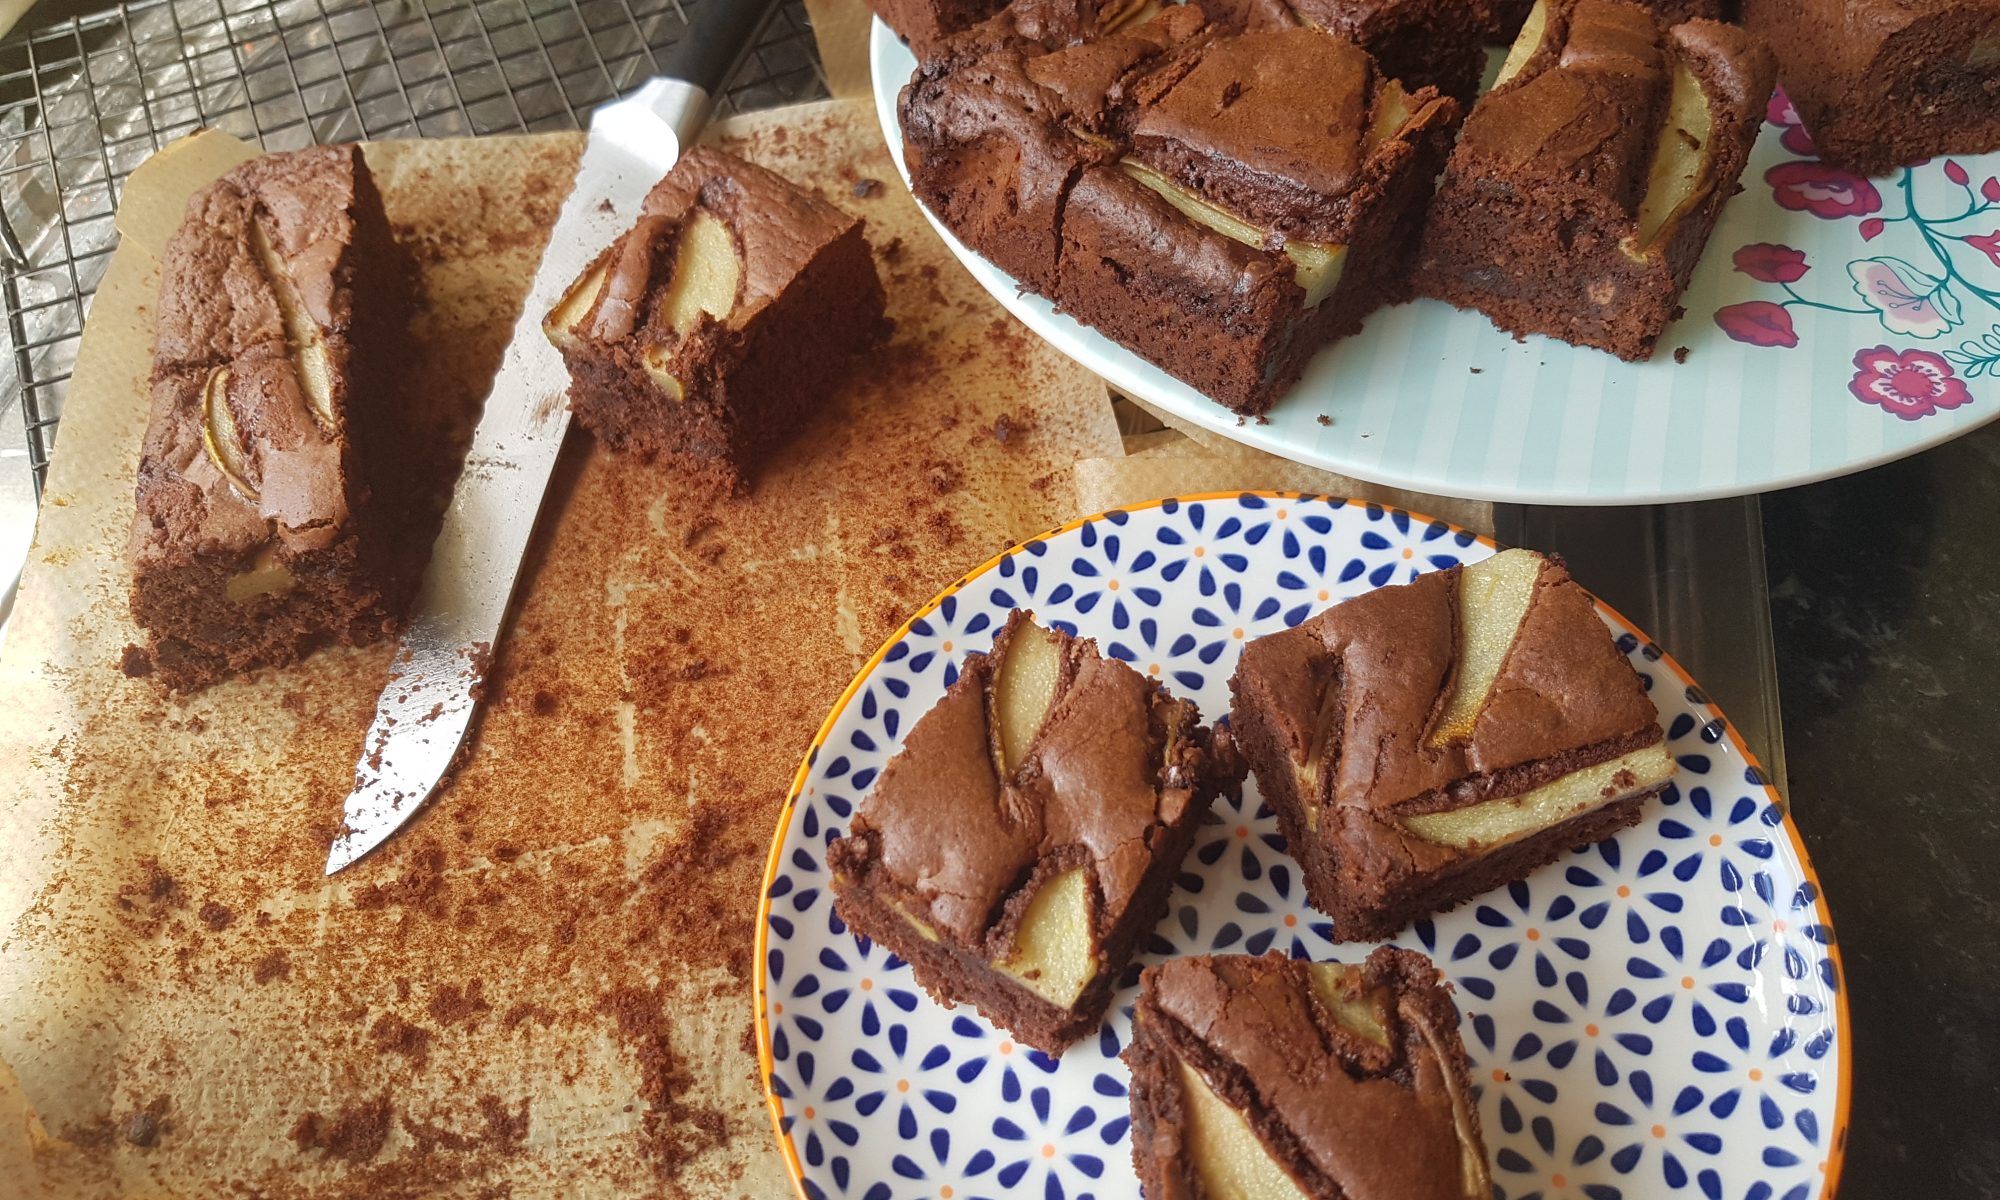
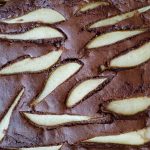 This morning it took me all of around 2 minutes to decide what we would make. We bought some chocolate spread while on holiday for easy sandwiches for the kids (yes unhealthy, but I am ignoring the guilt that is threatening to emerge as it was a camping treat along with chocolate cereal…) and it was only half used. I decided we would make brownies to finish the chocolate spread and top it up with the Nutella from the pantry as we didn’t quite have enough leftover. In all honestly, the pears were added as a small nod to healthy eating and a balanced diet, as who doesn’t love chocolate with pear?!
 Preheat the oven to 160°c fan and grease and line a brownie tin.
 bowl and add the butter. Whisk with an hand mixer until all smooth.
 Remove the pear’s core (I did this bit for the children) and slice into long thin pieces.
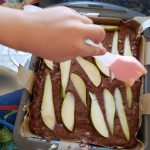 and place in the over for 40-45 minutes. A skewer should come out coated with some batter for a slightly squishy brownie. Cook for longer if you want a firmer brownie.
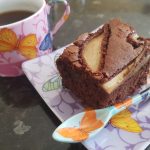 These brownies have a slightly cake-like texture, but are 100% yummy. We cut them into 16 squares. The children enjoyed theirs as pudding after lunch, I preferred mine with my mid-morning coffee as I had to check that they were edible before distributing them to the children! Well that’s my excuse anyway…
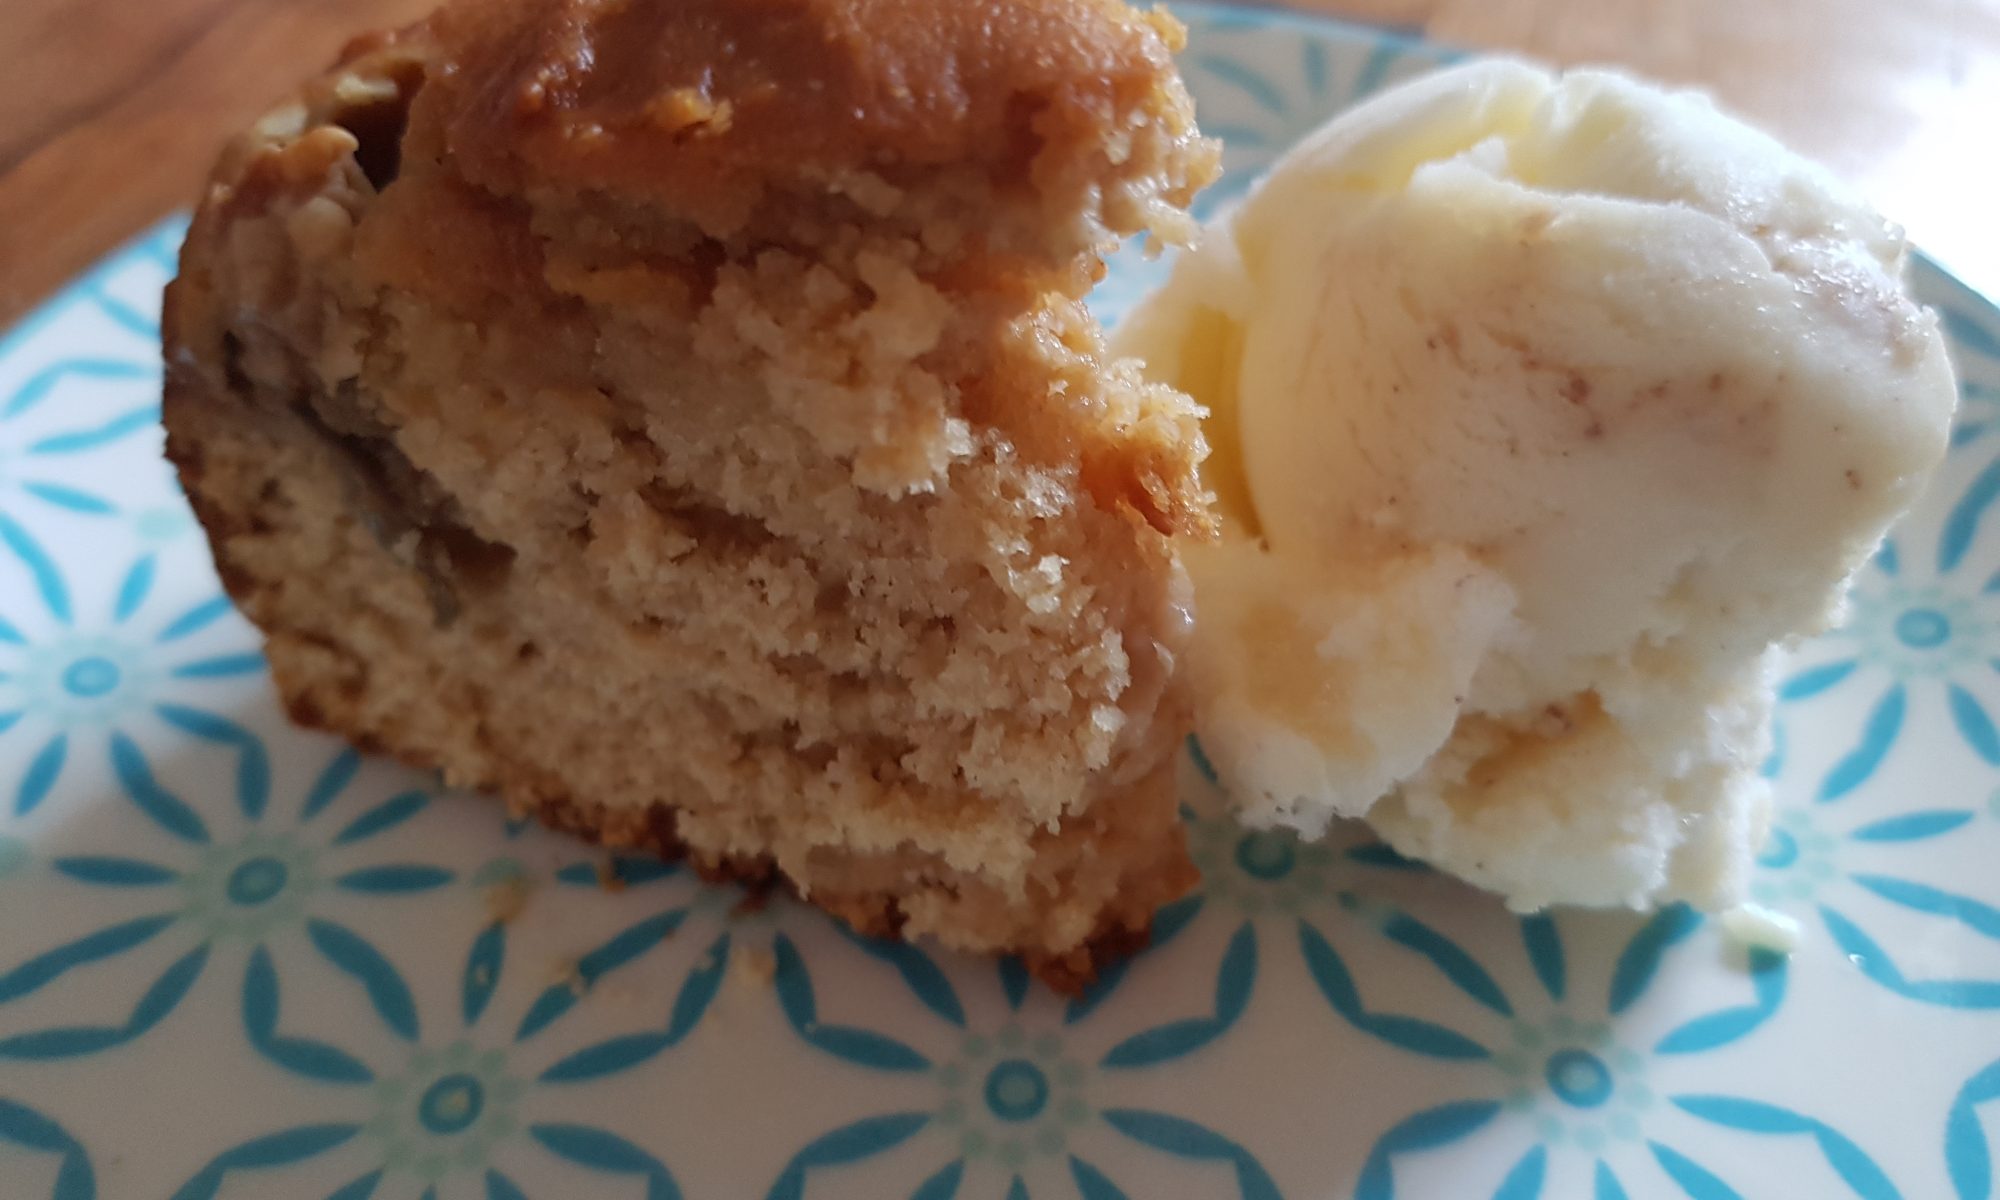
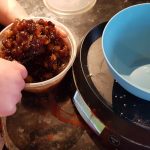
 Something came and turned my frustration at the week around. Well I doubt you will guess, so let me tell you. I found some more reduced rhubarb in the supermarket! Yes, it is earth shatteringly exciting news and is such a non-event that I should gloss over it and claim the idea came to me some other amazing way, but alas no. Three sticks of humble rhubarb managed to turn my week around as they gave me a reason to do some more experimenting in the kitchen with Atticus and Ophelia. We also have a jar of dulce de leche which has been peering at me from its position in the pantry (next to the honey and the Nutella if you are curious as to where we keep it) and longing to be loved and used in a recipe. These two ingredients sounded like a good match with the sweetness from the dulce de leche contrasting nicely with the sharpness of the rhubarb so I set about developing a recipe to combine the two.
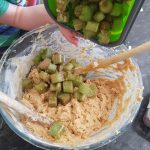 surprise there) so maybe combining the two might lead to success? My hope was that Atticus would enjoy the rhubarb in this recipe and then it would be the beginning of a long and happy lifetime enjoying rhubarb-based puddings. And before you ask, yes I do think about food, how to encourage my children to eat and try new foods and what I can make next most with them. But, while the kids and I are both enjoying ourselves, I believe it is a pattern that will continue for the foreseeable future.
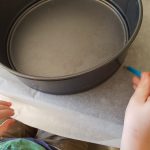 Preheat the oven to 160°c fan and grease and line a 23cm circular cake tin. Atticus had fun trying to draw around the tin although it did need tidying up!
 and vanilla extract together and then add to the egg mixture and mix until fully combined.
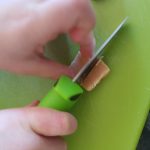 Gently mix in the flour.
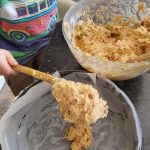 coated rhubarb and fold them both in.
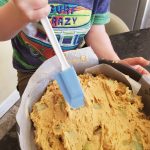 Then place in the oven for 40-50 minutes until a cake skewer comes out clean. Check the cake after the first 20 minutes as it may need to be covered to
 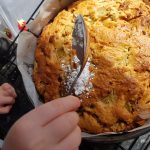 prevent burning.