Carrot Cake Flapjacks

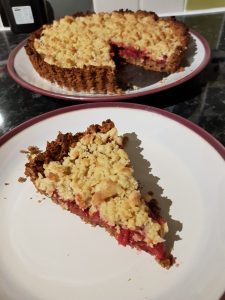
Following the success of my Sticky Toffee Pudding Biscuits, I decided that the kids and I would attempt to reimagine another classic pudding. This time, the pudding in the spotlight is the carrot cake.

All the kids love carrots in pretty much any form. I ate a 
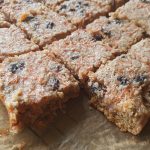
lot of raw carrots during my pregnancy with Seb, and as a result a raw carrot is a go-to snack for the kids when we are out and about. It also takes a lot longer to eat a large carrot than a biscuit, it is healthier and less sticky and messy for small paws during a buggy ride or walk. It is a win-win in my book. Although I do look a bit strange carrying around whole carrots in my handbag and distributing them to the kids to delighted shrieks and it must look especially strange when I also decide to partake of the healthy snack! It also leads me to start listing my favourite fictional bunnies in my head (if you are interested the list includes Tweak Bunny, Peter Rabbit and Thumper).

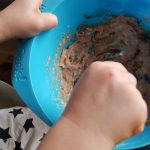
These were easy to make. If you have very young children (between 18 and 36 months) I would suggest you do the bit over the stove for them. My children, in particular Atticus, have always been really fascinated by the stove and any cooking either Simon or I do on it, so I have become accustomed to allowing them to sit on a stool and gently mix the pans while the dinner cooks. It is for that reason I tend to allow my children to help at the stove.

Ingredients

For the flapjack base

  • 150g butter or margarine
  • 50g brown sugar
  • 140g golden syrup
  • 250g oats
  • 40g sesame seeds

For the carrot cake topping

  • 225g lighter condensed milk
  • 1 large egg
  • 2tbsp orange juice
  • 1tbsp plain flour
  • 100g grated carrot (I let the kids help me with this)
  • 25g ground walnuts (we put these into the food processor)
  • 40g raisins
  • 20g desiccated coconut
  • 1/4-1/2tsp cinnamon (amount dependent on how cinnamony you like things)

Orange drizzle (optional)

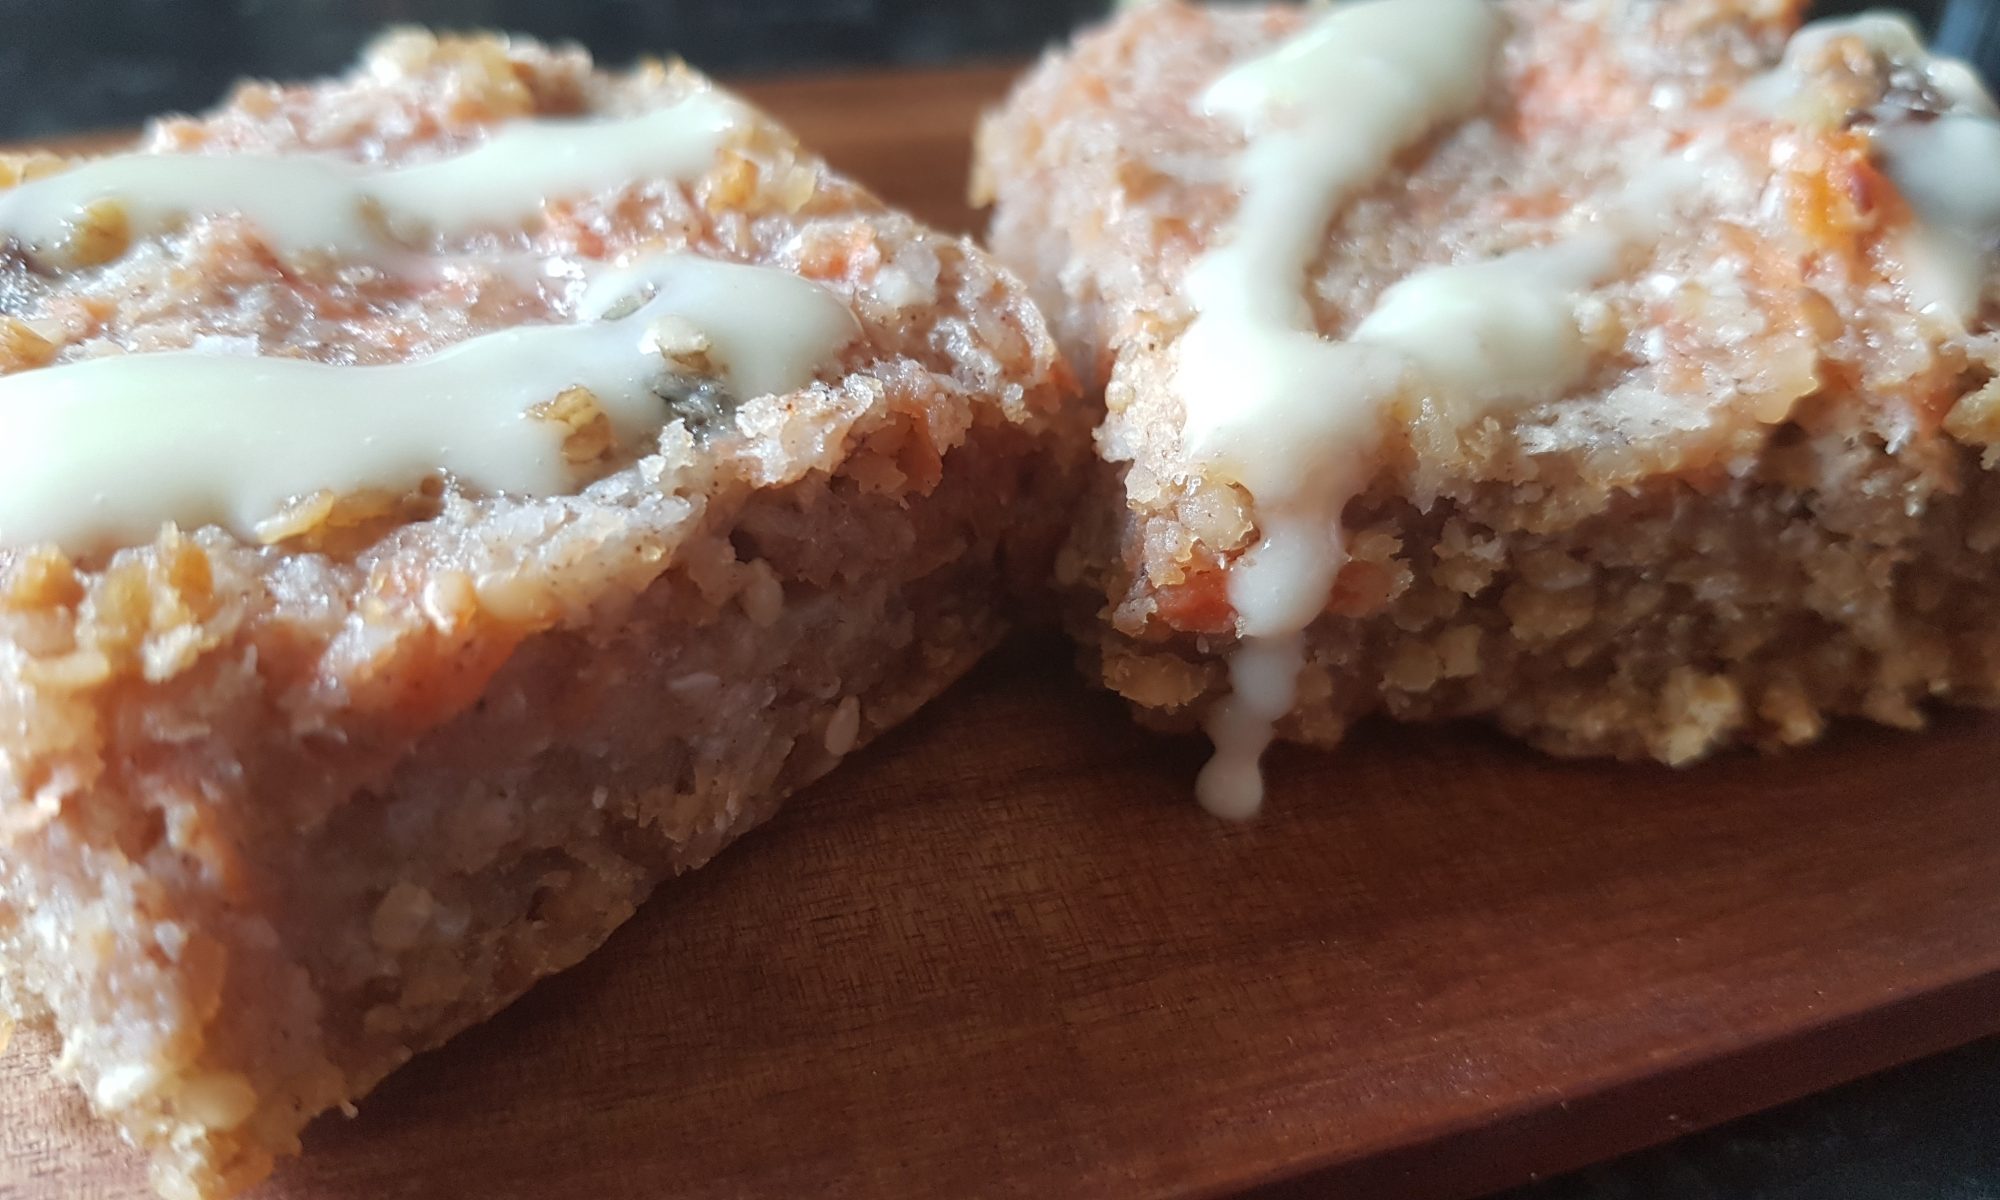
  • For me this was an afterthought. They are yummy without any icing, but they do look a bit plain so if you would like to drizzle some on top mix 25g icing sugar and a couple tbsp of orange juice. If you want it thicker add more icing sugar and more orange juice if you want a thinner icing. I like to use quite thick icing so it can be seen.

Although I have not tried it, I believe this recipe could be easily adapted to make it gluten free by substituting the oats and flour for the gluten free equivalent.

Method

  1. Preheat the oven to 160ºc and grease and line a 20cm square cake tin.
  2. Put the butter, brown sugar and golden syrup into a saucepan and melt to combine on the stove. When it has fully melted, add the oats and sesame seeds and mix well.
  3. Place the flapjack mixture into the tin and place in the oven for 10 minutes.
  4. While the flapjack is cooking make the carrot cake topping. Put the condensed milk, orange juice, plain flour and egg into a bowl and mix well. Add the grated carrot, raisins, ground walnuts, desiccated coconut and cinnamon and mix again.
  5. Once the flapjack has cooked for 10 minutes remove from the oven and pour the carrot cake topping over it. Return to the oven and cook for 25-30 minutes or until the topping is set.
  6. Remove from the oven and let cool in the tin for 10 minutes. Remove from the tin and add the orange drizzle if you want it. Cut into squares.

I hope you enjoy the recipe. I could eat a whole tray if given half the chance, but luckily with the kids around I don’t get that chance!

Cinnamon Brownie Scotch Eggs

I love chocolate, I love eating it and cooking with it. I even have a hand cream that makes my hands smell of chocolate that sometimes tricks me into believing I have had my chocolate fix for the morning without actually consuming any – this is a bonus as it means that I can eat more chocolate later! So chocolate is always good, but when combined with any sort of cake it becomes better and I seem unable to put my finger on why this is. It is the reason I tend toward homemade edible gifts at Christmas and Easter. This year I have made ‘Easter Scotch Eggs’ for family and friends. I made these for the first time last year and they went down so well that they had to have an encore. I mean the Creme Eggs were practically begging from the pantry to be snuggled in a chocolate-rich mixture to keep them warm in the unseasonably cold weather we have been experiencing recently.

Essentially what they are is a mini Creme Egg or equivalents encased in brownie mixed with buttercream and covered in crushed ginger biscuit or desiccated coconut (or sprinkles if you like). You don’t even have to bake: if you really want to cheat you could buy shop-bought brownie and buttercream. Part of the attraction of these for me though is making the brownie and buttercream. Children could put them together. That said, my oldest is only 5 and I doubt he would be able to resist licking his fingers during the process and as these were destined to be gifts, the kids made Easter cards and received a running commentary of the process. Needless to say, the boys are both desperate to help make some so they are already on our list for next year, but in a smaller batch so they can help.

To make this recipe you will need:

For the brownie

  • 300g butter or margarine
  • 300g dark chocolate
  • 450g caster sugar
  • 5 eggs
  • 200g plain flour
  • 1tbsp vanilla extract
  • 1 or 2tsp of ground cinnamon – you could omit this or use another flavouring if you like.

For the buttercream: the below amounts are guidelines as I never measure exactly, it just goes in the mixer. However, the buttercream does need to be quite rigid to hold the crushed brownie together around the Creme Egg.

  •  175g butter or margarine
  • 350-400g icing sugar
  • 2tbsp Cocoa Powder
  • 2tsp cinnamon

For the coating

  • Crushed ginger biscuits, desiccated coconut, sprinkles or even plain cocoa powder

Method

  1. Preheat the oven to 180ºc fan and line a baking tin (I used 28cm x20cm) with greaseproof paper.
  2. Melt the butter and chocolate together in a saucepan over a low heat.
  3. Beat the eggs, sugar and vanilla extract together until they become thick and creamy.
  4. Once the chocolate mixture is fully melted, remove it from the heat and beat it into the egg mixture.
  5. Sift the flour, cinnamon and the salt together, add it to the chocolate, egg mixture and beat until smooth.
  6. Pour it into the tin and bake for 20-25 minutes. The top should have formed a crust and the brownie shouldn’t wobble when it is ready.
  7. Leave to cool completely while preparing the buttercream.
  8. Cream the butter/margarine with the icing sugar, cocoa and cinnamon until smooth.
  9. Crumble the cooled brownie and add it to the buttercream bowl and gently mix it together (I did this by hand). Place the crushed biscuit (or alternative) on a small plate.
  10. Unwrap the Creme Eggs and cover them in the brownie-buttercream mixture and roll into a ball. Then roll them in your covering of choice.
  11. Repeat until all the brownie-buttercream mixture is gone – for me it covered 2 large Creme Eggs and 18 mini ones.

For these I do recommend using mini Creme Eggs or Caramel Eggs because the large ones do make a very big scotch egg, especially if you want to cover them in a thick layer of brownie like I do. However, the larges one look good when sliced in half as it is easier to expose the fondant yolk and if you don’t intend to have any other calories that day, why not?!

Chocolate Cherry Flapjack Crumble Pie

Last week it was pie day (3.14 – well it was in America) and as Simon is a geek and I love baking, it is a day that I definitely enjoy.  This year, to celebrate the day I created a pie which combines one of Simon’s favourite deserts, the crumble, with my beloved flapjacks. I personally love a good flapjack: when eating a flapjack I can almost fool myself that I am eating a healthy snack which means the guilt I feel if (I should say when…) I manage to devour nearly a whole batch of them by myself nearly dissipates.  Nearly, I said nearly – please don’t judge me too harshly, there is still a thought in the back of my mind that I shouldn’t do it, but I can dismiss it with promises to myself that the next batch will be destined for sharing.  The term is ‘altruistic baking’ and I am a firm believer in spreading the calories around to prevent myself from scoffing the lot!

So back to the pie.  It had a chocolate coconut flapjack base, contained stewed cherries (harvested from cherry trees in our neighbourhood last summer) and a coconut crumble topping (before you ask, yes I do like coconut).  The more I think about it though, using a brownie as the filling would have made a truly decadent dessert.  Don’t get me wrong, the cherries were delightful, and did ensure that the pie sort of contained 1 of your 5 a day, but pudding is always better with chocolate! To finish it was covered in a coconut crumble topping.  We ate this pie both warm and cold and it went very well with a serving of ice cream.  The mere memory of the pie is starting to make me hungry…

To make this pie you will need the following ingredients:

Flapjack base

  • 150g butter or margarine
  • 5tbsp golden syrup
  • 3tbsp brown sugar
  • 2tbsp cocoa
  • 2tbsp desiccated coconut
  • 240g oats

For the filling

  • Stewed fruit – you could use cherries or raspberries as they go well with the chocolate flapjack.  I think the total volume of stewed fruit I used was around 150 grams.

Crumble topping

  • 120g plain flour
  • 60g butter/margarine
  • 60g caster or demerara sugar
  • 4tbsp of desiccated coconut

Method

  1. Preheat your oven to 180ºc fan and grease a pie dish.  I used a 23cm loose base fluted non stick pan (gosh what a mouthful).  I greased it using frylight, but butter or margarine would work too and then a small amount of flour.
  2. Melt the butter, golden syrup, sugar and cocoa powder over a low heat until dissolved.  Then add the oats and the coconut and mix until fully combined.
  3. This should be way more than enough flapjack to spread into your pie dish and all up the sides.  Gently flatten it being careful not to leave any holes.
  4. Bake for 20 minutes at 180ºc.  Keep an eye on it to make sure it doesn’t burn as being a dark flapjack, it is easy to miss.
  5. Stew your fruit in 1/4 to 1/2 a cup of water and add sugar to taste.  Make sure it isn’t too runny.
  6. Make the crumble topping by rubbing together the butter, sugar, flour and coconut until you have a breadcrumb texture.
  7. Remove the flapjack from the oven and place an even layer of the stewed fruit over the flapjack base and then cover with the crumble topping.
  8. Return to the oven for 20-25 minutes until the crumble topping is golden.
  9. Enjoy hot or cold or even with ice cream!

Continue reading “Chocolate Cherry Flapjack Crumble Pie”