Almond Shortbread

Bringing the shortbread together. “I do it alone mummy”

Apologies for my lack of posts in the last week. I am undergoing a period of adjustment and for a creature of habit, it is hard to accept change. I find myself I torn between delight and the feeling that it is the beginning of the end. The reason for my current inability to decipher my own emotions is because my youngest, my baby, has started nursery. While it is true that for the time being she will only be going one morning a week, it seems to herald the true beginning of the end of my period as a full-time stay-at-home-mum. I am not quite yet rushing back into work, but I need to get my thinking cap on vis-à-vis paid employment and what I plan to do with my time. I wish that I possessed the ability to be truly decisive, but I am not ready for this new independent stage which I can no longer deny is occurring in my not so little littilest. So instead of researching what my next step should be, I thought I would tell you about the almond shortbread that Ophelia and I made together as the memory of making this with her makes me smile.

Gently press the almond in.

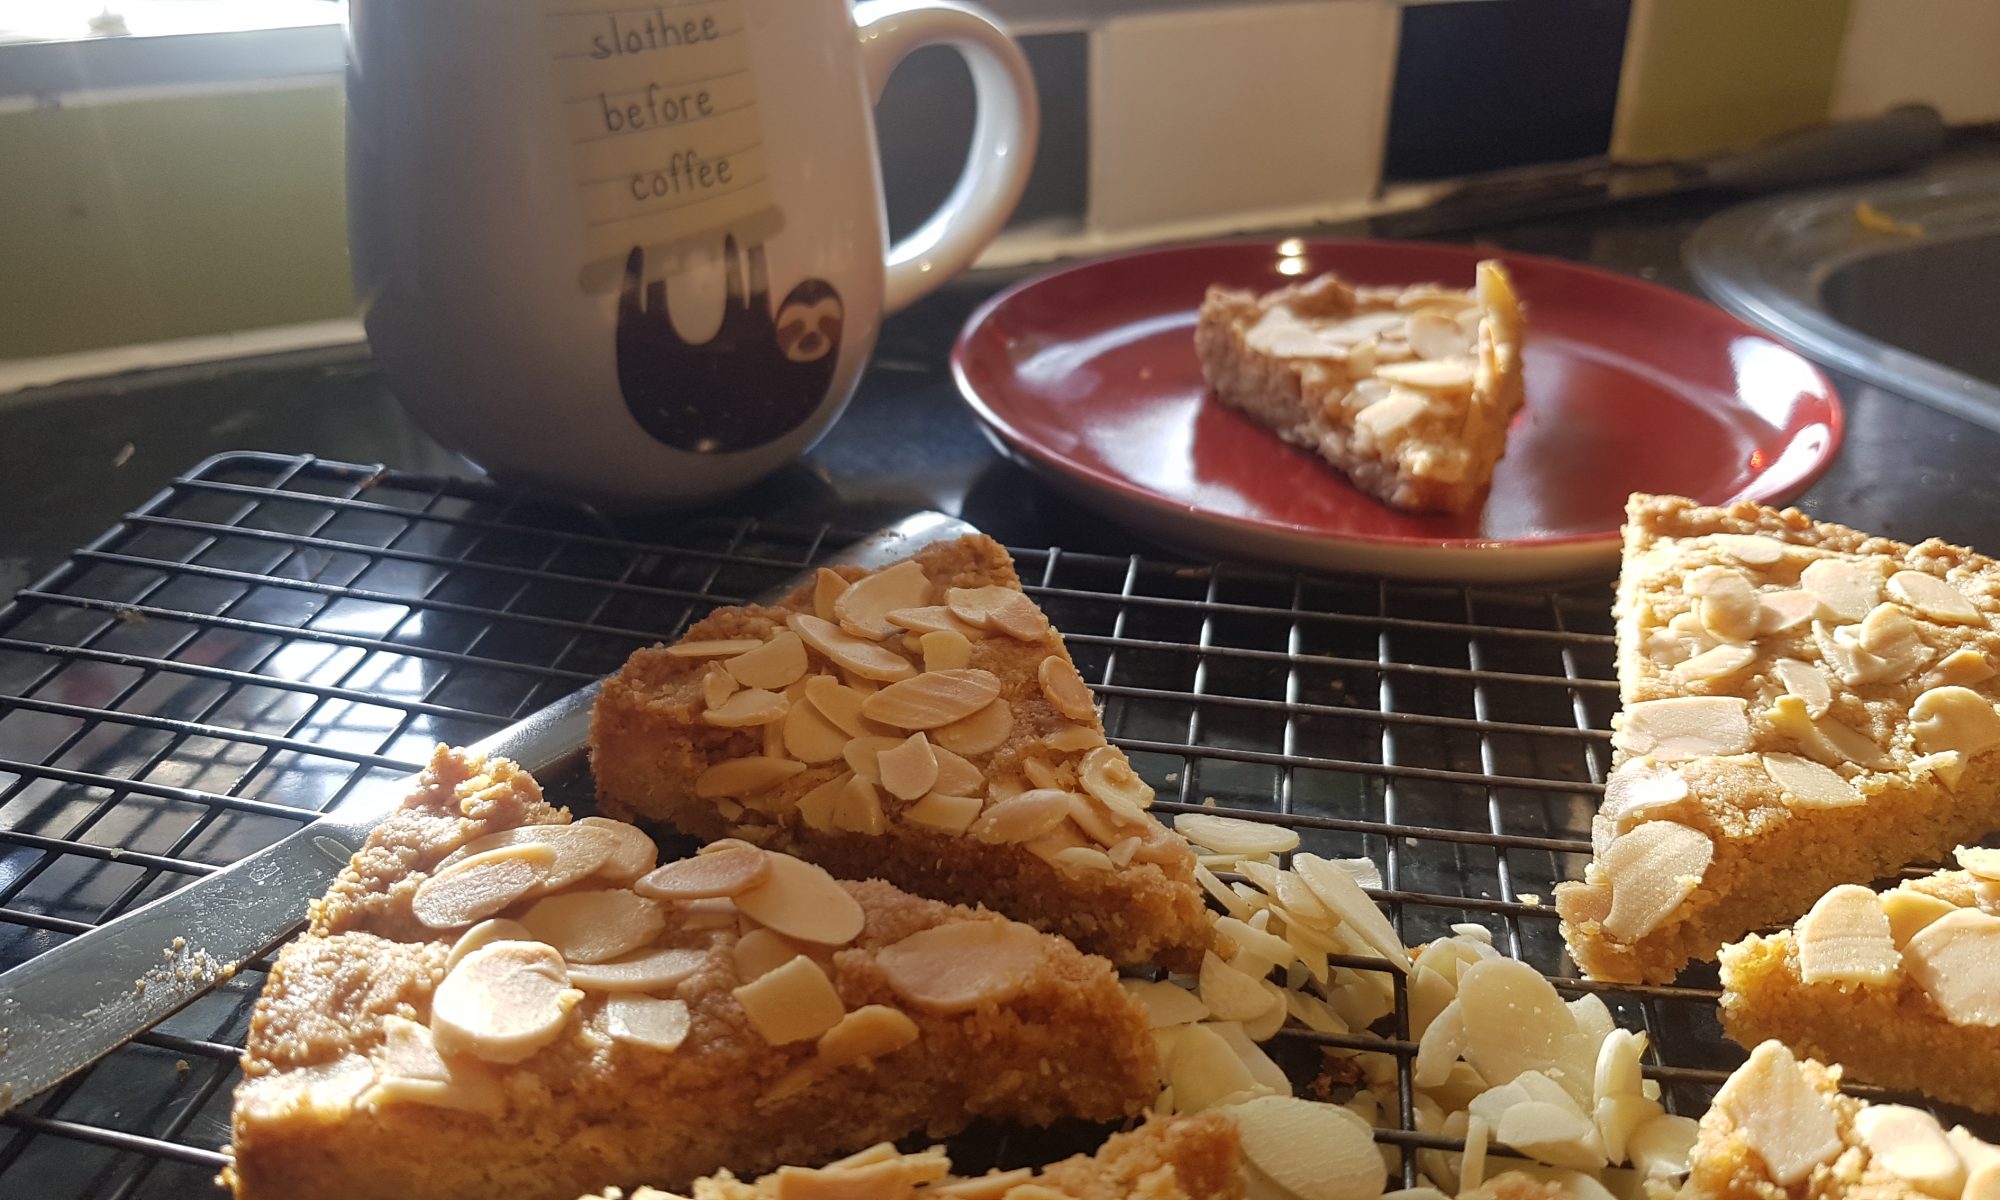
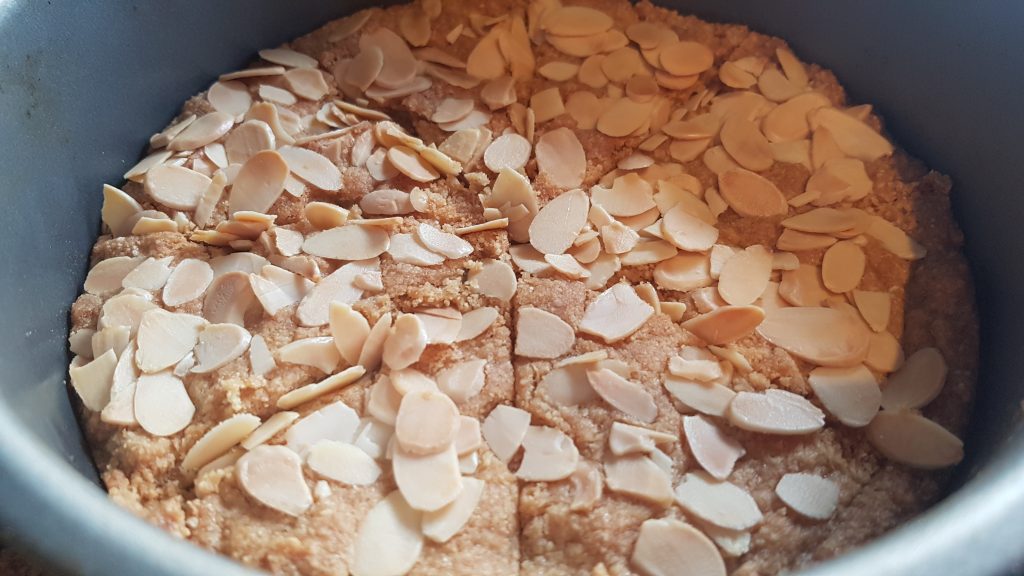
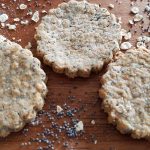
I don’t know about you, but I really love the depth of flavour and the texture that ground almonds bring to baking. We made this shortbread in a circular tin and adorned it with flaked almonds. It was a yummy, nutty shortbread which the kids absolutely loved. Yes, it is more crumbly that traditional shortbread, but I think the almonds make it special and truly yummy.

The aroma of this shortbread filled the kitchen for quite a while. It was such a temptation to eat it warm, but do let it cool fully in the tin as it has a very crumbly texture.

Ingredients

  • 125g butter or margarine (we used Flora Buttery) plus extra for greasing
  • 60g soft light brown sugar
  • 100g plain flour
  • 80g ground almonds
  • 25g flaked almonds to decorate

Method

  1. Preheat the oven to 170°c fan.
  2. Paint the baking tin (we used a 20cm circular one, you could use a square one or even a loaf tin).
  3. Mix the sugar and the flour.
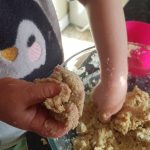
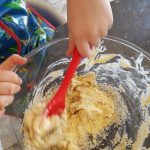
  4. Add the butter and rub in with your fingertips
  5. Next add the ground almonds and bring together with your hands. The texture will be a bit grainy due to the ground almonds.
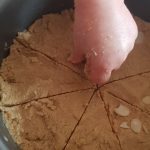
  6. Place in a tin and pat it down until flat and score out your pieces.
  7. Gently press the flaked almonds on the top of the shortbread.
  8. Bake for 25-30 minutes until firm to the touch and golden brown.
  9. Gently complete the slices while warm and leave to cool fully in the tin before removing it.
Ready to enjoy!

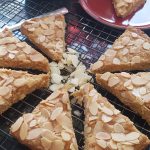
This shortbread was the perfect accompaniment to a calm afternoon cup of coffee. The kids also enjoyed munching on this on our walk home from school. I was rather sad when it was no more, but as it is really very simple to make it really isn’t a problem or a hardship to make another batch! I hope you enjoy this recipe and do let me know if you make it.

Squirrel Poo Biscuits

The winning jump at long jump.

Last week, Atticus’s homework was about measuring. The instruction sheet came with a couple of ideas and baking was one of them. In all fairness, I do not need any encouragement to bake with the kids. I will quite happily turn pretty much any homework, assignment or gift into something I can make with the kids. However, my husband suggested it might be nice if I planned to do something else with him as their extracurricular activities are rather saturated with cooking. After my initial reaction of how dare he ruin my fun? I began to see that he may well have a point. For once, I am really hoping that he doesn’t decide to read this article as I find it very difficult to admit to him in person that he was right! So to have material for Atticus’s homework the kids had a game of long jump in the hallway. It was loud and jumpy and thoroughly enjoyable until Seb and I collided heads. I tell you the truth, my head hurt for a good 3 days after that bump. Seb told me he was fine not long after the bump and insisted everyday when I asked him if his head hurt that it didn’t. Mine, however, was throbbing… It must be that I just don’t bounce back the way I used to in my younger years…

Measuring out a tablespoon of golden syrup.

Despite having enough material for the homework, I really couldn’t pass up an opportunity to cook with Atticus alone. When asked, he said he wanted to make some chocolate biscuits with raisins. So I was racking my brain and focused on these biscuits. When I was thinking about them and the ingredients, chocolate, dried fruit and nuts and it reminded me of when my dad told me he always used to call Topic Bars squirrel poo bars. I mentioned to Atticus as a joke that they could be called Squirrel Poo Biscuits because they were brown and contained fruit and nuts which would all likely be present in a squirrel’s poo. This was clearly the funniest thing I had said in along time and I should have guessed that he would be unwilling to call them Chocolate Fruit and Nut Clusters after that! Please don’t let the name of these put you off making them though, they are really yummy!

Ingredients

  • 100g dark chocolate
  • 100g milk chocolate
  • 60g butter or margarine
  • 1tbsp golden syrup
  • 200g nuts (we used a mixture of peanuts, walnuts and almonds). If you want you can toast the nuts before you start, but it isn’t absolutely necessary, it just adds a bit of depth to the flavour.
  • 150g dried fruit (we used half raisins and half dried cranberries)
  • 40g plain flour
  • 2tbsp unsweetened cocoa
  • Icing sugar for dusting

Method

Stir it all around!
Bashing the chocolate
  1. Preheat the oven to 170°c or 150°c fan and line two baking sheets with silicone baking mats or greaseproof paper.
  2. Put half of the chocolate (we put the milk in, but you could do the dark or half and half) in a heatproof bowl with the butter and golden syrup and put on a pan on gently simmering water until it has all melted and is smooth.
  3. Chop or bash (we bashed with the end of the rolling pin in a large bowl) the rest of the chocolate and place in a large bowl
  4. Bash the nuts into smaller pieces. You can do this in small batches with a pestle and mortar or in a bag or large sturdy bowl with the end of a rolling pin.
  5. Put the nuts into the same bowl as the chocolate and sieve the flour and cocoa into that bowl too and mix to combine.
  6. Add the melted chocolate mixture to the bowl and mix so that the flour mixture is completely coated with the melted chocolate.
  7. Take tablespoons of the mixture and put them onto the baking sheets ensuring there is a gap of at least 3cm between each one.
  8. Bake for 15 minutes and remove from the oven. Don’t be tempted to move these when they are warm as they will be very fragile. Allow them to cool for 30 minutes or so before transferring to a cooling rack and sprinkling with icing sugar.
All ready to eat!

These biscuits will last for 2-3 days in an airtight container. Ours lasted about half that time and were enjoyed by kids, parents and grandparents alike. My note to myself from this baking experience is that baking with just one of the kids is a thoroughly enjoyable activity as they get to do everything and I get to talk to just them and hear more about their day without a sibling interrupting them. This was so very precious to me in a busy week where I nearly missed out on the opportunity of hearing his perspective on life.

Jazzies Biscuits

Following the success of our Fairy Bread and Butter Pudding, my sprinkle fix hadn’t been abated. To try and satisfy it, we decided to make giant white Jazzies biscuits. Just in case you are imagining an epic giant biscuit coated in sprinkles, I fear I may well disappoint you when I say these can only be classified as giant when compared to the actual size of a Jazzie! I should also mention, I have been calling these sweets Jazzies for years and I only just realised that the packet says Jazzles! I am going to continue to call them Jazzies as in my head it is more fun and I am struggling to get my head around a new name for this childhood favourite of mine.

I seem to have retained the childlike 
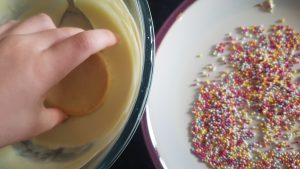
opinion that sprinkles make everything more exciting as these are essentially chocolate buttons coated in sprinkles and they never fail to brighten up my day or bring me out of a grump. I remember taking these to a friend who was ill when I was in secondary school to cheer her up. They certainly didn’t make her immediately better, but they definitely seemed to serve their purpose.

My kids love these retro sweets. Grandma bought them some as a treat and they make a very welcome addition to natural Greek style yoghurt for pudding. The kids take great delight in ‘hiding’ the couple of Jazzies they are given and then acting all surprised when a Jazzie turns up in their mouths. It is a rather amusing interlude before what always seems a long drawn out bedtime routine.

Anyway, back to the recipe. It does call for a lot of sprinkles, but I promise you it is worth it. We unfortunately ran out of the hundred and thousands which cover Jazzies pretty quickly so had to resort to using any other sprinkles I had in the pantry. Ophelia took great delight in telling everyone who she saw when she was eating one of these biscuits that we ran out of ‘dots’! This did then require an explanation as surprisingly enough no-one really had a clue what she meant!

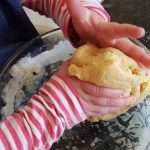
She also had lots of fun with the 
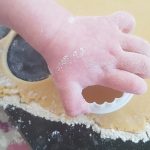
biscuit dough. I am pretty sure she thinks we make a lot of playdough which when she is done with it goes into the oven so she can then eat it when it has cooled! I am not going to correct her just yet, as I find the mentions of playdough rather amusing; we are most definitely learning through play.

Ingredients

For the biscuits

This is a basic biscuit recipe. The below quantity makes 25-30 round biscuits cut out with a 58mm cutter depending on how thick your biscuits are.

  • 100g unsalted butter
  • 100g caster sugar
  • 1 medium free range egg
  • 275g plain flour
  • 1 tsp vanilla extract

For the Jazzie topping

  • 200g white chocolate, melted
  • 3 tubes of hundreds and thousands

Method

  1. Preheat the oven to 170°c fan and line 2 baking sheets with silicone baking mats or greaseproof paper.
  2. Cream the butter and sugar together (by hand or with an electric mixer) until fully combined.
  3. Gently beat in the egg and vanilla extract.
  4. Add the flour and mix with a spoon.
  5. Bring the dough together with your hands.
  6. Place the dough wrapped in clingfilm to chill for around an hour.
  7. Roll the dough out on a floured surface until it is 1cm thick all over. Don’t forget to flour the rolling pin too.
  8. Cut out the rounds and bake for 8-10 minutes until pale or golden brown.
  9. Remove from the oven and allow to harden for 5 minutes before placing on a wire rack to cool.
  10. Once cooled, melt the white chocolate in a double boiler. I did this bit for the kids.
  11. Put a small amount of sprinkles on a side plate.
  12. Dip the one of the flat sides of the biscuits into

    Seb dipping the chocolate coated biscuit straight in the hundreds and thousands.

    the white chocolate and then place it chocolate side down onto the plate with sprinkles.

  13. Cool on a wire rack with a tea towel or old magazine underneath in case they drip – some may as my kids had to be encouraged not to dunk the whole biscuit in the white chocolate!

I must say the sprinkle dipping didn’t always work out perfectly; we had some that went for a second round in the chocolate so that more sprinkles would stick on. My recommendation is to only put a few sprinkles on the plate at a time and replenish frequently or you may well end up with bits of chocolate in your sprinkles.

We hope that you enjoy these biscuits masquerading as giant sweets. Please do get in touch if you make them.

Parmesan and Poppy Seed Oatcakes

Do you ever buy a particular ingredient for a recipe, make the recipe and then end up left with the rest of the ingredient and no inclination to make the initial dish a second time quite so soon after? The other scenario is that you end up being completely unable to remember for what you originally bought them although when going around the supermarket they absolutely had to make their way into the trolley. I can tell you right now that I have been victim to both of these scenarios and unfortunately on more than one occasion. Is this a symptom of ageing or having kids?! Or is it a combination of the two?! Either way it is frustrating.

I bought some poppy seeds a while ago. I can’t remember their initial purpose and the packet was open so I must have used them for what I intended. As I was taking stock of our pantry, which isn’t messy – 
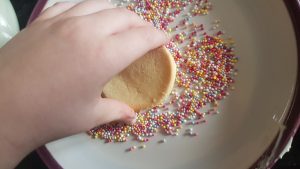
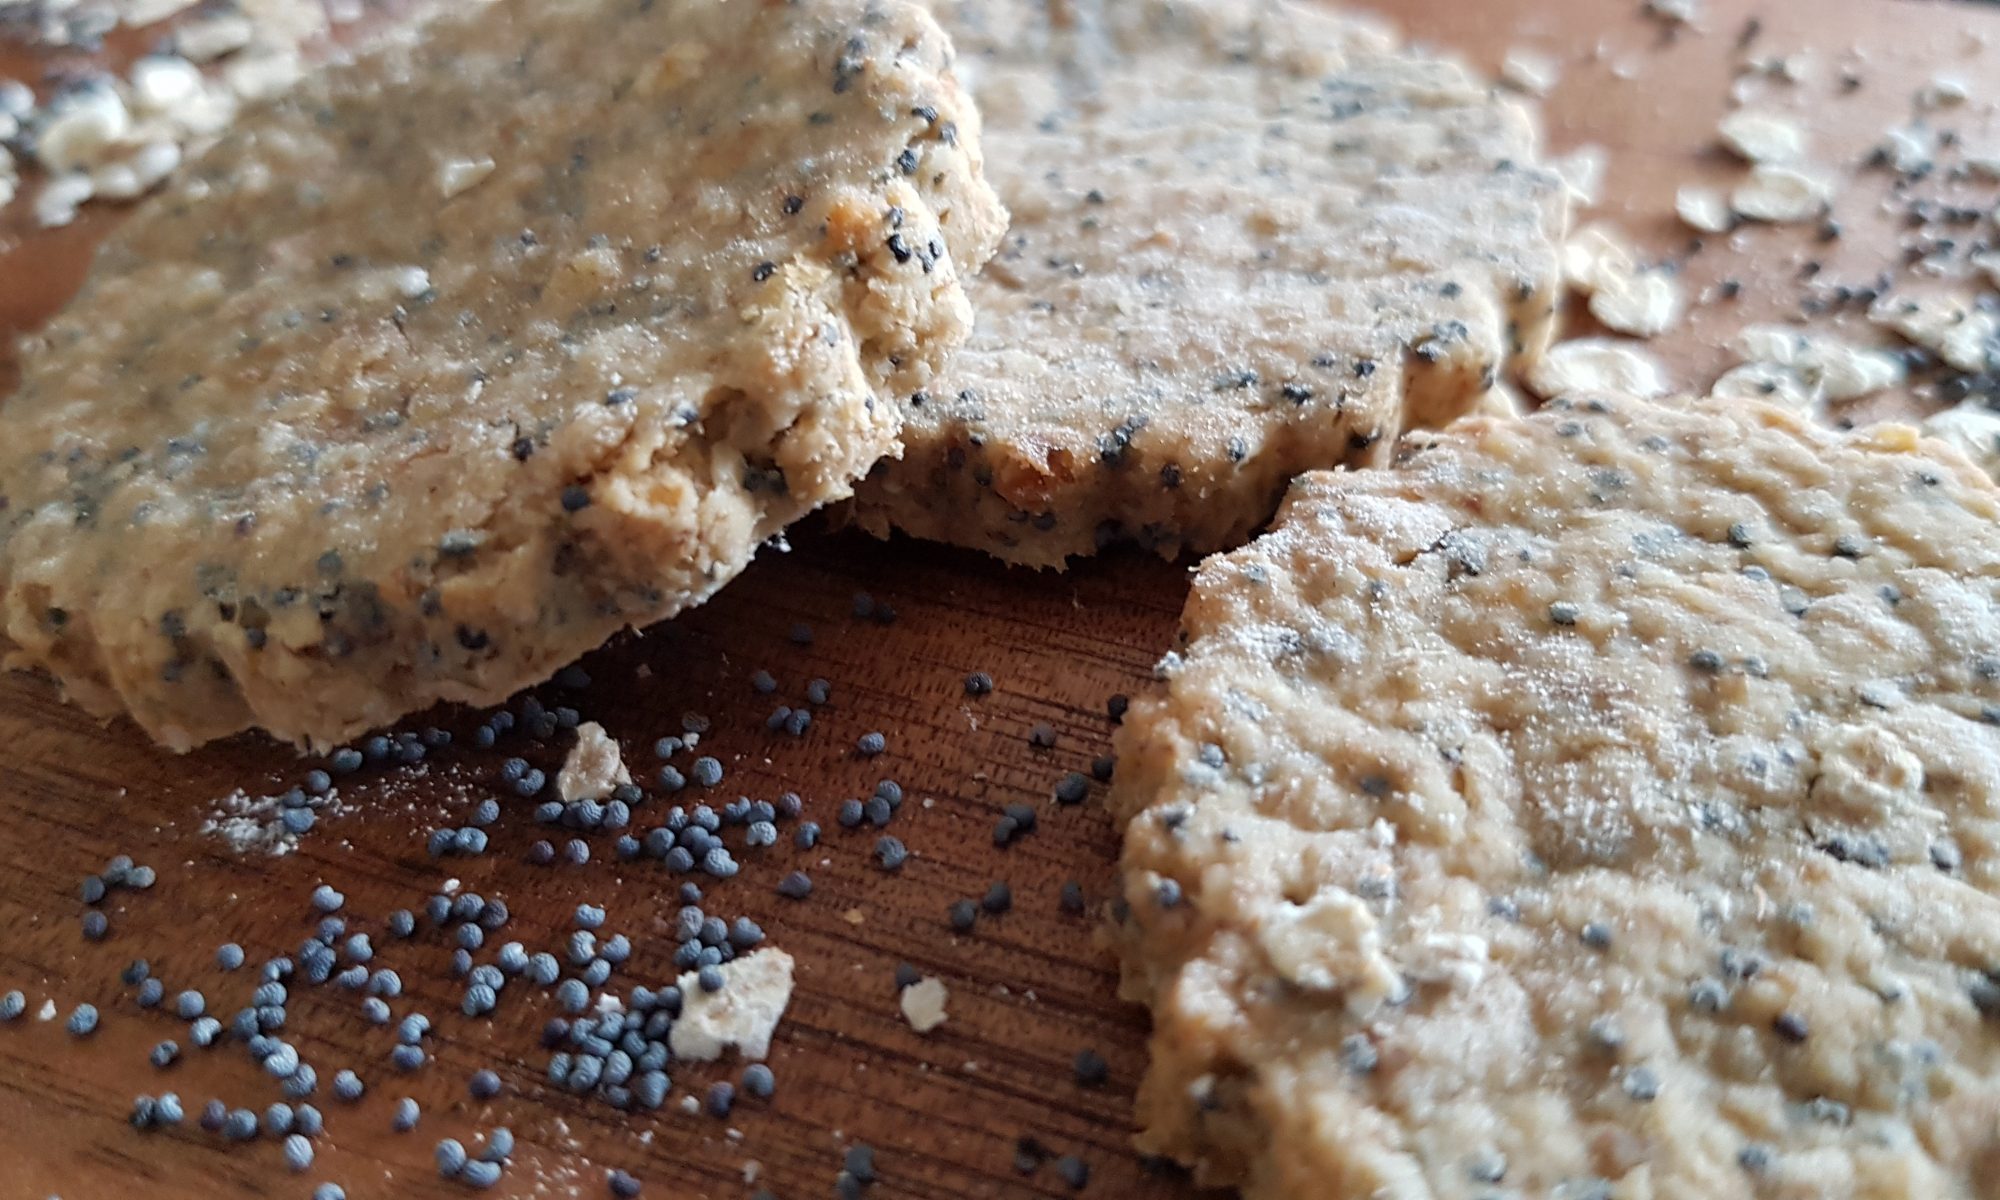
it is organised chaos, I found them and started to wonder what I could make with them. My initial thought was to combine them with lemon in something. But, while looking at my list of ideas of things I would like to make with the kids oatcakes jumped out at me. Then I realised that we also had some parmesan left in the fridge from making pesto and decided to combine the two. I also like the alliteration of parmesan and poppy seed! The latter was, of course, a big factor!

Ingredients

  • 250g rolled oats
  • 1/4 tsp bicarbonate of soda
  • 1/4tsp paprika
  • Pinch of salt
  • 30g poppy seeds
  • 50g grated parmesan
  • 1tbsp melted butter
  • 190-220ml boiling water

Method

This recipe will make approximately 35 oatcakes with a 58mm round cutter.

  1. According to Ophelia, the dragon was going to help too.

    Preheat the oven to 180°c fan and line two baking trays with silicone mats or greaseproof paper.

  2. Put the oats, salt, bicarbonate of soda, paprika, poppy seeds and parmesan into a bowl and mix until combined.
  3. Make a well in the centre and add the melted 
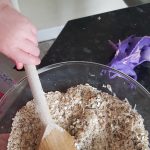
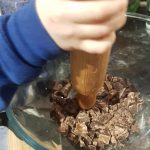
butter and mix with a wooden spoon.
  4. Pour in the boiling water as much as you need to bring the dough together. We used 220ml. I poured the boiling water in and we mixed it with a wooden spoon initially. Then I checked its temperature and when it was a bit cooler we used our hands to bring it together fully.
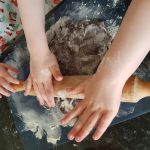
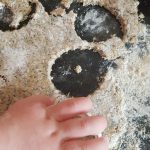
  5. Flour your surface and the rolling pin and roll out the oatcake mixture as thin as you can (some bits of ours were thinner than other bits) and cut out biscuits with the cutter.
  6. Place in the oven for 15-20 minutes or until the edges are becoming golden-brown and the oatcakes are firm to the touch (they will harden as they cool).
  7. Transfer to a cooling rack to fully cool.

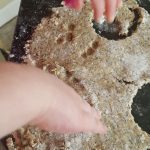
It seems that Ophelia thought that the oatcake was playdough as she insisted on poking and prodding it while cutting out the rounds. I can understand why she thought that, and I didn’t begrudge her a bit of time doing that and she didn’t have the patience or concentration to cut out all the rounds on her own.

These oatcakes were popular with all the children. I even managed to polish of quite a few when the kids had gone to bed. They taste great with extra cheese oh and pickle, I really love pickle!

Lavender, Lemon and White Chocolate Biscuits

I love a homemade gift. It gives me a legitimate reason to be in the kitchen with the kids making mess and enables me to create new recipes with new flavours (for us) all in the name of creating a nice gift.

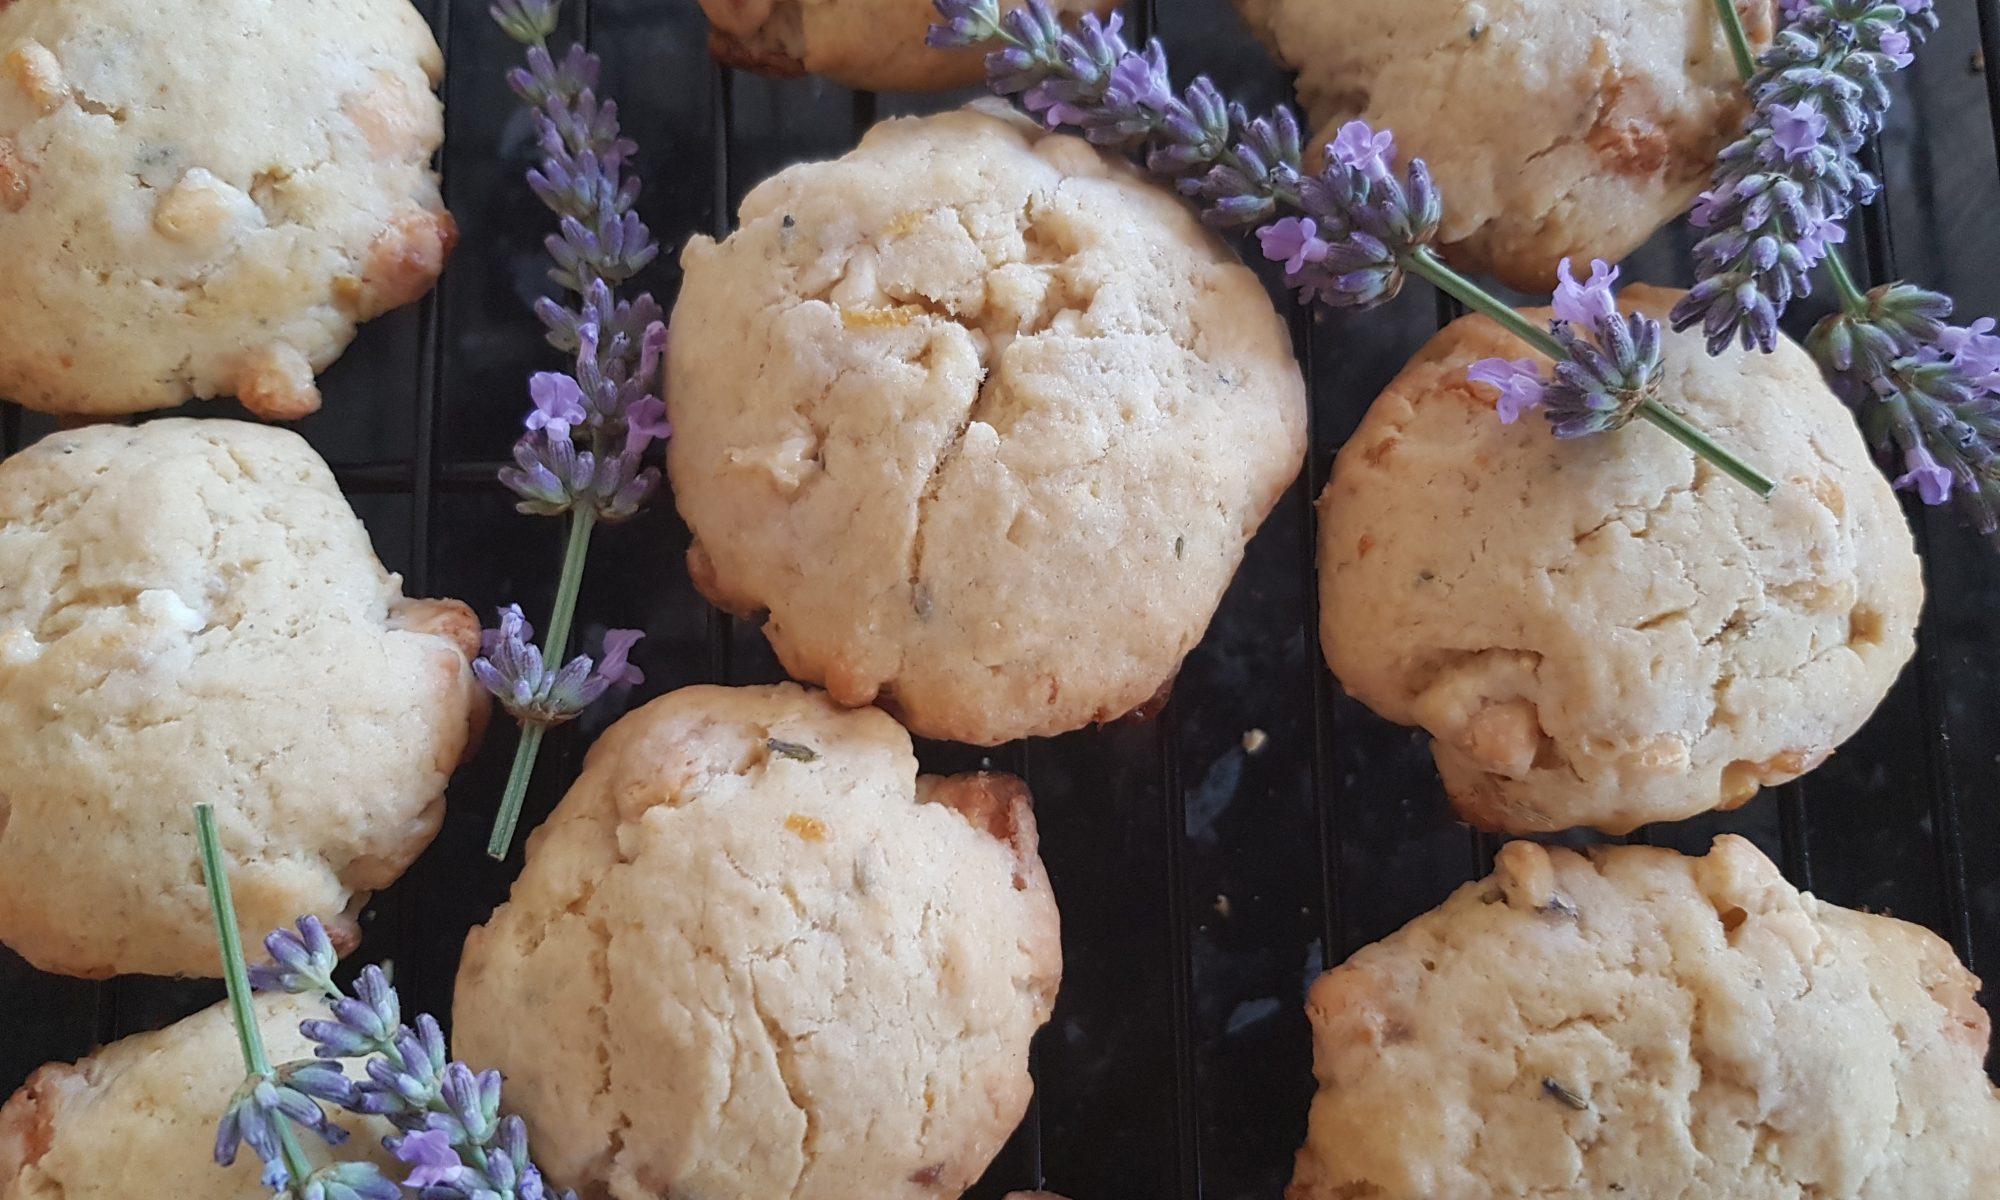
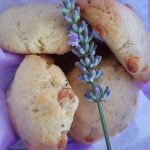
We have these beautiful lavender plants in our front garden. They are a luscious shade of purple, smell lovely and never fail to attract bees. All of the children have at some stage enjoyed watching the bees on the lavender plants and it was here that Seb first said ‘bumbleey bees’ which always makes me happy. If I am honest I struggle to call them bees now as bumbleey bees sounds so much better!

I have been intending to make lavender biscuits for a couple of years, but they never quite made it to the top of my list. This year they finally did. I took some lavender, washed it and dried

Before the lemon zest was added.

it out in the pantry and then one day when Seb and Atticus were at their daytime activities I took the opportunity to make some lavender infused sugar for biscuit making. I left the lavender on its own in the sugar and then decided lavender and lemon would work well so also added lemon zest to the sugar and lavender. I found the scent of the lavender and lemon remarkably comforting.  When Seb helped me make the biscuits I had him smell the infused sugar first to guess the scents. He identified the lemon easily, but found the lavender harder to place.

We made these biscuits with gluten-free flour and regular flour. The regular flour biscuits were more moist and preferred in this house, but I have been informed that the gluten-free variety were tasty despite the more crumbly texture the gluten-free flour brings to the recipe.

Ingredients

Depending on biscuit size, this recipe will make around 20 biscuits

  • 200g butter or margarine (we used Flora)
  • 100g golden caster sugar
  • 8 sprigs of fresh lavender washed and allowed to dry
  • Zest of 1 lemon
  • 250g plain white flour (or gluten-free equivalent)
  • 1tsp baking powder (ensure it is gluten-free if required)
  • 100g white chocolate chips

Method

  1. It is nice to put the lavender flowers removed from the stalks and lemon zest into the sugar in an airtight container a day before you need to use it. However, if you don’t have time to do so just blitz them together a food processor briefly before using. We infused the day before and then pulsed them in the food processor too. Both and both flavours were present and not overwhelming.
  2. Heat the oven to 170°c and line two baking sheets with silicone mats or baking parchment.
  3. Cream together the butter and the sugar infused with the lavender and the lemon until light and fluffy.
  4. Add the flour and the 
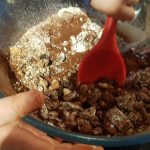
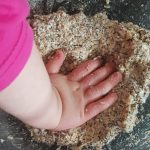
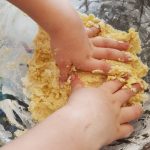
baking powder and squish and squash with your hands to form a dough.
  5. Add the white chocolate chips and ensure fully combined.
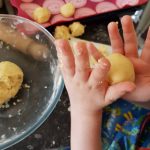
  6. Divide the mixture into 2 equal pieces and make 10 biscuits from each pile by rolling them into balls and then gently squishing them flat on the baking tray with you hands (Seb used his fingers held together, 
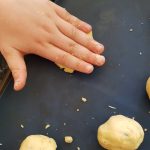
but I used the palm of my hand and both worked fine.
  7. Chill in the fridge for 30 minutes before baking for 12-15 minutes until they are starting to  become golden (and any chocolate chips near the surface are bubbling.
  8. Leave to cool on the baking sheet for around 5 minutes and then transfer to a wire rack to cool completely.

Nicely presented in boxes.

These biscuits went into school and nursery for end of year presents for the staff who have worked with the boys this year. From the comments, they were well received!

Rustic Hobnobs

Who doesn’t love a good biscuit? (cookie for my non-British readers). Homemade biscuits make a wonderfully decadent addition to your morning brew whether it be tea or coffee. They are great as a treat or a snack for children as part of a balanced diet. Yes, I did say that full well knowing that one of Seb’s first words was biscuit. I was initially concerned it was a poor reflection of my parenting ability, but I soon figured I wasn’t always allowing him one so best just relax. He was even tricked into thinking that apple slices were biscuits at one point! As long as they were the right shape!

Seb’s love of biscuits is most likely inherited from me. Before we were married Simon was rather fond of pointing out that; ‘biscuits do not constitute a meal’. I had been known in my student days to consider missing a meal in favour of three or more biscuits and chocolate hobnobs were frequently my biscuit of choice.

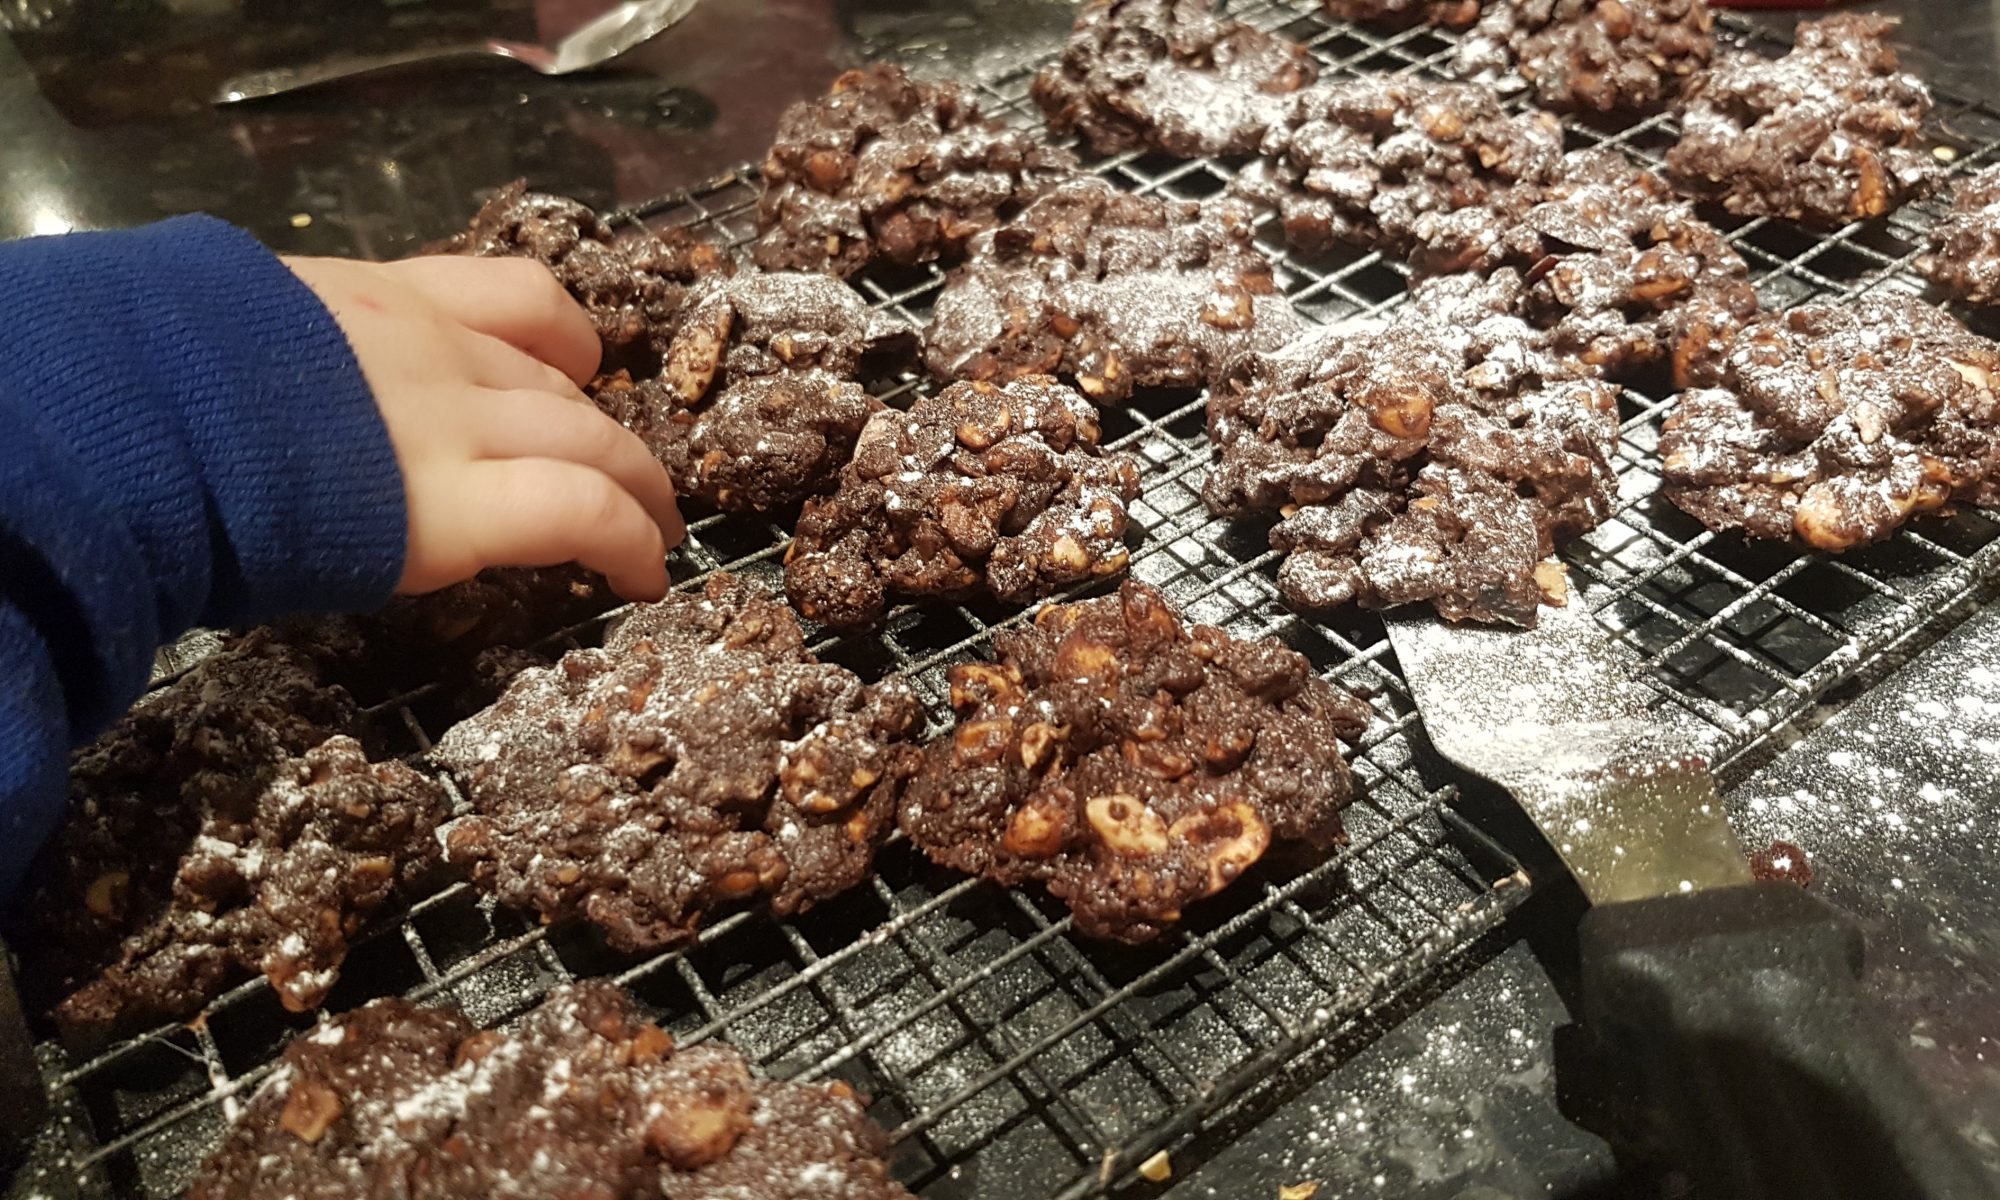
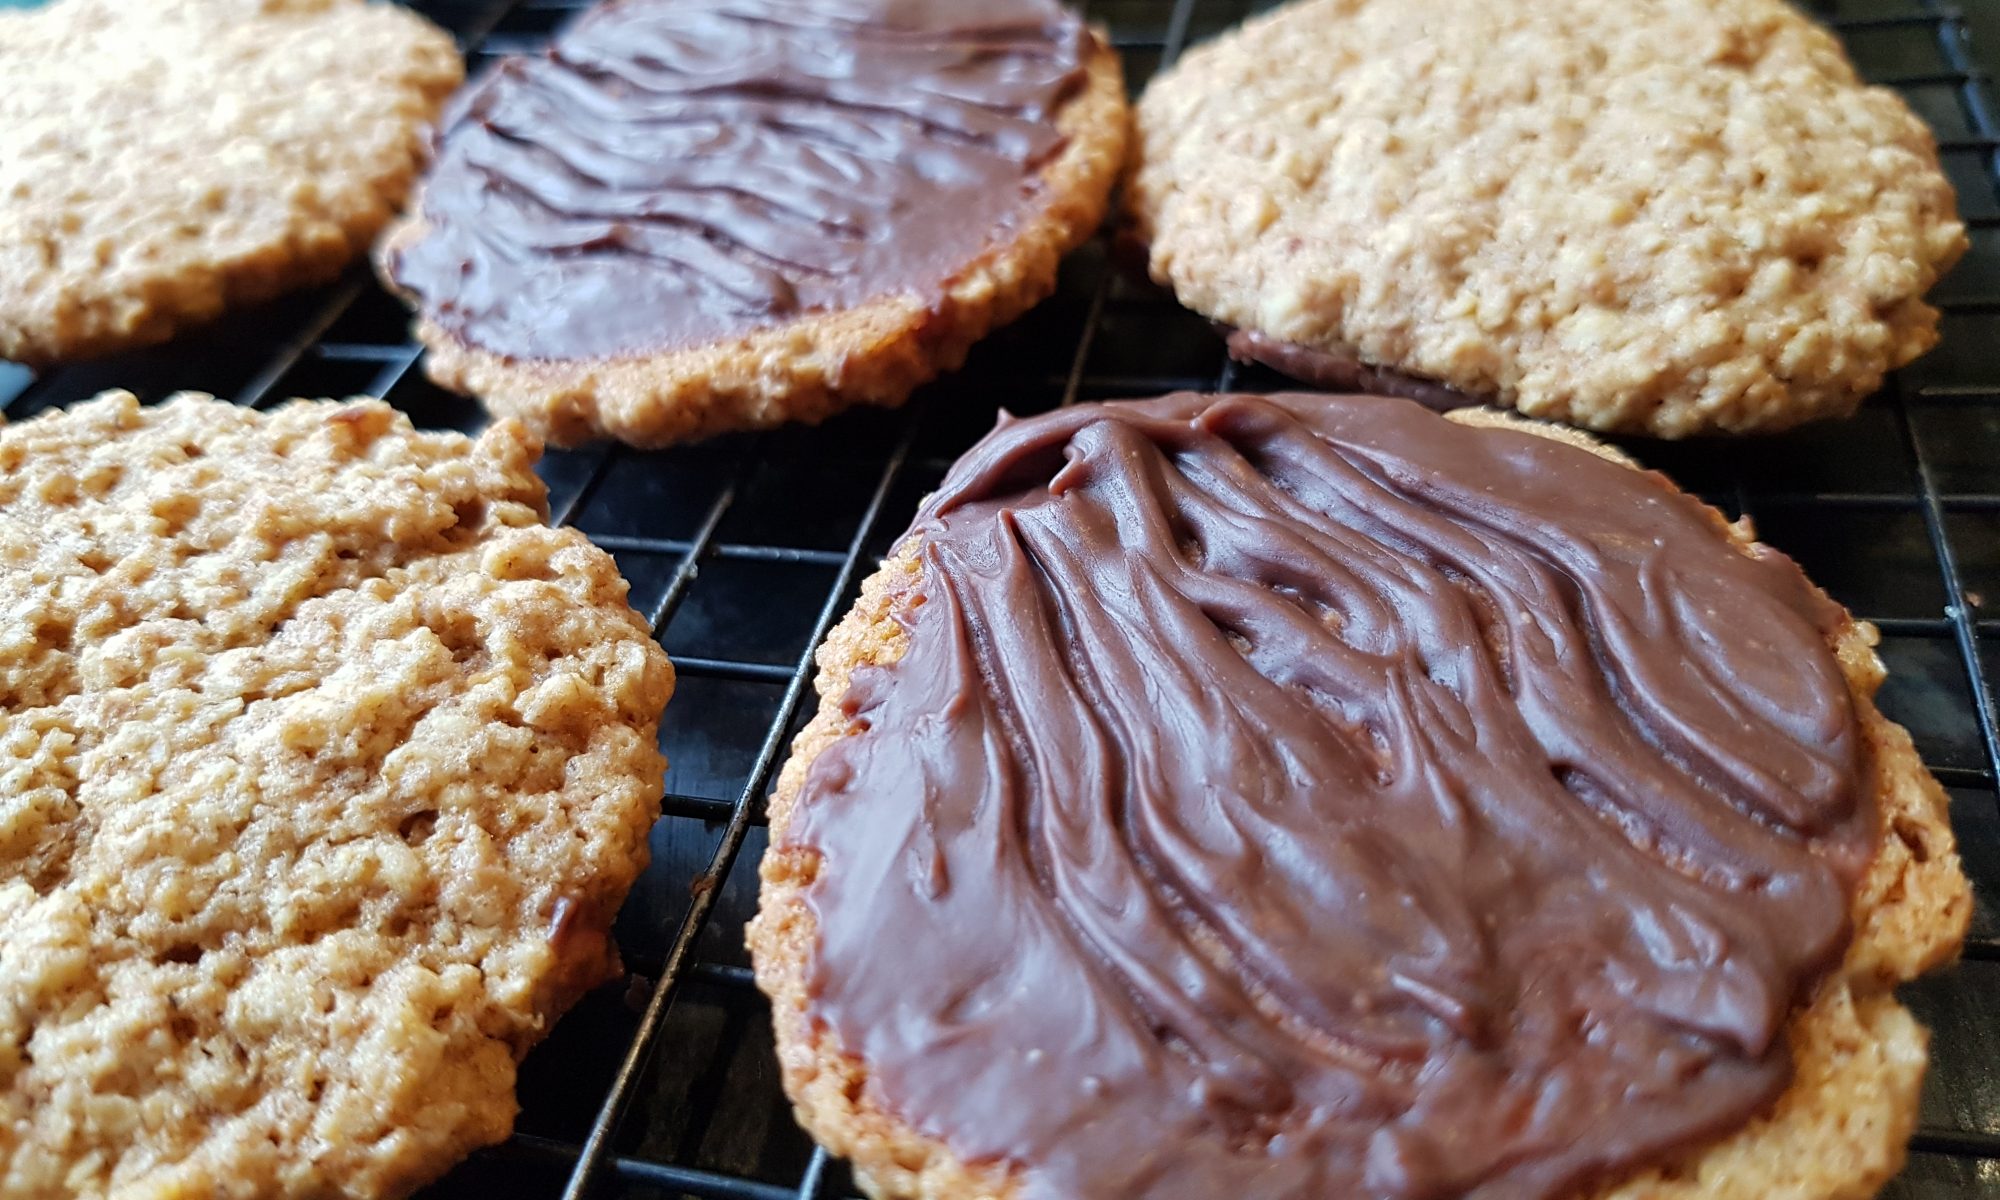
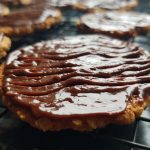
National Biscuit day passed me by this year without me having a chance to make any biscuits with the children so I decided to rectify that by making these rustic hobnobs with Atticus and Ophelia. I call them rustic as they are not perfect, made with little hands and big excitement in the kitchen and ingredients all over the counters and the kids.

Between them they managed all the steps pretty much themselves after being shown how to do it. The only thing I would say is that Atticus needed a little help to spread the chocolate on the back of them. You could leave the chocolate off the back of them or just use 100g of chocolate chips in the biscuits as that would be easier with smaller children (i.e. under 3). Atticus at 4 did like trying to spread the chocolate and really enjoyed making wavy lines with a small fork over the unset chocolate.

Ingredients

  • 125g butter or margarine (if you use a salted butter or margarine reduce the salt to 1/4tsp)
  • 80g light brown sugar
  • 2tbsp golden syrup
  • 100g oats
  • 100g wholemeal self-raising flour
  • 1/2tsp salt
  • 1/2tsp bicarbonate of soda
  • 100g chocolate (we used milk) for coating

Method

Makes around 14  large biscuits

  1. Preheat the oven to 160ºc and line two baking sheets with silicone baking mats or greaseproof paper.
  2. Cream together the butter and sugar until pale. The kids did 
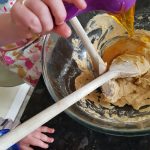
this by hand, but you could equally use an electric hand whisk if you prefer.
  3. Add the golden syrup and stir until fully combined.
  4. Add the oats, flour, salt and bicarbonate of soda and mix until it is all incorporated.
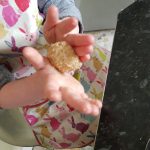
  5. Take blobs of about 1tbsp and roll into a ball. Place on the baking sheet and then pat out to make flat. After trying several ways in both hands, putting it on the baking tray and just letting the kids squish them under their palms, we discovered that the best way to flatten them was to do so gently with your fingers. Atticus at 4 understood this quickly and followed suit. Ophelia at 23 months was more reluctant to do so… Atticus and I did rectify the situation.
  6. If you want more of a chewy cookie style biscuit, cook for 12 minutes (rotating biscuits for an even bake if required) or if you want a more crunchy one cook for 16 minutes (rotating if required). They both taste delicious so either is fine.
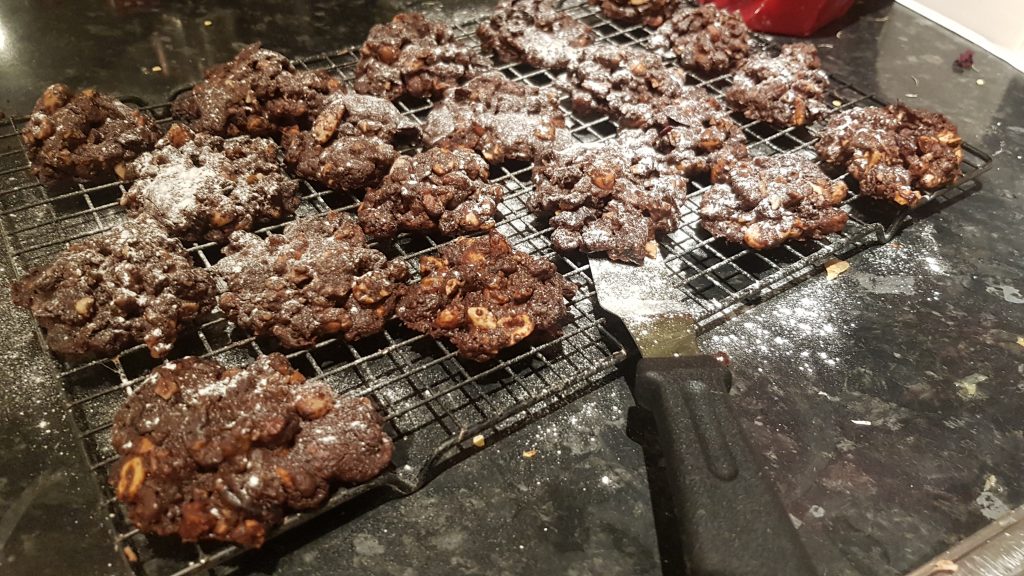
  7. Remove from the oven and let cool for a couple of minutes on the trays and then carefully remove with a palette knife and place on a cooling rack.
  8. Once the biscuits have cooled, melt the chocolate on a double boiler or in the microwave and 
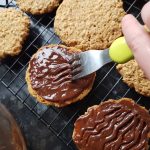
spread it on the underside of the biscuit.
  9. Make lines gently with a fork (if you want I did for one batch and not for the second) and allow to set.

Recipe adapted from Butter Baking

These really did smell like hobnobs when they came out of the oven. The kids made one batch and then I made another for Simon to take into work. Simon, who normally doesn’t eat hobnobs actually liked these. This meant I had to share them not only with the kids, but also him! I shouldn’t grumble as it did mean that I wasn’t given the option to eat the whole batch!


A Loveliness of Ladybirds

My sister’s Christmas gift to us was tickets to see ‘What the Ladybird Heard’ at the Curve theatre in Leicester. Well the day finally arrived and we embarked upon our family outing with Buzz the class bear in tow. At the outset, I think I was the most excited, but by the time we had arrived at the theatre Seb could remember our previous trip and was getting excited too.

It was a well-honed production complete with catchy music and plenty of opportunities for excited children to join in. The whole family had a wonderful time and our big surprise was Ophelia (22 months) seemed to enjoy the show the most! We purchased the CD and have now listened to it several times and the children are already singing along when it goes on in the car! I am guessing it may start to grate after hearing it many times over, but we can always rotate it with the music from ‘Room on the Broom’ or ‘Hairy Maclary’ so that’s fine…

We did talk a lot about ladybirds in the car on the way back. Seb saying that they have symmetrical spots and Atticus mentioning they were red. That was when Simon turned to me and said maybe you can make ladybird biscuits with them. This made me exceptionally happy as it isn’t often that the husband of an avid baker actually suggests making more baked goods (we never seem to be short of them), but also he was thinking about a baking project before I had even considered it! It makes me smile just remembering it!

The boys enjoyed weighing out the ingredients and then sifting the dry ingredients to ‘make it snow’ and then rubbing in the butter. I do think their favourite part is licking the remnants of the mixture off their fingers before I insist they wash their hands!

After the biscuits were made and iced, the boys went on a ladybird hunt in the garden. They both managed to find where I had hidden their ladybird biscuits and then happily sat in the sort of sunshine eating them.

We did bake our biscuits, but if you want to do this with minimal effort you could use chocolate digestives as the ladybird, ready-made icing with a little red food colouring added, chocolate buttons as the spots, tubes of icing for eyes and a line down the middle . If you wanted to put more spots on the ladybird than just one each side, maybe consider using chocolate chips instead of buttons as the chocolate digestives would be slightly smaller than our biscuits.

We used the following recipe:

  • 125g plain flour
  • 25g cocoa powder
  • 1/4tsp salt
  • 50g caster sugar
  • 125g unsalted butter

For the icing:

I like to use a thick buttercream as I find it easier to ice biscuits with than glacé icing as it doesn’t drip off the biscuit as easily. I do tend to make buttercream by sight rather than use a recipe, but below you will find approximate measurements. Do add a little more icing sugar to make it more firm and more butter to loosen it if you need.

  • 40g butter
  • 125g icing sugar
  • Red food colouring (we use Wilton gels)

Method

  1. Preheat the oven to 150°c fan.
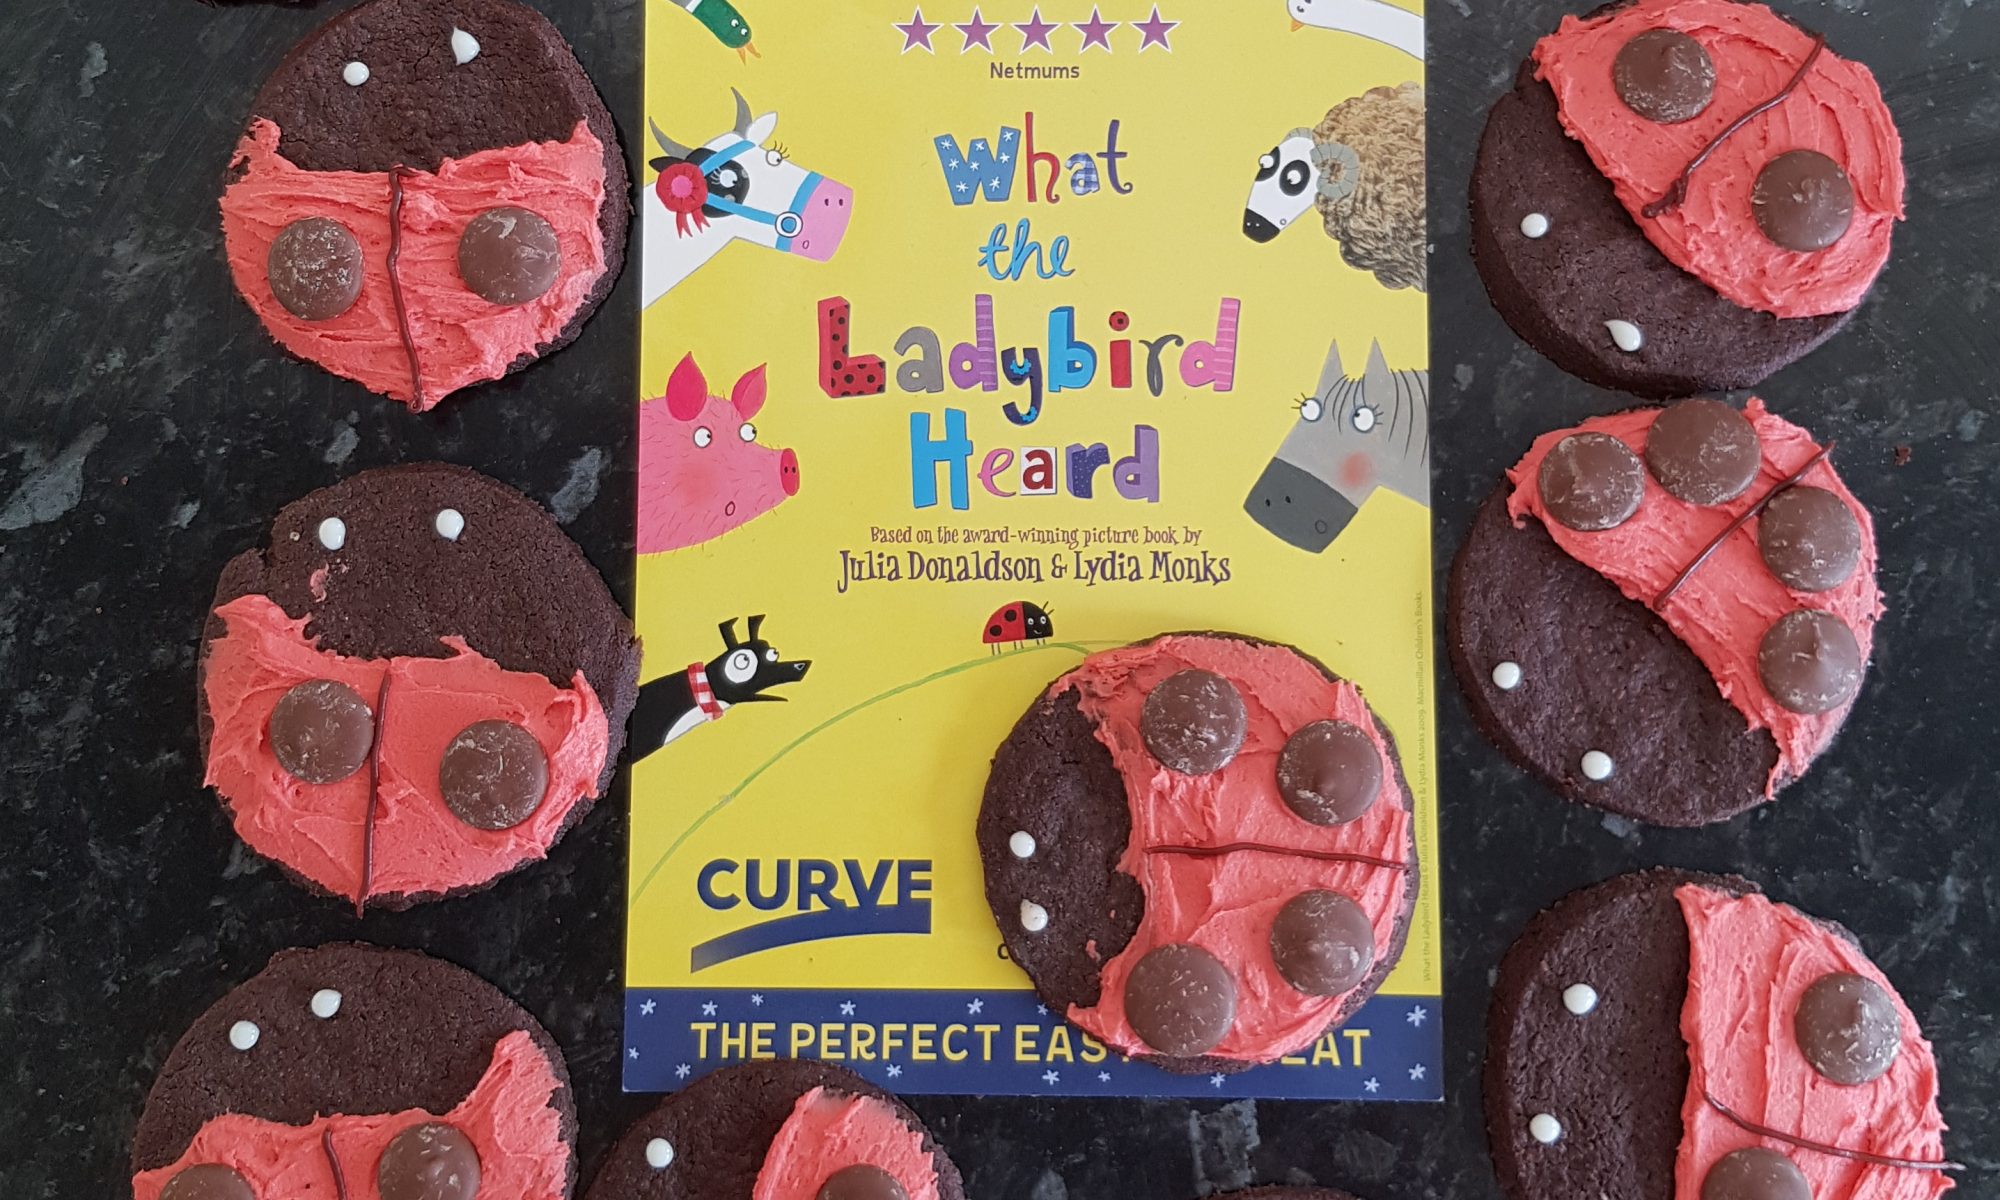
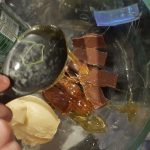
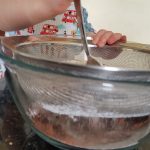
  2. Sift the flour, sugar, salt and cocoa powder into a bowl. Usually I give the kids a metal spoon each and get them to stir it through the sieve as they do seem unable to understand gently shake to get the flour through and we end up with flour everywhere. This way is more contained!
  3. Rub in the butter until the mixture combines.
  4. Wrap the shortbread in cling film and put it in the fridge for 30 minutes.
  5. Roll the biscuits out on a floured silicone baking mat or surface cutting out 
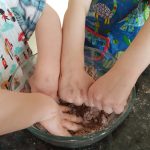
circles (we used 7.5cm diameter cutter). You will probably need to re-roll the shortbread in order to cut out all the biscuits. Depending on how thin you like your biscuits, this recipe will make around 12 biscuits. 
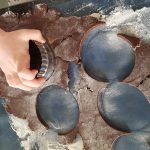
We did find the thicker biscuits cracked more easily when the boys were holding them to ice them.
  6. Place in the oven for 10-12 minutes. Remember: as these biscuits contain cocoa it is harder to see if they are burning. I tend to cook them for 5 minutes, rearrange them in the oven and then cook for another 5-7 minutes checking them to ensure they haven’t burnt.
  7. Leave the biscuits on the baking trays to cool for a while and then transfer them to a cooling rack.
  8. While the biscuits are cooling mix the buttercream ingredients with an electric mixer. This is the only bit the children didn’t help with as they were playing so nicely and I don’t really like them getting too close to food colouring (my fingers are still red!)
  9. Once the biscuits have cooled cover just over half of each one in the red buttercream. Draw a line down the middle of the buttercream with a dark coloured icing tube and add the chocolate buttons for the spots. Give the ladybirds eyes with a light coloured icing tube. I did have to help mine with the icing tubes as it can be difficult to get the icing out and get it where they want it.