I am a massive chocaholic. It is a weakness and I dream of living on chocolate. But the harsh reality is that I would be a whole lot bigger and subsiding on chocolate alone isn’t exactly a healthy diet. So I have many, many cake books and books dedicated to chocolate and when Simon is working late, I can often be found sitting on the sofa reading the recipes and salivating over the yummy cake pictures secure in the thought that this is a more slimline way to enjoy chocolate! I value the hard work I put into losing the baby weight I put on during my first pregnancy to binge on chocolate on a weekly basis.
After reading that, it isn’t a surprise that my children love chocolate too. Birthday cakes are chocolate as standard and you can guarantee that there is always chocolate in some form or other in our pantry.

Rocky Road is a favourite of our kids; it contains chocolate, marshmallows and biscuits – incidentally all items which I am sure my children would classify in a food group of their own if they had a chance (I am very glad that they don’t!). I don’t tend to share the rocky road with them when we have it as marshmallows make it unsuitable for a vegetarian diet. But, in addition to ensuring his wife always has a good supply of caffeine (in the form of coffee), Simon bought me a whole load of vegetarian marshmallows. Yes I could go out and buy them for myself, but it makes them all the more special when they are bought for you.
So this time the rocky road was to be vegetarian. I decided that instead of a traditional rocky road I would fill it with chocolate and treats that I like so we put fudge, Crunchie bars and oaties biscuits (like Hobnobs) in. It was epic. Honestly I was worried that no-one else would get a look in, but I am happy to report I shared this creation admirably.
Ingredients
- 400g chocolate (we used a mixture of dark and milk)
- 125g butter
- 5tbsp golden syrup
- 150g Crunchie Bars
- 150g Oaties biscuits (or Hobnobs)
- 100g vegetarian marshmallows
- 100g fudge
Method
- Grease and line a brownie pan.
- Weigh out the chocolate, butter and golden syrup in a large bowl and melt in a double boiler on the stove.
- Meanwhile, using scissors chop
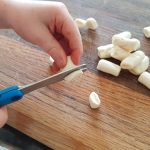 the marshmallow (if they aren’t mini) and the fudge pieces.
 - Bash the biscuits in a zip lock bag with a rolling pin or a wooden spoon. You want a selection of bigger and smaller biscuit pieces.
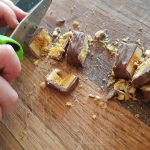 Slice the Crunchie bars.
- Once the chocolate mixture has fully melted take it off the stove.
- Add the crushed biscuit, marshmallows, fudge and Crunchie bars and mix well with a wooden spoon.
- Transfer the mixture to the lined
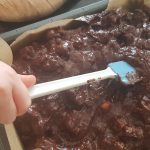 brownie pan and gently smooth with the back of the wooden spoon or a spatula.
 - Place in the refrigerator until set, sprinkle on icing sugar
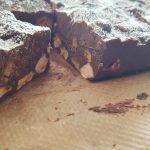
The ridiculously big slices before they underwent an operation to reduce their size! and then slice. I initially cut this into large slabs (clearly I was thinking about how much of it I wanted to eat!), but later I cut each piece into three smaller pieces. This made them more suitable for snacks for the kids!
I hope you enjoy this recipe as much as we do and please do let me know if you give it a go.
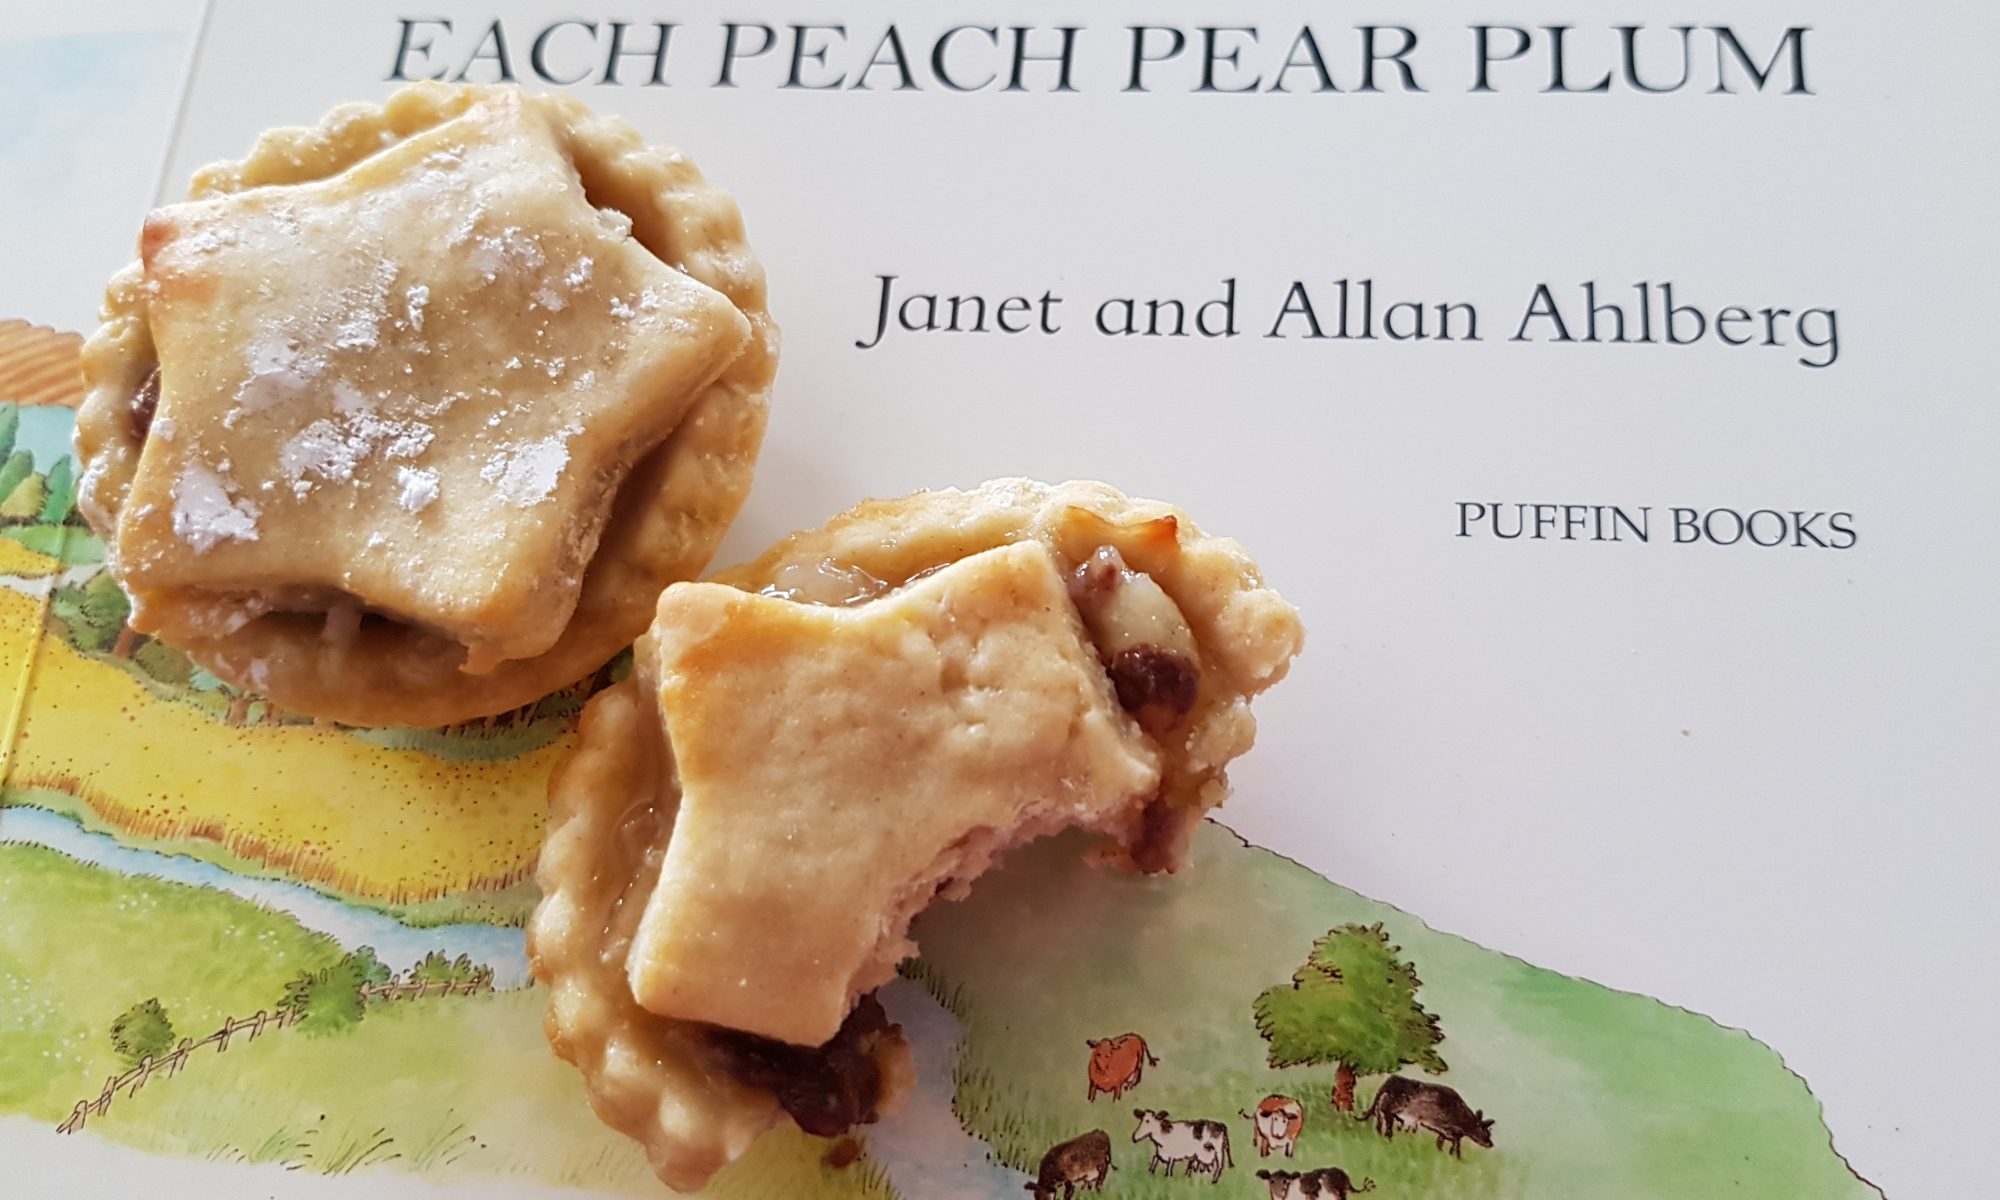
 Ophelia’s favourite story is Each Peach Pear Plum by Janet and Allan Ahlberg. She will wander around the house saying any combination of the title fruits and often I think she is asking for a snack and she wants a story instead and vice versa! In all fairness, I think she decides that she wants the opposite of whatever I suggest and does it to fluster me… She can be quite contrary. Just reading that back makes me think I have become cynical in my old age. I never used to have a cynical bone in my body, but since having children there are times when I find myself thinking something and I end up questioning where the cynicism came from. But that is another story…
 very much I thought it was about time it was incorporated into our baking repertoire. My initial thought was that a lovely big pie would be really yummy. But the kids really do enjoy stamping out pastry circles and placing them in the bun tray so much that little pies won out. That and it meant we could top them with stars which is always well received. As the children (yes Atticus I am talking about you) are very hit and miss with cooked fruit, I decided that we would mix in honey, flaked almonds and chocolate chips in as all the little people in our house love them.
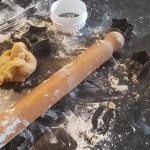
 Wrap in clingfilm and place in the fridge while you make the filling and put the oven on to heat at 180° fan.
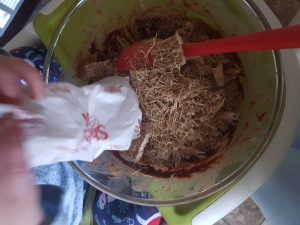
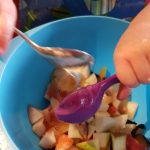 almonds and chocolate chips and mix.
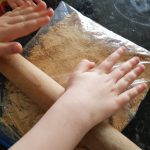
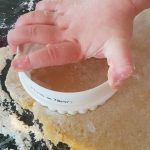 Grease your shallow bun tin. Cut out circles to fit inside your shallow bun tin and gently press in.
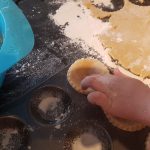 Spoon around 1tsp of filling into Each Peach Pear Plum Pie (Simon was adamant that this line had to appear in this post!).
 the top on and then brush the tops with milk.
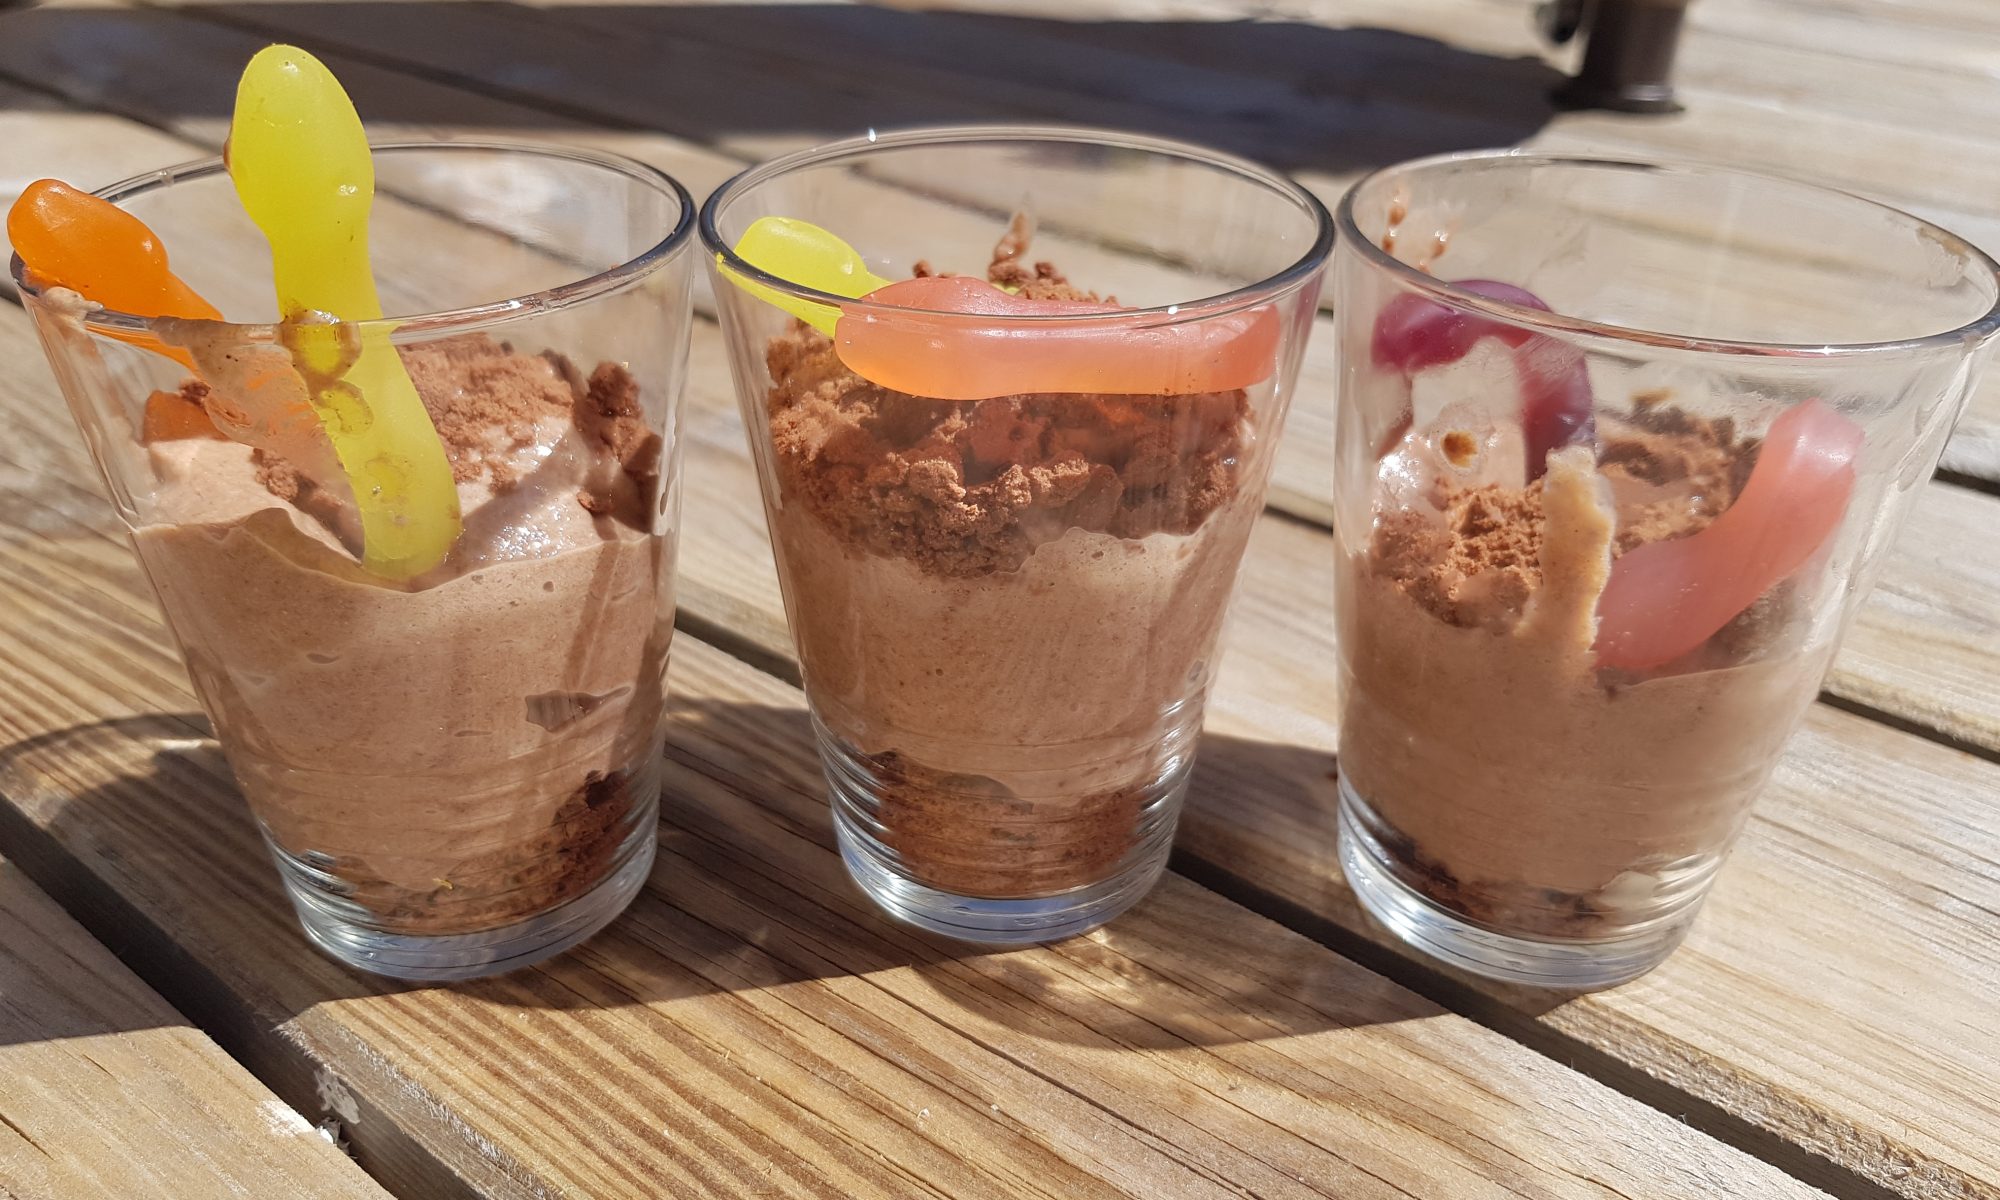
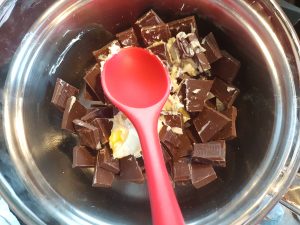
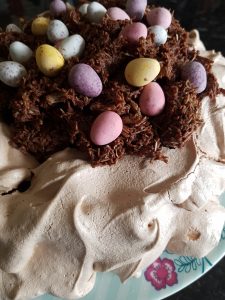
 make a deliciously decadent dark chocolate torte and let the children decorate it. Then I figured that the kids would probably prefer this recipe as it involves biscuit crushing and super speedy whisking Angel Delight with the rotary whisk and sweetie worms, so from their perspective what’s not to love?! This recipe is definitely more child-friendly and less of a chance of me having to exert super-human will power to prevent myself from eating a whole chocolate torte!
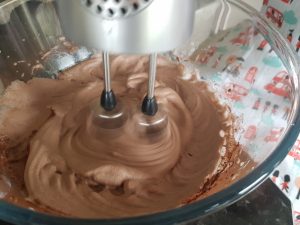
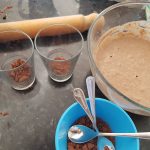 was the first time that Ophelia had a chance to try out the rotary whisk. I have to admit she was a bit puzzled and needed help, but there were shrieks of delight coming from both her and Atticus as she started learning how to operate it. We also found that this recipe gave Atticus the opportunity to use fun adjectives to describe the mixture, words used include: frothy as well as bubbly and fluffy. He also said; “bash the biscuit to smithereens” as he was crushing the biscuit.
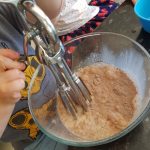 Put the Angel Delight powder into a medium-sized bowl and add the milk. Whisk and mix around until the powder has dissolved in the milk and it is all frothy like a thick milkshake. Place the bowl in the fridge until it is next needed.
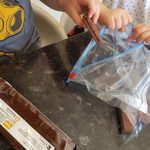
 Take the Angel delight out of the fridge and divide it equally
 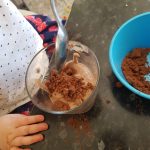 between the glasses. With my children, this involved many spillages and requests to lick the spoon. They were allowed to do the latter once we had finished.
 Needless to say, these puddings were really welcome after a long day; nice and cold straight from the fridge in this exceptionally warm weather we have been experiencing. I think the glasses were cleared in record time for a pudding! I hope your little explorers have as much fun with this recipe as mine do.
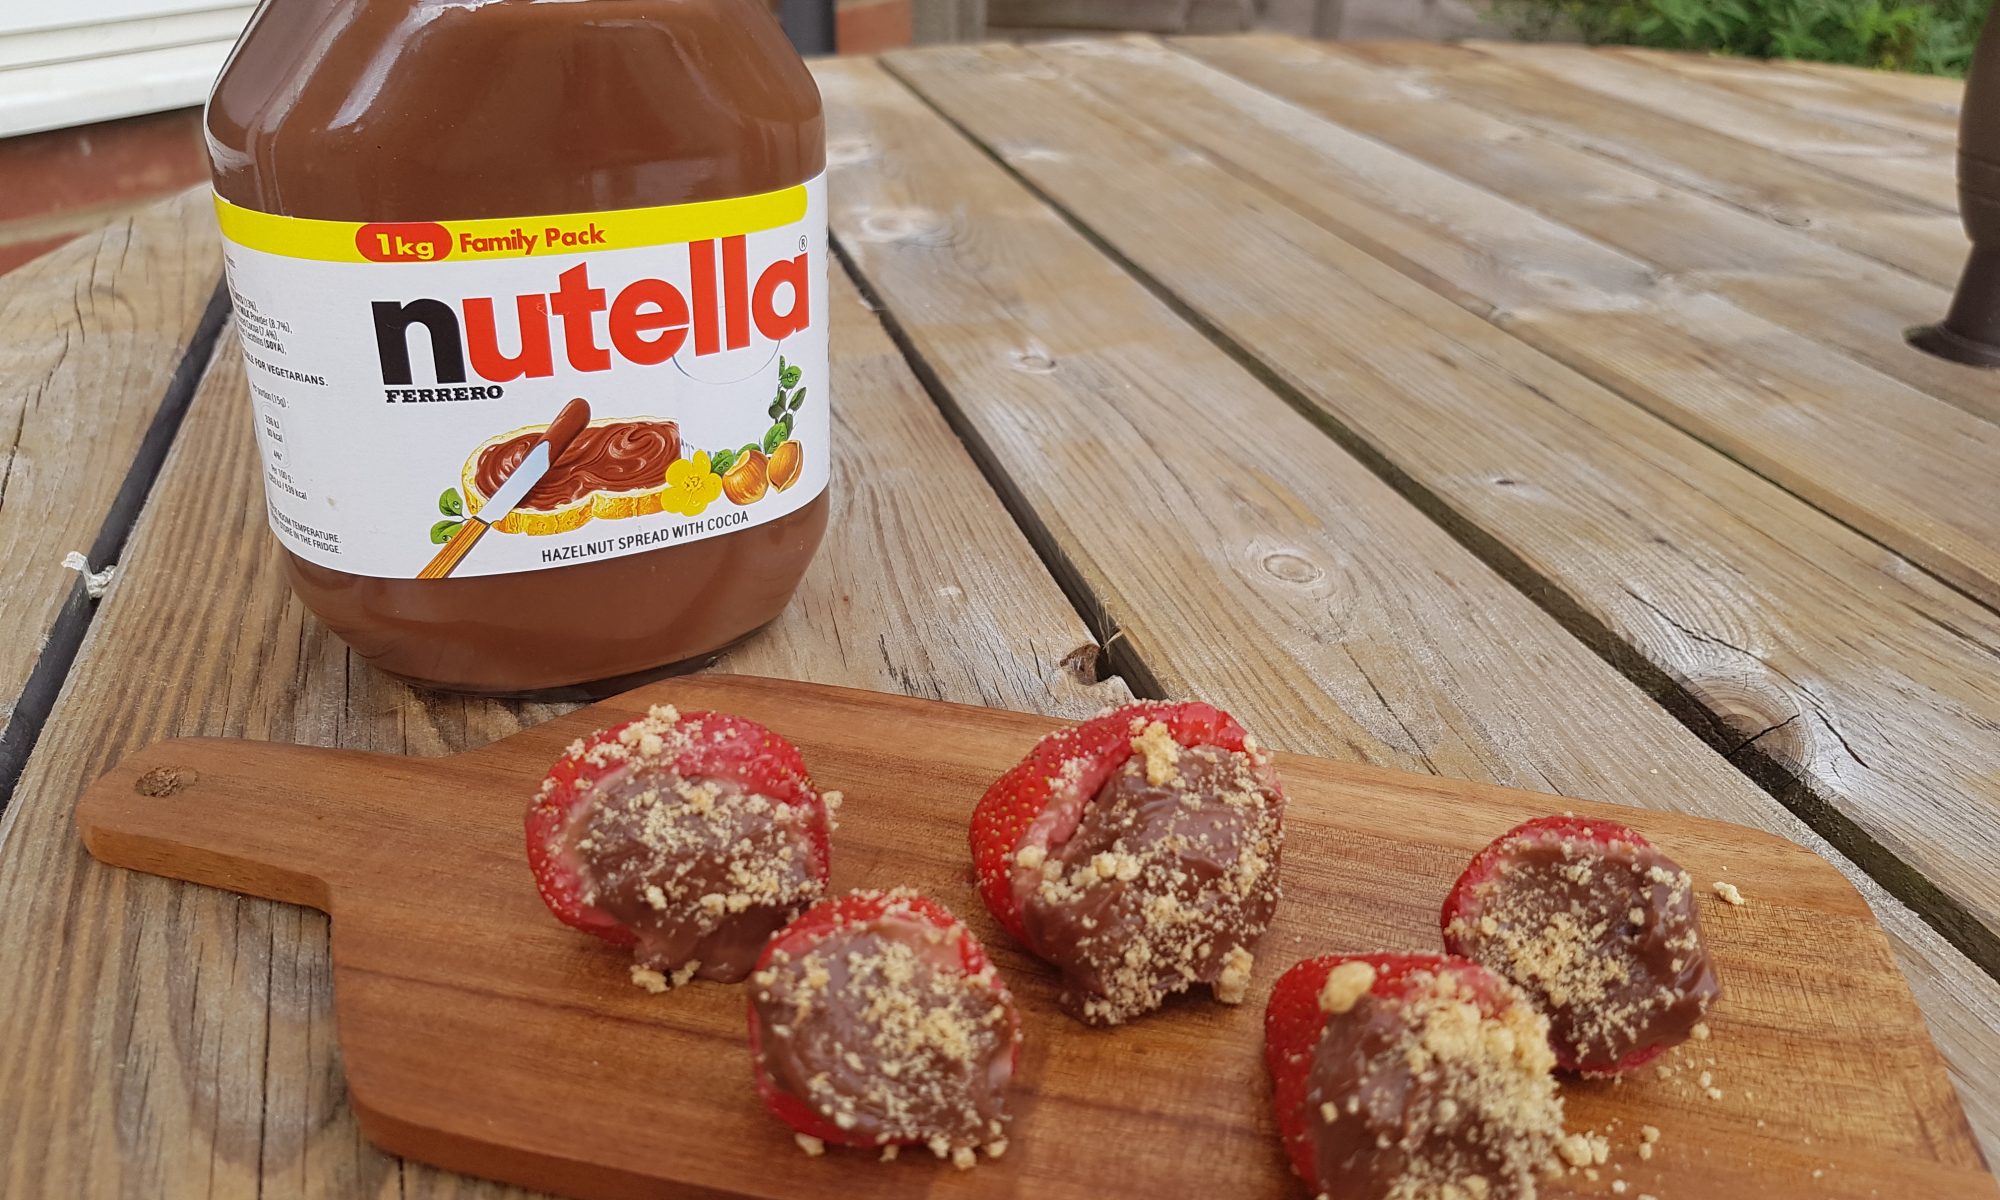
 Enter the idea of Nutella cheesecake stuffed strawberries. This is a recipe that I adapted after seeing a recipe on another website (see link below). I have to admit part of this recipe is a bit intricate and the kids didn’t do that part, but that said they had a lot of fun with the rest as an after school and nursery activity and they were a really tasty treat for a midweek pudding.
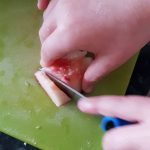
 activities and Ophelia was eating lunch I went about removing the centre of the strawberries. Yes it is a weird concept and it was a bit fiddly. I had to pay a strawberry tax to my daughter so she took the tops I had sliced of and the couple which went wrong at the beginning. She then had a tantrum as I wouldn’t let her eat the rest of them!
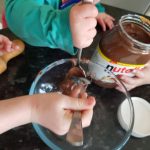
 a teaspoon and return to the fridge until you are ready to eat them.
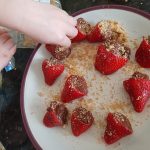 bag and sprinkle crushed digestive over each strawberry just before serving as the biscuit will go soft in the fridge.
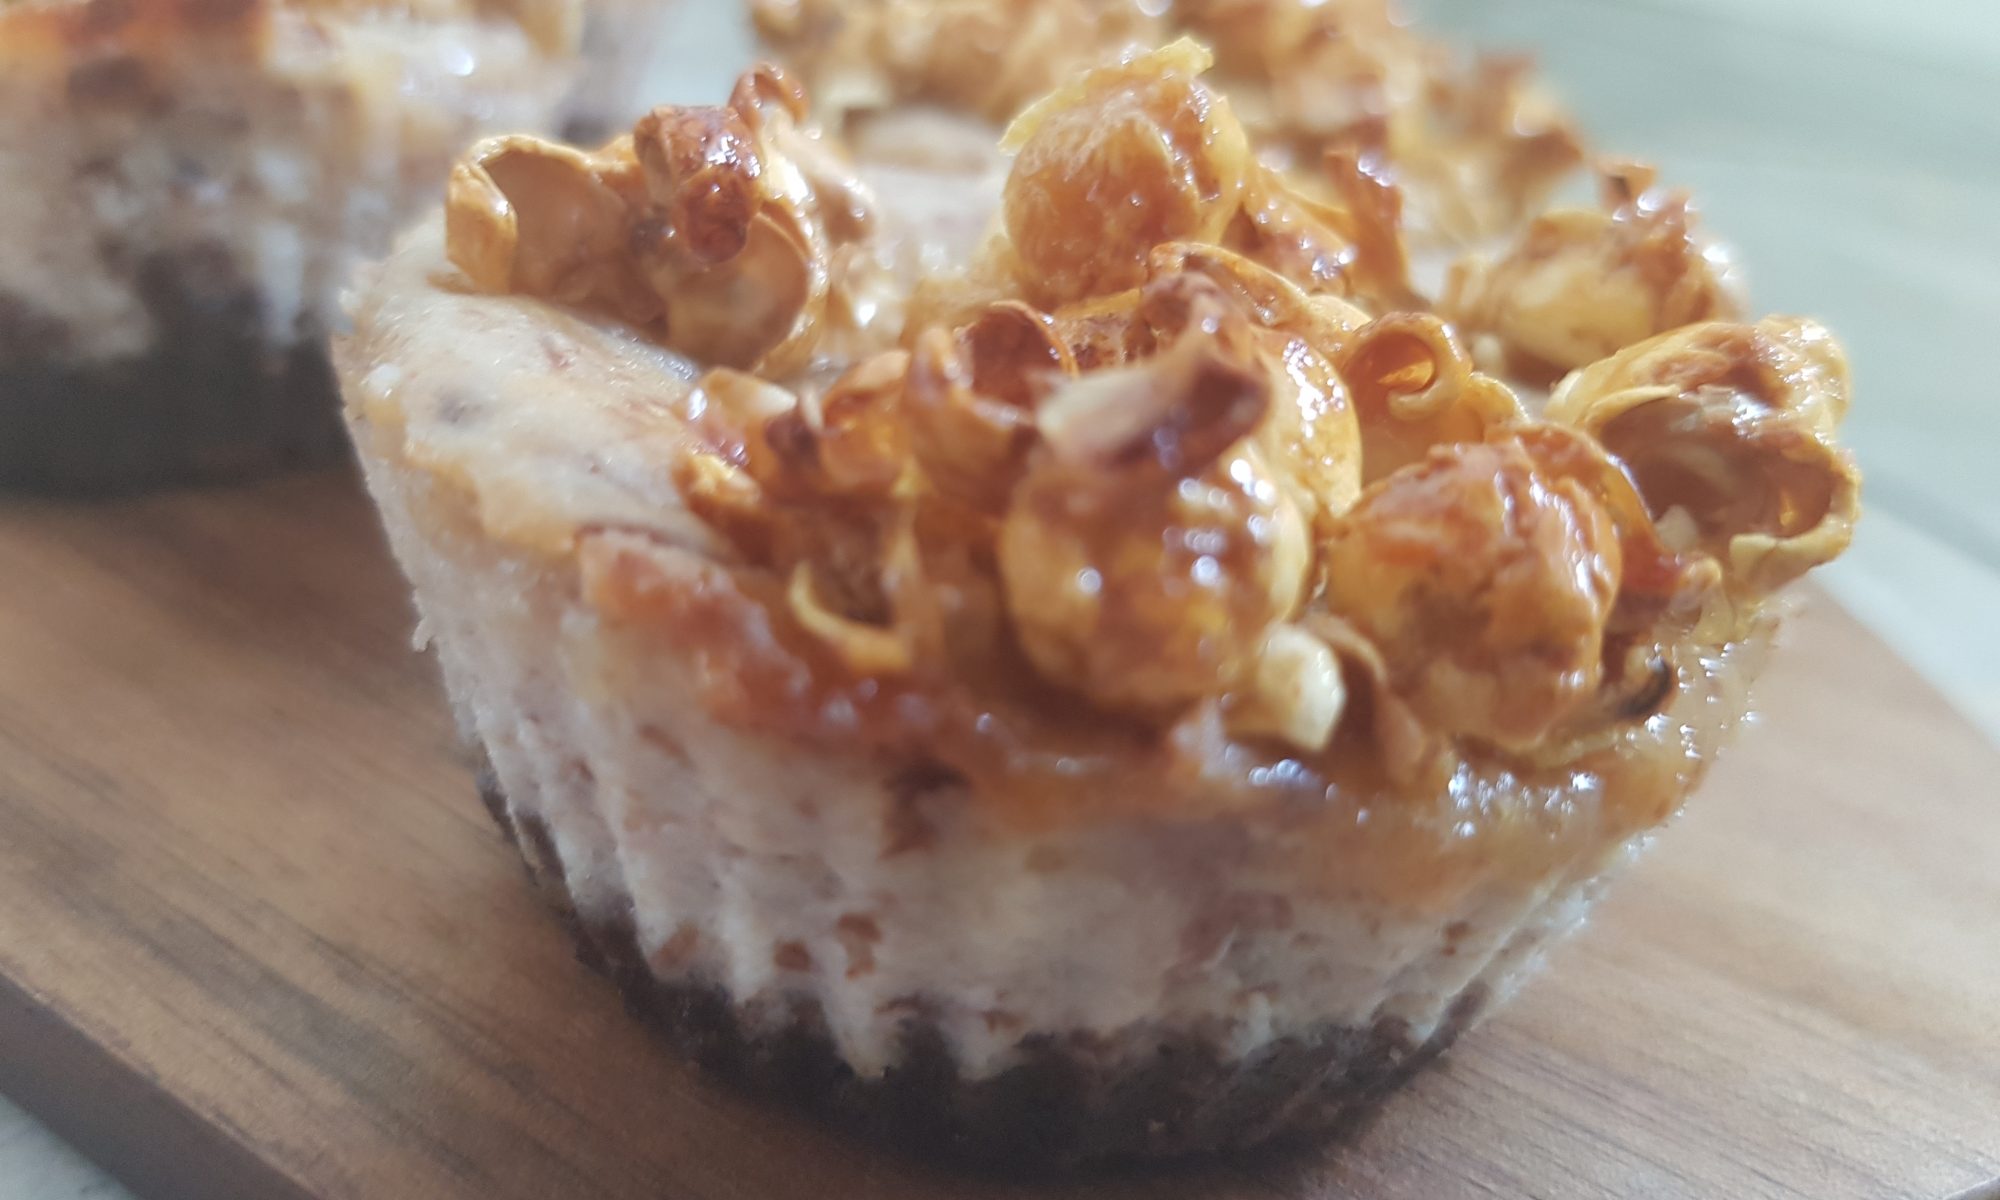
 but I am not a huge fan of cheesecake so I had been putting off making the recipe. That was until I saw Seb inhale a slice of cheesecake at lightning speed at a friend’s house and then I thought it should probably make its way up to the top sooner rather than later. As it happens, we had the grandparents round on Bank Holiday Monday (our front garden is looking a lot less neglected now thank you!) and I thought it would be a good opportunity to try the recipe out and spread the calories around and as a thank you for the manual labour (because essential that is what gardening is) they did. It would have been rude not too, especially when they babysat in the evening too!
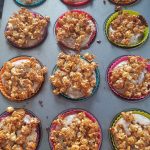
 Place the digestive biscuits into a ziplock plastic bag and crush them with a rolling pin. We also used the rolling pin to roll over the bag of biscuits to ensure that they were all reached. You could also use a food processor, but with kids where’s the fun in that?!
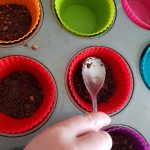 and evenly distribute the crushed biscuits between them and then gently press down with the back of a spoon.
 Divide the mixture between the 12 cupcake cases. This may make a mess, it always does in our house and I really have to fight the urge to step in and take over and correct when they are doing their best.
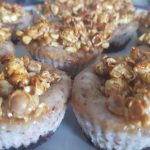
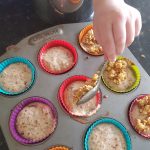 popcorn on each one and return to the oven for another 10-15 minutes until they are set and springy to the touch.
 Remove the cheesecakes from the oven and cool in the tin. Then place in the fridge before removing from the silicone cupcake cases. I have found it is easier to remove them without casualties once they have been in the fridge for a little bit.
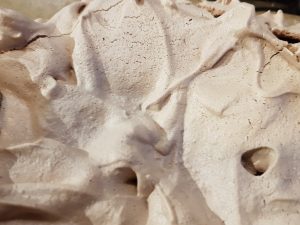
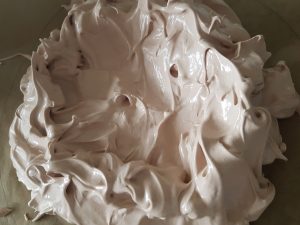
 ‘frothy’ and exclaim in delight as the egg whites expanded in size during whisking. Cooking is definitely a huge support for language as well as maths skills for little mischief makers. It was also lots of fun to dollop the meringue mixture onto the baking parchment and trying to make sure it stayed inside the circle we had drawn around a plate to mark out where it should be.