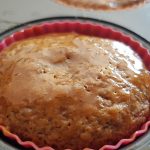
Welcome to my first blog post from the Southern hemisphere! I apologise for the somewhat haphazard recipe, but I must confess I have no scales so all measurements were in cups, well mugs actually, and I doubled the recipe below as we were using a roasting tin. The latter doesn’t bother me though; it merely means that we have more flapjack than I originally planned. Faithful readers are bound to have had enough of me droning on about my love of flapjack, but I shall repeat – my love for flapjacks runs deep and true. I am, however, point blank refusing to buy more baking equipment when we should be receiving my stuff at the end of next month. We shall see how firm my resolve is after another fortnight without my stuff, but for now it is cast-iron strong and not at all faltering…
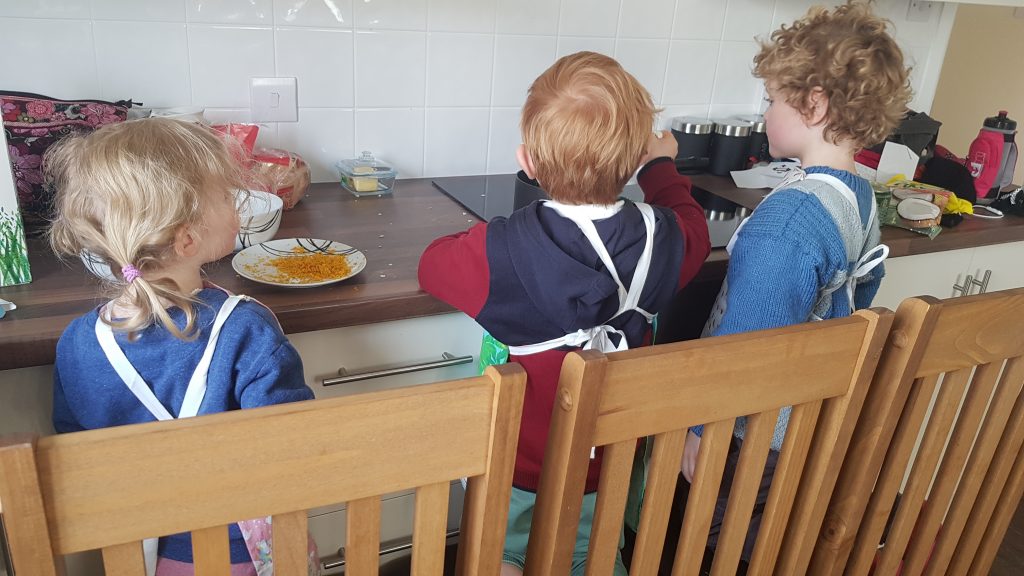
We are starting to settle into our new home, well we must be if the kids are in the kitchen. It was a bit touch and go when I realised that we had no hangers, but I solved that problem so nearly everything has a home with my slightly wonky logic. I really do hate unpacking so Simon may well have had to delve into his savings of patience while I was putting off the inevitable chore!
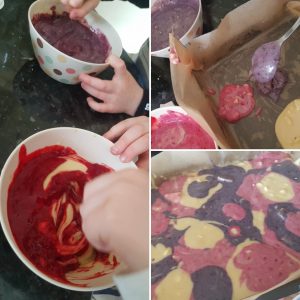
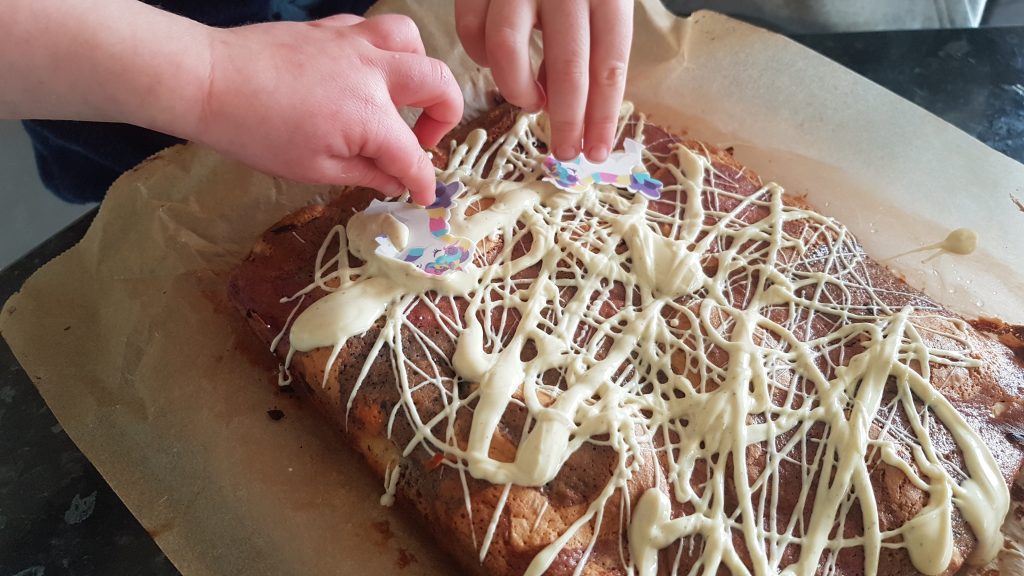
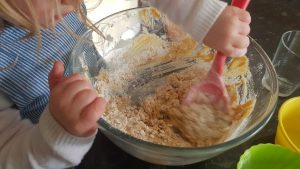
Our kitchen set up here is a little different, and to tell the truth it may well take some getting used to, don’t think for a second that the kids would let any of this hinder us. I did let Ophelia wash up after this and I did think that it was going rather well and then I realised that she had used nearly an entire bottle of washing up liquid! Why oh why did I turn my back on her?!
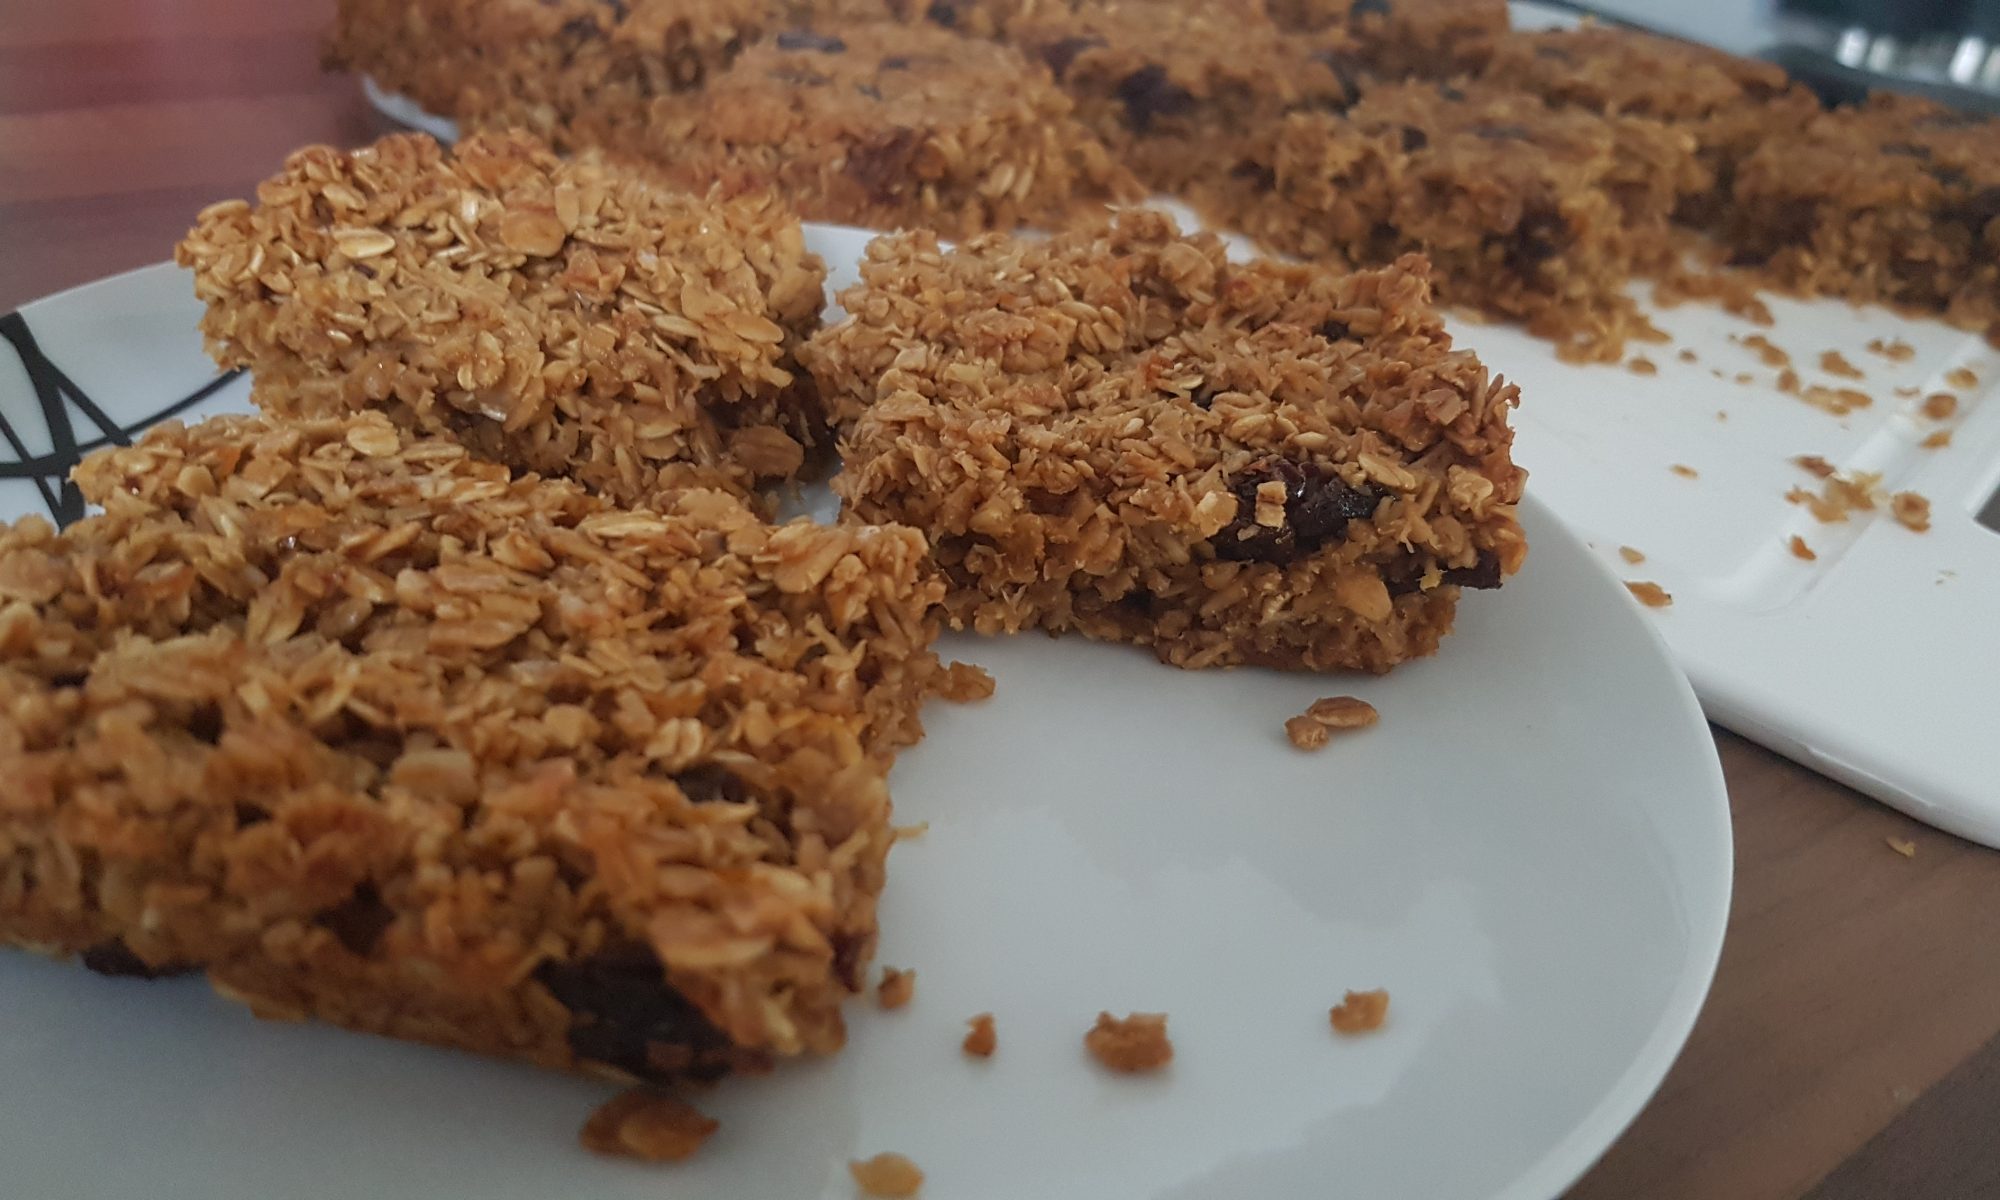
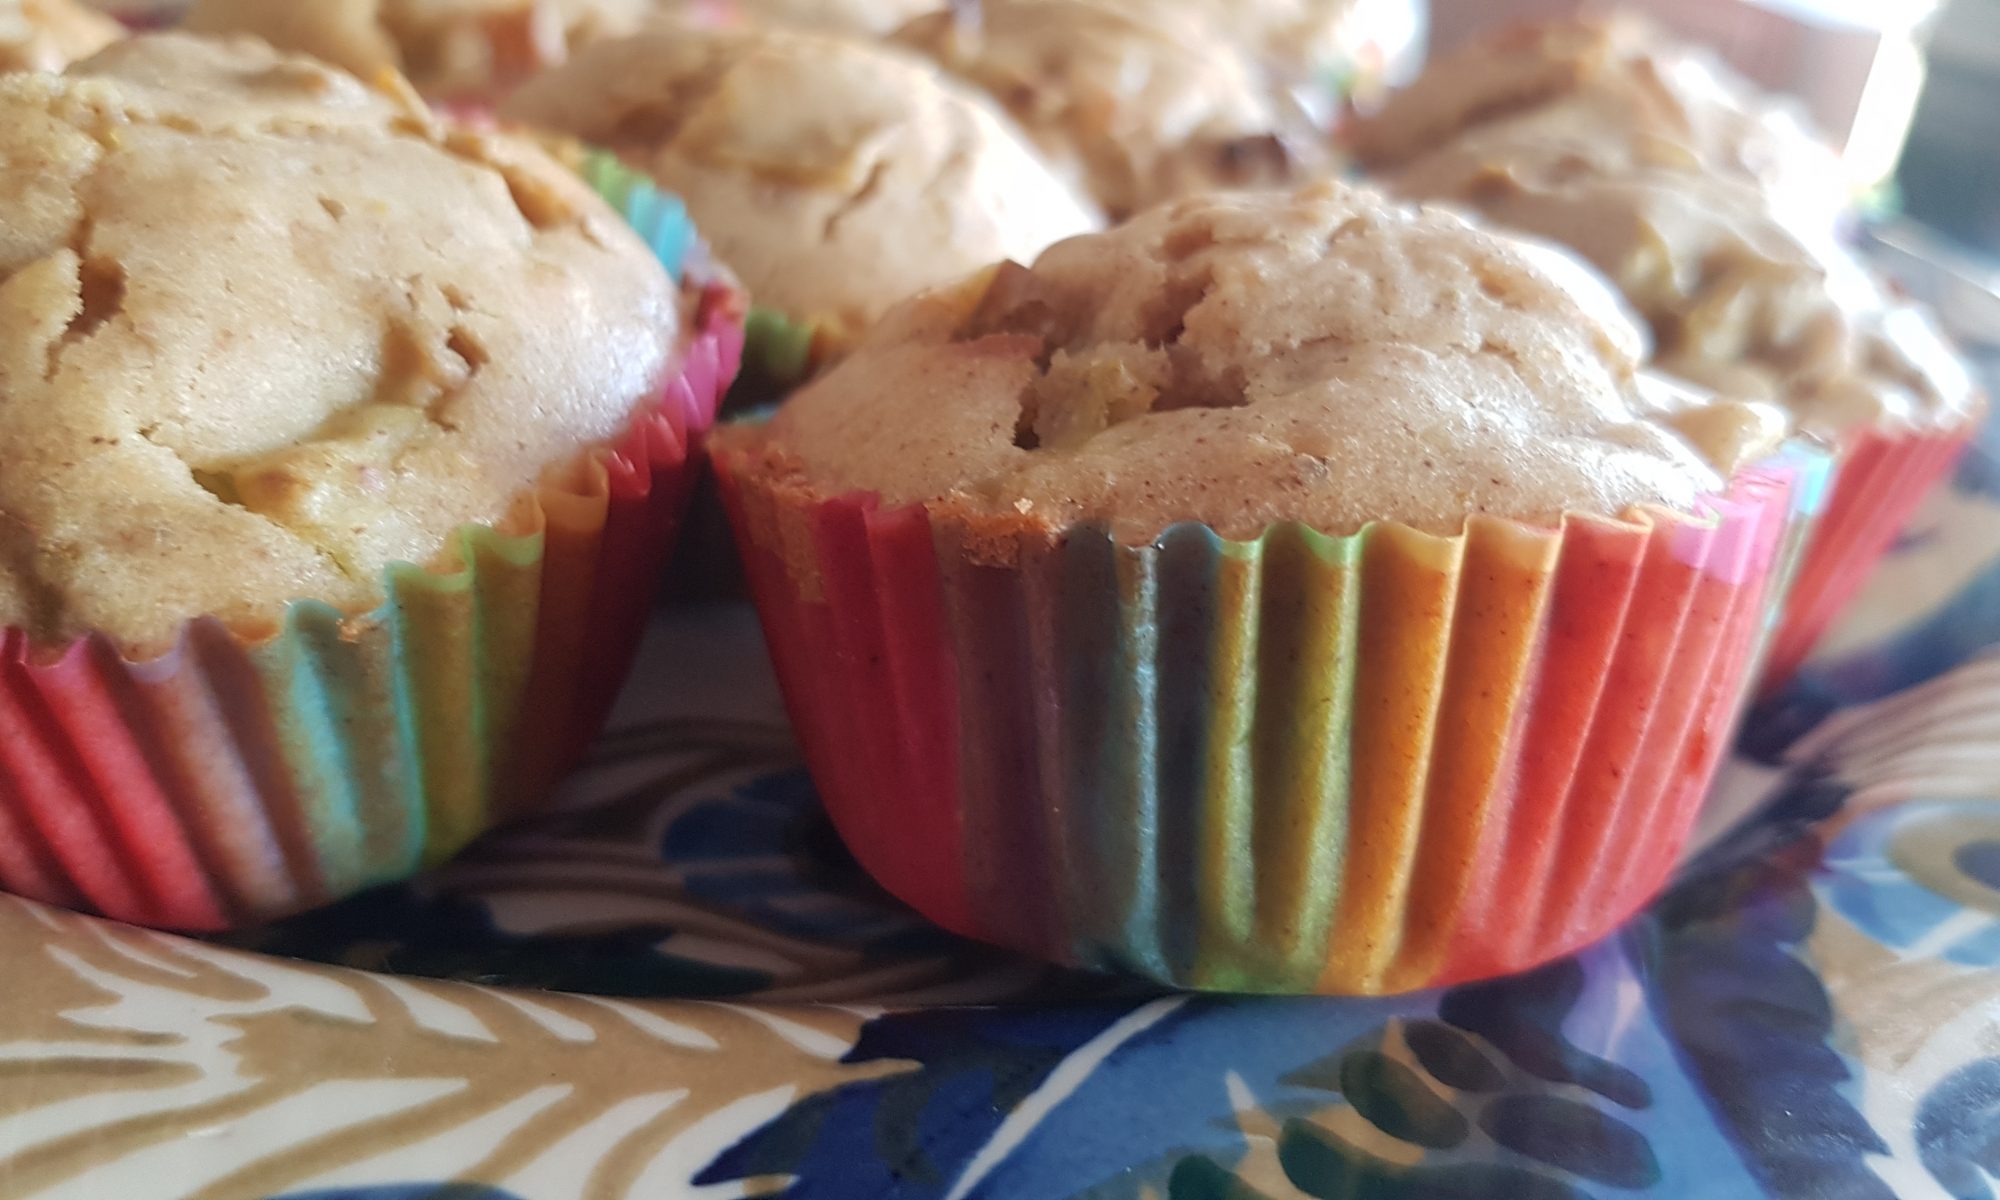
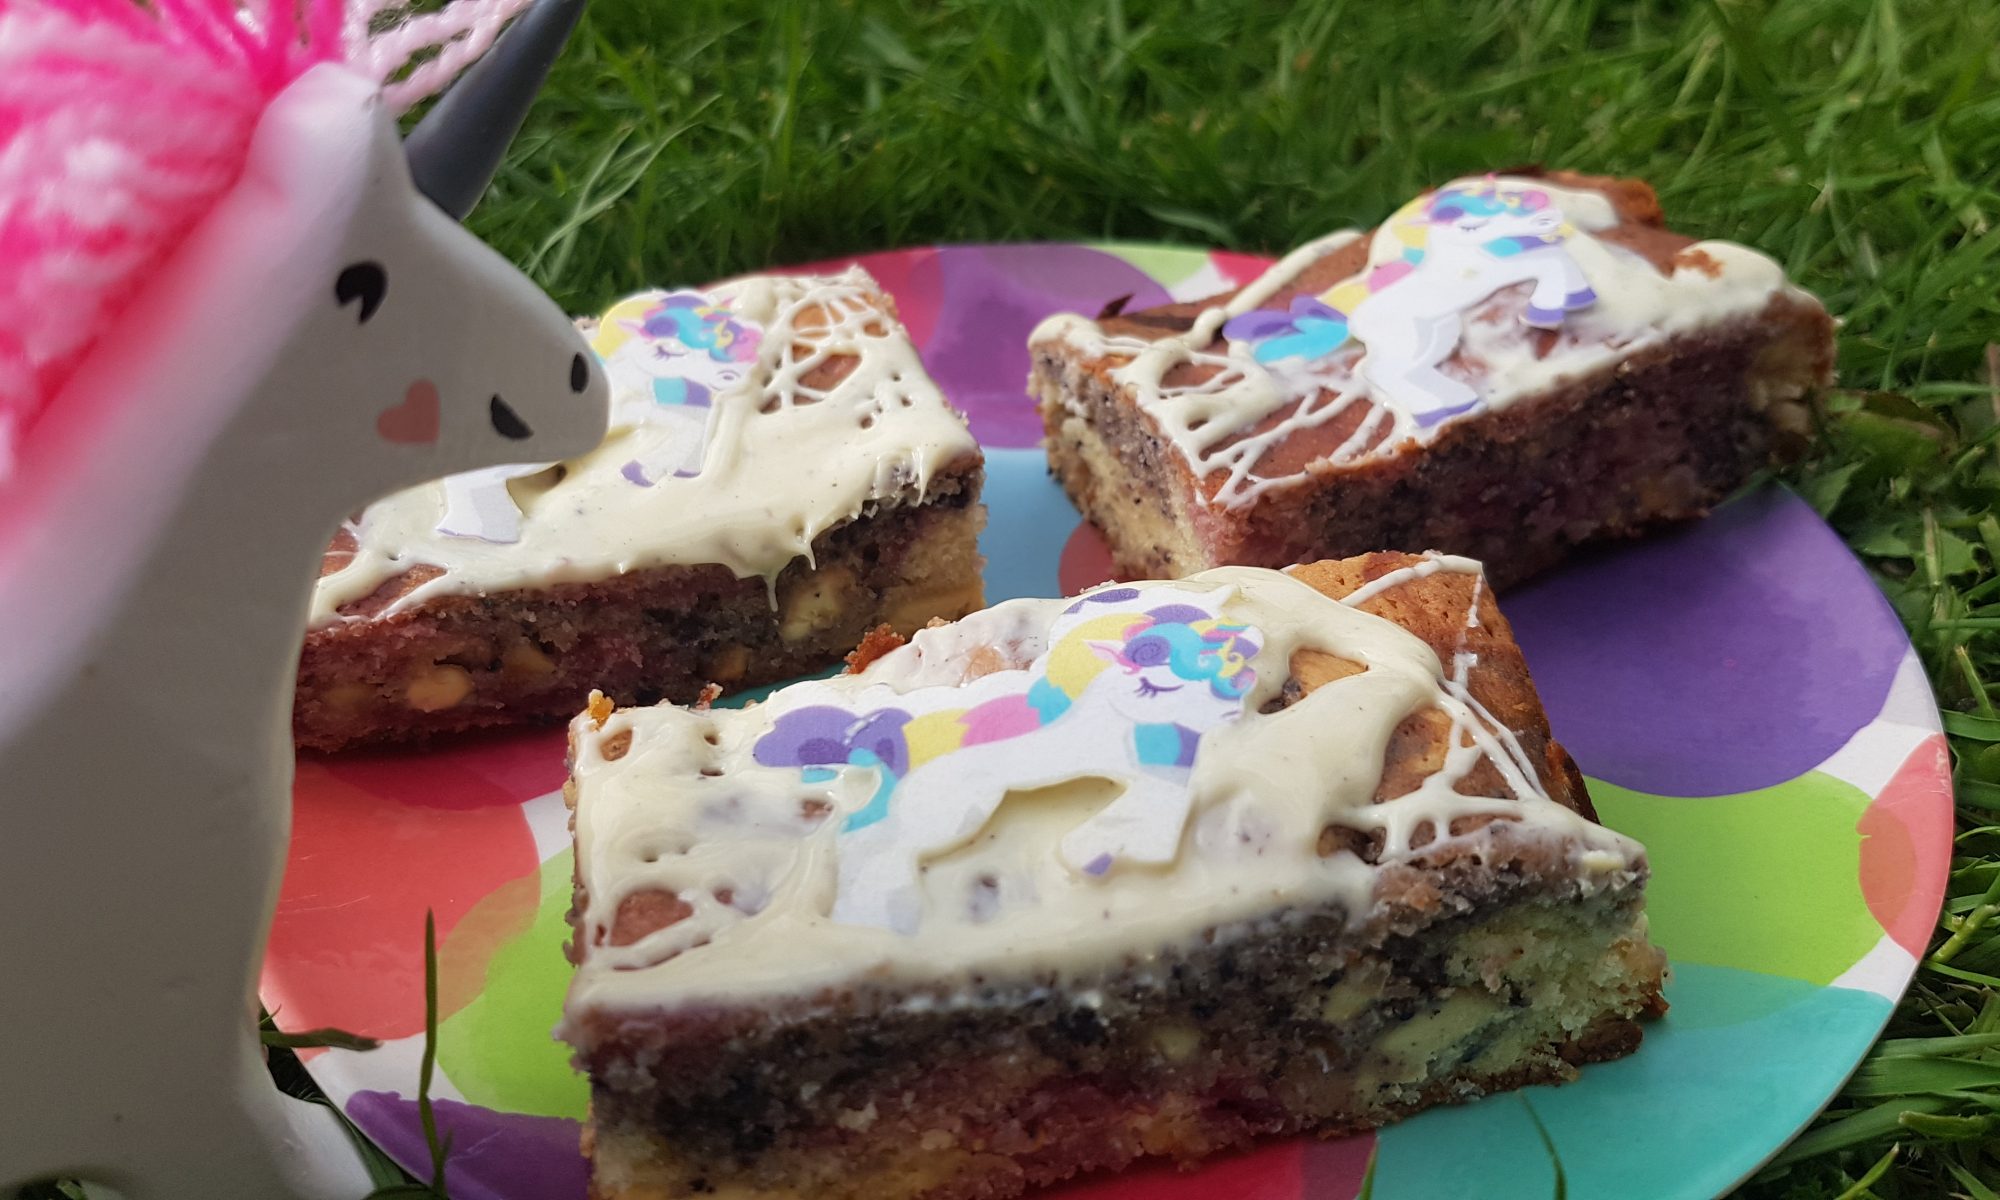
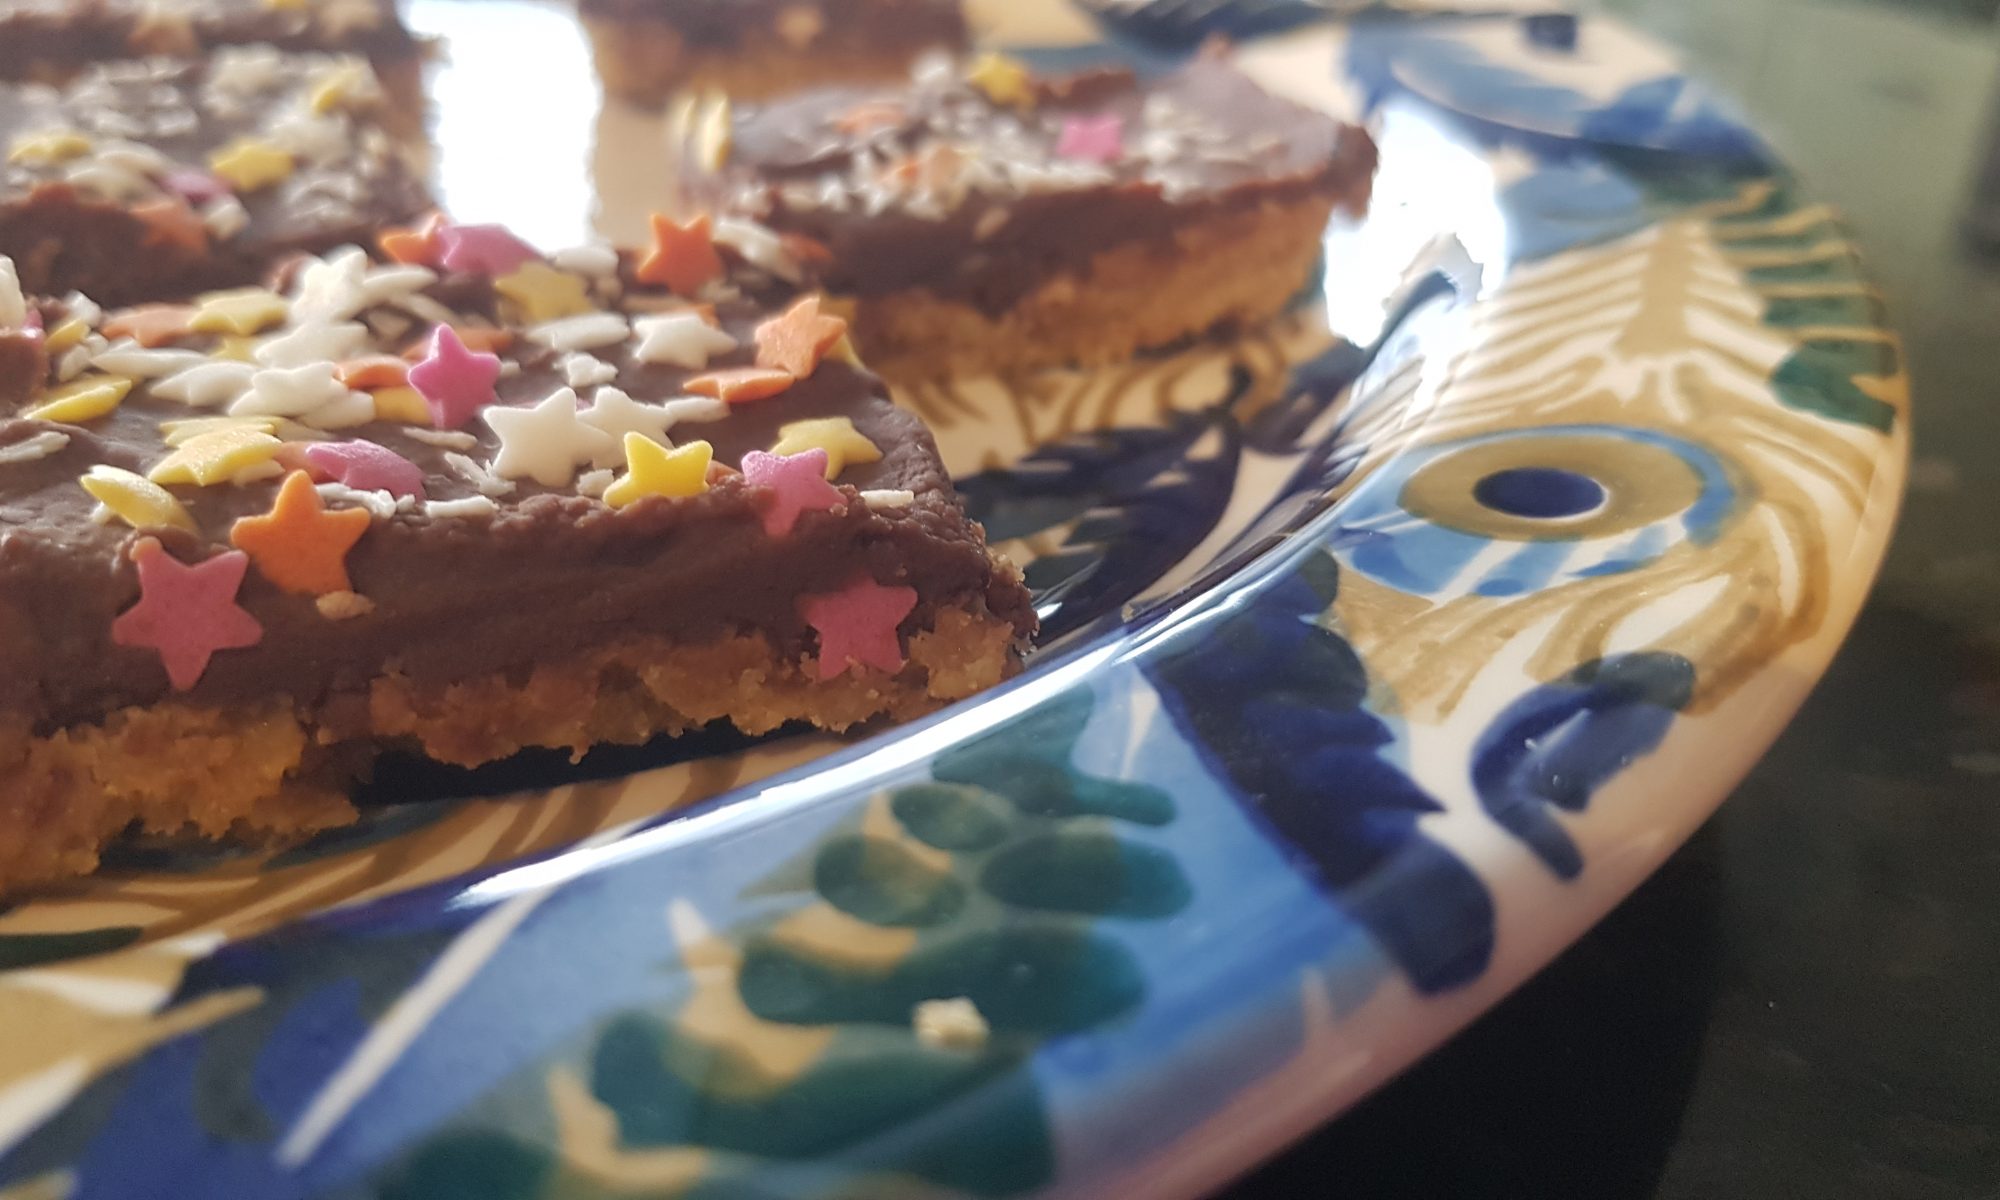
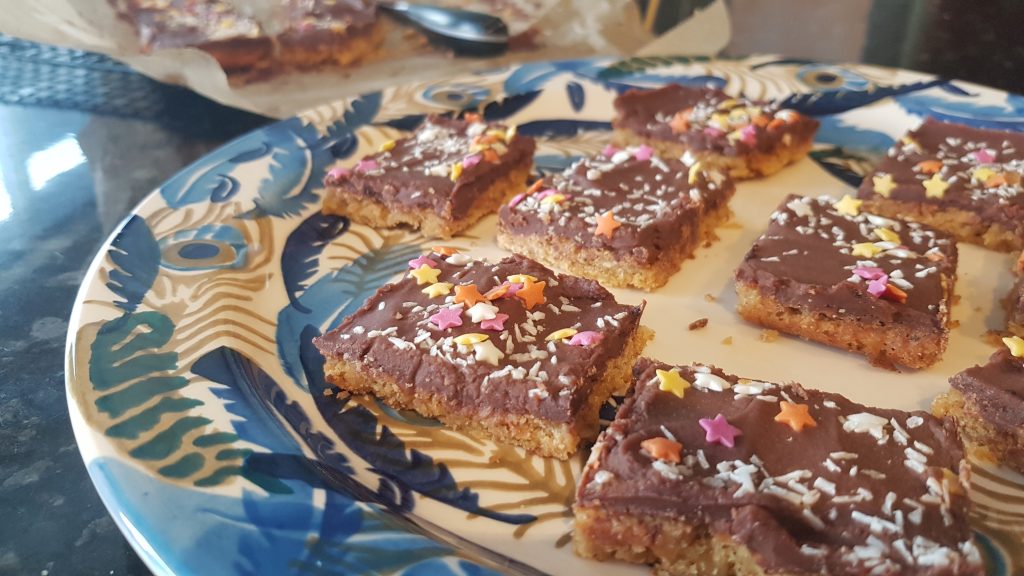
These are Tropical Flapjacks as they contain orange juice and zest, raisins and desiccated coconut. Tropical in flavour but, it’s just a shame that the August weather in Stanley doesn’t match the summery fruity vibes of these yummy flapjacks. They make me think of sunny memories in Loughborough and Surrey before our departure from the UK. They are perfect for after school snacks (if you are lucky enough that your angels have returned) or puddings or even if the kids are driving you around the bend and you need a little treat.
Ingredients
- 1/2 cup of butter or margarine
- 1/2 cup of brown sugar
- 1/4 cup of golden syrup
- 1 cup jumbo oats
- 1 cup regular oats
- 1/2 cup of desiccated coconut
- zest of 1 orange
- 60g raisings
- 3tbsp orange juice
Method
- Preheat the oven to 140°c fan.
- Grease a brownie pan or medium-sized roasting tin if you double the recipe like we did!
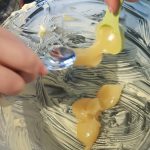
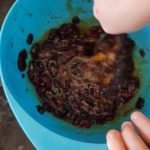
- Put the raisins in a bowl and cover with the orange juice.
- Melt the butter, sugar and golden syrup over a low heat.
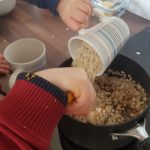
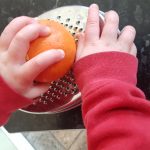
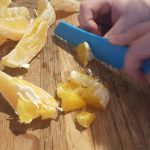
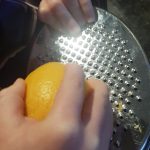
- Zest the orange, we used a box grater for this – I did have to remove it from Finch as he was about to grate the orange as well.
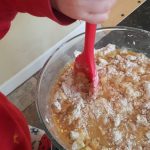
- Pour both types of oats, the desiccated coconut, the orange zest and the raisins into the melted sugary mixture and mix with a wooden spoon until completely combined.
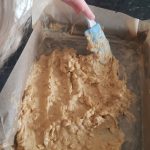
- Dollop the oat mixture into the tin and gently spread it around with the back of the wooden spoon. Make sure there is an even layer.
- Cook for 20-25 minutes until the flapjacks are golden. Allow to cool in the tin before removing and slicing.
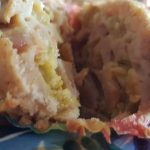
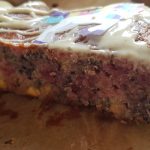
As usual, I demonstrated my lack of patience by endeavouring to slice them before they were fully cooled. Despite the fact that they crumbled a bit, they were really yummy. I think the kids will have to keep a close eye on me tomorrow morning to ensure that I don’t decide to eat the rest of them for breakfast!


 I am certainly making up for that now. I can’t seem to shake the need to buy Bounty bars or to make copious bakes with the chocolate and coconut combination. I do have to try an find a more inventive place to hide my secret stash of chocolate though as my husband has discovered it and I need to ensure its safety!
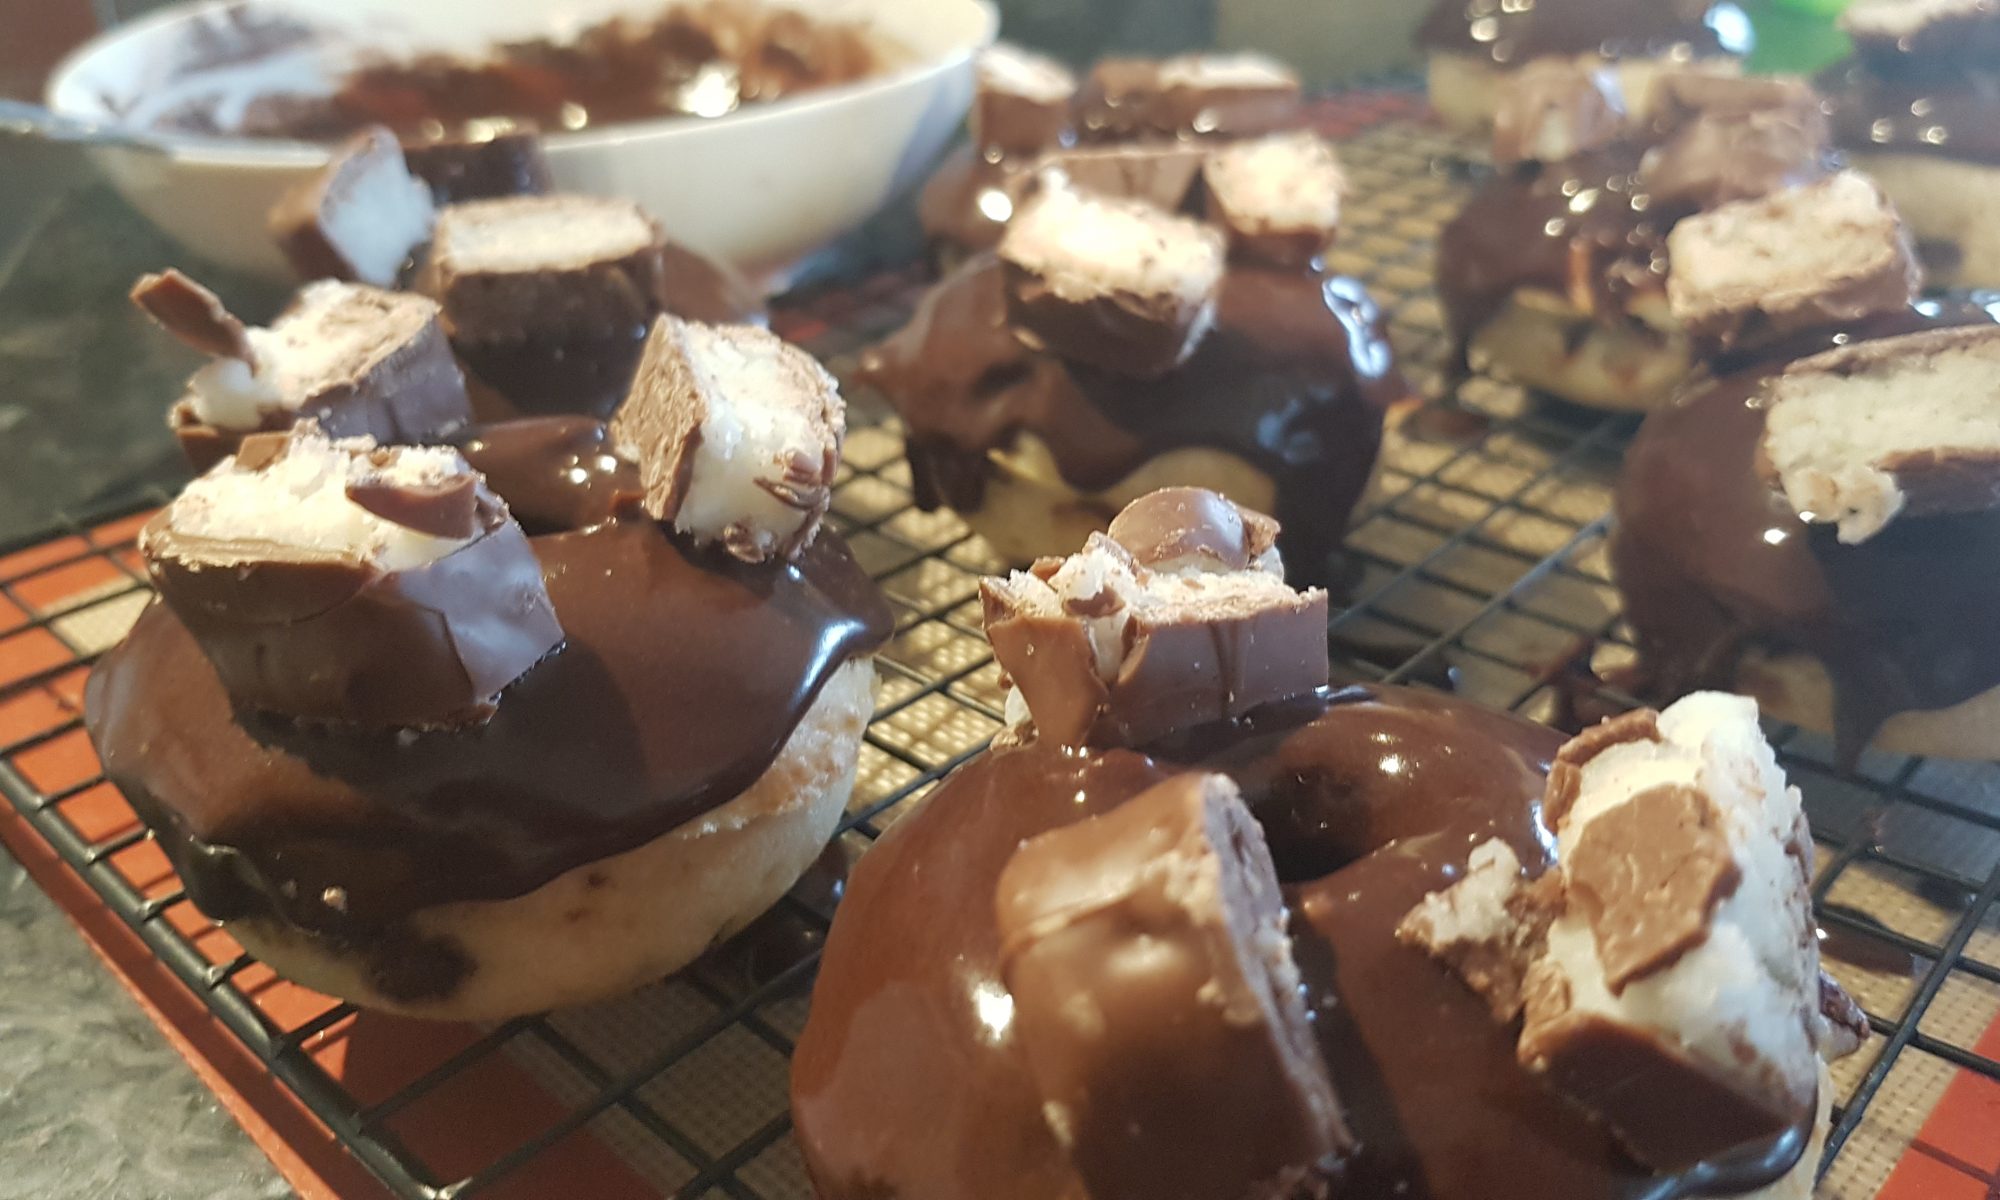
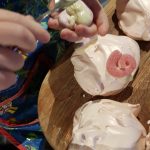
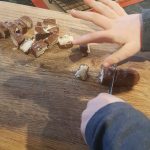 doughnuts to showcase the chocolate-coconut combination and decorate with pieces of Bounty bars. The whole process was really fun, but for the kids the best bit was dunking the doughnuts and then counting out the three slices of Bounty to decorate them. I would be lying if I said these survived 24 hours in our house. I won’t tell you how long they lasted, but I can guarantee I didn’t eat the majority of them. I am surprised by this (I have a very big sweet tooth), although you may not be.
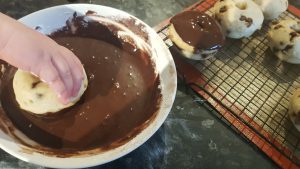 This glaze needs to be quite thick for the Bounty slices to stay on well. You may need to add extra icing sugar.


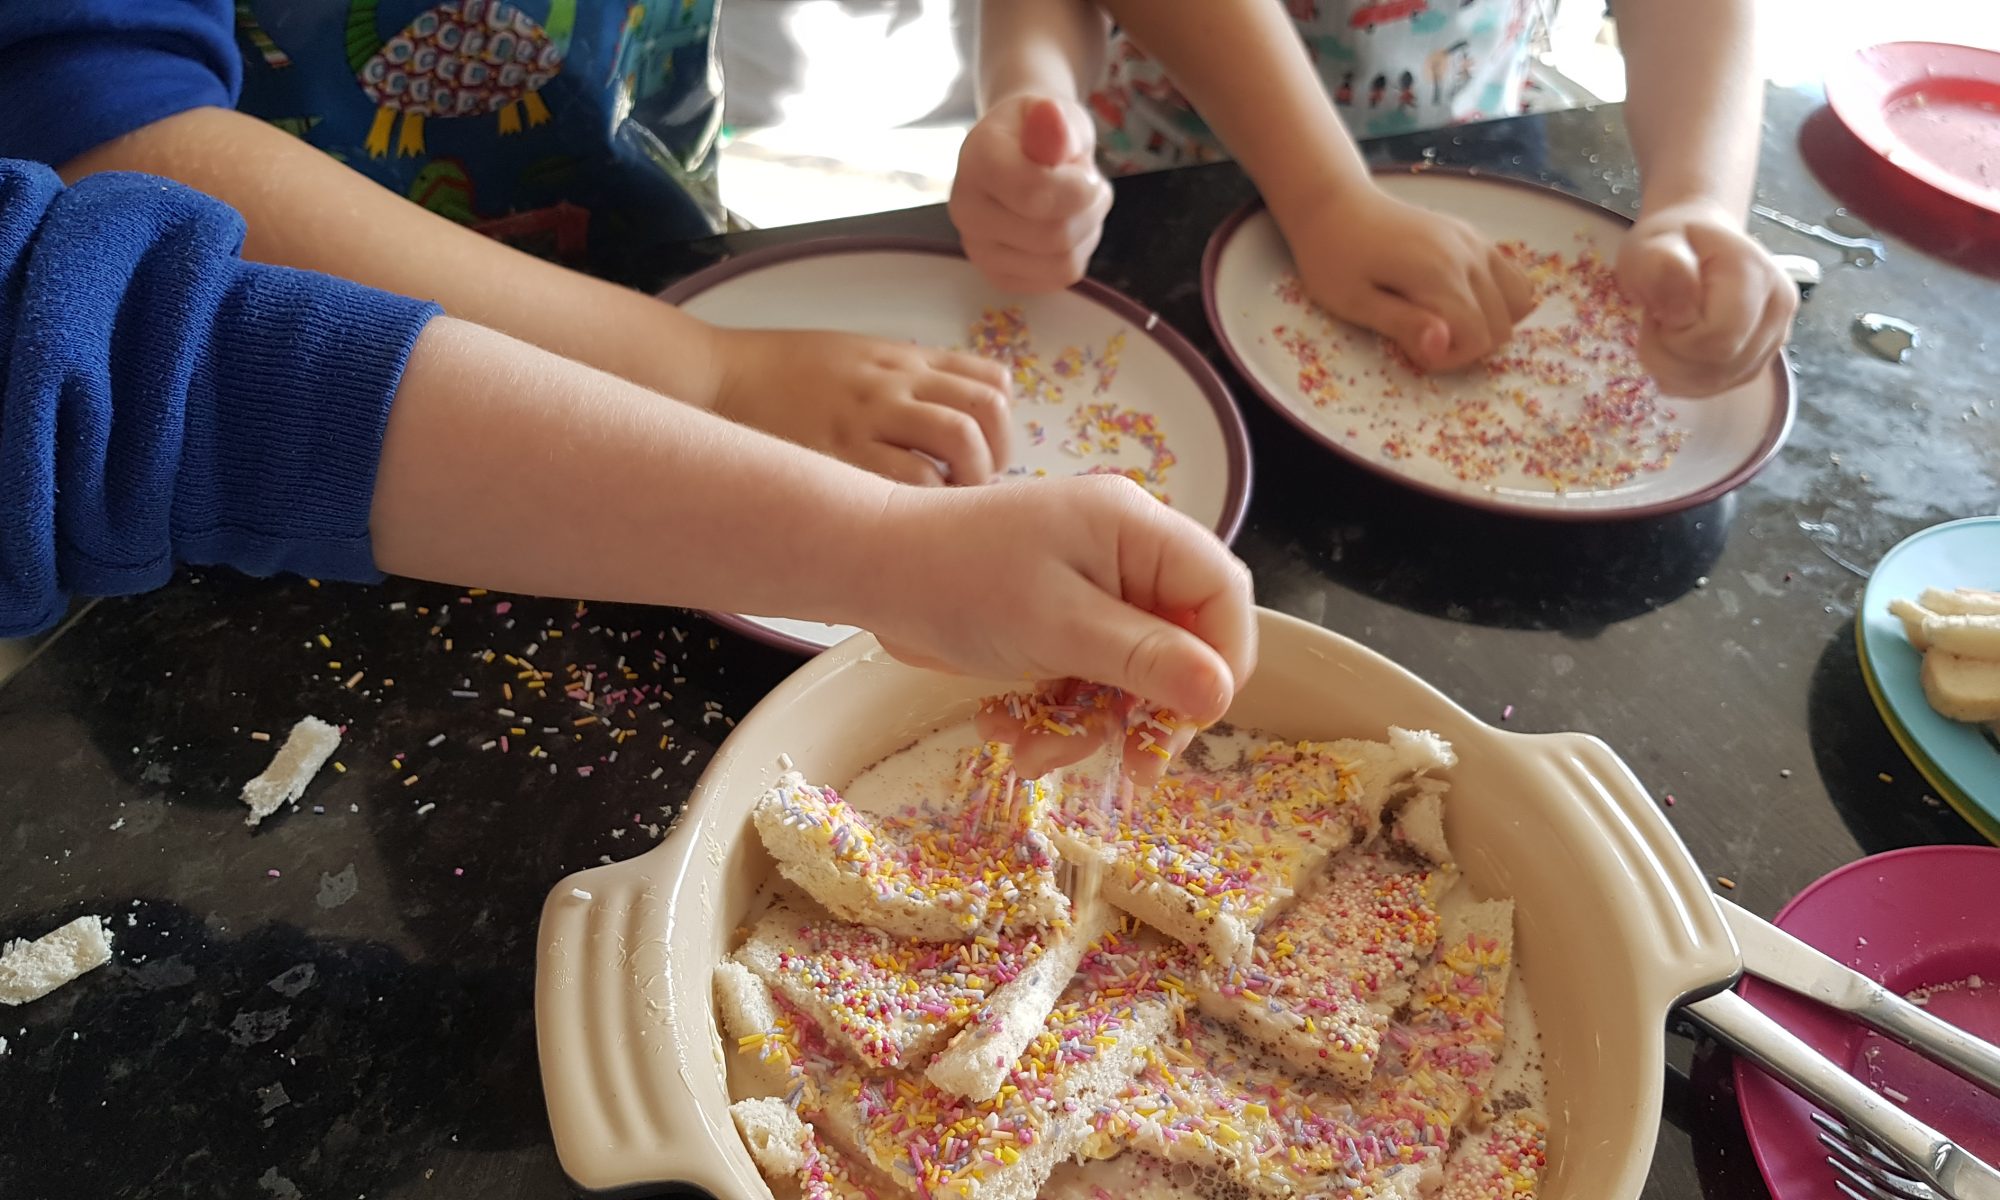
 Confession time; our kids have fairy bread when we really need to go shopping, but haven’t quite made it. Normally when I need to wait for Simon to return from work as I can’t stand the idea of braving the supermarket with three children in tow. Have I mentioned how much I really hate taking children to the supermarket?! I recently discovered that taking Ophelia was far from the mother-daughter bonding time I was anticipating. I made the mistake of attempting to use the self service scanner and she managed to reset not one, but two machines in the space of 20 minutes. I really don’t know what she was doing to them. She’s two, and she managed it twice! We had to go through the tills instead. I had to take a couple of really deep breaths to prevent me from having a tantrum on the floor of the supermarket. She remained oblivious to my frustration and continued to chat to everyone with whom she could make eye contact.
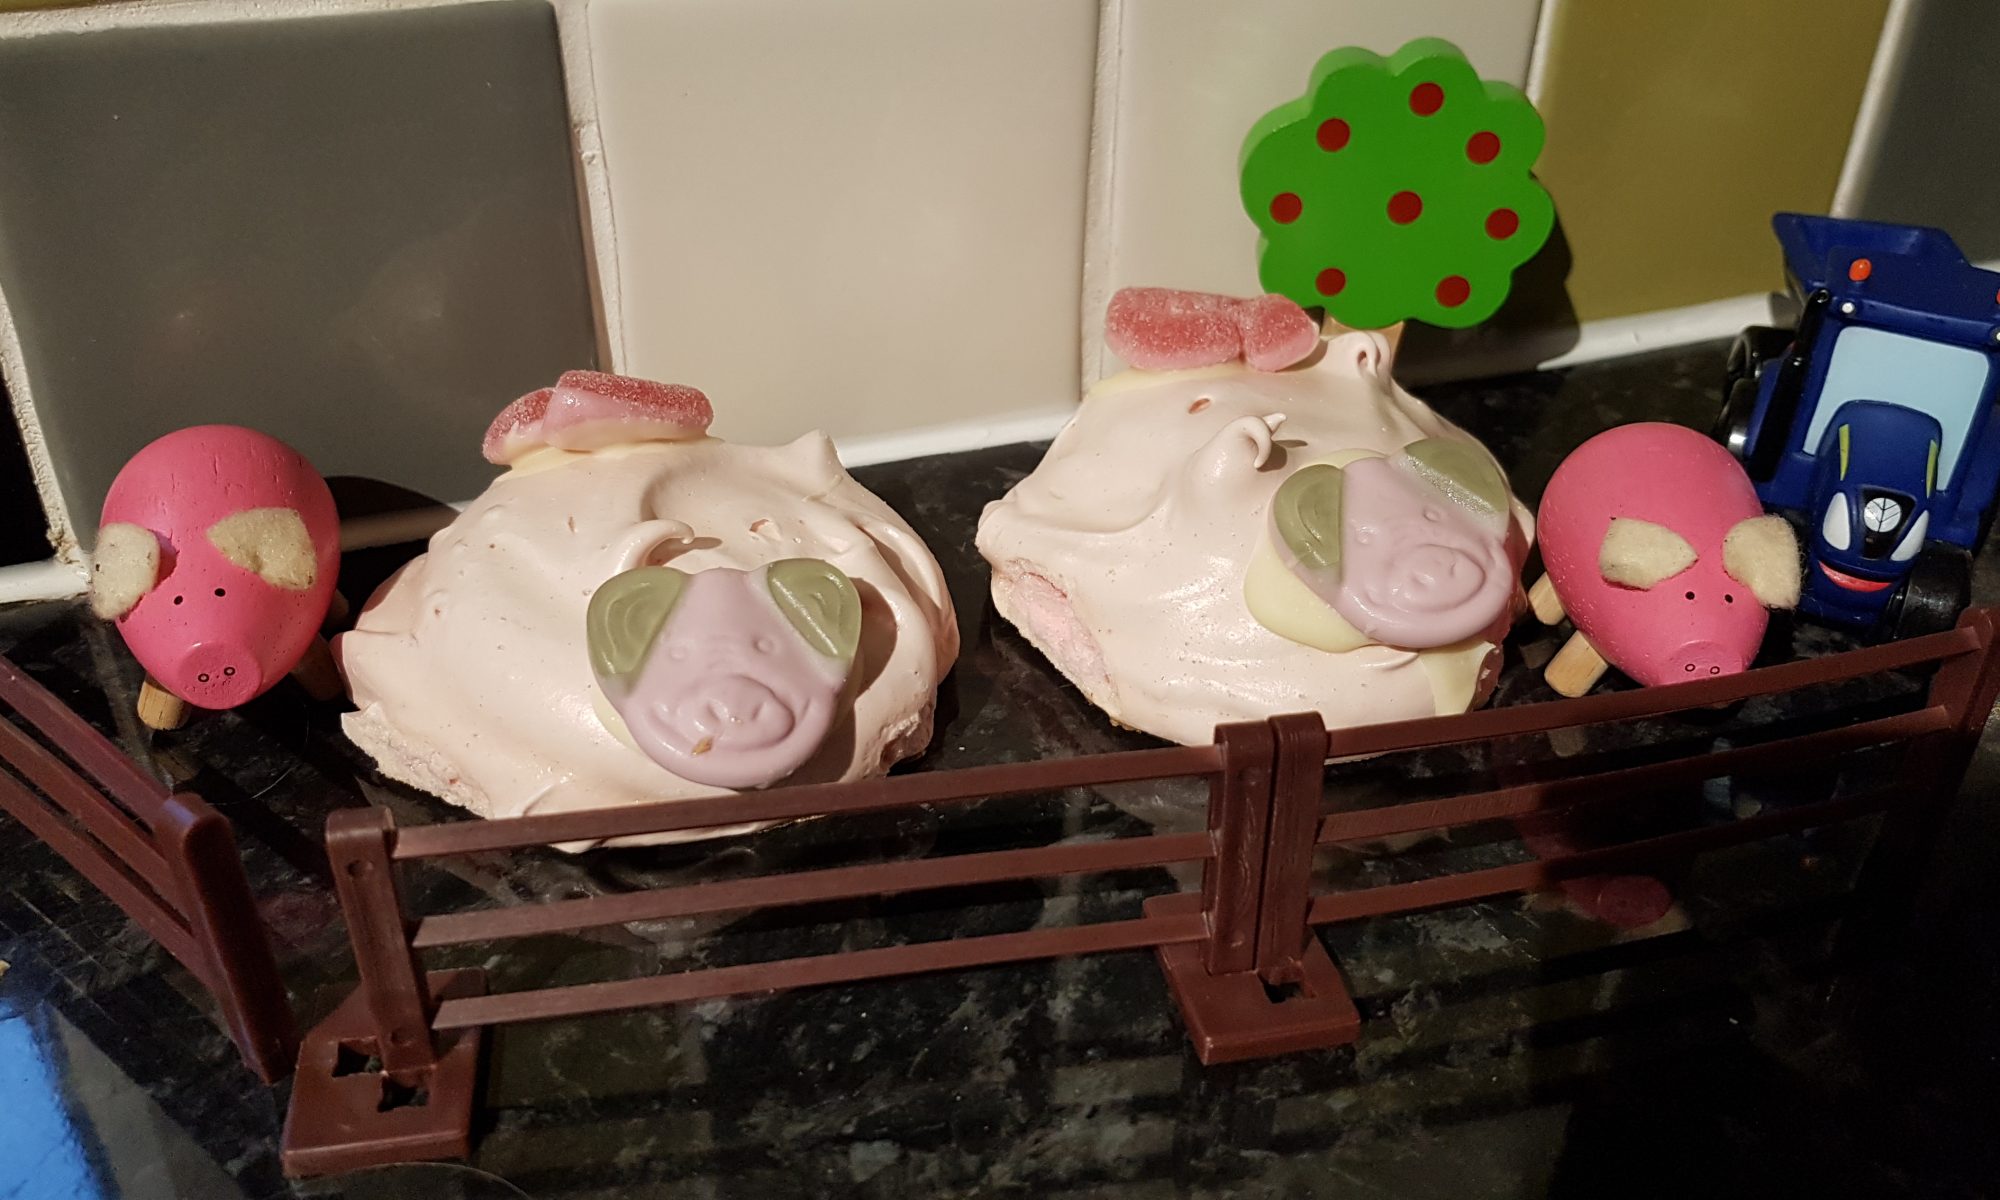
 it would be fun for them to make the pudding. I had been wanting to try Fairy Bread and Butter Pudding for a couple of weeks, but wanted to leave it for a special occasion and this seemed to be it. I was somewhat concerned that the sprinkles would just dissolve or leak their colour out. They did do the latter a bit, but it looked really fun and everyone had a lot of fun so I am going to declare it a success. You could use darker coloured sprinkles and they would then be more visible.
 Preheat the oven to 170°c fan.
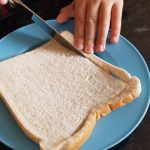 pastry brush.
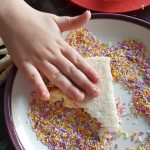 triangles.
 Crack the egg into the milk and mix together thoroughly.
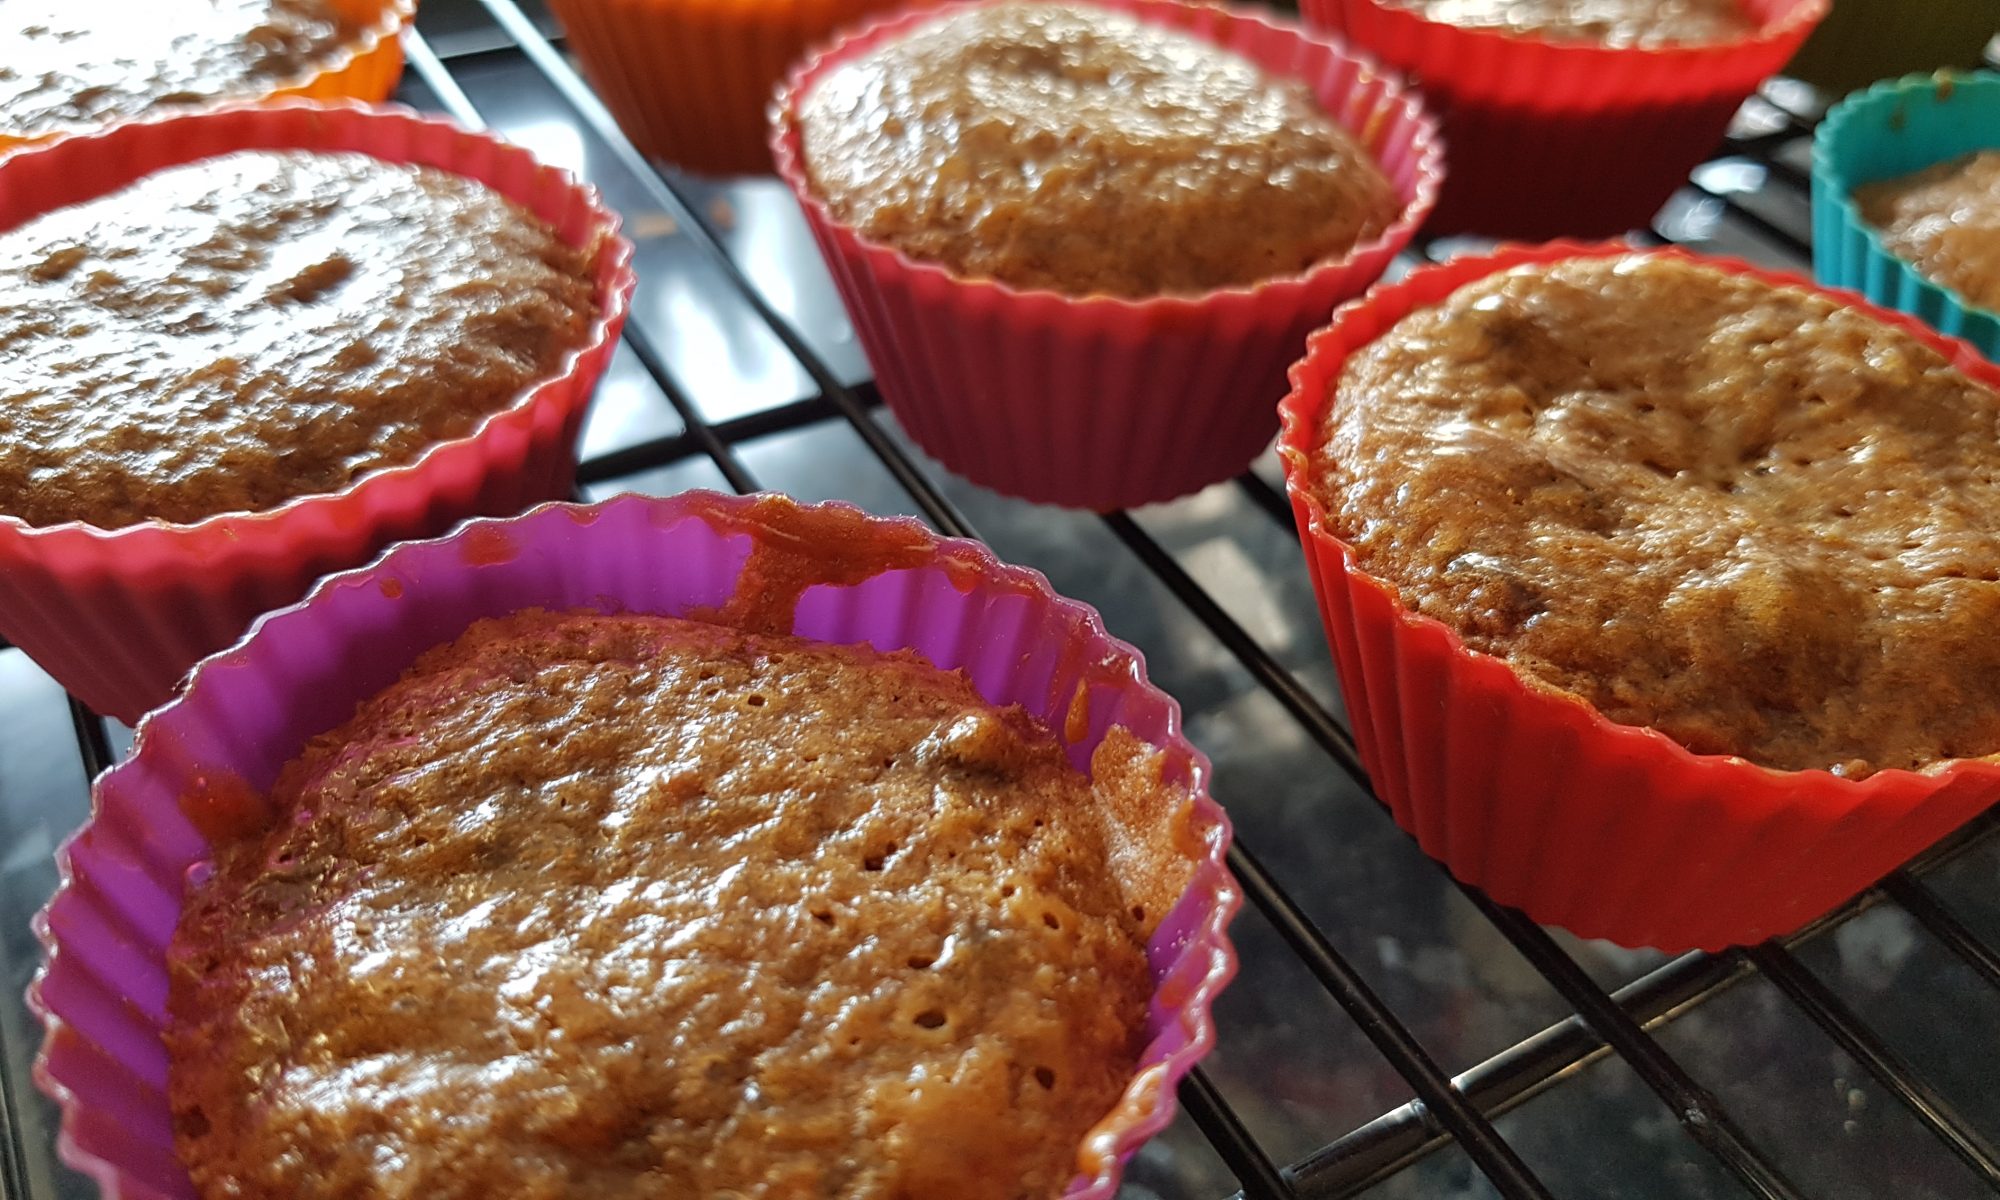

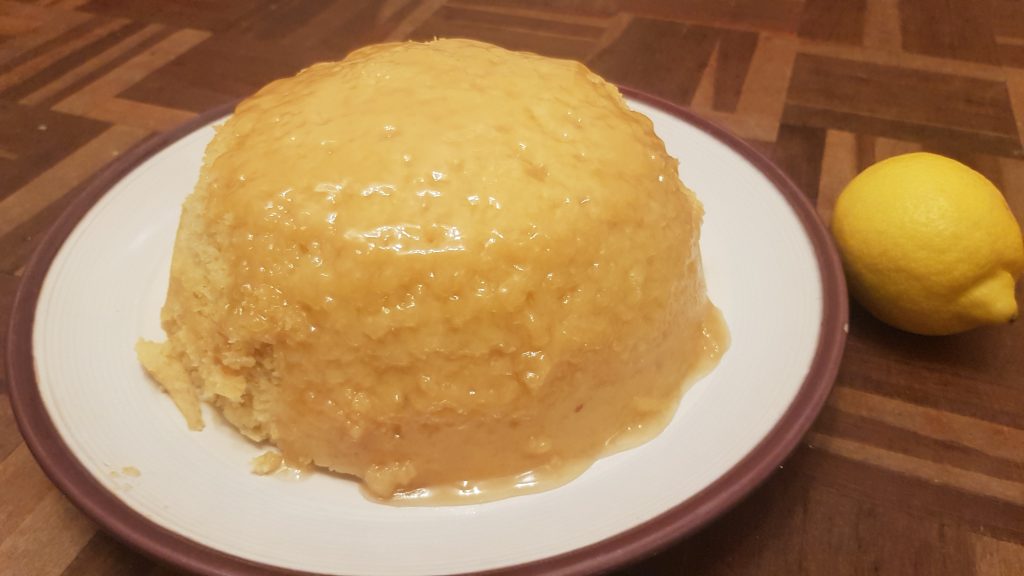
 Pour the hot tea into a medium-sized bowl and add the dried fruit, the sugar and the malt extract. Beware, the malt extract isn’t as thick and viscous as it looks and it comes out rather quickly! Mix well until fully combined.
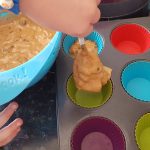 and put in the oven to bake for 17-20 minutes until they are firm
  and well risen.