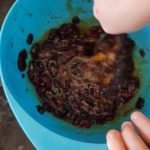
 Bananas are a problematic fruit in our house. Up until recently Seb was the only one who would even contemplate eating them. Then about a fortnight ago, Atticus decided that he does now like bananas. When Atticus announced that he liked bananas (it did feel somewhat like a proclamation at the time), all of a sudden, I had to increase the weekly amount of bananas. This, however, then left me with a plethora of bananas
 as it turns out that Atticus’s new found love of bananas only really means he likes bananas on some days and sometimes only three quarters of a banana. Seb has taken to finishing off stray bits of Atticus’s bananas and I had to search for recipes to use up the overripe bananas that no-one wanted to eat. Rest assured, I have now reduced the weekly amount of bananas again – I can always go and buy more later in the week!
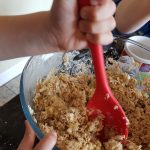
 This recipe was a ‘What do I make with all the bananas that isn’t cake?’ recipe. It is an easier way of making flapjack with small children as it has no stove time; banana, oil and golden syrup bind it together. I made these with Ophelia and she really enjoyed making them and then proudly sharing them with her big brothers.
Ingredients
Recipe adapted from The Tickle Fingers Toddler Cookbook
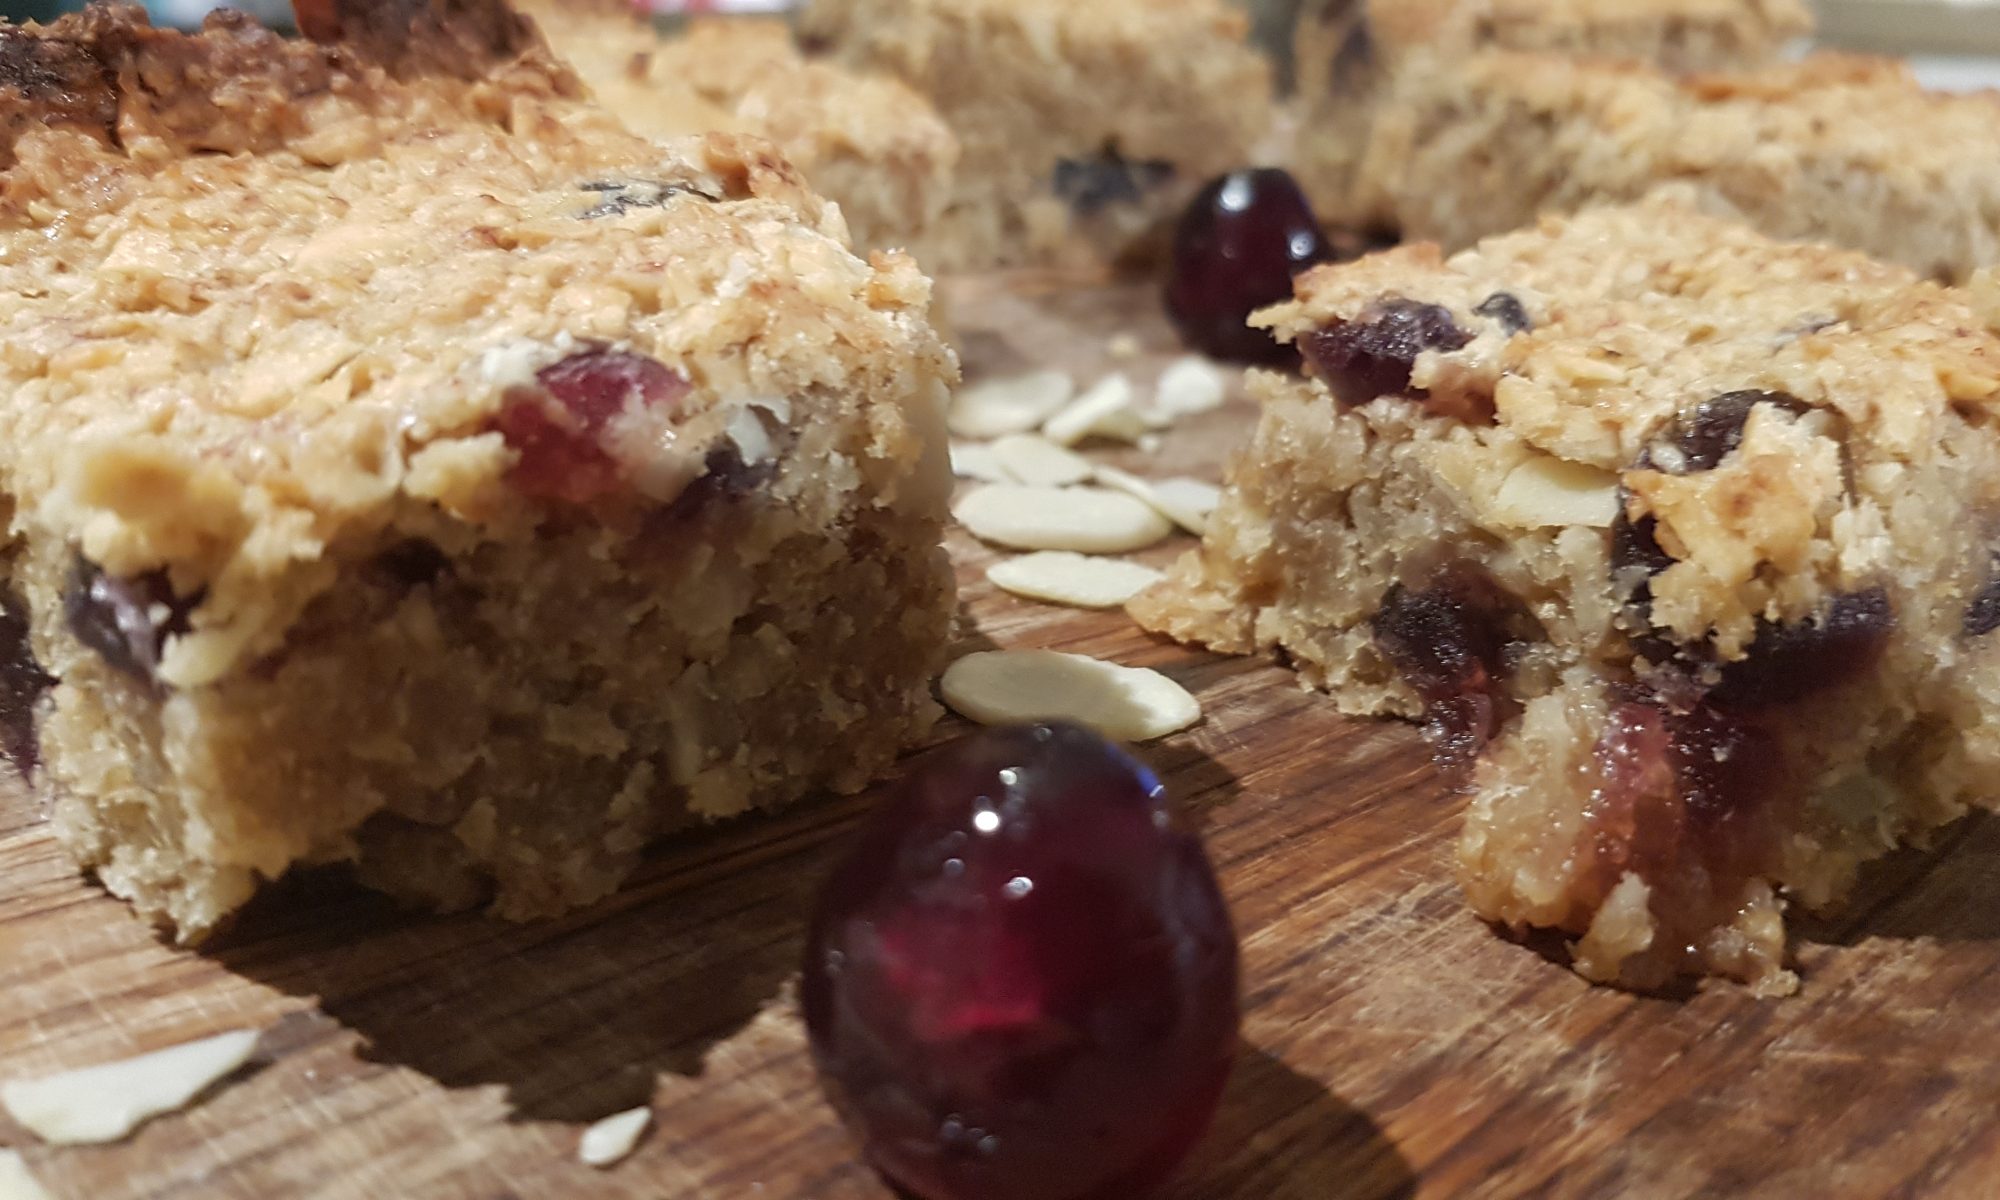
- 2 ripe large bananas
- 9 tbsp vegetable oil
- 5 tbsp golden syrup
- 325g oats
- 75g slivered almonds
- 30 natural coloured glacé cherries
Method
- Preheat the oven to 170°c fan and grease and line a 20cm (or slightly smaller) square tin. Our tin was a bit smaller (16cmx18cm) with thicker flapjacks.
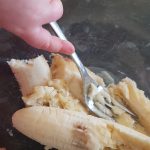
- Put the bananas into a large bowl and squish and squash with the back of a fork until smooth.
- Add the oil and the golden syrup and mix until fully combined.
- Count out the cherries and slice in half with a table knife or pull apart.
- Add the oats and almonds and mix.
- Add the cherries and mix again until they are evenly distributed in the mixture.
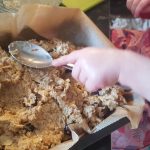
- Transfer to the tin and flatten with the back of a spoon.
- Place in the oven for 30 minutes until golden.
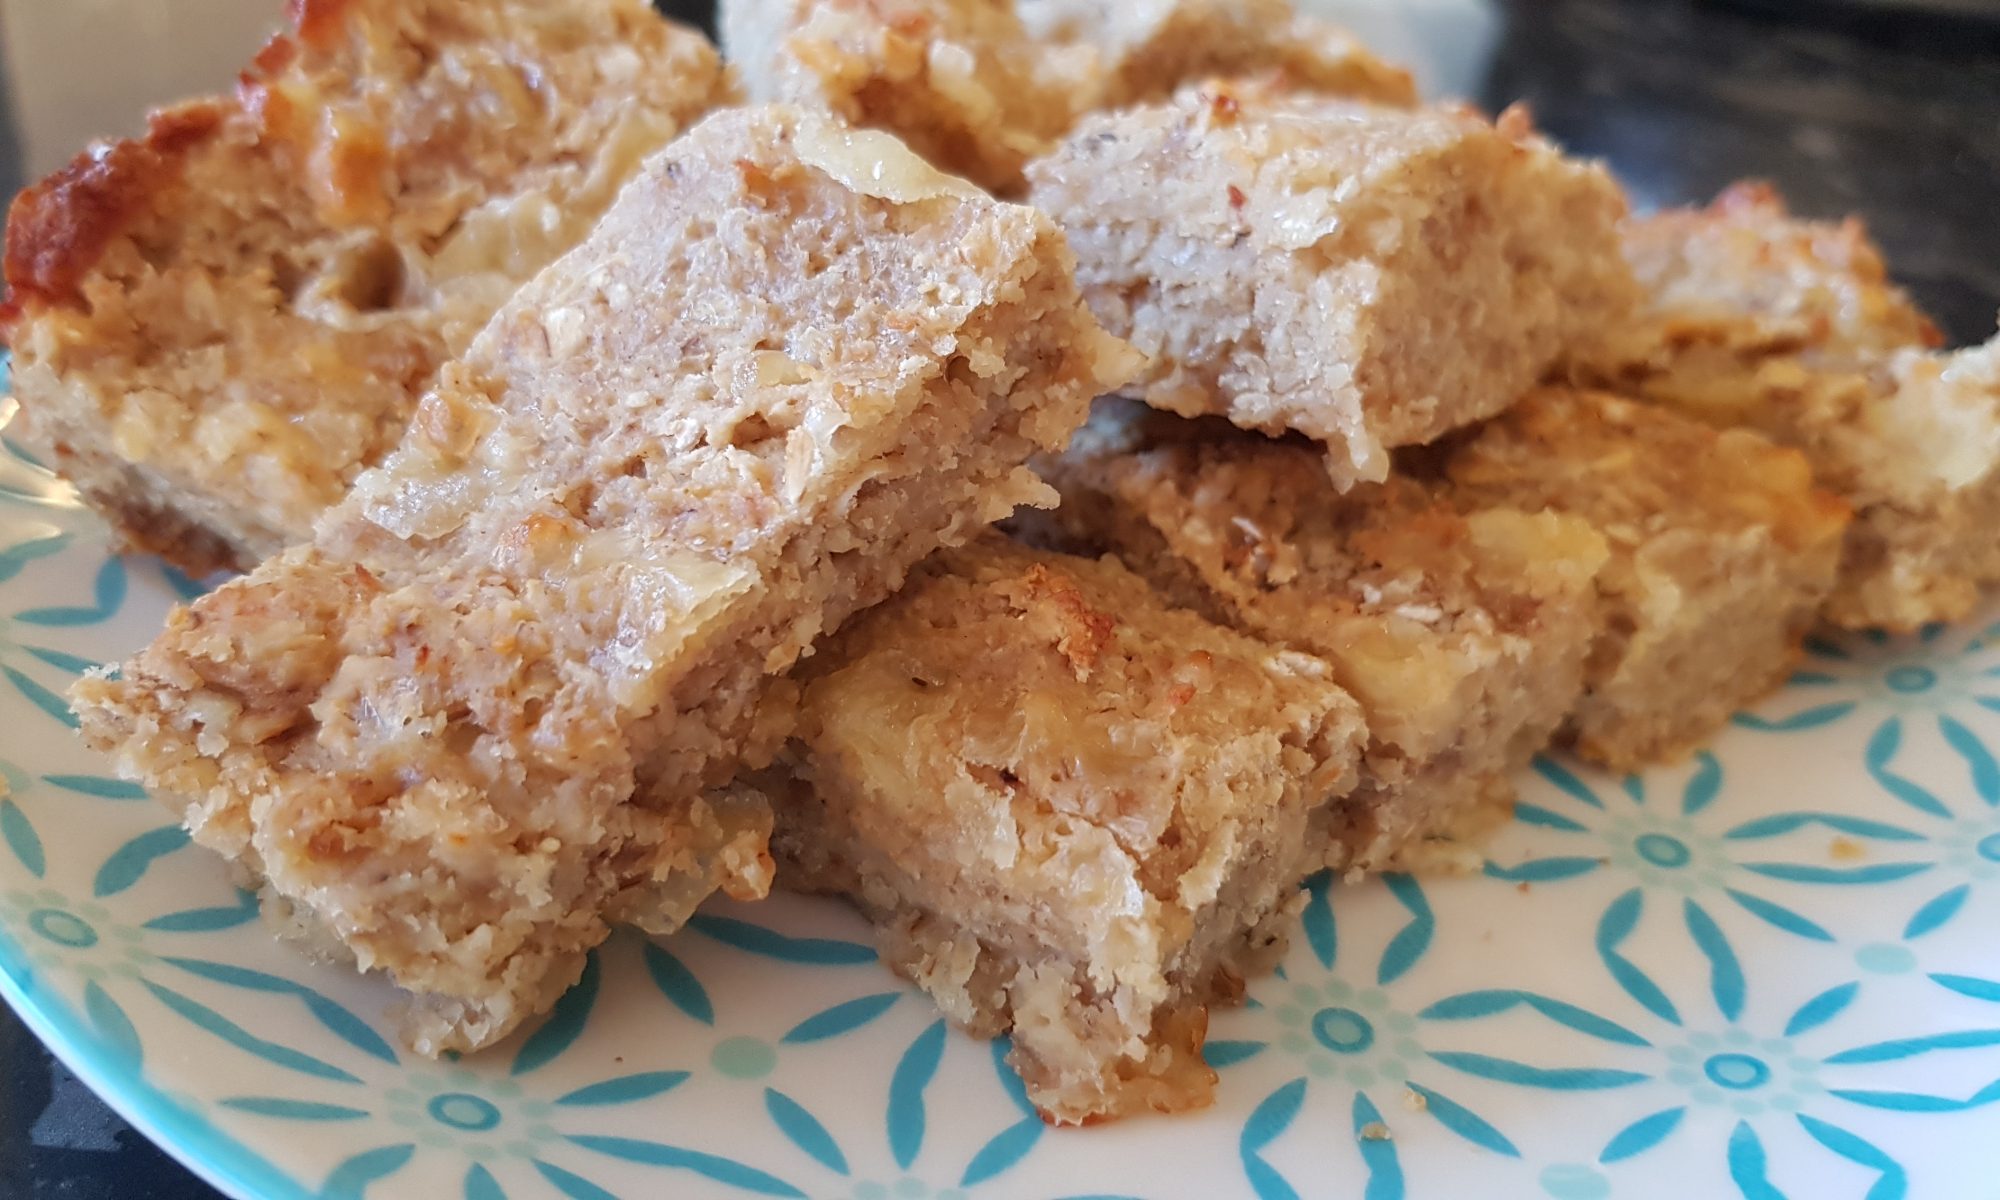
- Remove from the oven and cut into slices or bite-size squares while still warm and in the tin.
- Leave to cool fully in the tin.
I am generally not a banana fan and I enjoyed these. One batch lasted the kids for the majority of the school week and got a happy reaction at the school gate. I have discovered though that Seb isn’t a huge fan of glacé cherries, but Ophelia really, I mean really loves them. Seb took to handing his unwanted cherries to her and she was gobbling them up as quickly as he gave them to her!
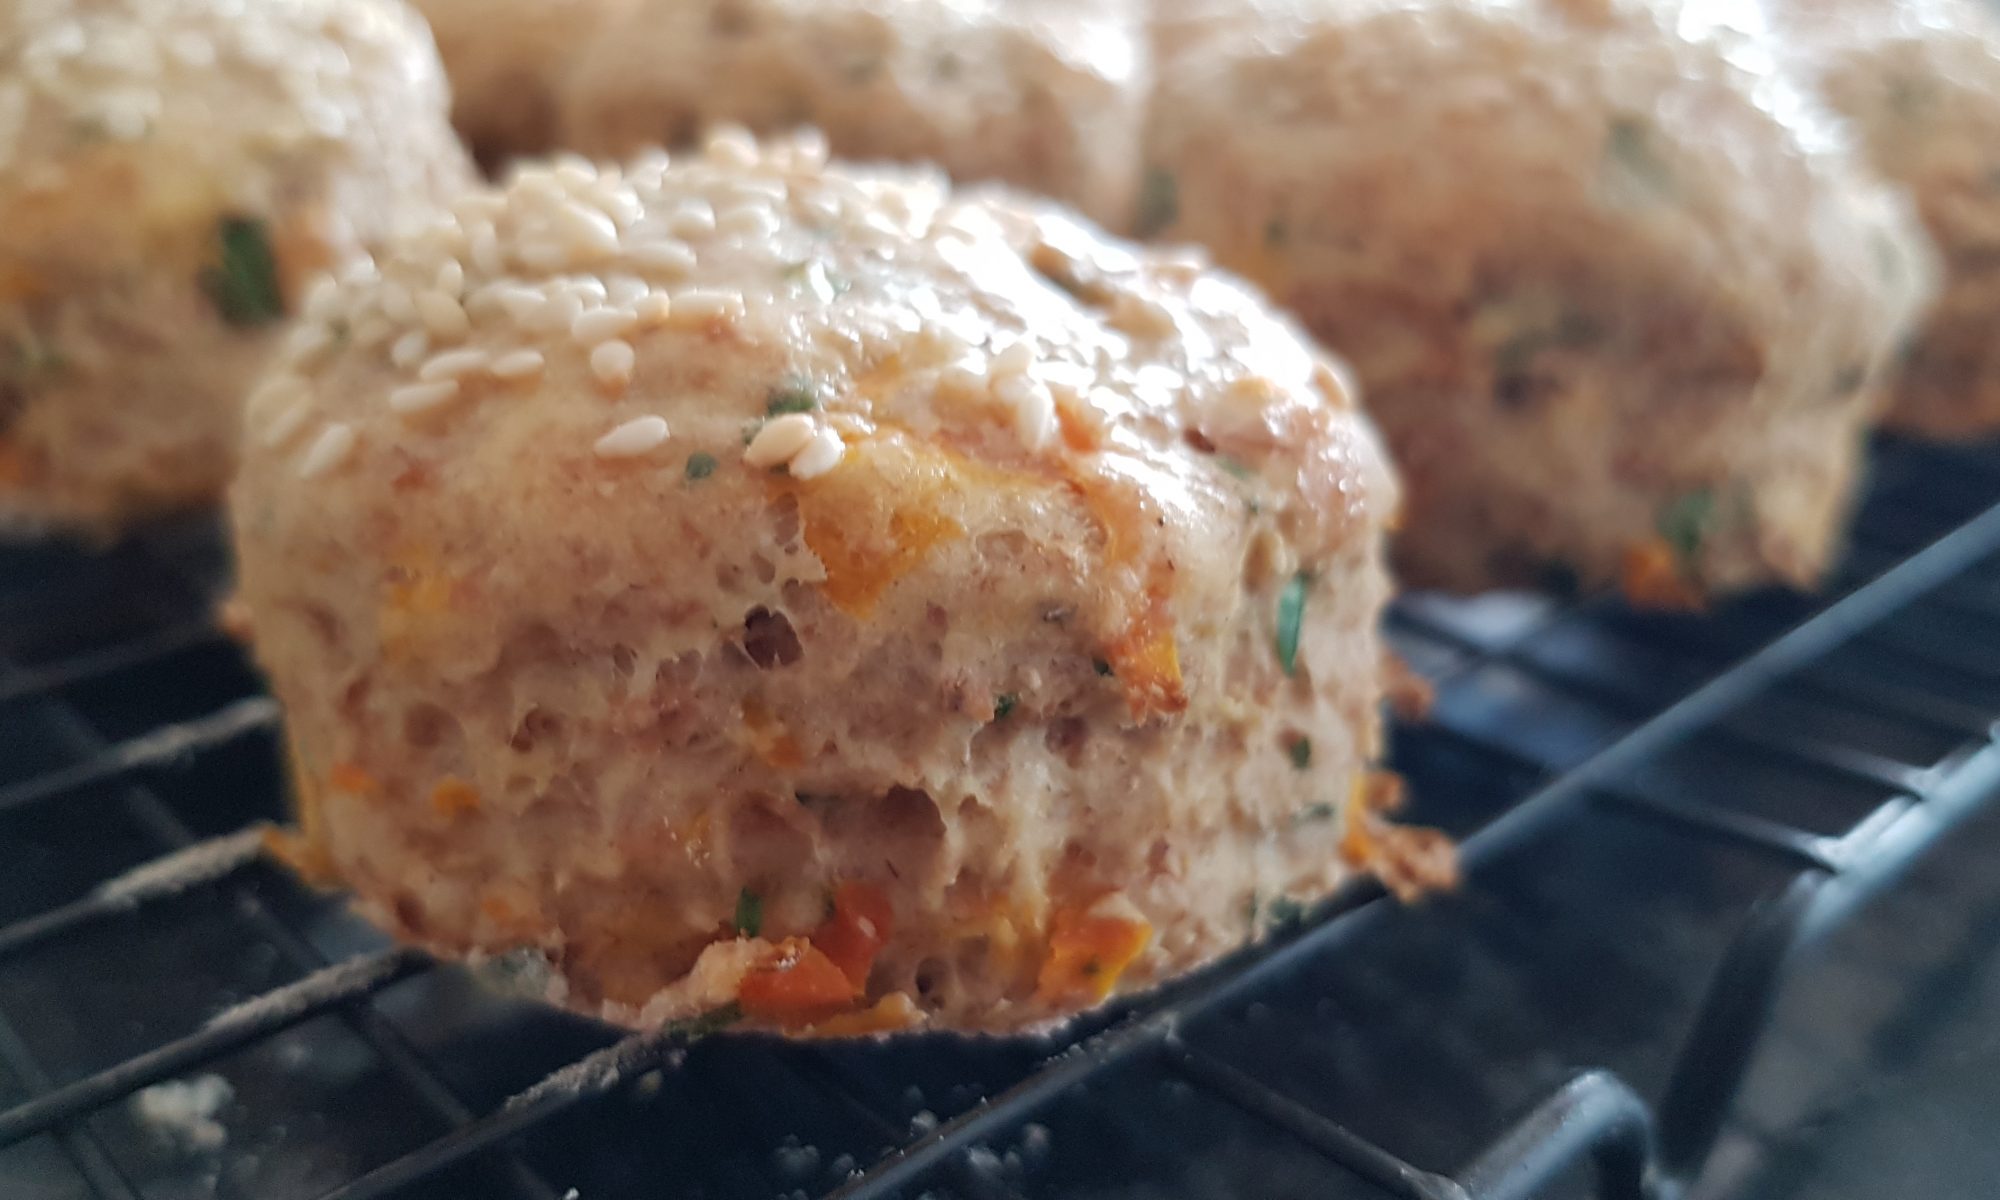
 time around I decided it was time to make a savoury flapjack recipe. I was toying with the idea of a hidden vegetable flapjack, then I remembered that with the kids helping me make them they would see the so called hidden vegetables (well courgette which they all seem to despise) and therefore knowing my luck, refuse to try them. My back up was to make a recipe where cheese has a starring role. The kids will gobble up pretty much any snack item which contains cheese. They really must have very strong bones as they all drink quite a lot of milk too. Maybe I shouldn’t be so quick to jump to cheese in pretty much every savoury recipe, but that is another story altogether!
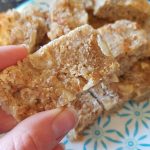 ridiculously addictive. I dare you to only manage one. I cut ours into little fingers so that I wouldn’t eat quarter of the batch in one sitting. Incidentally this also makes them finger food-sized for the smallest of foodies.
 Preheat the oven to 170°c fan and grease and line at 20cm square tin.
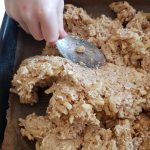
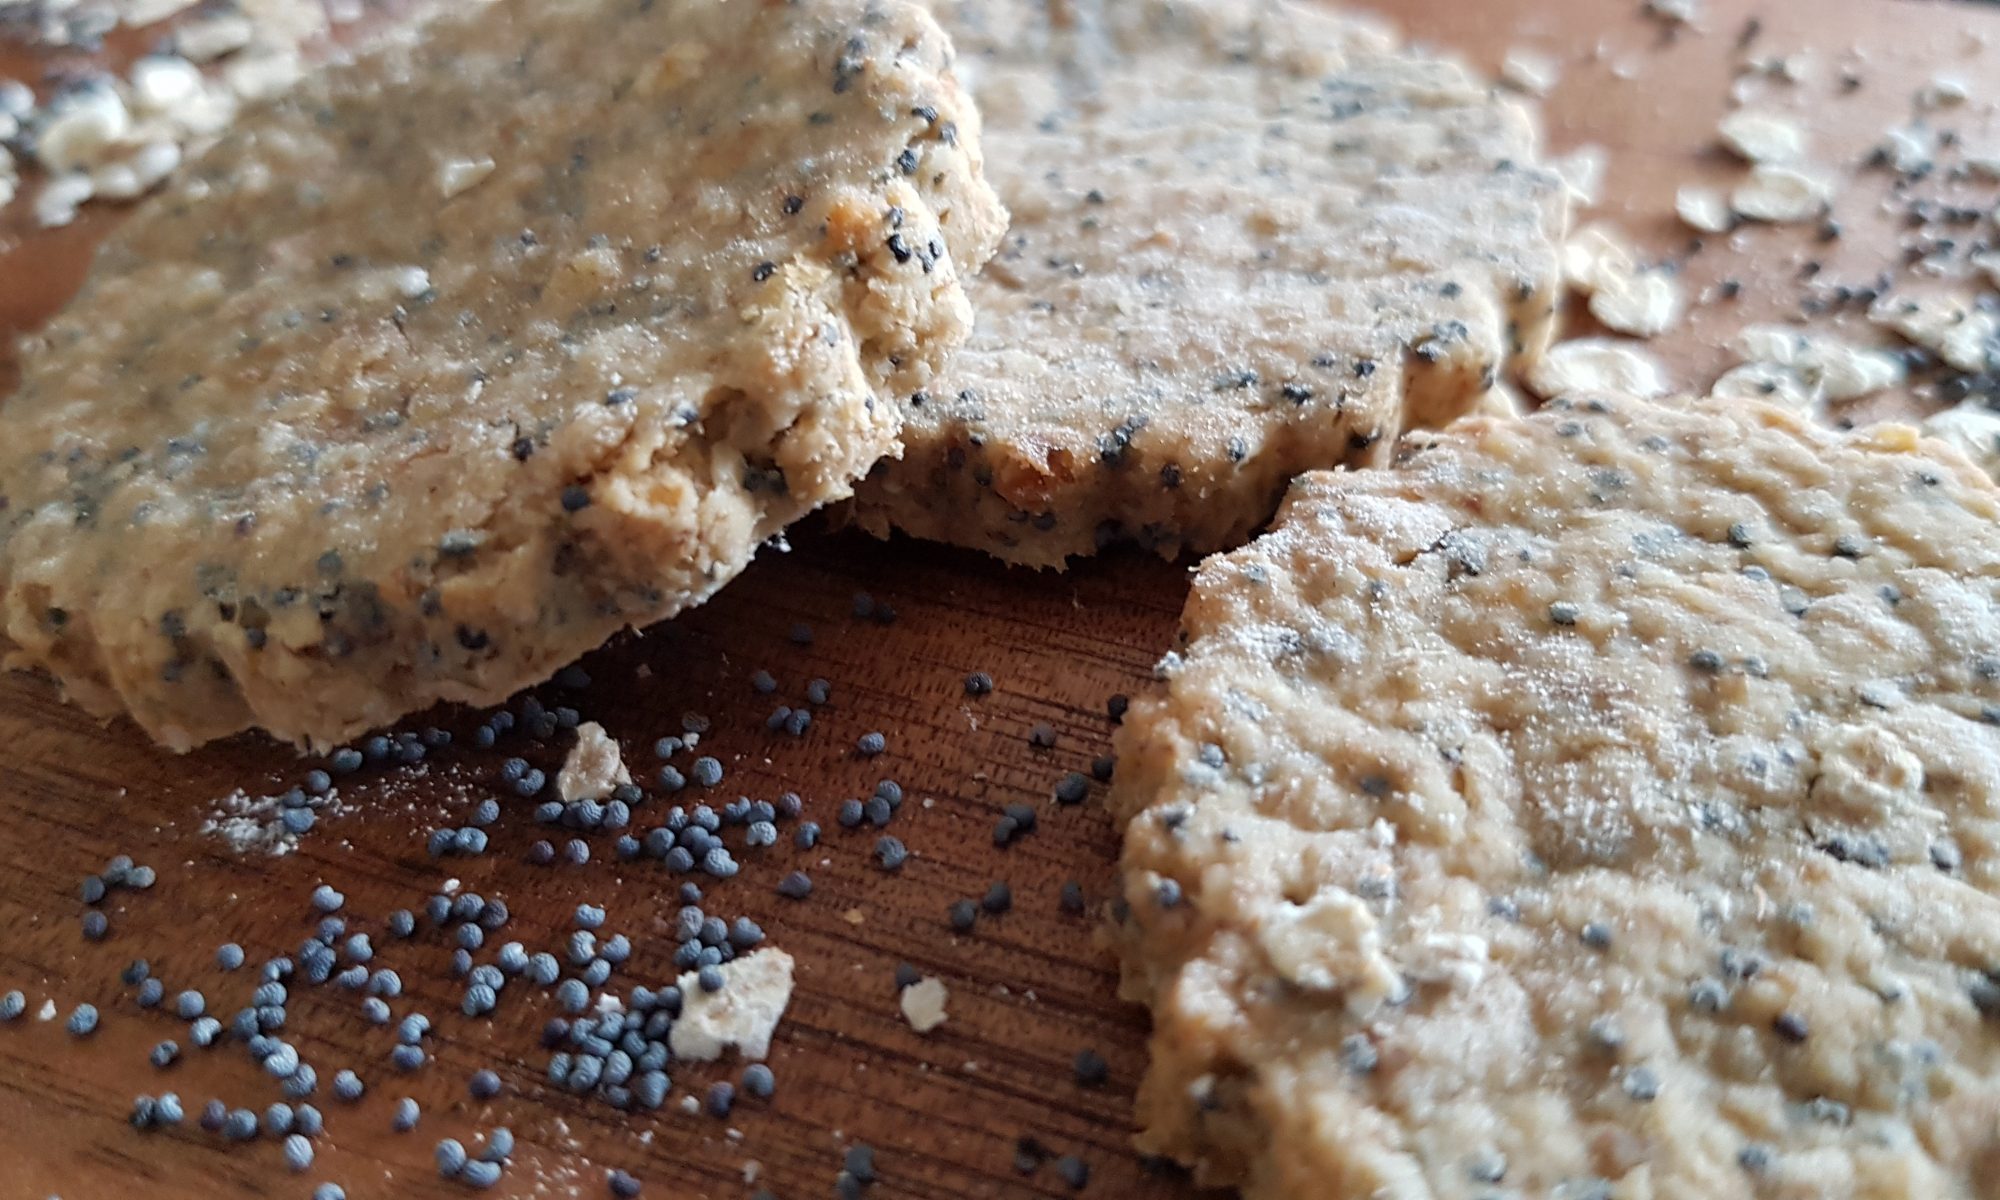
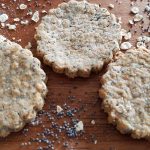 it is organised chaos, I found them and started to wonder what I could make with them. My initial thought was to combine them with lemon in something. But, while looking at my list of ideas of things I would like to make with the kids oatcakes jumped out at me. Then I realised that we also had some parmesan left in the fridge from making pesto and decided to combine the two. I also like the alliteration of parmesan and poppy seed! The latter was, of course, a big factor!
 butter and mix with a wooden spoon.
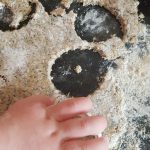 Flour your surface and the rolling pin and roll out the oatcake mixture as thin as you can (some bits of ours were thinner than other bits) and cut out biscuits with the cutter.
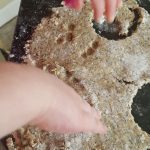 It seems that Ophelia thought that the oatcake was playdough as she insisted on poking and prodding it while cutting out the rounds. I can understand why she thought that, and I didn’t begrudge her a bit of time doing that and she didn’t have the patience or concentration to cut out all the rounds on her own.
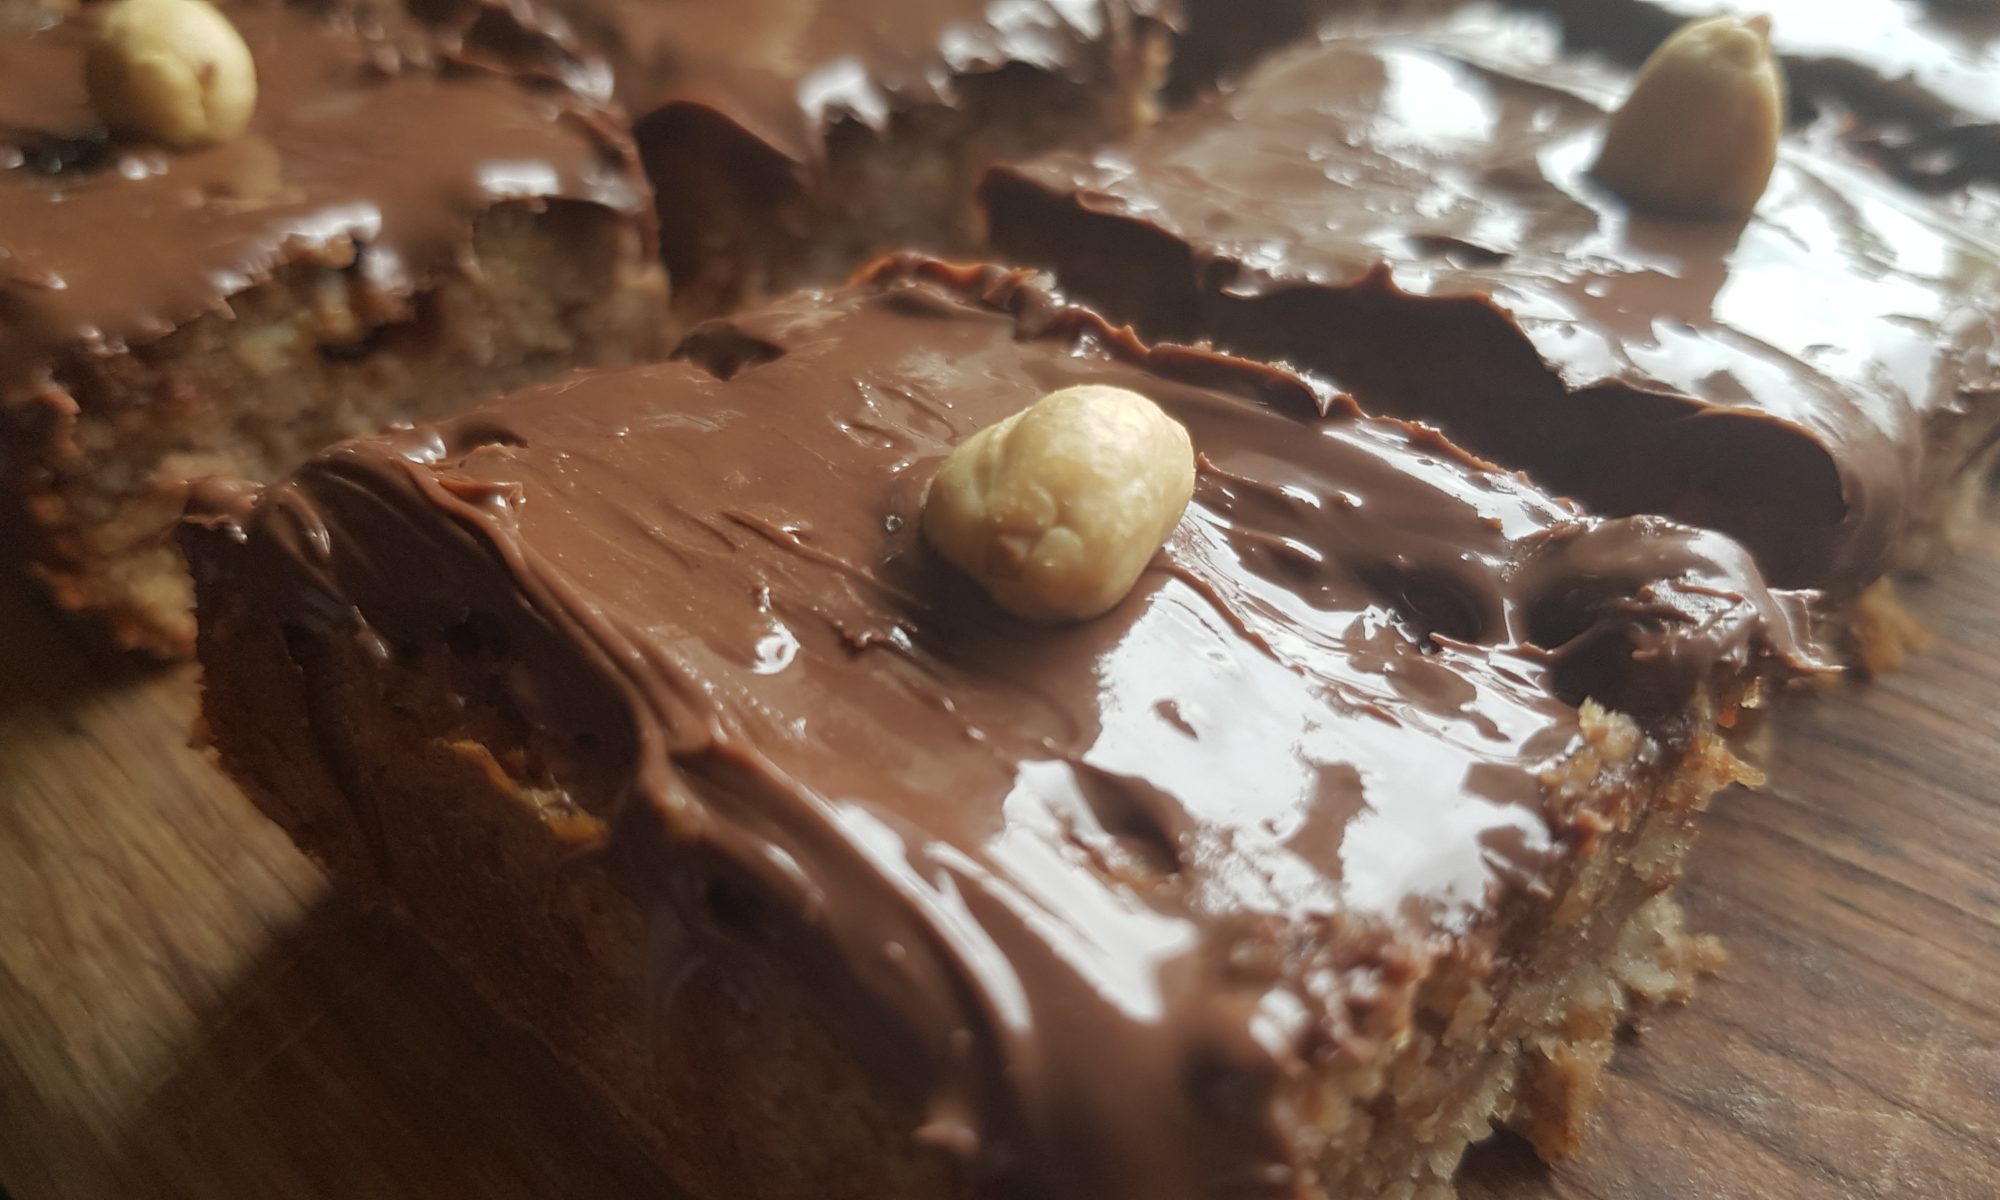

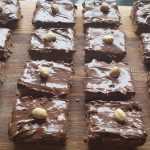 Everything is better with Nutella right?! It did make them a lot messier too so they never ended up being eaten on the way home from school, only at the table to try and contain the inevitable mess! We did get 16 evenish looking pieces all decorated the same – we added an peanut on each of the slices to try and make them look elegant.
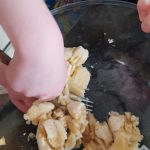 Preheat the oven to 160°c fan and grease and line a brownie tin.
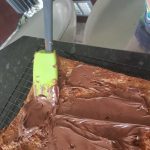 onto a cooling rack.

 Pour the hot tea into a medium-sized bowl and add the dried fruit, the sugar and the malt extract. Beware, the malt extract isn’t as thick and viscous as it looks and it comes out rather quickly! Mix well until fully combined.
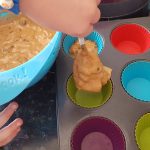 and put in the oven to bake for 17-20 minutes until they are firm
  and well risen.
 In my world, the closest I am going to come to having high tea in my schedule is me offering the kids scones after collection from school in order to fuel our 25 minute walk home. This helps them and me survive the inevitable tiredness to which they are likely to succumb without immediate sustenance and preventing me from saying something I may well regret on the return journey.
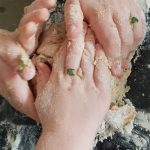
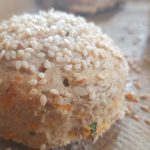
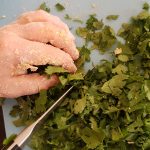 Bash the garlic clove with a wooden spoon to loosen the skin and peel the skin off. Crush the garlic and add to the breadcrumbs.
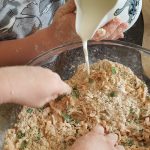 together with your hands until a dough forms.
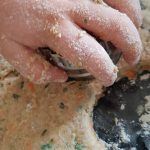 Cut into rounds and place on a lined baking tray. Do this until the dough is all finished. You may have to consolidate the dough to be able to cut more rounds out.
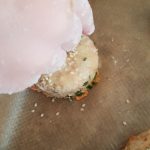
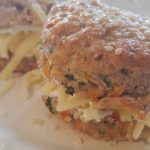 Seb in particular enjoyed these with cheese or ham for his lunch as well as a snack while walking home from the playground one afternoon. It seems the other two are more partial to fruit scones.
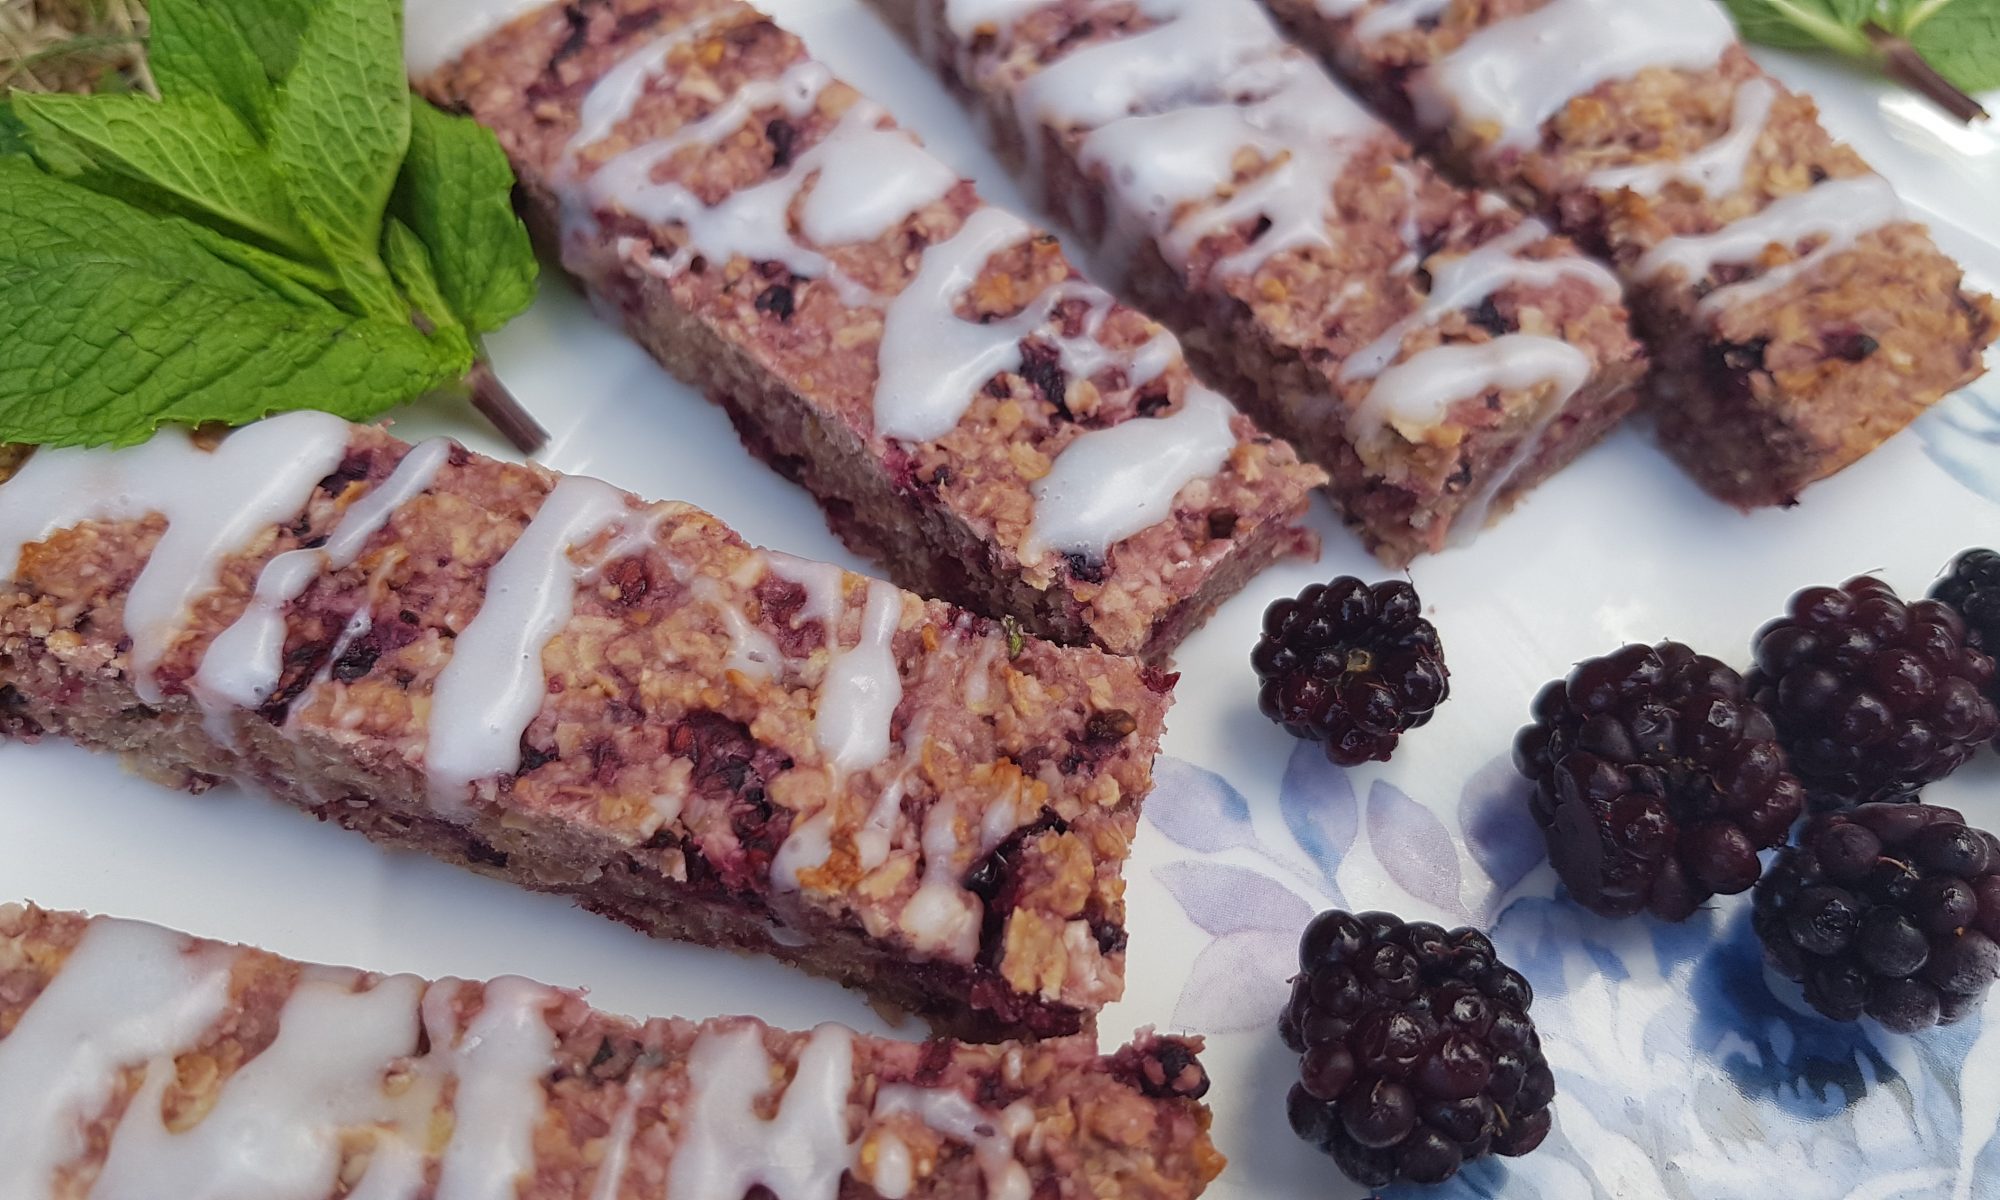
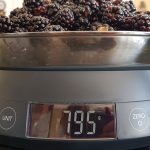 guessed our purpose which was blackberrying. Finally they seemed happy! Lots of fun was had by all on the trip. We collected nearly 800g of blackberries. I am sure Ophelia ate quadruple what she collected. She only seemed to find it necessary to store the blackberries which were still red that she had collected in her pot. The rest ended up in her tummy and all over her face and clothes! Maybe next time she will understand the task at hand a bit better! I am now feeling very grateful for the new washing machine that we had to buy last month because the old one finally gave up the ghost – something it had been threatening for around 18 months!
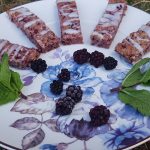 make a chocolate and blackberry tart, but Simon suggested it was time that I made something slightly healthier for the blog. After a bit of thinking, I decided that some of the blackberries would go nicely in some cereal bars. As a nod to my love of using herbs and spices in my baking I decided to pair them with some fresh mint. The aim was to achieve a hint of mint so that they tasted fresh rather than an overpowering wow that’s a lot of mint flavour! If mint isn’t your cup of tea, by all means, leave it out of the recipe all together.
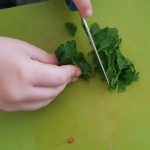 Preheat the oven to 170°c fan and grease and line a 16cm square pan.
 fork and add the mint and mix around.
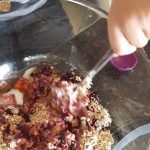 fully combine.
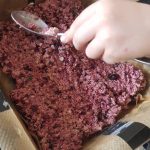 of a wooden or metal spoon to flatten the mixture in the tin.
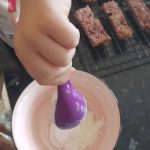 have difficulty slicing them, put them in the fridge for 5-10 minutes first.
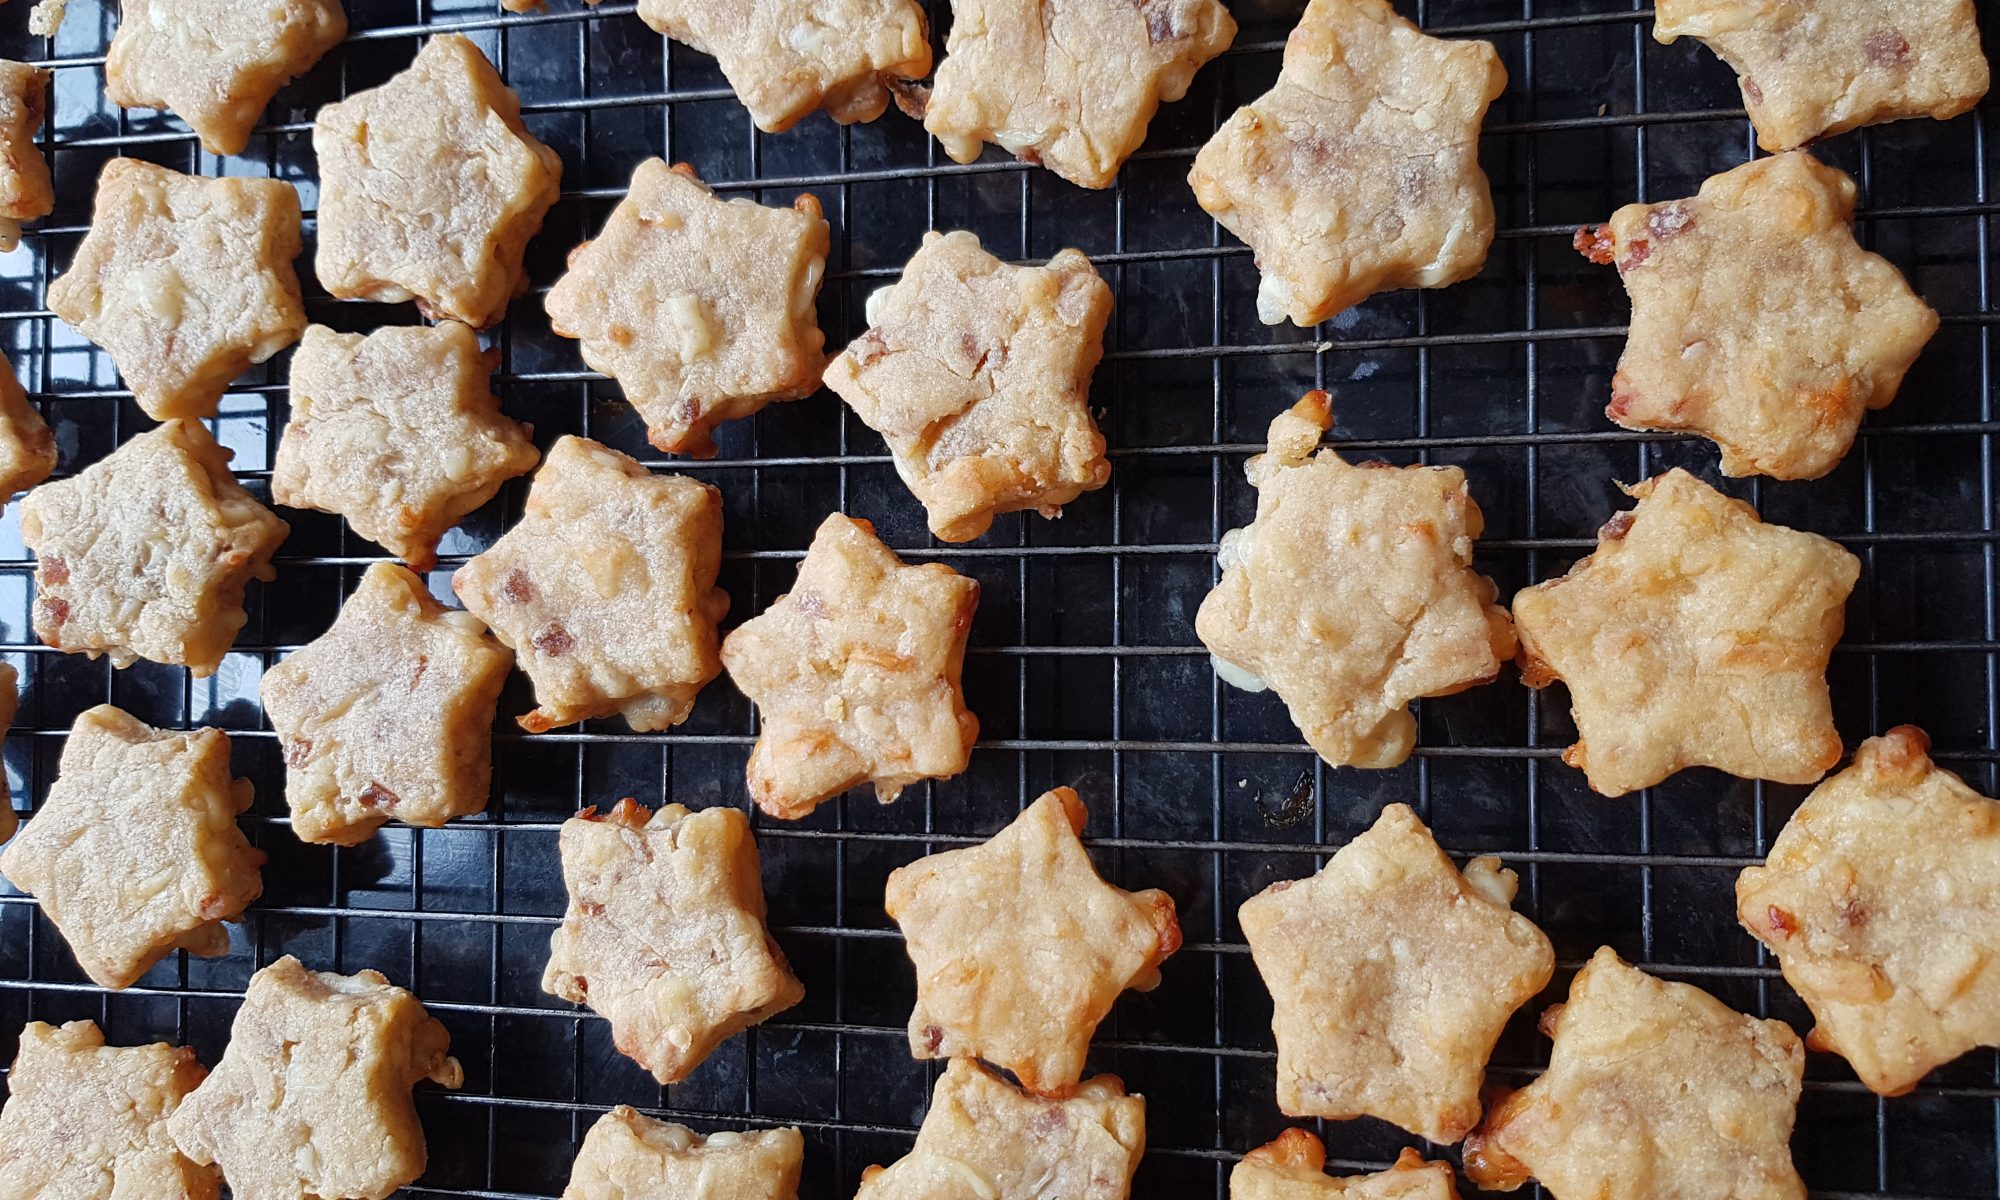
 paper on two baking trays.
 forms.
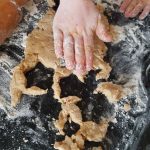 small biscuit cutter (we used a star) to cut out biscuits and cook in the oven for 15 minutes or until golden. You may need to move the trays around in your oven to ensure an even bake.
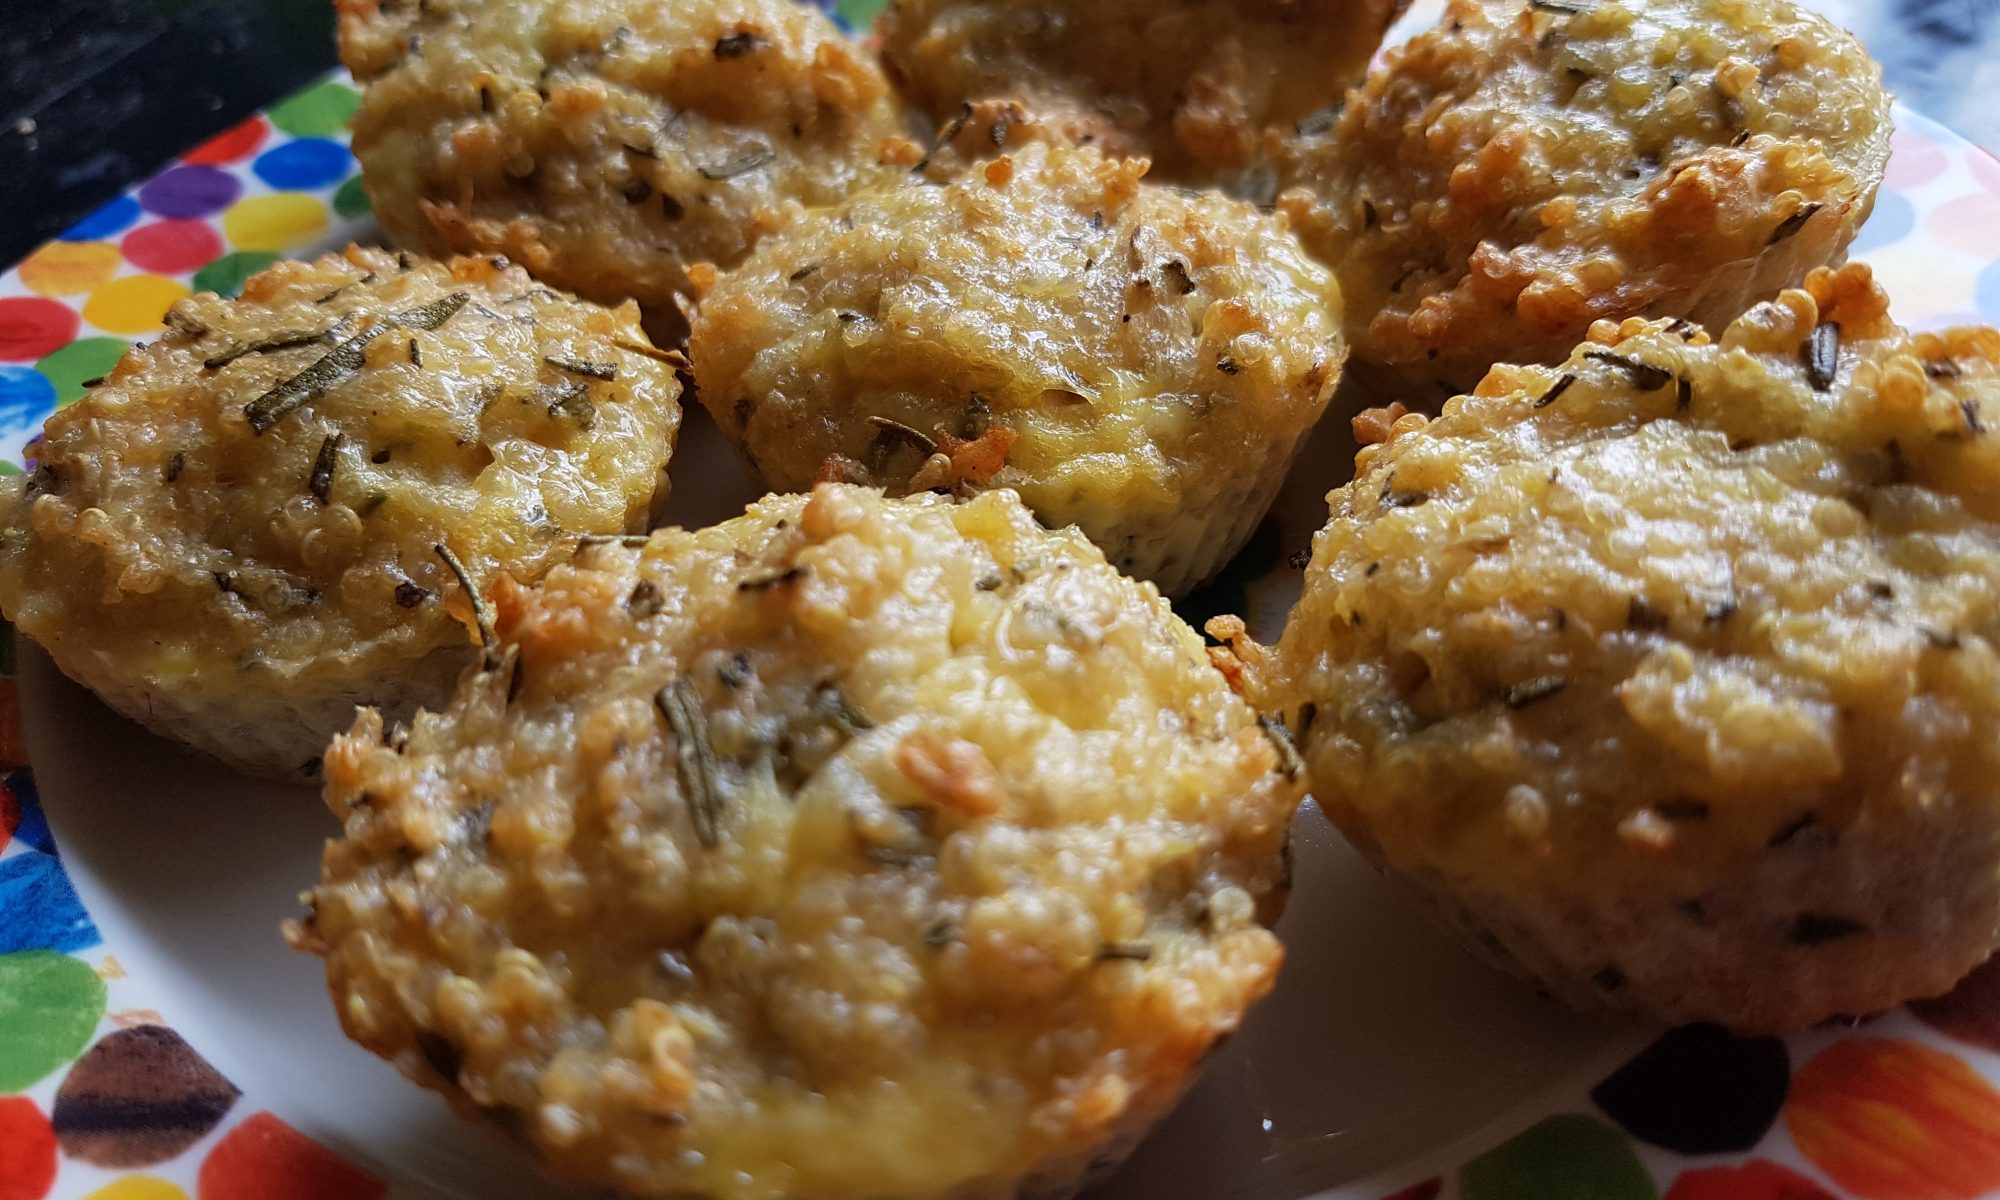
 Otherwise I would have to consider renaming the blog Just Add Rosemary. I can report that the rosemary bush in the garden is now looking somewhat smaller – please don’t misunderstand me, we still have more rosemary than any family would want to eat in a year, but I seem to have banished the need to use it all up.
 likely to enjoy it or barely notice it in the recipe.The children now recognise the scent of rosemary and are happy when we use it. Atticus is in fact always offering to go and get me more for the cooking projects that we do. This is even for projects which don’t require it, and as I have been using it is all sorts of things recently this isn’t really surprising! It is not as if we are running low on the stuff so I see no need to complain if he is enjoying himself.
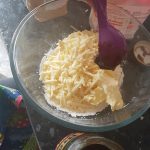
 Grate the parmesan with or without the help of your little people.
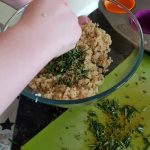 attention and not getting distracted.
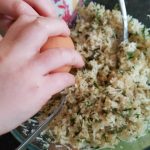 pepper.
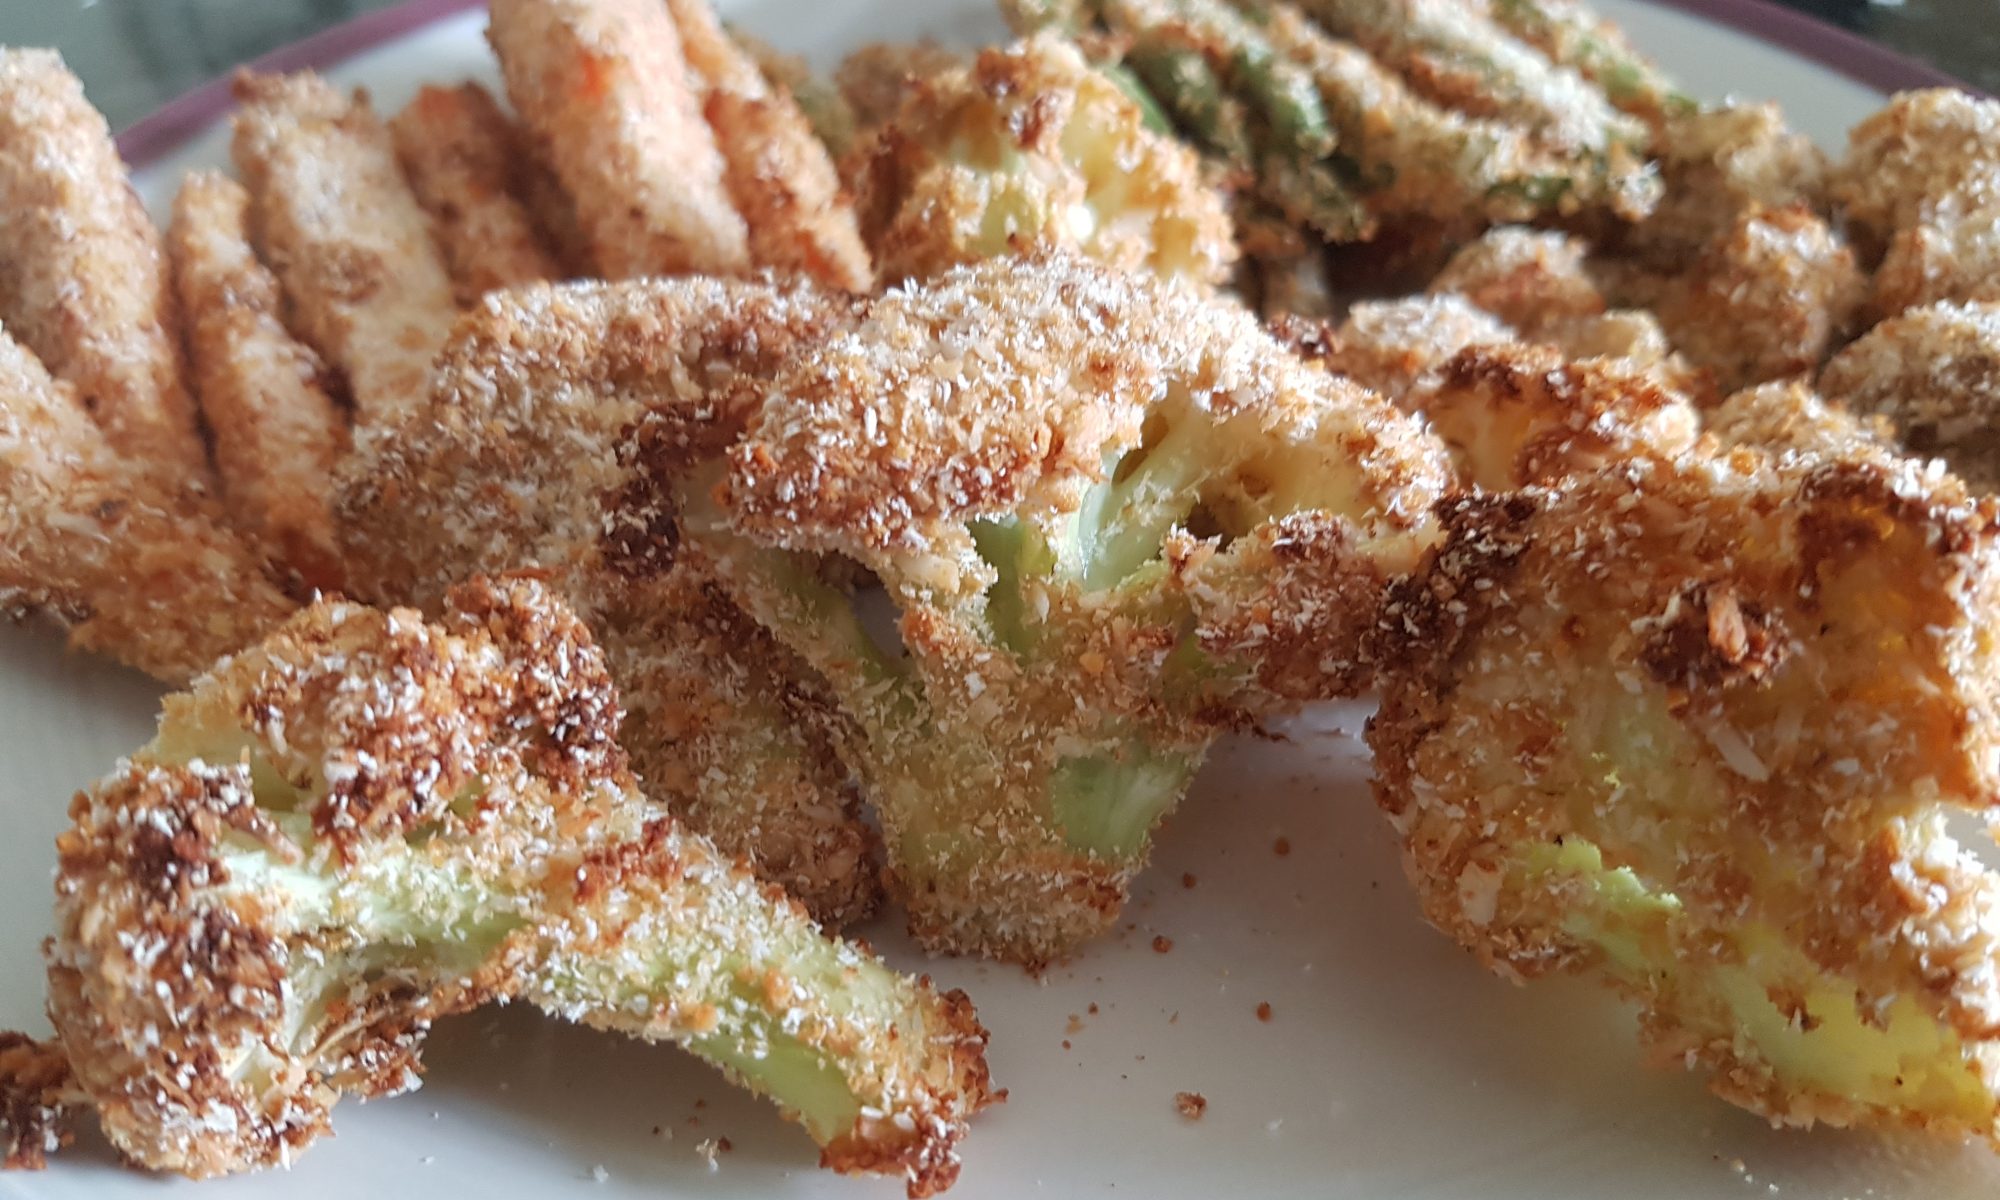
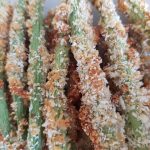 As I have previously mentioned, when vegetables are dressed up (otherwise known as fancy vegetables) the children are more likely to have a go and even enjoy them. On the undercover mission were: cauliflower, green beans, button mushrooms and carrots. Their disguise was ginger and soy sauce egg underlayer for a desiccated coconut and breadcrumb coating.
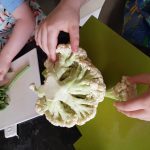 Wash and dry the vegetables.
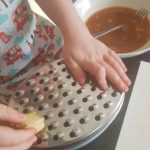 To make this a quicker activity you could prepare all the vegetables for the kids.
 Dip each bit of vegetable in the egg mixture and then roll in the breadcrumb-coconut mixture. My kids also enjoyed throwing the breadcrumb-coconut mixture at the vegetables (this may well explain the mess they made! See the last picture at the end.)
 baking sheet and the carrots and cauliflower on the other as they have different cooking times.