Teabread

My confession: we are not a household of tea drinkers. This may sound sacrilege for a British family, but there you go. My sister is the champion tea drinker in my family. Maybe she has tea running through her veins rather than blood like the rest of us?! I always have to check that I actually have teabags in the house before we have visitors as I have been known to be unable to provide guests with a cup of tea when visiting! When I do buy them, it takes us so long to get through them. Teabread is the only way we really use them.

Into the tin it goes

We always seem to have a load of dried fruit in the house, even more so since we moved to the Falklands. This is probably because our bulk online shop at the beginning of the year mainly comprised cereal, dried fruit, tinned tuna and squash! We are steadily working our way through the many packets of apricots and banana chips, but some of the dates, raisins and cranberries went into this yummy teabread. You could just use raisins and sultanas in this loaf, but I am a particular fan of putting some chopped dates in as they really do give it such a lovely squidgy texture. It is a versatile recipe, an easy to put your own stamp on.

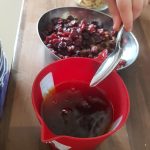
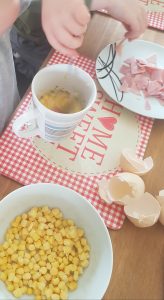
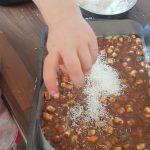
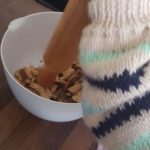
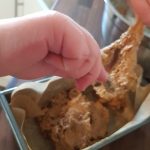
Ophelia really enjoyed using a spoon to transport the dried fruit into the cold tea and spent the rest of the afternoon coming back to check their progress. The following morning after we had dropped the boys at school, the moment we got back to the house, she was immediately asking to put the soaked fruit into cake. There is no doubt at all that she gets that particular characteristic from me!

To make this teabread you will need:

  • 300g dried fruit (we used raisins, cranberries and chopped dates)
  • 2 tea bags made into 475ml tea and cooled
  • 225g soft brown sugar
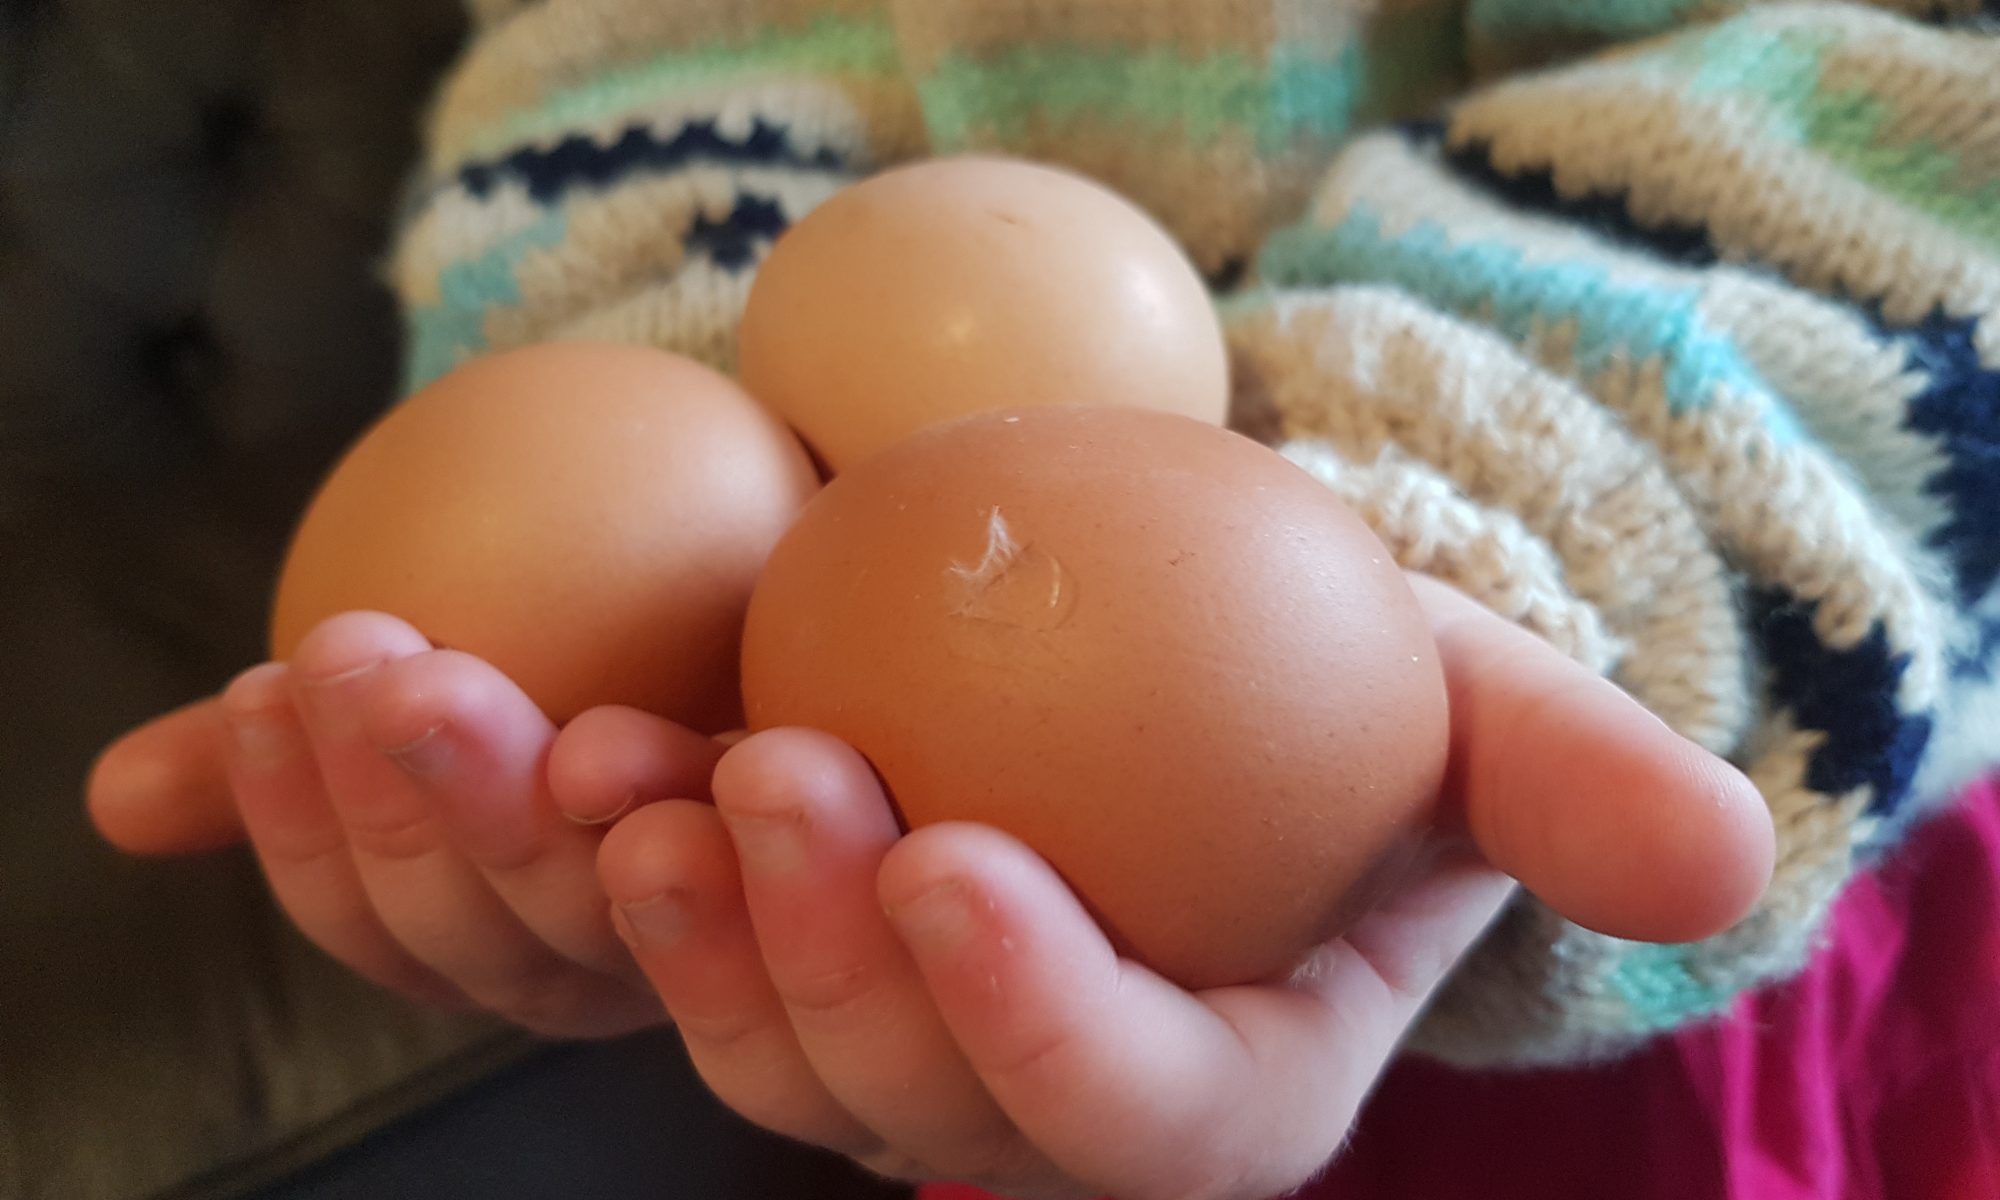
  • 2 eggs
  • 450g self raising flour (we used a mixture of wholemeal and regular)

Instructions:

  1. Spoon the dried fruit into the cold tea and leave to soak overnight.
  2. Line a large loaf tin with baking parchment and preheat the oven to 160°c.
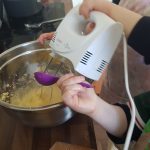
  3. Beat the eggs into the sugar until completely combined.
  4. Add the flour and the soaked dried fruit (with the remaining liquid) and mix to form a batter.
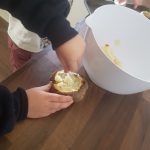
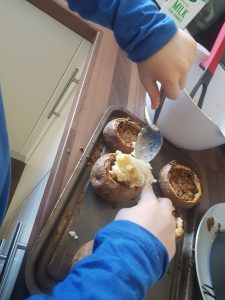
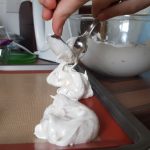
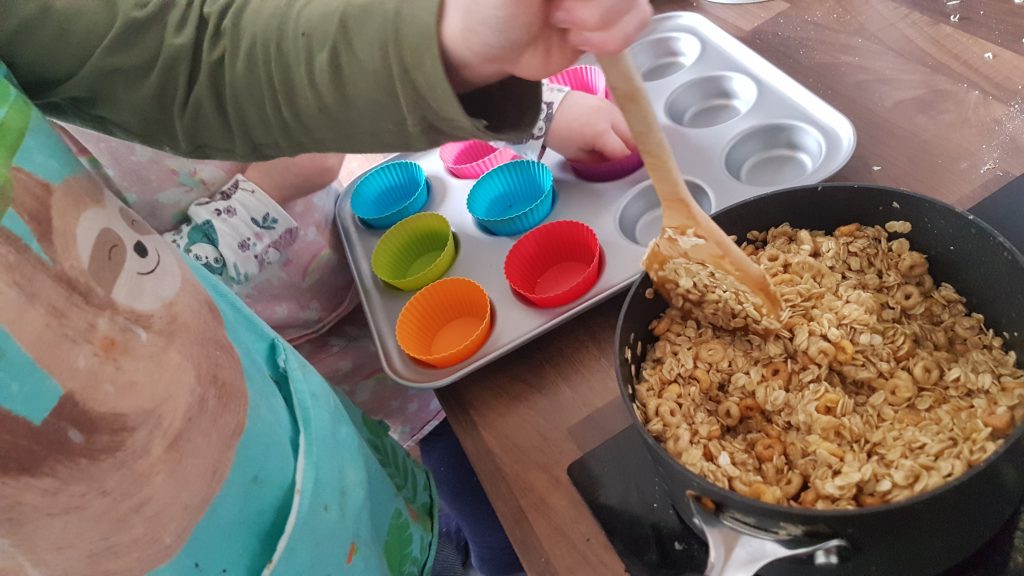
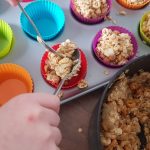
  5. Spoon the mixture into the tin and level the top with the back of a spoon.
  6. Bake in the oven for 55-60 minutes or until a cake tester comes out clean.

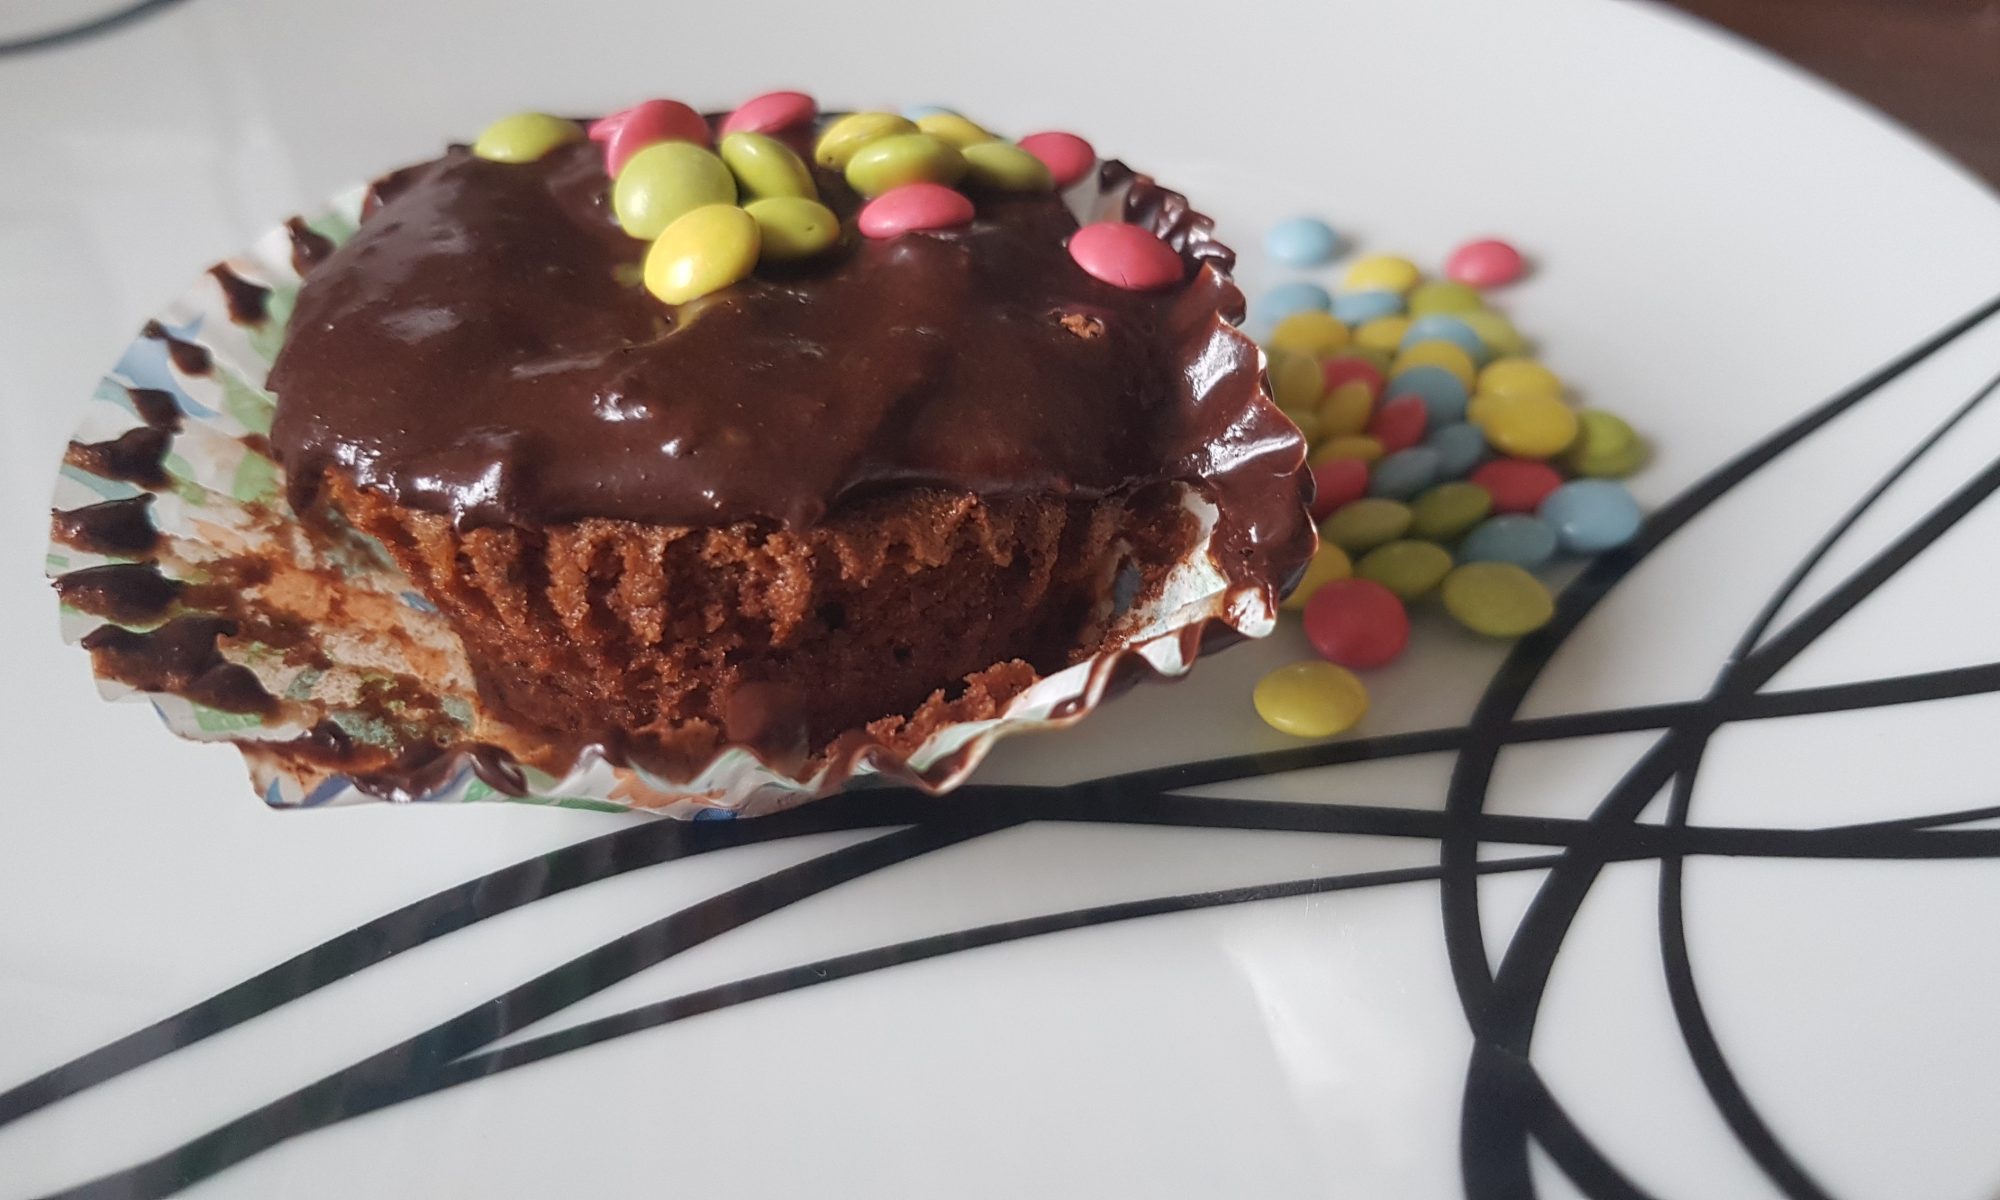
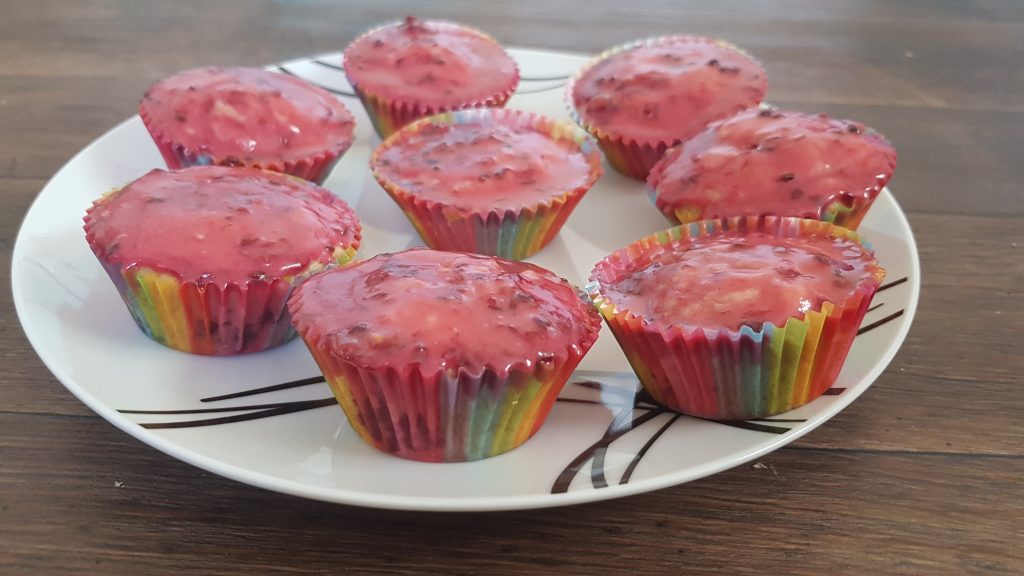
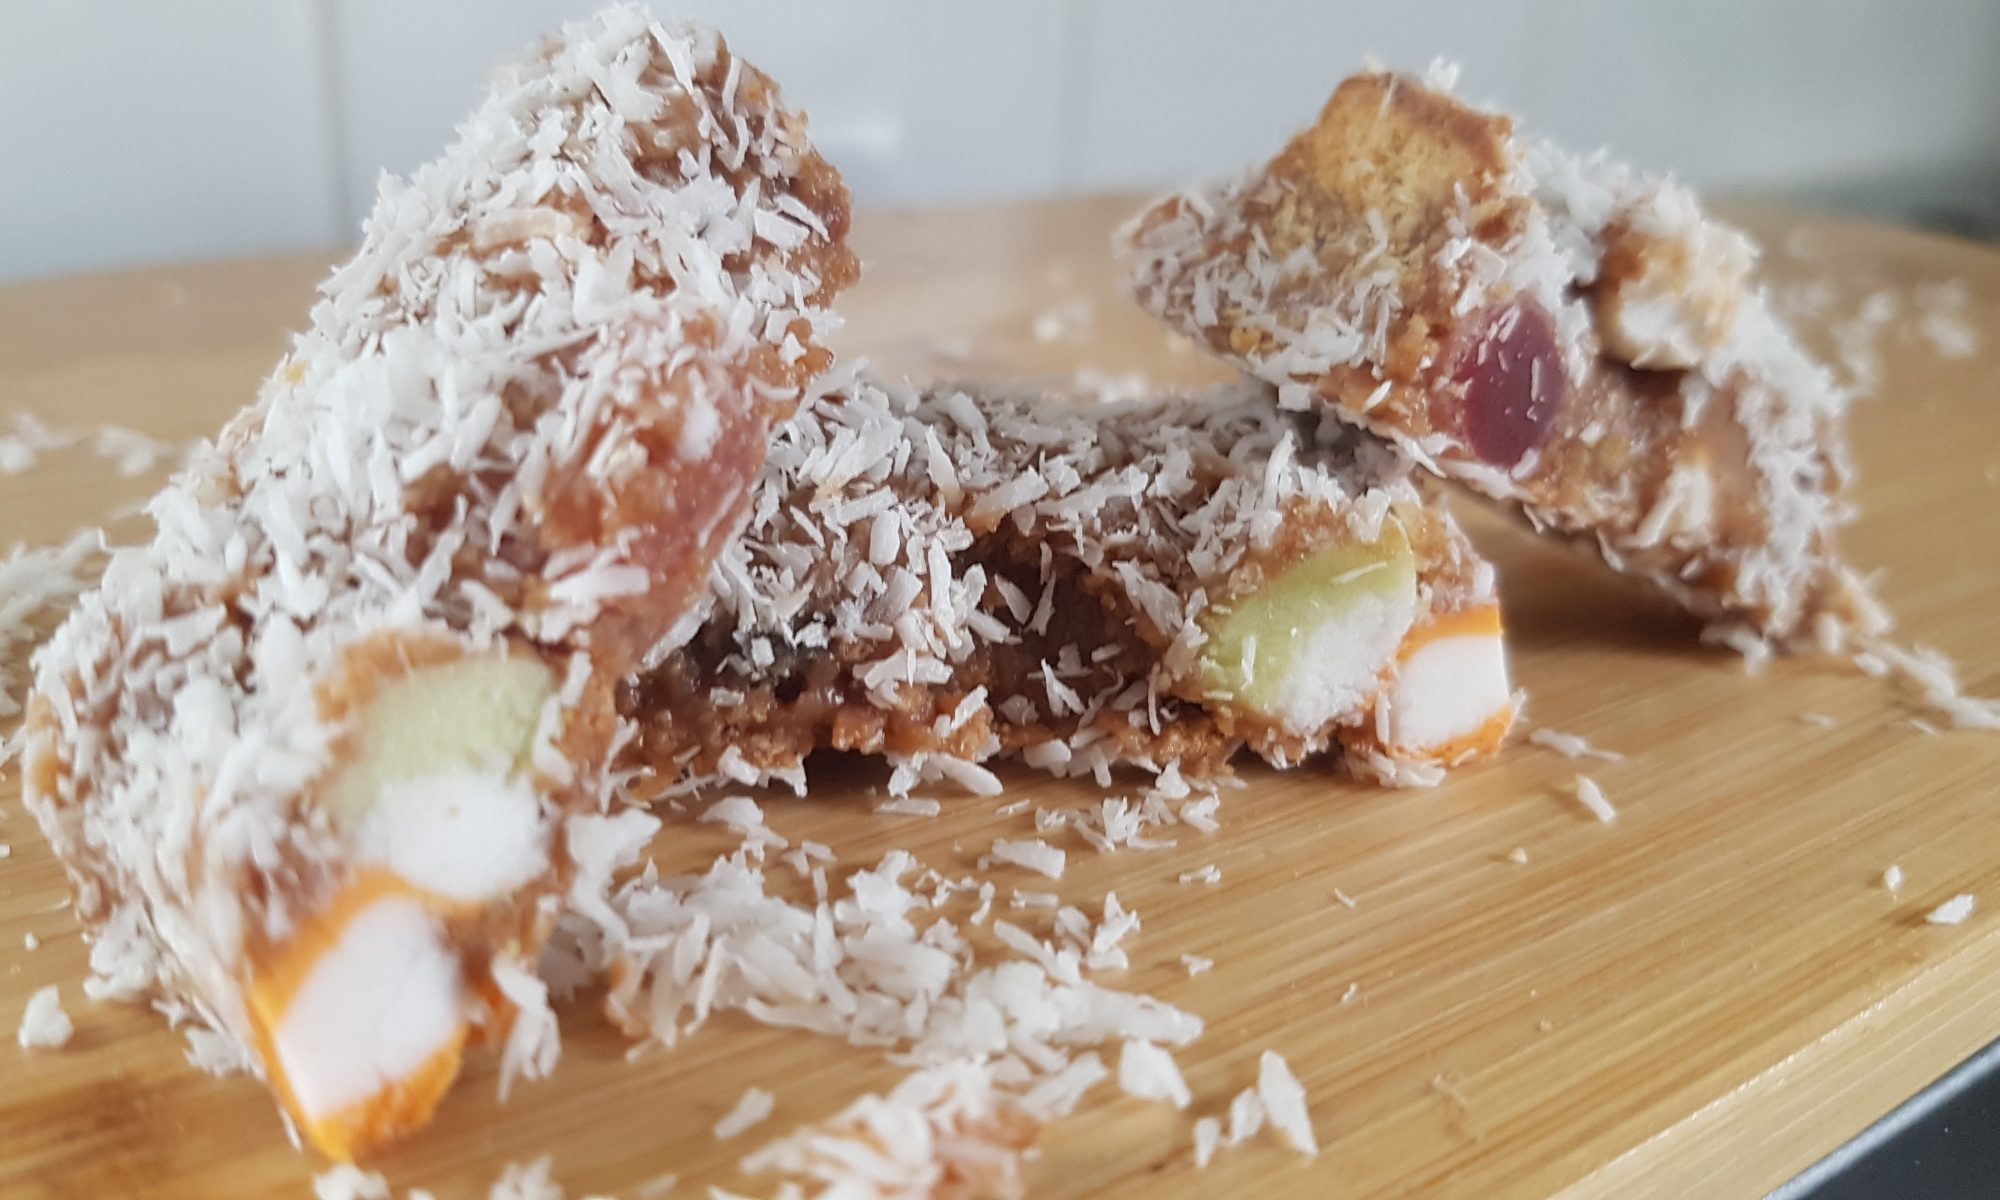
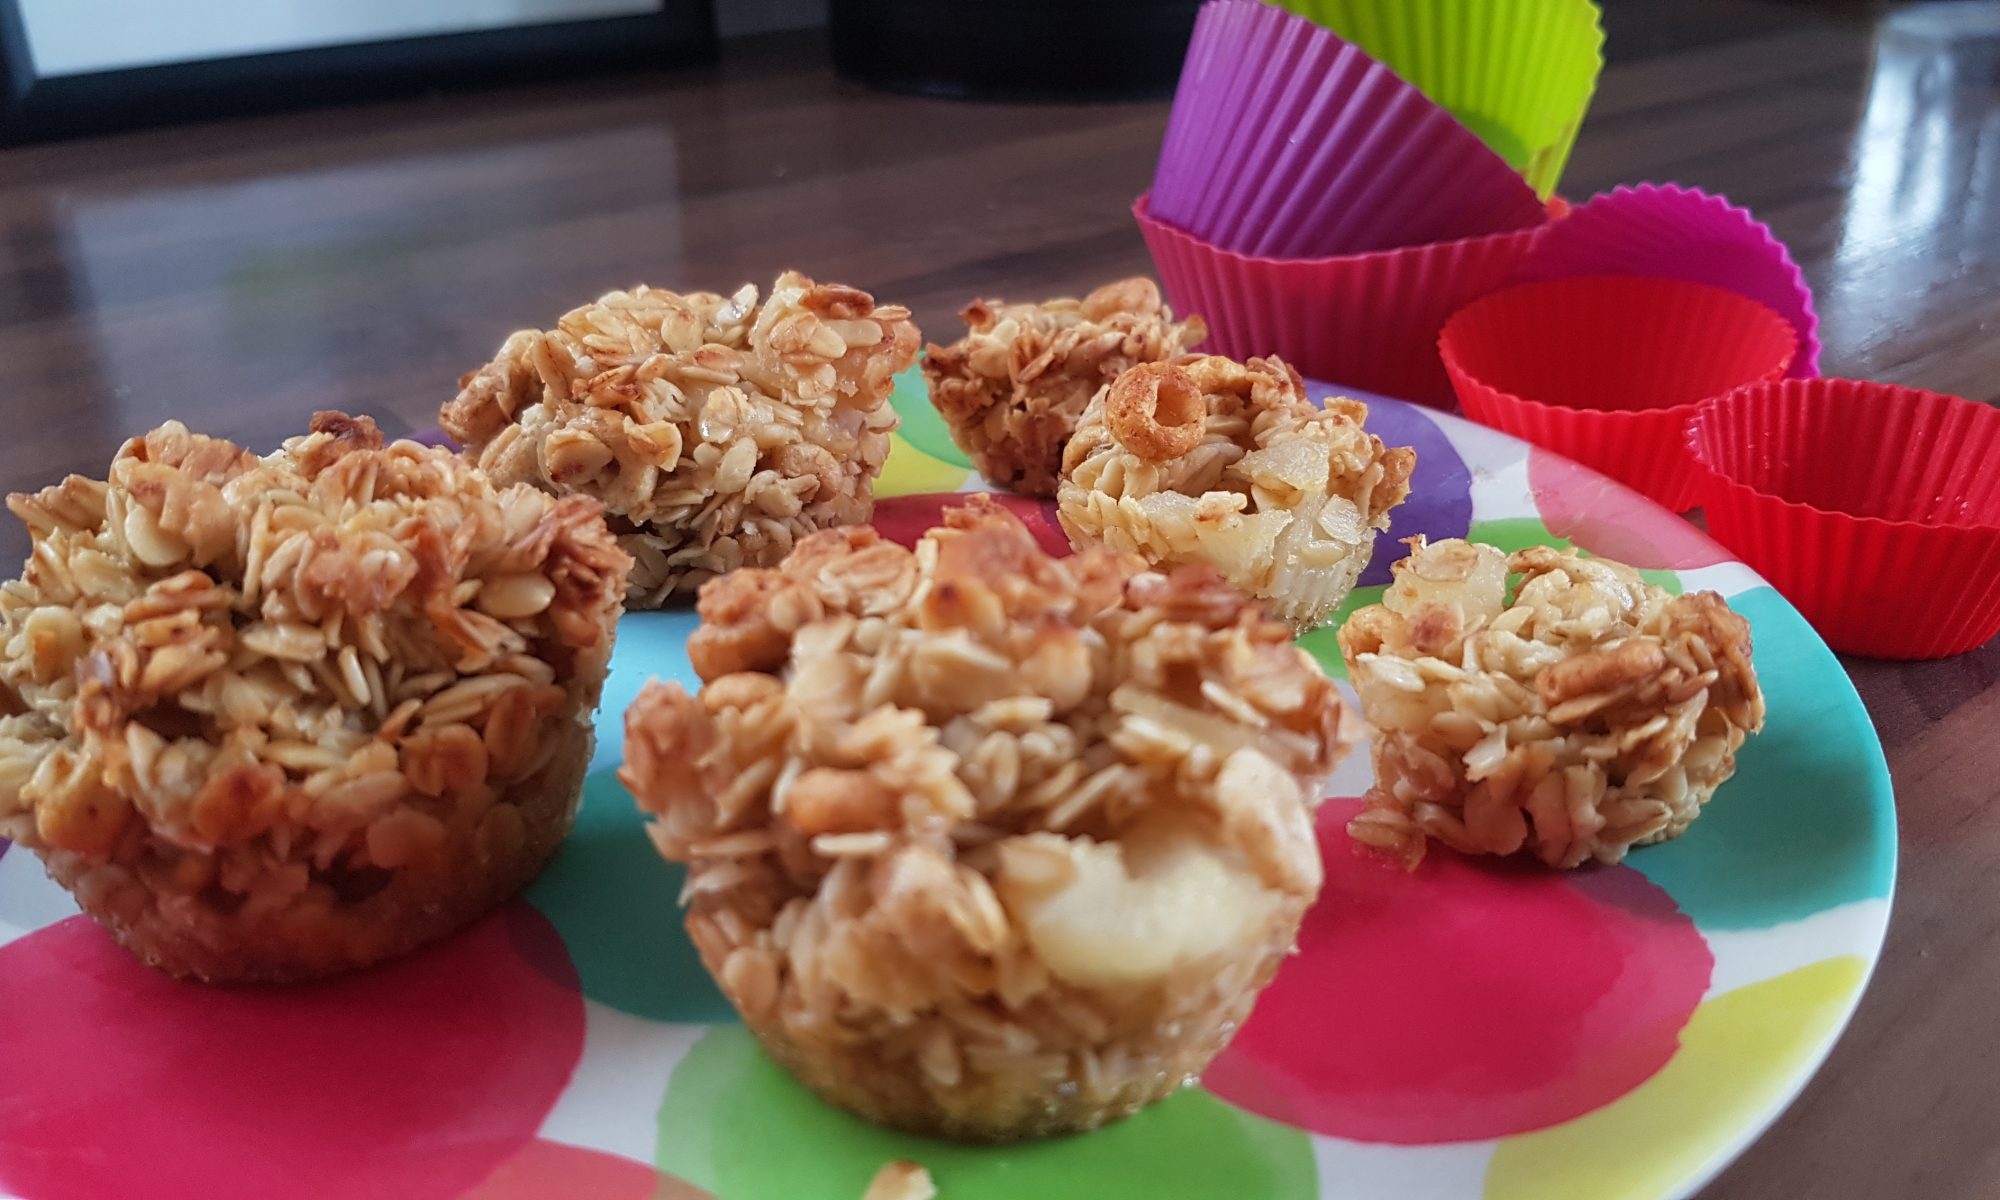
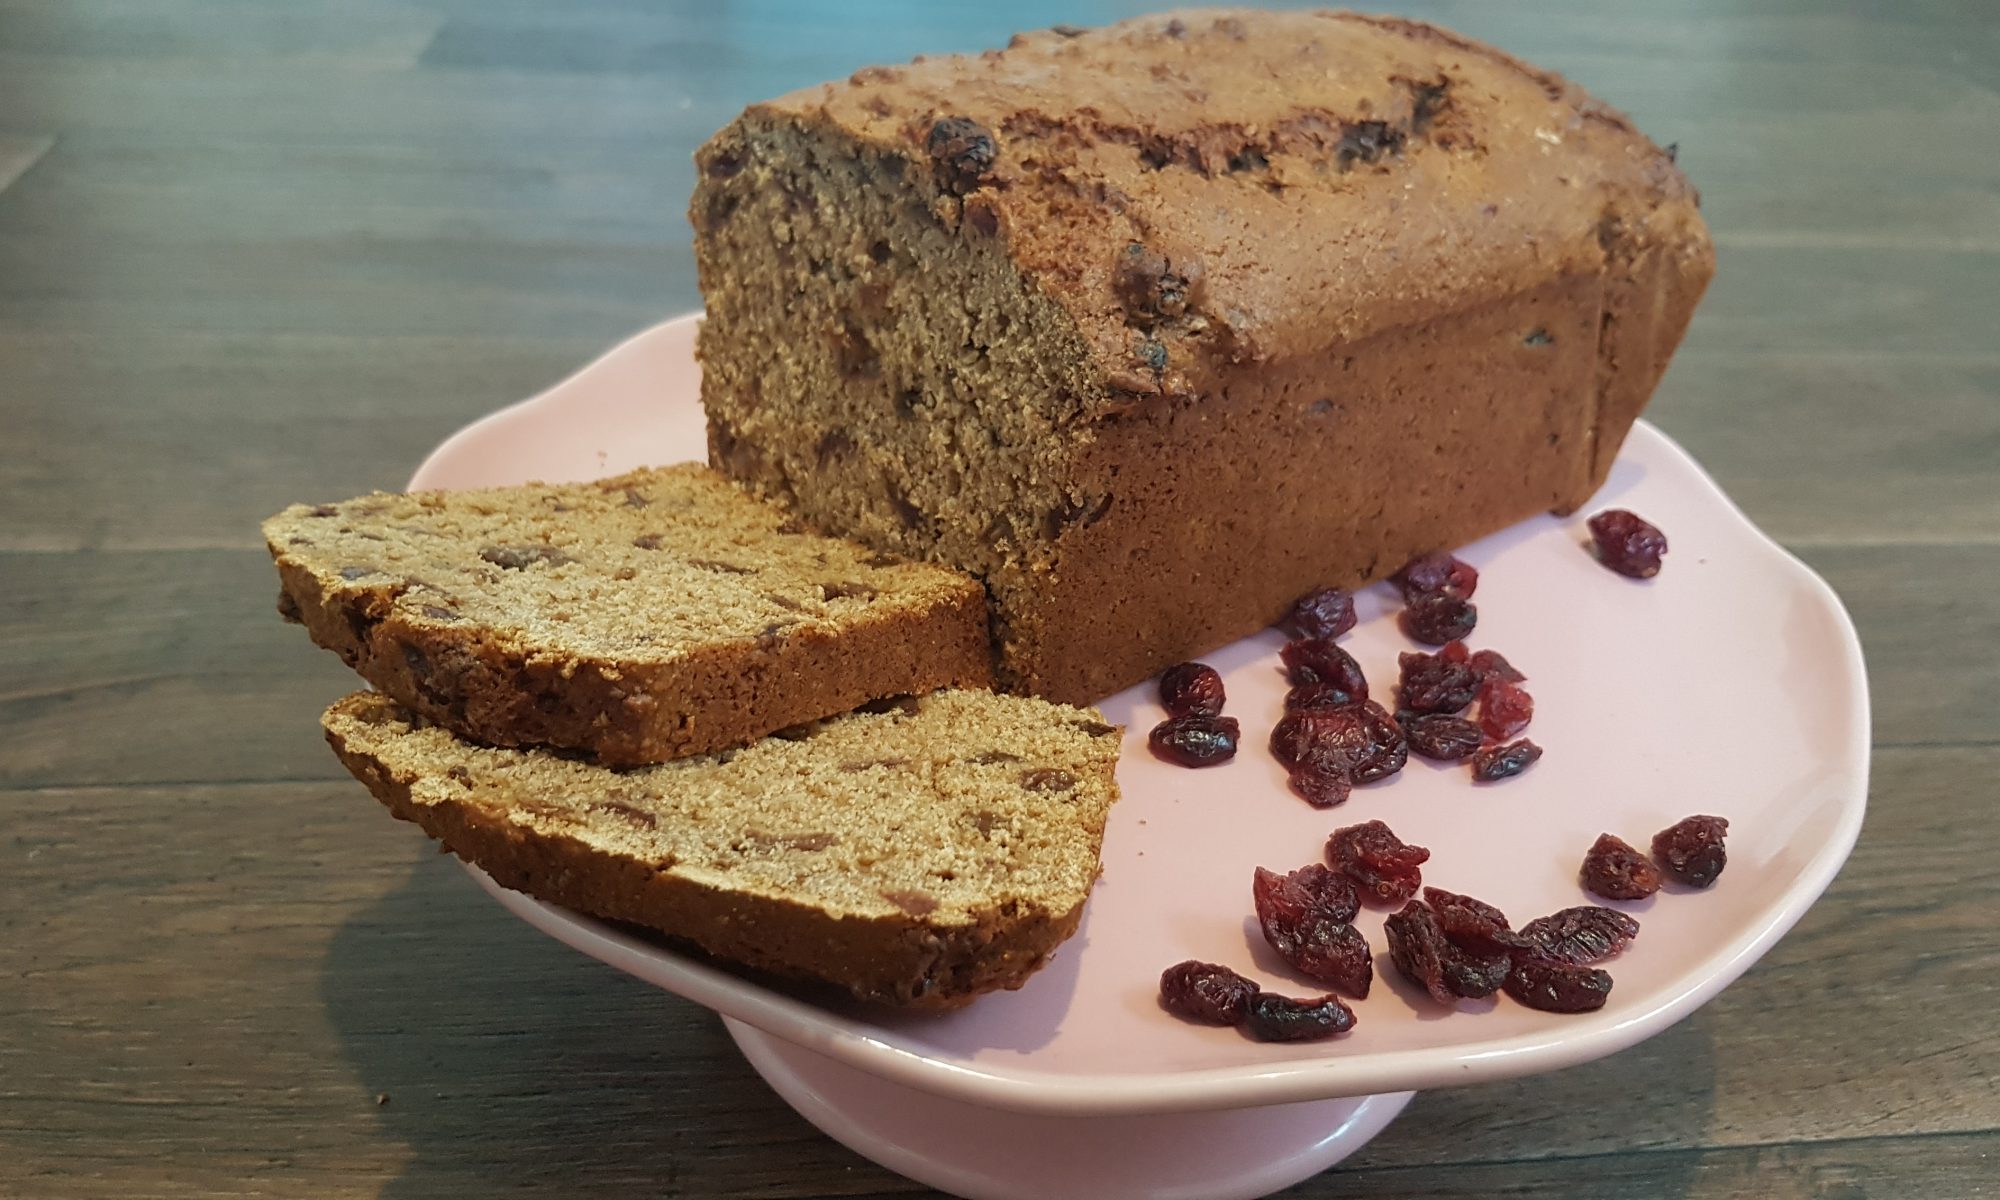
I am not ashamed to admit that my kids have been enjoying a small slice of this for their breakfasts recently. With all the changes in their daily routine, I wanted them to remember some of the fun things, like when mummy allowed them to have cake for breakfast! Much love from our small corner of the world to all my readers and please do stay safe.

Chocolate Ginger buns

Yum chocolate icing too!

I am a self-confessed chocaholic. I can be very good and ignore chocolate in the fridge for weeks on end, but as soon as I open the wrapper, my resolve crumbles and a single square turns into a whole family-size packet! And despite my constant insistence that the kids share, in this instance I am powerless to follow my own advice. To prevent arguments, the kids have their own treat box which was affectionately christened the ‘num num tin’ and I am categorically not allowed their treats as I refuse to share mine! I understand this logic and it seems like a fair deal to me; I can go without the other sweets that they love, but I cannot abandon my chocolate!

Chopping ginger

Chocolate bakes are always among the most popular with my kids (I wonder where they get that from?!) and these little cakes are so yummy and moreish that it’s easy to understand why. Atticus in particular was eager to make these as they contained ginger. For those of you who haven’t met my younger son, he is my fellow redhead in the family.  He piped up that they would be his special ginger cakes and under no circumstances was I to decide that they would replace him as my favourite little ginger!

The ginger isn’t overpowering in these cakes, but it adds depth to the chocolate cake. If your kids aren’t huge fans of ginger I would recommend omitting the ginger syrup from the icing or leave them plain. My kids seem to think that undecorated cakes are some kind of crime to baking.

Mix it all up

To make the buns you will need:

  • 100g caster sugar
  • 100g margarine
  • 2 eggs
  • 2tbsp syrup from a jar of stem ginger
  • 100g self-raising flour
  • 20g cocoa powder
  • 60g stem ginger from a jar, chopped into small pieces

For the icing:

  • 85g icing sugar
  • 15g cocoa powder
  • 1tsp syrup from a jar of stem ginger
  • 3-4tbsp milk
  • Sprinkles

To make them:

  1. Preheat the oven to 160°c fan and put the cupcake cases in the muffin tray.
  2. Chop the stem ginger into small pieces. Adult help may be required.
  3. Cream the sugar and the margarine together until it is light and fluffy.
  4. Add the eggs, one at a time, beating well after each one.
  5. Add the ginger syrup and mix again.
  6. Sift the flour and cocoa into the bowl and fold into the mixture.
  7. Add the stem ginger and gently mix.
  8. Divide the mixture between the 12 cases and place in the oven for 15-20 minutes until springy to the touch and a cake tester comes out clean.
  9. Once cooled, make the icing by mixing all the ingredients together. Add more milk for a thinner icing if desired. Spread it onto the cakes.
  10. Let the kids go crazy with the sprinkles!

This article appeared in Penguin News on Friday 20 March, 2020.

Cottage Potato Pies

My kids all seem to have decided that mashed potato is good. This is a far cry from where we were only a year ago, when we would have to embark upon massive negotiations to get our middle child to even consider having potato on his plate. This polar change has opened up many more recipes that are now deemed acceptable as the humble potato is no longer considered food enemy number one! Unfortunately, tomatoes and courgettes remain exiled from two of the kids’ plates, but we are celebrating small victories.

There is now generally a mini stampede when I mention making mashed potatoes. This is because they all enjoy mashing potatoes and making ‘worms’ appear through the masher. The act of mashing is always accompanied by shrieks of delight!

This meal is lots of fun to put together. My kids loved scooping out the inside of the cooked potato, spooning in the mince, mashing the potato, sprinkling in cheese and then transporting the potato back on top of the mince-filled potatoes. It is true that it requires a fair amount of parent preparation; cooking the potatoes and making the mince filling. Despite this it is definitely worth the effort. It is also an incredibly versatile recipe which can be made vegetarian by using a Quorn or a lentil filling instead of the mince.

To make 4 jacket potatoes you will need:

  • 4 jacket potatoes
  • 50g grated mozzarella
  • 2-3tbsp milk
  • 500g beef mince
  • 2 carrots
  • 1 onion
  • 500 ml beef stock
  • 3tbsp tomato paste
  • Seasoning; dried herbs and garlic, salt and pepper

Parent prep

  • Cook and cool jacket potatoes and slice the tops off.
  • Make the beef filling by frying the onions and carrot with the seasoning. Brown the meat and then add the stock and tomato paste and allow to simmer for 30 minutes until it has reduced and cool.

Kiddie jobs

  1. Scoop out the inside of the potatoes being careful not to break the potato skin and put into a large bowl.
  2. Mash the potato and add the cheese and milk.
  3. Spoon the meat filling into the potato shells.
  4. Cover with mashed potato.
  5. Place in the oven for 15-20 minutes at 160°c fan until warm through.

Mug Omelettes

The very first topic I studied as part of my Home Economics GCSE all those years ago was eggs. I have vivid memories of my teacher at the time mentioning all through the lesson that eggs are the most wholly nutritious and accessible single food; easy to cook and versatile. At the time, I remember only equating eggs with cakes and completely failing to make the connection with omelettes or any other savoury dish. I remember going home being absolutely insistent that I wanted eggs for dinner and that omelettes were going to be on the menu despite what my mum had planned. Not long after, omelettes became a regular feature and my dad took on the responsibility of making them provided that all the fillings were all ready to add at the appropriate time. These remain happy memories in the kitchen that always provoke a smile.

My kids love cooking with eggs. I am not sure what fascinates them more; the fact that they are allowed to break them and be destructive, or how they change when you whisk them and cook them. Taking full advantage of this interest, and that they love to complete an activity by themselves without my input, Mug Omelettes are a perfect lunch or breakfast. They are made, cooked and eaten from the same mug – so minimal washing up required! We always have a selection of fillings for the kids to choose from including: chopped ham, sweetcorn, olives, herbs or tuna.

To make a Mug Omelette you will need:

  • Large mug that can go in the microwave
  • Frylight or oil to grease the mug
  • 2 eggs
  • 2 tablespoons of milk
  • 2 tablespoons of cheese (although my kids use more!)
  • ¼ teaspoon of dried herbs of choice
  • Seasoning
  • Fillings of choice (ham, onion, sweetcorn, olives, tuna, peppers etc)

Method

  1. Spray the inside of the mug with the frylight or paint with oil to ensure that the egg doesn’t stick to the mug.
  2. Carefully crack the eggs into the mug and beat with a fork.
  3. Add in the milk and beat again.
  4. Add the cheese and seasonings and mix.
  5. Add additional fillings and mix again.
  6. Adult, take the mug to the microwave and microwave for 30 seconds on high. Remove it from the microwave and stir with a fork.
  7. Continue to microwave for 30 second increments, mixing in between each time, until the omelette has set.
  8. Leave to stand for a minute before giving to child to enjoy. You could even put the omelette in a fresh cup or on a plate if the mug has become very hot.

This recipe appeared in the Penguin News on 14 February 2020.

Vegan Apple & Blackberry Cakes

This year, instead of making New Year’s Resolutions that I know I am not going to have the will power or inclination to strive to keep, I opted for a promise to myself to spend more time individually with each of our children. So often, we all cook together and I love all the chaos this inevitably brings and the fact that no one misses out on the fun, but it does mean I am not spending time with each child on their own.

Squishing and squashing blackberries into icing sugar.

My New Year’s Day baking in pyjamas session was with Seb. It was considerably earlier than I would have chosen, but he was awake and seeing as he gets his early bird tendencies from me, I thought it fell to me to keep him occupied. I did not want three children awake at that hour slowly chiselling away at my patience! This did mean we were making these cakes at 7am and they were in the oven by 7.30am and cooled and iced before 9am.

Icing cakes.

As it is January, we decided on a vegan recipe to coincide with Veganary. Please don’t switch off here, because if I hadn’t mentioned that these were vegan and you tried one, I doubt you would realise. As an added bonus, they contain apple and blackberries so that definitely makes them healthier than the cakes without fruit, right?! It is an easy recipe to make, but young children may well need help grating the apple. We used frozen blackberries, but for the icing we did let them defrost so we could squish and squash them and mix with the icing sugar to create a vibrant icing for the cakes. This recipe makes 8 cakes and they will keep in the fridge for a couple of days if they last that long.

Yummy, yummy in our tummies!

To make our Vegan Apple & Blackberry Cakes you will need:

  • 100ml plant-based milk (we used hazelnut, but any will do)
  • 100g caster sugar
  • 30ml vegetable oil or rapeseed oil
  • 1/2tsp vanilla extract
  • 1/2tsp baking powder
  • 120g self raising flour and an extra half tbsp
  • 40g blackberries (frozen is OK)
  • 50g grated apple
  • 80g icing sugar
  • 30g blackberries (defrosted if frozen)

Method

  1. Preheat the oven to 160 °c fan and line eight holes of a muffin tray with paper or silicone cases.
  2. Put the sugar, grated apple and the liquid ingredients in a large bowl and mix to combine.
  3. Sift the self raising flour and baking powder into the mixture and gently fold together.
  4. Sprinkle half a tablespoon of flour over the frozen blackberries and ensure they are all completely coated – this should prevent them from all sinking to the bottom of the cakes.
  5. Add to the cake mixture and gently fold them in.
  6. Divide the mixture between the eight cake cases and place in the oven for around 20 minutes until springy to the touch and a cake tester comes out clean (unless you hit a blackberry).
  7. Remove from the oven and set aside to cool. While the cakes are cooling, squish and squash the defrosted blackberries until they are liquidy. Mix with the icing sugar and add more icing sugar if you want a thicker icing.
  8. Cover the cakes and allow to set. Store in the fridge.

This recipe was featured in Penguin News on 10 January 2020.

Kiddie Amaretti Biscuits

Unless I am being super duper productive next week, this will be my last post before Christmas. So I want to take this opportunity to wish you all a very Merry Christmas from the Falkland Islands. We have just begun our Christmas/summer holidays and the whole family, including my teacher husband, is looking forward to not having to get up early and sort stuff for school! Although that said, I hit the gym early this morning trying to compensate for all the treats I have eaten in the run up to Christmas…

I have fond memories of tins of Amaretti biscuits at Christmas time as a kid and being allowed one or maybe two if I was lucky. The excitement of choosing which coloured wrapper I wanted and gently unwrapping it to reveal the delicious almond biscuit which was always savoured. I never wanted to throw the wrappers away either as they were so elegant and reminded me of yummy Christmas treats. I always felt very grown up being allowed to share in what felt like a very indulgent Christmastime ritual under the watchful eyes of my dad, who wanted to ensure I took no more than I had been allowed. I don’t think he was very good at sharing what he considered to be his food. My sweet tooth certainly came from him!

What’s not to love?
Some of the steps in action.

This year, I decided that it would be fun to recreate them with the kids in the kitchen, but without the alcohol. It was a hands on activity which kept all three children amused. With the set up of our kitchen in Stanley, it isn’t always particularly easy to give everyone space to have a go, but this time around the kids managed to share a couple of chairs and leave room for me to instruct from the side lines. We did make ours somewhat larger than shop bought ones, but it did make them less fiddly for small hands to roll into balls and then coat in icing sugar without squishing them into a pulp! These a naturally gluten free as they contain no flour and with the ground almonds they make me feel like they are a bit healthier.

Ingredients

  • 2 egg whites
  • 175g caster sugar
  • 175g ground almonds
  • 1tbsp almond extract
  • Icing sugar for dusting

Method

  1. Preheat oven to 160°c fan and line two baking sheets with silicone baking mats or parchment.
  2. Whisk the egg whites with hand mixer until stiff peaks form.
  3. Gently mix in the caster sugar and ground almonds with a metal spoon and then bring together with your hands.
  4. Make tablespoon-sized balls for big biscuits or teaspoon-sized balls for smaller biscuits.
  5. With damp hands, roll each ball in a plate of icing sugar to coat and place on baking sheets ensuring that you space them apart.
  6. Cook for 15-20 minutes until they are a light golden colour and slightly puffy.
  7. Leave to cool on the baking trays for around 10 minutes before transferring to a wire rack to cool completely.

These are totally yummy biscuits and I will probably be making these outside the festive season too! But that is probably because I love biscuits, but I hate the pressure of trying to decorate them nicely as I am not the most artistic of people!

Coconut Penguins

Cutting the beaks in half
Stir it up!

We may have only moved to Stanley back in August, but the family’s knowledge of penguins and love of them is much more ingrained. It all started when we were still a family of 4 and took a trip to London Zoo when we were visiting my parents. Atticus, at just over a year, was completely mesmerised by the penguins and it seems they stole his heart. When in the gift shop, he made a beeline for the toy penguins and Grandma purchased him one. It went everywhere with him and we ended up buying a second one online in case the first went missing in action. That initial penguin has made the trip out here, but we did have to limit the number of toy penguins the kids brought as I was sure we would be convinced to add to their collection during our time here.

Turning them into penguins!

I was compiling my list of potential Christmas bakes when I found a coconut mice recipe. The first thought that struck me was how much I love coconut. Then the idea of Coconut Penguins popped into my head. What could be better?! I mean it is a penguin made of coconut and sugar! Unsurprisingly the kids were fully on board with this idea and we have had requests for more Coconut Penguins ever since we finished the first batch.

Ingredients

  • 250g icing sugar, sifted
  • 200g condensed milk
  • 175g desiccated coconut
  • Black food dye
  • Silver balls
  • Jelly diamonds (orange and yellow)
  • White chocolate buttons (or yellow smarties!)
  • Mini smarties (orange and yellow)

Method

  1. Line two baking sheets with baking parchment or silicone baking mats.
  2. Sift the icing sugar into a large bowl (my kids love doing this job and always shriek; “it’s snowing!”)
  3. Add in the condensed milk and desiccated coconut and mix. The mixture will be stiff, so smaller children may require some help.
  4. Add generous squirts of the black food dye (it is difficult to get it truly black and ours looked more grey, but this didn’t detract from the kids’ enthusiasm for them) and mix again.
  5. Take tablespoon-sized amounts and shape them into oval patties and put on the baking sheets. There is a sticky fingers warning here! Slightly damp hands will prevent this to a degree.
  6. Decorate with two silver balls for eyes, half a jelly diamond for the beak, a white chocolate button for the tummy and two mini smarties for the feet.
  7. Put in the fridge to set and then enjoy.
Penguins on an iceberg and one in in the sea!

This recipe appeared in Penguin News on Friday 13 December 2019.

Christmas Meringues

Zuzzing up the egg whites.

Meringues are one of Atticus’s favourite things to make. He loves to handle the electric whisk all by himself and tends to take any attempts at interference with pure contempt. Unfortunately, he had to share the responsibility, but he did get in the Christmas spirit and did so with relative good grace. As meringues are such an easy thing to make, there was no escape giving them a little festive makeover. I had a go at this myself last year one evening when the kids were in bed, but this time I had to get the kids involved. They were just as tasty as I remembered and these will probably feature in our festivities this year as the two littlest and their dad are not fond of mince pies.

Dolloping the meringue mixture onto the tray

As not all children like the festive flavour of mincemeat, these are a perfect way to introduce them subtly to the flavour. My two youngest will devour these! Whisking the egg whites allows the kids to watch their volume increase and find the vocabulary to describe it. The mincemeat makes them beautifully squidgy and gives them a darker colour than plain meringues.

Getting their festive clothes before entering the oven.

This recipe featured in Soar Valley Life’s November/December 2019 issue. I held off posting it too early as I couldn’t cope with posting Christmas food until advent had well and truly started!

Ingredients

  • 2 medium egg whites
  • 115g caster sugar
  • 2 tbsp mincemeat (we used shop bought)
  • Sprinkles

Method

  1. Preheat the oven to 90° fan and line two baking sheets with baking parchment or silicone baking mats.
  2. Put the egg whites in a clean bowl (it is best to avoid plastic).
  3. Whisk the egg whites with an electric whisk until peaks form when the blades are lifted out of the mixture.
  4. Add the caster sugar a tbsp at a time and beat after each addition. The mixture should look thick and glossy.
  5. Once all the sugar is incorporated, add the mincemeat a tbsp at a time and beat after each addition.
  6. Take tbsps. of the mixture and gently dollop onto the baking trays (you should get around 10) and add sprinkles.
  7. Place in the oven for 1hr 45 minutes and then switch the oven off. Leave them in the oven until it is completely cooled. We leave ours in overnight and remove the following morning.

Lolly Cake

I am always on the look out for simple recipes to make with the kids. Truth be told, I get bored if I have to make the same thing over and over again. Flapjack brownies are the exception to this; they always go down well. I do have to fight off my middle child as he is also rather partial to them, but seeing as he is considerable shorter than me, I have a certain advantage when it comes to keeping them out of his reach.

Sprinkling the coconut.
All lined up!

Since our move to the Falklands, we have met a few Kiwis. This got me researching recipes from there. I stumbled upon Lolly cake and thought it looked like a perfect treat for Smoko or elevenses/high tea. I decided that it would be amazing apart from the traditional idea of rolling it up – I didn’t fancy trying to role up a sticky condensed milk and biscuit concoction into a log and covering it with desiccated coconut with a small child. Can you imagine a small child faced with the instruction not to lick their fingers combined with overwhelming desire to do so when confronted with a sugary sticky messy mixture that they are shaping with their hands?! Consequently, I decided a make it as a traybake. We initially covered the bottom in desiccated coconut too, but this seemed to make it overly messy – not my aim. Therefore, my suggestion would be to just sprinkle the desiccated coconut on the top. It may be a cop out, but I think you will thank me when your surfaces and floors are not covered in desiccated coconut. It did look a bit like it had been snowing in my kitchen!

Not enough yet mummy!

This one was a recipe that Ophelia made with me when the boys were in school. Highlights included smashing the biscuits to smithereens (I totally love that word, definitely one of my top 100 words and yes, I am that language geek) and trying to sneak dolly mixtures and mini marshmallows into her mouth during the process. Daddy, who allegedly doesn’t like dolly mixtures, certainly ate more than his fair share of this bake. Not that I am pointing the finger or anything…

Ingredients

  • 250g chocolate digestives
  • 150g dolly mixtures
  • 30g mini marshmallows
  • 120g butter
  • 200g sweetened condensed milk
  • 70g desiccated coconut

Method

  1. Grease and line a brownie pan or a square cake tin (at least 20cm, ours was a bit bigger as we use a brownie pan)
  2. Put the butter and condensed milk into a pan over a low heat and melt together. We measured the condensed milk directly into the pan to prevent too many sticky spillages. Once melted put to one side to cool a little.
  3. Crush the biscuits either by placing in a zip lock bag and bashing with a rolling pin, or in a bowl and crushing with the end of a rolling pin. We did the latter, after having broken then up a bit first.
  4. Add the crushed biscuits, the dolly mixtures and marshmallows to the condensed milk/butter mixture and mix to ensure fully combined.
  5. Spoon into the prepared tray and spread with the back of a wooden spoon. You may want to let you little chef use their fingers to get the mixture into the edges of the tin.
  6. Sprinkle the top wit the desiccated coconut and put in the fridge to set.
  7. Leave to set before cutting. Please note, it is easier to cut when it is fully solid. We left ours overnight before contemplating cutting it.
  8. Try not to eat the whole batch in a single sitting (I am not looking at anyone in particular here!!!)

My aim making this treat was to spread the sugar out evenly over the week, but unfortunately this time I was unsuccessful. Anyone got any tips for baked goods security?!

Pear & Honey Breakfast Cups

I used to be a morning person. Each new day would fill me with glee and I would be so optimistic about what it may bring me. Fast forward to now, and I can say with one hundred per cent certainty that I am no longer a morning person. I can pinpoint the exact date when my natural state was warped and unsurprisingly it coincided with the arrival of our firstborn. Mornings used to be my own personal safe haven. To reach that degree of solitude now, I have to leave the comfort of my home and run which if I am honest can be blinking exhausting! Although, running gives me an excuse, an incentive even, to eat cake and by no means cancels out the hard work of the run…

Sharing jobs; mixing and putting muffin cases in the tray.

Wen you have already had the argument over getting dressed, convincing your monkeys that school isn’t optional and gently breaking it to your youngest that they will never be the same age as their older sibling at the same time, breakfast can often seem to b a battle unworthy of your time. This recipe was born from my dual desire to refuse to comply with sugar-laden breakfast requests and give the kids the impression that they were having a fun breakfast without it being full of refined sugar. I don’t think I would be any teacher’s favourite parent if I sent my children into school saturated with sugar and unable to sit still for a single second.

Dividing up the mixture.

These breakfast cups can be made the afternoon before and stored in an airtight container in the fridge overnight and then all you have to do is present them plated up with no preparation time at breakfast! The fact that they are cooked in individual portions as well means that you don’t need to worry about cutting up the flapjack and risk uneven pieces. Yes, I really have thought this through too much. The last ting I would want is to go three rounds of such and such has a bigger piece than me! That would defeat the objective of a stress-free breakfast!

Ingredients

  • 150g tinned pear
  • 200g butter or margarine
  • 250g runny honey
  • 400g oats
  • 50g Cheerios

Method

  1. Preheat the oven to 160° fan.
  2. Measure out the butter and the golden syrup and place in a large pan on the hob and melt over a low heat stirring occasionally.
  3. Meanwhile, cut the tinned pear into small chunks using a table knife.
  4. Measure out the oats and the Cheerios.
  5. When the butter and honey mixture has melted and has been stirred to combine, add in the oats and Cheerios and mix.
  6. Add in the chopped pear and mix again.
  7. This mixture will make around 20 breakfast cups so line a muffin tray with cupcake cases (if you don’t have 2, this mixture is sturdy enough to stand up in the cases in a cake tin) and evenly divide the mixture between the cases.
  8. Cook in the oven for 20-25 minutes until golden brown. They will be fragile when removed from the oven, but they firm up as they cool.#

This recipe appeared in Penguin News on Friday 22 November 2019.