
 In case you hadn’t already noticed, I enjoy messing around in the kitchen creating recipes. Furthermore, I love it when the children can get involved in making their after school snacks or meals and contribute to the activity. This makes me feel less like a general dogsbody and more like a proactive parent on a mission to teach the kiddos how to fend for themselves.
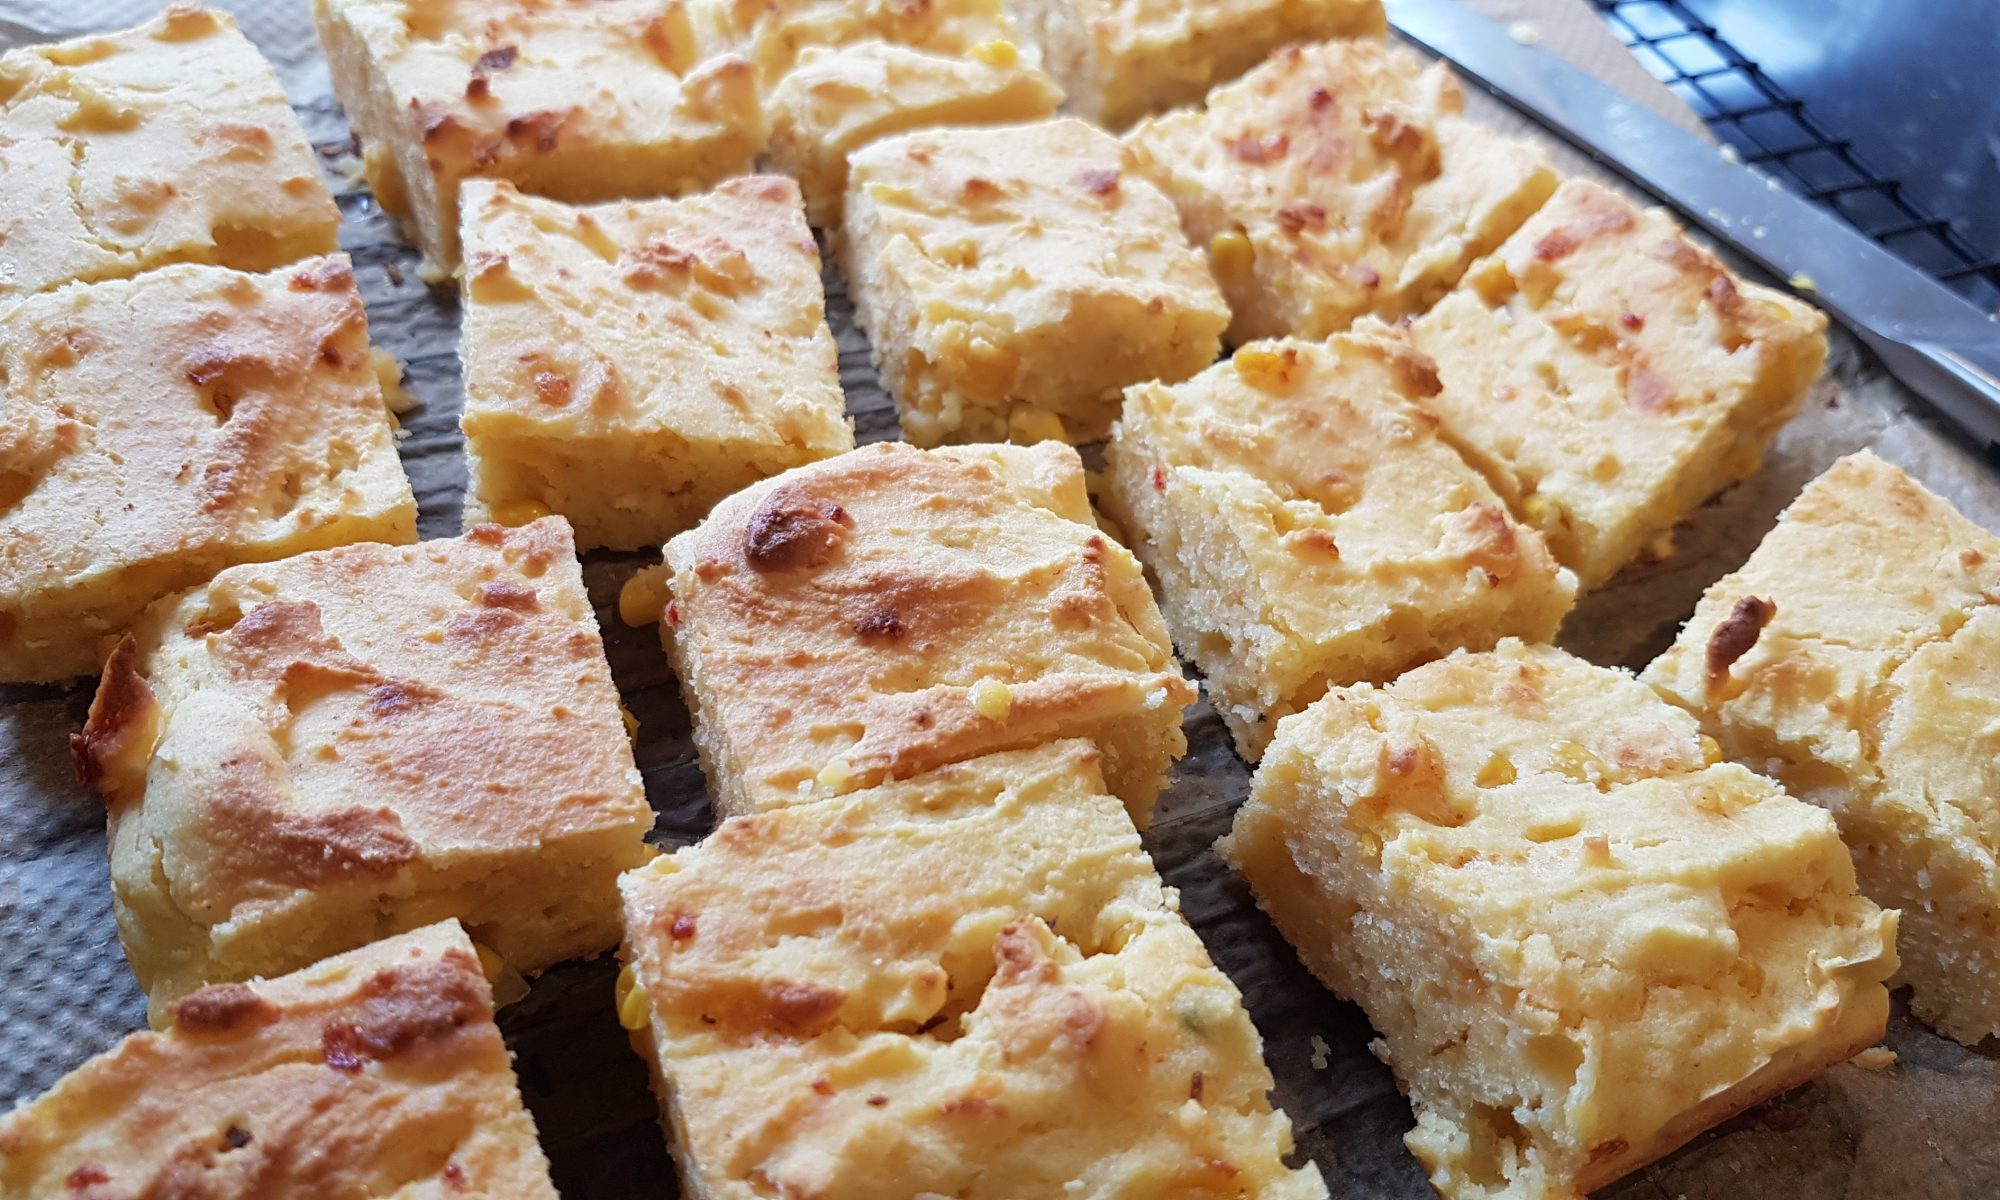
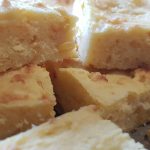
We have several gluten-free friends and as cornmeal is naturally gluten free and I always have a stock of gluten-free flour in the pantry, it made sense in my head to make this recipe completely gluten free. I like to have a bank of gluten-free recipes for bring and share meals and for when gluten-free friends visit so I am not always relying on the same ones. Everyone deserves a bit of variety right?! It is true that gluten-free flour does tend to yield a drier bake, but that said this cornbread does have a lovely taste and texture; the mustard powder and sweetcorn add a bit of depth to the flavour
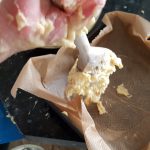
I made this with Ophelia and due to all the buttermilk, oil and eggs, photographing the process was the last thing on my mind. My aim was to avoid the need to completely clean the kitchen or to give her a bath just before her swimming lesson. It also meant that my phone was mainly on the other side of the counter to avoid the potential onslaught of ingredients from an overenthusiastic toddler! At the end of the activity, I did have to clean the counter where we were working thoroughly, mop a splodge off the floor and frogmarch my daughter to the sink so she wouldn’t put the mixture on the walls too… But my phone was clean! There is a first time for everything!
Ingredients
- 200g fine cornmeal/polenta
- 150g Doves Farm gluten free plain flour
- 2 tsp baking powder
- 1 tsp mustard powder
- 1 tsp salt
- 280ml buttermilk (one tub)
- 20ml wholemilk
- 2 tbsp olive oil
- 2 eggs
- 100g sweetcorn (defrosted if frozen)
- 50g Mexicana cheese, grated
Method
- Preheat the oven to 200°c fan and grease and line a 20cm square tin. (You could cook these in muffin cases if you prefer, to make little buns)
- Put all the dry ingredients except the corn and the cheese in a large bowl and mix.
- Put the buttermilk, milk and oil into a jug and mix.
- Crack the two eggs into the buttermilk jug and mix again until the eggs are fully incorporated.
- Make a well in the centre of the dry ingredients and pour in the buttermilk/egg mixture and mix until fully combined.
- Add the sweetcorn and cheese and mix so they are evenly spread out.
- Put the mixture in the tin and gently flatten with the back of the spoon.
- Cook for 20-25 minutes or until golden and firm to the touch.
- Remove from the oven and cool in the tin for 5 minutes before transferring to a cooling rack.
- Slice and enjoy warm or cold.
We had some very happy reviews of this cornbread from not only my children, but also my gluten-free recipe testers. Please do drop me a line or leave a comment if you do manage to make this recipe as I love hearing from you.
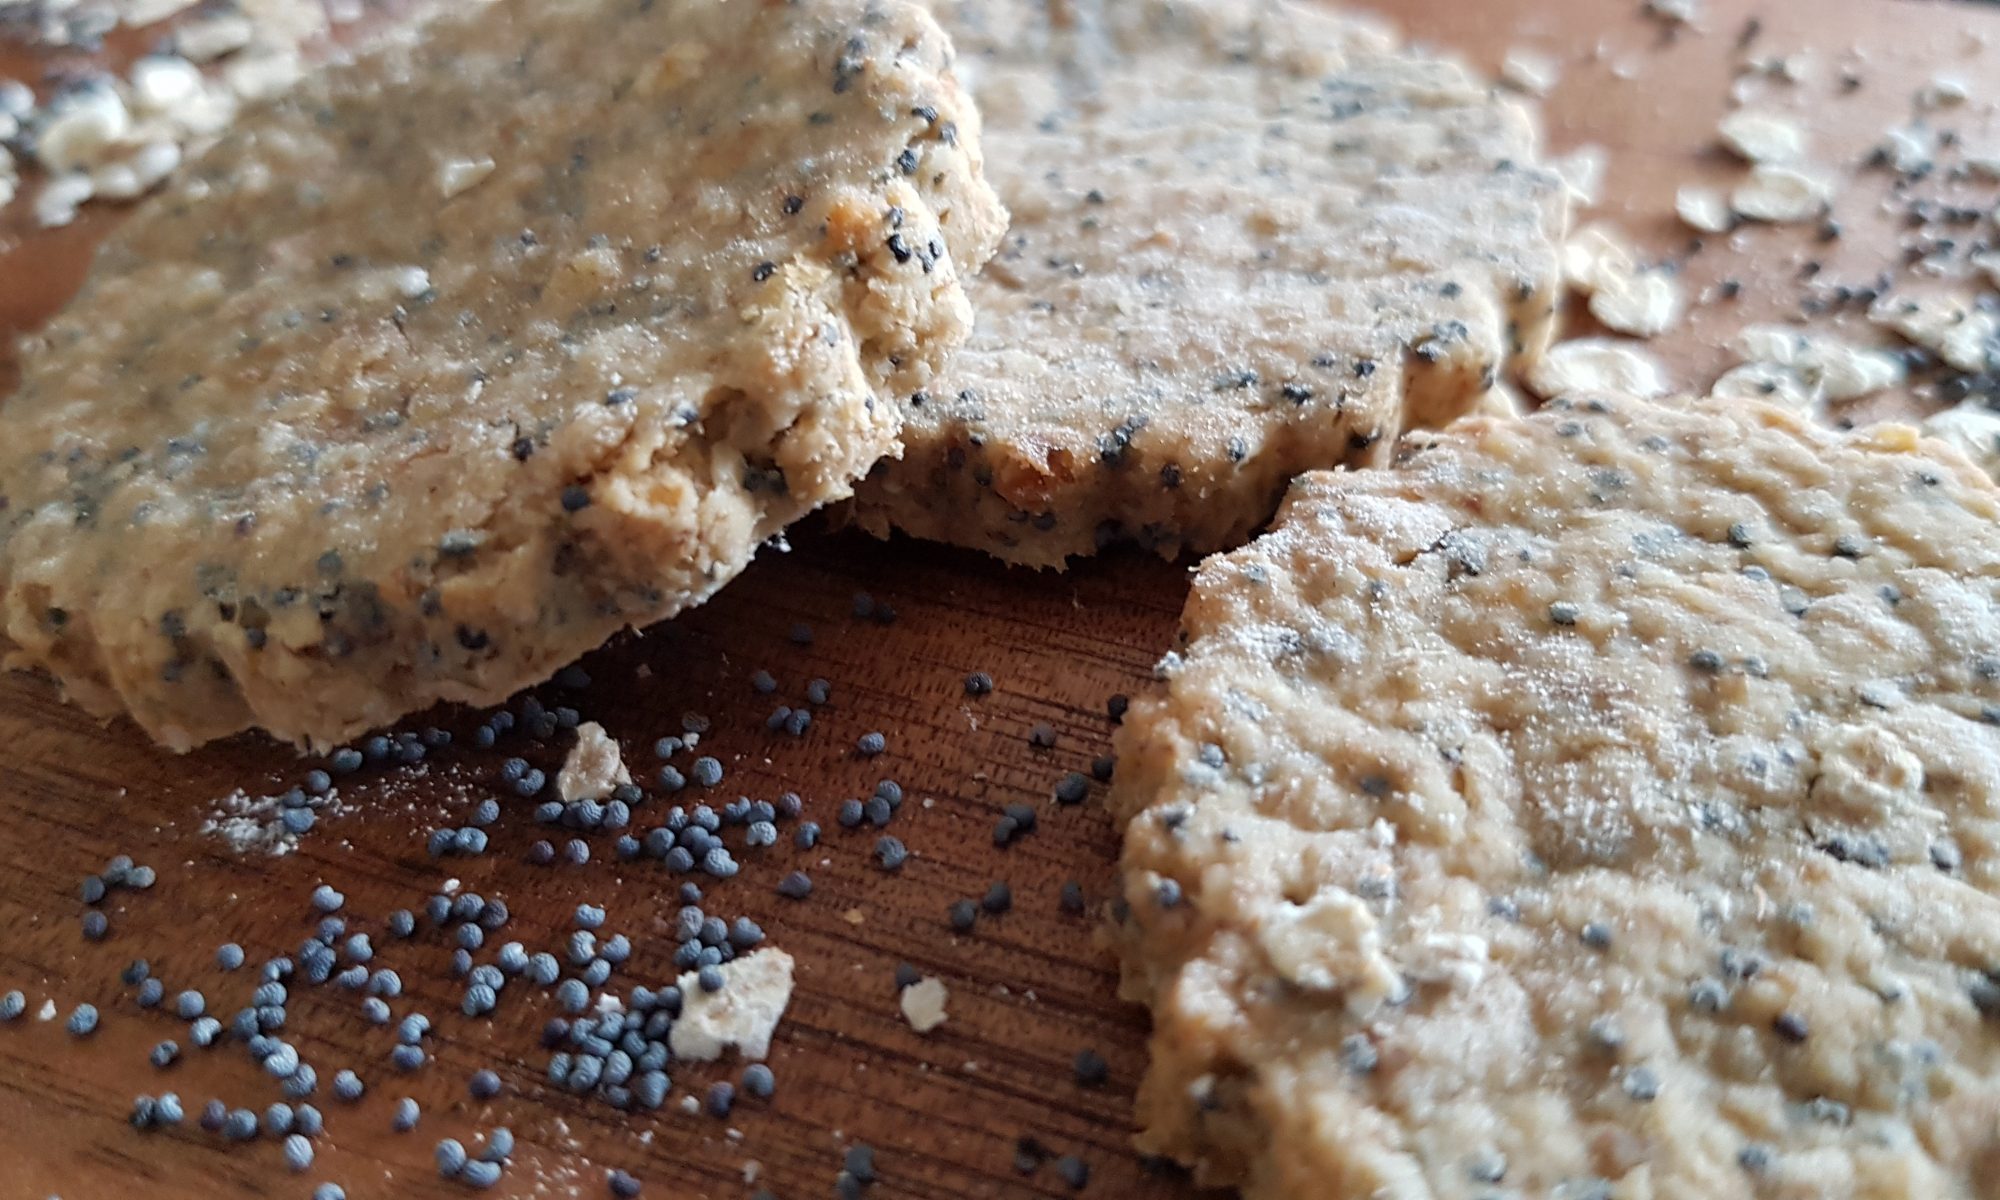
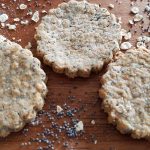 it is organised chaos, I found them and started to wonder what I could make with them. My initial thought was to combine them with lemon in something. But, while looking at my list of ideas of things I would like to make with the kids oatcakes jumped out at me. Then I realised that we also had some parmesan left in the fridge from making pesto and decided to combine the two. I also like the alliteration of parmesan and poppy seed! The latter was, of course, a big factor!
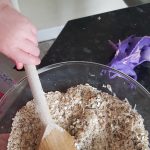
 butter and mix with a wooden spoon.
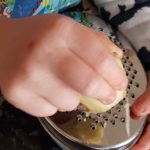
 Flour your surface and the rolling pin and roll out the oatcake mixture as thin as you can (some bits of ours were thinner than other bits) and cut out biscuits with the cutter.
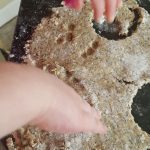 It seems that Ophelia thought that the oatcake was playdough as she insisted on poking and prodding it while cutting out the rounds. I can understand why she thought that, and I didn’t begrudge her a bit of time doing that and she didn’t have the patience or concentration to cut out all the rounds on her own.
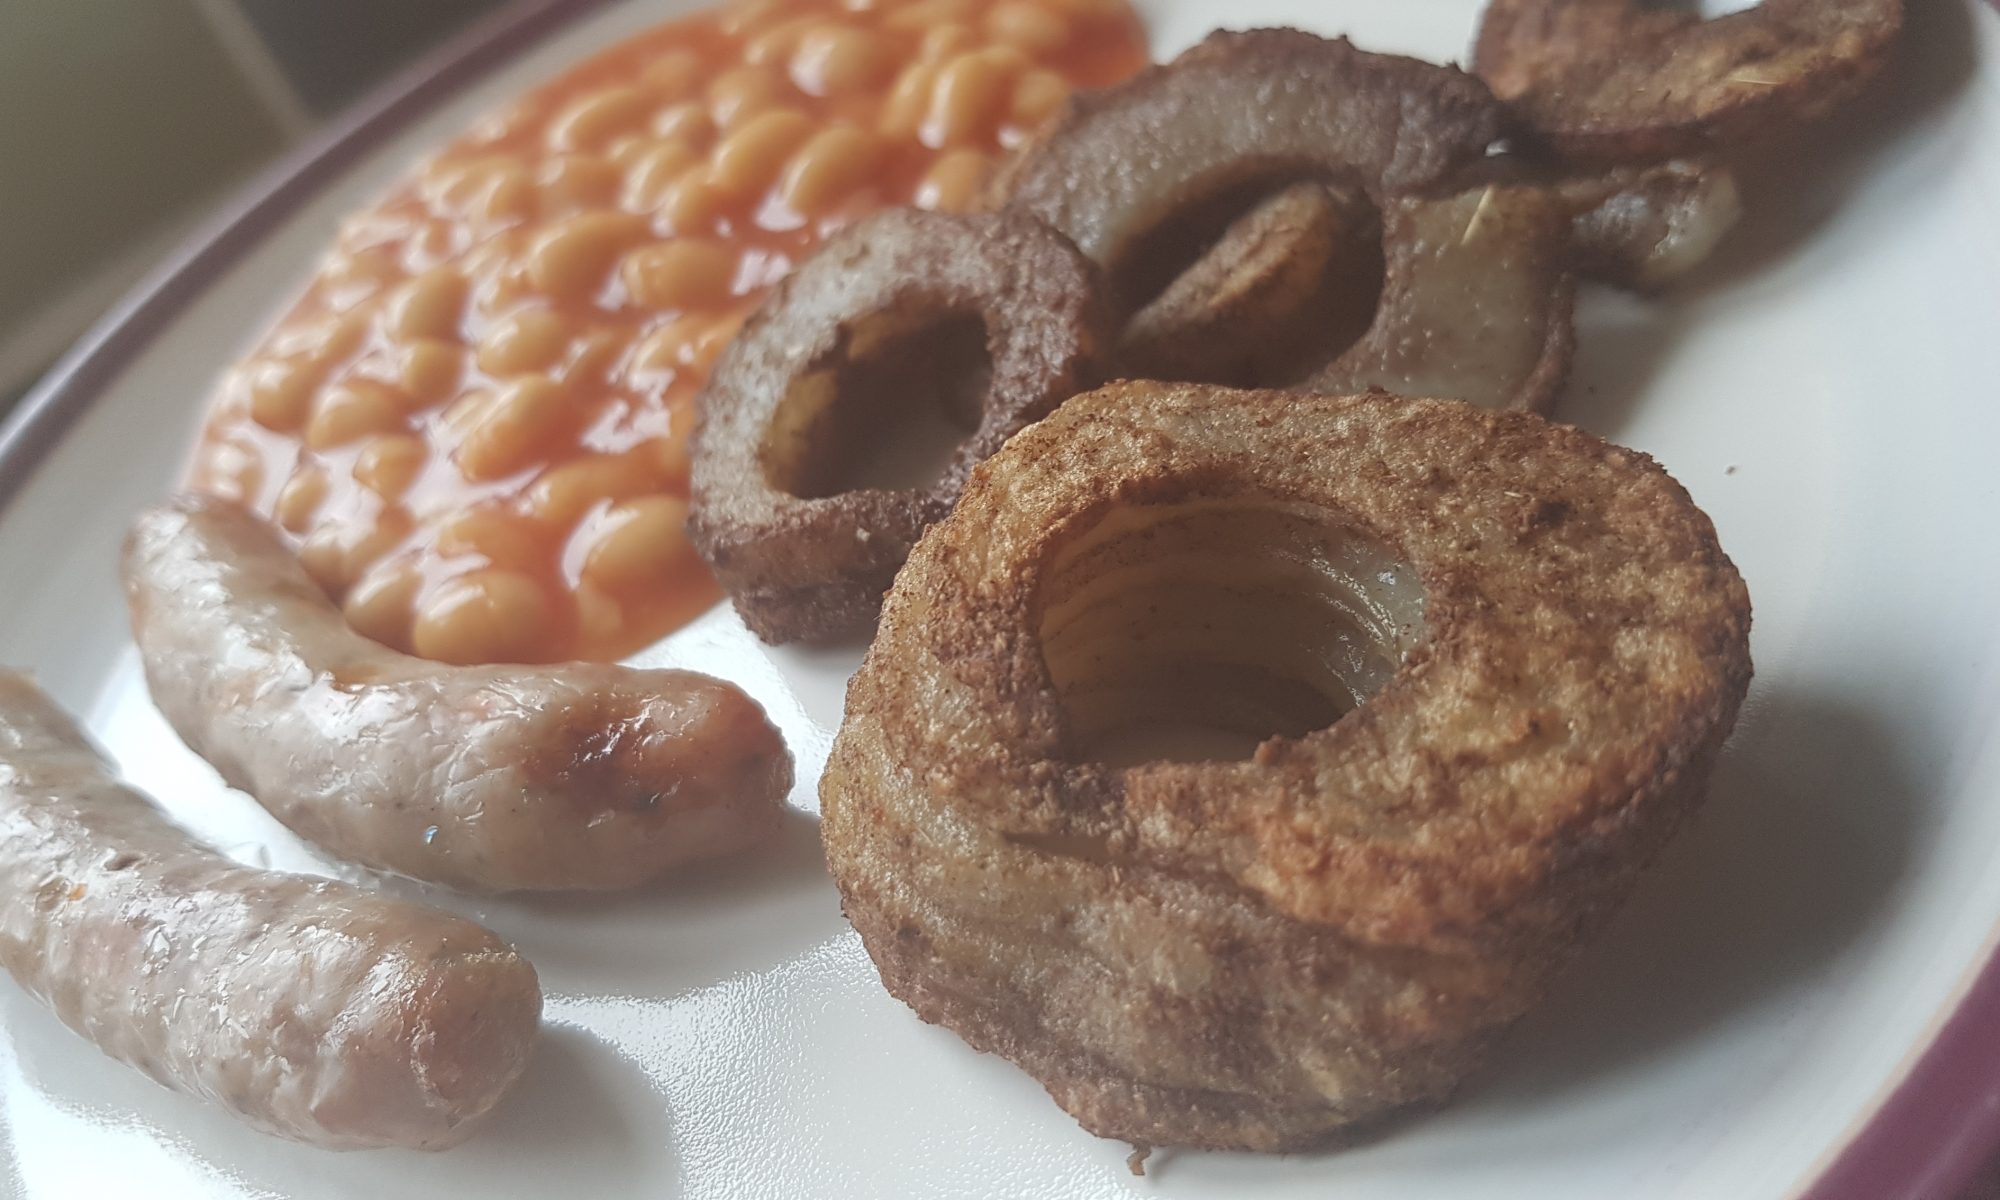
 – it is usually used for apples in our house for crumbles and pies etc)
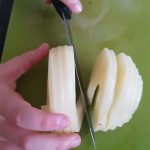 Once you have made all the potatoes all curly, cut each long curl in half so they are smaller and put
 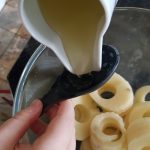 them in the large bowl.
 them in the oven to cook. Ours took 35 minutes and were turned half way through baking.
 remembered how odd I thought the combination was and then after eating it how happy I was with how it turned out. With this in mind, I decided that strawberries and cucumber would make a nice addition to a bulgur wheat salad along with basil, orange zest and orange juice. It may well sound like another crazy combination, but it does work and makes a lovely summery salad. Other additions could include dried apricots or raisins and if you want a bit of crunch some sunflower or pumpkin seeds. But having eaten too much cake recently, I decided that I should really try and make a slimming world-friendly recipe that the whole family could enjoy.
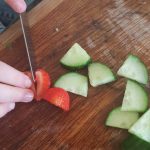 Cut the cucumber and strawberries into small pieces.
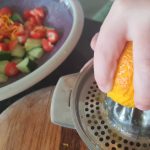 need to help the kids with this) and add to the bulgar wheat.
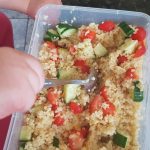 orange juice and add to the bulgar wheat and combine well.
 fish and chicken. It has to be said, Atticus picked all the strawberries and cucumber out and only ate some of the bulgar wheat. Ophelia happily gobbled the whole lot up and so did I! It definitely did make a change from a potato salad or coleslaw with our lunch.
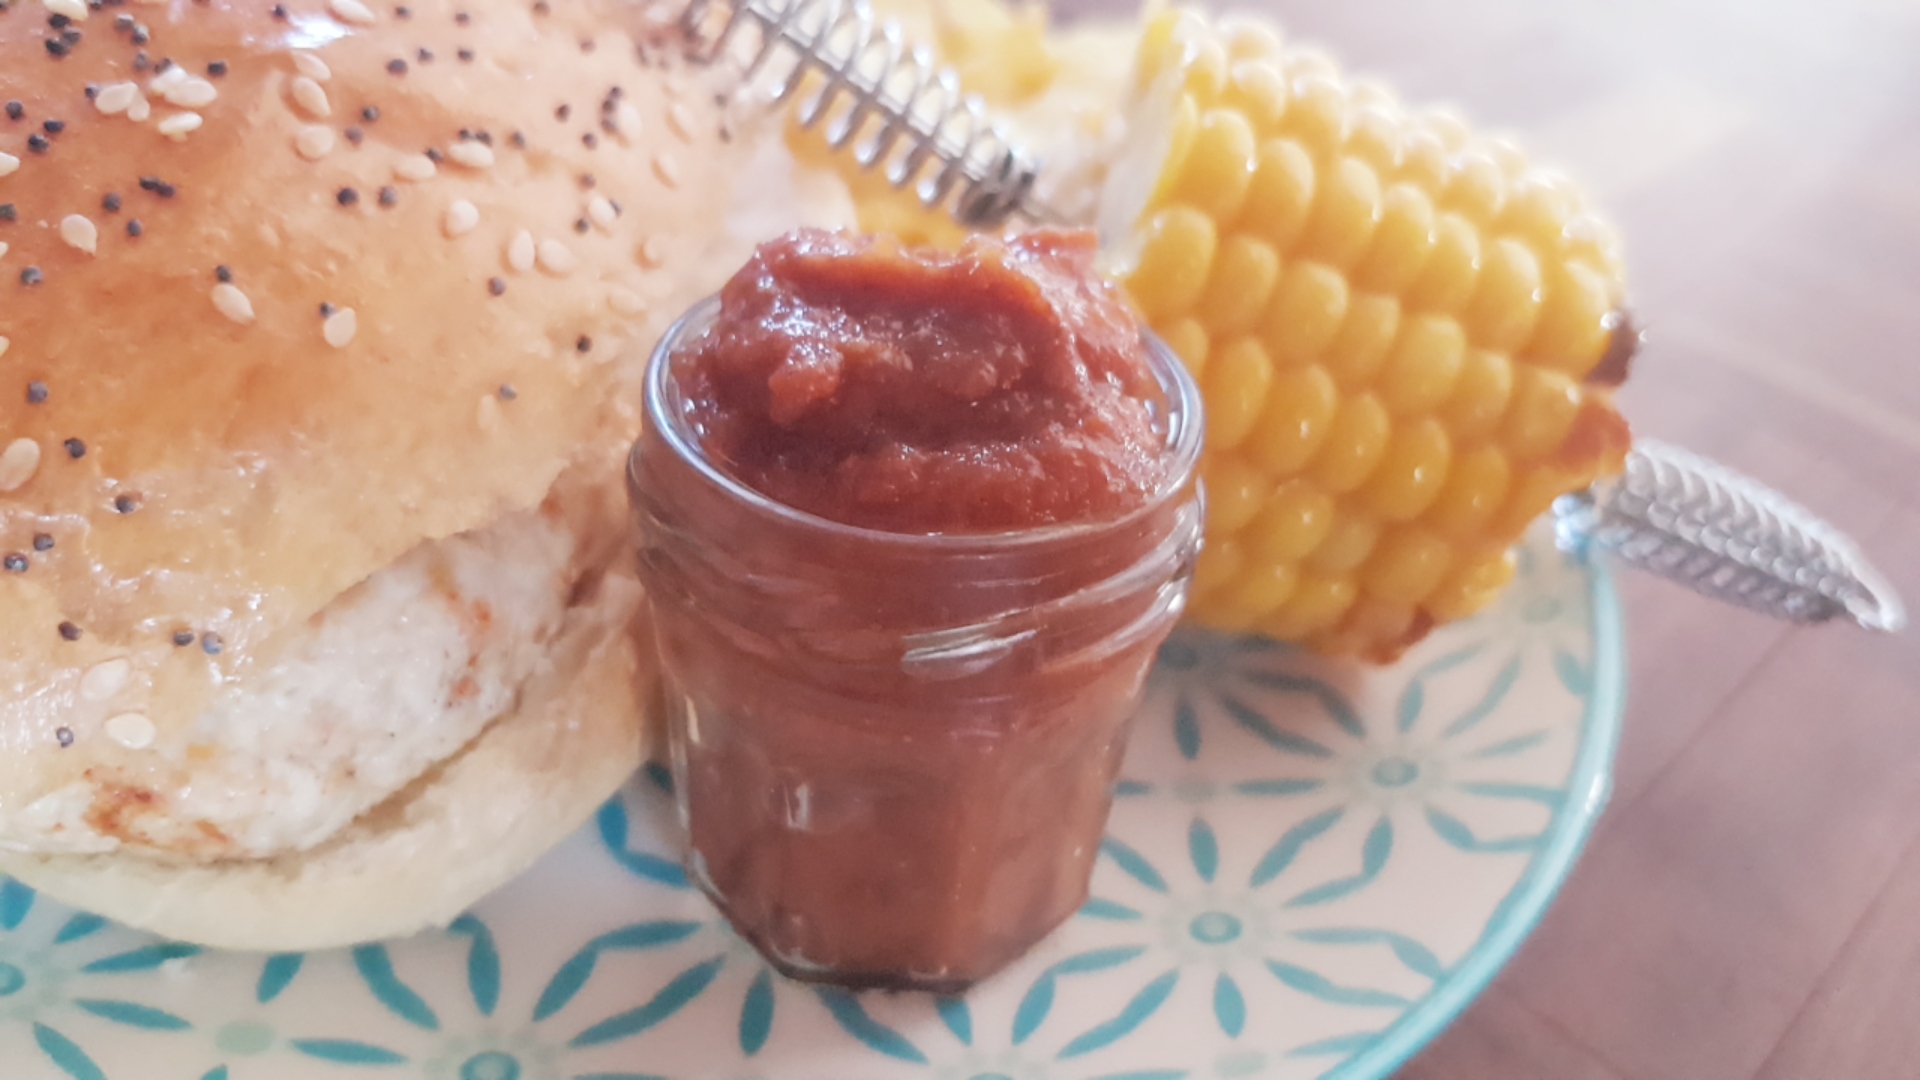
 Then I remembered the slow cooker. We haven’t used it in a while and it would be perfect to fit around all the other little bits we had planned for the day. As I was racking my brain for a recipe idea, I realised our supply of tomato ketchup was perilously low. This made me realise that we could in fact make tomato sauce in the slow cooker. Yes it is a rather labour intensive way to get a jar of tomato sauce, but the kids would have fun chopping vegetables and then mixing it all up.

 into the slow cooker.
 remove it, then slice and add to the slow cooker.
 add them to the pot.
 remaining. This took ours around 3 hours.
 Ophelia is the tomato lover of our children. She loves them nearly as much as I do. The surprise was how much Atticus enjoyed the tomato sauce. As our resident ‘fussy eater’, he will often refuse tomatoes and will try and sneak them to his sister when I am not watching. But he devoured the ketchup on his homemade burger and chips and even asked for more!