I am a self-confessed chocaholic. I can be very good and ignore chocolate in the fridge for weeks on end, but as soon as I open the wrapper, my resolve crumbles and a single square turns into a whole family-size packet! And despite my constant insistence that the kids share, in this instance I am powerless to follow my own advice. To prevent arguments, the kids have their own treat box which was affectionately christened the ‘num num tin’ and I am categorically not allowed their treats as I refuse to share mine! I understand this logic and it seems like a fair deal to me; I can go without the other sweets that they love, but I cannot abandon my chocolate!
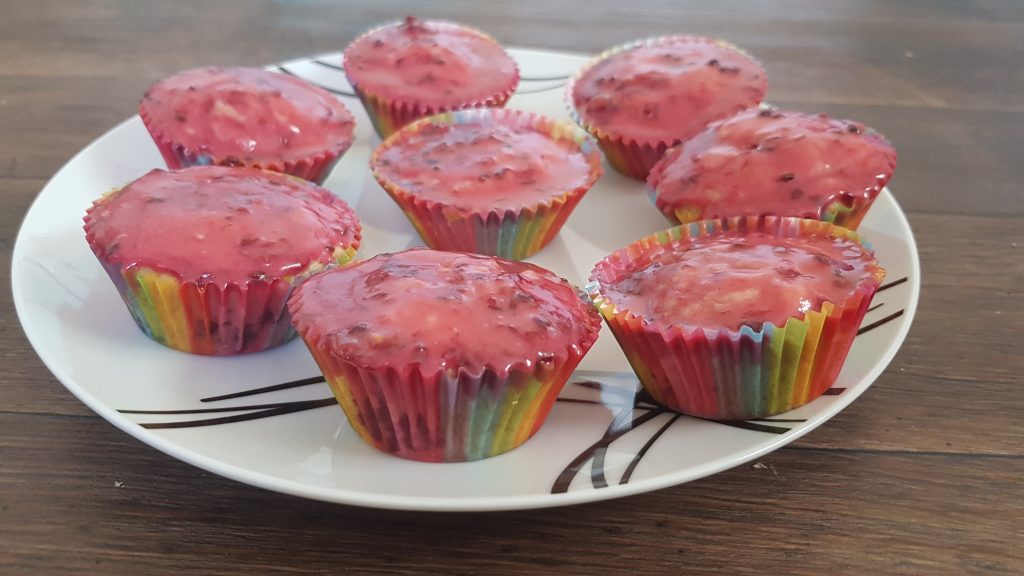
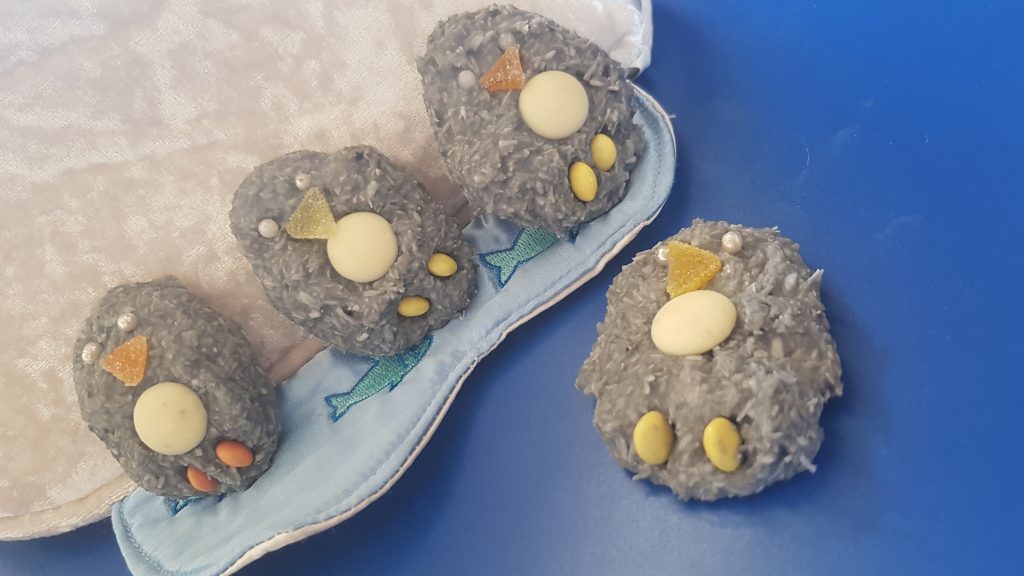
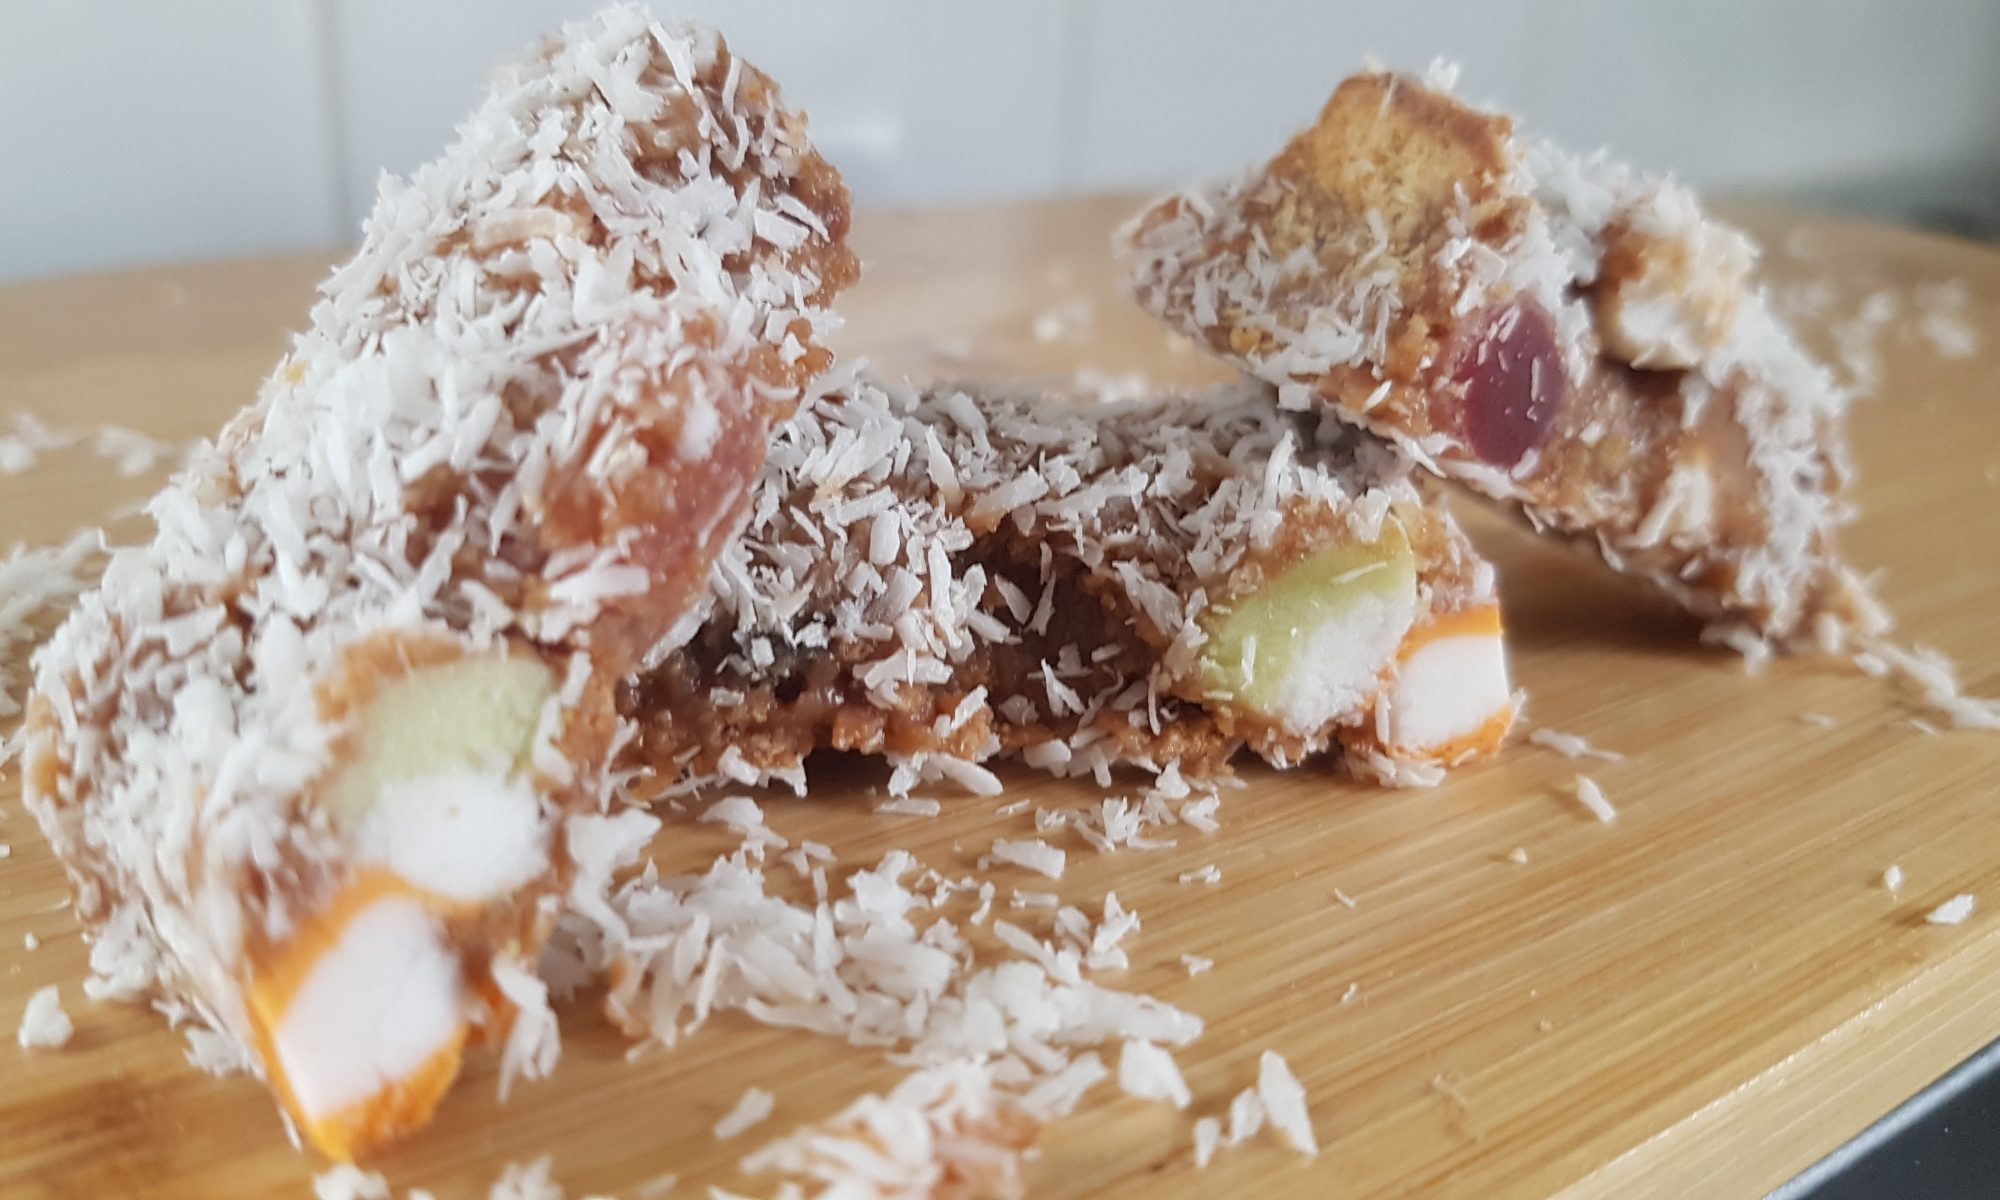
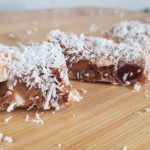
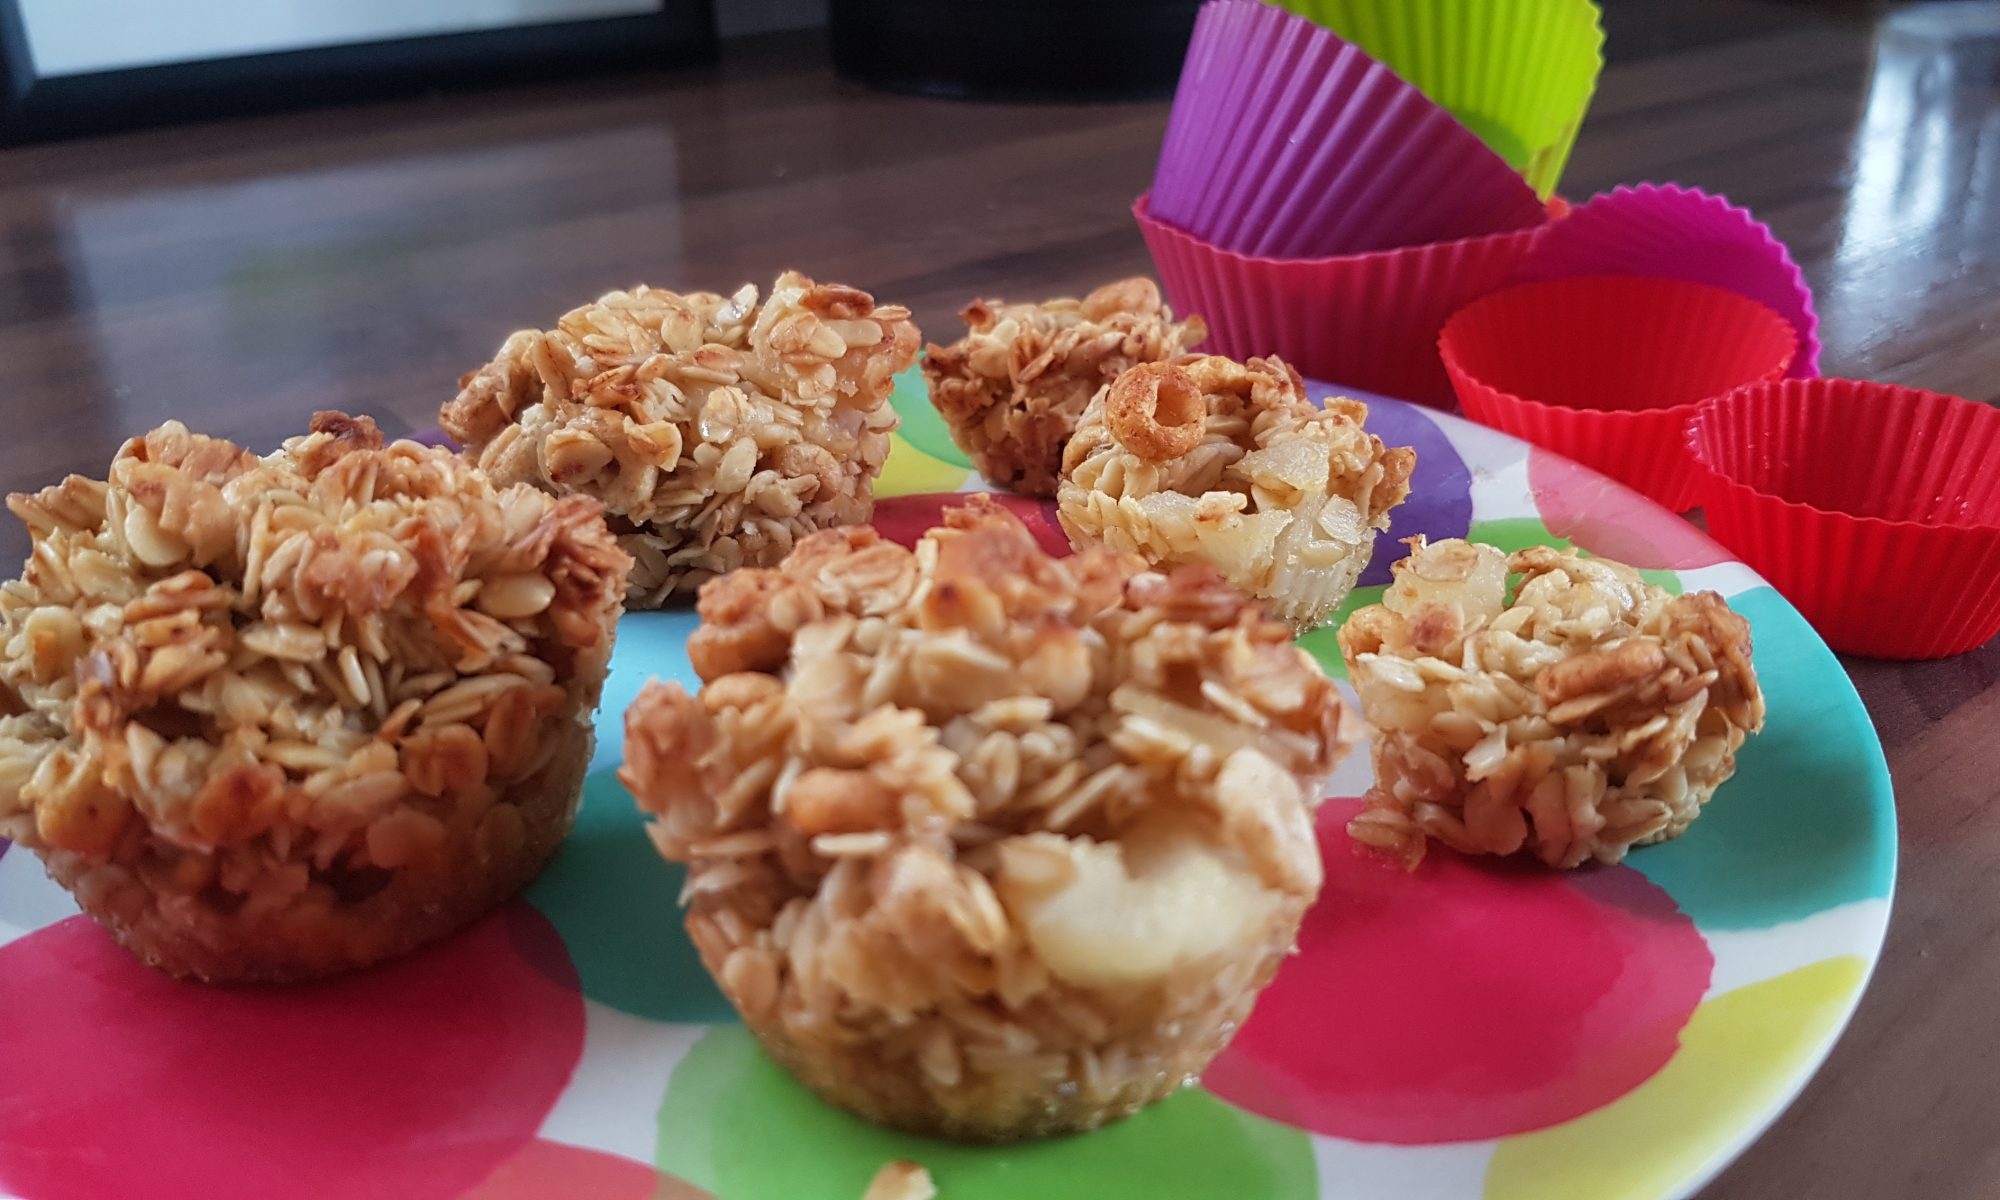
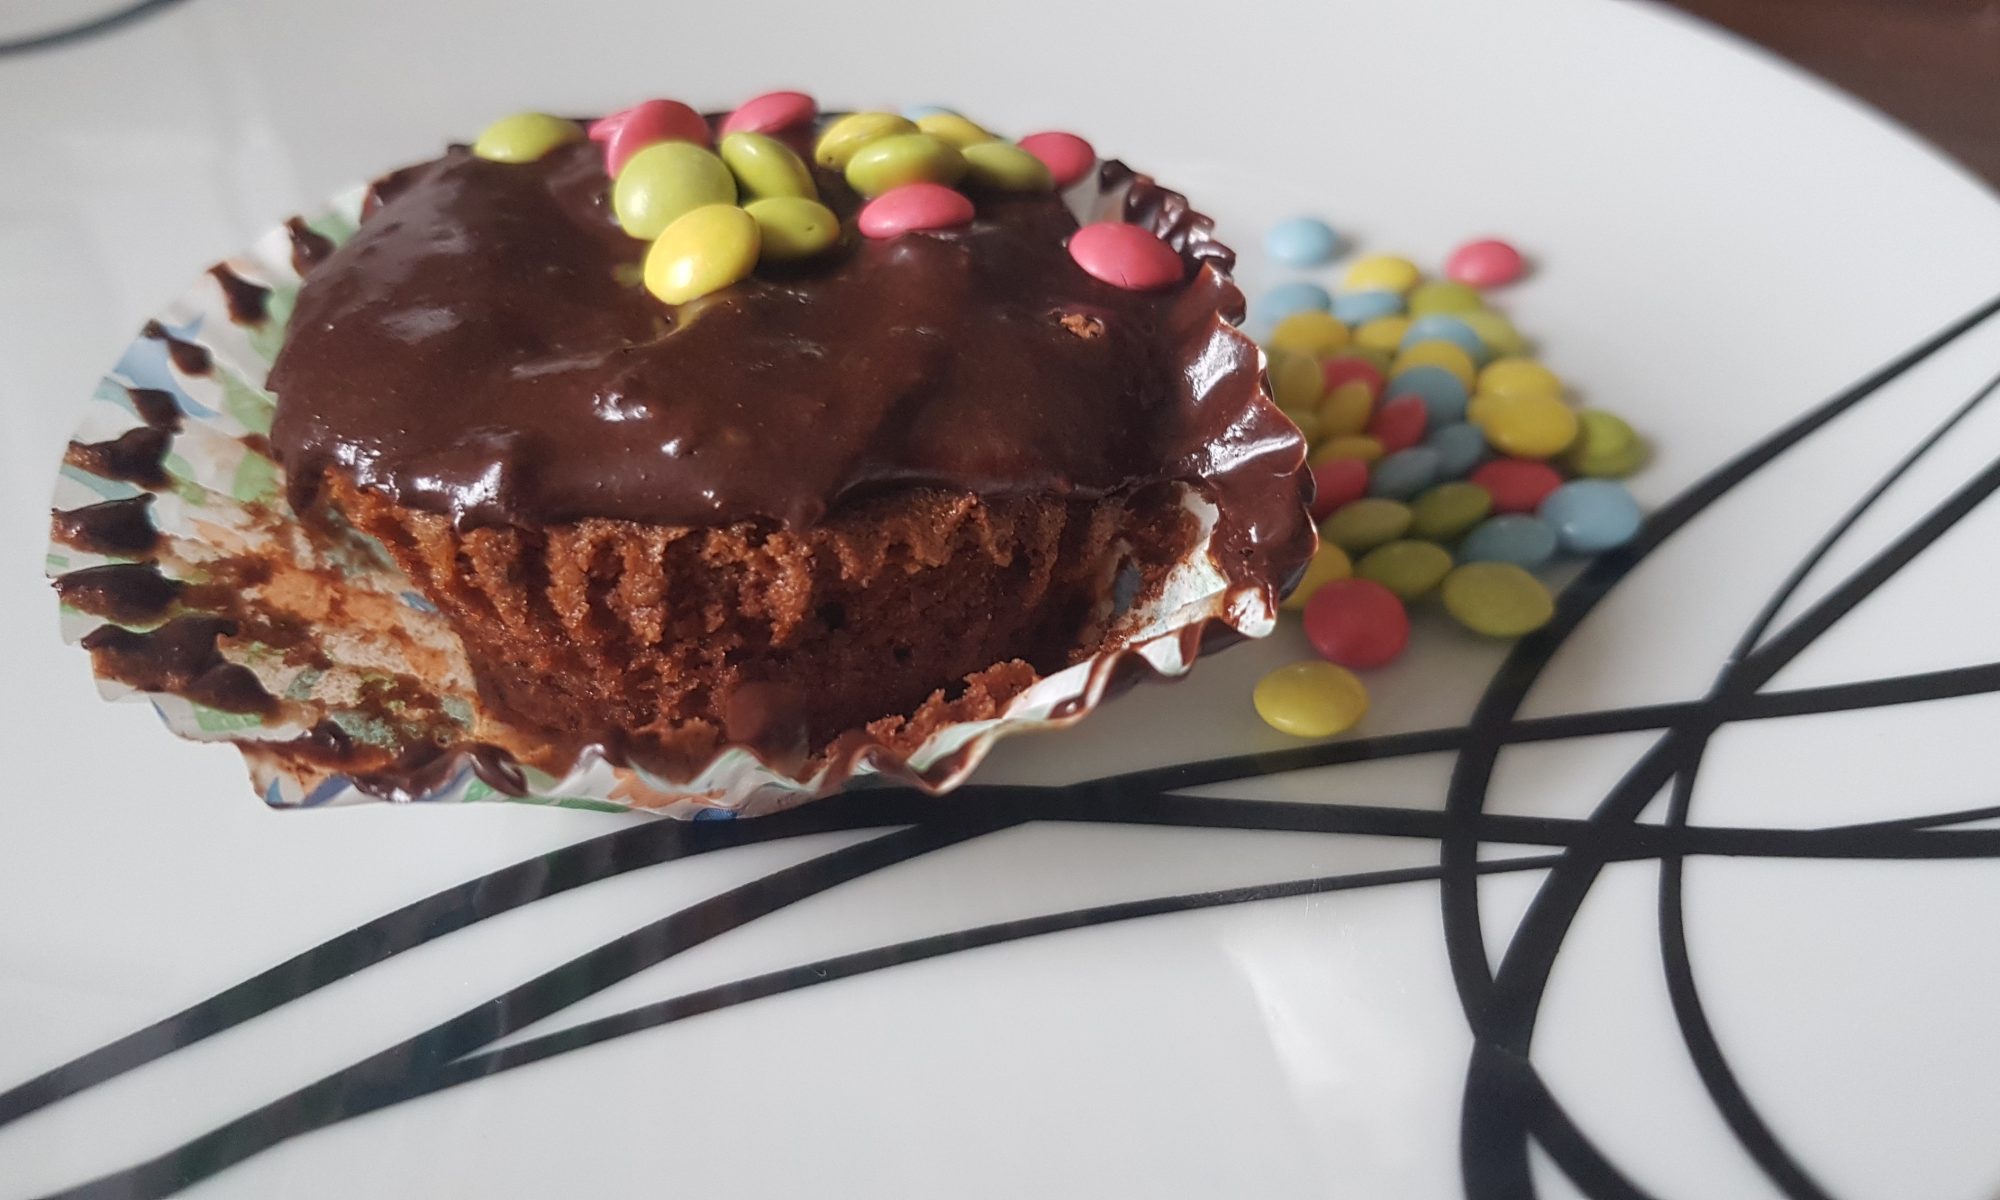
Chocolate bakes are always among the most popular with my kids (I wonder where they get that from?!) and these little cakes are so yummy and moreish that it’s easy to understand why. Atticus in particular was eager to make these as they contained ginger. For those of you who haven’t met my younger son, he is my fellow redhead in the family. He piped up that they would be his special ginger cakes and under no circumstances was I to decide that they would replace him as my favourite little ginger!
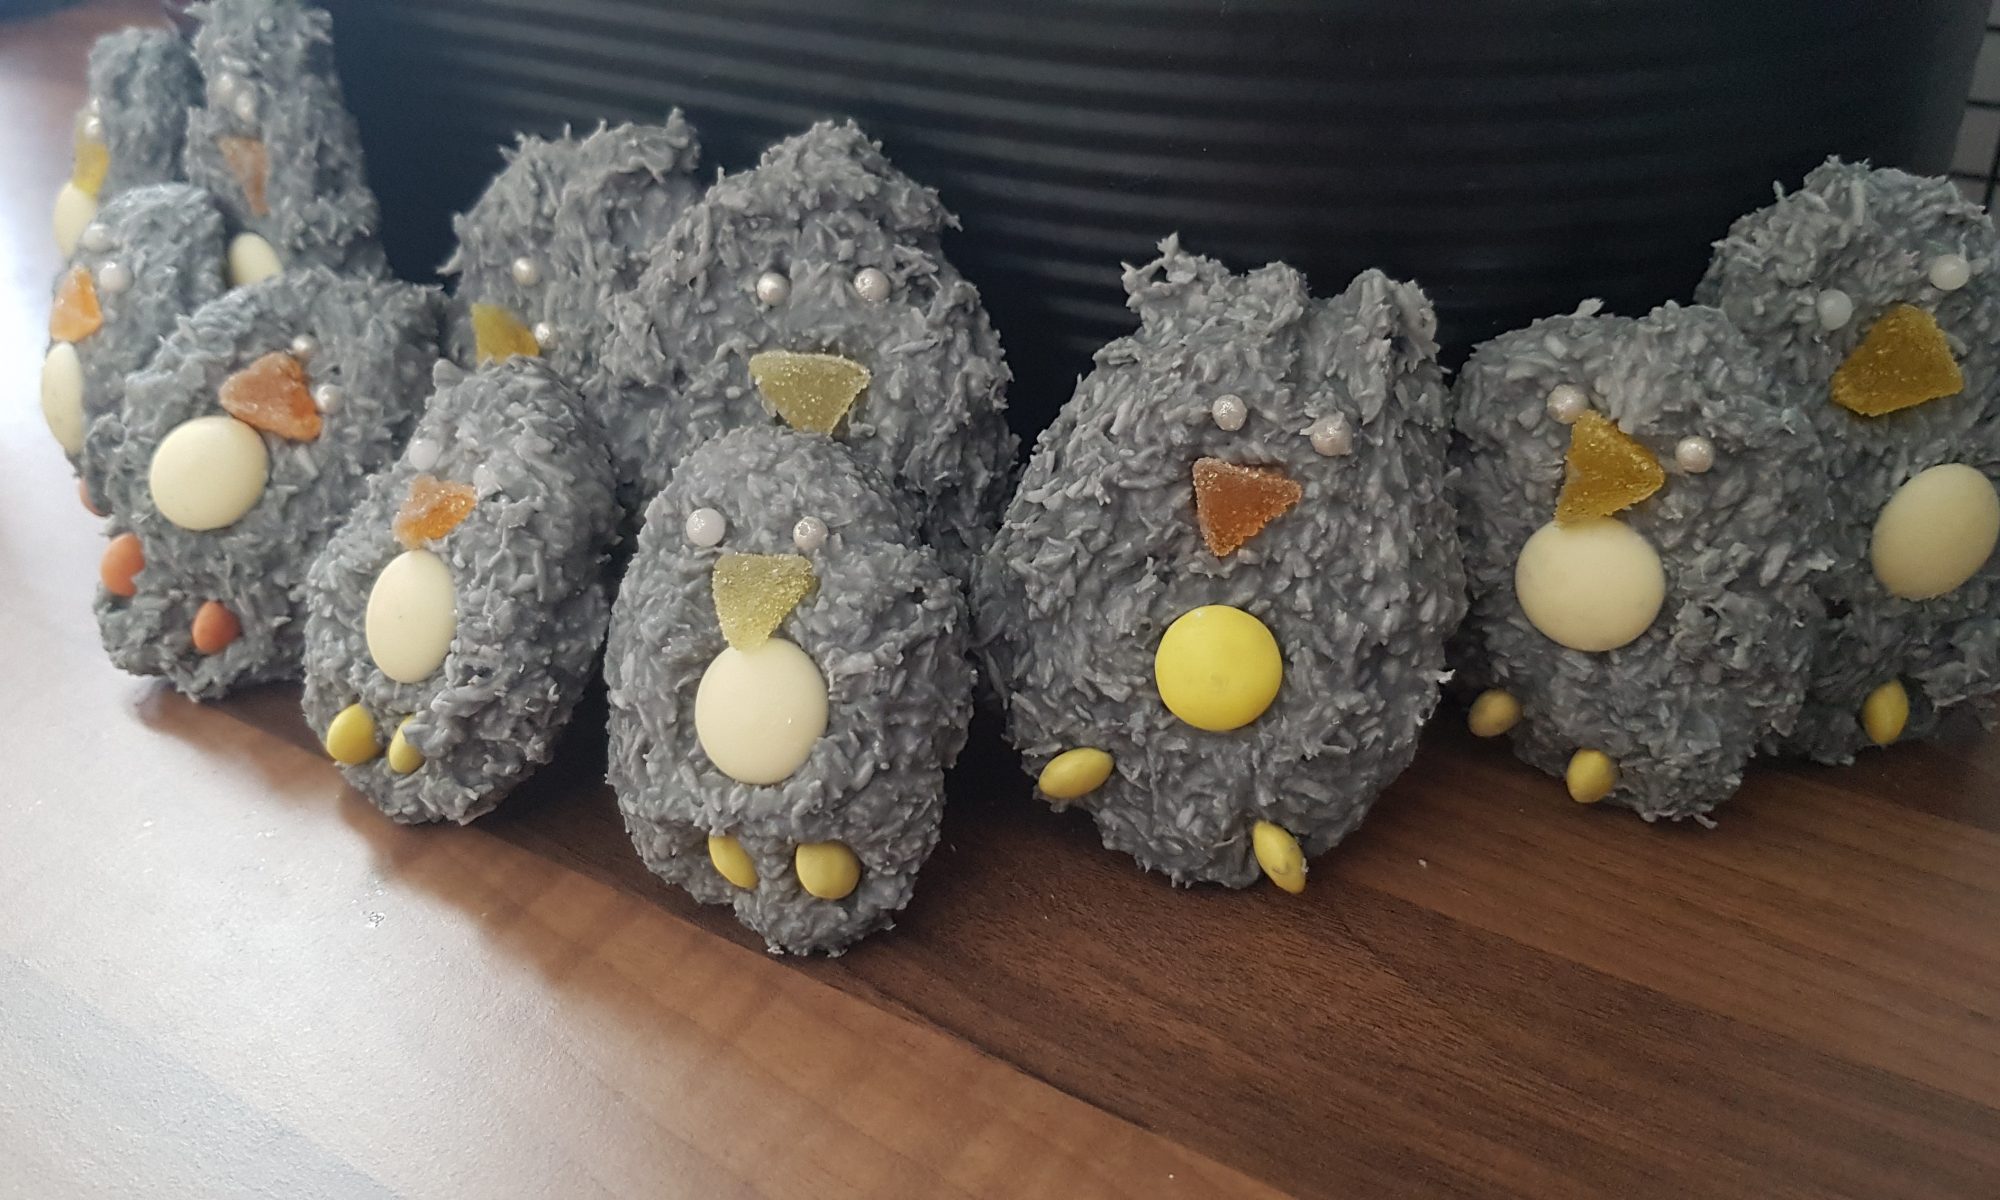
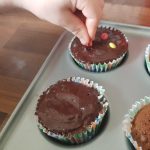
The ginger isn’t overpowering in these cakes, but it adds depth to the chocolate cake. If your kids aren’t huge fans of ginger I would recommend omitting the ginger syrup from the icing or leave them plain. My kids seem to think that undecorated cakes are some kind of crime to baking.
To make the buns you will need:
- 100g caster sugar
- 100g margarine
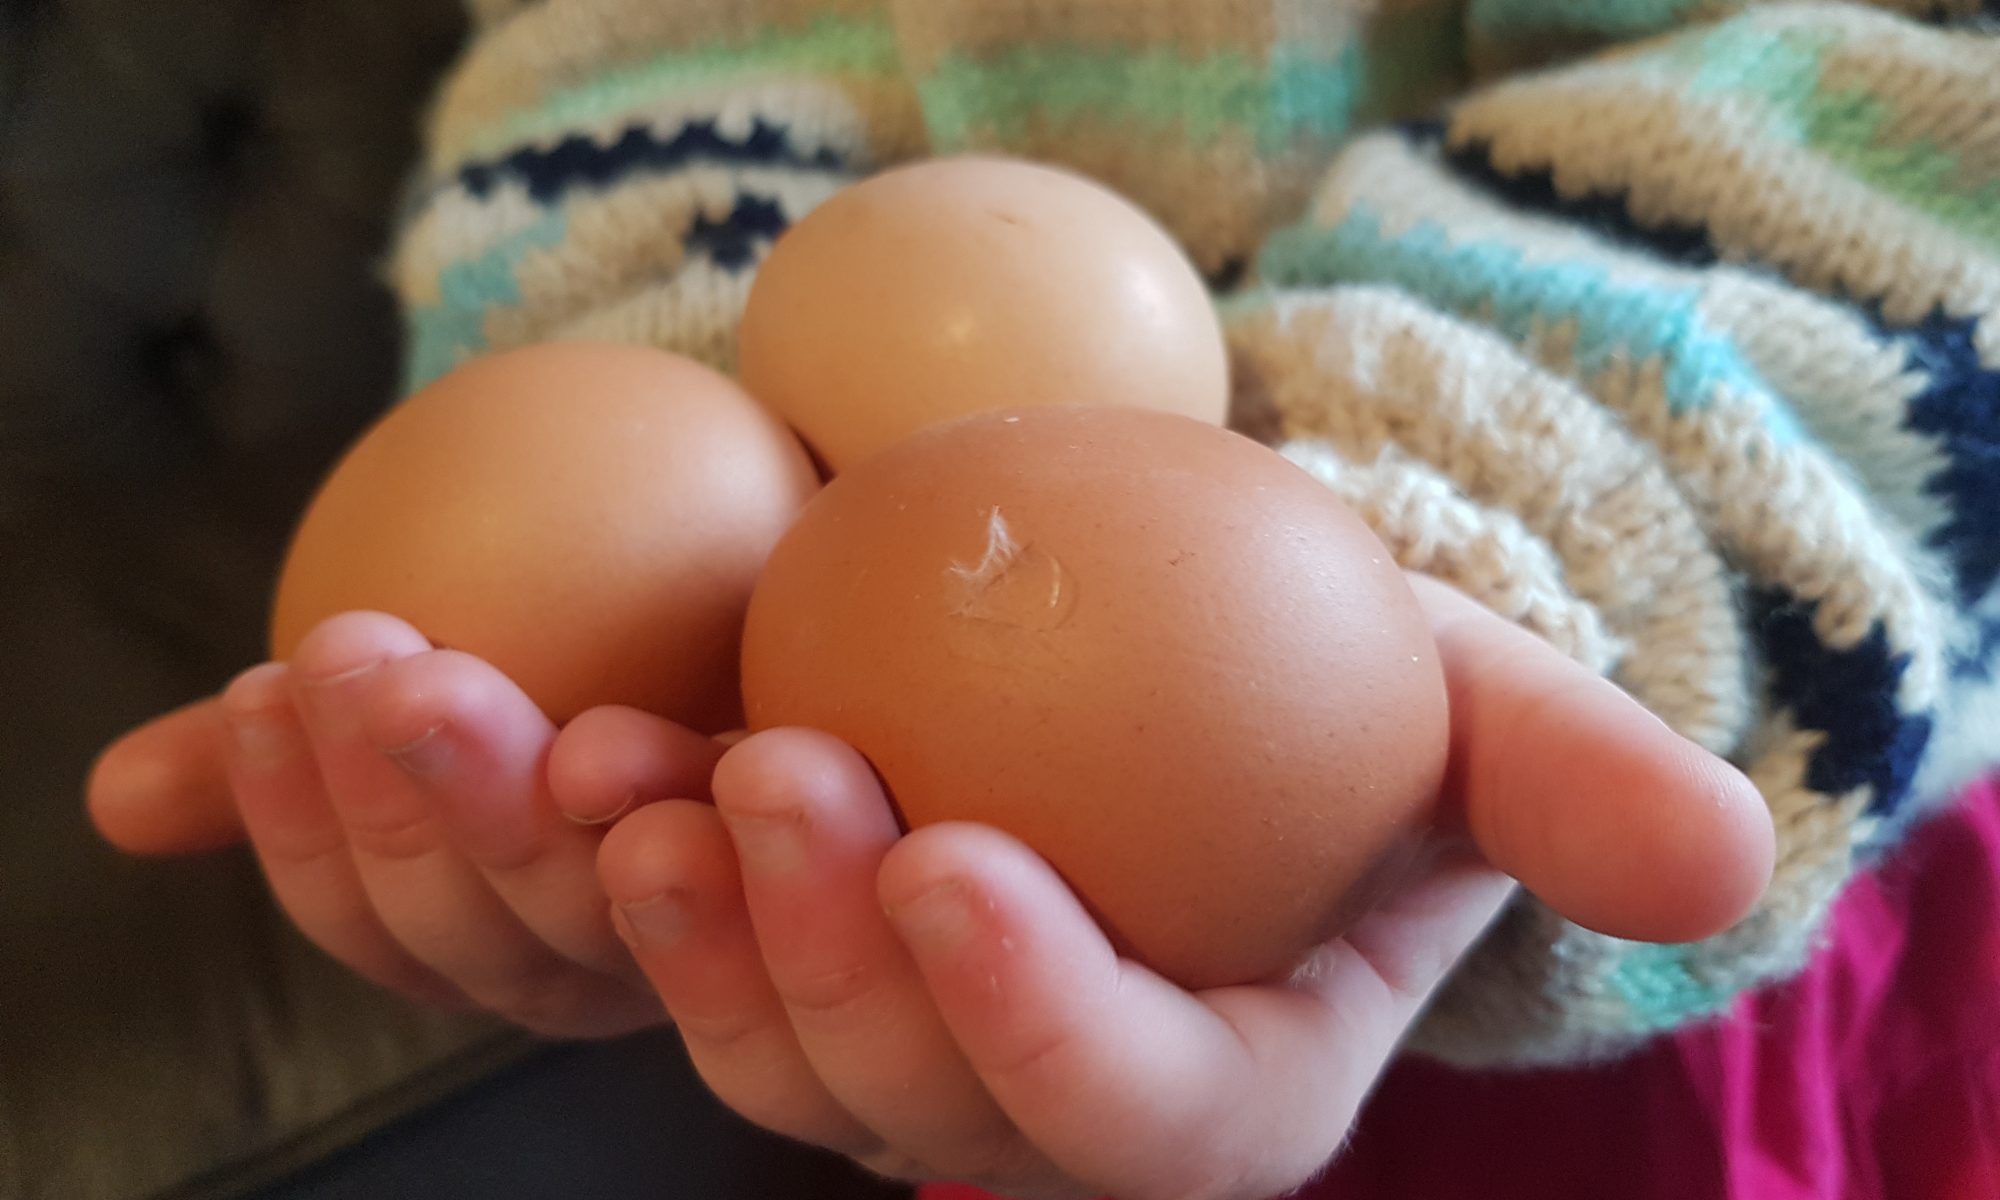
- 2 eggs
- 2tbsp syrup from a jar of stem ginger
- 100g self-raising flour
- 20g cocoa powder
- 60g stem ginger from a jar, chopped into small pieces
For the icing:
- 85g icing sugar
- 15g cocoa powder
- 1tsp syrup from a jar of stem ginger
- 3-4tbsp milk
- Sprinkles
To make them:
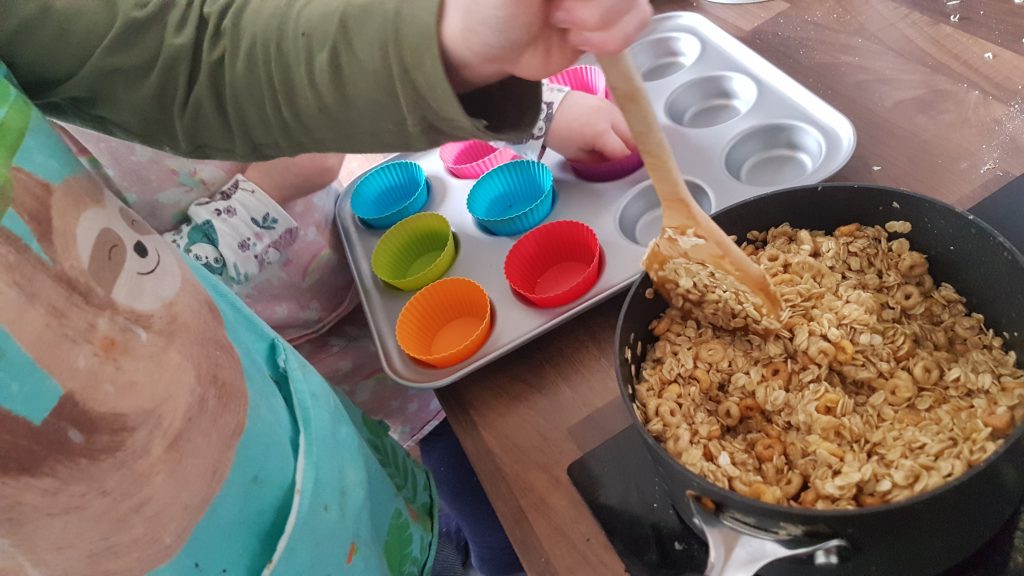
- Preheat the oven to 160°c fan and put the cupcake cases in the muffin tray.
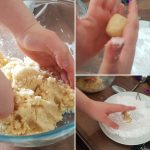
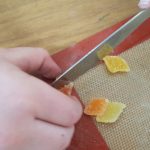
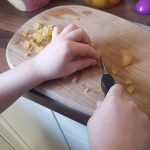
- Chop the stem ginger into small pieces. Adult help may be required.
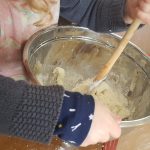
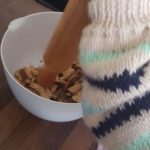
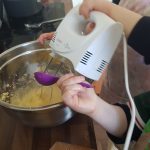
- Cream the sugar and the margarine together until it is light and fluffy.
- Add the eggs, one at a time, beating well after each one.
- Add the ginger syrup and mix again.
- Sift the flour and cocoa into the bowl and fold into the mixture.
- Add the stem ginger and gently mix.
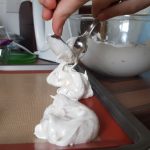
- Divide the mixture between the 12 cases and place in the oven for 15-20 minutes until springy to the touch and a cake tester comes out clean.
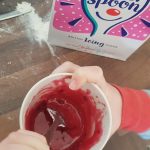
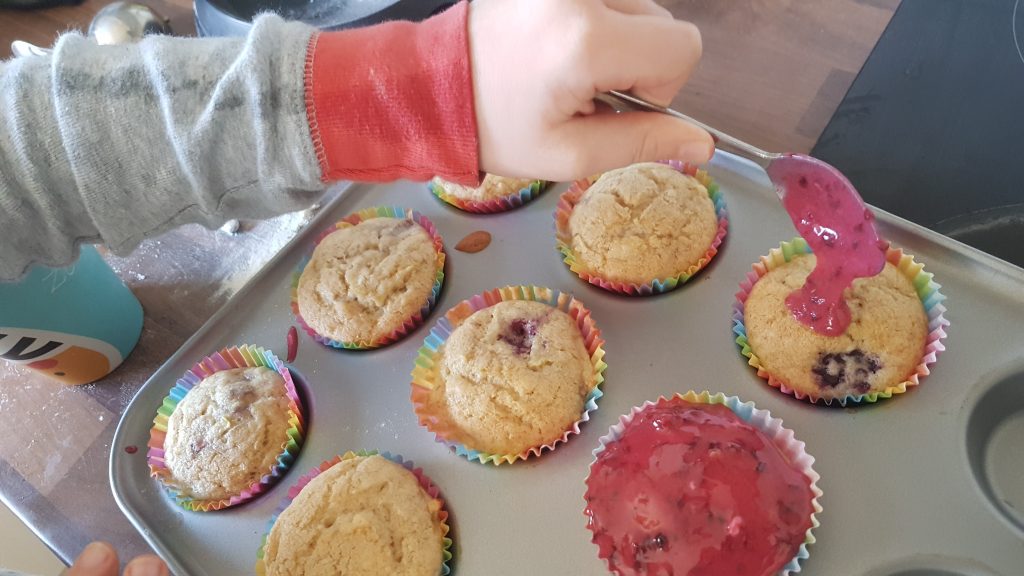
- Once cooled, make the icing by mixing all the ingredients together. Add more milk for a thinner icing if desired. Spread it onto the cakes.
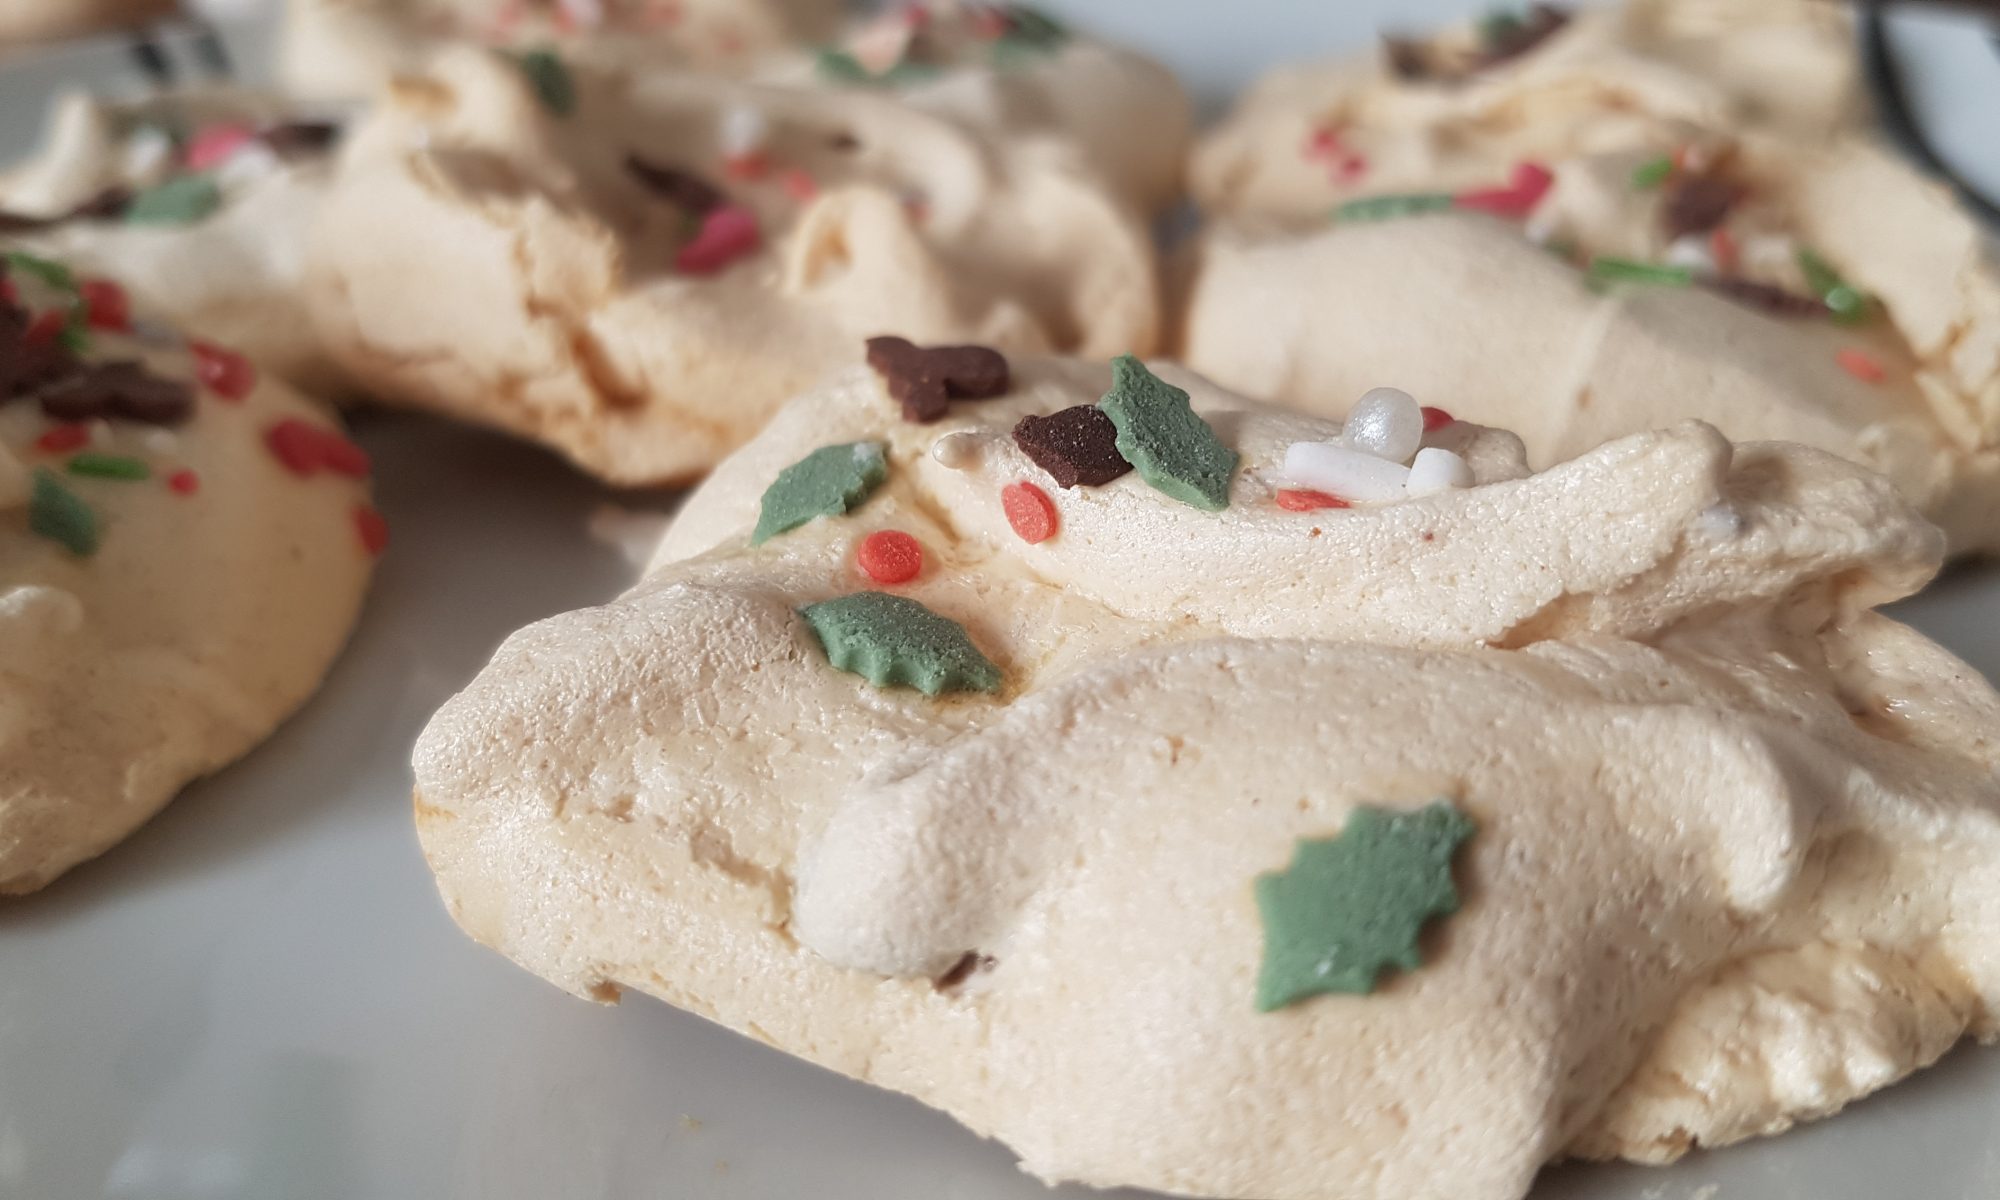
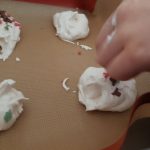
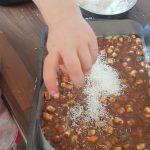
- Let the kids go crazy with the sprinkles!
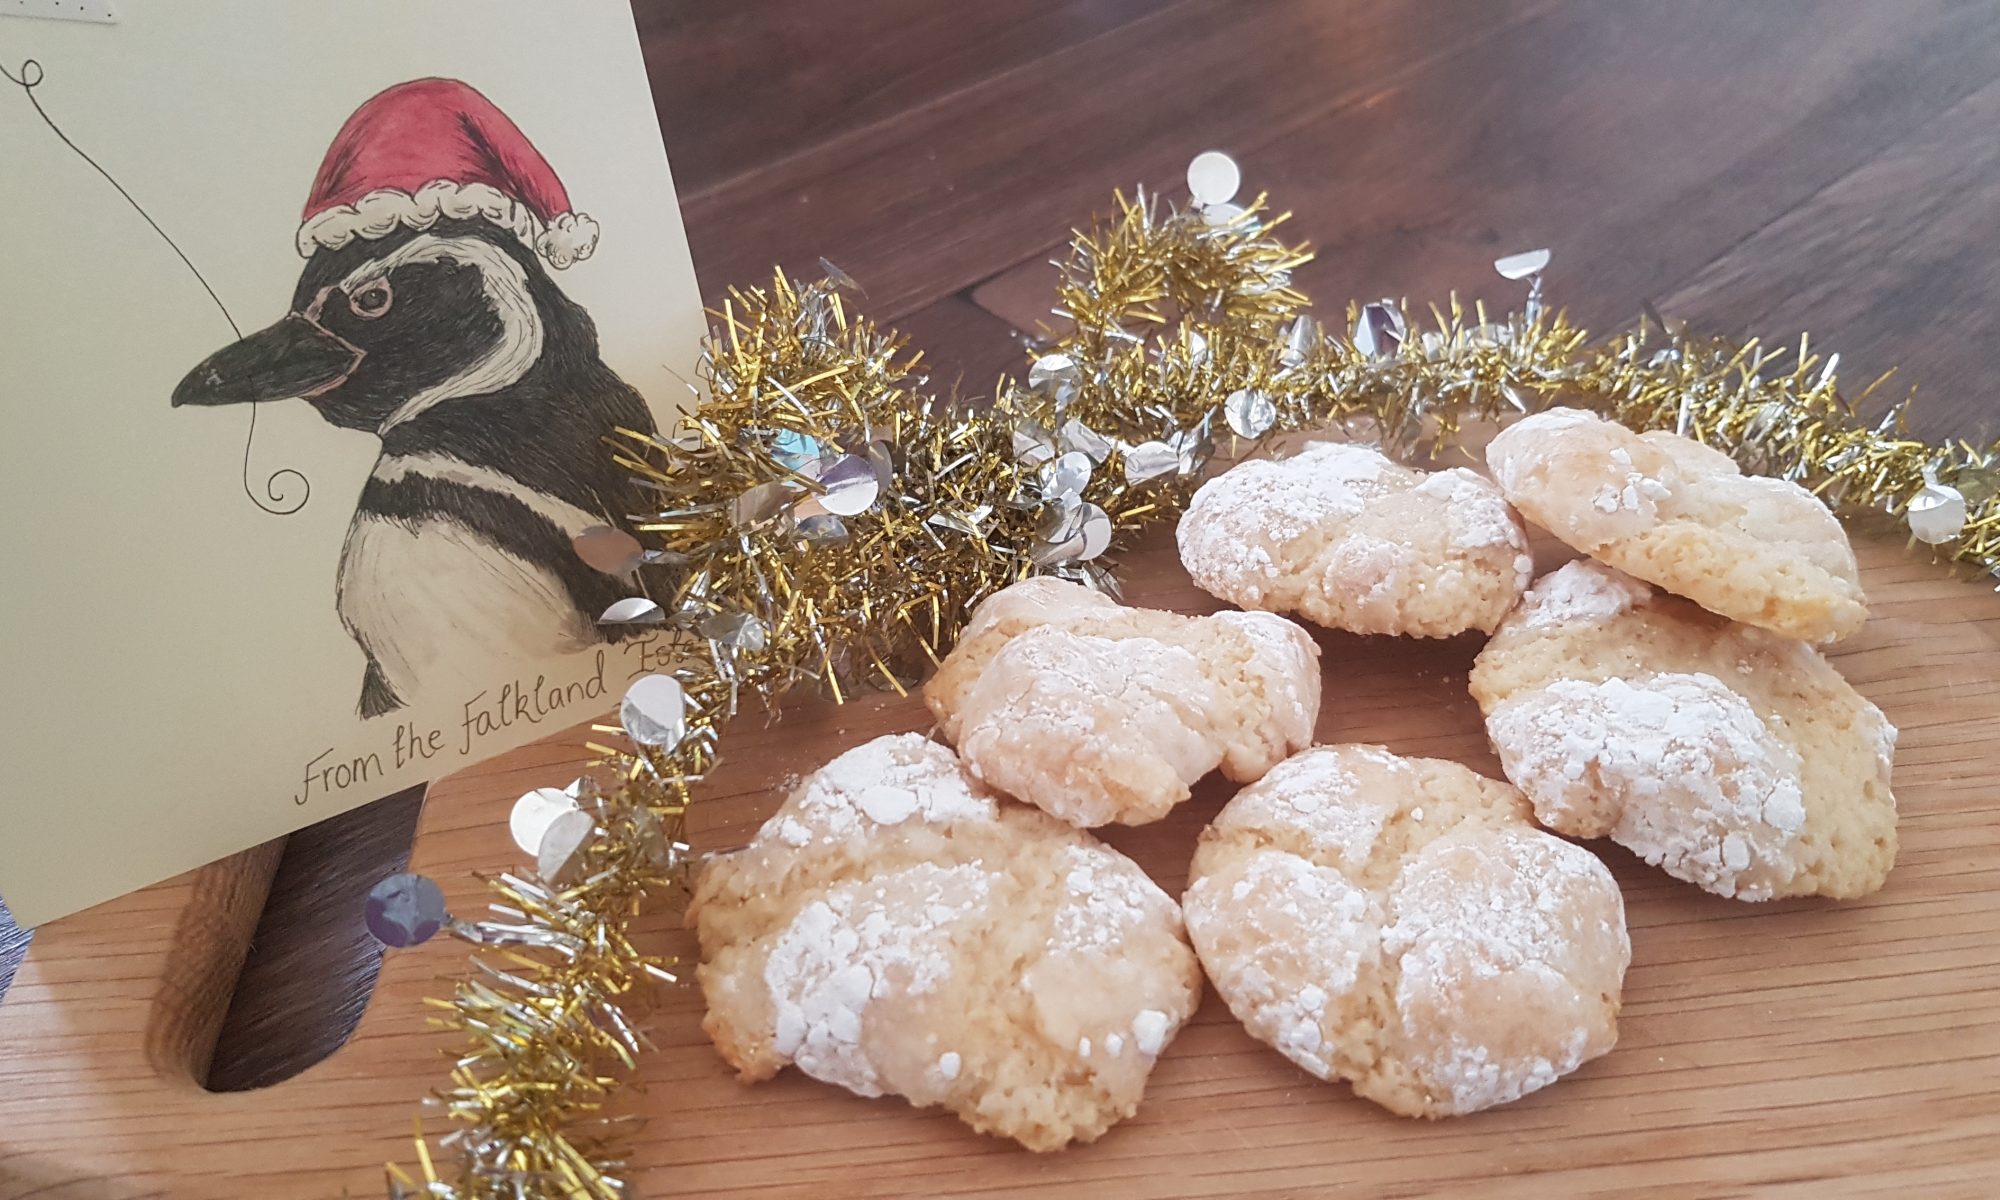
This article appeared in Penguin News on Friday 20 March, 2020.