Chocolate Popcorn Cookies

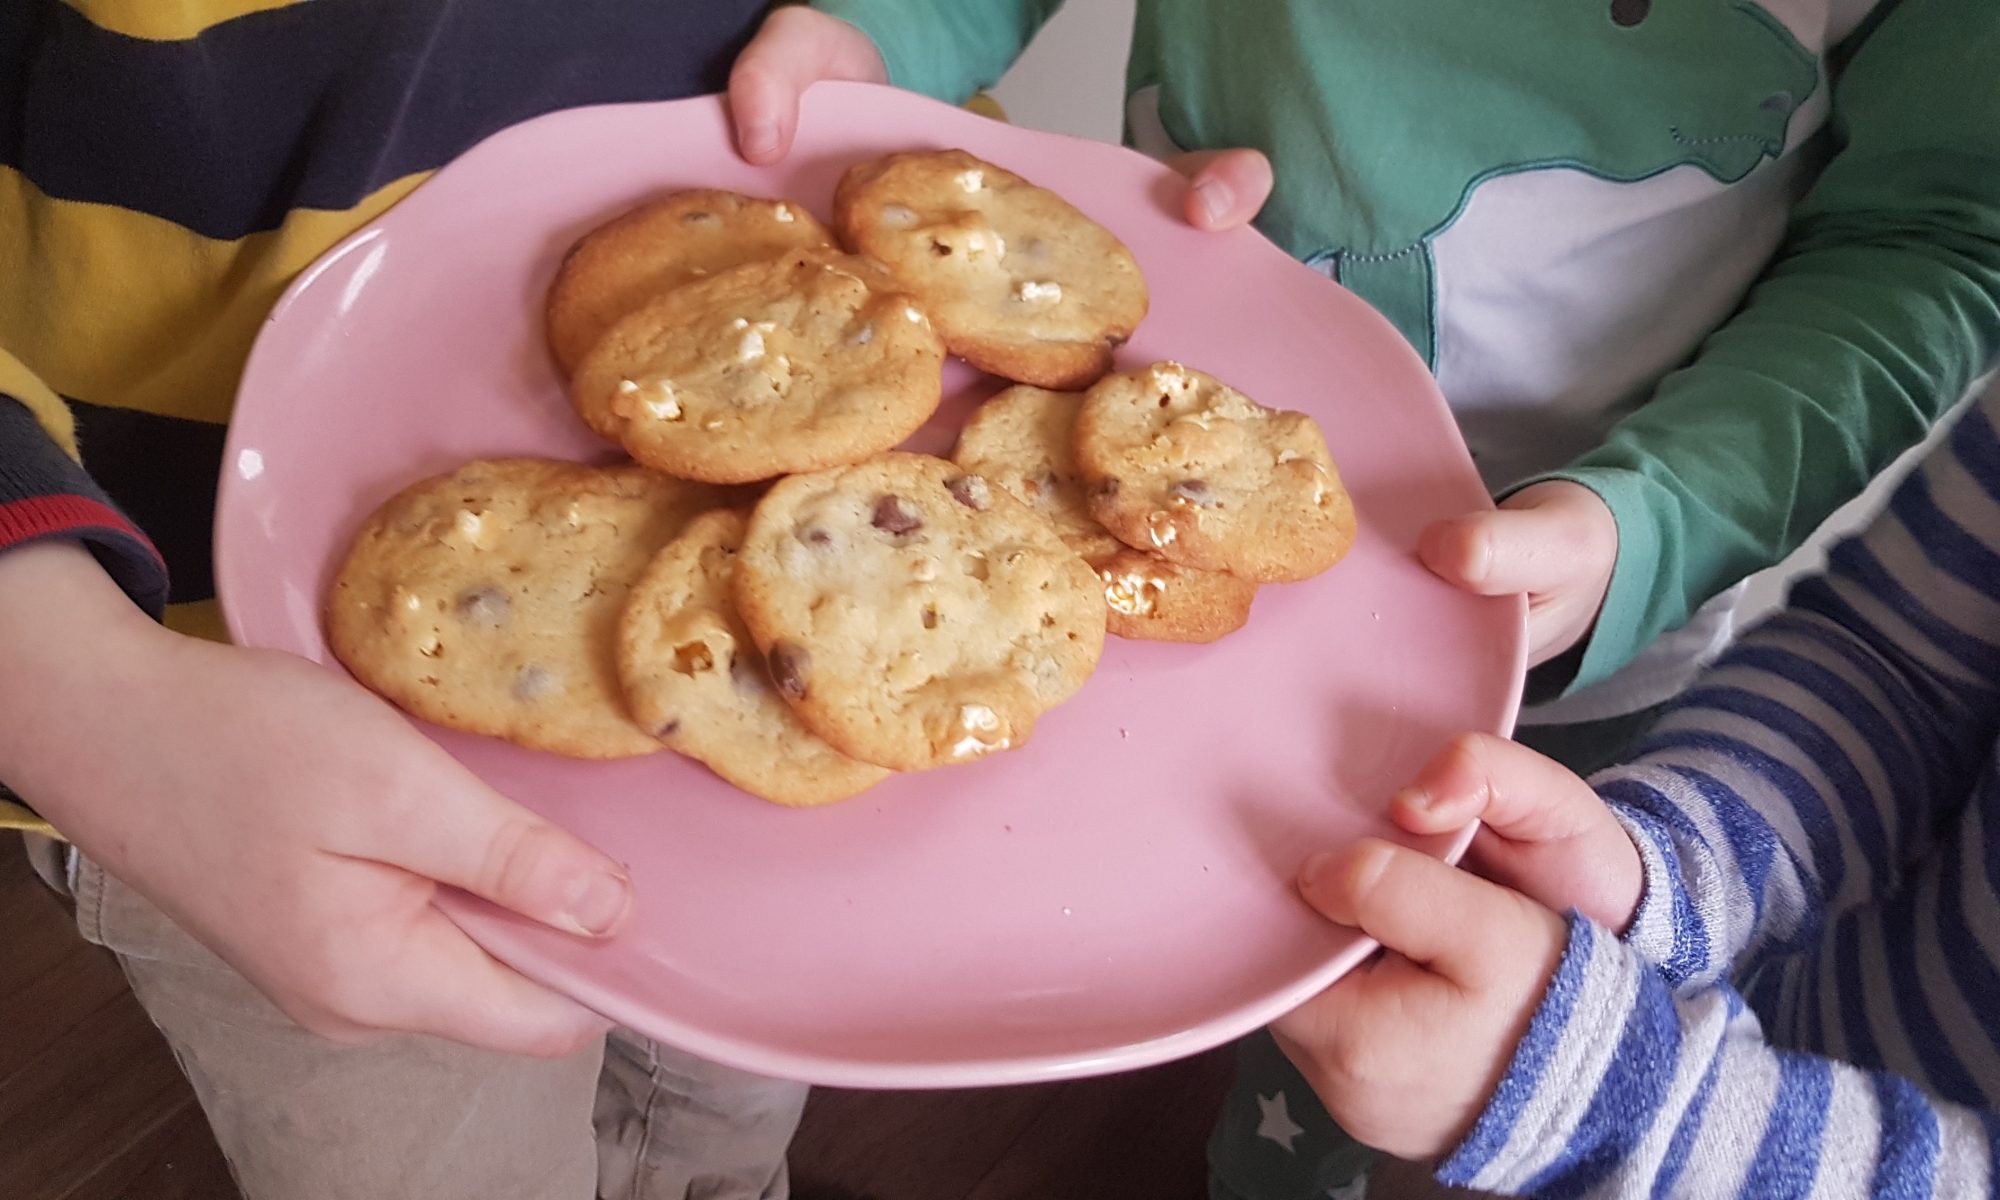
The kids love meeting up with their friends and I love it when the kids meet up with their friends. It generally means a calmer afternoon when they are all playing and I get a hot drink which is actually still hot or maybe even 2 if all the kids are happy. I love it even more when I don’t have to host. Don’t get me wrong, we do invite people to our house, but the organisation it requires for me to have enough of our chaos tidied away stresses me out somewhat. To balance out my reluctance to host playdates, we never turn up empty handed. This means cake, or biscuits or sometimes even both! For our most recent playdate I went armed with these Chocolate Popcorn Cookies. Note to the wise though, next time, don’t place them in a backpack and jog alongside the four year old who is gaining confidence on her bike without stabilisers. When we arrived, most of the cookies were broken. This did reduce my guilt at eating cookie pieces as I didn’t eat a single cookie at once!
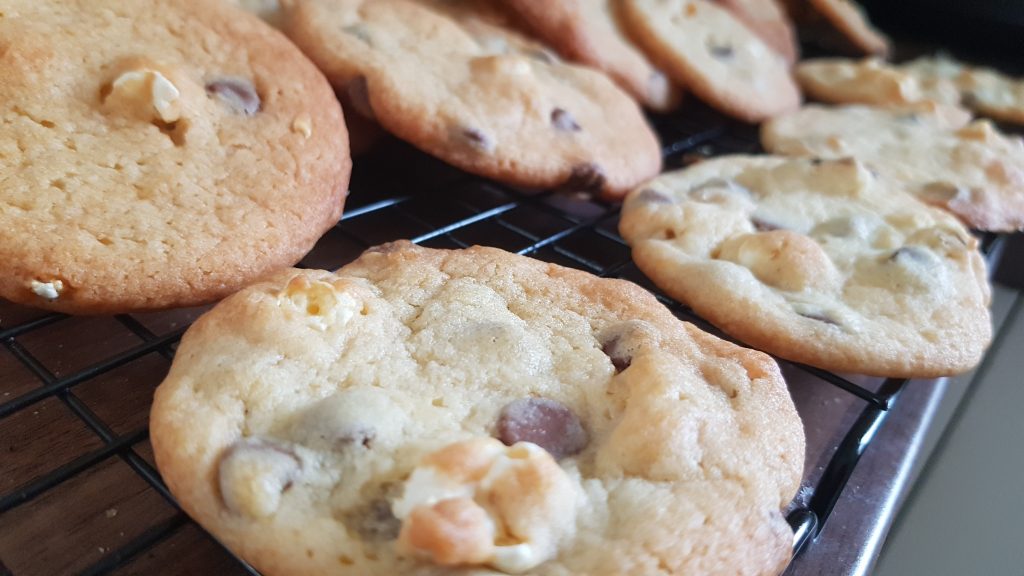
A cookie or two a day keeps the grumps away!

These cookies were an experiment. Finch has inherited his mum and dad’s love of the chocolate/coconut combination. Unfortunately, the playdate hosts disagree so I wouldn’t allow him to add desiccated coconut to the cookies. To placate my gingernutter I suggested we added some of the leftover popcorn from our movie night the evening before. This suggestion was met with immediate enthusiasm and as a result I cannot say for sure how much popcorn we actually added… Oh well! This recipe is versatile and can easily be made vegan by using vegan spread and chocolate. We used golden syrup as it was what we had in the house, but maple syrup would work just as well.

To make Chocolate Popcorn Cookies you will need:

  • 250g margarine/dairy free butter
  • 225g caster sugar
  • 2tsp vanilla extract
  • 1tbsp golden syrup/maple syrup
  • 300g plain flour
  • 1tsp baking powder
  • 100g chocolate chips
  • 1.5 cups of plain popcorn
  • 1/2-1tsp salt

Method:

  1. Preheat the oven to 160°c fan and line 3-4 baking sheets with parchment or silicone baking mats.
  2. Put the margarine, butter, sugar, vanilla extract and golden syrup in a large bowl and mix with electric beaters until fully creamed together.
  3. Add the flour, baking powder and salt (if you want a stronger sweet/salty taste add the full tsp of salt) and slowly mix together to form a dough.
  4. Add the chocolate chips and popcorn and gently combine.
  5. Put tablespoon-sized amounts on to the baking trays and cook each tray for 12-15 minutes in the oven until golden. We put 6 on each tray to ensure they didn’t spread into each other.
  6. Leave to cool on the rack for about 10 minutes before transferring to a wire rack to fully cool.

In my mind these cookies are a perfect accompaniment to a lovely cup of coffee. The kids enjoyed them while running around with their friends. I am currently fighting the urge to go and make more popcorn to make another batch…
Garibaldi Biscuits

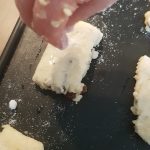
Carefully cutting in two.

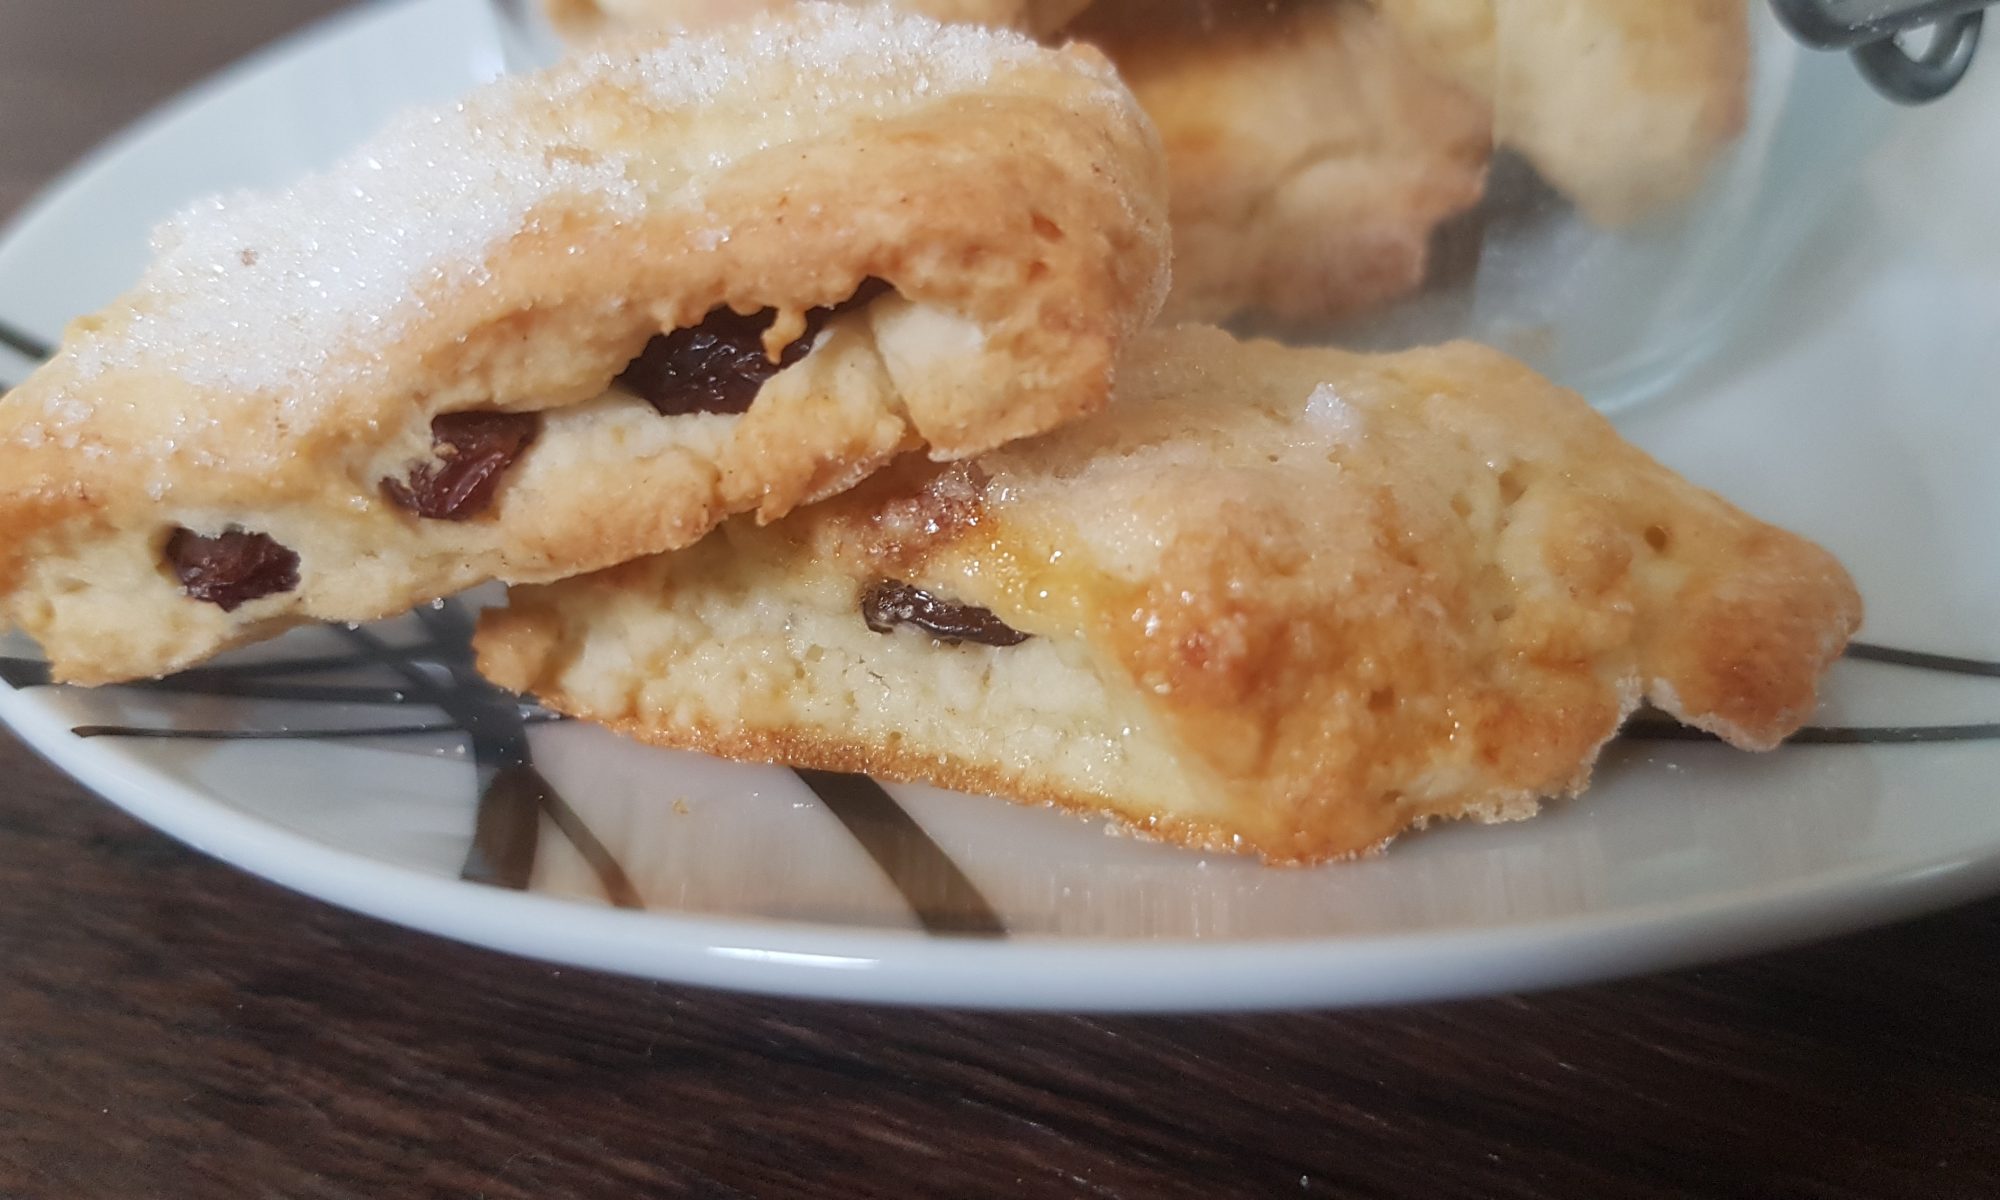
I sent my husband to the supermarket for biscuits and he returned with a nice selection including Garibaldi Biscuits. To our horror, we realised that the kids had never seen, let alone tried Garibaldi biscuits. In order to fill this gap in their culinary education, we described this favourite teatime treat and told them that they are also known as squashed fly biscuits. They found this hilarious and after trying them they were an instant hit. As all good things come to an end, we finished the packet (not really surprising in a household of five!) and we had three rather sad children. Ophelia and I hit the kitchen to have a go at making some ourselves.

Brushing with egg white

This is a very tactile recipe for kids. Ophelia loved rubbing the flour, butter and salt together to make fine crumbs. She was talking to it, telling it that she was tickling it and listening out for it laughing. Then there came mixing and flattening it out with her hands before attacking it rolling it out with a rolling pin. More raisins than I can count were diverted into her mouth rather than the recipe, so we did have to replenish them. My main thought was at least this time she wasn’t trying to guzzle a mixture with raw eggs!

Sprinkle with sugar.

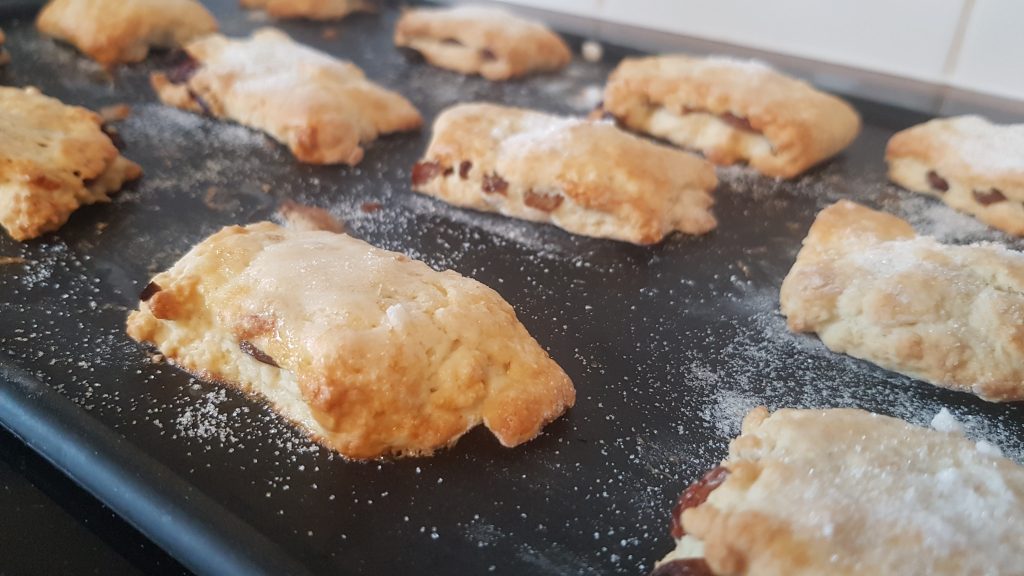
Our biscuits definitely didn’t look professional, but Ophelia was rather insistent that she wanted to do as much as she could by herself. This didn’t affect how yummy they were, only that ours were somewhat thicker than your average shop bought Garibaldi. They disappeared in less than 48 hours and there have been requests to make more for our biscuit tin.

Garibaldi here, Garibaldi there, Garibaldi everywhere!

To make Garibaldi Biscuits you will need:

  • 110g self-raising flour
  • Pinch of salt
  • 25g margarine
  • 25g caster sugar and an extra 2tbsp for sprinkling
  • 35g raisins
  • 2tbsp milk
  • Egg white
  1. Preheat the oven to 180°c fan and line a baking tray with greaseproof paper.
  2. Measure out the flour, salt and margarine and place in a single bowl. Rub together to create fine crumbs.
  3. Add in the sugar and milk and mix together to form a firm dough. We used both a wooden spoon and our hands to do this. Ophelia would have chosen to only use her hands given half the chance!
  4. Flour your surface, and pat the dough into a flat shape. Roll it out to a rectangle. Ours was 15cm by 20cm. If it is bigger, then your biscuits will be thinner.
  5. Sprinkle the raisins on half of the rectangle.
  6. Fold the half without the raisins onto the other half and gently pat down. I folded it over and Ophelia patted it down.
  7. With a table knife or child safe knife, divide the mixture into 6 rectangles and cut with a sharp knife. Older children may be able to do this themselves. Cut each rectangle in 2.
  8. Brush the biscuits with some of the beaten egg white and sprinkle with caster sugar.
  9. Bake in the centre of the oven for 12-15 minutes until golden. Cool on a wire rack and store in an airtight container.

This recipe appeared in Penguin New published on 4 September 2020 and Soar Valley Life September/October Issue 2020.

Tropical Upside-down Cake

We have now been here in the Falkland Islands for one whole year. Social media provided the first reminder with photos and posts about packing this time last year. The other task that made it tangible was when I faced up to the inevitable fact that I needed to rearrange the kitchen cupboards. We were swiftly running out of space and every time I opened a cupboard, I would have to play dodge the flying items that may come tumbling out of the aforementioned cupboard! That job is now over and now I have another 12 months or so before I have to face undertaking the task again.

Our first post from the Southern hemisphere was for Tropical Flapjacks so it seemed rather fitting that the post to mark our year anniversary in the Falkland Islands was also tropical! The kids all helped me make this Tropical Upside-down Cake and definitely contributed to eating it! As they get older I keep on telling myself that they may not want to carry on cooking or baking with me, but as yet we haven’t reached that moment. I am hoping that we can postpone it for as long as possible.

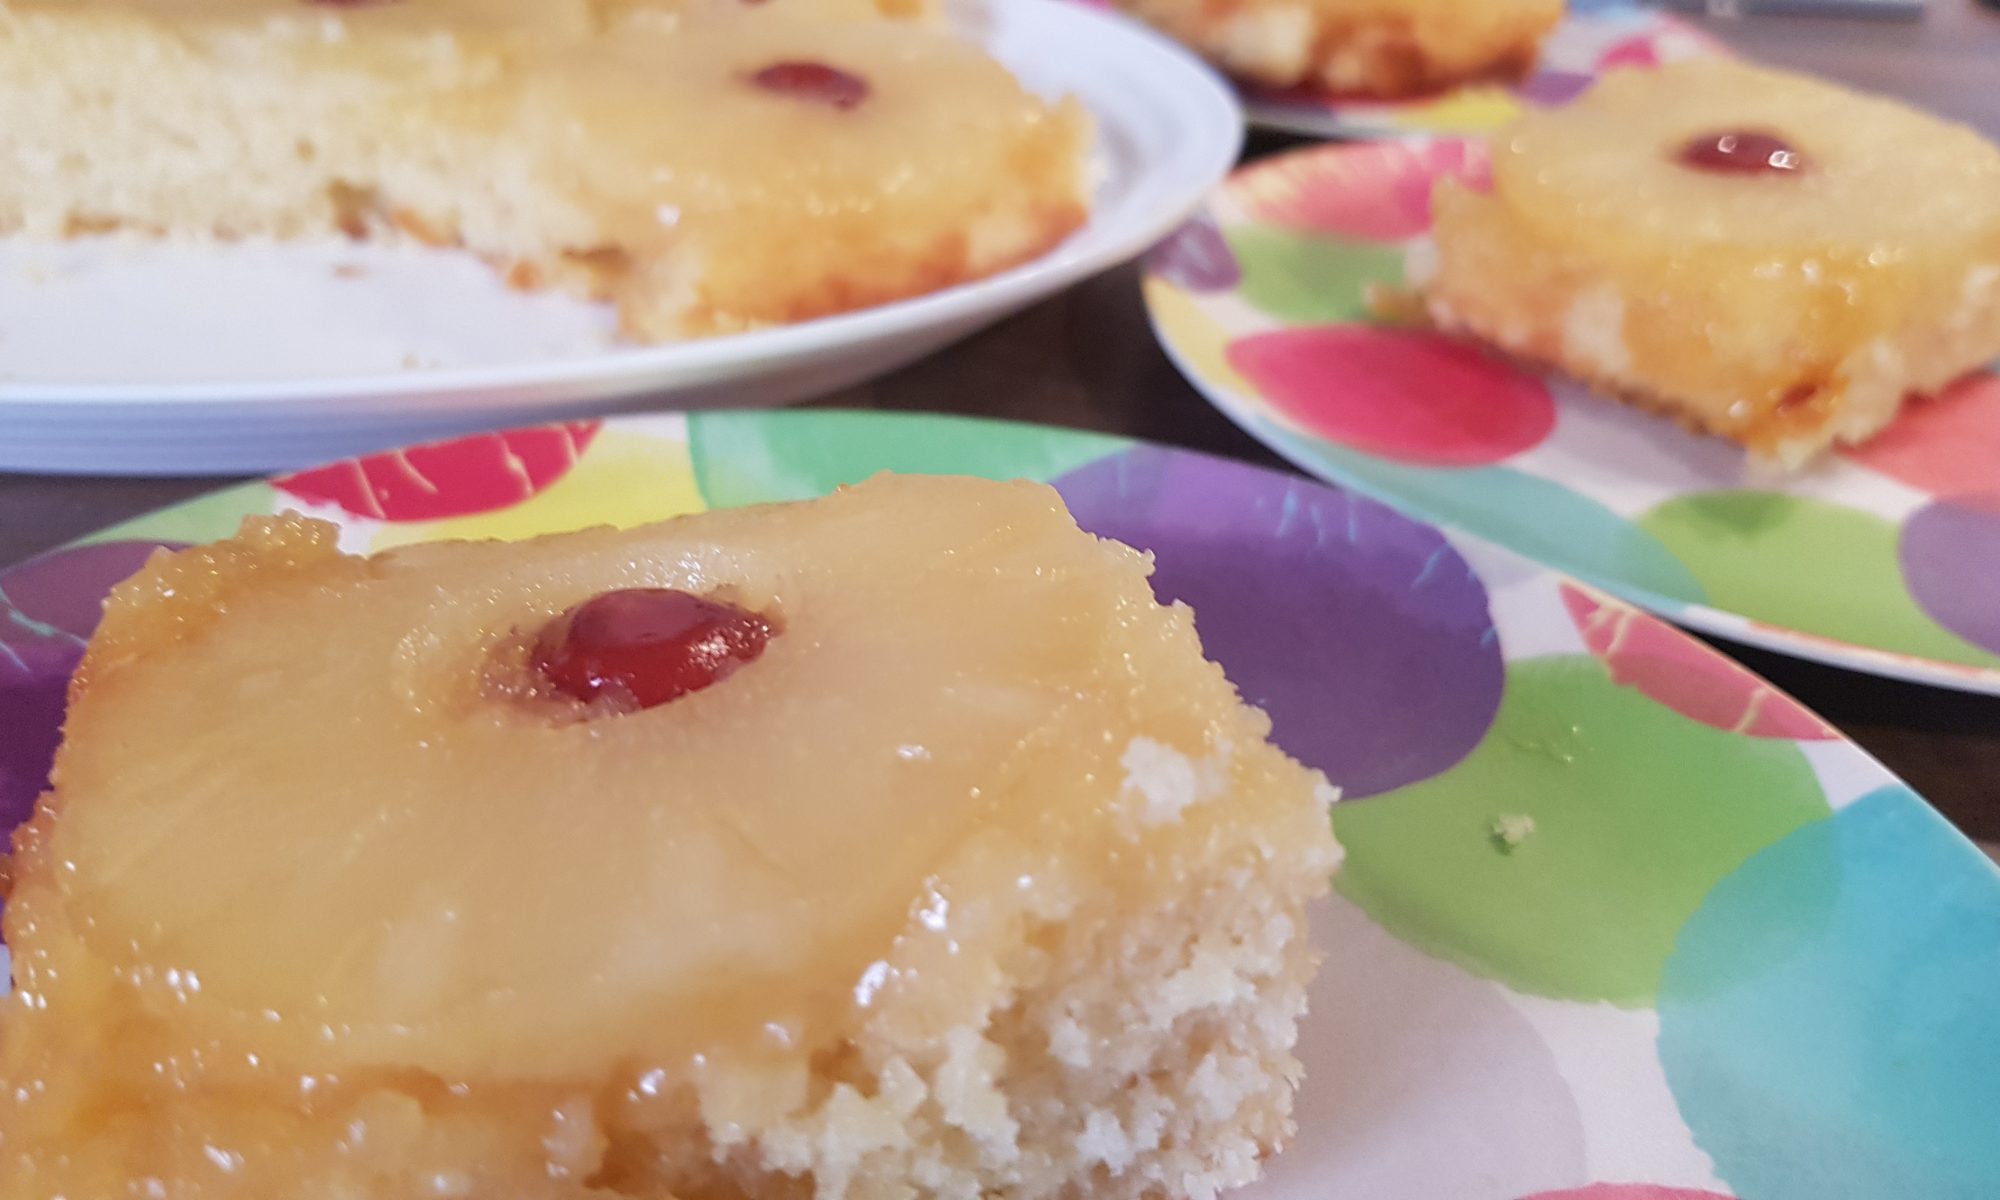
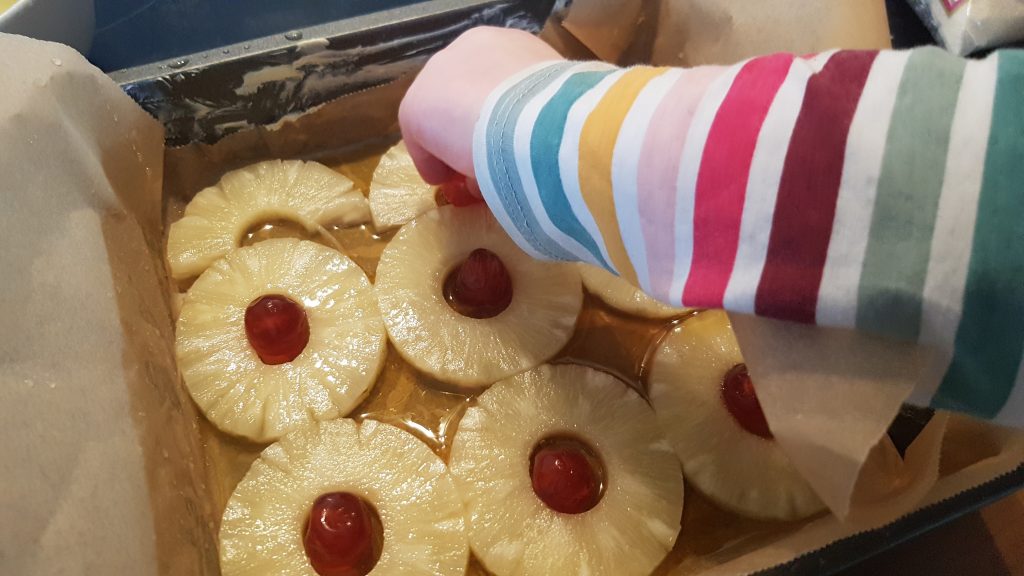
A cherry for the middle of each pineapple ring and each half ring – to make Ophelia happy.

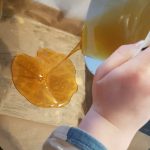
Highlights with this recipe were measuring the golden syrup (I guess for all the mess it made….), laying the pineapple out and ensuring each ring had a cherry centre. As usual, licking the spoon was also a highly enjoyable moment.

To make our Tropical Upside-down Cake you will need:

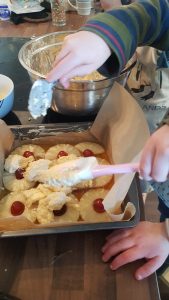
Spreading the cake over the fruit.
  • 125g butter/margarine
  • 125g golden syrup
  • 6 pineapple rings
  • 6 glacé cherries
  • 150g caster sugar’
  • 150g self-raising flour
  • 50g desiccated coconut
  • 2 eggs
  • 2-3tbsp milk
  • 2-3tbsp lime juice

Method:

  1. Grease and line your 22cm square cake tin and preheat the oven to 160°c fan.
  2. Put the golden syrup into a microwaveable bowl and gently heat in the microwave for 20-30 seconds until it is a runnier and can be poured.
  3. Pour the golden syrup into the lined cake tin and gently move the edged to ensure that the parchment in completely covered.
  4. Put your pineapple rings on top of the golden syrup and put a glacé cherry inside each one.
  5. Beat butter and sugar together.
  6. Add the eggs and mix.
  7. Gently fold in the flour and desiccated coconut.
  8. Add the milk and lime juice to create a thick mixture which easily drops off the spoon.
  9. Put the cake batter over the pineapples and ensure they are all covered.
  10. Put in the oven for 30-35 minutes until golden and springy to the touch.
  11. Leave to cool for 5-10 minutes in the tin and turn out. Serve warm or cold.

I did find this cake rather moreish and I am eager to make some more, but my list of recipes to try is growing so it might end up being relegated to the next school holiday as the kids worked so well as a team making it!

Yummy yummy cake.

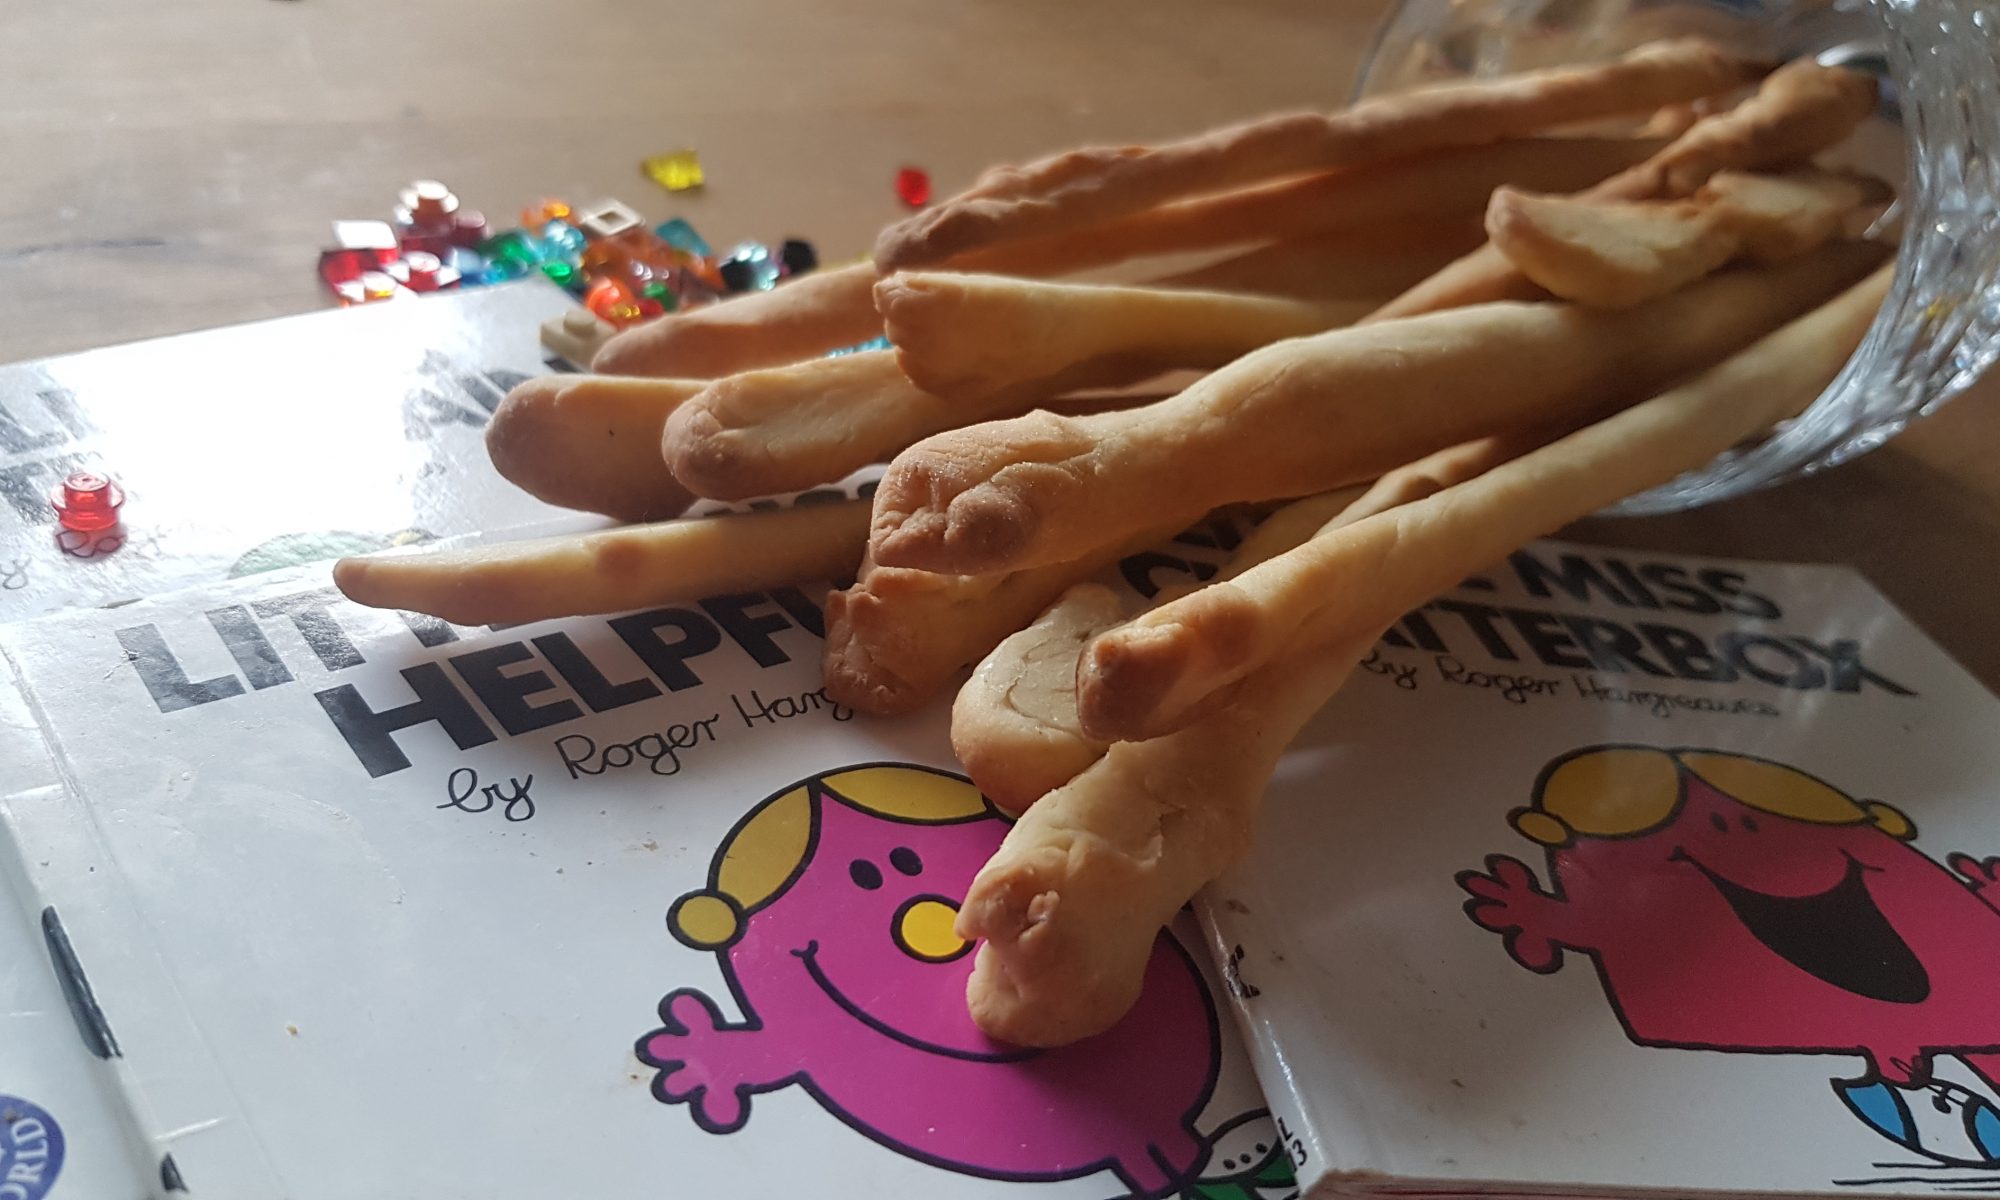
Breadsticks

You would have thought that nearly eight years into our parenting journey that by now I would have learnt that I never ever have enough snacks in the house. When in the supermarket and asking myself how many packets of breadsticks or crackers I need to buy, I should always just put another packet in the trolley because it’s not like they won’t get eaten!

Squish and squash the dough

I came home from one blissful child-free trip to the supermarket happily thinking I had managed to get every single item on my list (a real achievement for a Falklands shopping trip), only to discover that I had neglected to add breadsticks to the list and our snack cupboard was rather empty. After putting the supplies away, I couldn’t contemplate another trip out to the supermarket. We had all the ingredients for breadsticks, so I decided we would make them instead. As an added bonus, this gave Ophelia and me an activity to do while the boys were in school. I never have to ask her twice if she wants to come and help with the cooking!

Carefully stretching it out.
Dividing the dough.

Making breadsticks may sound like a bit of a faff, but my kids really enjoy it. The highlights are kneading, rolling and stretching the dough out to make the long breadsticks. I am pretty sure Ophelia would have happily spent the morning playing with the dough and singing happy little songs had I let her. This recipe does carry a sticky fingers warning as it can get a bit messy. We did manage to spread the flour all over the kitchen surfaces and the floor, but this time Ophelia’s outfit remained uncharacteristically clean!

To make breadsticks you will need:

Making them into sausages
  • 190g bread flour
  • ½ teaspoon instant dry yeast
  • 100ml warm water
  • 15g melted butter or margarine
  • ½ teaspoon fine salt
  • Olive oil for coating
  1. Place all the ingredients in a bowl and mix with a wooden spoon until well combined.
  2. Using your hands, squish and squash the dough for 5-10 minutes. If your child is anything like mine, they might not want to stop and that point or they might ask for some initial help. This was a great opportunity to describe the texture and temperature of the dough.
  3. Cover the bowl with clingfilm or a clean tea towel and let it rest at room temperature for at least one hour.
  4. Preheat your oven to 160°c fan and line 2 baking sheets with silicone mats or baking parchment.
  5. Cut the dough in half with a table knife and then cut each half into 6 pieces. We managed to use this as good counting and adding practice.
  6. Gently stretch and roll each piece into a long sausage shape around 30cm long. Some of ours were longer than others.
  7. Brush them with a little olive oil.
  8. Bake for 20-25 minutes until golden and crisp.
  9. Allow to cool completely before storing in an airtight container.

This article appeared in Penguin News on 17 July 2020.

Raisin Bran Muffins

Cake was the subject of most of my conversations with Ophelia while her brothers were at school last week. This meant we had tea parties, the dolls had tea parties and we made and ate rather a lot of cake. The poor kitchen must have felt rather sorry for itself with flour and sugar all over the surfaces and even an egg cracked on the floor all at the hands of my increasingly independent three-year-old who has decided that mummy can only help in certain circumstances.

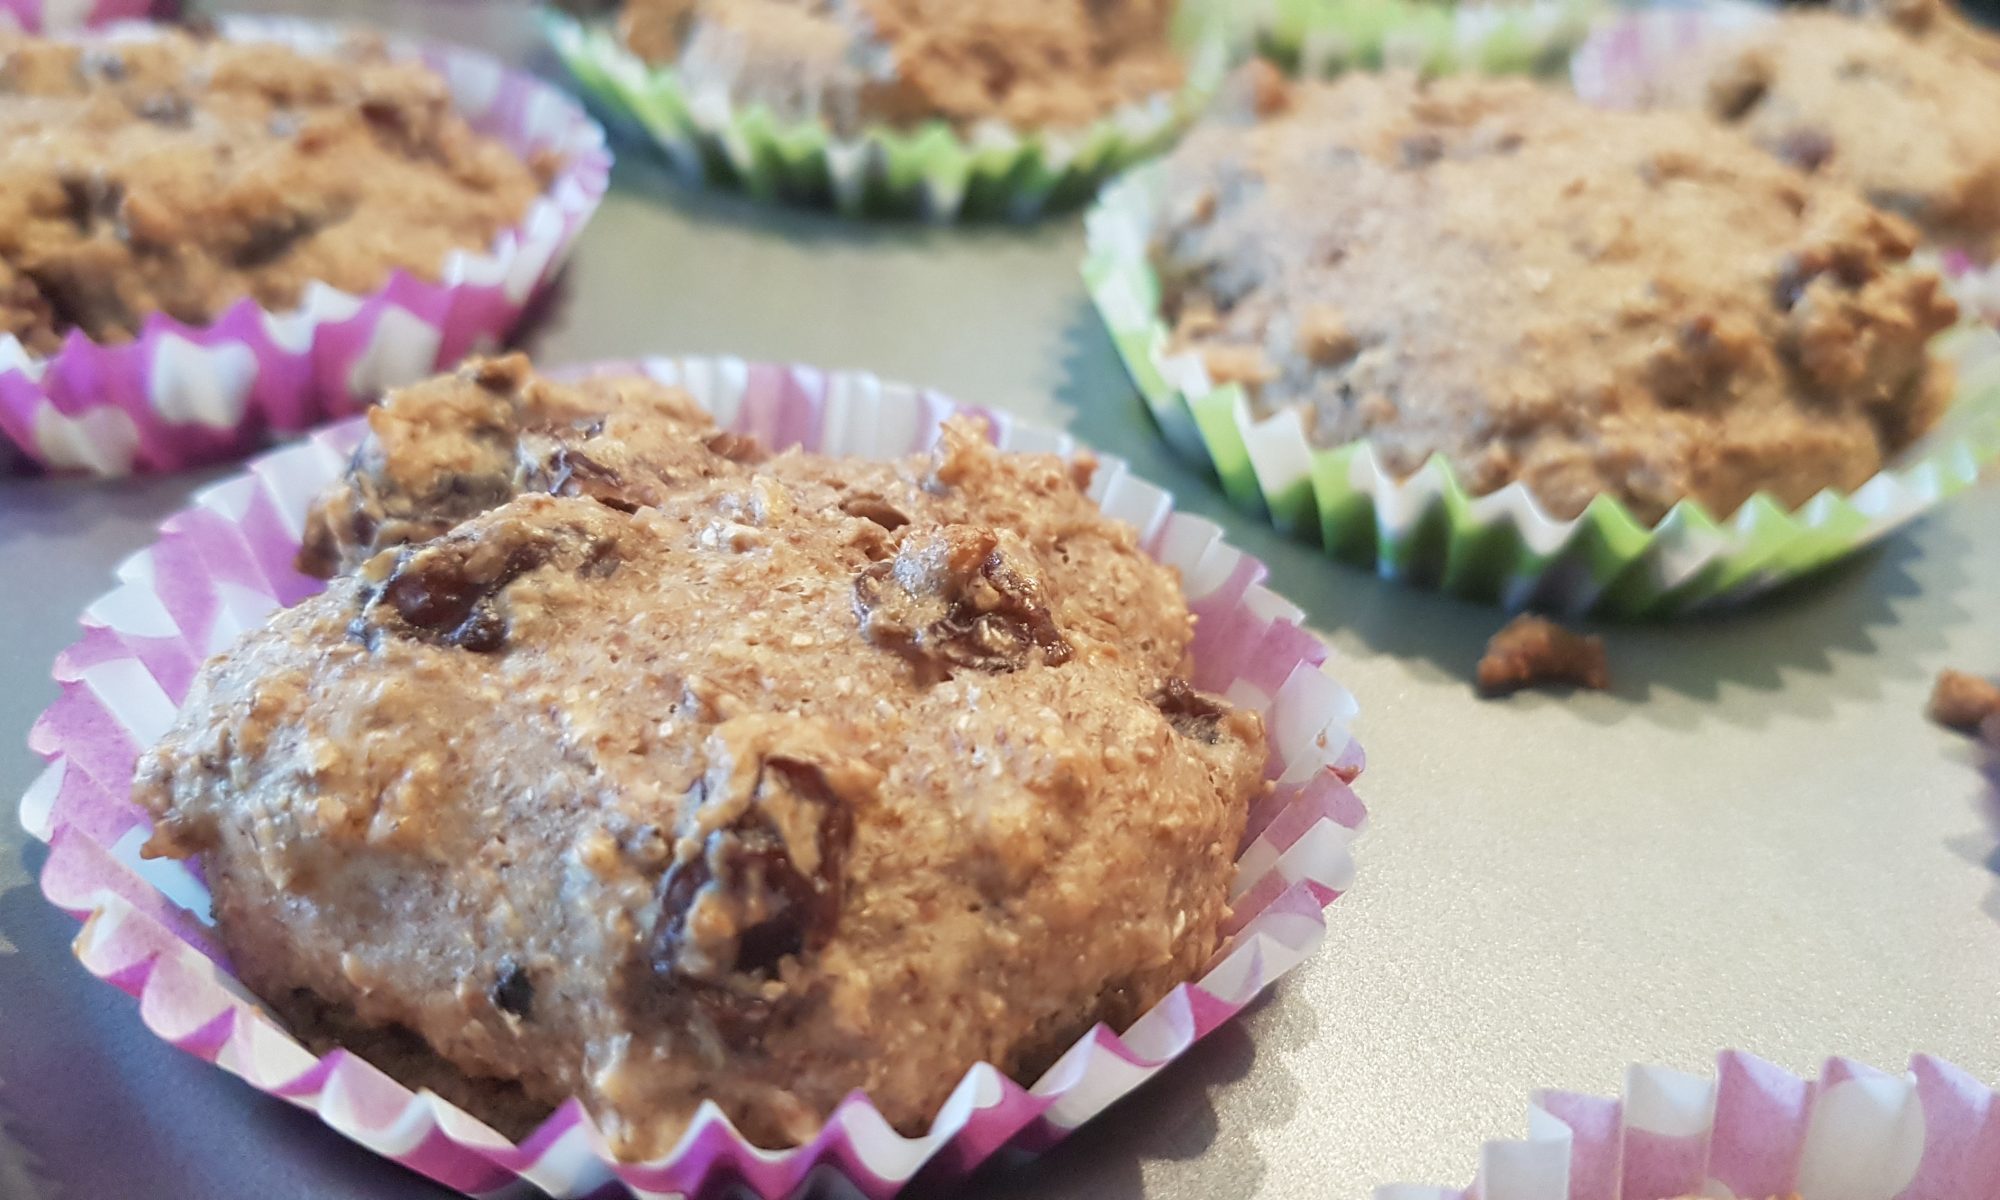
I was quite happy when the weekend came around and wrongly thought the older kids might dilute my daughter’s enthusiasm. What I didn’t bank on was the kids having gotten accustomed to the steady stream of cake and their reluctance for it to stop! On Friday evening there was the discussion about what flavour cake would be next. Looking back at the rocky road, flapjack brownie, lemon cupcakes and chocolate cake which had sweetened the week, I decided it was time to steer the kids towards something a bit less sugar-filled. In the past, I have discovered that this is not always a successful endeavour, but in this instance, I got my way and the kids happily made and enjoyed eating Raisin Bran Muffins.

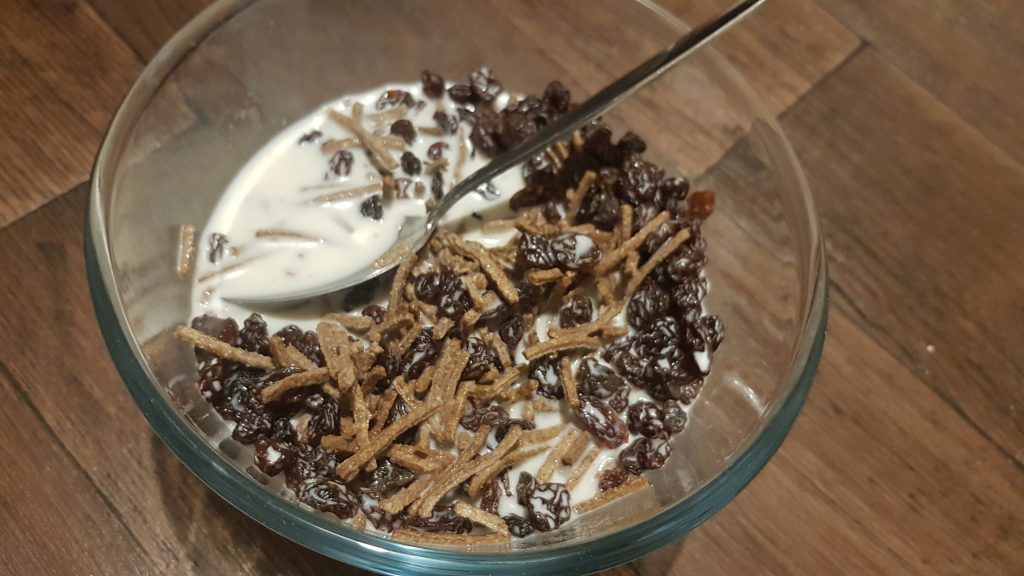
Ready to soak overnight.

I think the majority of the enthusiasm for this recipe stemmed from the fact that the kids think it is hilarious that mummy sits eating what they think looks like sticks at breakfast as they are enjoying their Shreddies or Cheerios. Luckily for me, they were not disappointed that after soaking the All Bran, raisins and sugar overnight they had lost their structural integrity and stick-like appearance! This is a versatile recipe that can be made vegan/dairy free by using almond milk.

To make the Raisin Bran Muffins you will need:

  • 75g All Bran cereal
  • 75g caster sugar
  • 175g raisins
  • 300ml milk
  • 175g wholemeal self-raising flour
  • 50ml water
  • 25ml milk
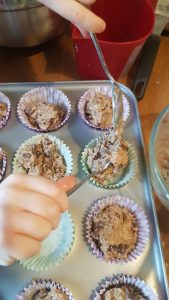
Dividing the mixture between the cases.

Method:

  1. Put the All Bran, caster sugar, raisins in a large bowl with 300ml of milk and mix well. Leave to soak overnight or for at least 6 hours.
  2. Preheat the oven to 160°c fan and put 12 cupcake cases into a muffin tin.
  3. Sift in the flour and add in the water and 25ml of milk and combine well.
  4. Divide the mixture between the 12 cases and place in the oven for 20-25 minutes until springy.

This recipe appeared in Penguin News on 19 June 2020 and Soar Valley Life July/August 2020 edition.

Chocolate Granola

I am not entirely sure how, but breakfast seems to confuse my kids. Lunch and dinner both come with a pudding, but breakfast does not. I understand their logic, but they completely fail to understand that this just isn’t normal! Their constant requests for pudding after their cereal has led to a two-tiered breakfast system with toast or fruit following their initial bowl of cereal. The only way we can even contemplate forgoing breakfast pudding is if the breakfast is special enough to not require it. In the kids’ eyes, this generally means pancakes and there are not many mornings that I have the inclination to be sorting out pancakes even if I have been able to make the batter in advance. The other breakfast fare that seems to fit the bill is homemade granola.

Scooping in the oats.

We make granola quite frequently and the kids will happily gobble it up and it does seem to fill them. Unsurprisingly, their all-time favourite type of granola is chocolate granola. Over the years, I have learnt that some granola recipes are so full of sugar that they could practically be a pudding themselves so we have adapted and reduced the amount of sugar for this recipe. You can add whatever dried fruits or nuts to this that you like. On this occasion, we added flaked almonds and dried apricots which both went really well with the chocolate. We tend to measure this recipe in cups as it is easier for the kids to scoop oats the oats and cocoa that way.

To make our chocolate granola you will need:

  • 4 cups of oats
  • 1/3 cup of cocoa powder
  • 1/4 tsp salt
  • 1/2 cup melted coconut oil
  • 1/2 cup maple syrup or runny honey
  • 2 tsp vanilla extract
  • 3 cups of additions (we used half flaked almonds and half dried apricots)

Method:

  1. Preheat the oven to 160° fan and line two baking sheets with silicone baking mats or baking parchment.
  2. Mix the oats, cocoa powder and salt in a large bowl with a wooden spoon.
  3. Put the melted coconut oil, maple syrup and vanilla extract into a jug and mix to combine.
  4. Pour the liquid ingredients into the dry ingredients and mix well to ensure that all the oats are coated.
  5. Divide the mixture between the two baking trays, ensuring each has a thin layer of the granola.
  6. Bake for 15-20 minutes turning the granola half way through. Keep a close eye on it as it can easily burn.
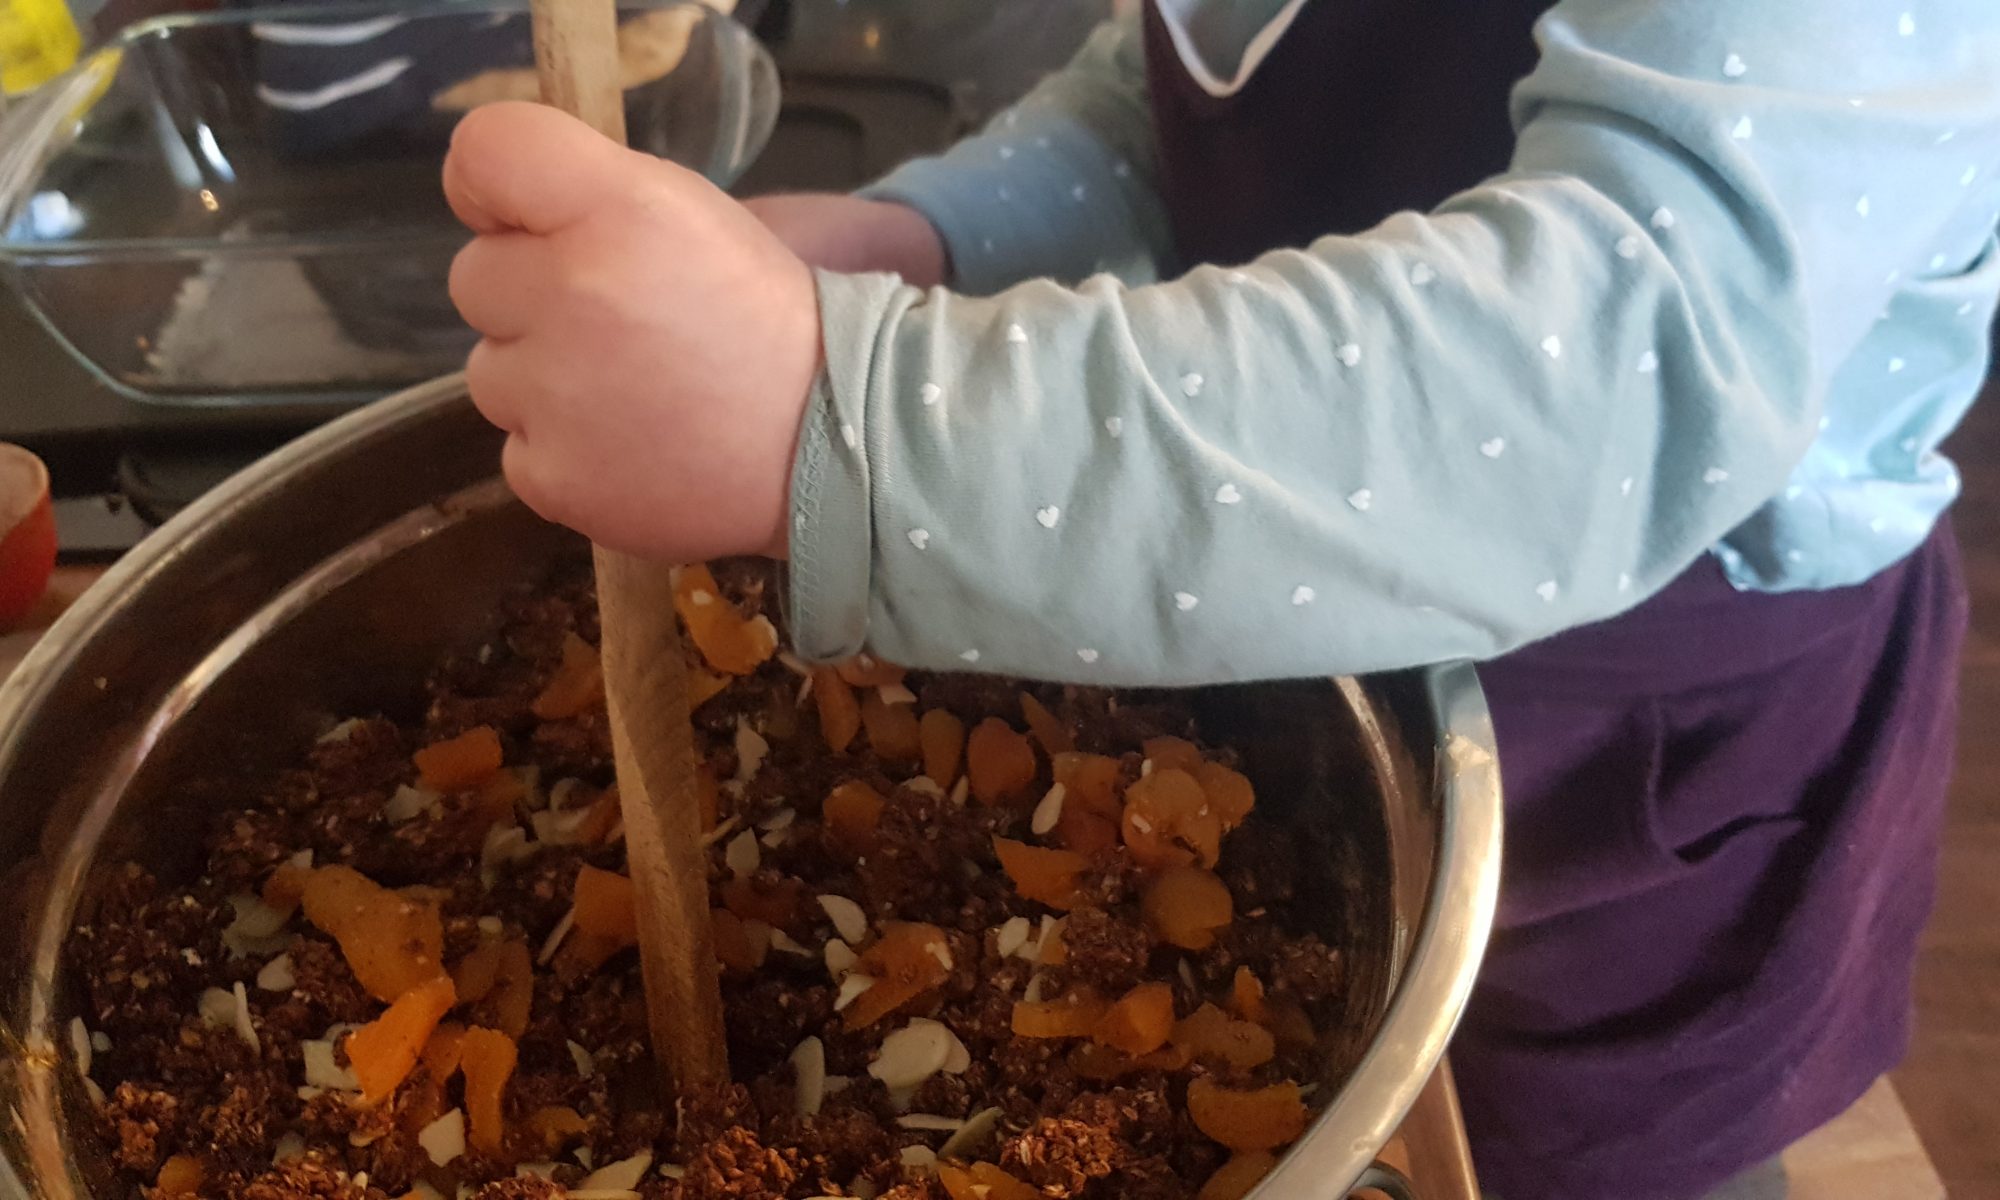
  7. Once cooled, put into a large bowl and put in your additions, mix with a wooden spoon and store in an airtight container.

This recipe was published in Penguin News on 15 May 2020.

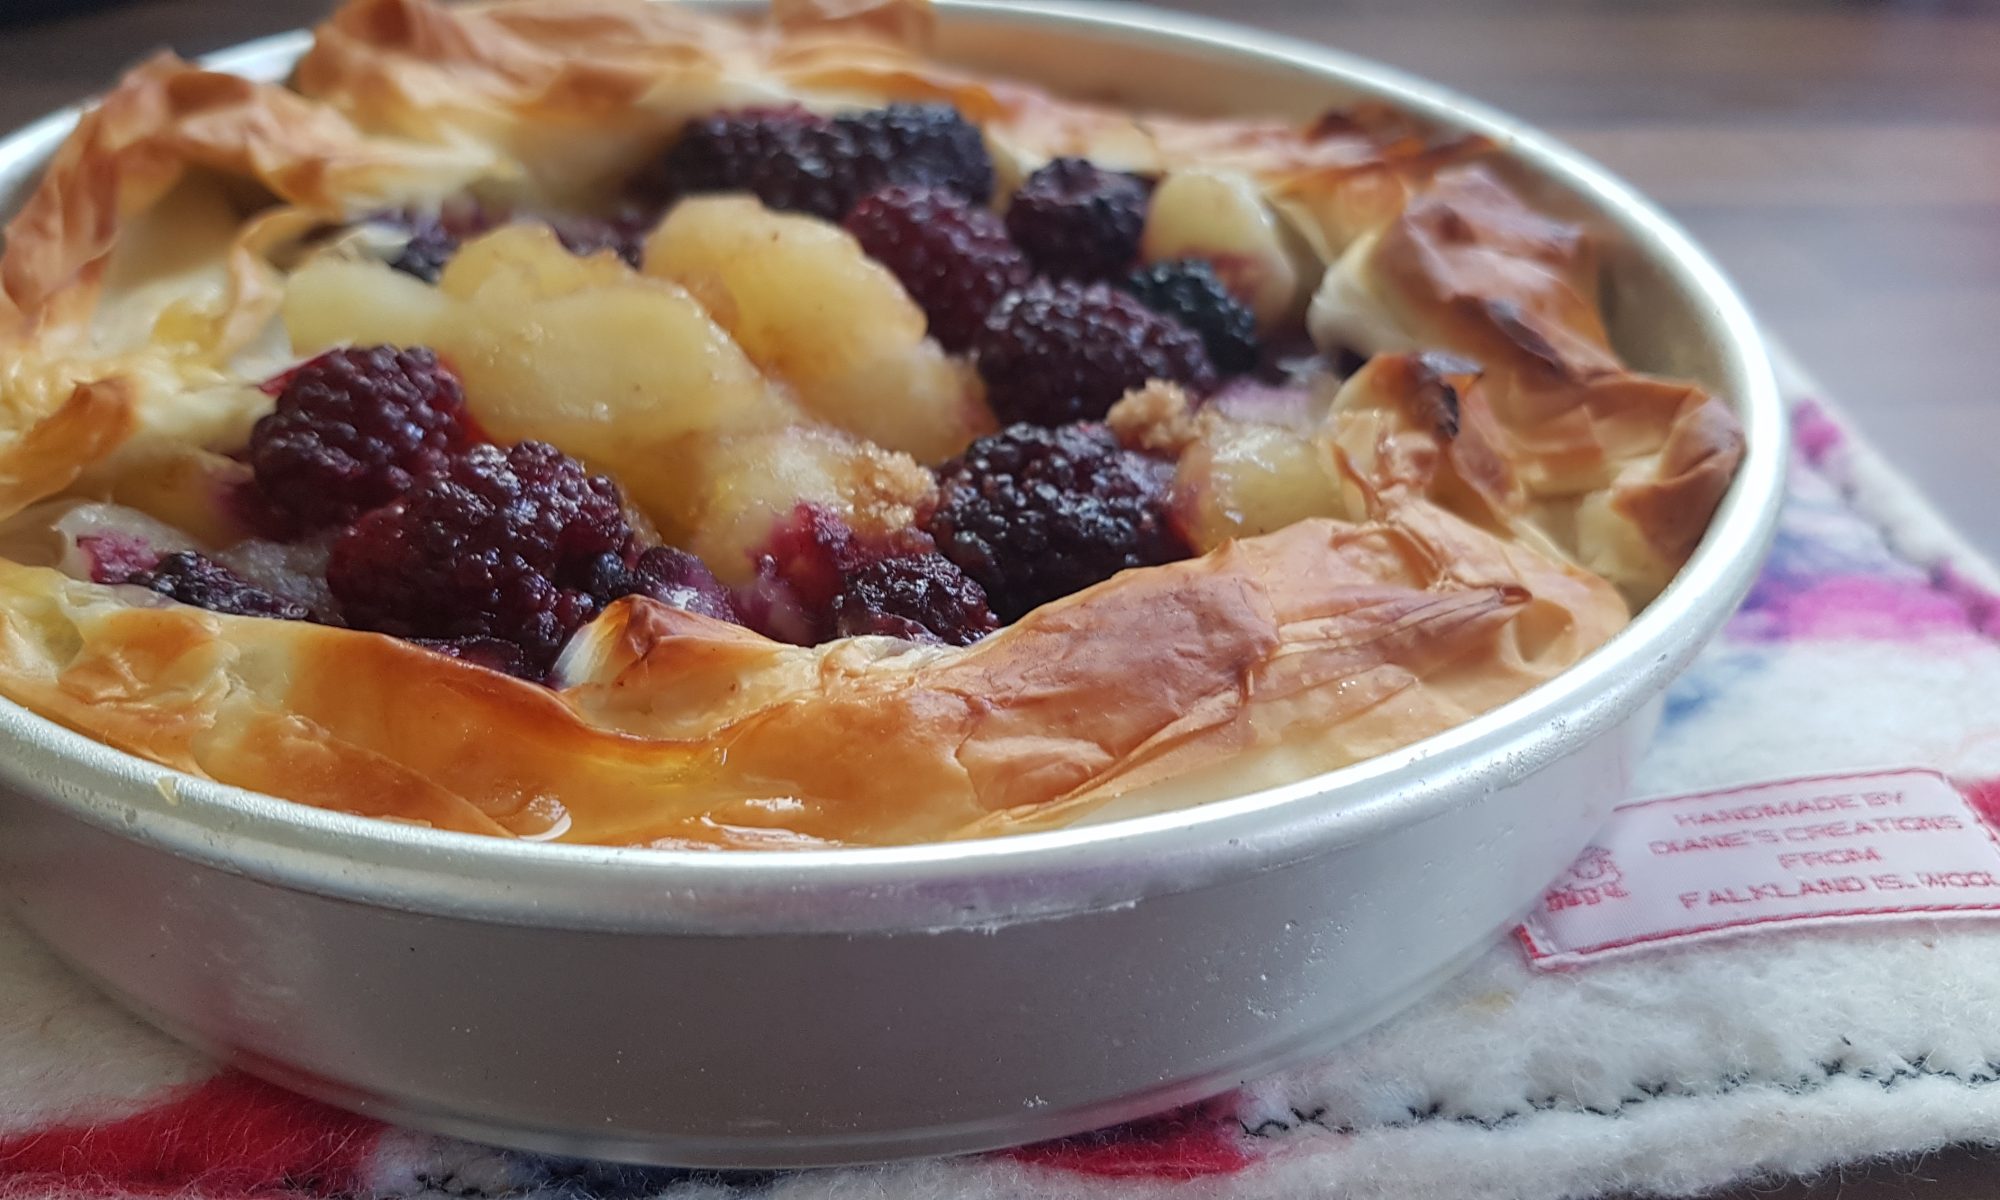
Fruity Filo Pie

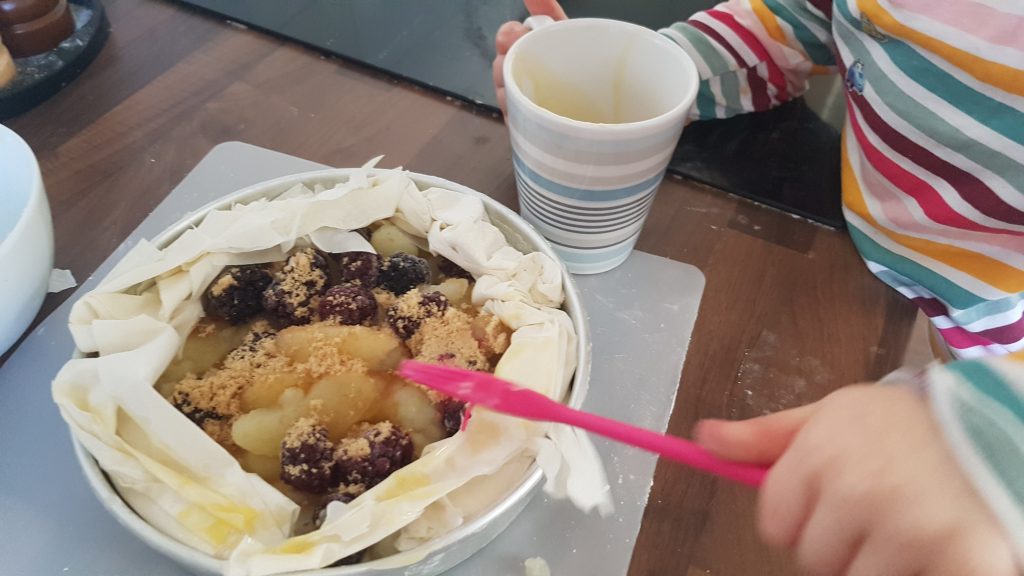
I am always on the hunt for super simple dishes that the kids can help with in the kitchen. Recipes that they can take ownership of the whole way through and can proudly share with the rest of the family. This pie fits the bill perfectly. An added bonus, by using tinned fruit there is very little washing up. Although that said, my younger two are rather obsessed with washing up even if they do tend to flood the kitchen floor!

Sprinkle on the sugar.

Ophelia (three going on thirty) made this with me during the our first or second week off school during our Falklands lockdown. It hasn’t been written up until now as all the days seem to have blurred into one and the idea of writing a recipe up after trying to help all the kids with their school work just seemed like one job too many at the end of so many days!

For us here, the kids go back to school on Monday. I will miss my little partners in crime, but I am looking forward to having some time without them in the house undoing the work I have tried to do or ‘help’ me in the most unhelpful ways. Such as loading dirty dishes into the clean dishwasher or emptying the washing machine and not telling me leaving the wet laundry in a hidden place! That said, they all do love hoovering and as previously mentioned washing up. It’s such a shame they are no so eager to tidy up their toys or the remnants of the day’s school so we can eat supper on the table later in the day.

This recipe was a huge hit and has minimal added sugar, so it could be classed as a relatively healthy recipe with only 4 ingredients!

To make a fruity filo pie you will need:

  • 5-6 sheets of filo pastry
  • 1 tin of apples or other fruit (we also added a small handful of frozen blackberries)
  • 2 tbsp light brown sugar
  • 3-4 tbsp melted butter/margarine.
Painting on the melted butter.

Method

  1. Grease a 20cm shallow cake tin with melted butter.
  2. Preheat the oven to 160°c fan
  3. Gently fold the large rectangle of filo pastry in half and place on the bottom of the cake tin.
  4. Leave the excess filo pastry hanging out of the tin.
  5. Spoon in the fruit (if you have chosen a fruit with juice or syrup, take care not to add the liquid or you will end up with a soggy pie.
  6. Once the fruit is added, gently scrunch the edges of the filo pastry to create the walls of the pie.
  7. Sprinkle the brown sugar on top of the fruit.
  8. Paint the filo pastry scrunch with melted butter.
  9. Place in the over for 15-20 minutes until the pastry is golden brown and cooked.

The kids loved this pudding and Ophelia happily shared it out telling each brother which piece they could have. It didn’t last for long and we have had several requests for this pudding since then!

Slow Cooker Easter Egg Cookie

It has been a strange month. Life has changed significantly, but as we approach Easter I am remined of new opportunity and being grateful for everything that we have. I am trying to tell myself that this extra time with the children and their dad at home is a blessing, but I am constantly reminded of my shortcomings and lack of patience as I try and help them with their school work and have them ‘helping’ me with the chores, making them take three times as long. I find safety in familiar ground with them and for me that is cooking with them. We have cooked in the happiest and hardest times of my time as a mum and for me this period is no different. In all the time we have spent in the kitchen we have had some wonderful successes as well as monumental failures. Examples the latter would be a whole bottle of coconut essence working its way into a batch of cupcakes or neglecting to add sugar to another batch… But I have to say I don’t remember how either of those bakes turned out, what I remember is the delight in my kids’ voices when they have been able to do something they hadn’t managed before, or their happy chocolate-stained faces after licking the bowl.
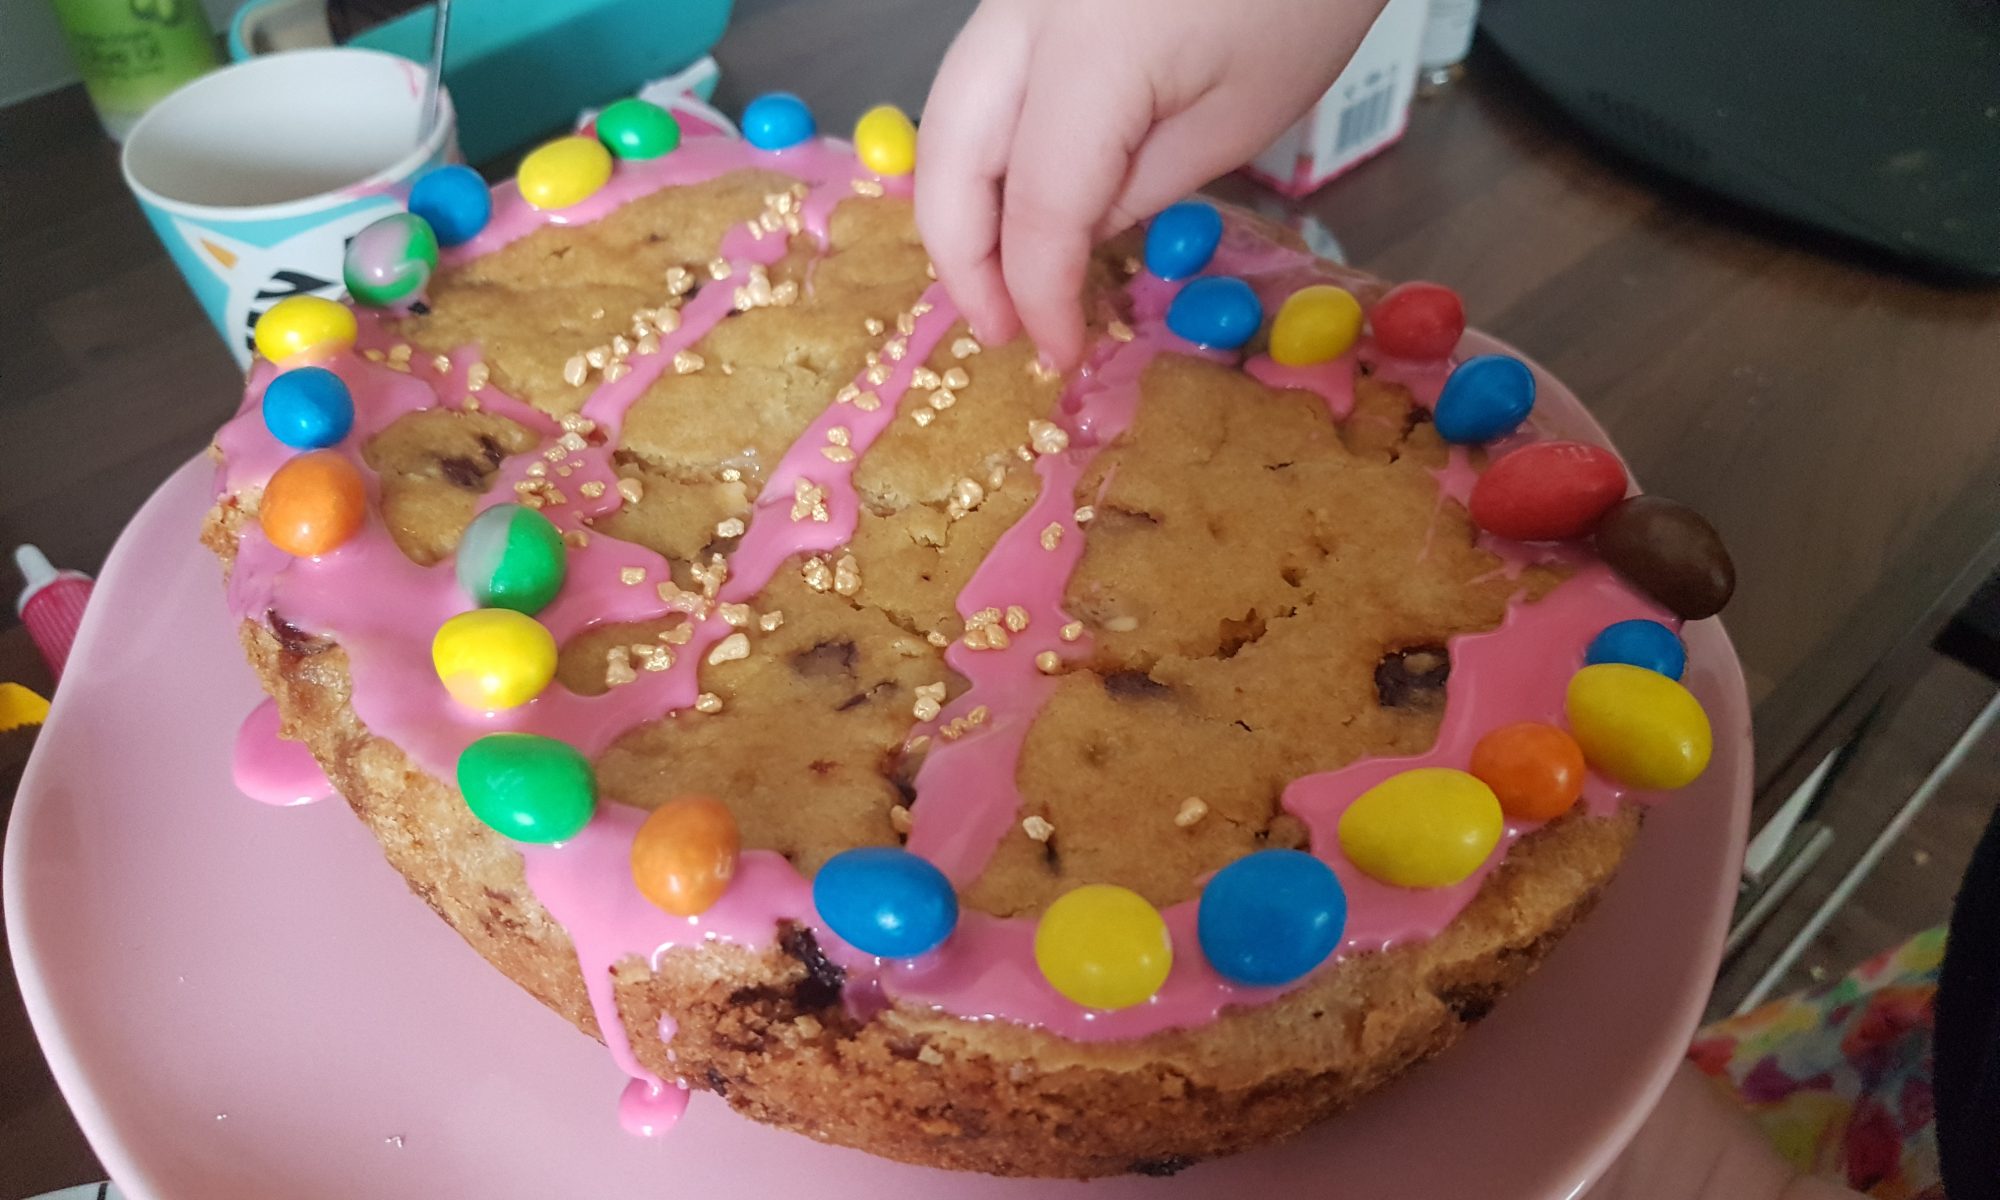
Easter Egg Cookie anyone?

The kids and I frequently make soup in the slow cooker and have also used it to make a delicious steamed lemon sponge, but after brainstorming Easter cooking activities with my cook books all around me, I realised that the base of my slow cooker is shaped like an Easter Egg. When I pointed this out to the kids, they were excited. They could tell their mum was about to suggest an activity and indeed I was; a Slow Cooker Easter Egg Cookie.

For the cookie:

  • 350g plain flour
  • 1tsp bicarbonate of soda
  • 1tsp baking powder
  • 200g softened butter or margarine
  • 250g caster sugar
  • 1 egg
  • 1tsp vanilla extract
  • 200g chocolate chips/dried fruit

To decorate:

  • 50g icing sugar
  • 2 tbsp water
  • Decorations of choice
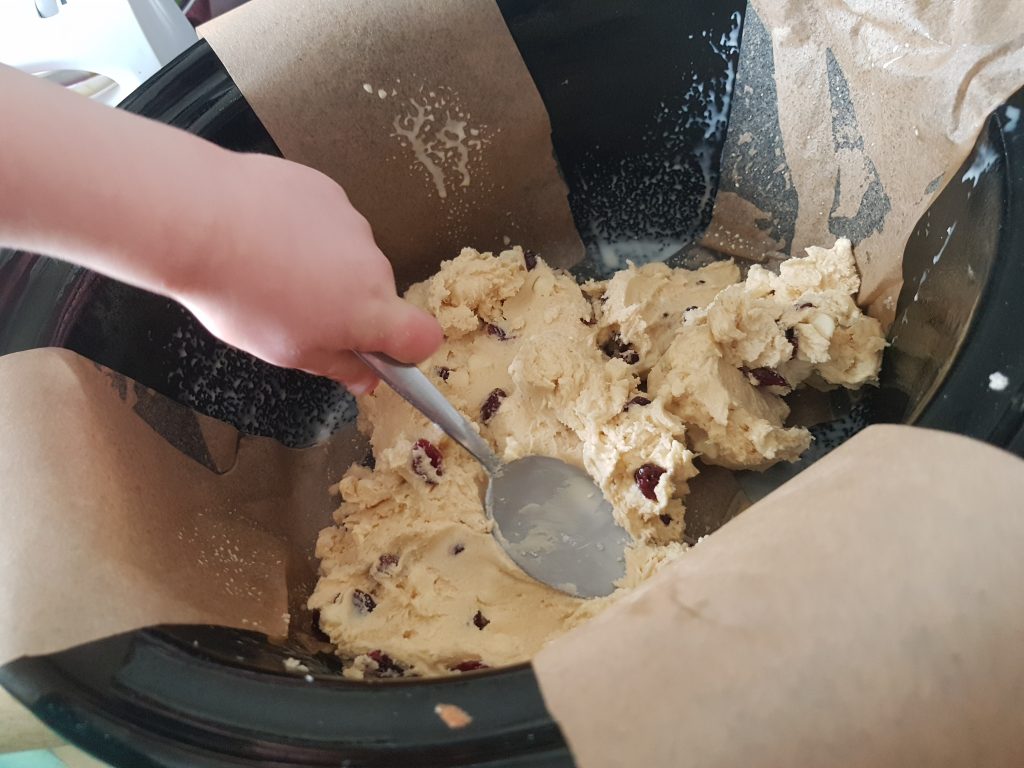
The slow cooker lined with baking parchment.

Method:

  1. Generously grease the inside of the slow cooker with butter or cooking spray.
  2. Cut two long, thick strips of baking parchment and put in the slow cooker in the shape of a cross. You need to ensure that the parchment is long enough to reach over the edges of the slow cooker. If using cooking spray, spray again.
  3. Cream together the butter and sugar until pale using an electric hand mixer.
  4. Add the egg and vanilla and combine.
  5. Gradually sift in the flour, bicarbonate of soda and baking powder and mix to form a stiff dough.
  6. Once all the flour has been incorporated, add the chocolate chips and dried fruit and mix.
  7. Dollop into the slow cooker and spread all around with the back of a spoon.
  8. Cover and cook on high for 1hr and 45 minutes. Remove the slow cooker bowl using oven gloves and place on a heat proof surface to cool for at least half an hour.
  9. Gently remove from the slow cooker either by using the baking parchment or by turning out onto a cooling rack. You may want to loosen the edges with a table knife before removing.
  10. Once fully cooled, make up the icing by mixing the water and icing sugar. Add more icing sugar for a thicker consistency and then use to stick on decorations.

Why Share a Cookie?!

I have seen many recent posts on Facebook and Instagram when people are making too many batches of cakes and mentioning that they would be a size larger at the end of lockdown. I have really taken this to heart and started pondering the idea of making a single cookie.  One means you don’t have to share it and also that you get the satisfaction of a delicious baked cookie and doing an activity either on your own or with your kids and not worrying that it could be a piece of cake (or cookie) too far and risk sending you into a sugary haze. Kids how about you try to convince your grown up that this is the best idea?  You can scoop out all the ingredients yourself and not have to share the cookie! Did I mention that this recipe doesn’t contain egg and can easily be made dairy free or vegan by using vegan spread and chocolate. It uses only a small amount of ingredients so you don’t have to be overly concerned about running out.

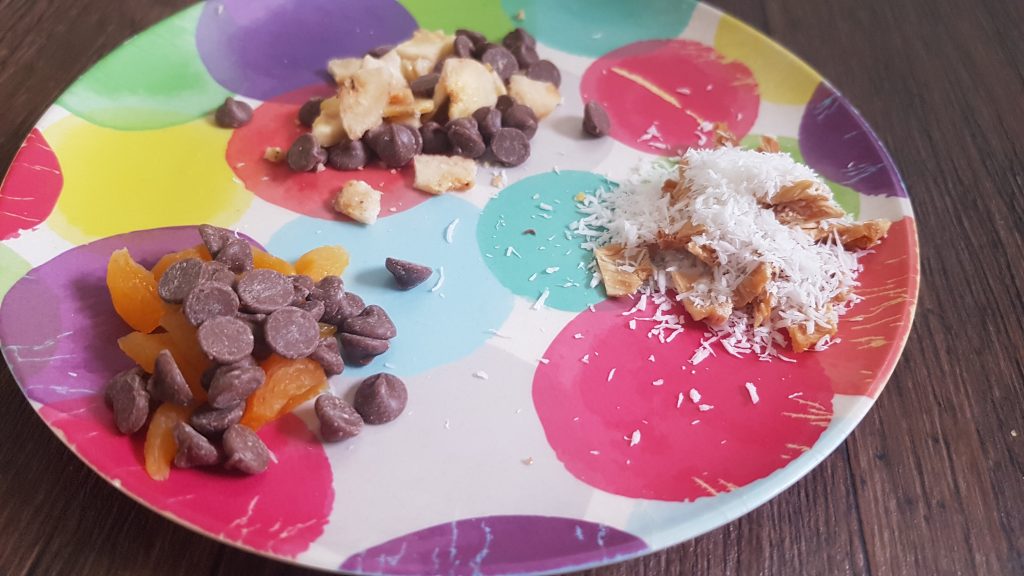
The add ins for the cookies.

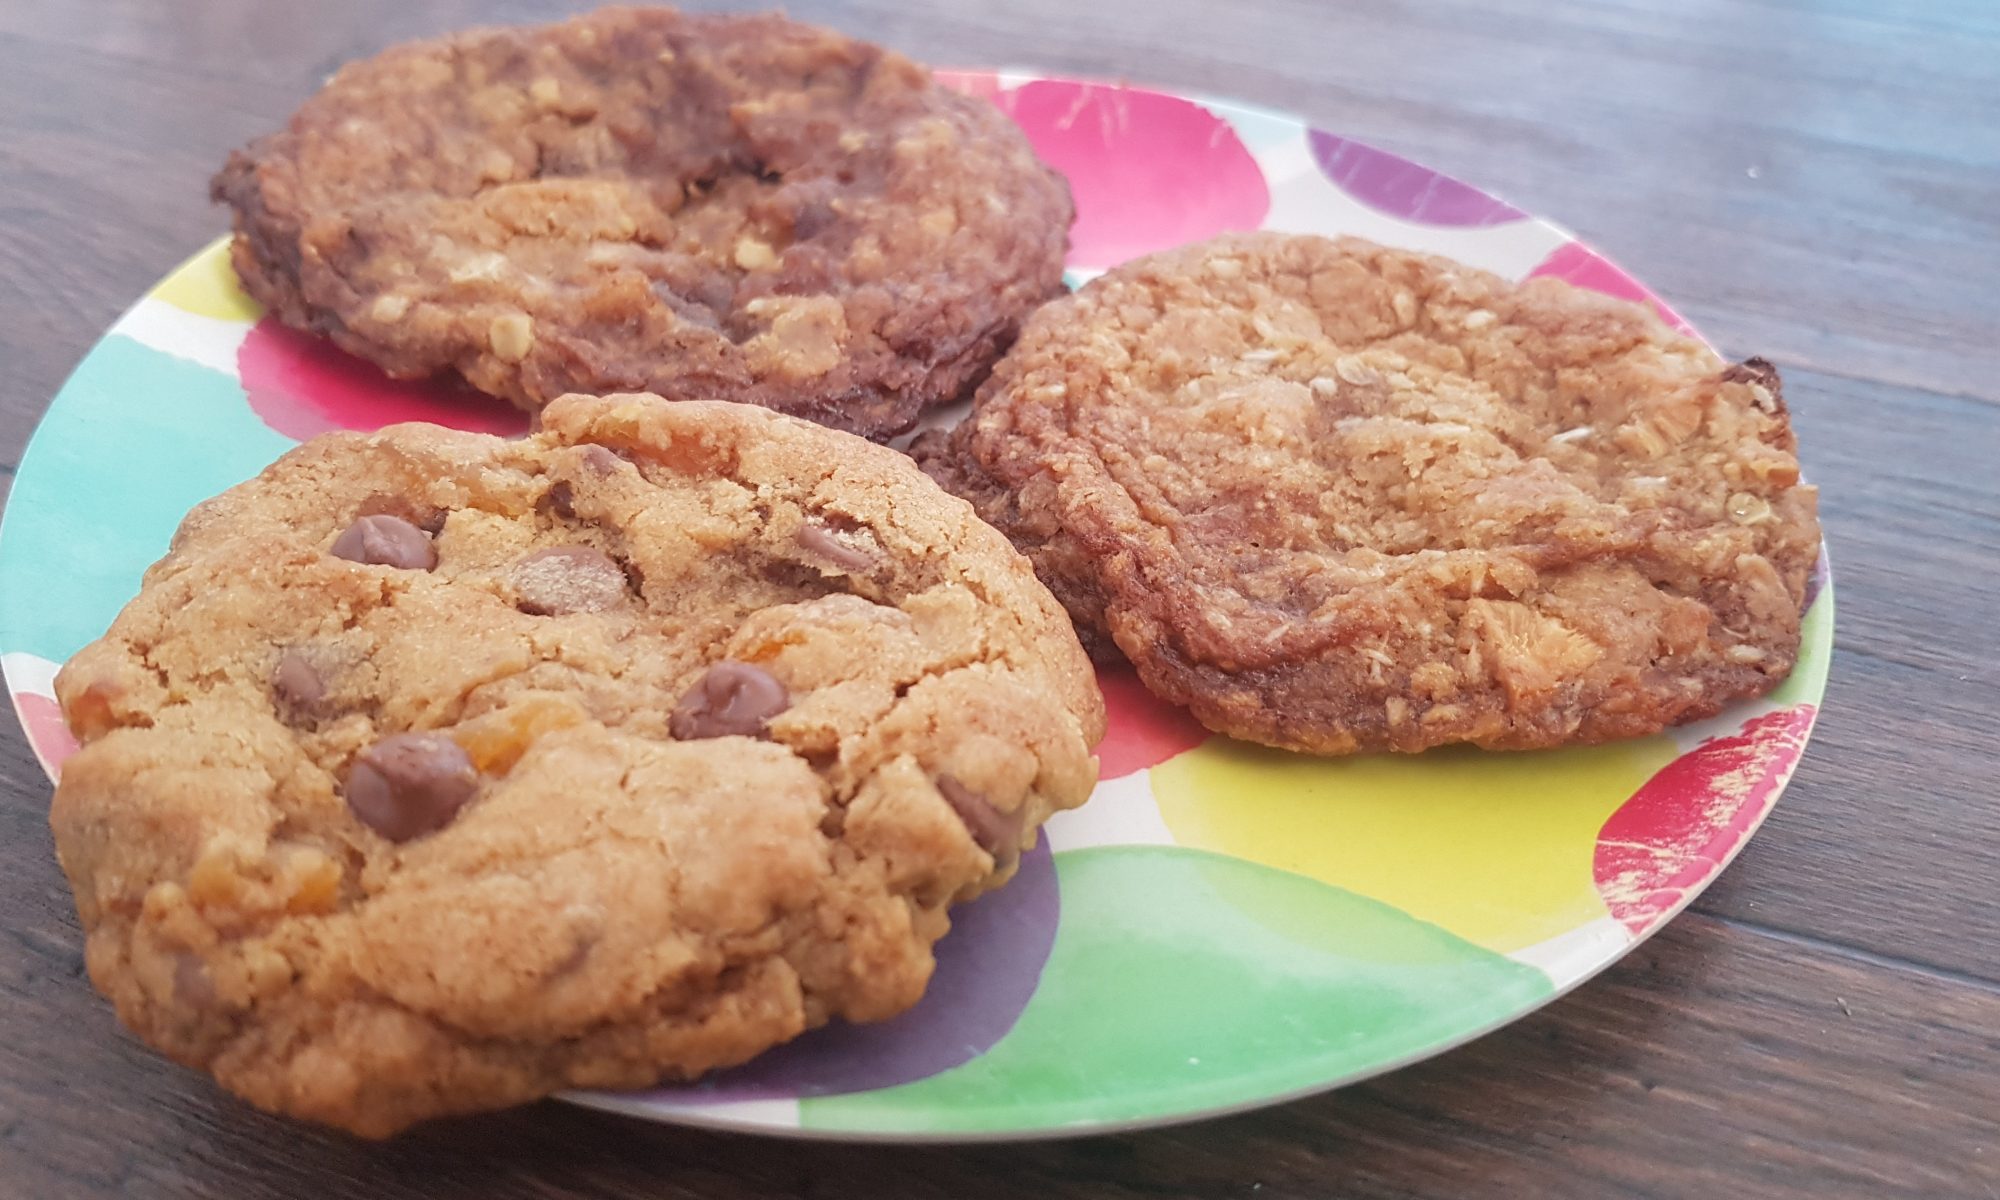
My kids each chose a different tablespoon of add ins to make their cookie personal so we ended up with apricot and chocolate, dried banana and chocolate and dried pineapple and coconut. They all smelled delicious and I was honoured when Ophelia deigned to share some cookie with me! Surprised would be an understatement.

The kids would like to see your cookies; it would really brighten our day. Please do put them on our Facebook page or tag Just Add Patience on Instagram so we can see how you have got on!

To make a single-serve cookie you will need:

  • 1tbsp margarine/unsalted butter – we have found margarine is easier for the kids to scoop as I never remember to take it out of the fridge in advance.
  • 1tbsp light brown sugar
  • 1/4tsp vanilla extract
  • 2tbsp flour
  • 1/8tsp bicarbonate of soda
  • Pinch of salt
  • 1tsp oats
  • 1tbsp chocolate/dried fruit
Gently flatten.

To make a cookie:

  1. Preheat the oven to 160°c fan and line a baking sheet with a silicone baking mat or parchment.
  2. Put the butter, sugar and vanilla in a small bowl and cream together using a teaspoon.
  3. Add the flour, bicarbonate of soda and oats and salt into the bowl and mix to combine. My kids enjoyed using their hands to bring it together.
  4. Add in the chocolate/dried fruit and roll into a ball.
  5. Place on the baking tray and flatten slightly with your hand.
  6. Cook for 10-12 minutes and allow to cool on the tray – warm cookies are fragile.

Condensed Milk Doughnuts

Divide it between the tins.
Sifting.

With all that is going on, I have been raiding my cupboards to see what I have to bake with rather than venturing out to the shops. My last trip to the cupboards unearthed a tube of condensed milk and some wholemeal spelt flour. It may be that the logical choice would have been a cookie of some description, but I have had baked doughnuts on the brain since the schools closed on 26 March. My theory was that if I baked them into existence, I might be able to get them off the brain and focus on less sugary and more healthy snacks. I am sure that my next post (whatever it ends up being) will inform you of how successful I have been with that one. I think my kids and husband are all banking on me failing as they quite like having a steady stream of cake in the house!

Yup, Ophelia won.

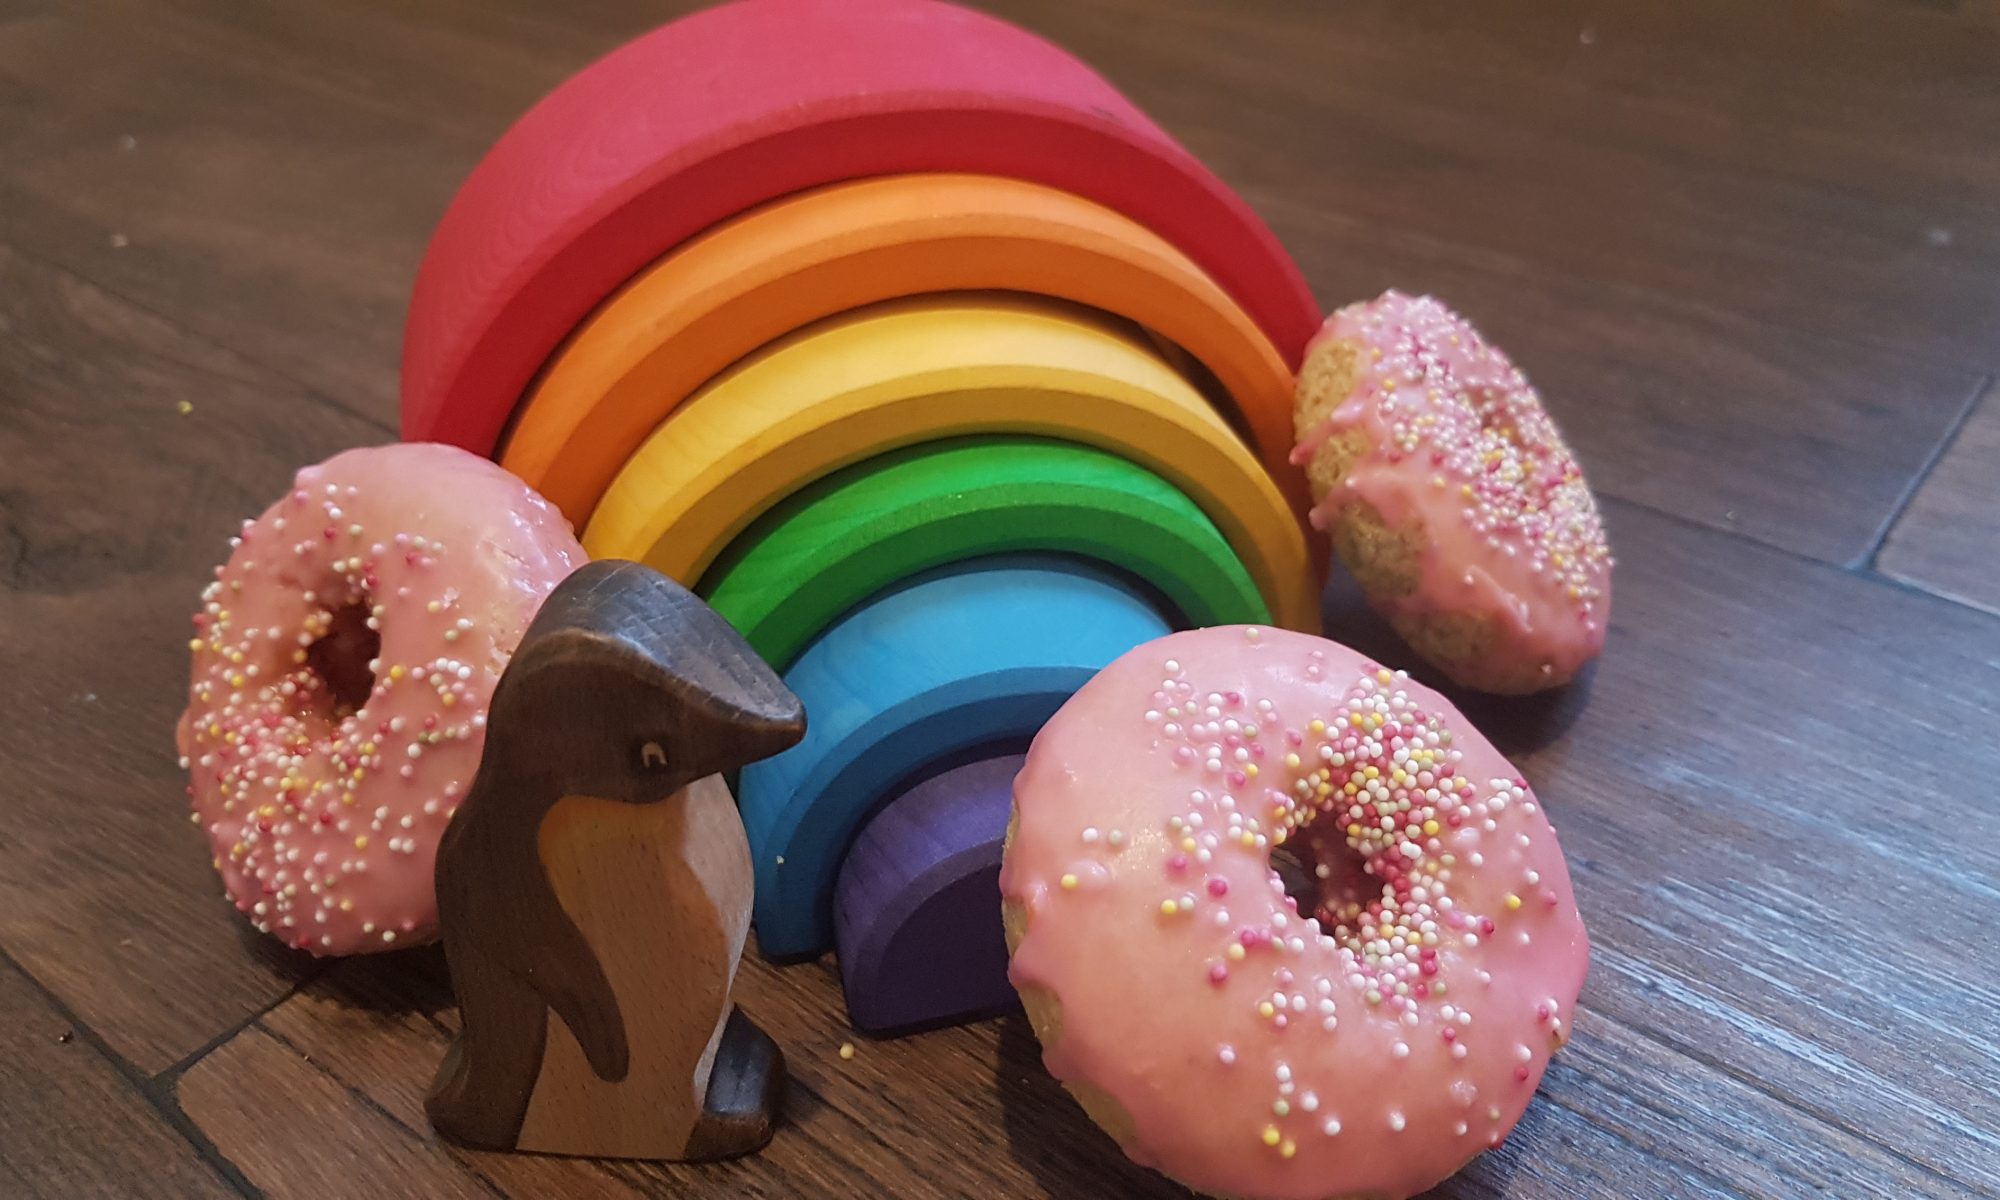
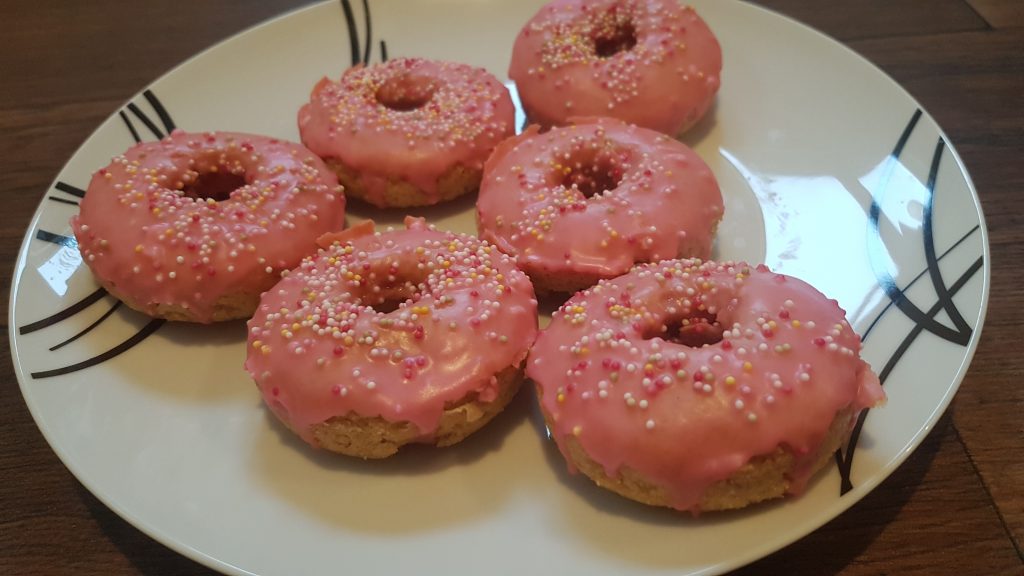
These doughnuts were really fun to make. Ophelia did manage to mix it all up herself, but needed assistance spooning the mixture into the moulds. We both had fun dunking them in the icing and putting sprinkles on them. We shall glide over the creative differences which led these doughnuts to be coated in pink icing rather than peanut butter icing and there are no prizes for guessing who won that discussion…

These baked doughnuts have a rather cake-like texture, but are light and fluffy and so incredibly yummy. Our batch didn’t survive more than 12 hours. If you don’t have a silicone doughnut mould, then you can always make them in cupcake cases.

Doughnut pyramid.

To make six doughnuts you will need:

  • 1 egg
  • 100g condensed milk
  • 25g melted butter
  • 80g flour (we used wholemeal spelt, but have used plain flour in the past)
  • 1/2tsp baking powder
  • 1/2tsp vanilla extract
  • Pinch of salt
  • 100g icing sugar
  • 1-2tbsp of water
  • Pink food colouring
  • Sprinkles

Then:

  1. Preheat the oven to 150°c fan.
  2. Whisk the egg and condensed milk together.
  3. Add the melted butter, vanilla and pinch of salt and mix.
  4. Sift in the flour and baking powder and gently fold into the mixture.
  5. Divide the batter between the 6 doughnut moulds.
  6. Bake for 15 minutes until springy to the touch.
  7. Leave to cool in the moulds for a couple of minutes and then carefully remove from the moulds and allow to cool fully before icing them.
  8. Mix the icing sugar and water in a bowl. Add less water for a thicker consistency. Add a couple of drops of food dye and mix again.
  9. Dip the doughnuts in the icing bowl and decorate with sprinkles.

If you happen to make this recipe, I would be as pleased as punch if you would leave me a comment. Stay safe everyone.