I am not sure if your kids have a favourite dinner. For ours it has to be pesto pasta. This is completely fine by me as it is a quick fix, perfect for evening when they have after school activities and we are pressed for time. Now the kids don’t seem particularly fussed whether it contains chicken, bacon or even tuna, but it always gets gobbled up without any questions or complaints.
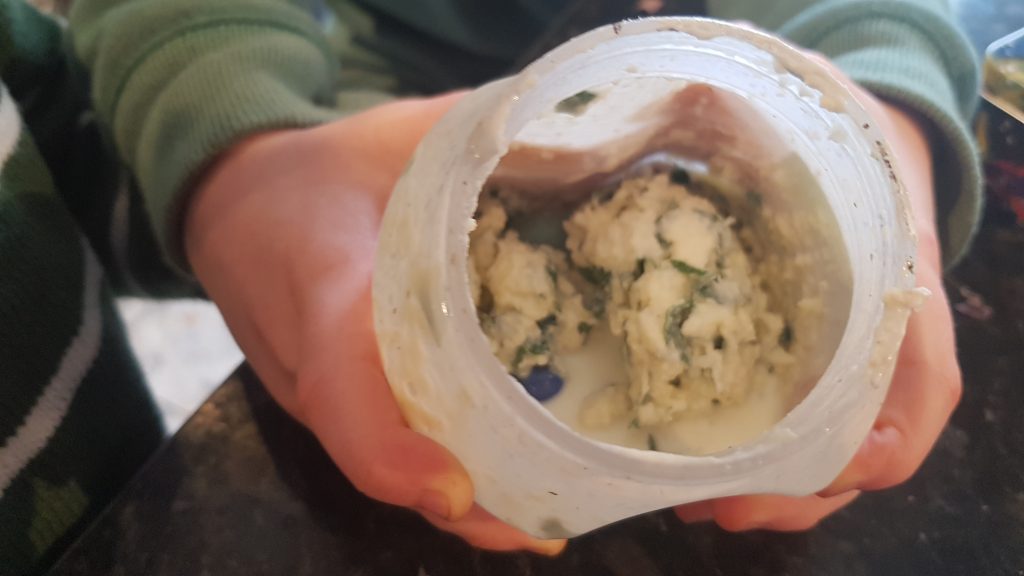
It took a couple of attempts to get the cloves out.
Now you might question; ‘if they have their favourite pasta dish, why mess with a good thing?!’ Well I am always on the look out for new pasta recipes which are just as simple to make and are as well received as pesto pasta. I dislike getting stuck in a rut with meal times and resorting to the same weekly meal plan.
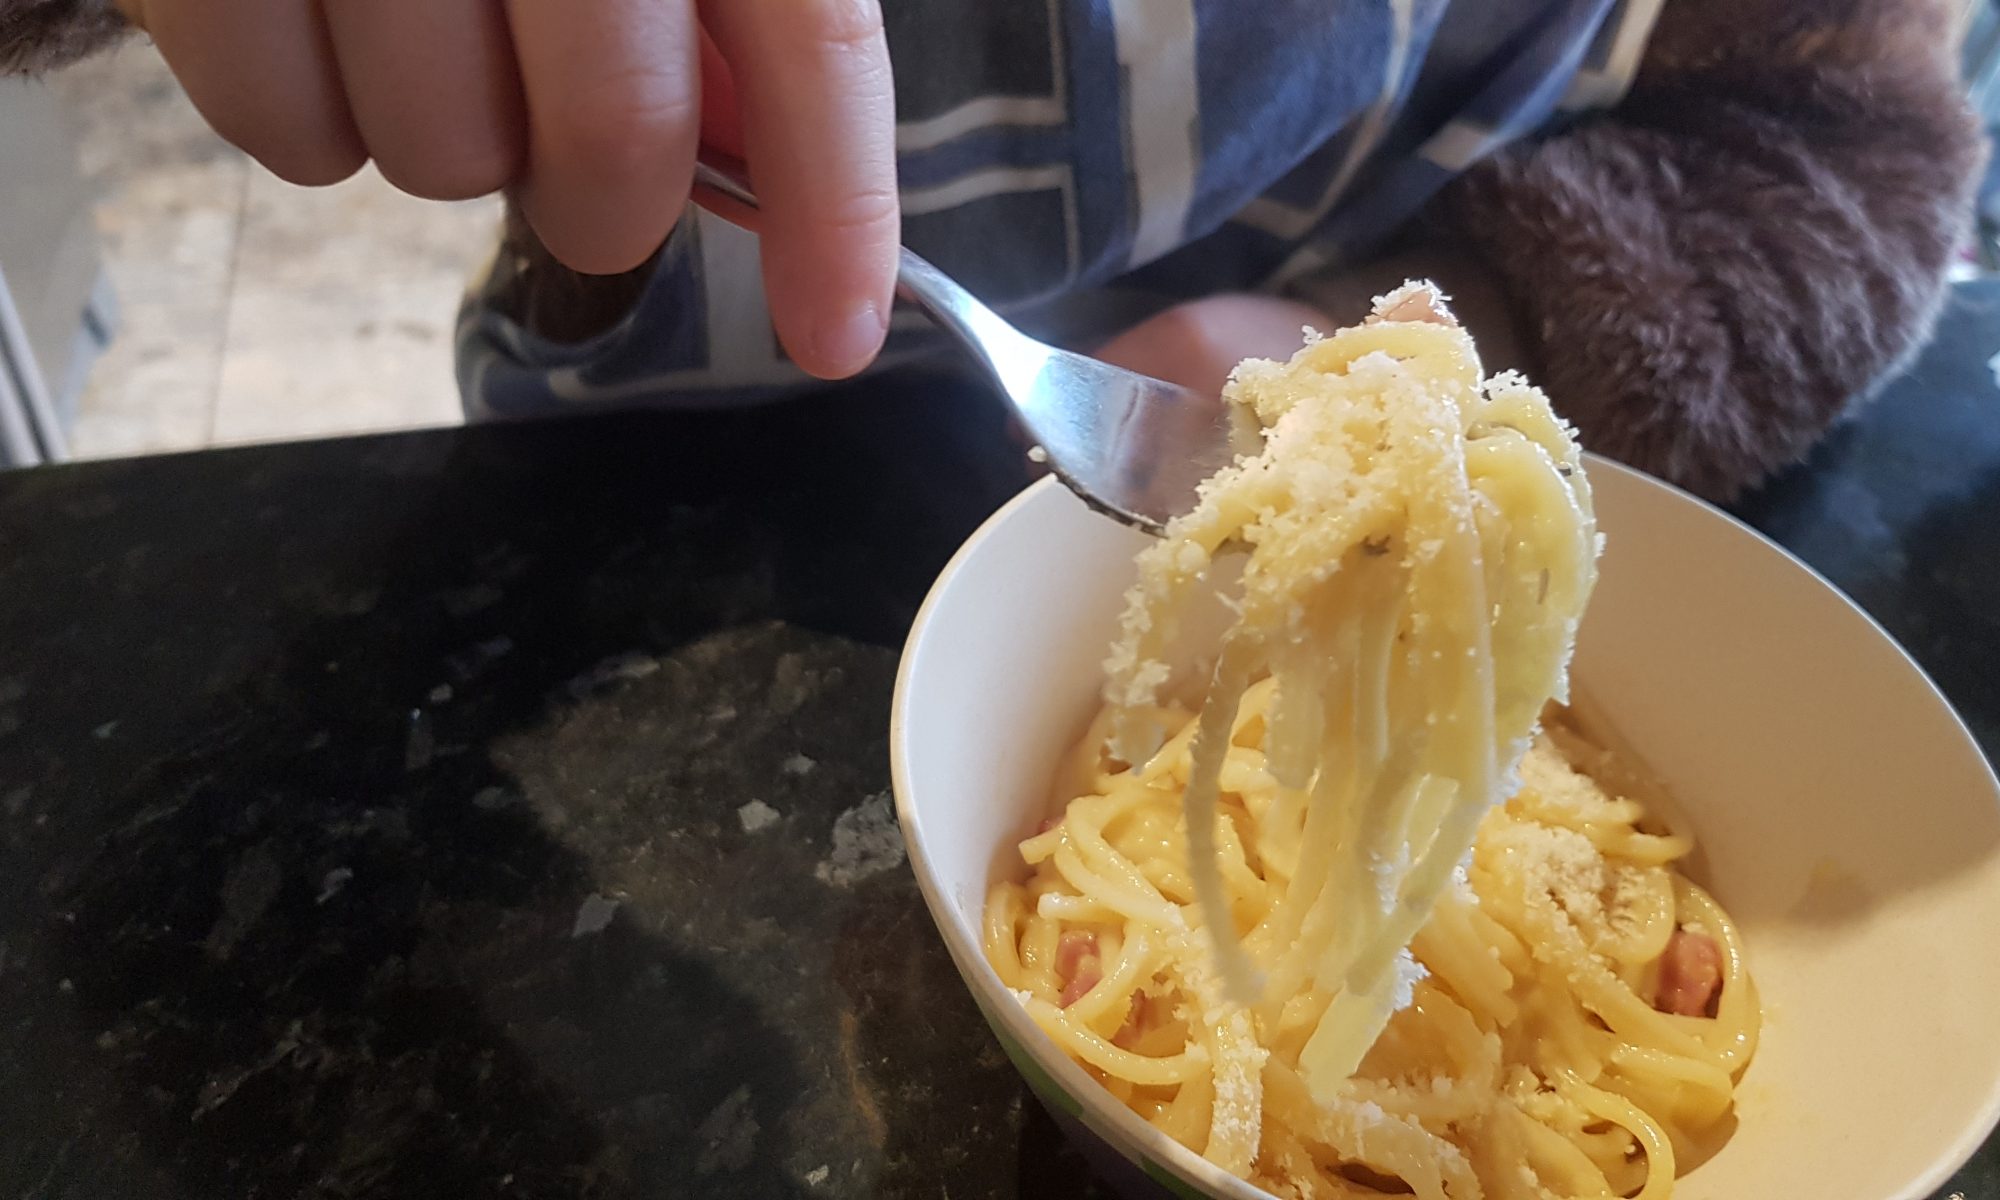
The recipe below is easy to make and received the thumbs up from all the kids and their dad. As the resident vegetarian, I would have eaten it had it not contained the pancetta! Maybe next time we shall make a vegetarian one and have one of the rare evenings when we all eat the same meal!
Dinner time!
Ingredients
350g of spaghetti, broken into half – this makes it easier for little people to manage.
100g chopped pancetta
100g grated parmesan
3 eggs
2 garlic cloves
1tbsp butter
Freshly ground black pepper
Method
Cook the spaghetti according to the packet’s instructions.
Meanwhile, crack the eggs into a jug and beat with some pepper.
Add the parmesan to the beaten eggs and mix and put to one side.
Gently bash the garlic cloves with a rolling pin and peel them.
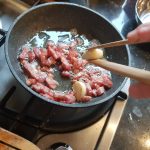
Put the butter in a small frying pan and add the garlic and pancetta. Fry together stirring often. Remove the garlic cloves with a tongs once the pancetta is cooked.
Drain the pasta reserving a small amount of the cooking water.
Take the pan of the heat and place on a heat proof mat.
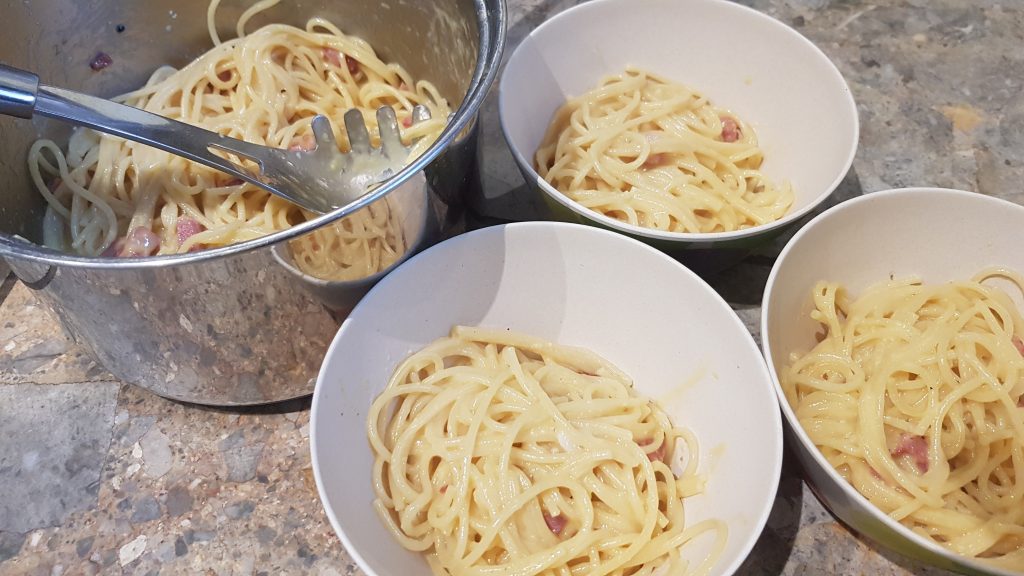
Pour the egg and cheese mixture and the pancetta into the cooked spaghetti.
Mix together while still in the saucepan and ensure that the spaghetti is fully coated.
Add some of the spaghetti water to the sauce to loosen it if required. We needed to add 1tbsp.
It is the season for spring cleaning. I am not a huge fan of spring cleaning. Don’t get me wrong, I love the results, I just hate the sheer volume of work we always have to do to make the house look uncluttered. The reason we are in this mess is because we all seem to be hoarders. I am going to make a concerted effort to prevent our house becoming a nest of items with vague memories attached to them once we are done. But, I will probably be writing a very similar post this time next year!
Over half term, we all managed to escape our decluttering project and go to visit my mum. It was lovely not to have to think about sorting out our house and decide what we should keep and what should go. But it seems that we must have missed the process as we spent a significant amount of time helping her declutter. I have discovered it is much easier to sort someone else’s space rather than your own. So if I end up inviting you over for cake or under any other pretence, before accepting, it may be best to check that I am not going to put you to work!
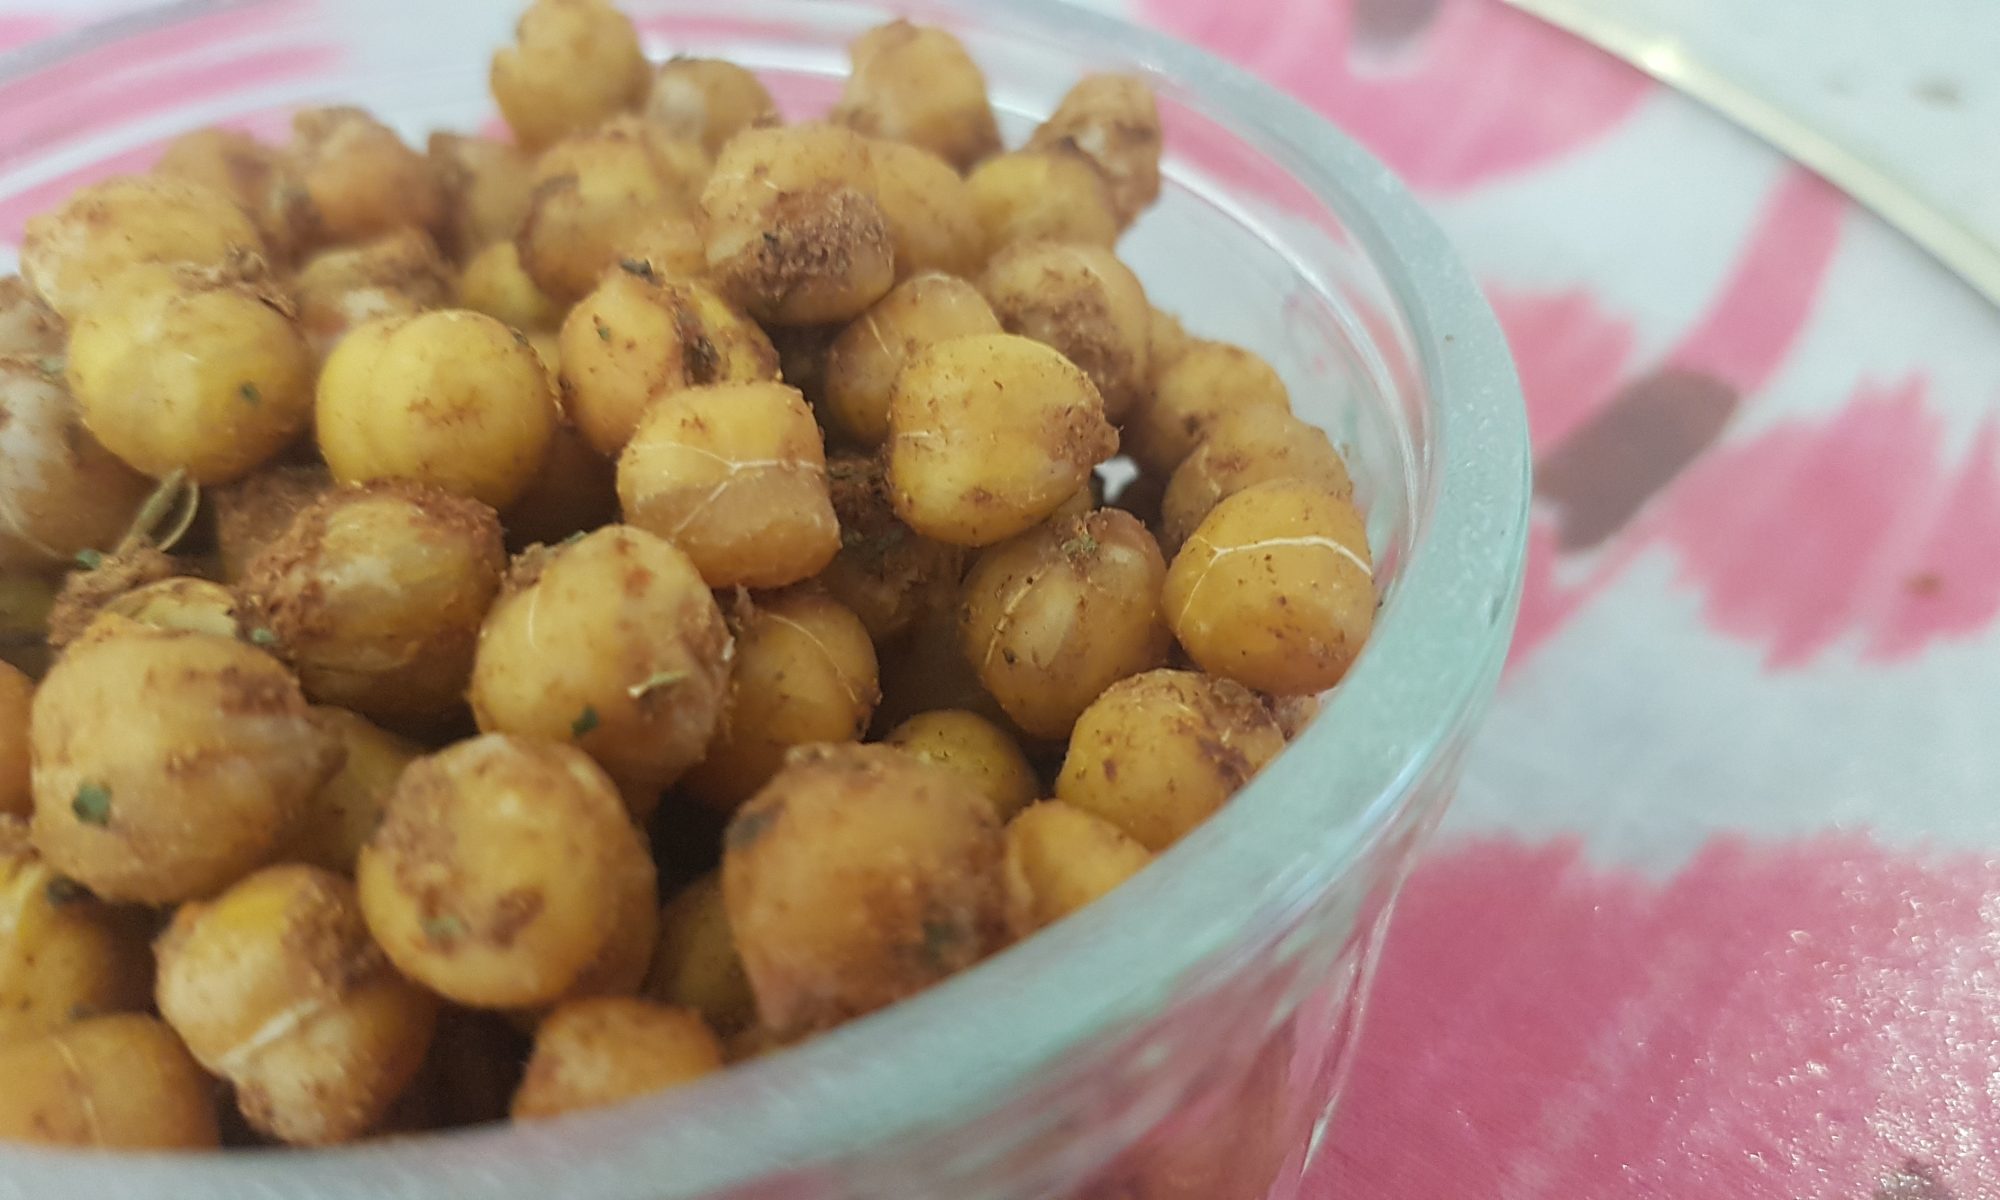
Anyway, between moving boxes and hunting in the loft for other boxes, the kids and I managed to roast some chickpeas. I never thought I would be posting about roasting chickpeas, but the kids discovered that they liked crunchy chickpeas over Christmas when I bought some salt and vinegar ones for me. I was so surprised that they liked them, that I neglected to feel frustration at donating my treat to them! It seems sharing can be just as hard for grown up as their small charges! They have also been known to request them rather than a chocolate biscuit as an afternoon snack. Strange children; I don’t think I would ever make that choice!
This recipe was made with the younger two (five and two). The younger one enjoyed counting out tsp of the spices to add. The elder one trying to read the labels. They both had a good sniff of all of the ingredients. The scent of cinnamon is the one they seem to remember the most – probably because we seem to use it in savoury and sweet bakes. They do often associate it with chocolate though…
Ingredients
1 can of chickpeas, drained and rinsed.
1/2 tsp onion salt
1tsp lazy garlic
1tsp cinnamon
1tsp paprika
1tsp mixed herbs
Spray oil of choice
Method
Preheat the oven to 200°c fan and line a baking tray with a silicone baking mat or greaseproof paper.
Put the chickpeas into a large bowl.
Add all the herbs and spices in with the chickpeas and either mix or gently move the bowl from side to side to ensure that the chickpeas are fully coated in the spices.
Pour or spoon out onto the baking tray and generously spray with oil.
Place in the oven for 40 minutes turning half way through.
Remove from the oven and let them cool completely before storing.
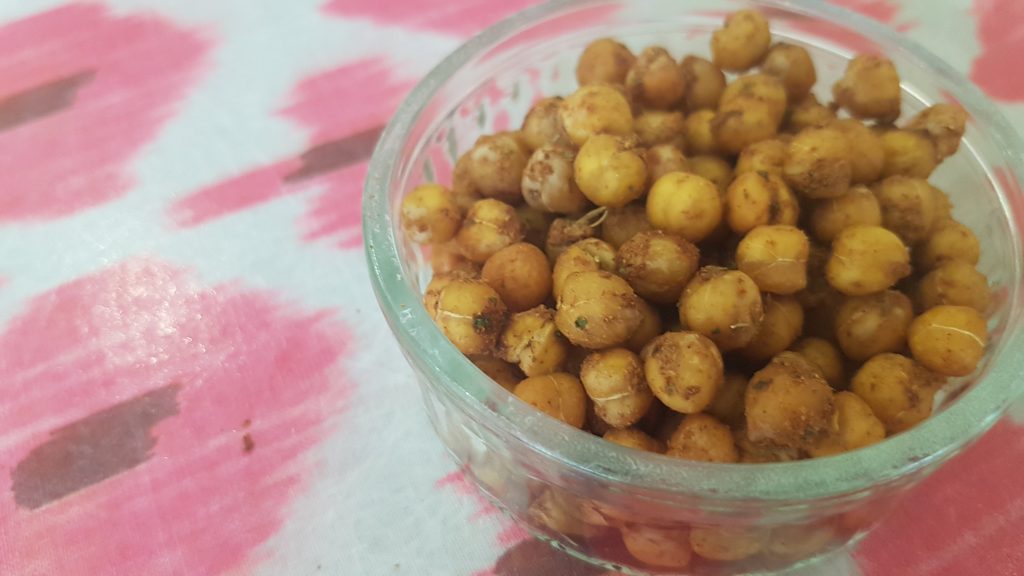
The finished product.
We didn’t have any left from this to store for another day as my youngest two really seem to enjoy them! They served as a substitute for crisps in one of our half term picnic lunches and their wasn’t a single complaint about the lack of crisps from any of the kids!
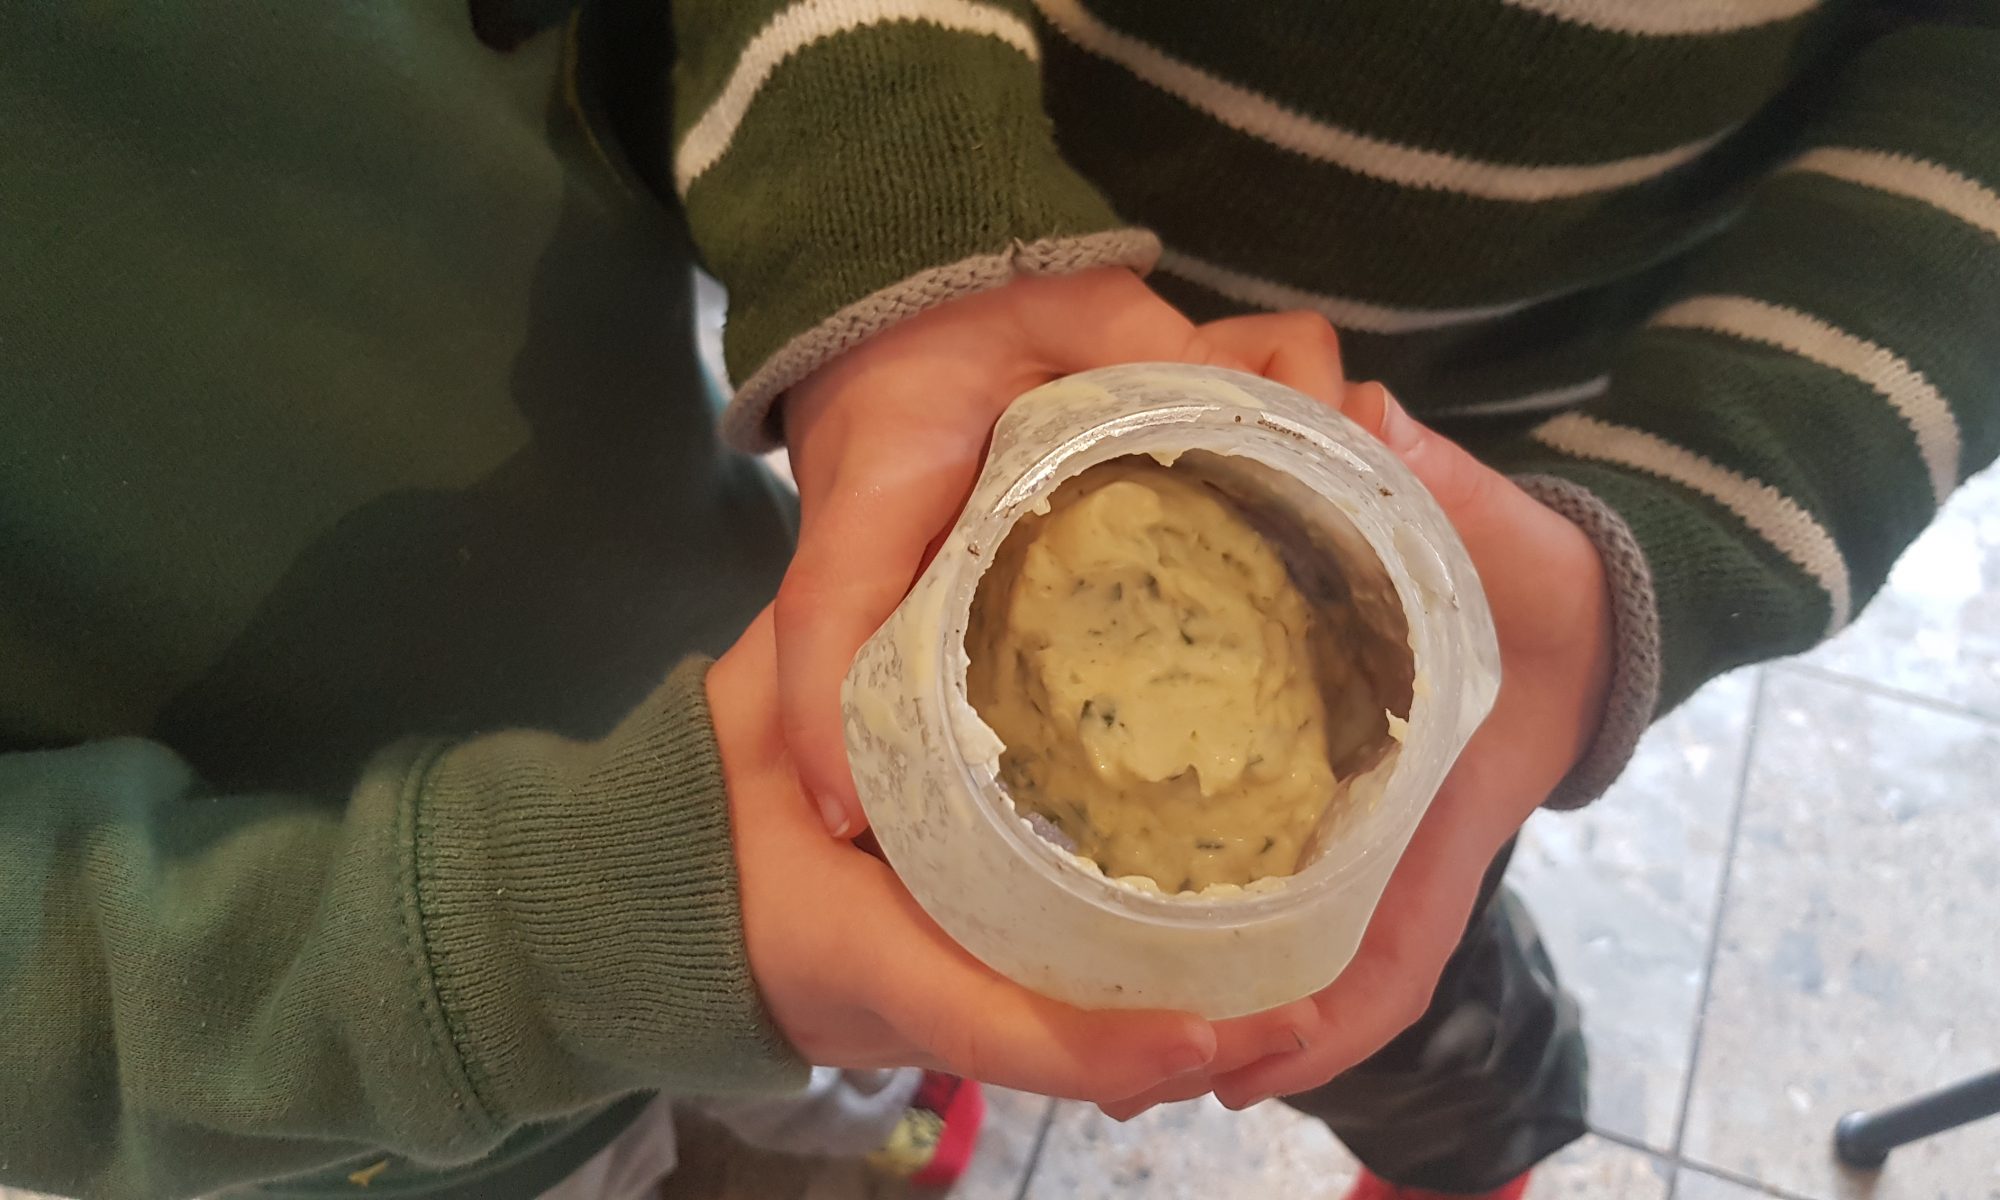
When the boys interest in cooking began, I read about how you can make butter by vigorously shaking double cream in a jam jar. We did try it to make a small quantity of butter at the time. The boys were delighted when it turned to whipped cream and then the buttermilk separated. It was a very labour intensive way to make butter and considering all the butter that we use in baking, I decided it would be easier to just buy butter!
Cutting parsley.
While thinking about what we could make for a bring and share lunch with family, I remembered the butter I made with the boys. Ophelia never having seen it and the boys now being a bit older meant it was now time to make it again. This time we decided to make it with crushed garlic and chopped parsley for added flavour. This activity is really one in which the whole family can get involved. We took it in turns around the table to shake the jar. It also seemed to become a competition as to who could pull the funniest face and do the silliest actions while shaking the plastic jar. Yes folks, these are the activities which make up the funny stories and enrich memories!
Ingredientsand equipment
150ml double cream
2 cloves of garlic
Small handful of fresh parsley
Jam jar (we used a plastic one)
Marbles (washed and we used one per child). The marbles help you to tell when the mixture is turning from cream to whipped cream to butter and buttermilk.
Rolling pin
Garlic press
The buttermilk separating from the butter.
Method
Pour the double cream into the jar and allow each child to put a marble in.
Gently bash the garlic clove with the side of a rolling pin to loosen and remove the skin.
Crush the garlic cloves with the garlic press. My children needed help with the press, but were ever so determined to give it a go.
Add the garlic to the jar of cream.
Cut the parsley into small pieces using scissors and add them to the cream jar.
Firmly secure the lid of the jar and start to shake it. This process will take around 15 minutes depending on how vigorously you shake the jar. It will turn from cream to whipped cream and then to butter and buttermilk. When it is turning to whipped cream the marbles will start to move slower and when it has become butter and buttermilk you will hear them clatter against the sides again more frequently.
Pour off the buttermilk and then shake again and pour off any further buttermilk.
Put in the fridge until ready to use.
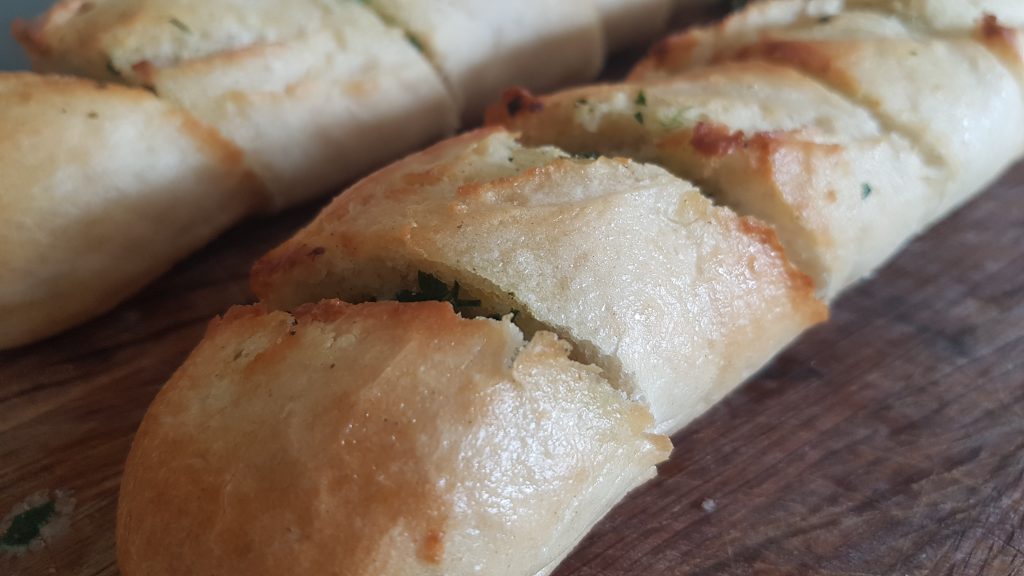
We used this butter into two partially baked baguettes to make some homemade garlic bread. This was enjoyed by the whole family at our bring and share lunch. To make the garlic bread you will need to:
Placing the butter inside the cuts.
Remove the butter from the fridge around 20 minutes before starting.
Take the baguettes and make small diagonal cuts the whole way across each baguette taking care not to slice them fully.
Take small amounts of the butter and place inside each of the diagonal cuts.
Melt the remaining butter in the microwave and paint the baguettes with it to get a yummy crispy shell for your garlic bread.
Place in the oven according to the packet’s instructions and remove when golden.
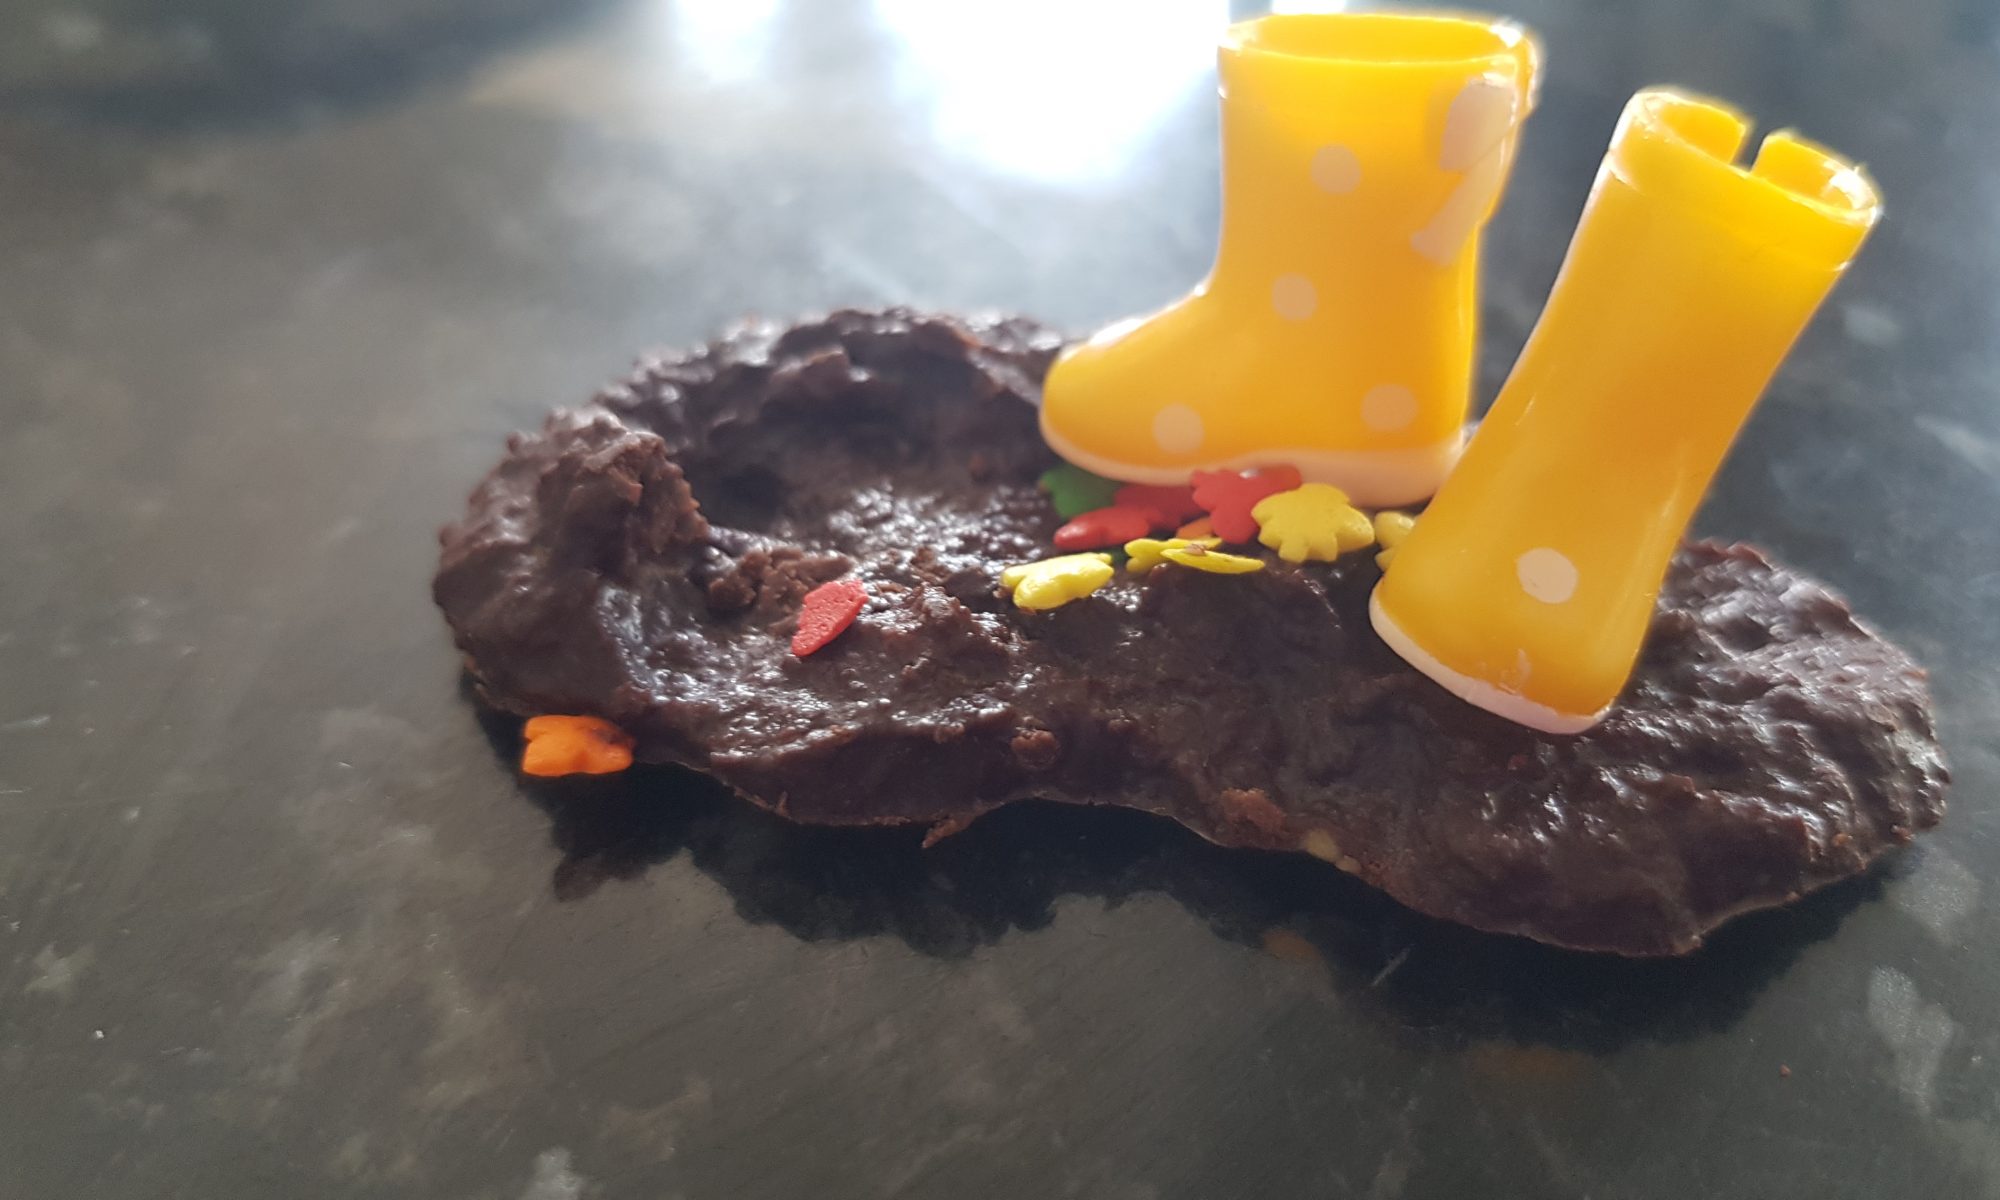
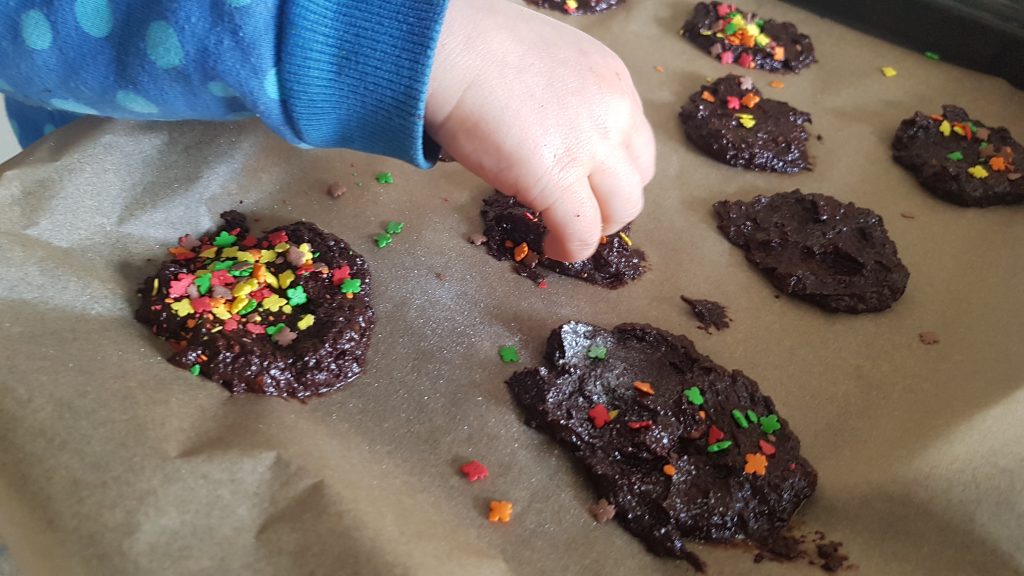
Ophelia had a Muddy Puddle walk for Save the Children at nursery today. By the sounds of it, grown ups and pre-schoolers alike had fun and managed to get drenched! In anticipation of this event, I thought it would be fun to make some muddy puddles of our own to get into the spirit. She had lots of fun spooning, mashing and squishing, mixing, dolloping and sprinkling. It has to be said that you do have to use your imagination when looking at them, because they could be described as looking a bit like cow pats. This was the reason for adding the leaf shaped sprinkles to make people realise their true nature!
This recipe is essentially a truffle made with only 3 ingredients (4 if you include the sprinkles!), but instead of rolling them into truffles, we dolloped teaspoons of the mixture onto greaseproof paper and flattened with the back of a spoon. To make these you will only need 1 small ripe avocado, chocolate and some vanilla extract. We used only dark chocolate as that is what I had in the house, but I would recommend using half dark chocolate and half milk chocolate if you are making this recipe for small children so that it is a little sweeter. To make them dairy free or vegan, you just need to ensure that your chocolate is dairy free/vegan.
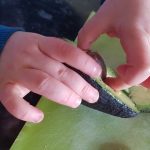
Ophelia was rather intrigued by the large stone in the middle of the avocado and after several attempts managed to get it out. I loved the fact that she tried several times to get it out and didn’t give up until she had achieved it. I feel the need to add at this point, that this is the only way the boys will eat avocado! Ophelia seemed to like it on its own, but the boys have turned their noses up at it several times in salad and homemade guacamole. To my delight, Atticus asked for a second and as he was consuming avocado, I was happy to let him have another!
Ingredients
1 small ripe avocado
175g chocolate of choice (see above paragraph for further advice on chocolate choice)
1/2tsp of vanilla extract
Sprinkles of choice (we used autumn leaves ones which I managed to get on offer at TKMaxx, but anything, would work such as chocolate or coloured strands, etc)
Adding the sprinkles.
Method
Adult slice the avocado in half.
Melt the chocolate in a double boiler.
If sufficiently ripe, ask your child to pull out the stone. They may need encouraging to hold the avocado with one hand and to pull the stone out with the other hand.
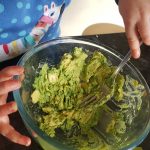
Scoop out the flesh of the avocado and put it into a bowl. Mash with a fork until smooth. You may want to use a stick blender to ensure that it is completely smooth.
Add the vanilla extract and the melted chocolate to the mashed avocado and mix to combine fully.
Take tsp amounts and spoon onto a greaseproof lined baking tray and gently press down with the back of the teaspoon.
Add the sprinkles to the top and store in the fridge until you want to eat.
I thought these were really yummy and the kids enjoyed them too. They felt less naughty as they contained avocado rather than double cream. So two thumbs up from our family and a big yippie as they contain a hidden vegetable!
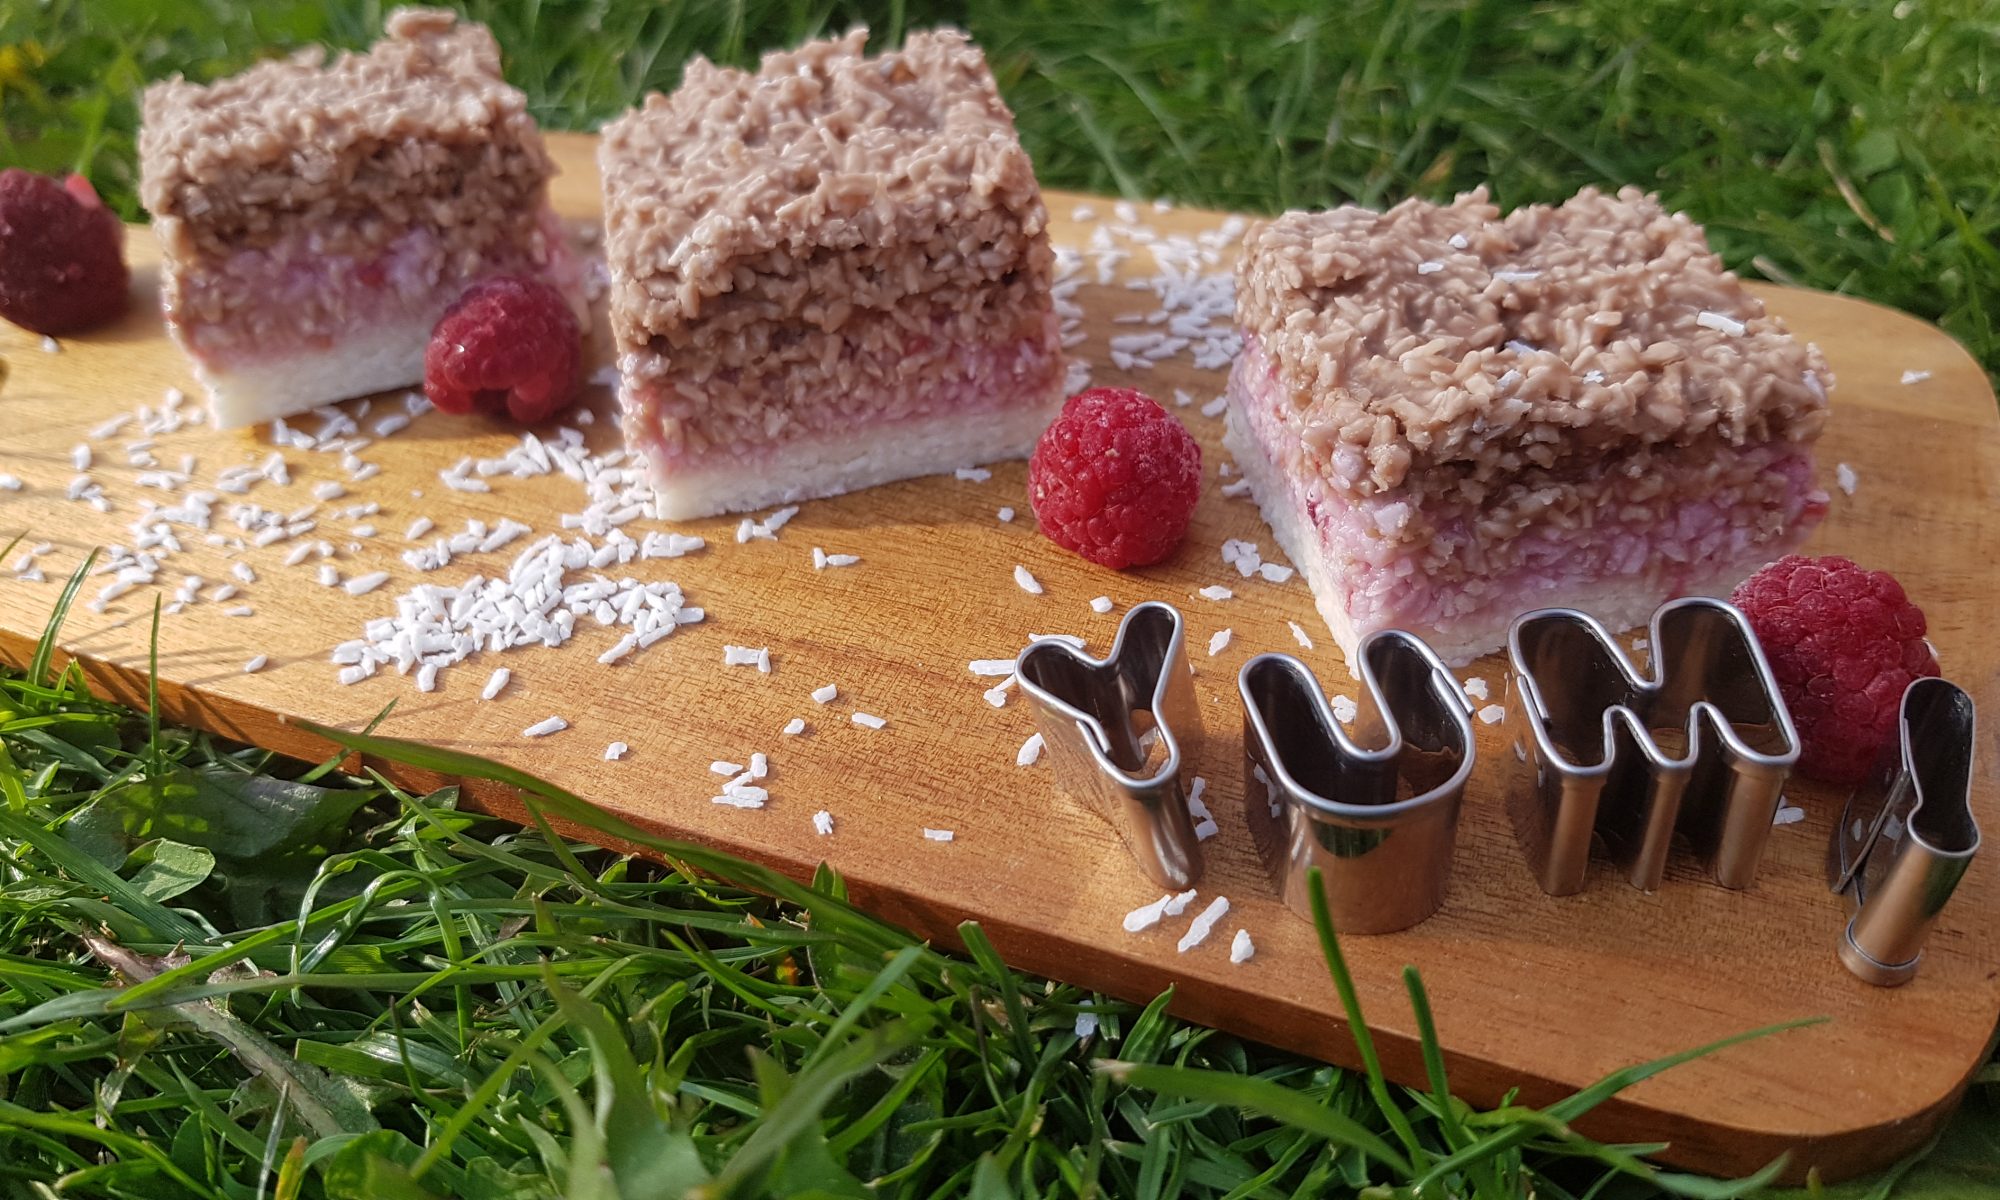
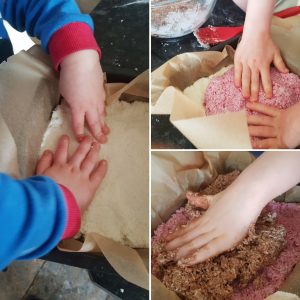
Do you have a go to treat that makes you feel better no matter what the world (or the nearly pre-schooler) may decide to throw at you? There are some days when we our smallest small displays all the world’s emotions within the space of a couple of hours. This goes some way to explaining why toddlers throw tantrums when these big emotions burst out even if it doesn’t make it any easier to cope with them! Anyway back to treats. The combination of chocolate and coconut transports me to my happy place from where I can cope with any new obstacles that our little monkeys may decide to hurl at us next. Needless to say it is also one of the children’s favourite flavour combinations too!
Coconut ice wasn’t a treat of my childhood, it seems to have featured more prominently in Simon’s. When brainstorming for this recipe, I was wondering how we could put our own stamp on it. It didn’t take me long to conclude that adding chocolate and raspberries to it would be the perfect way to do so. Practically everything is better with chocolate! Unless you are thinking along the lines of cheese then I would have to disagree.
Patting it all down.
The kids loved pretty much the whole of this recipe from decanting the condensed milk into the bowl, blitzing the raspberries, measuring the chocolate syrup and patting a layer in the tin each. Having three children may also have contributed to my conviction that this recipe needed a third layer so each child could have a go on their own! So just a way of reducing my stress levels and increasing my chocolate intake at the same time!
1tbsp Sweet Freedom Coconut Chocolate Shot (or
chocolate syrup of your choice)
1tsp vanilla extract
To make:
Allow the raspberries to defrost a little bit.
Put the condensed milk, and 340g of both the desiccated coconut and the icing sugar in a large bowl and mix together with a wooden spoon. When the mixture becomes stiff and difficult to mix, use your hands to bring it fully together.
Divide the mixture equally between three bowls.
Add 1tsp of vanilla extract to one bowl and mix or knead to combine.
Add 1tbsp of chocolate syrup to another bowl and mix or knead to combine.
With a hand held blender, blitz the frozen raspberries until smooth. You could also do this with the back of a fork or a food processor. Add to the final bowl and mix. Add enough of the remaining desiccated coconut and icing sugar to make the raspberry layer the same consistency as the other two.
Grease and line a tin with greaseproof paper (we used a 16cm square tin).
Dollop the vanilla layer into the bottom of a tin and flatten with the back of a metal spoon to reach all the edges. Pat even with fingers.
Spread the raspberry layer on top of the vanilla layer and spread a pat down.
Add the chocolate layer a spread to cover the raspberry layer.
Put in the fridge for at least 3 hours to set (we left ours overnight) and then cut into small squares or rectangles.
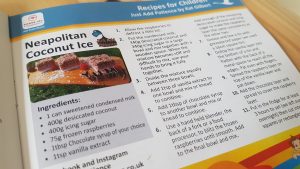
The article in print.
This treat graced our lunchboxes when we visited Legoland over the Easter holidays and it was a most welcome addition. We did receive some rather envious looks from other children queuing for the same ride while the kids were enjoying this! The icing on the cake for me in this instance was to see this recipe in print in Soar Valley Life Magazine.
There are generally copious amounts of chocolate in our pantry. I keep on contriving new places to sneak more into the house away from the kids’ (or my husband’s) prying eyes. Usually this is a challenge, but when we approach Easter (or even Christmas for that matter), my task seems to become nigh on impossible! However, I am a stubborn woman and where there’s a will there is a way! In our house, chocolate falls into several categories; general eating chocolate, chocolate for a particular purpose (such as a cake or bake) and Kat’s chocolate. Over the years, Simon has learnt, that he is better not to waste his breath asking me to share my chocolate as it will end in an argument. The safer course is for him to wait for me to offer him some. I am very good at offering him the dark chocolate, which he doesn’t like so I get to keep, but not so accomplished at sharing the chocolate that he would actually enjoy!
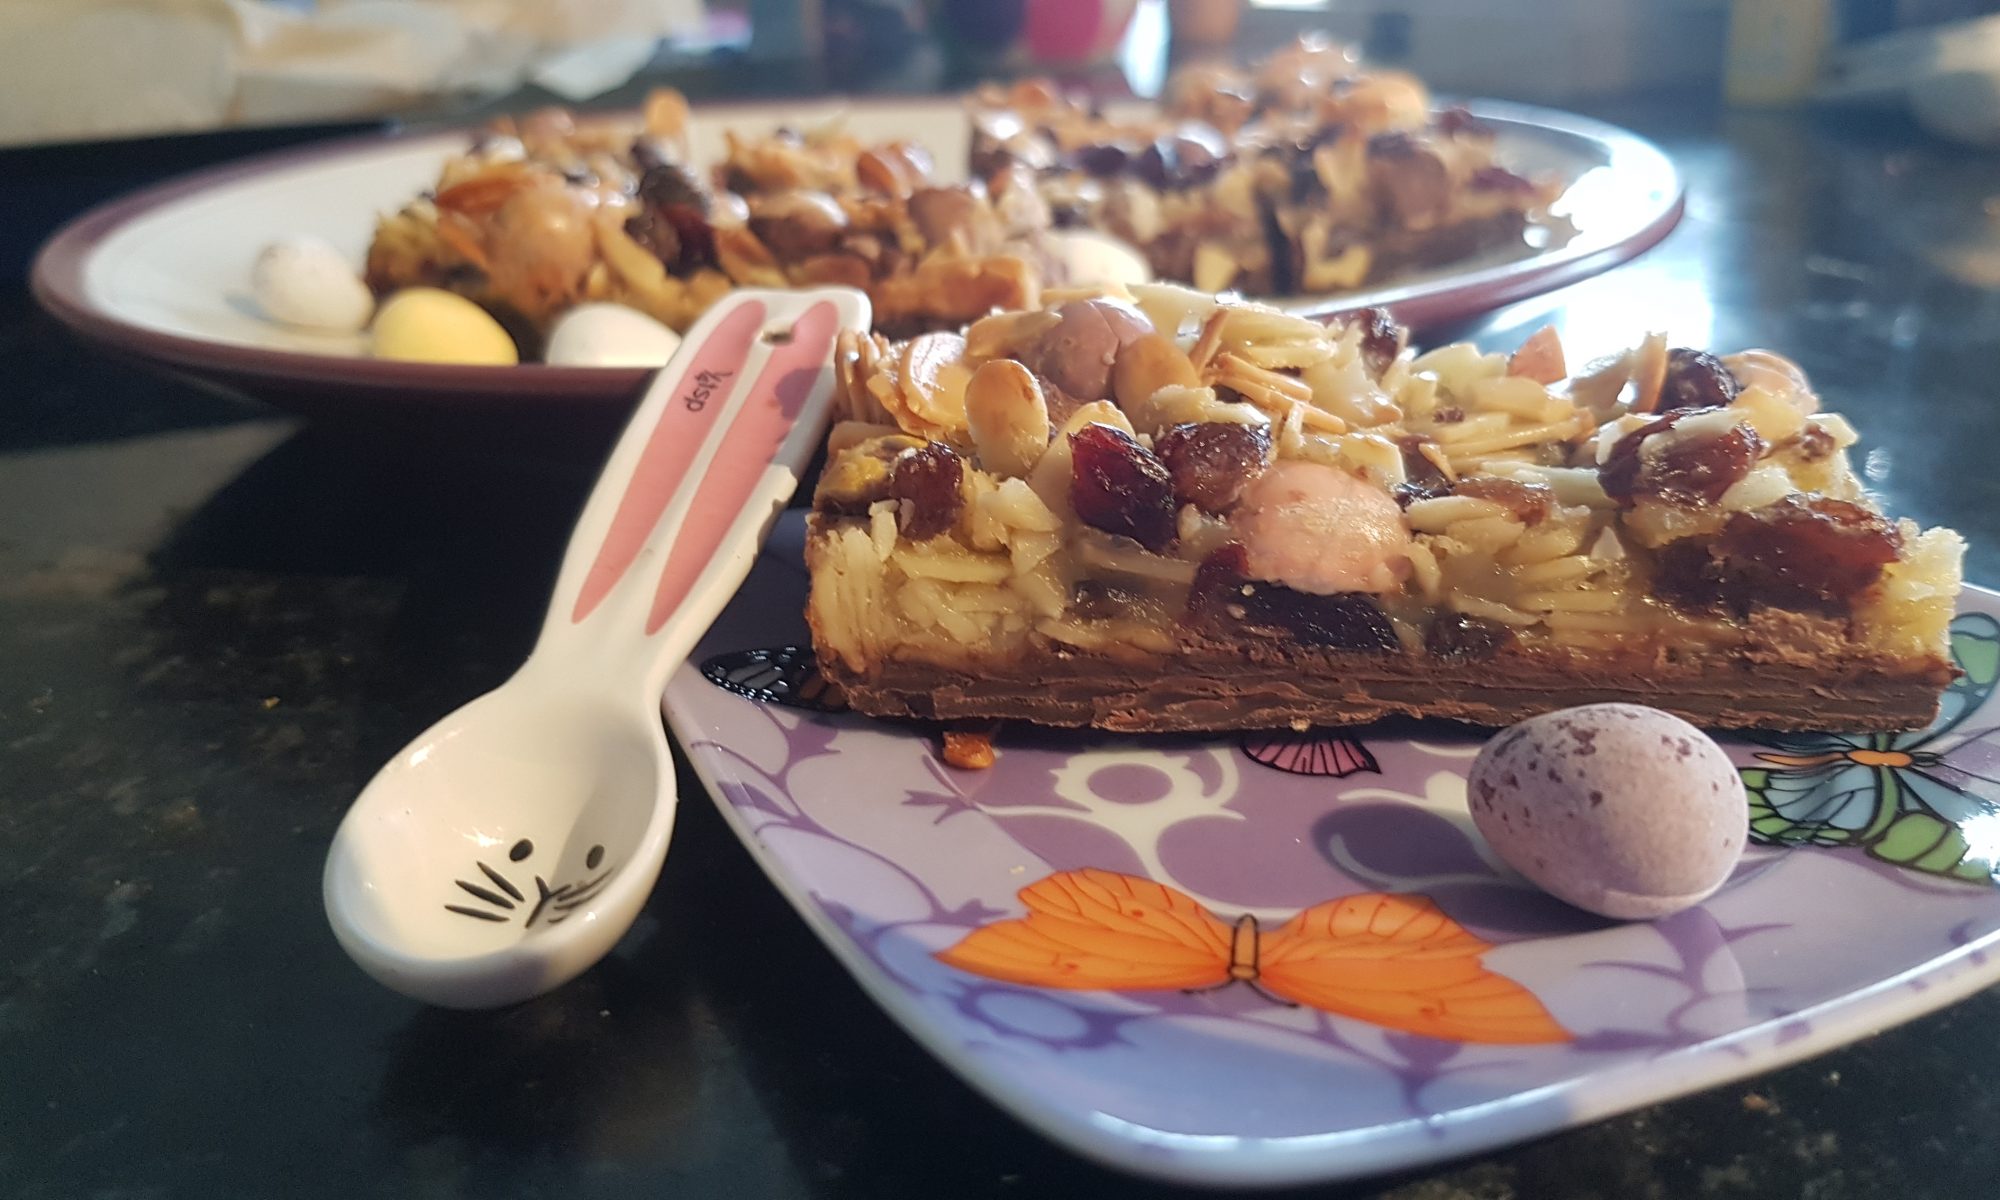
Easter baking wouldn’t be complete if it didn’t involve Mini Eggs. They are totally addictive and would be welcome all year round! This year, I decided to put Mini Eggs into my mum’s favourite biscuit – the Florentine. These Florentines are not at all authentic, but that doesn’t stop them from being remarkably moreish. We melted the base chocolate and allowed it to set in the bottom of the pan before cooking so it didn’t take quite so much time to make. Please please please though, if you are baking with Mini Eggs and small children do not ignore the step to crush them or chop them up.
Ingredients
300g dark chocolate
100g raisins
100g dried cranberries
175g flaked almonds
175g Mini Eggs (crushed)
100g caster sugar
50g melted butter
2 beaten eggs
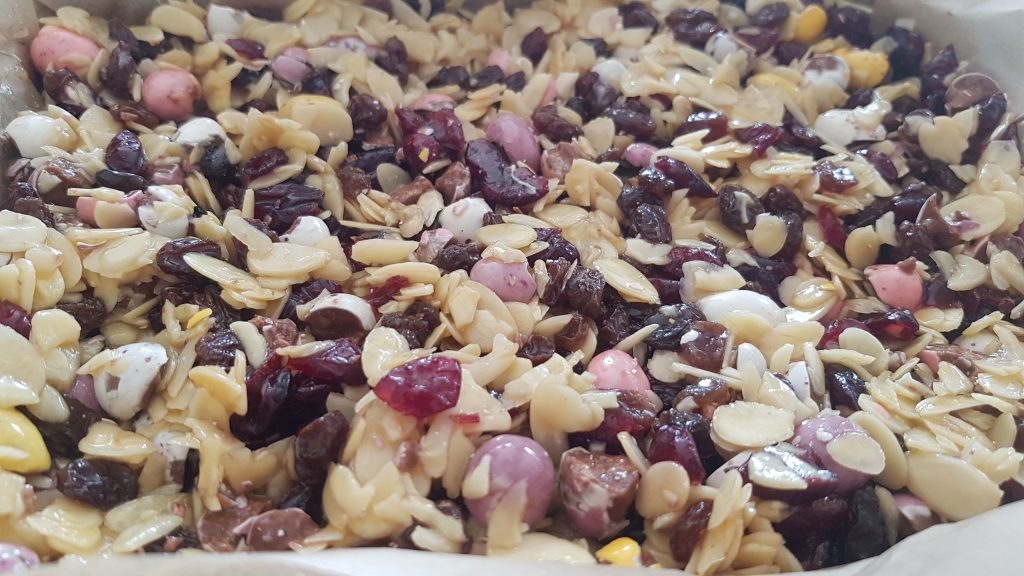
Ready for the oven!
Method
Grease and line a brownie tin with baking parchment.
Break up the chocolate and put in a heatproof bowl and place over a simmering pan of water to melt.
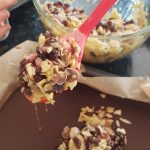
Once melted (the bowl will be hot), adult pour it into the lined brownie tin and ask your little chef to tilt the tin so that the chocolate covers the entire base. Put in the fridge to set.
Preheat the oven to 170°c fan.
Put the mini eggs into a ziploc bag and bash with a rolling pin until they are all crushed.
Crack the eggs into a small bowl or mug and whisk.
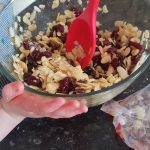
Put the dried fruit and almonds in a large bowl and mix.
Add the sugar, melted butter and beaten eggs and mix until fully combined.
Add the crushed mini eggs and mix again.
Remove the brownie tin from the fridge and put the egg mixture on top of the chocolate and gently spread to completely cover it.
Put in the oven for 20-25 minutes until golden brown.
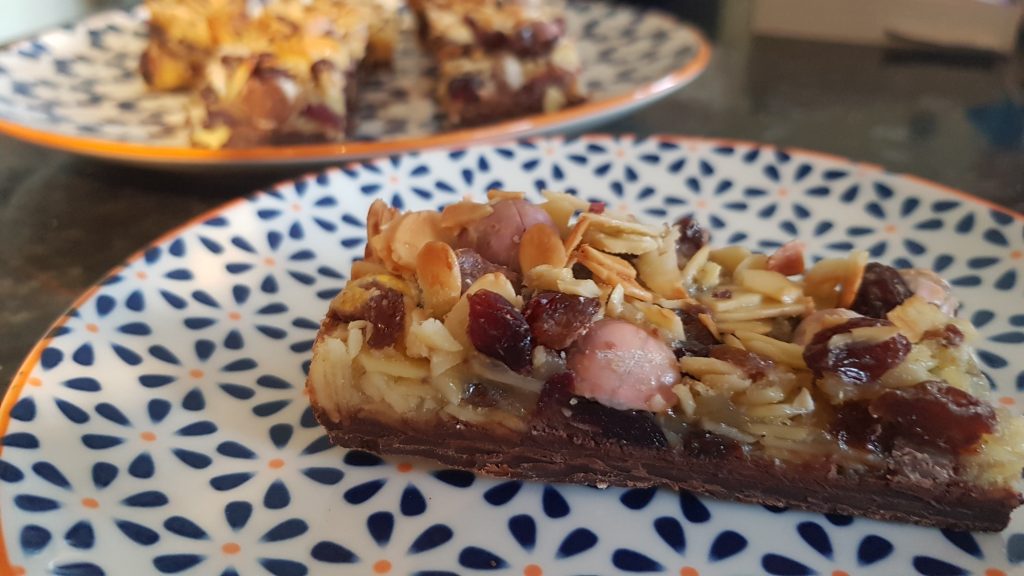
Leave to cool completely in the tin and once fully cooled cut into fingers or squares and store in the fridge. We left ours to refrigerate overnight before slicing to ensure they were completely cool and sliced with a knife heated in boiling water.
Oh yum!
Unfortunately we are not seeing my mum until just before Easter and it is highly unlikely there will be any left by then! Sorry mum! I peer at them every time I open the fridge, just to check they are still there (and inhale their gorgeous scent) and to ensure no bandits children have come to treat-nap them! I should also add, the kiddies had small squares. I did have a large slice or three after giving blood, but I considered that that was well deserved!
Every time it feels like I have my children pegged, they turn round an surprise me. I know they don’t do this to be contrary, but their little quirks often leave me bemused. Allow me to enlighten you all further. Ophelia, like most two year old girls, loves pink – it is her favourite colour. No one else in the house is allowed to have that colour as their favourite. I have been told that my favourite colour in no uncertain terms is purple! (This is fine by me, but have I created a little bossy monster?!) She lives for the days when she can wear as many mismatched items of pink clothing and display them to as many people as possible. She is also the little girl who refuses to be left out by her brothers and insists on joining in with their superhero games and who received a Hulk costume for Christmas so she isn’t left out.
She also loves glitter and all things that sparkle. Unicorns it seems fall into this category. She has unicorn toys, a back pack and a lunchbox. So with this bake for World Unicorn Day on the 9 April (yes this is a thing, I was unaware until a post on Instagram informed me of the fact) I thought I would be making these with just her, but the boys also eagerly insisted on joining in – an unexpected, yet welcome surprise (this proves you should never – even subconsciously – try to categorise your children…).
The success of this bake should be measured by the fact that I have had to hide them from everyone so that they don’t gobble them up without me noticing. Because I am clearly the only one who can be trusted with leftover cake in this house… My only motive is to ensure that everyone gets their fair share and so I can take a secret blondie tithe!
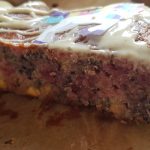
Beautiful colours in the blondie.
To make the different colours, we used frozen blueberries and raspberries instead of food dyes. They don’t produce as vibrant a colour as food dyes do, but they do add a really nice fruity taste to them. They also make me think that they are slightly healthier despite all the chocolate!
Ingredients
400g white chocolate (300 for inside the blondies and 100 for on top)
75g butter
3 eggs
175g caster sugar
175g plain flour
1/2tsp baking powder
75g frozen blueberries
75g frozen raspberries
Method
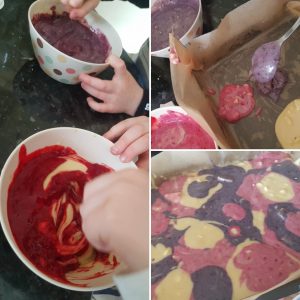
Colouring the blondie, dolloping it into the tin and the pretty pattern it created.
Remove the blueberries and raspberries from the freezer and allow to defrost a little. I placed mine on defrost in the microwave for 20 seconds each.
Preheat the oven to 170°c fan and grease and line a brownie pan.
While still in the packets, bash the chocolate with the end of a rolling pin to make small pieces.
Place 100g of the chocolate pieces into a heatproof bowl with the butter and put in a double boiler until all melted. Allow to cool a bit.
Put the sugar and eggs in another bowl and whisk together until smooth and completely combined.
Gradually add the chocolate mixture to the egg mixture and beat together.
Sift in the flour and the baking powder and fold together.
Add another 200g of the bashed chocolate and mix so all the bits are evenly distributed.
Divide the mixture between 3 small bowls as evenly as you can.
Using a stick blender, zap the blueberries and raspberries (in their separate containers) until they are smooth.
Put the blitzed raspberries into one of the blondie bowls and the blueberries into one of the other bowl and mix to combine.
With three separate spoons, dollop alternate blobs of the three mixtures into the brownie pan creating a pretty pattern as you go.
Place in the oven for 25-30 minutes until cooked.
Remove from the oven and allow to cool in the pan for a while.
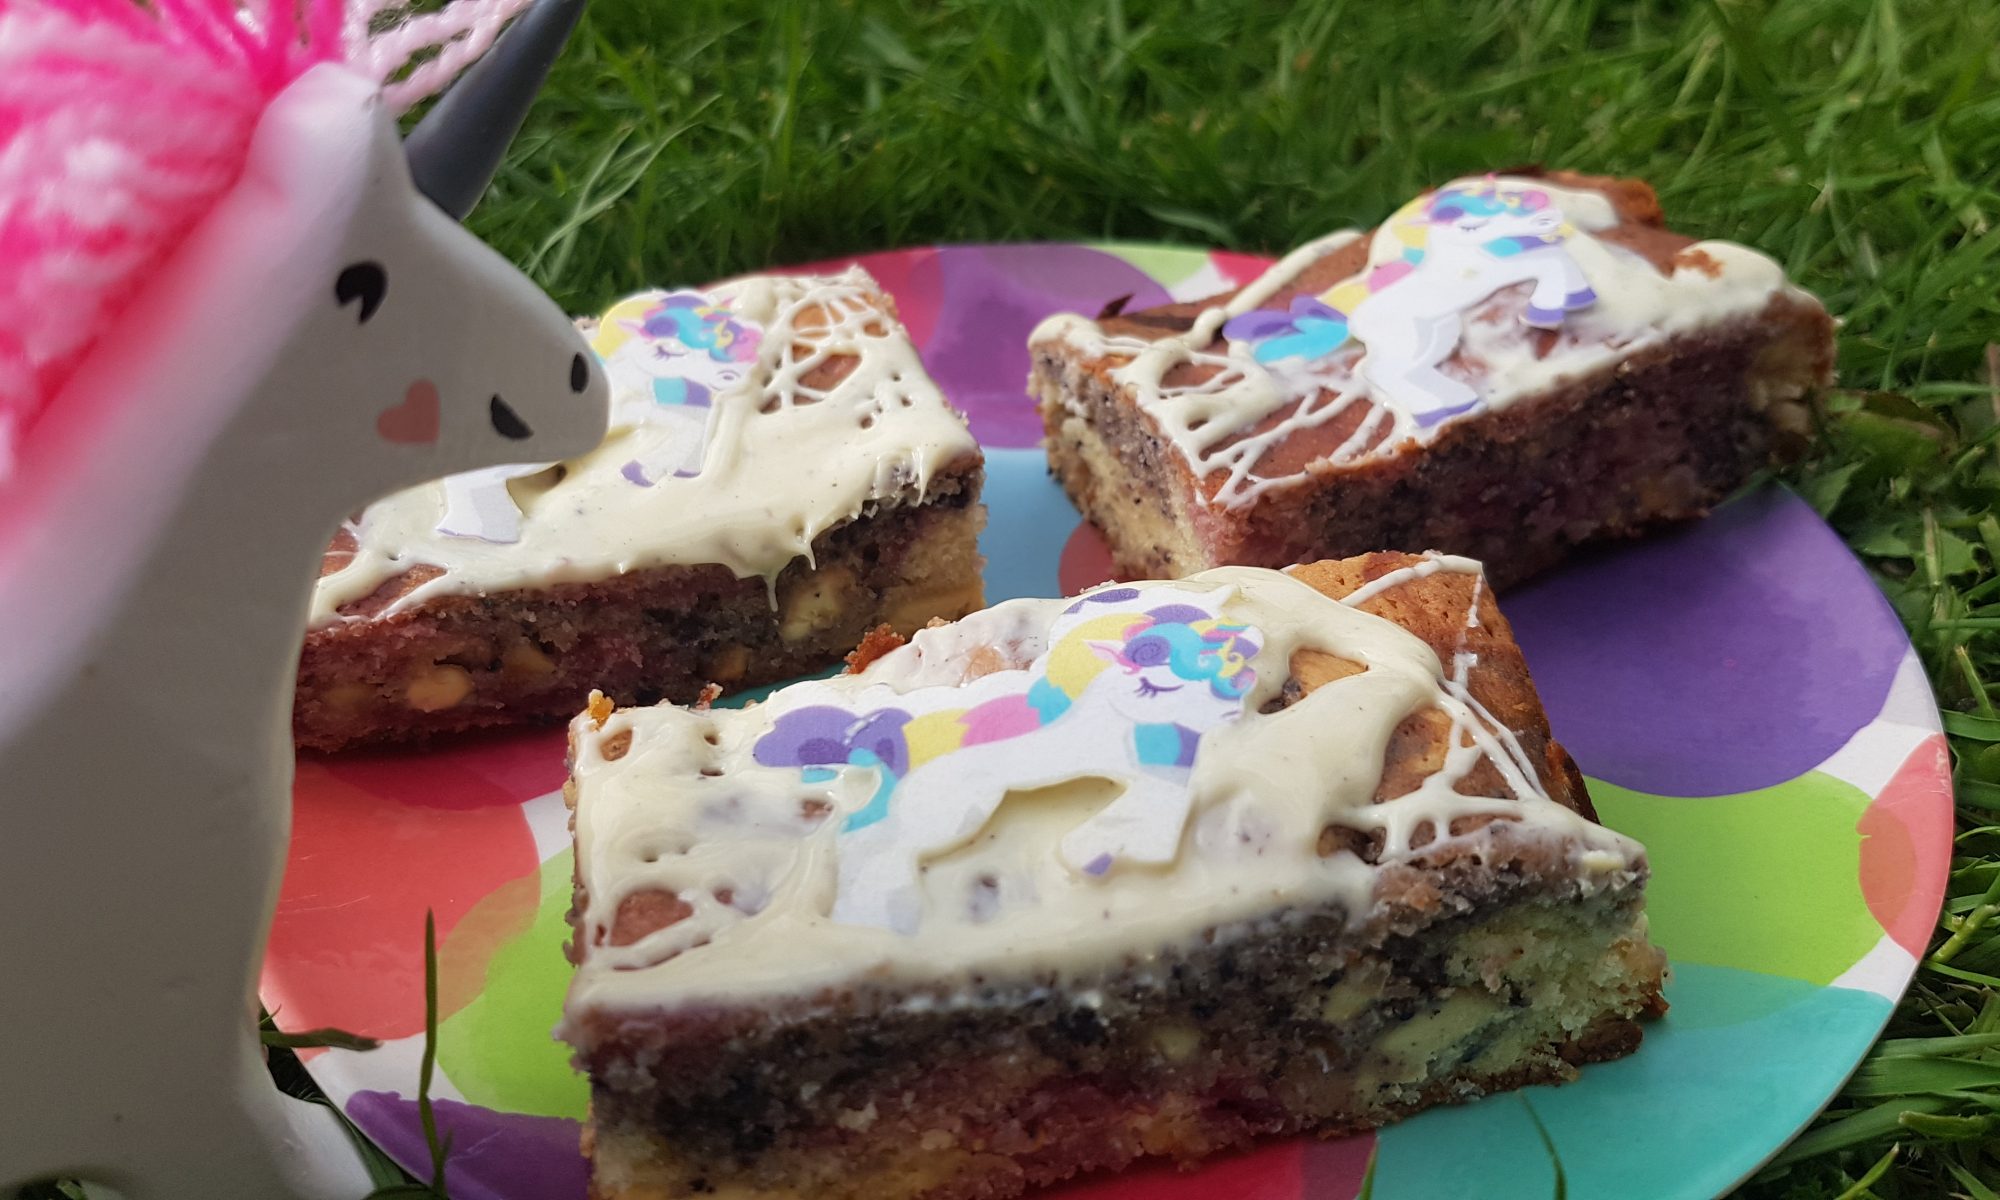
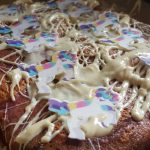
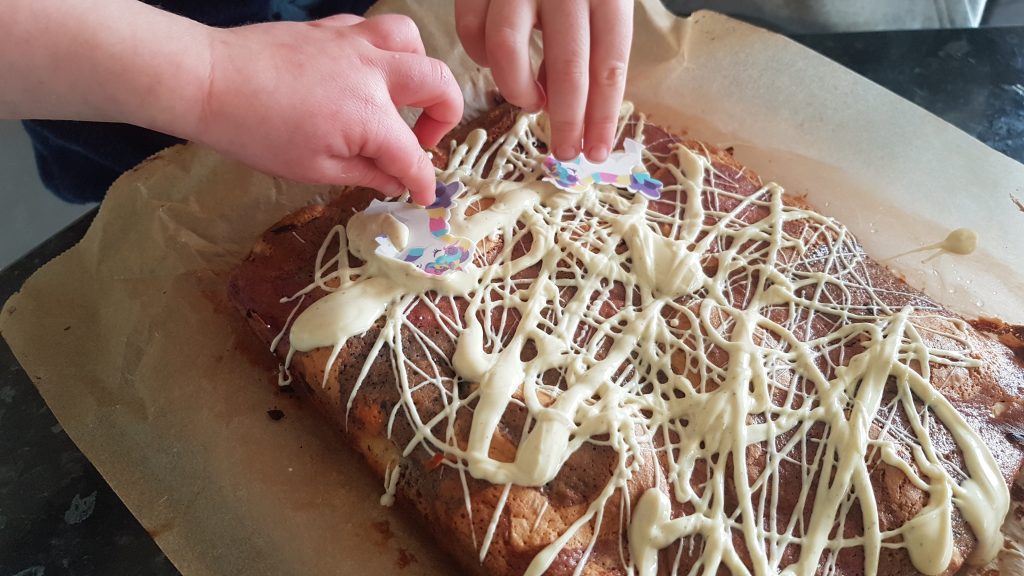
Melt the final 100g of white chocolate and drizzle all over the blondies (we used a teaspoon to do this) and decorate with copious amounts of rainbow or unicorn sprinkles or even edible unicorn wafers like we did.
Adding the finishing touches to make them worthy of the unicorns.
Photo bombing unicorn!
I hope you have a sparkly and colourful World Unicorn day filled with rainbows and other beautiful things, but most importantly these Unicorn Blondies. Today is 9 April, and I am happy to report that we have three small squares of blondie left for the kids today. That is good planning and restraint on my part!
It is officially spring! In our front garden the daffodils are out in their splendour. They make me happy even if I am yelling at the kids to run as we have set out late for school. The temperature is getting warmer and we seem to have said goodbye to winter. Well now I have said that you can guarantee the snow will arrive next week, but I am holding onto the sunshine that we saw last week and hoping for the spring-like conditions to stay! In my head the only bad thing about spring is the fact that we lose an hour of sleep when British Summer Time begins!
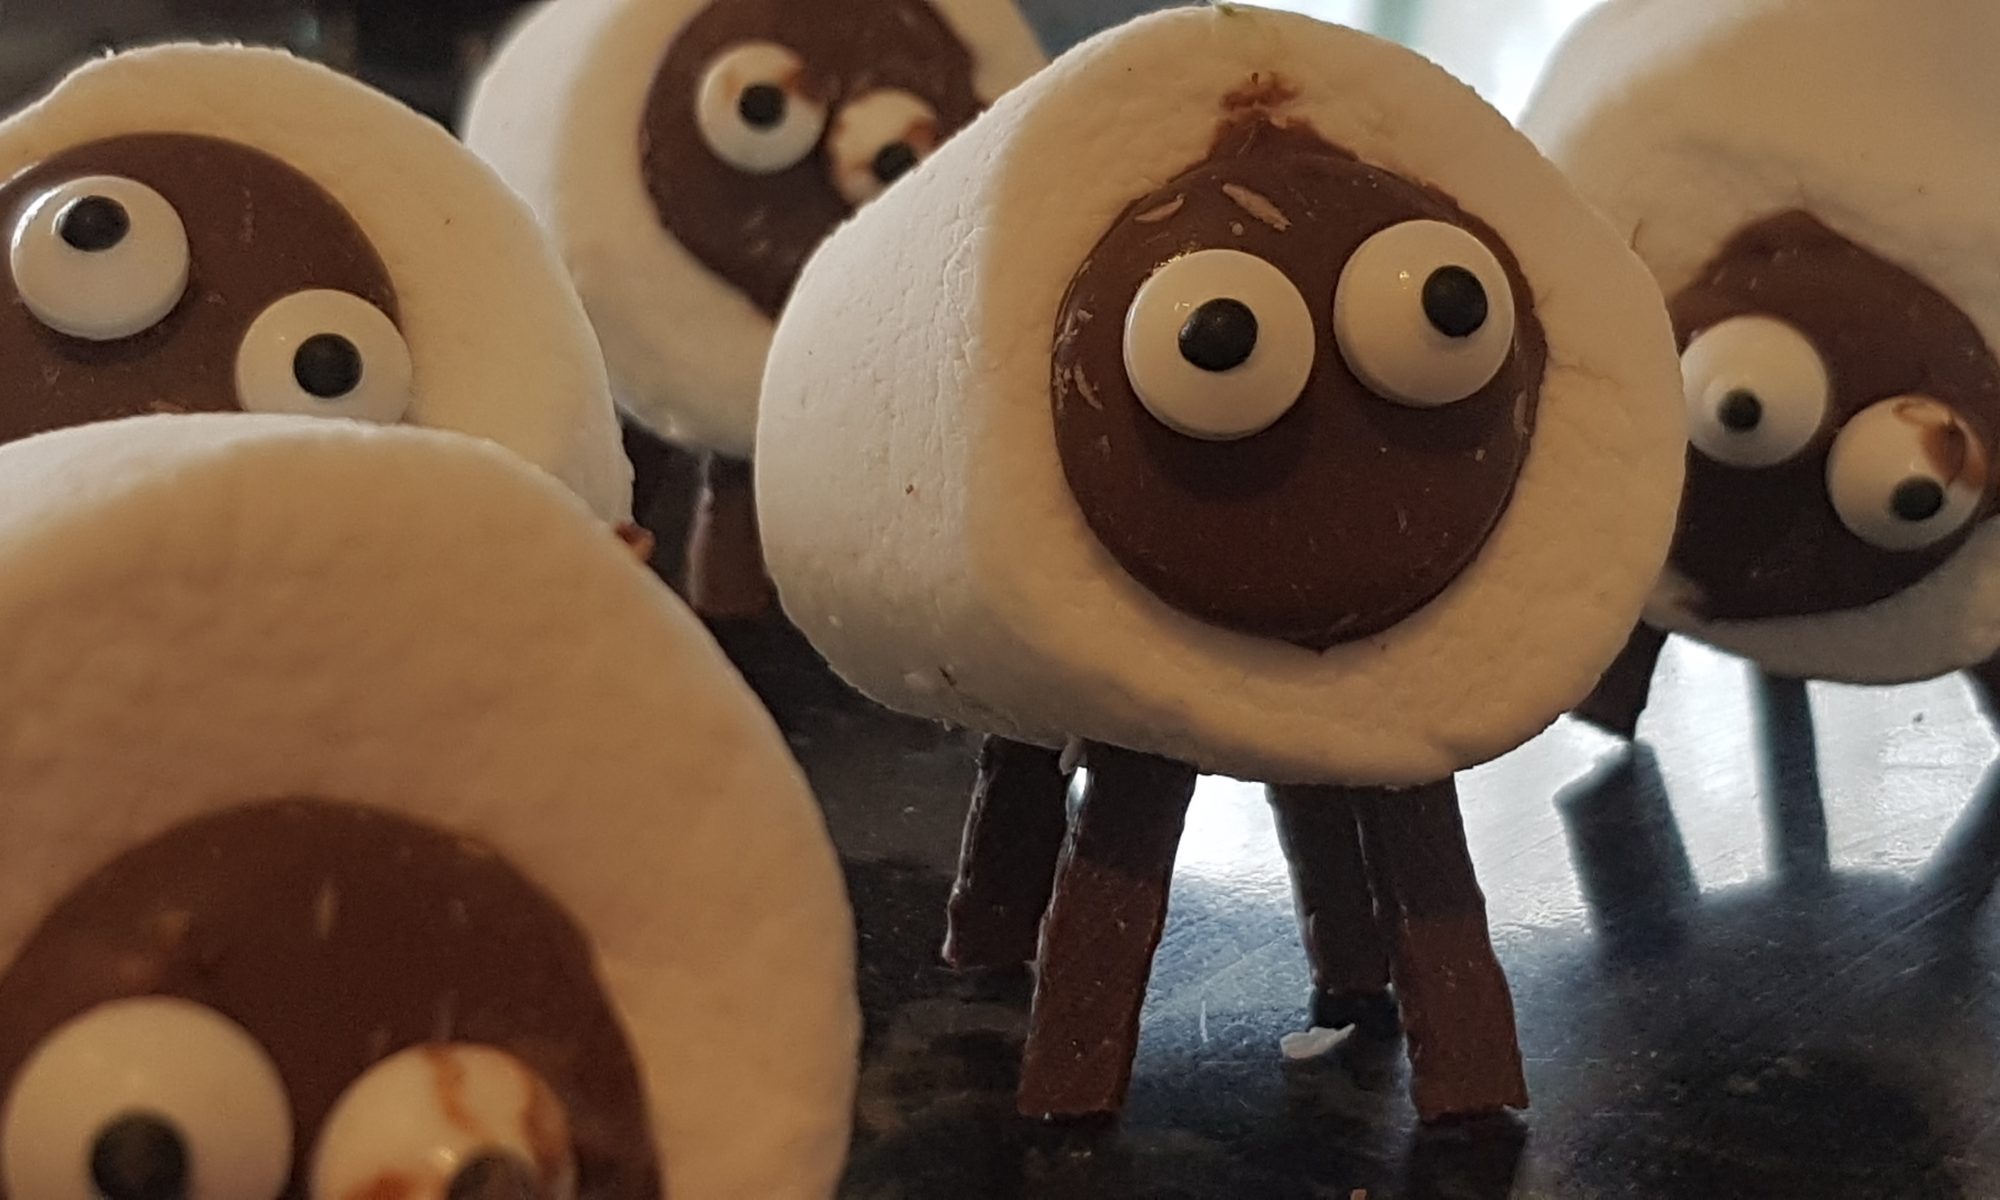
On go the eyes.
I have been thinking about making these sheep since Christmas when I was thinking how the kids and I could make the nativity scene out of food items. Unfortunately, I only really got as far as the sheep and then ran out of time to think of more ideas and execute them before Christmas. It may well be on the list for this Christmas, but as usual it depends on time and if I can take precious time away from making mince pies and Christmas cake! I was then racking my brain to see when I could appropriately make them and it occurred to me that new lambs traditionally mark the beginning of spring so there we go! A start of spring activity instead then!
Atticus’s efforts.
Seb’s efforts
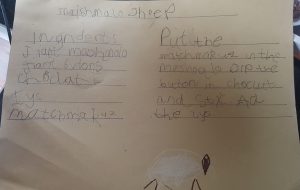
As this was a super quick Saturday morning baking in pyjamas activity, I decided to use the opportunity to get the boys, Atticus in particular, to practise their handwriting skills. I find he is more eager to have a go at writing something when it is fun and these sheep and more specifically the promise that he could have one for snack time really spurred him on to have a go. I must say I am super proud of his efforts. His teacher is always advocating him having a go at writing something about something that interested him or that he enjoyed so this certainly fit the bill.
Ingredients
Rocky Mountains Mega Marshmallows
Giant chocolate buttons
Matchmakers
Edible eyes
Melted chocolate
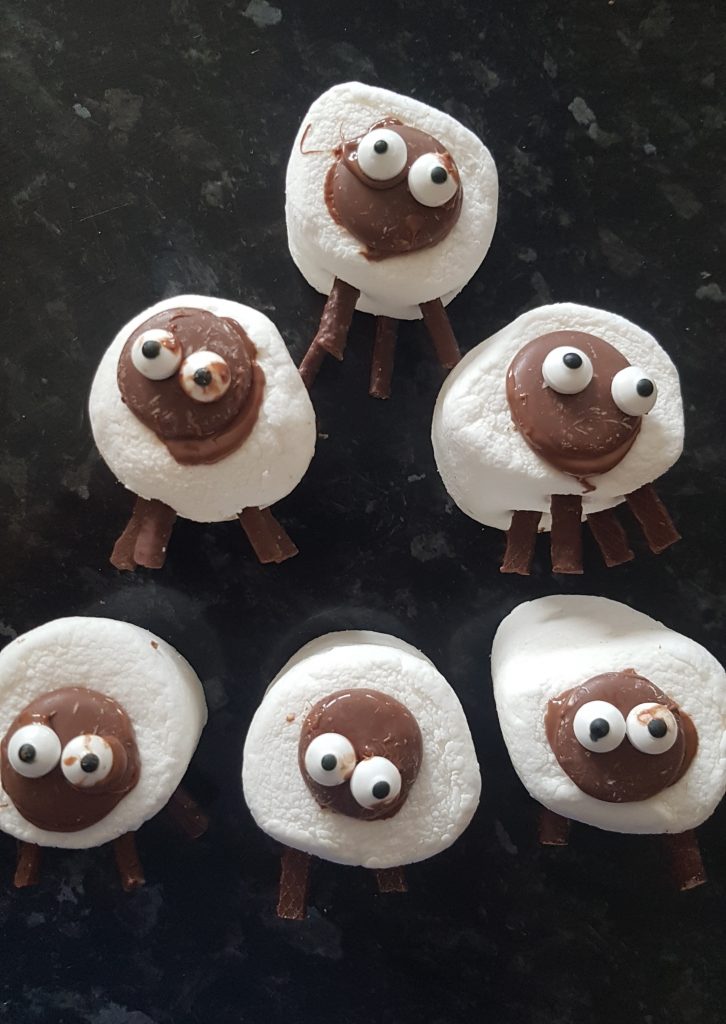
A pyramid of sheep drying!
Method
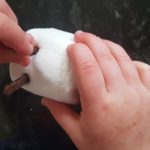
Grown up cut each Matchmaker into four for legs.
Push each leg into the bottom of the marshmallow. You will need to push it in quite far for it to work. Some of ours didn’t stand properly, but most did. It is all a matter of making them even.
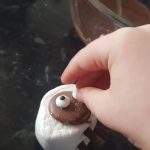
Put the sheep on its bottom and coat the back (with a spoon or by dipping although the latter is messier in this case!) of the chocolate button in melted chocolate and stick to the sheep’s face.
Put a tiny bit of chocolate on each eye and stick to the chocolate button.
Leave the sheep on their bottoms (so chocolate button facing upwards) until the melted chocolate has set so they don’t move around.
Enjoy!
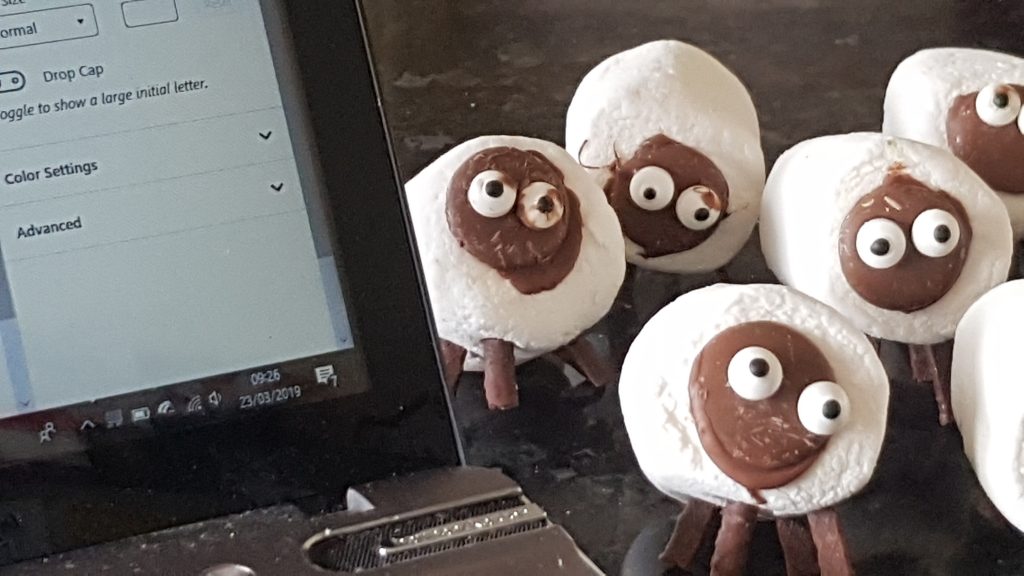
What you doing?!
My kids are now waiting to be allowed to eat one of these sheep. I am quite enjoying having an ovine (yes the adjective for sheep is ovine in case you didn’t know) audience as I write this up for you all. Please do send me pictures of your sheep if you do make some!
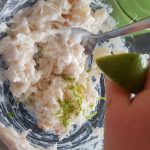
Transporting the crab from the mixing bowl to our large ramekin.
Squishing the piece of lime.
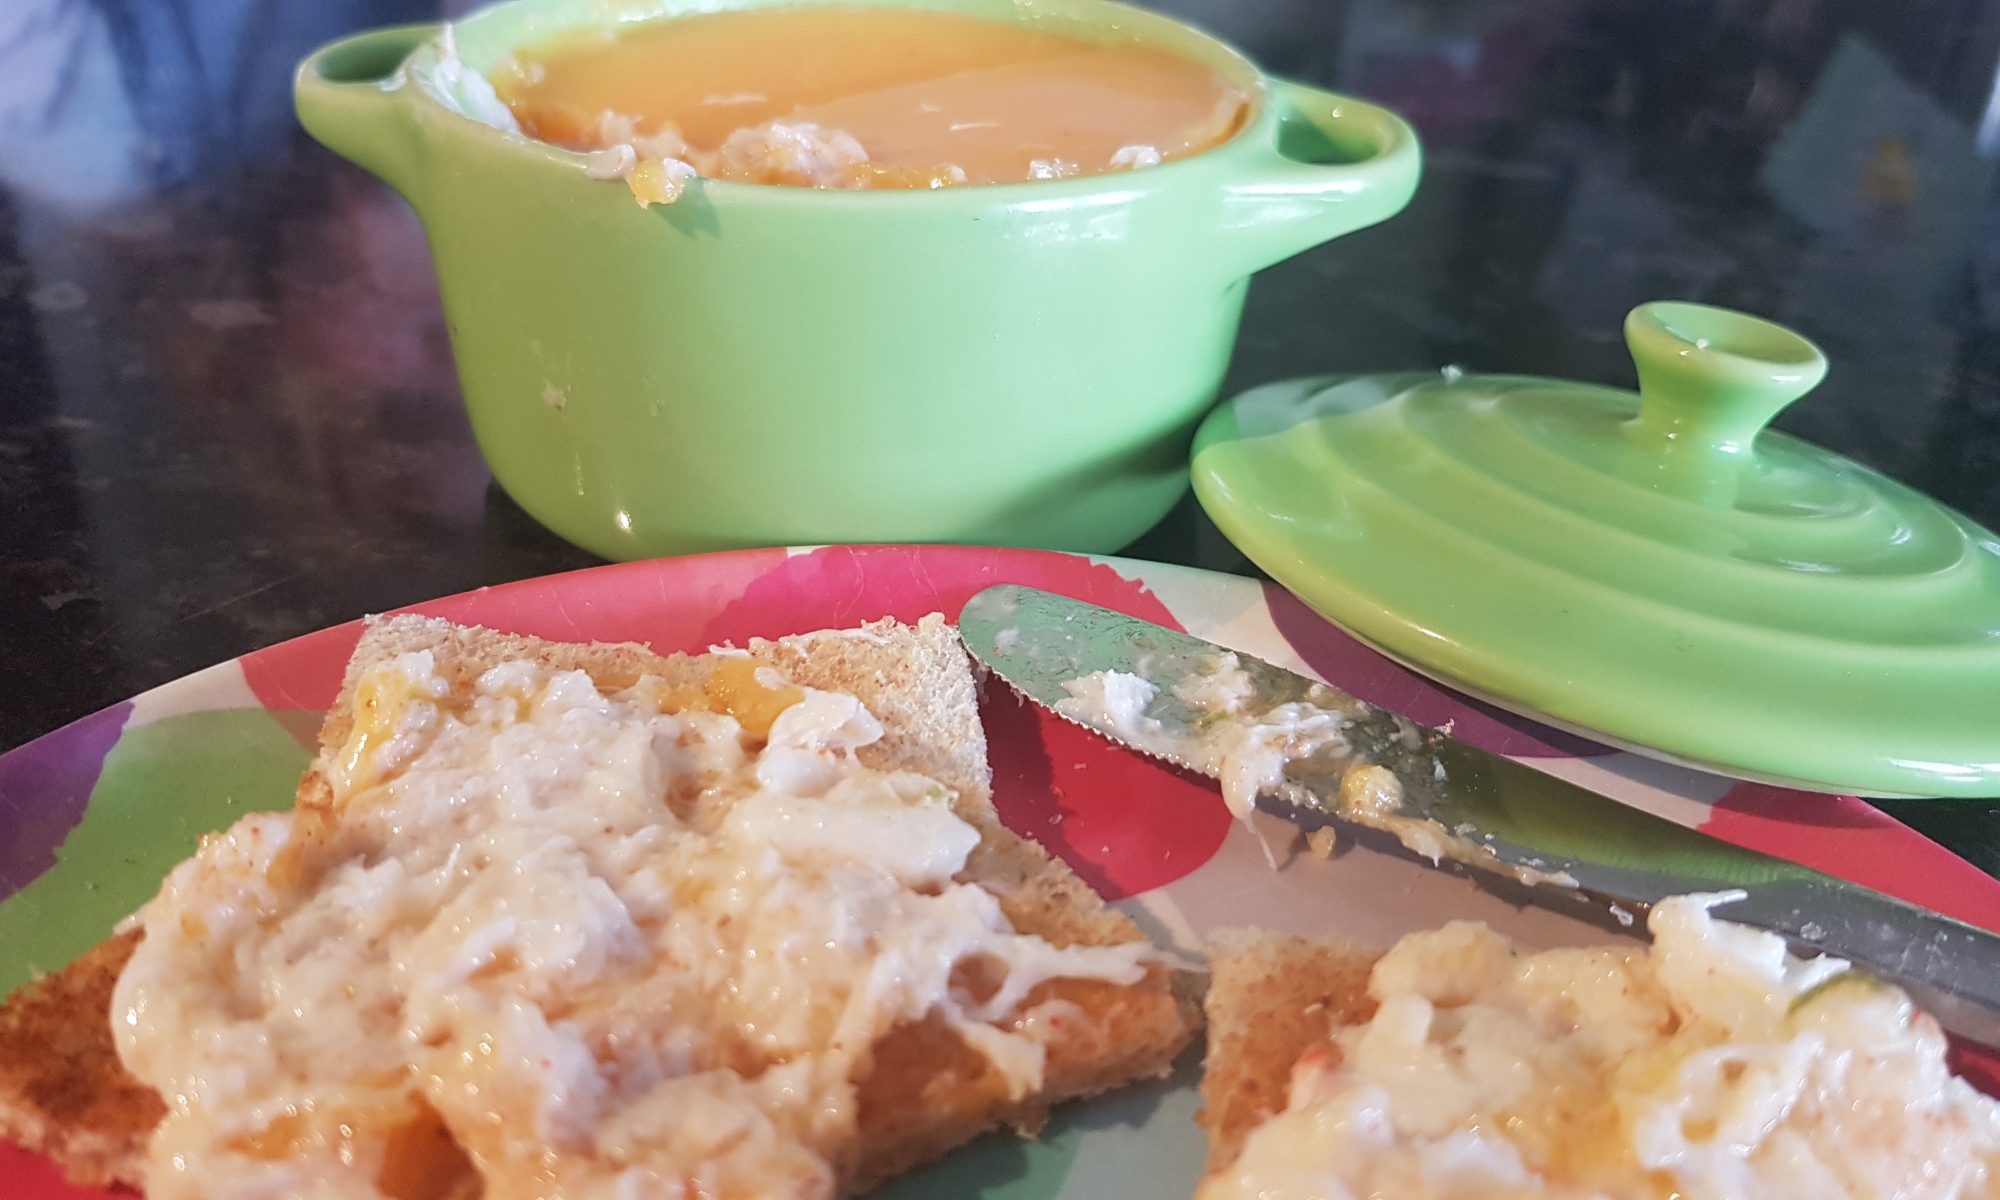
You may be rather sceptical when you learn that I made potted crab with my 2 year old. I encourage you to read on despite any misgivings as this really was a fun recipe to make with her. She had fun counting out the tablespoons of yoghurt and squishing the slice of lime, twisting the salt and pepper mills, mixing, transporting and pouring – lots of activities which are present on early years schemas. It also allowed me to introduce a fish with a different texture to her and hopefully encourage her to widen her pallet when she is older. She wasn’t a huge fan, but I remain undeterred as tastes change as children get older and the boys did enjoy it.
When Ophelia went ‘shaky shaky’ with the paprika!
This recipe could be managed solo by an older child, but Ophelia did need some encouragement to stay on task and not go ‘shaky shaky’ with the paprika or try and eat the rest of the lime. I managed to prevent the latter, but was unfortunately completely incompetent at the former… More vigilance was required and in this instance I was lacking! I would also be lying if I said that I managed to remain completely calm… What this picture doesn’t show is the rest of the kitchen counter!
Time to pour the melted butter on top of the crab.
Ingredients
1 tin of white crabmeat, drained. Recipes for potted crab generally call for fresh crabmeat, but as this was for making with kids we opted for tinned crab and the result was delicious.
2 tbsp. Greek-style natural yoghurt
Zest from half a lime
Juice from 1/8 of a lime (or just a small slice)
Seasoning
50g unsalted butter, melted (easiest in a small jug)
1/8tsp of paprika
Method
Put the crabmeat into a bowl and count in the tablespoons of Greek-style natural yoghurt. Add the lime zest, juice and seasoning and mix well. We used a tub grater with the fine grater attachment to zest the lime.
Spoon the mixture into a shallow dish, one large ramekin or two smaller ramekins and gently flatten.
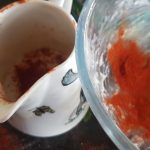
Add the paprika to the melted butter and mix.
Pour the melted butter over the ramekin(s) and refrigerate until set. This will take around 30 minutes.
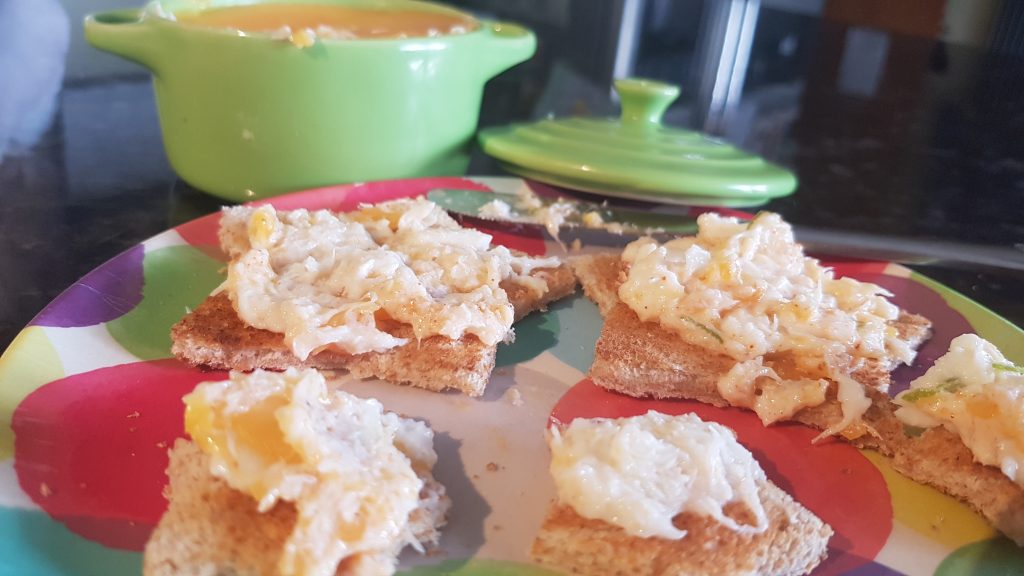
Remove from the fridge around 30 minutes before serving to make it easier to spread. Enjoy with toast, crackers or crumpets.
Remember to remove from the fridge around half an hour before you want to spread it. The boys enjoyed this in sandwiches.
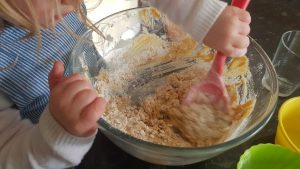
I find baking therapeutic. I even find baking with children relatively therapeutic. This is especially true when the alternative is a 20-minute argument about what board game they should play or TV show they should watch or a meltdown because one little Gilbert didn’t listen to any other little Gilbert’s ideas. The reason for this is generally because any argument can be solved by licking the bowl or by consuming copious amounts of leftover melted chocolate. Yes there are times when the melted butter pot gets knocked over or the flour manages to escape out of the packet and everyone swears they didn’t touch it, but the good in it definitely outweighs the bad and most of the time I get through the activity with my frazzled temper relatively intact! Disclosure; I would like to remind my lovely readers that the more children you try to cook with, the more stressful the undertaking for the ‘responsible’ adult. As a mum who has been cooking with little people for around 5 years, if you manage to get through the planned recipe with no mistakes or cross words I salute you! You deserve all the chocolate!
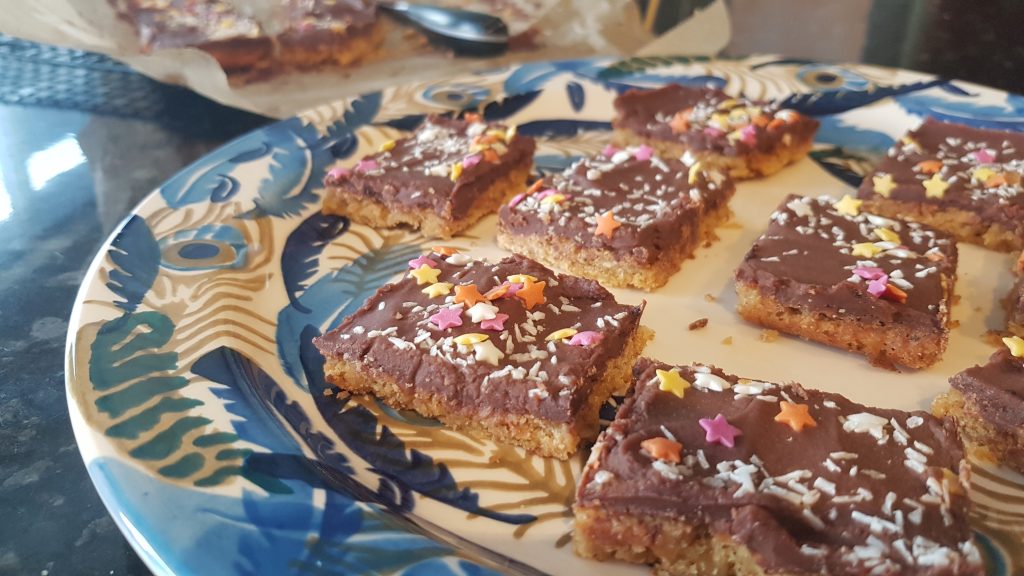
When I managed to decorate without the children!
These squares were initially mummy-daughter baking time. The boys didn’t participate as they had agreed on a game and were tearing around the garden completely immersed in their imaginations (completely lovely to see especially seeing as it was a rather rotten day). But as is so often true, two is company and three a crowd so Ophelia was at a loose end. And as it is a darn sight easier to cook with just one child rather than my whole tribe, I enjoyed this time with just her and she seemed to enjoy having me completely to herself!
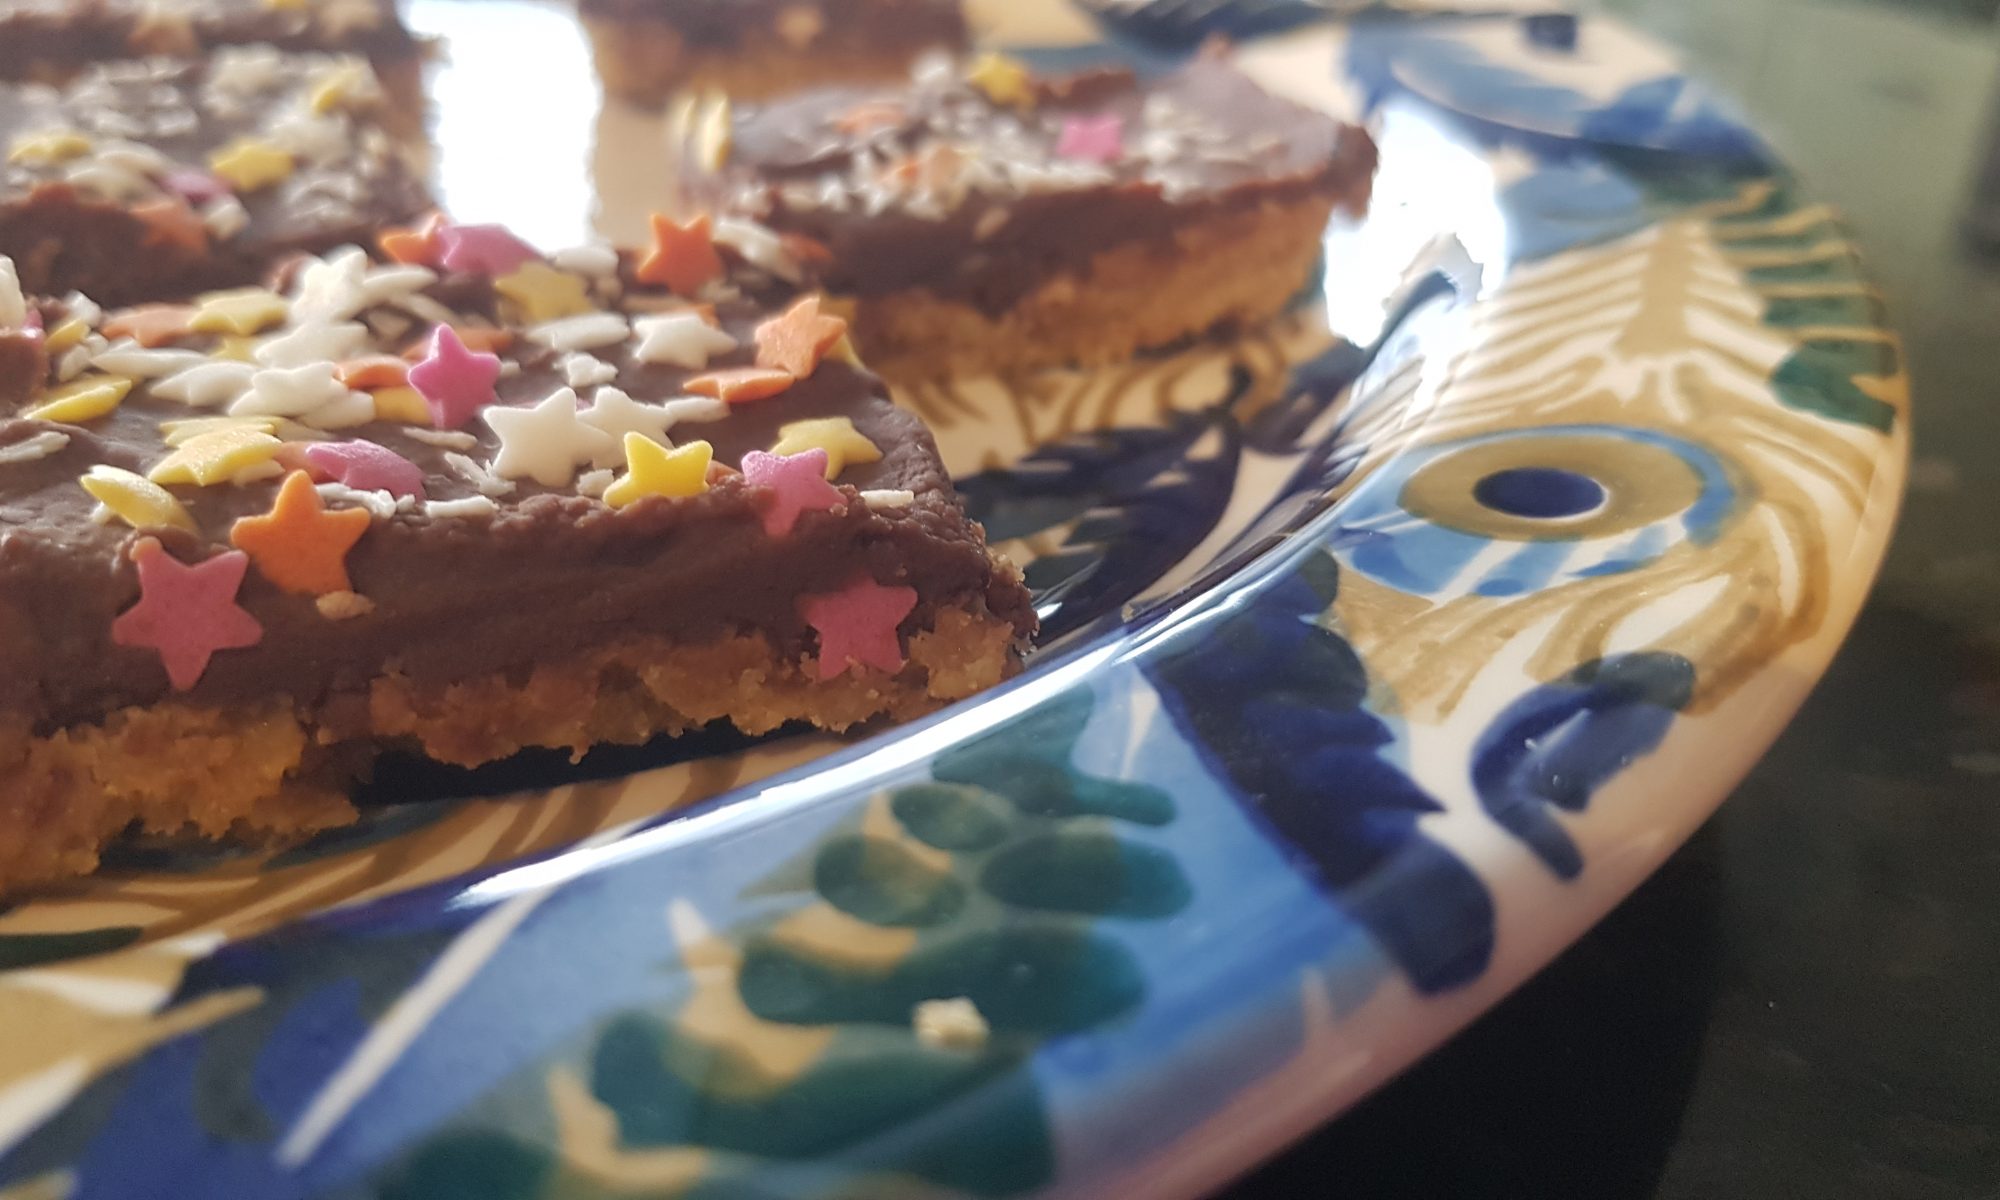
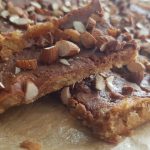
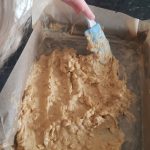
This recipe makes a thin biscuit bar coated in chocolate. Don’t be tempted to place it in a smaller tin for a thicker biscuit. It will fit in a brownie pan when spread out thinly – your little chef may need a bit of help to achieve this. If you are making these bars with small children I recommend using more chocolate to coat them as it is easier to spread a thicker layer of chocolate than a thin one to ensure that the top of the bar doesn’t get damaged. I think these are yummy with desiccated coconut or chopped almonds on the top. Unsurprisingly, Ophelia prefers them with sprinkles – the pinker the better! You will see that she and I compromised and both coconut and multi-coloured stars to decorate one of the batches.
Ingredients
For the biscuit base
100g margarine (or softened butter)
100g light soft brown sugar
1 egg yolk
50g plain flour
50g porridge oats (this recipe works best with bog standard oats rather than jumbo ones)
For the top
If for young children 200g milk chocolate and 50g margarine/butter
For older children 150g milk chocolate and 40g margarine/butter
Chopped nuts, desiccated coconut or sprinkles to decorate
Method
The concentration level was immense!
Preheat the oven to 180°c fan and grease a brownie pan with a silicone baking brush and line it with greaseproof paper.
Put the margarine, sugar and egg yolk into a bowl and mix until smooth, pale and creamy.
Sift in the flour and add the oats and gently mix them in.
Carefully spread in the brownie tin (adult help may be required here) and cook for 15-20 minutes until golden.
Remove from the oven and melt the chocolate and margarine. This can be done in a double boiler on the stove or in the microwave. If you are using the microwave, melt it in short bursts on medium power, ensuring you mix it frequently.
Pour the chocolate over the biscuit base (the tin will probably still be hot, so carefully) and spread with a silicone spatula. Decorate with your toppings of choice.
Cut into squares while still warm and then leave in the tin until they have completely cooled.
The compromise: sprinkles and desiccated coconut!
Every time these are made I am surprised when they survive the night as I am always worried I may decide to sneak down stairs and devour the whole batch before the children wake! Do get in contact if you make these and let me know what you think.