
It feels like an age since I wrote a post for the blog. This is probably because we were camping last week down in sunny Dorset, which you may well have seen from my Instagram page. The break from technology that our camping trip enforced was very restful, but that said I must admit that I am not a natural camper. I find the change in routine when the children refuse to settle until 9pm frustrating. Luckily for me, Simon is ridiculously calm and takes all these changes in his stride and doesn’t let little things like small children deciding that bedtime is not longer applicable when camping bother him.
My first thought when we arrived home was yippee we are back, now I can make cake. Then I realised we had no eggs and the children were sound asleep as it was 9.30pm. So I was grown up and patient (yes patient, it is rather surprising) and decided to send Simon to the supermarket for eggs wait until the morning.
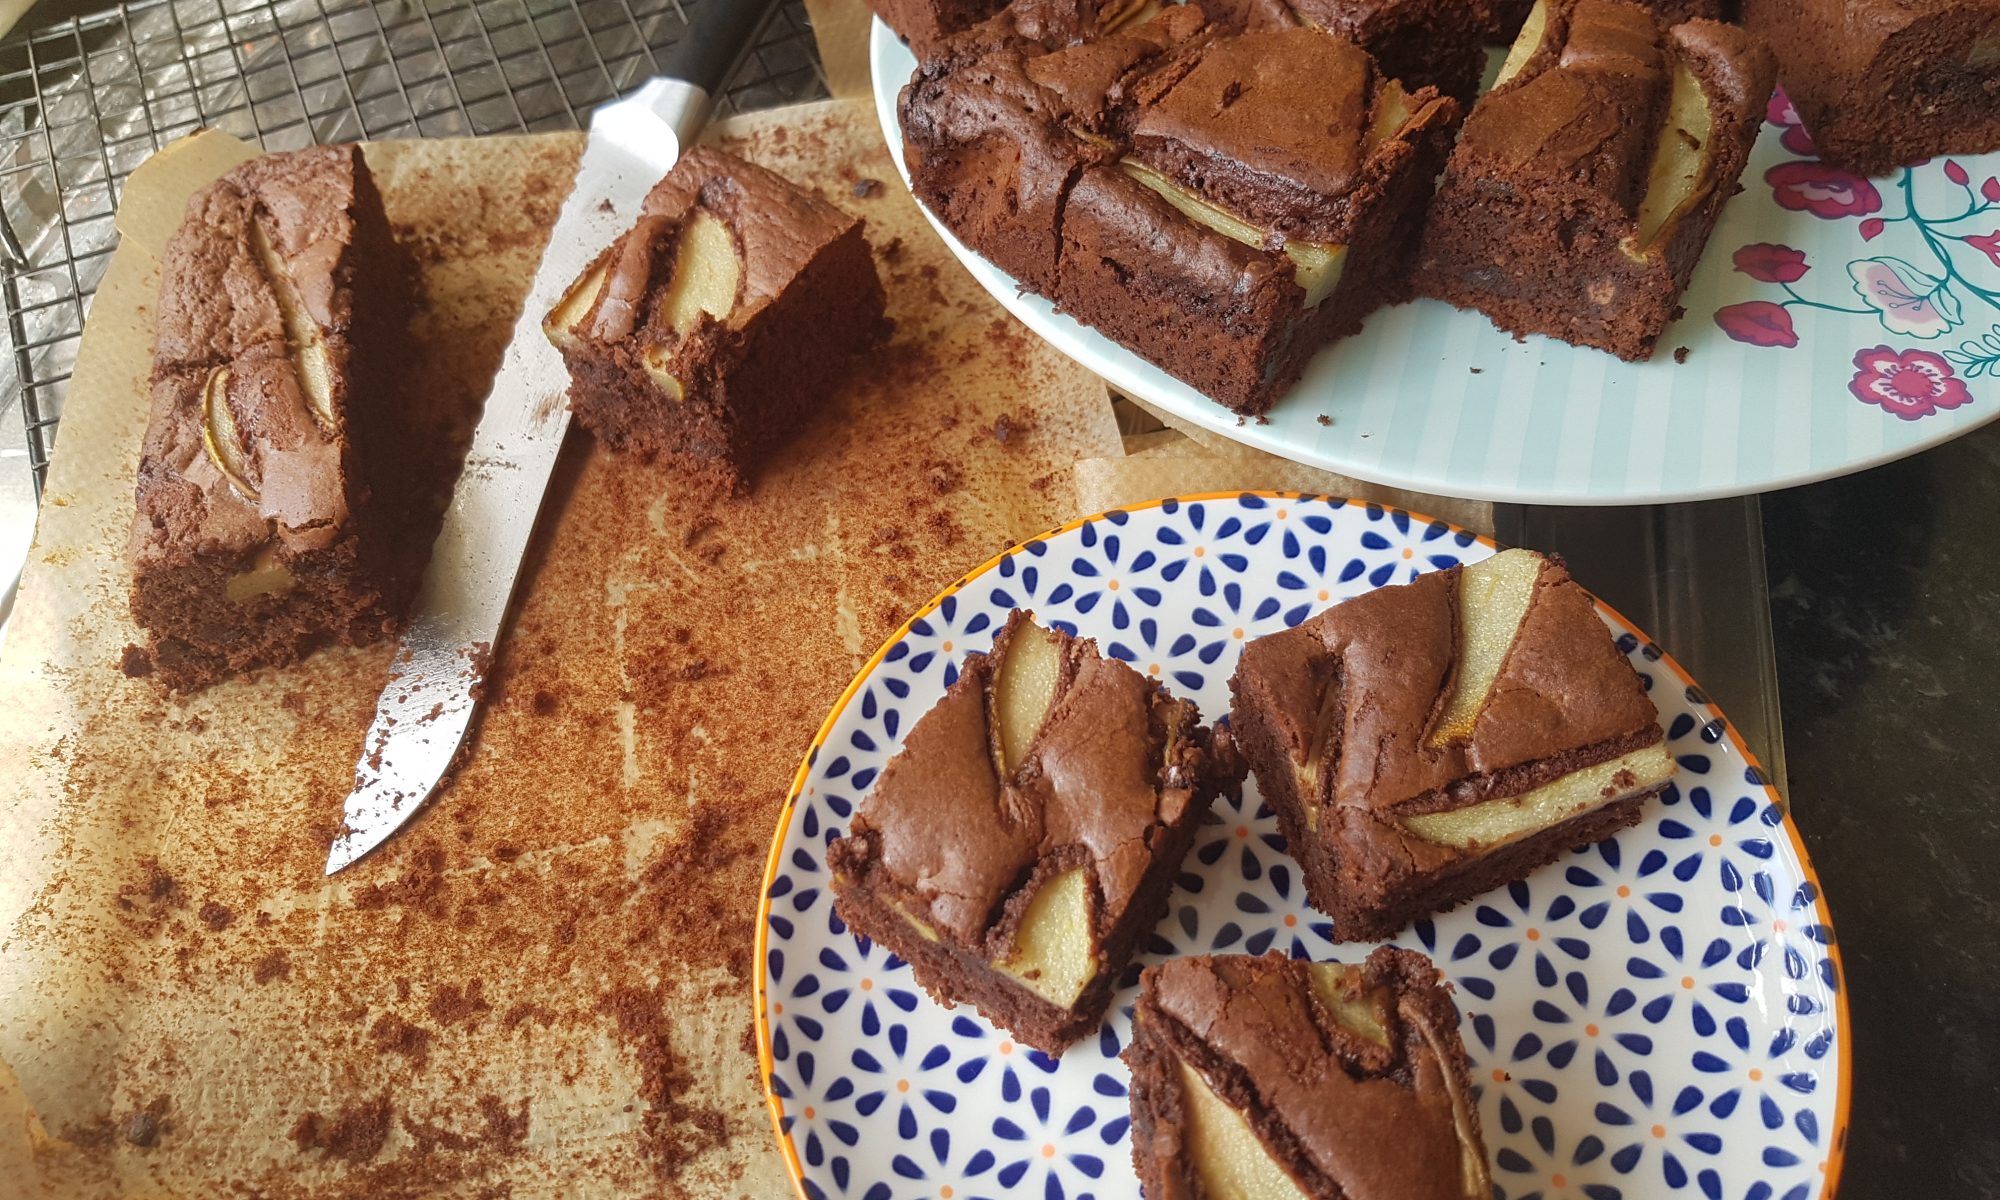
 This morning it took me all of around 2 minutes to decide what we would make. We bought some chocolate spread while on holiday for easy sandwiches for the kids (yes unhealthy, but I am ignoring the guilt that is threatening to emerge as it was a camping treat along with chocolate cereal…) and it was only half used. I decided we would make brownies to finish the chocolate spread and top it up with the Nutella from the pantry as we didn’t quite have enough leftover. In all honestly, the pears were added as a small nod to healthy eating and a balanced diet, as who doesn’t love chocolate with pear?!
Note to self, PLEASE remember cooking with the kids the morning after returning from a camping trip is not the wisest idea as the aforementioned children may tend towards grumpiness due to over tiredness. Bickering may well ensue over who gets to help out with which bit of the activity and a couple of deep breaths from the adult supervisor may well be required. Oh yes and a strong cup of coffee. I want to stress that no children were harmed during the making of these brownies, and all children left the table with extremely chocolatey faces and fingers and huge grins plastered across their tired, but happy faces.
Ingredients
- 400g chocolate spread (we used half Nutella and half plain chocolate spread)
- 50g butter/margarine (we used Flora)
- 3 large eggs
- 140g wholemeal self raising flour
- 25g cocoa powder
- 100g chocolate chips
- 1 pear, cored and sliced
- 1tbsp runny honey
Method
 Preheat the oven to 160°c fan and grease and line a brownie tin.
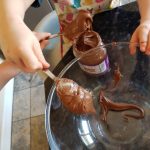
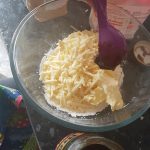
- Spoon the chocolate spread out of the jar and place it in a large mixing bowl keeping a beady eye on crafty children who may decide to try and divert spoonfuls into their mouths rather than the bowl.
- Crack the 3 eggs into the same
 bowl and add the butter. Whisk with an hand mixer until all smooth.
 - Add in the flour and cocoa powder and mix with wooden spoons until fully combined.
- Add the chocolate chips and mix again.
- Pour and spoon the mixture into the prepared tin and gently smooth the surface.
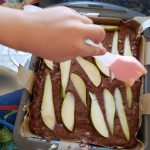
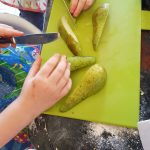 Remove the pear’s core (I did this bit for the children) and slice into long thin pieces.
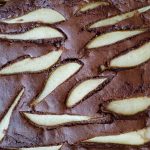
- Gently place the pear on top of the brownie mixture (don’t push down or they will end up underneath the batter).
- Brush all the exposed bits of pear with a bit of honey
 and place in the over for 40-45 minutes. A skewer should come out coated with some batter for a slightly squishy brownie. Cook for longer if you want a firmer brownie.
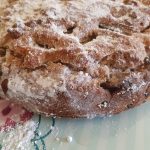
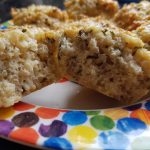
 These brownies have a slightly cake-like texture, but are 100% yummy. We cut them into 16 squares. The children enjoyed theirs as pudding after lunch, I preferred mine with my mid-morning coffee as I had to check that they were edible before distributing them to the children! Well that’s my excuse anyway…
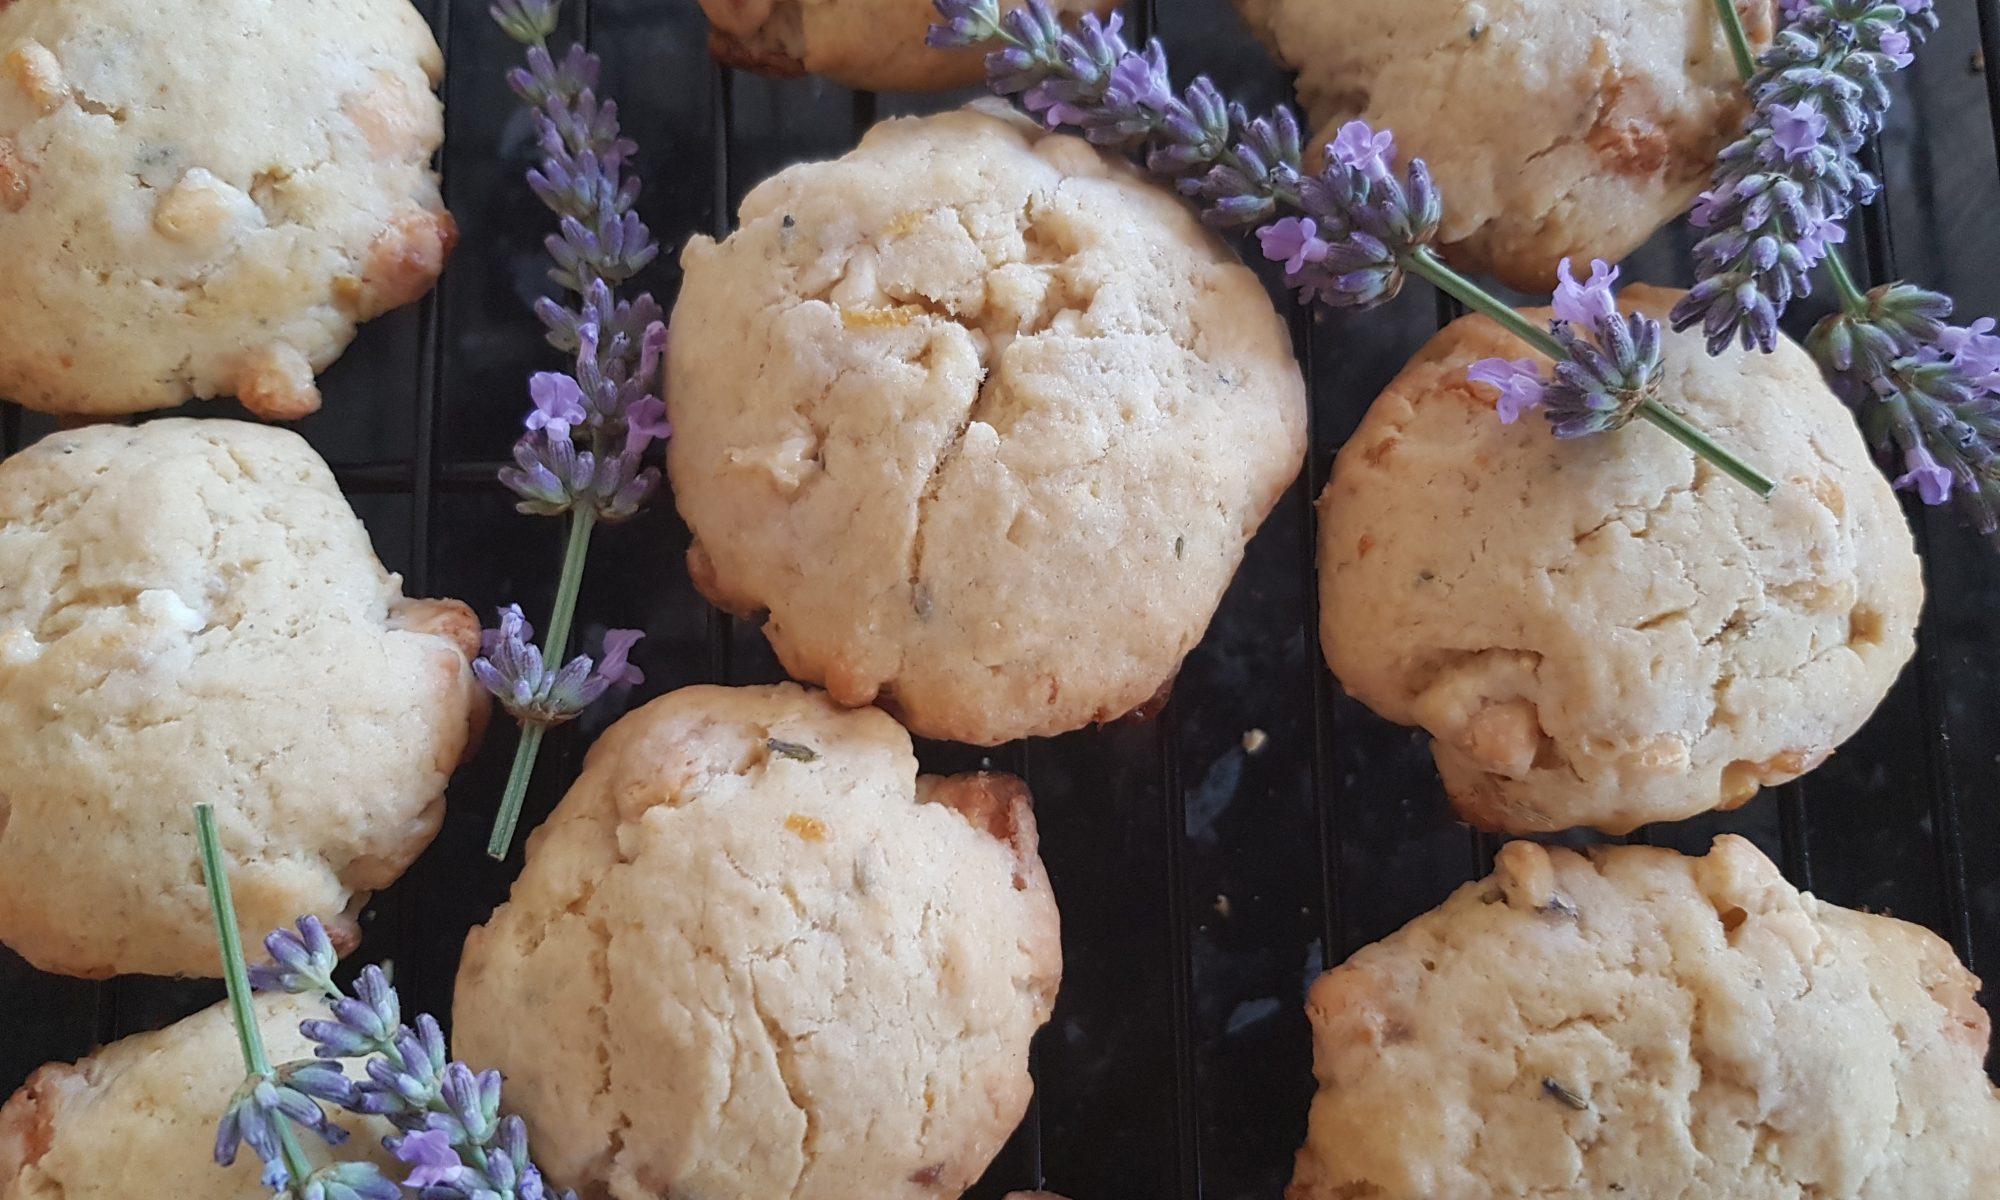
 We have these beautiful lavender plants in our front garden. They are a luscious shade of purple, smell lovely and never fail to attract bees. All of the children have at some stage enjoyed watching the bees on the lavender plants and it was here that Seb first said ‘bumbleey bees’ which always makes me happy. If I am honest I struggle to call them bees now as bumbleey bees sounds so much better!
 Heat the oven to 170°c and line two baking sheets with silicone mats or baking parchment.
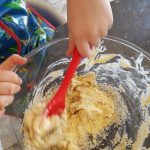
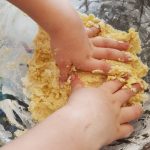 baking powder and squish and squash with your hands to form a dough.
 Divide the mixture into 2 equal pieces and make 10 biscuits from each pile by rolling them into balls and then gently squishing them flat on the baking tray with you hands (Seb used his fingers held together,
 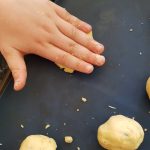 but I used the palm of my hand and both worked fine.
 After all the cake at Ophelia’s birthday, I decided that it was time to make something savoury again and to take advantage of Atticus being at home, something that will happen less and less as he starts school in the autumn. Out of the savoury items we make, the ones which comprise of copious amount of cheese are generally more successfully with the children. Cheese is a popular snack and we seem to go through a mammoth amount every week. I have no concerns about my children’s’ calcium intake!
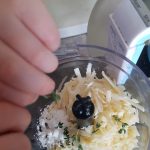 Slice the rind off the brie and chop and grate the emmental and the parmesan.
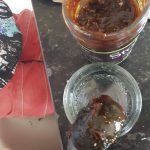 and pulse until all combined.
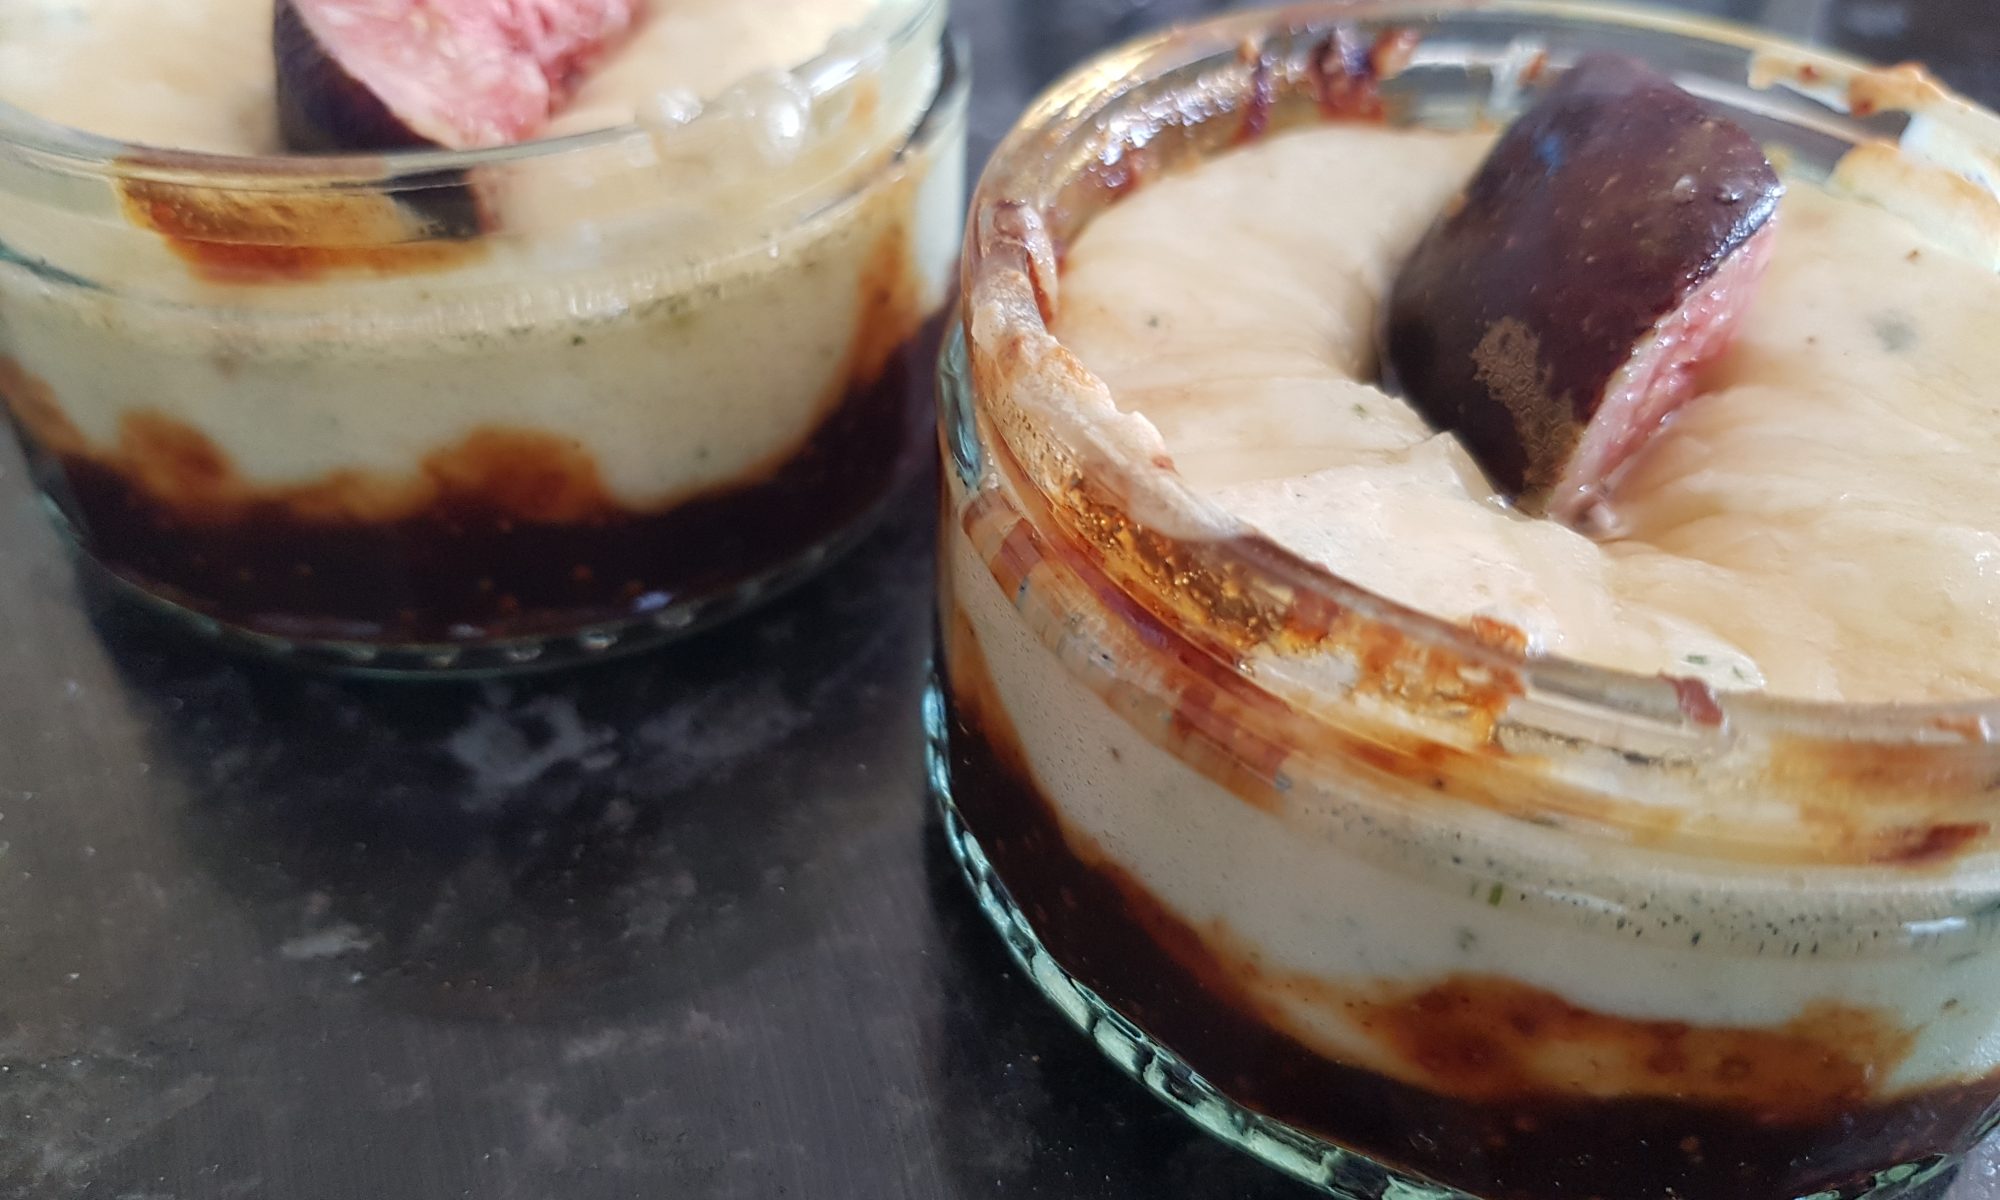
 Divide the cheesy mixture between the ramekins and then sprinkle with the remaining parmesan.
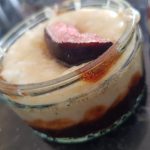
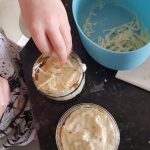 15 minutes until bubbling. Remove from the oven and leave to cool for 5-10 minutes before putting a piece of quartered fig on top and enjoy. You will need to remind your children that the cheese will still be quite hot. Mine enjoyed blowing on it to cool it down before dunking soldiers into it.
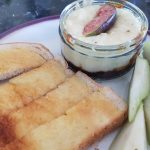 Atticus and Ophelia had these for lunch with some sliced pear and buttered toast. They could equally be served for a dinner with vegetable sticks, crusty bread or anything else you want to dip in them! My kids would probably enjoy dipping cocktail sausages in them. I enjoyed mine with olive bread, baby corn and sugar snap peas.
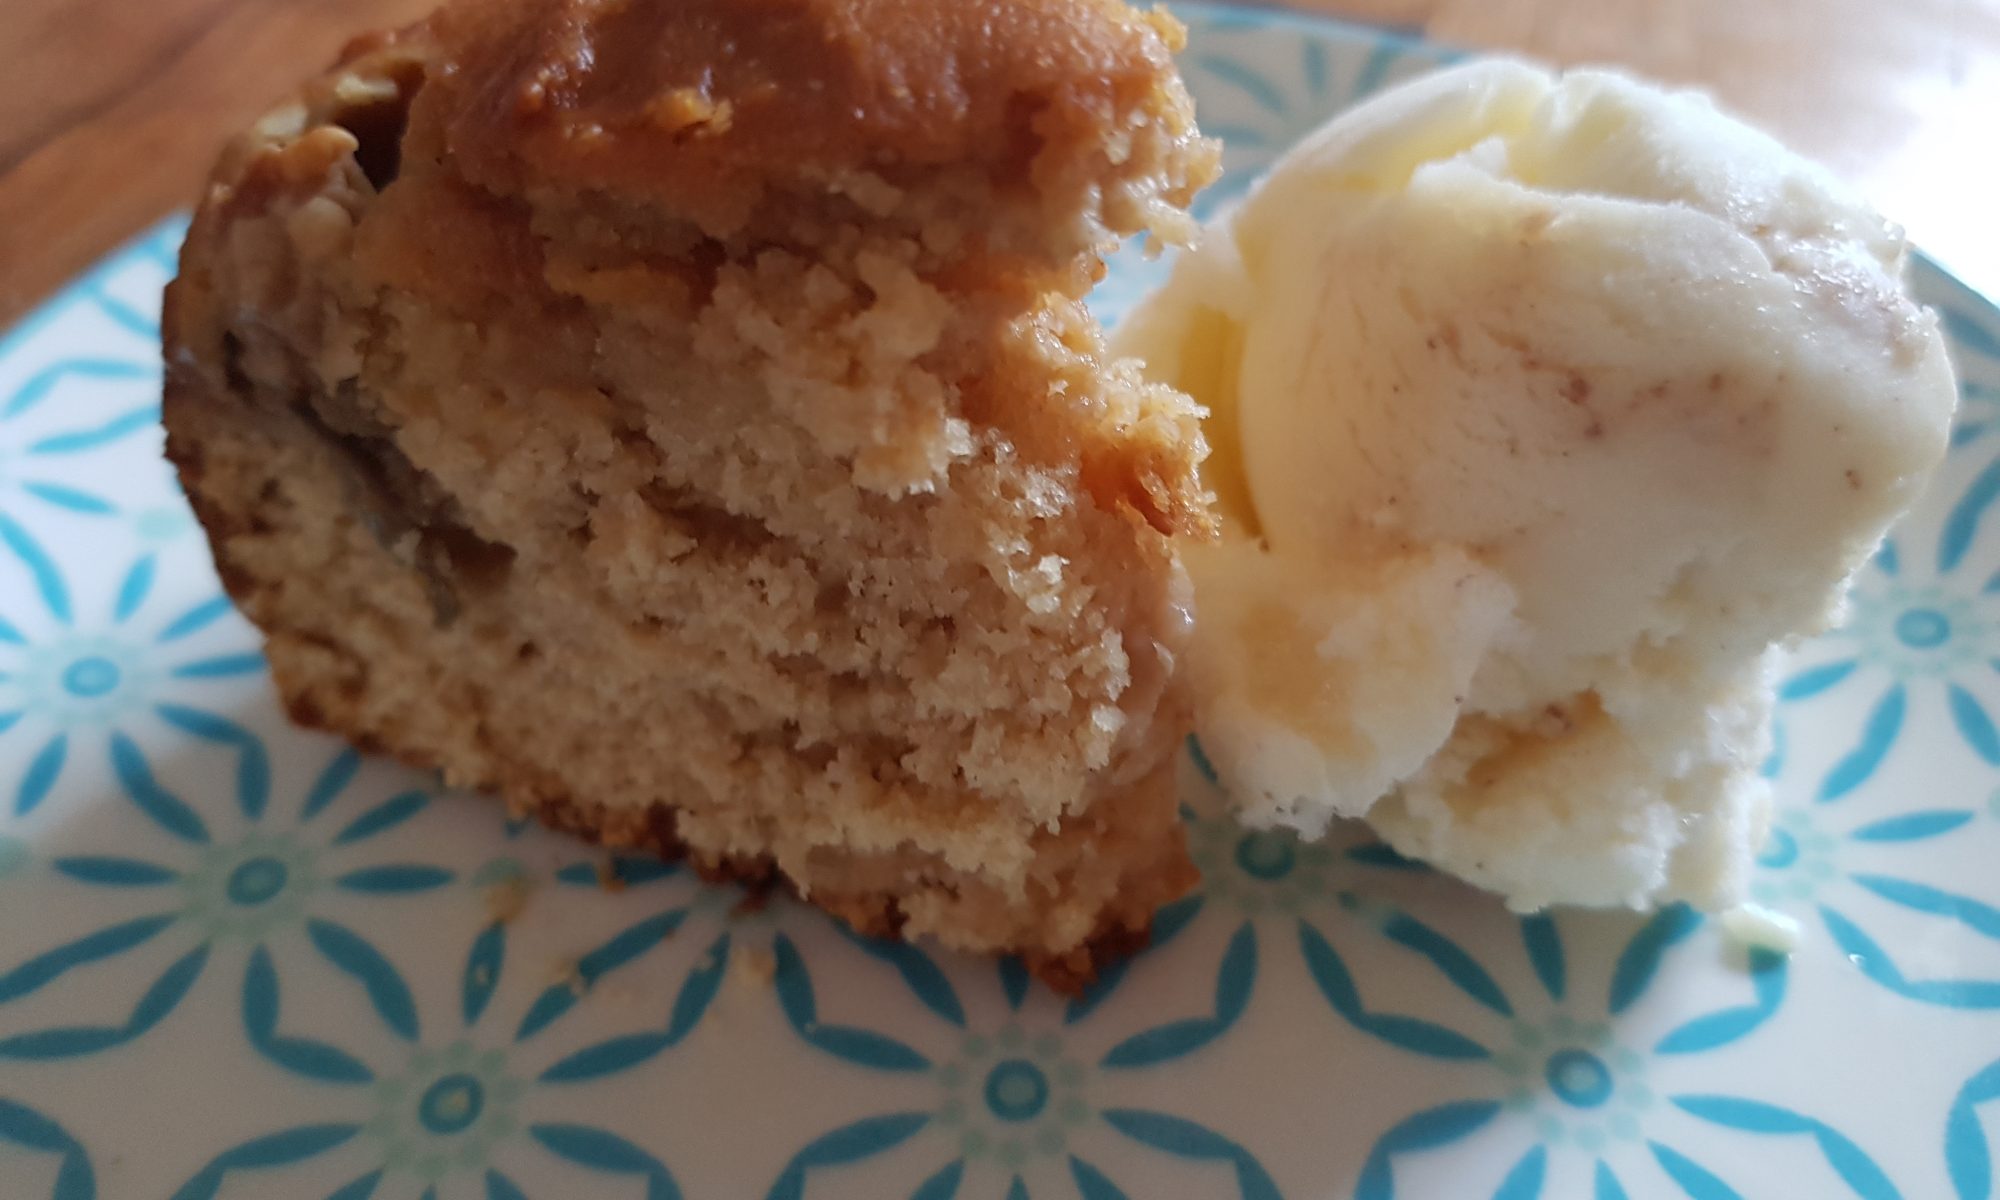
 Something came and turned my frustration at the week around. Well I doubt you will guess, so let me tell you. I found some more reduced rhubarb in the supermarket! Yes, it is earth shatteringly exciting news and is such a non-event that I should gloss over it and claim the idea came to me some other amazing way, but alas no. Three sticks of humble rhubarb managed to turn my week around as they gave me a reason to do some more experimenting in the kitchen with Atticus and Ophelia. We also have a jar of dulce de leche which has been peering at me from its position in the pantry (next to the honey and the Nutella if you are curious as to where we keep it) and longing to be loved and used in a recipe. These two ingredients sounded like a good match with the sweetness from the dulce de leche contrasting nicely with the sharpness of the rhubarb so I set about developing a recipe to combine the two.
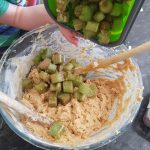 surprise there) so maybe combining the two might lead to success? My hope was that Atticus would enjoy the rhubarb in this recipe and then it would be the beginning of a long and happy lifetime enjoying rhubarb-based puddings. And before you ask, yes I do think about food, how to encourage my children to eat and try new foods and what I can make next most with them. But, while the kids and I are both enjoying ourselves, I believe it is a pattern that will continue for the foreseeable future.
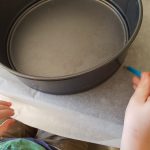 Preheat the oven to 160°c fan and grease and line a 23cm circular cake tin. Atticus had fun trying to draw around the tin although it did need tidying up!
 and vanilla extract together and then add to the egg mixture and mix until fully combined.
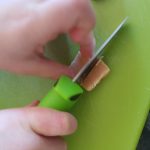 Gently mix in the flour.
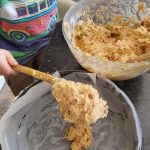 coated rhubarb and fold them both in.
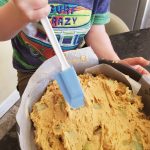 Then place in the oven for 40-50 minutes until a cake skewer comes out clean. Check the cake after the first 20 minutes as it may need to be covered to
 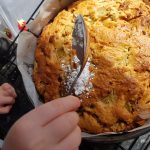 prevent burning.

 friend’s house for lunch. She may well have been taken aback by the contents of the baked goods, but when we tried it for pudding we were both pleasantly surprised. Simon also agreed that it was quite nice. For one of my stranger ideas, this is high praise from him.
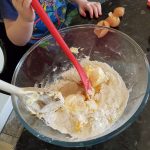 Put the butter, caster sugar, eggs, flour and baking powder into a large bowl and mix together until fully combined.
 with a tbsp of flour and add them to the mixture.
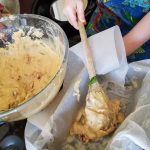 Place in the oven and bake for 40 minutes until the cake is springy to the touch or a skewer comes out clean.
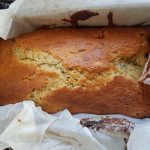
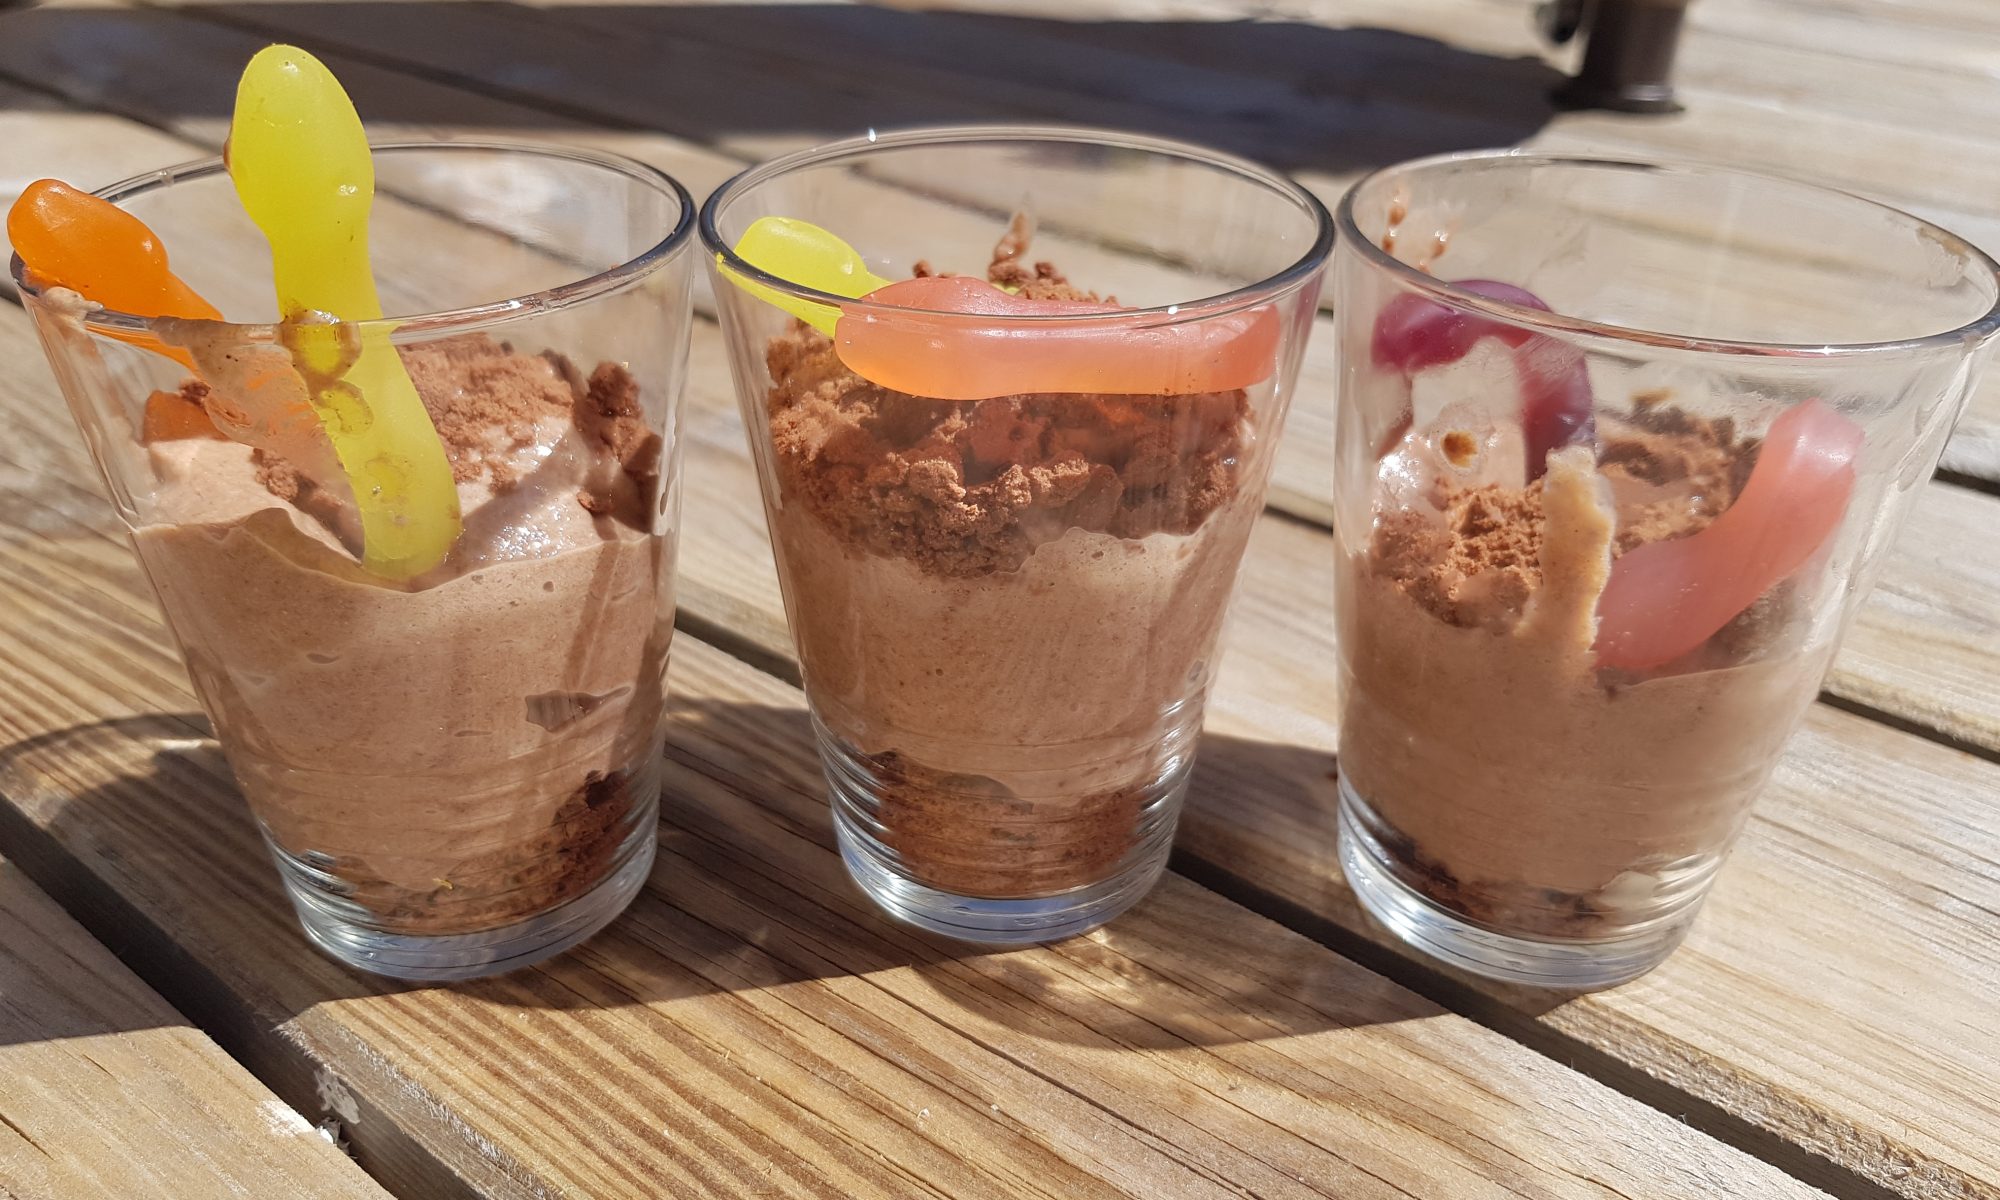
 make a deliciously decadent dark chocolate torte and let the children decorate it. Then I figured that the kids would probably prefer this recipe as it involves biscuit crushing and super speedy whisking Angel Delight with the rotary whisk and sweetie worms, so from their perspective what’s not to love?! This recipe is definitely more child-friendly and less of a chance of me having to exert super-human will power to prevent myself from eating a whole chocolate torte!
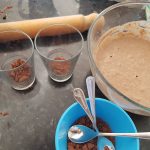 was the first time that Ophelia had a chance to try out the rotary whisk. I have to admit she was a bit puzzled and needed help, but there were shrieks of delight coming from both her and Atticus as she started learning how to operate it. We also found that this recipe gave Atticus the opportunity to use fun adjectives to describe the mixture, words used include: frothy as well as bubbly and fluffy. He also said; “bash the biscuit to smithereens” as he was crushing the biscuit.
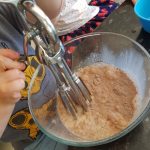 Put the Angel Delight powder into a medium-sized bowl and add the milk. Whisk and mix around until the powder has dissolved in the milk and it is all frothy like a thick milkshake. Place the bowl in the fridge until it is next needed.
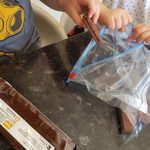
 Take the Angel delight out of the fridge and divide it equally
 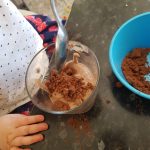 between the glasses. With my children, this involved many spillages and requests to lick the spoon. They were allowed to do the latter once we had finished.
 Needless to say, these puddings were really welcome after a long day; nice and cold straight from the fridge in this exceptionally warm weather we have been experiencing. I think the glasses were cleared in record time for a pudding! I hope your little explorers have as much fun with this recipe as mine do.
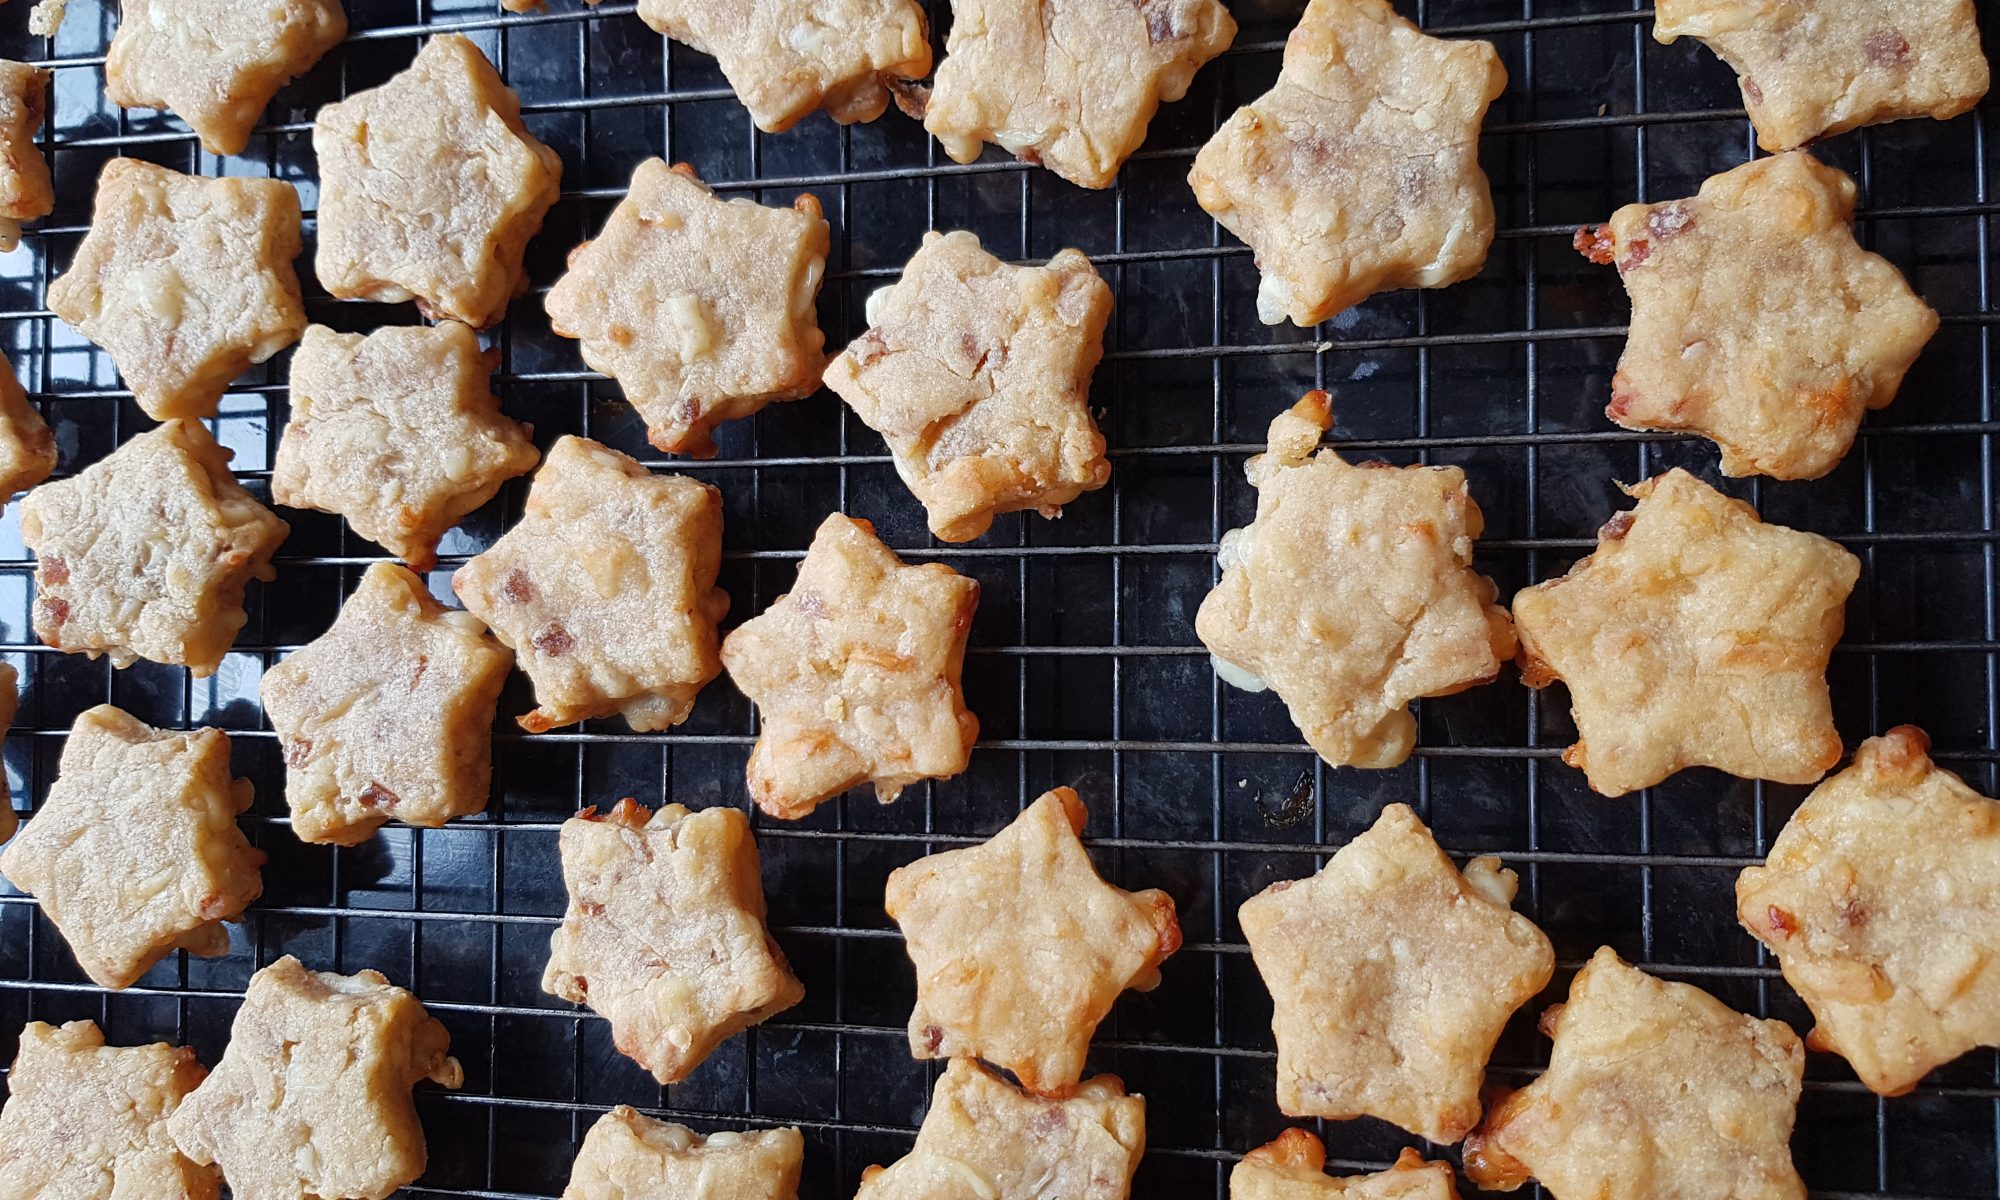
 paper on two baking trays.
 forms.
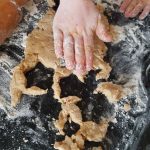 small biscuit cutter (we used a star) to cut out biscuits and cook in the oven for 15 minutes or until golden. You may need to move the trays around in your oven to ensure an even bake.
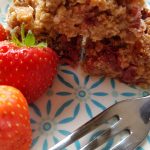 supermarket and my initial thought was this would make a really tasty crumble. However, then I remembered that the boys really don’t get on with it so I started thinking of other options to use the ingredients. My little grey cells got on it and my brain jumps as it so often does to flapjack. Have I mentioned before that my love for flapjack runs deep and true? Well I can tell you right now that it does.
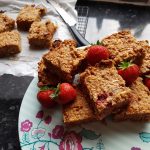 instead of crumble (he really loves crumble and was expecting a crumble!). However, after having tried one he told me they were delicious. Seb and Ophelia loved them. Atticus, after eagerly devouring the remnants left in the bowl decided he didn’t like them. Contrary child. It isn’t at all frustrating when a child will happily lick the bowl and then refuse to try the end product said no mum ever! He did end up gobbling one up later and declared how yummy it was…
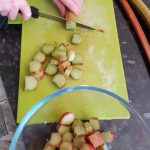 Preheat the oven to 160ºc fan and grease and line a brownie tin.
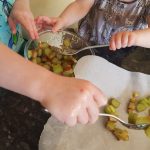 with this as it is very hard before cooking) and mix with 1 tbsp of golden syrup and roast in the oven for 15 minutes.
 Slice the strawberries (pay close attention to the kids at this point, as if yours are anything like mine they will try to sneak copious amounts of strawberries and you may well have to replenish your stock!)
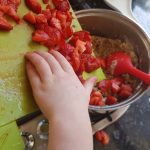 almonds and mix well. Add the sliced strawberries and the rhubarb. Please beware as the golden syrup coating
 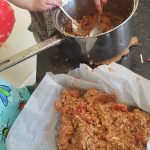 them will be very hot. Atticus carefully slid them in with the spoon while I held the hot baking tray.
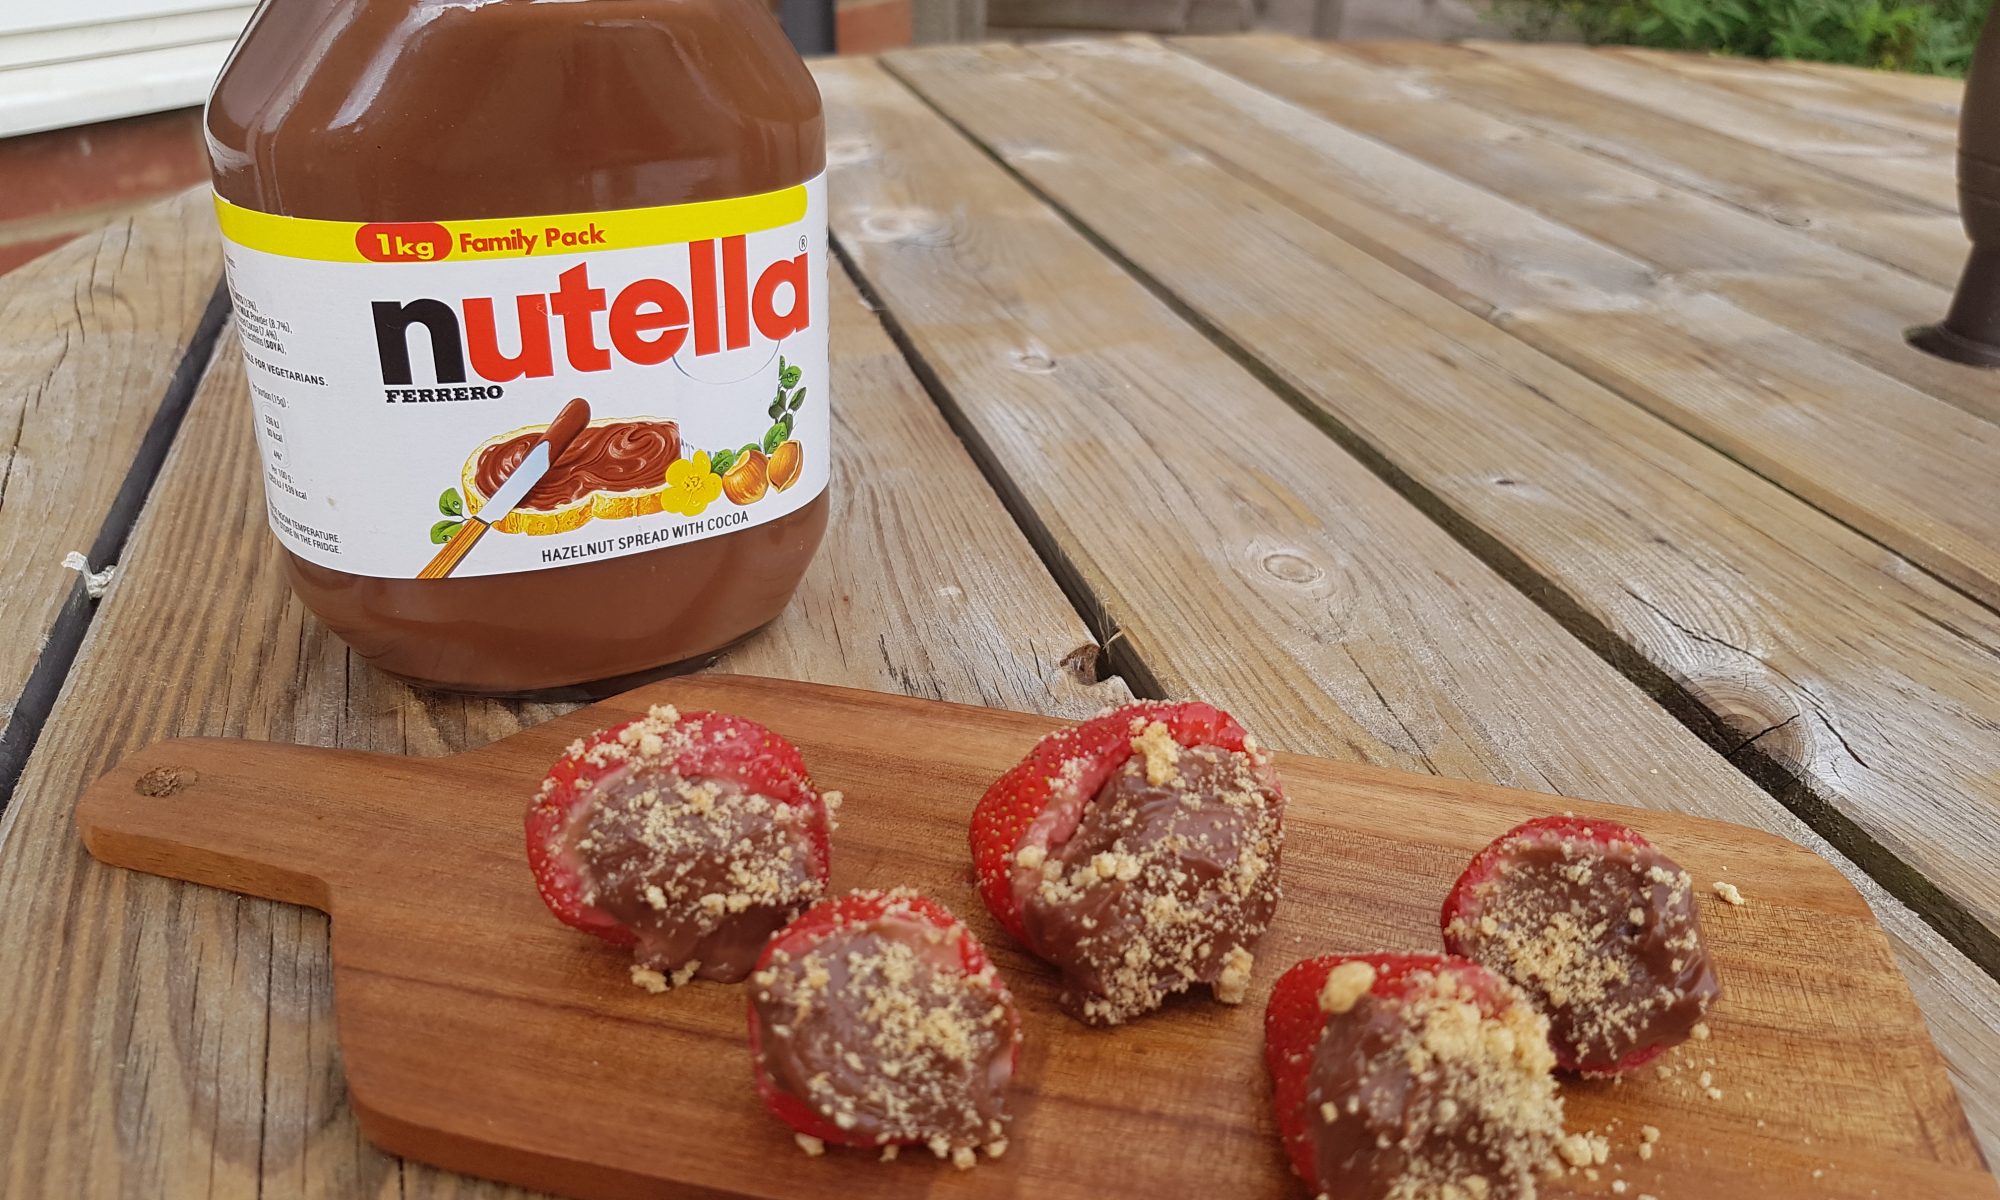
 Enter the idea of Nutella cheesecake stuffed strawberries. This is a recipe that I adapted after seeing a recipe on another website (see link below). I have to admit part of this recipe is a bit intricate and the kids didn’t do that part, but that said they had a lot of fun with the rest as an after school and nursery activity and they were a really tasty treat for a midweek pudding.
 activities and Ophelia was eating lunch I went about removing the centre of the strawberries. Yes it is a weird concept and it was a bit fiddly. I had to pay a strawberry tax to my daughter so she took the tops I had sliced of and the couple which went wrong at the beginning. She then had a tantrum as I wouldn’t let her eat the rest of them!
 a teaspoon and return to the fridge until you are ready to eat them.
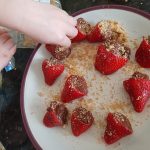 bag and sprinkle crushed digestive over each strawberry just before serving as the biscuit will go soft in the fridge.
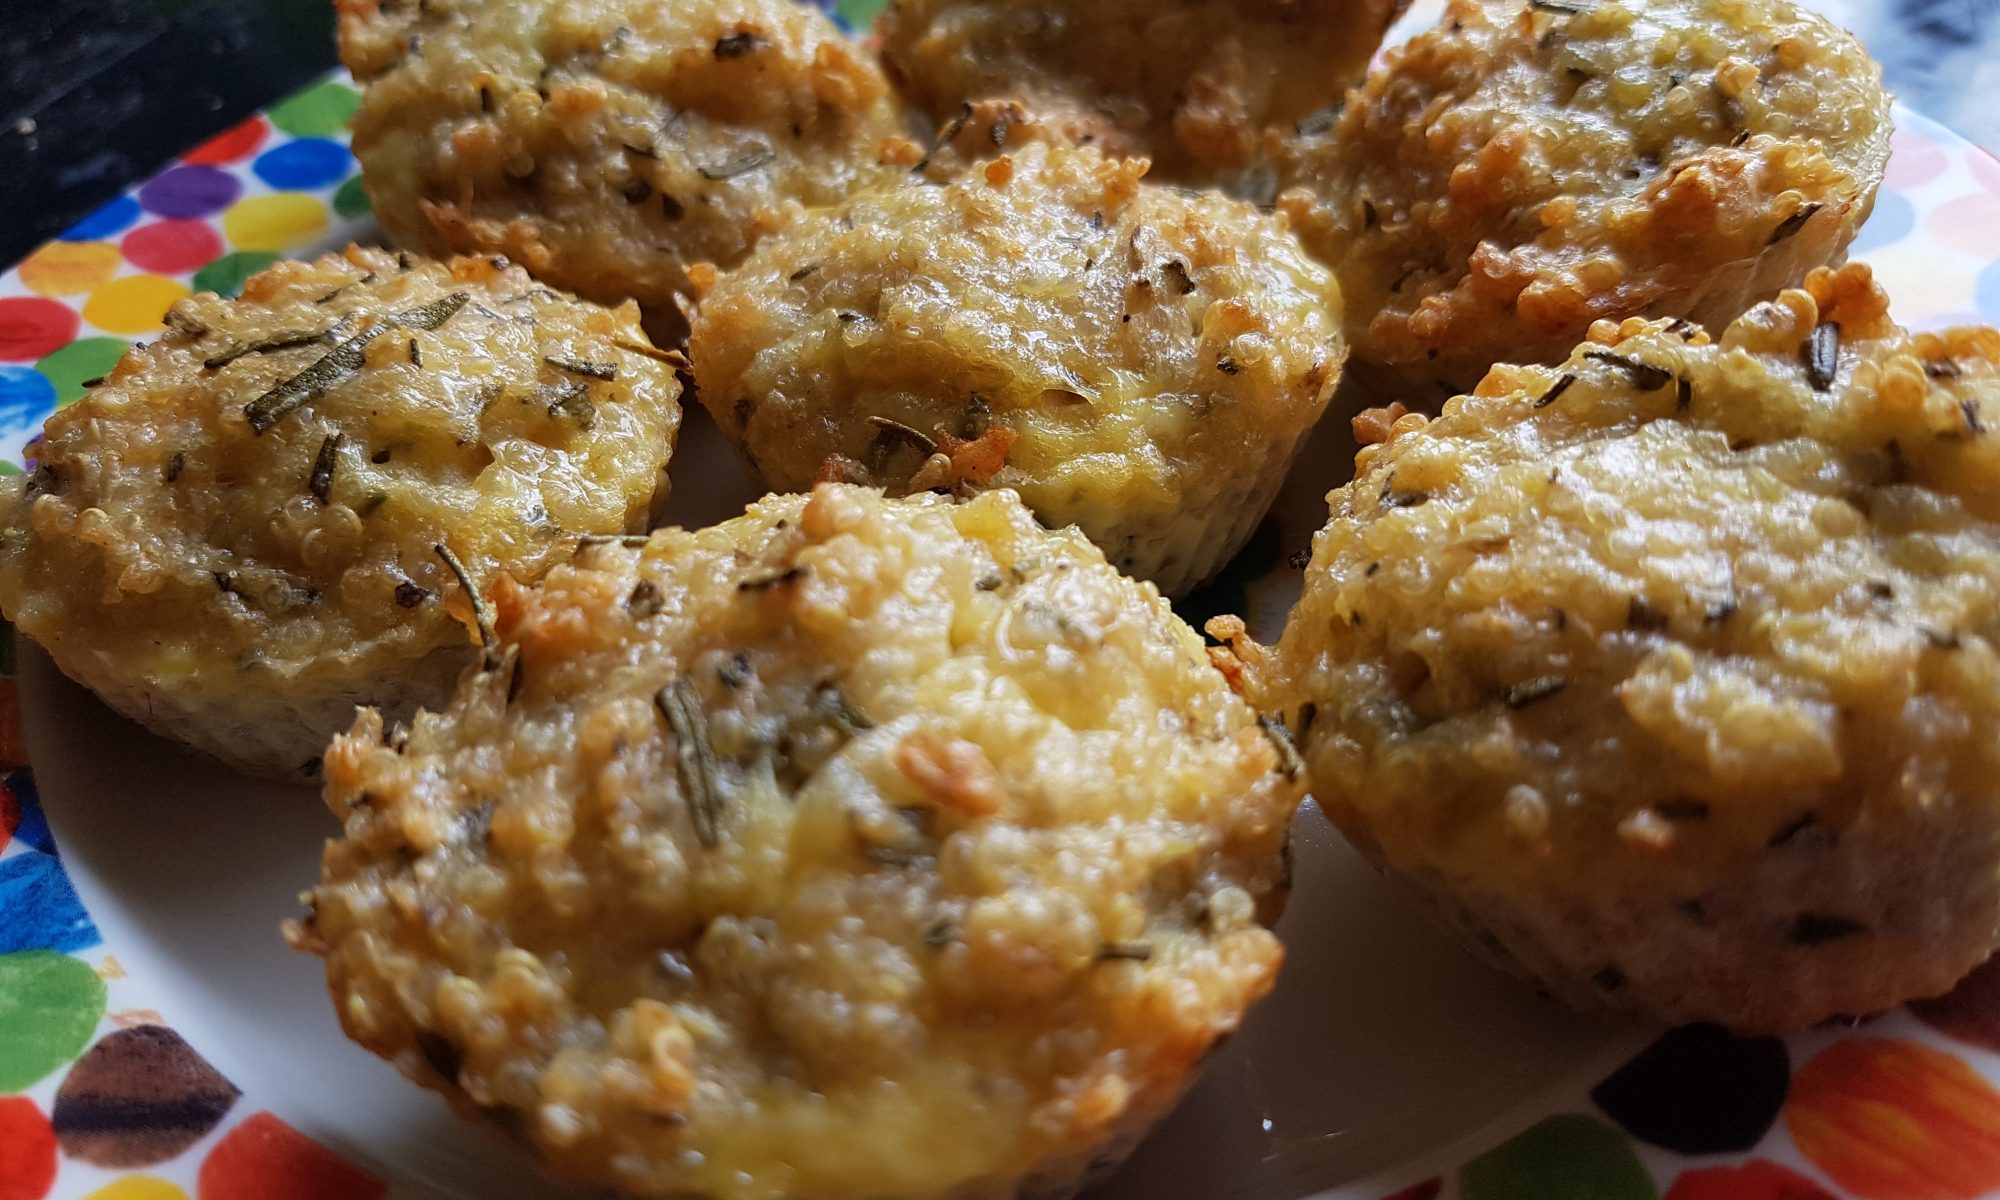
 Otherwise I would have to consider renaming the blog Just Add Rosemary. I can report that the rosemary bush in the garden is now looking somewhat smaller – please don’t misunderstand me, we still have more rosemary than any family would want to eat in a year, but I seem to have banished the need to use it all up.
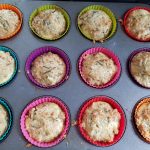 likely to enjoy it or barely notice it in the recipe.The children now recognise the scent of rosemary and are happy when we use it. Atticus is in fact always offering to go and get me more for the cooking projects that we do. This is even for projects which don’t require it, and as I have been using it is all sorts of things recently this isn’t really surprising! It is not as if we are running low on the stuff so I see no need to complain if he is enjoying himself.
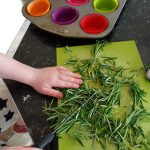 Grate the parmesan with or without the help of your little people.
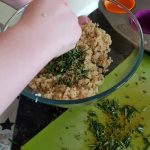 attention and not getting distracted.
 pepper.