Who doesn’t love a good biscuit? (cookie for my non-British readers). Homemade biscuits make a wonderfully decadent addition to your morning brew whether it be tea or coffee.  They are great as a treat or a snack for children as part of a balanced diet. Yes, I did say that full well knowing that one of Seb’s first words was biscuit. I was initially concerned it was a poor reflection of my parenting ability, but I soon figured I wasn’t always allowing him one so best just relax. He was even tricked into thinking that apple slices were biscuits at one point! As long as they were the right shape!
Seb’s love of biscuits is most likely inherited from me. Before we were married Simon was rather fond of pointing out that; ‘biscuits do not constitute a meal’. I had been known in my student days to consider missing a meal in favour of three or more biscuits and chocolate hobnobs were frequently my biscuit of choice.
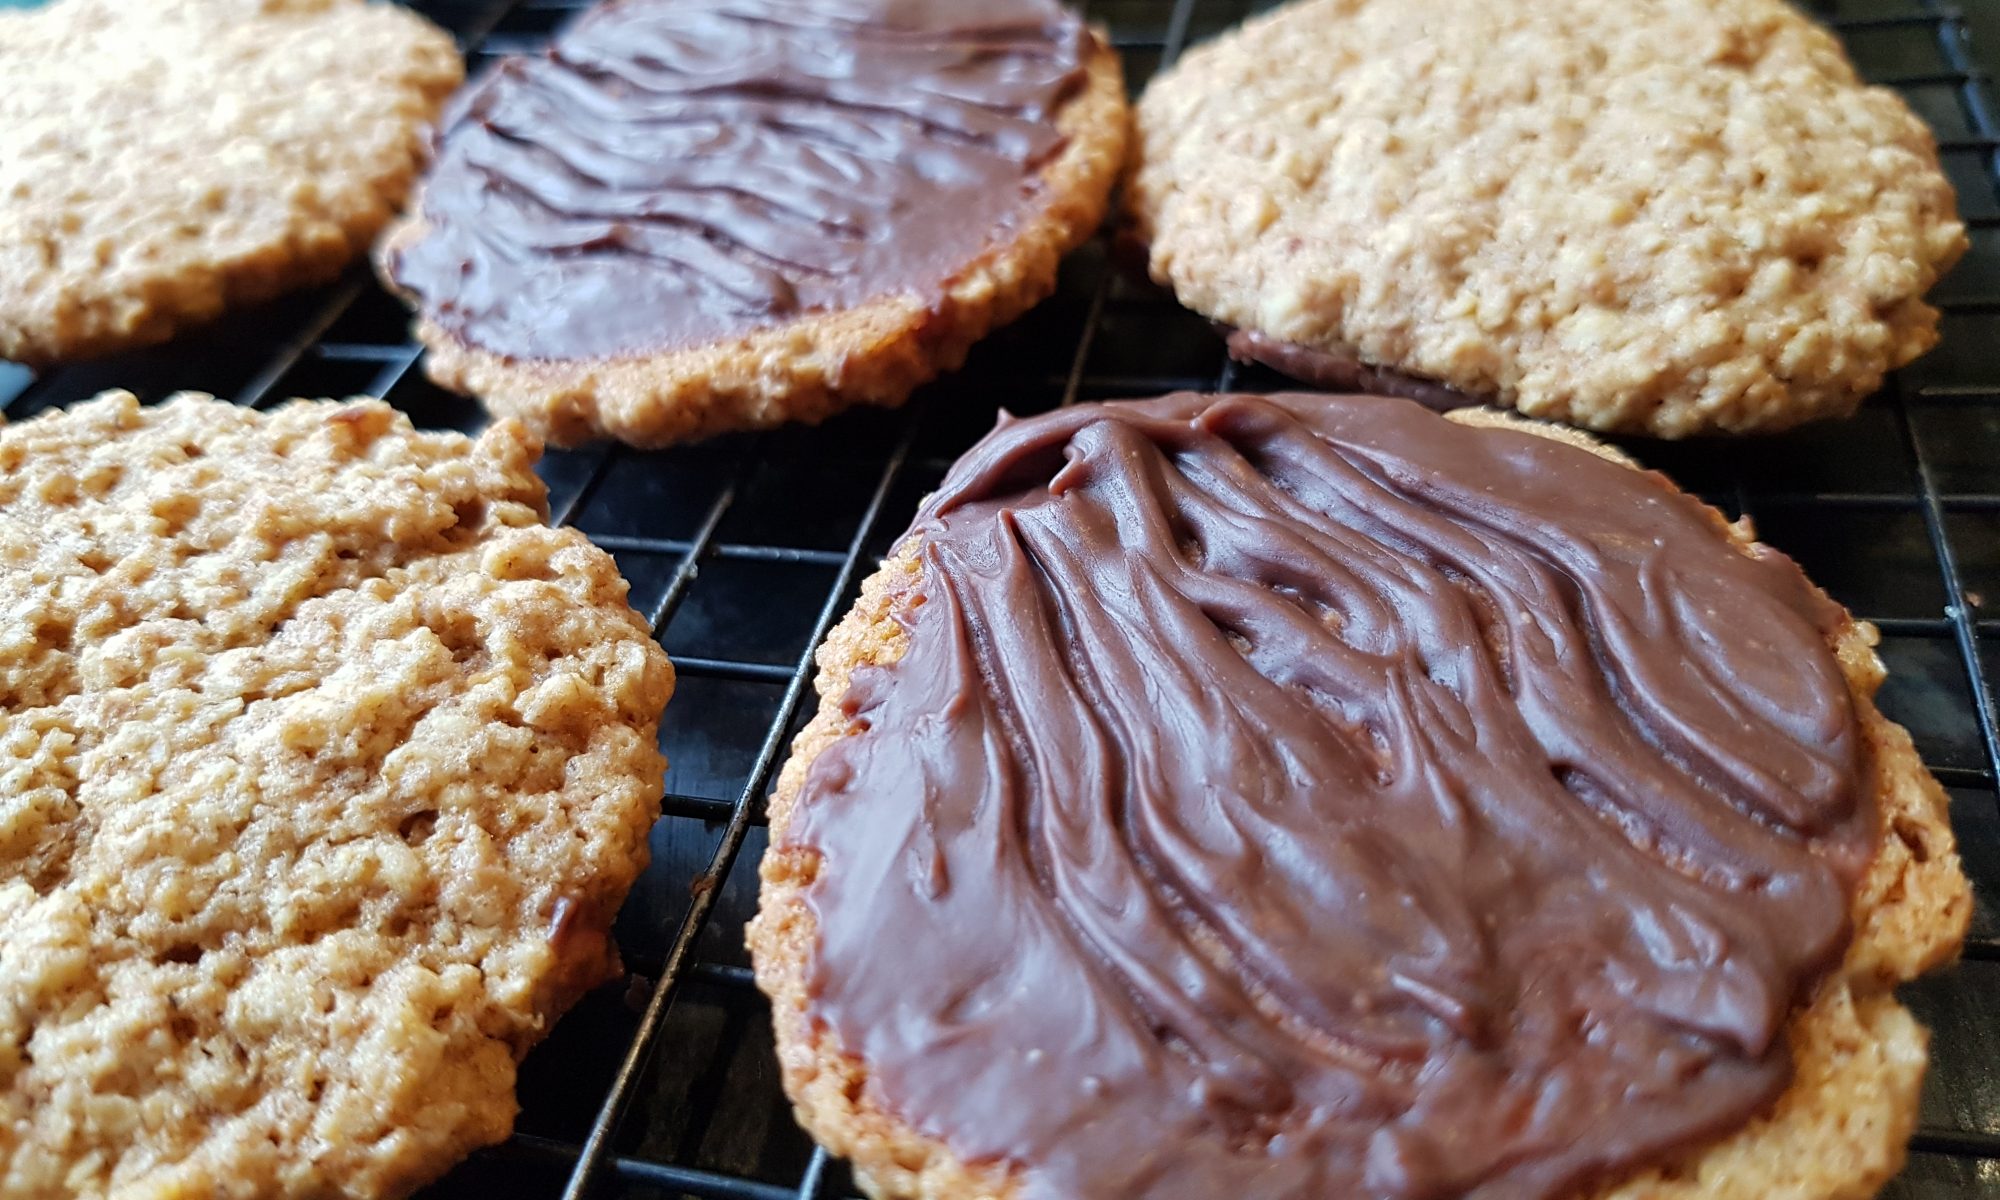
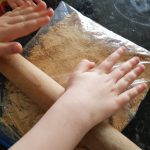
 National Biscuit day passed me by this year without me having a chance to make any biscuits with the children so I decided to rectify that by making these rustic hobnobs with Atticus and Ophelia. I call them rustic as they are not perfect, made with little hands and big excitement in the kitchen and ingredients all over the counters and the kids.
Between them they managed all the steps pretty much themselves after being shown how to do it. The only thing I would say is that Atticus needed a little help to spread the chocolate on the back of them. You could leave the chocolate off the back of them or just use 100g of chocolate chips in the biscuits as that would be easier with smaller children (i.e. under 3). Atticus at 4 did like trying to spread the chocolate and really enjoyed making wavy lines with a small fork over the unset chocolate.
Ingredients
- 125g butter or margarine (if you use a salted butter or margarine reduce the salt to 1/4tsp)
- 80g light brown sugar
- 2tbsp golden syrup
- 100g oats
- 100g wholemeal self-raising flour
- 1/2tsp salt
- 1/2tsp bicarbonate of soda
- 100g chocolate (we used milk) for coating
Method
Makes around 14 large biscuits
- Preheat the oven to 160ºc and line two baking sheets with silicone baking mats or greaseproof paper.
- Cream together the butter and sugar until pale. The kids did
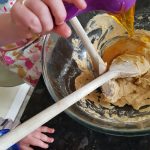 this by hand, but you could equally use an electric hand whisk if you prefer.
 - Add the golden syrup and stir until fully combined.
- Add the oats, flour, salt and bicarbonate of soda and mix until it is all incorporated.
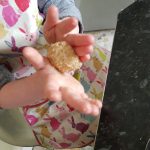 Take blobs of about 1tbsp and roll into a ball. Place on the baking sheet and then pat out to make flat. After trying several ways in both hands, putting it on the baking tray and just letting the kids squish them under their palms, we discovered that the best way to flatten them was to do so gently with your fingers. Atticus at 4 understood this quickly and followed suit. Ophelia at 23 months was more reluctant to do so… Atticus and I did rectify the situation.
- If you want more of a chewy cookie style biscuit, cook for 12 minutes (rotating biscuits for an even bake if required) or if you want a more crunchy one cook for 16 minutes (rotating if required). They both taste delicious so either is fine.
 Remove from the oven and let cool for a couple of minutes on the trays and then carefully remove with a palette knife and place on a cooling rack.
- Once the biscuits have cooled, melt the chocolate on a double boiler or in the microwave and
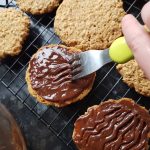 spread it on the underside of the biscuit.
 - Make lines gently with a fork (if you want I did for one batch and not for the second) and allow to set.
Recipe adapted from Butter Baking
These really did smell like hobnobs when they came out of the oven. The kids made one batch and then I made another for Simon to take into work. Simon, who normally doesn’t eat hobnobs actually liked these. This meant I had to share them not only with the kids, but also him! I shouldn’t grumble as it did mean that I wasn’t given the option to eat the whole batch!

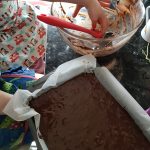
 me think they are healthier than they really are and alleviates some of the guilt that I can assure you came about after eating as many as I did! I also did a spin class the following morning to balance the binge! Using olive oil in this recipe also means that if you use dairy free chocolate these brownies would be dairy free.
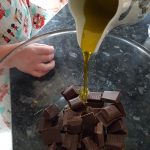 Preheat the oven to 160°c and grease and line a brownie tin.
 side to cool.
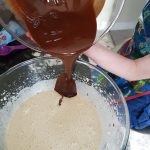 Whisk the egg and rosemary infused sugar with an electric hand whisk until thick and creamy. Think about a bubbly milkshake and then you will have the right consistency. It will end up double the size.
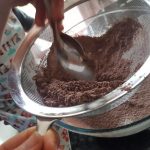 above the bowl rather than resting it on it as the whisked eggs will have increased in size and you don’t want the sieve touching them.
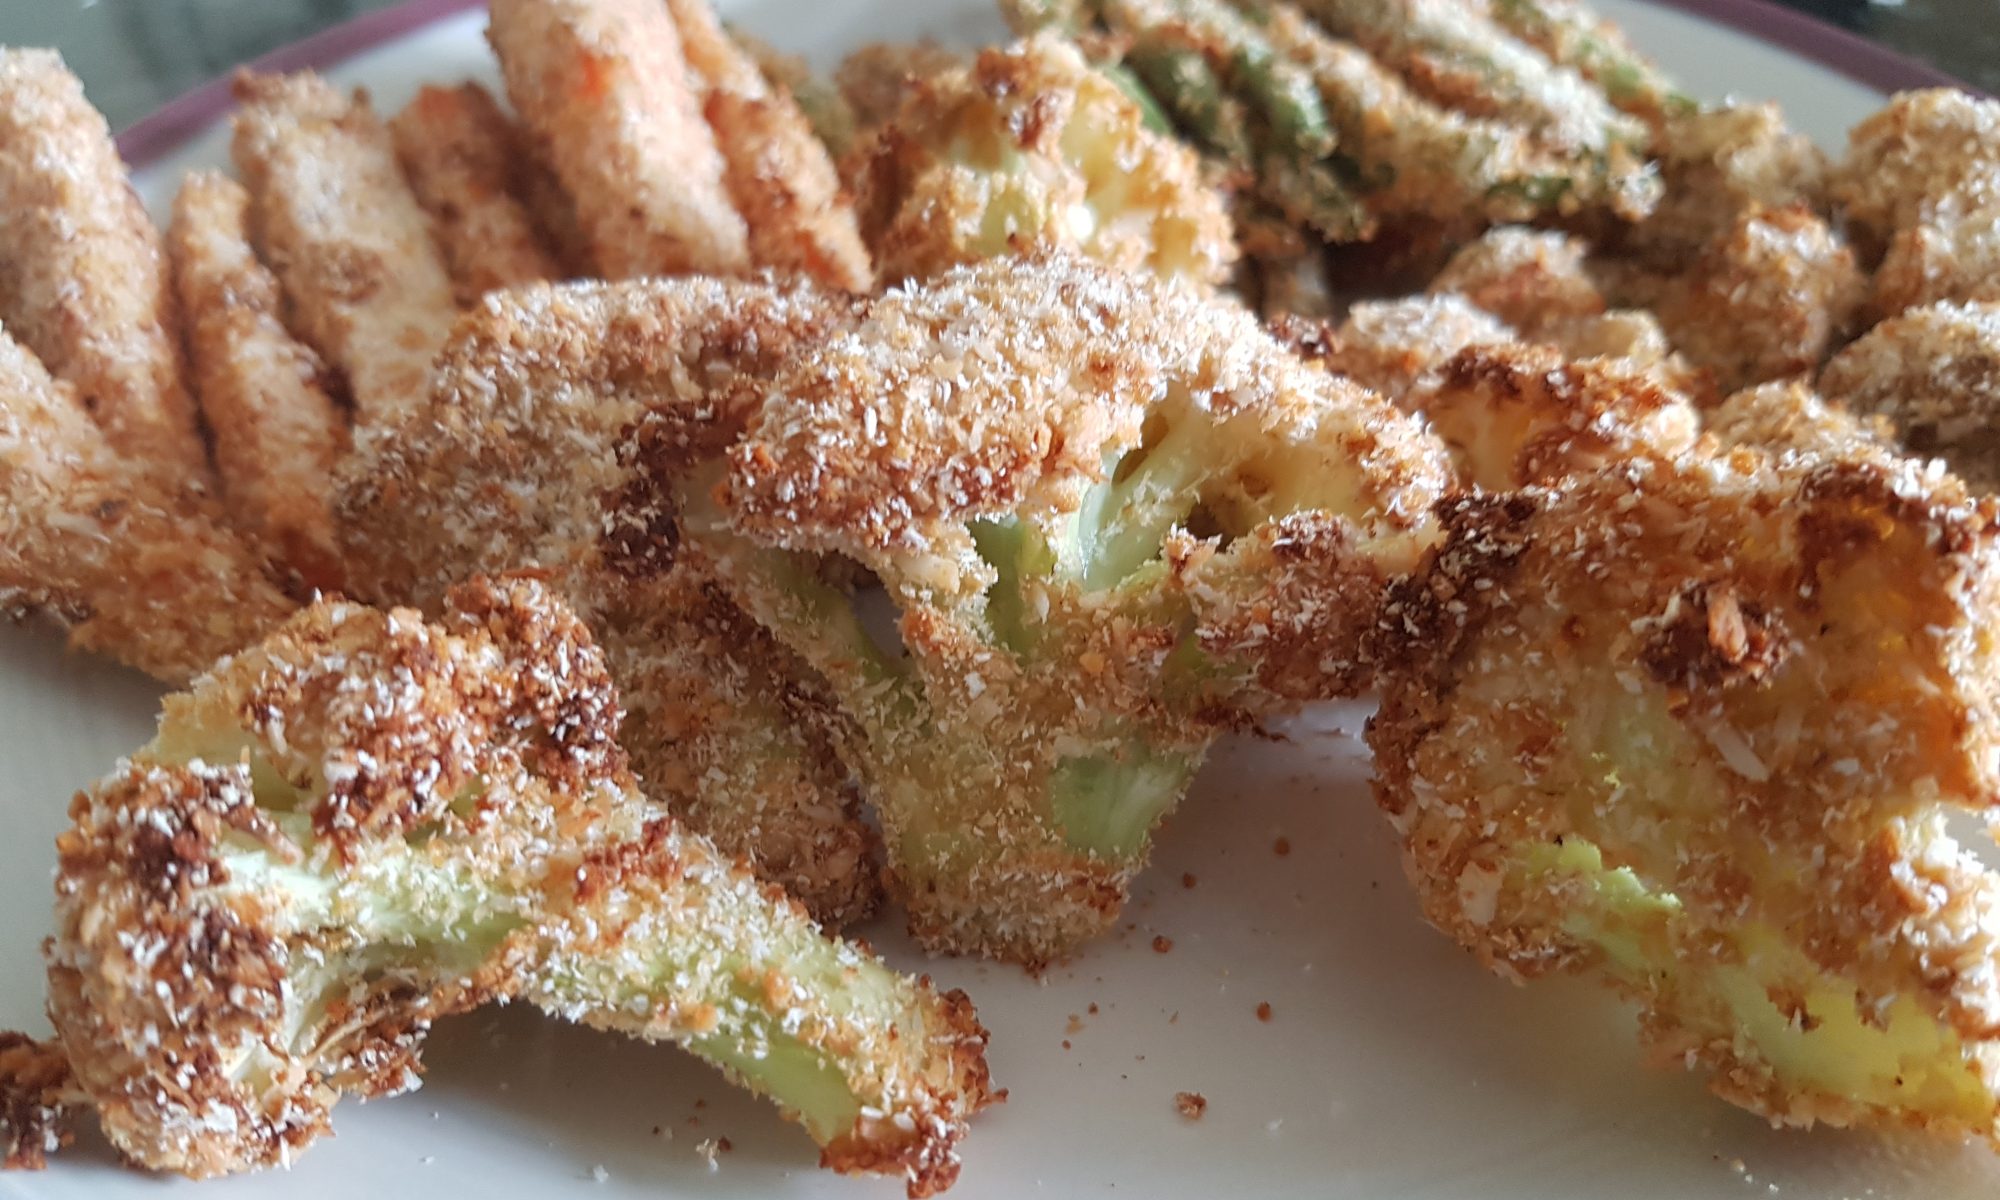
 As I have previously mentioned, when vegetables are dressed up (otherwise known as fancy vegetables) the children are more likely to have a go and even enjoy them. On the undercover mission were: cauliflower, green beans, button mushrooms and carrots. Their disguise was ginger and soy sauce egg underlayer for a desiccated coconut and breadcrumb coating.
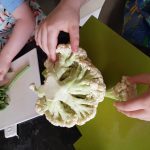 Wash and dry the vegetables.
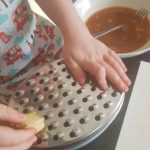 To make this a quicker activity you could prepare all the vegetables for the kids.
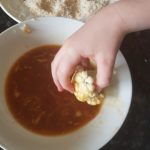 Dip each bit of vegetable in the egg mixture and then roll in the breadcrumb-coconut mixture. My kids also enjoyed throwing the breadcrumb-coconut mixture at the vegetables (this may well explain the mess they made! See the last picture at the end.)
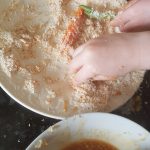 baking sheet and the carrots and cauliflower on the other as they have different cooking times.
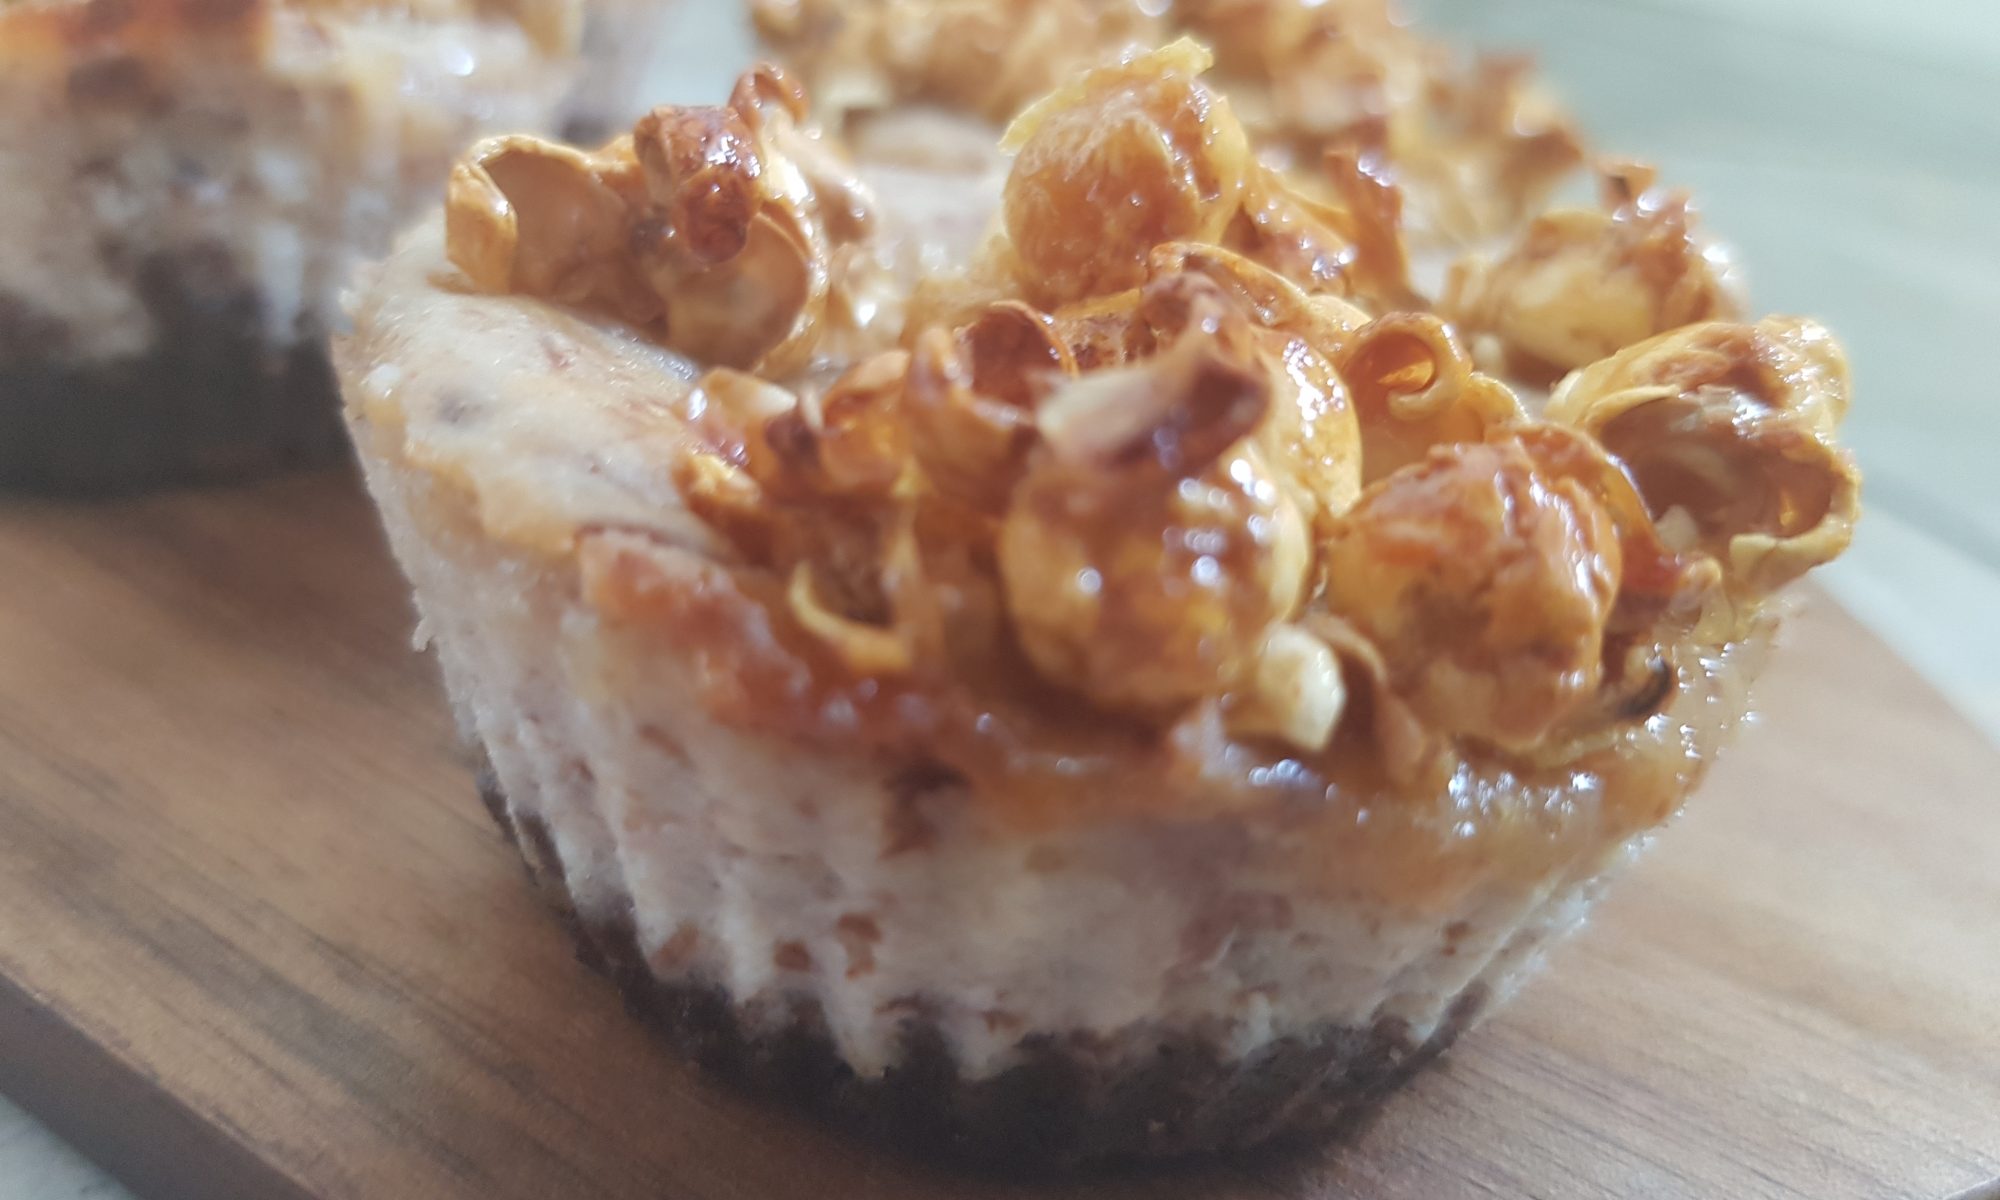
 but I am not a huge fan of cheesecake so I had been putting off making the recipe. That was until I saw Seb inhale a slice of cheesecake at lightning speed at a friend’s house and then I thought it should probably make its way up to the top sooner rather than later. As it happens, we had the grandparents round on Bank Holiday Monday (our front garden is looking a lot less neglected now thank you!) and I thought it would be a good opportunity to try the recipe out and spread the calories around and as a thank you for the manual labour (because essential that is what gardening is) they did. It would have been rude not too, especially when they babysat in the evening too!
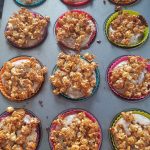
 Place the digestive biscuits into a ziplock plastic bag and crush them with a rolling pin. We also used the rolling pin to roll over the bag of biscuits to ensure that they were all reached. You could also use a food processor, but with kids where’s the fun in that?!
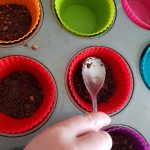 and evenly distribute the crushed biscuits between them and then gently press down with the back of a spoon.
 Divide the mixture between the 12 cupcake cases. This may make a mess, it always does in our house and I really have to fight the urge to step in and take over and correct when they are doing their best.
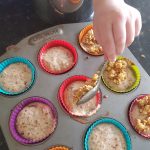 popcorn on each one and return to the oven for another 10-15 minutes until they are set and springy to the touch.
 Remove the cheesecakes from the oven and cool in the tin. Then place in the fridge before removing from the silicone cupcake cases. I have found it is easier to remove them without casualties once they have been in the fridge for a little bit.
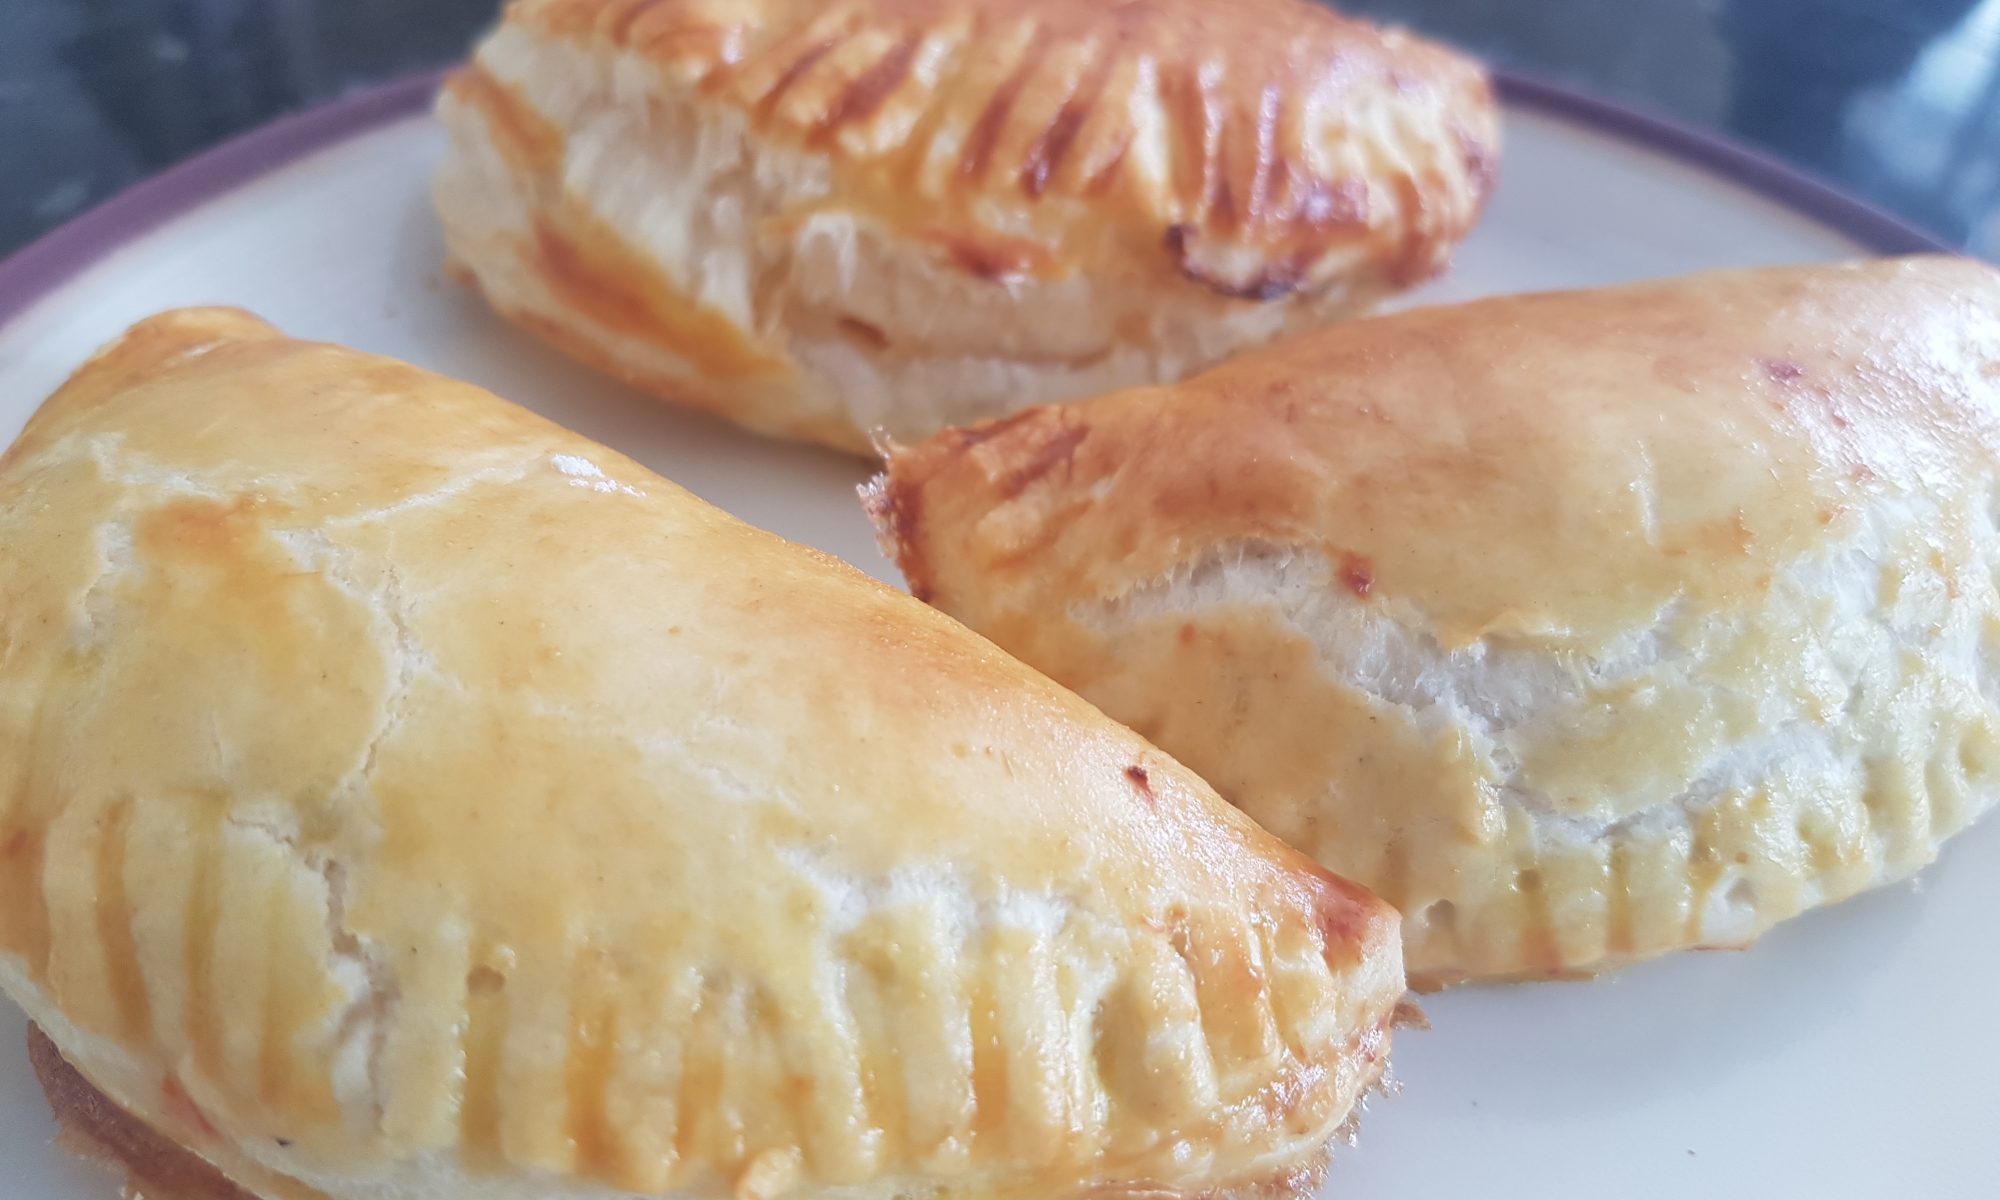
 they were a very good effort from a five year old and all the kids ate them for dinner very happily for two nights. How often does that happen?! A child willing to eat the same thing for dinner (with different accompaniments) two nights in a row without complaint and not a single child muttered anything about not liking them. We had two nights of clear plates! Woop woop! It is a victory that I am celebrating with a happy little dance which I am very glad you can’t see! But call me crazy, I am reluctant to try these again too soon as I don’t want them to decide they don’t like them and taint my victory!
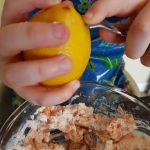 Mix the salmon, ricotta, lemon zest and juice, rosemary and seasoning in a bowl and put in the fridge while you roll out the pastry. Seb had some help with the zesting, but was really determined to have a go.
 this step or roll it a little bit to make it thinner).
 We did have this issue with some of ours, but it obviously doesn’t affect the taste.
 egg around the edge of each circle to help it stick together.
 using a fork. Brush them with the remaining egg and then refrigerate for 30 minutes before cooking them in an oven which has been preheated to 180°c fan for 30-35 minutes until all golden.
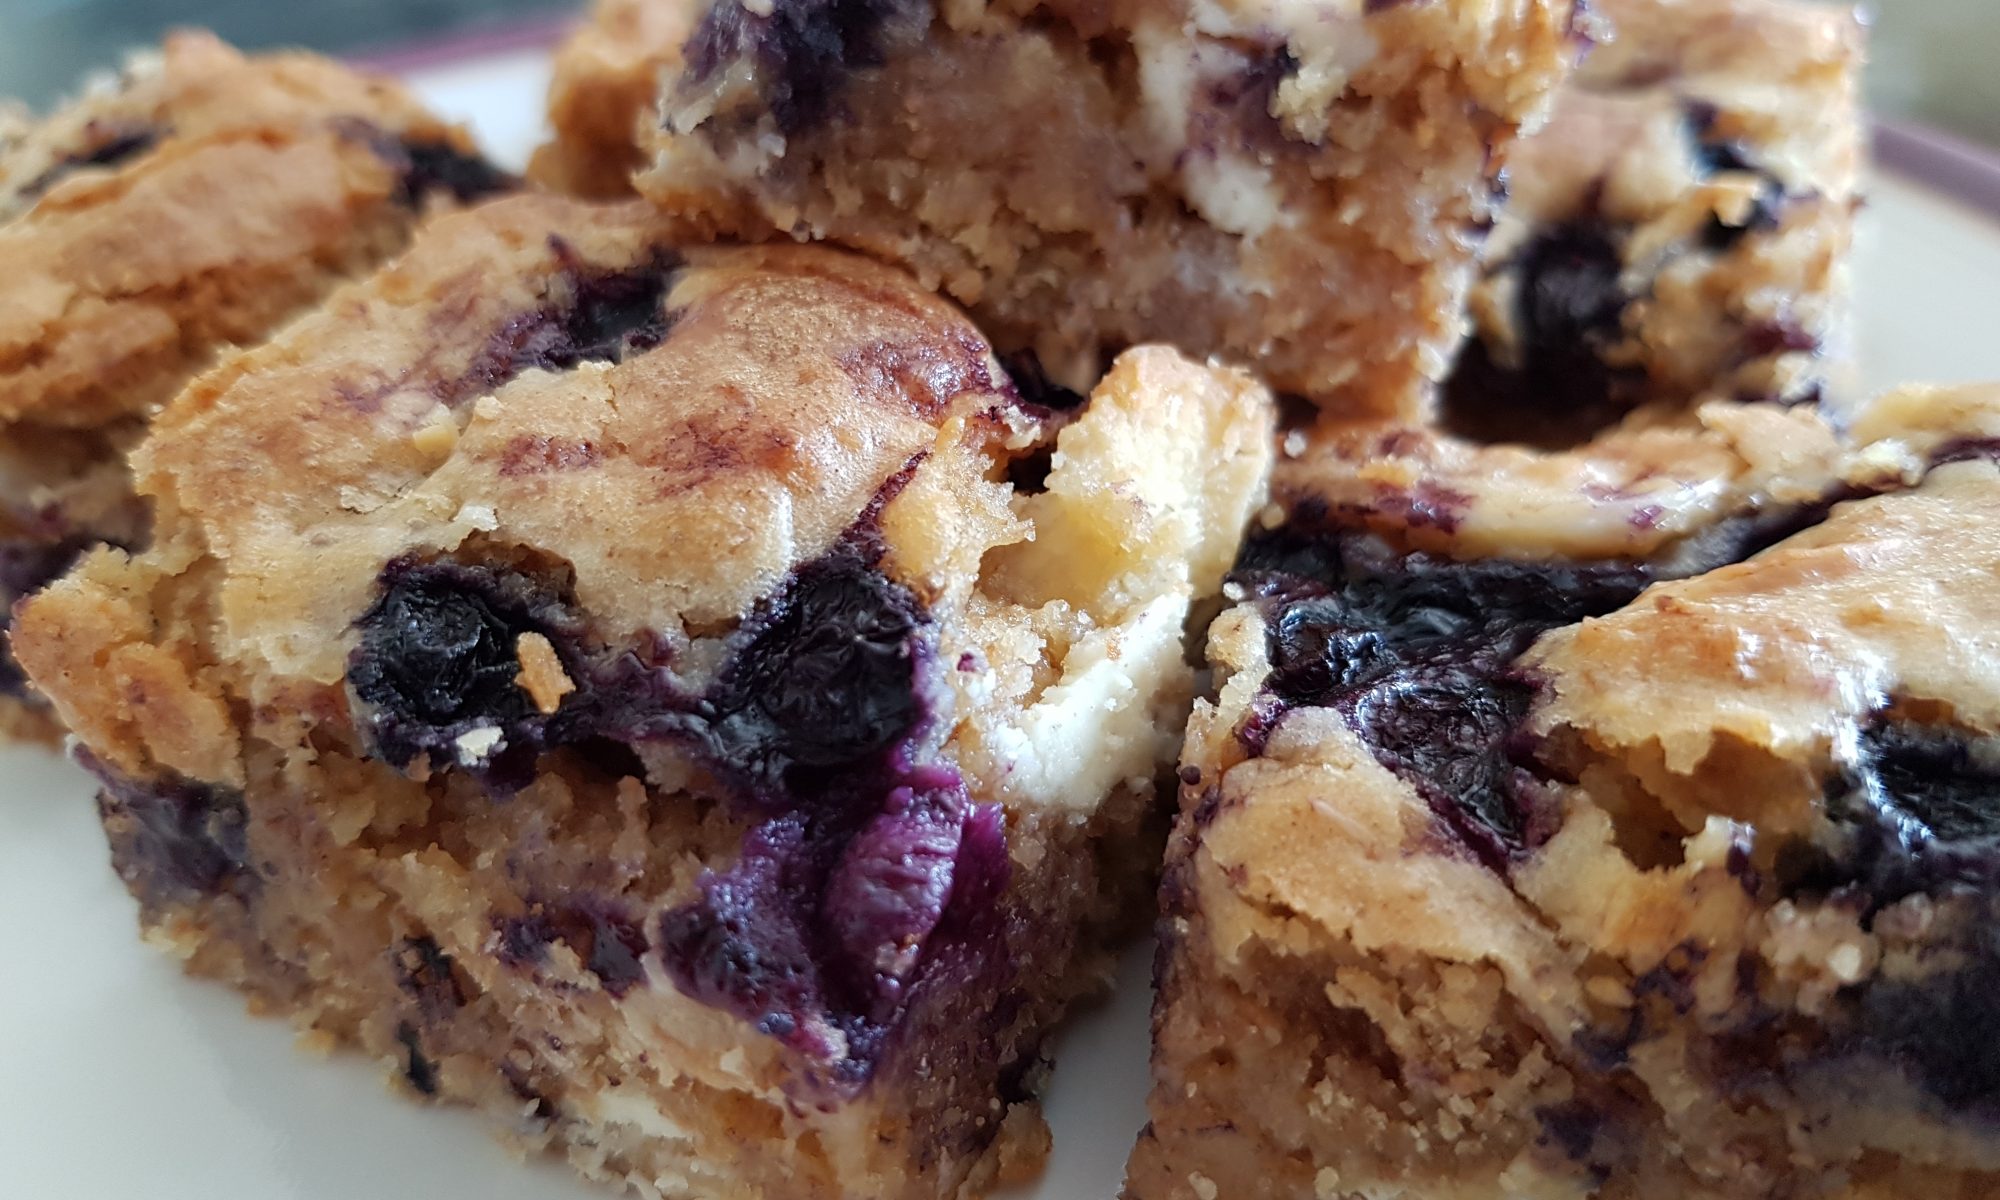
 Remembering how much fun the kids had smashing the Weetabix to smithereens, I decided that we would have a go with Shredded Wheat and make blondies. I love the idea of cereal in brownies or blondies. Adding cereal to baked goods makes me feel a bit less naughty when I eat them and I bet if I didn’t mention it and I offered you one, you probably wouldn’t realise that they contained Shredded Wheat.
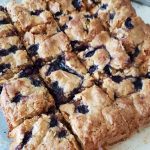 months, she clearly has very little concept of quantity, but she can count to three. We counted two packets of Shredded Wheat together (4 biscuits in total) and while she bashed them still in the packets (less mess) I measured out the rest of the ingredients and melted the butter and the white chocolate.
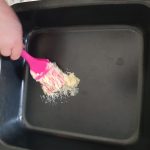 Preheat the oven to 180ºc fan.
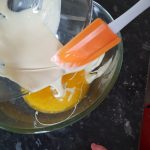 If they are older they may well enjoy measuring out the butter and breaking the chocolate and helping with the melting process.
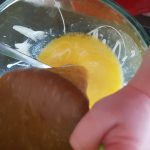 Once the chocolate and butter have melted mix them together until completely combined.
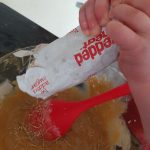 the sugar and vanilla extract. Once it has been completely mixed add this to the chocolate and butter mixture and combine.
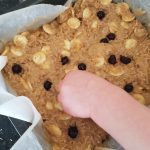 If you mix frozen blueberries in they will bleed and you will have purple blondies which you may not mind, but I decided that we would avoid that this time.
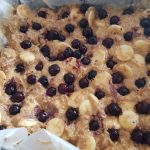 particularly with her brothers as she is desperate to be one of the big kids. I had expected that they would be a popular pudding choice. However, I was amazed that we managed to save some for Daddy and even my sister and her husband when they visited a couple of days later.
 and for certain things like pasta sauce I will still blend them down a bit. I have now, however, started a you must try it ethos. I will, on occasion, dress it up though and try and make it as inviting as possible. It is this which led Seb to trying and quite enjoying asparagus in this recipe, which is great as it is asparagus season and it is truly a yummy vegetable.
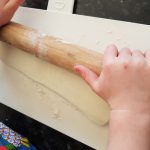 Roll out the puff pastry so that it is nearly the length of 2 pieces of asparagus and width of four. Cut it in half and then each piece into four thin strips. You should have eight strips of puff pastry. Atticus enjoyed counting the strips to check the amount matched the asparagus tips.
 around it to create a spiral. We found that the easiest way to do this was for me to hold the asparagus tip and Atticus to wrap it around and then together we checked there was enough space for the puff pastry. If the bacon or the pastry is too wide, just fold it in half lengthways so it is narrower.
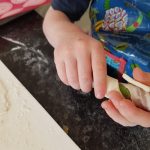 From the other end wrap a piece of puff pastry around the asparagus so that all the asparagus is covered.
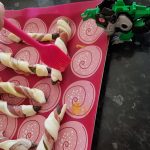 with the egg glaze. The transformer you see in this picture is optional, but Atticus assured me that he was essential to the process. Place in the oven for 25-30 minutes until the pastry is golden and all puffy.
 We served these with dippy doppy eggs. Seb really enjoyed them and would eat them again. Atticus had a nibble and gave up and Ophelia ate the top of each bit, but they both did eat the bacon and the pastry.
 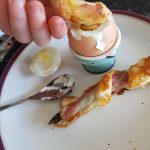 At least they tried and maybe next time we will have more success as I am not giving up on them eventually liking asparagus!
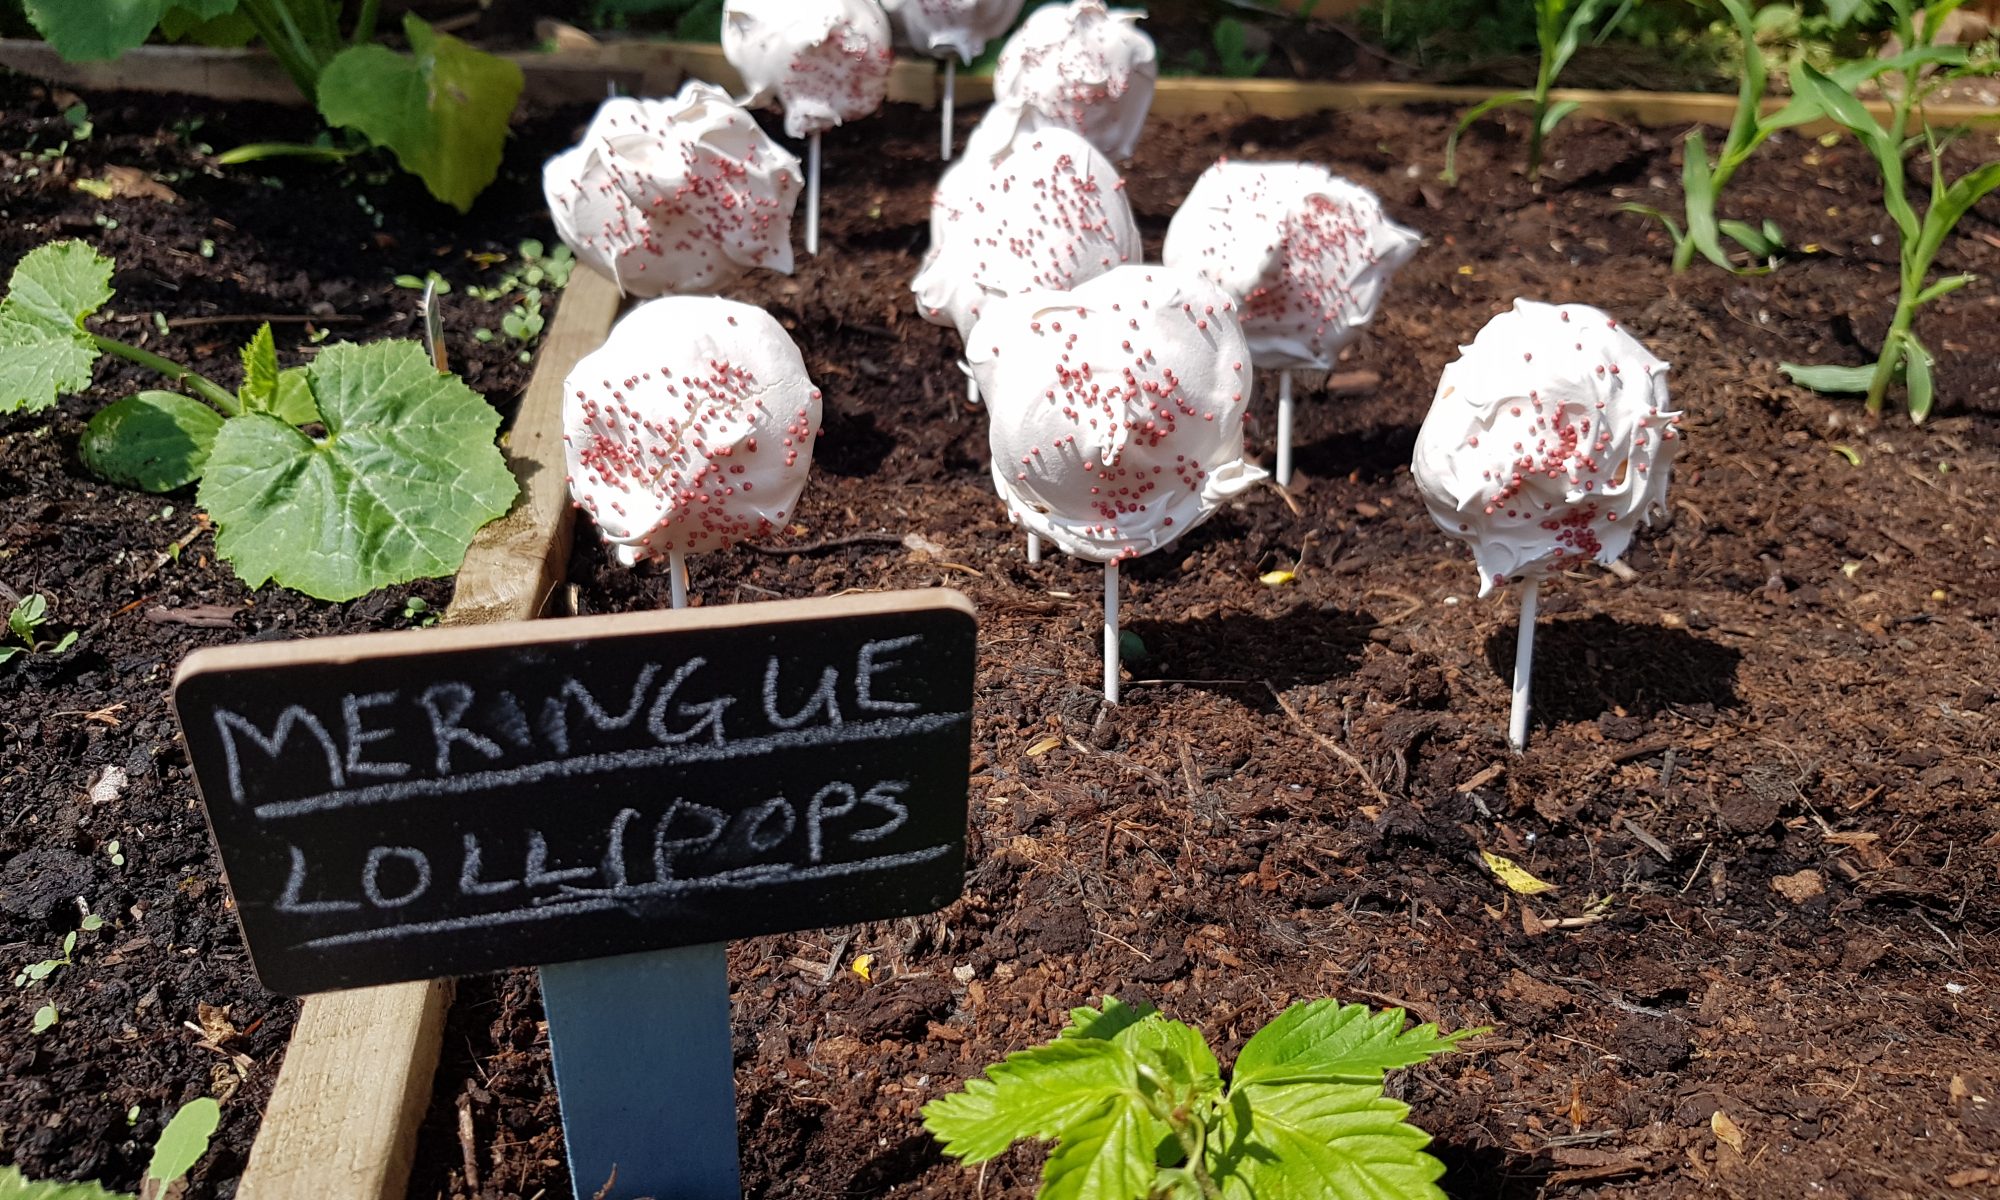
 For the first attempt, we made them way too big and I also used half caster sugar and half icing sugar. They were beautifully squishy inside and had a very marshmallowy, lollypop-like sugary taste. In essence, they were yummy, but they didn’t have great structural integrity and only about 5 of a double batch worked out. This time round I learnt from my previous experience: smaller lollipops and only caster sugar!
 Measure 2 pieces of greaseproof paper to go on your 2 baking sheets. Draw around a 6cm diameter circular object 10 times on greaseproof paper, 5 on each leaving enough space for the lollypop sticks.
 Separate the eggs and put in a large glass bowl. (I separated the eggs as we don’t have an egg separator and it is vital that no yolk ends up in the egg whites.)
 added and whisk between each addition.
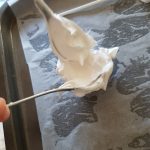 into the circles on the greaseproof paper and then shape with the back of the spoon.
 I put a tiny bit extra of meringue on top of where the stick went in to keep them secure.
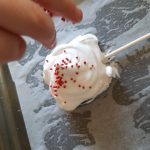 can resist the temptation to have a little look! You need to at least leave the oven door closed until it has fully cooled. I cooked ours for a further 90 minutes after the initial hour to ensure they wouldn’t fall off the lollipop sticks. This gave them a less marshmallowy
 texture, but they did stay on the sticks, not collapse and the kids still demolished them without hesitation.
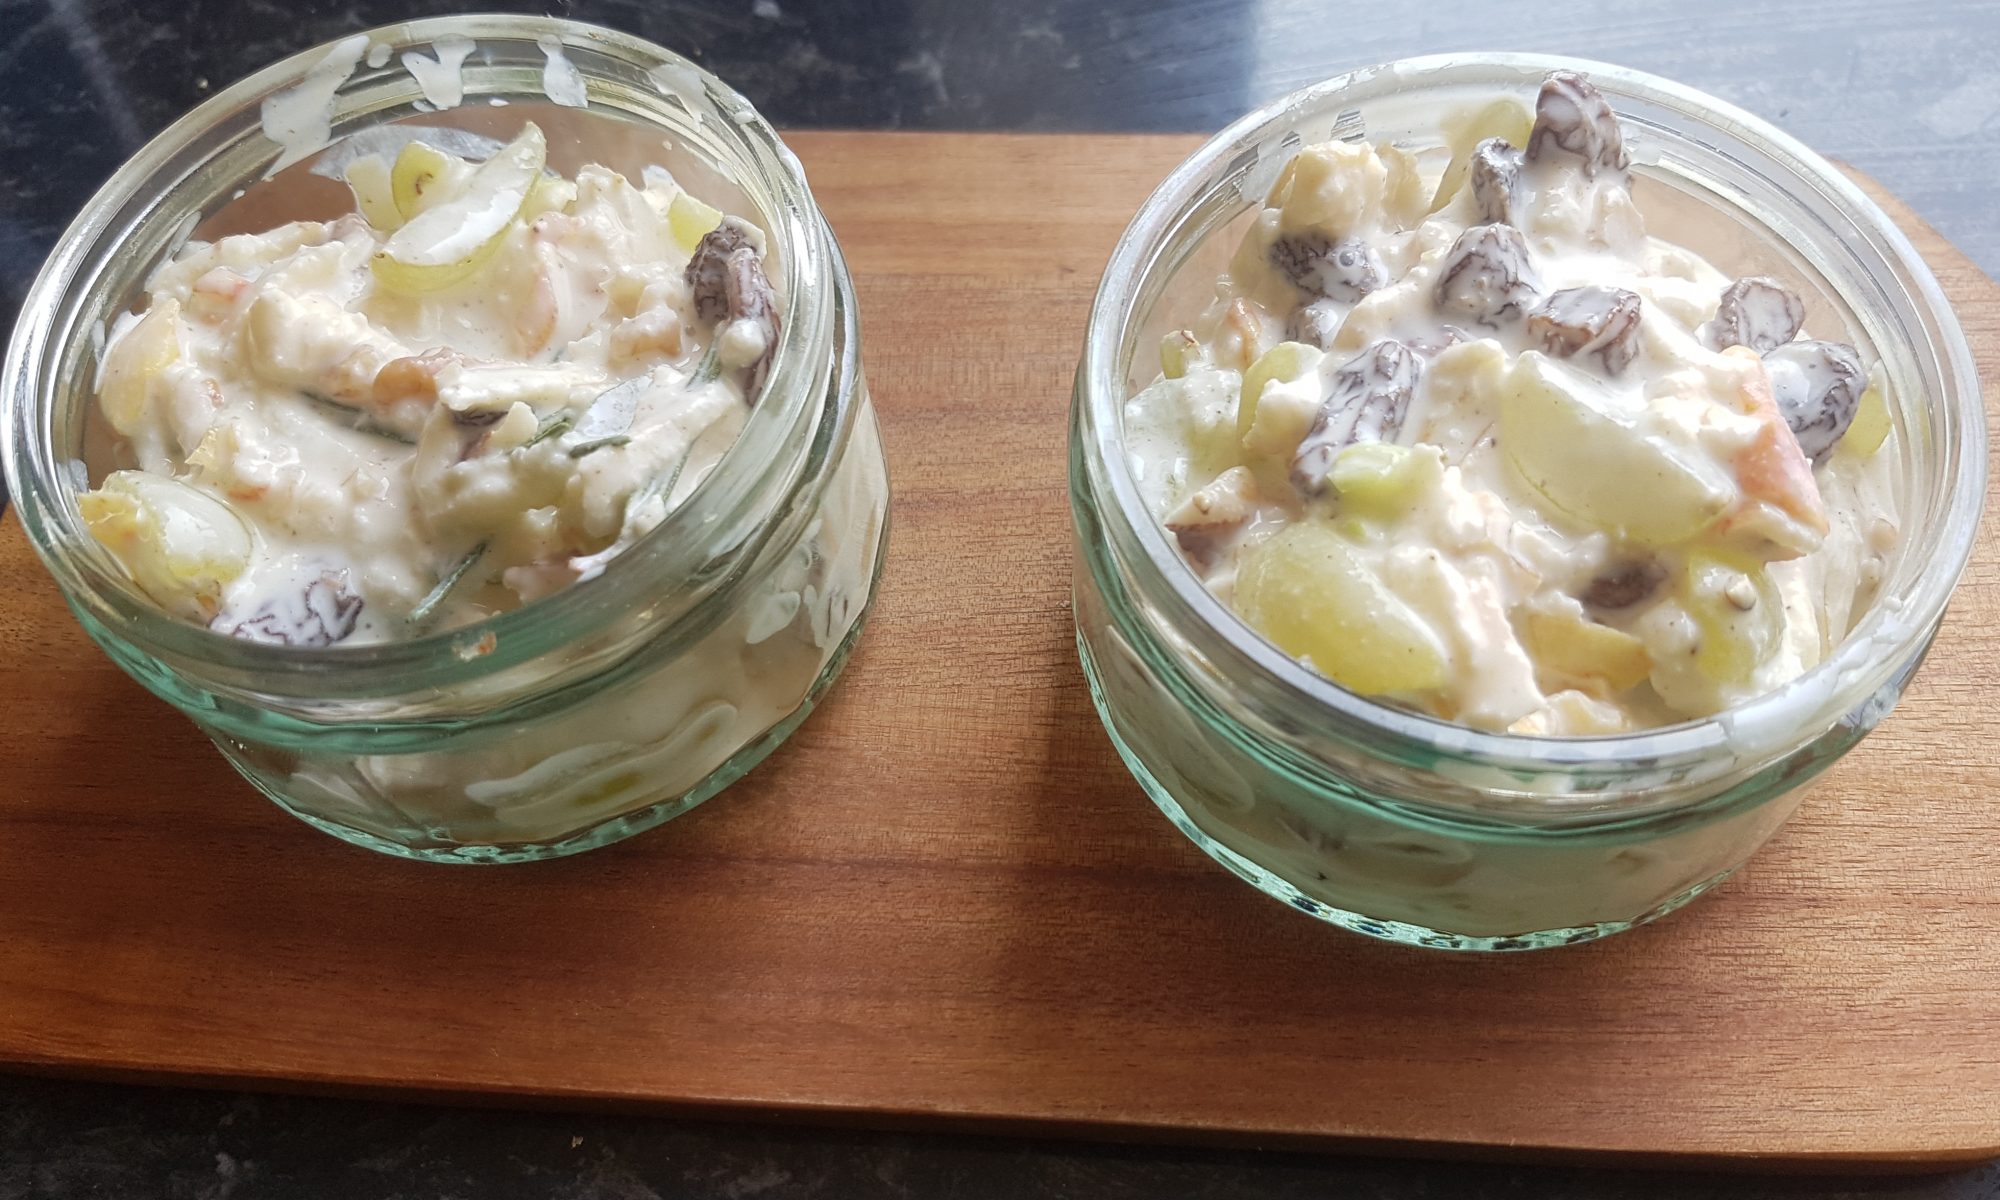
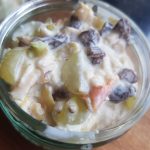 stuck in a rut with the children’s lunches; sticking to what I know they will eat to prevent tantrums and just to make my life that little bit easier. Then I remember that this makes life boring so I try and change it up a bit. We made salmon paste last week, which we hadn’t done for an age, and it was very well received. This week I decided we would try something completely new with Atticus and Ophelia to mark British Sandwich Week 2018. I have been looking at summer salad recipes and I kept on coming back to the Waldorf salad. The kids love apples and grapes and walnuts so I thought we could create something there.
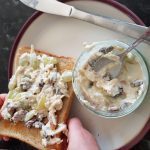 Atticus and Ophelia loved making this and both got completely involved, probably due to all the mixing fun. It worked well as a sandwich filler although mine preferred to eat it out of the small tubs with spoons rather than eat the bread too. I think in future I may well let them have it with crackers and breadsticks for a fun create your own lunch.
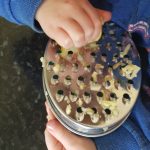 Grate the apple and put it in a bowl. Add the lemon juice to prevent it from going brown.
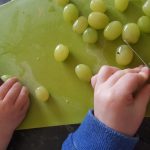
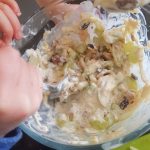 Add the yoghurt, cream cheese, ricotta, rosemary, mustard powder, cumin and seasoning and mix until thoroughly combined.
 with the kids allows me to spend quality time with them creating those all important memories that will keep me smiling long after the kids are in bed or when they are driving me insane. In addition to the aforementioned, the reasons for this recipe are two-fold; we have a surplus of rosemary in our garden and I wanted some new and interesting ways to use it and secondly 12-19 May 2018 in the UK is National Doughnut Week in aid of The Children’s Trust. So we made a donation and doughnuts!
 I need to underline, I am not a professional baker and these were our first attempt at baked yeast doughnuts so they are not perfect. I am sure every home baker would say that they taste better than they look at some point. This is generally exacerbated when children are involved in the process as mine were in this one. That said, I was happy that the rosemary could be tasted in the doughnuts and think the lemon glaze was a good contrast.
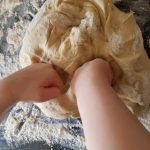 the dough with me and talking about yeast makes dough rise. We talked about kneading the dough to make the yeast ‘friendly’ (or activate it in grown up talk). He had so much fun with the doughnut cutters and the fact that he could pop the centre of them out and then re-roll the dough had him chuckling during the process.
 ones. They may look a little pale, but they will have the lovely soft texture inside. If you do decide you want a firmer doughnut, you can always return it to the oven for another couple of minutes. It unfortunately doesn’t work both ways so keep an eye on them! We did overbake some of ours and they lost some of their doughnutiness, but they still tasted nice.
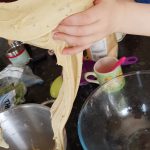
 After an hour, turn it out onto a floured surface and stamp out doughnuts with a doughnut cutter or a biscuit cutter and then cut the centre out
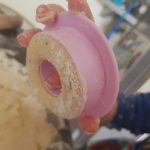 with the reverse side of a piping nozzle. Once you have used all the dough, leave to prove again for another 40-minutes to an hour or doubled in size. (Once again I used my oven, but I did end up reheating it and putting fresh boiling water in it.)
 To coat the doughnuts, dip them in the icing
 bowl and place on a cooling rack so the excess drips off (if you are wise, you will cover underneath the rack with a tea towel or newspaper to reduce clean up time. I didn’t do this and wished I had).