The 23 April is St George’s day. If I am honest, and honestly I do tend to be as it prevents the guilt that lying can cause and I am just not a good enough liar to pull it off without getting myself into a pickle, this sort of occasion tends to pass me by before I even realise and have the chance to do any activities relating to it with the kids. This year Simon suggested that I get the kids involved about a week ago and this spurred me to find a recipe that I had not made with the kids before, but which was also traditionally English.
Many ideas zipped across my head and I immediately became desperate to try as many of them as possible. I had to tell myself to slow down and that there is plenty of time to make bubble and squeak with leftovers and convince the boys to eat stewed fruit so they will enjoy a tasty, yummy, delicious, warming crumble. Yes the boys love fruit, but both refuse point blank to entertain the possibility of consuming stewed fruit in any sort of pudding. It is very strange, but, as yet I have been unable to change this. Ophelia, much to my delight, doesn’t share this peculiarity. After I had manage to channel my thoughts, I decided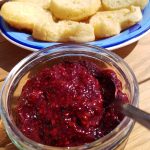 what could possibly be more English than crumpets and fruit jam? After reading that crazy jumble of ideas, you have a greater understanding of how hard it is for my family and friends (my husband in particular) to keep up my train of though and stay sane during the process!
Crumpets are traditionally cooked on a griddle and despite their regional variations, the crumpet that we recognise today seems to be a product of the Victorian times when yeast was added to the recipe. 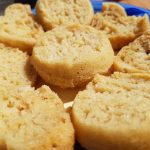 Now before you start thinking crumpets, gosh they sound fiddly and difficult and I don’t want my child standing over the hob for that long as they will get bored and you never know what mischief or trouble they could cause, don’t worry these are oven baked. Woop woop! My children all love crumpets and eating homemade crumpets definitely makes the process all the more special.
For the crumpets
- 225g plain flour (or gluten free flour – see note below the method for gluten free flour)
- 7g fast action yeast
- 200ml tepid water
- 100ml milk
- 1tbsp golden syrup (we have found that Tate and Lyles is the best brand as some of the other brands do sometimes leave the crumpets with a slight orange tinge)
- 1/4tsp bicarbonate of soda
- 1/4tsp salt
Recipe adapted from Peyton and Byrne, British Baking
Method
- Preheat the oven to 180°c and set a timer for 2 minutes. In the meantime boil the kettle and fill a bowl with the boiling water. Once the 2 minutes is up, turn off the oven and the oven light and place the bowl of hot water into the oven and close the door. This will create good conditions to activate the yeast during proving.
- Measure out the tepid water and add the yeast and mix until the latter has dissolved.

- Sift the flour into a medium-sized bowl (I give the kids a
 spoon to push the flour through to reduce the mess and ‘make it snow’) and create a well in the middle of it with the back of a spoon.
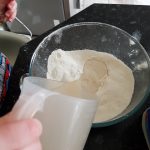 Add the milk to the yeast and water mixture and mix well. Then add the golden syrup and mix again until fully combined.
- Pour the yeast mixture into the well in the flour bowl
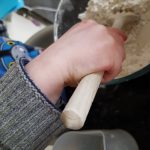 and mix with a wooden spoon until smooth.
- Add the salt and the bicarbonate of soda and mix again.
- Cover with cling film and place in the oven to prove for 30 minutes. At the end of proving the mixture should seem thicker, have air bubbles and be sticky to the touch.
- While the mixture is proving grease you muffin pans. I used silicone ones either sprayed in frylight or greased with margarine.
 Atticus enjoyed painting them with the margarine. Silicone ones do make removing them from the pan easier. A well-greased metal muffin tray could be used instead.
- Once the proving time is up remove the crumpet batter from the oven and switch the oven to 180°c fan.
- Fill each muffin compartment around two thirds full and then level gently with the back of a spoon if they don’t seem flat. We filled 6 circular and 5 heart shaped compartments.

- Place in the oven for 12-15 minutes until the tops are a light golden colour and springy to the touch.
- Leave in the muffin trays for a couple of minutes to cool and them remove to cool further. You may be thinking these don’t look like the crumpets you buy at the supermarket, but once they have cooled a bit more slice them in half to expose their trademark air bubbles. Try and avoid slicing
 them when they are piping hot as it is easier when they have cooled a little. To reheat place under the grill for a couple of minutes. Enjoy with jam, butter, peanut butter or even Nutella! These do have a sweet taste due to the golden syrup.
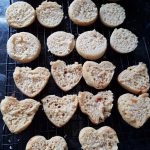
To make these gluten-free follow the same process, substituting the plain flour for gluten-free plain flour. This mixture will not rise as much or have as sticky texture as the normal plain flour and will be considerably runnier. They don’t rise as much during cooking either and are slightly stodgier than their plain flour counterparts. I have,  however, been informed by a gluten-free friend that they taste like normal crumpets. They may need to be cooked in the oven for a minute or two longer as well and are best toasted. The close up on the left is a gluten-free crumpet and as you can see the holes are less pronounced.
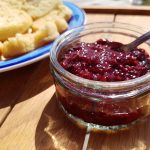
For the Chia Seed Jam
In this recipe the chia seeds act as the gelling agent instead of the pectin. The more chia seeds added the thicker the jam will become. You will not get the same set jam that traditional jam making will yield, but as I have discovered, it is a perfect way to introduce children to jam making.
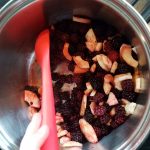
- 2 cups of fruit (we used apple and blackberry as we had some leftover frozen blackberries from last autumn’s foraging trips.)
- 1-2tbsp lemon juice
- 1-2tbsp clear honey
- Chia seeds (the amount you require depends of the consistency of the jam you want. If you want a thick jam, you will need more chia seeds. We did use quite a lot of chia seeds as we wanted thick jam.)
For older children;
 Wash and peel and hard skin off of the fruit (such as apple skin). Chop fruit.
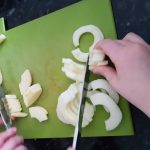 Berries can be left whole.
- Stew the fruit for around 10 minutes until it is soft. I am personally happy to supervise my 5 and 3 year olds using the hob, but if you would prefer the adult can do this for the child.
 If you have chosen very ripe soft fruit then you can bypass this step.
- Squish the fruit with a potato masher.
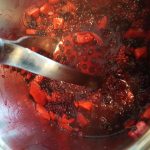
- Then add 1tbsp of lemon juice and 1tbsp of honey. Check the sweetness and then add the rest of the lemon juice or honey if required. If the fruit is particularly sharp, then you may well need more than 2tbsp of honey.
 Add 1tbsp of chia seeds and leave to start setting. If you do want a firmer jam rather than a thick fruit compote continue adding chia seeds 1tsp at a time at 10 minute intervals. The last step of adding further chia seeds may be the part that you complete for the child. Place in sterilised jars (if the fruit was stewed do this once it has cooled) and store in the fridge.
If you have young children (between 1 and 4) you can still make this recipe. I would advise you choose a soft very ripe fruit such as strawberries or raspberries and they squish them with a fork or potato masher and then follow the same steps as the stove-top method.
As soon as we have finished making the jam, Atticus turns around and says to me; ‘Mummy I don’t like jam.’ I had to do my best not to snap at him and remember how much fun he had making the jam with his brother and working the apple peeler and watching the jam get thicker. Luckily, Seb and Ophelia both seem to like it. Ophelia managed to get it all over her face and behind her ears, but she did have a smile all over her face when she did so I was happy. I took this as a positive sign and this gave my patience levels a much needed boost after Atticus’s comment!


 and they love it when sausages are on the menu. As none of my children particularly enjoy (please read absolutely hate and wouldn’t touch with a barge pole) mashed potato, they are not on the menu too often. This seems to change in the summer months when the BBQ emerges from its winter hibernation to perform its summer duties.
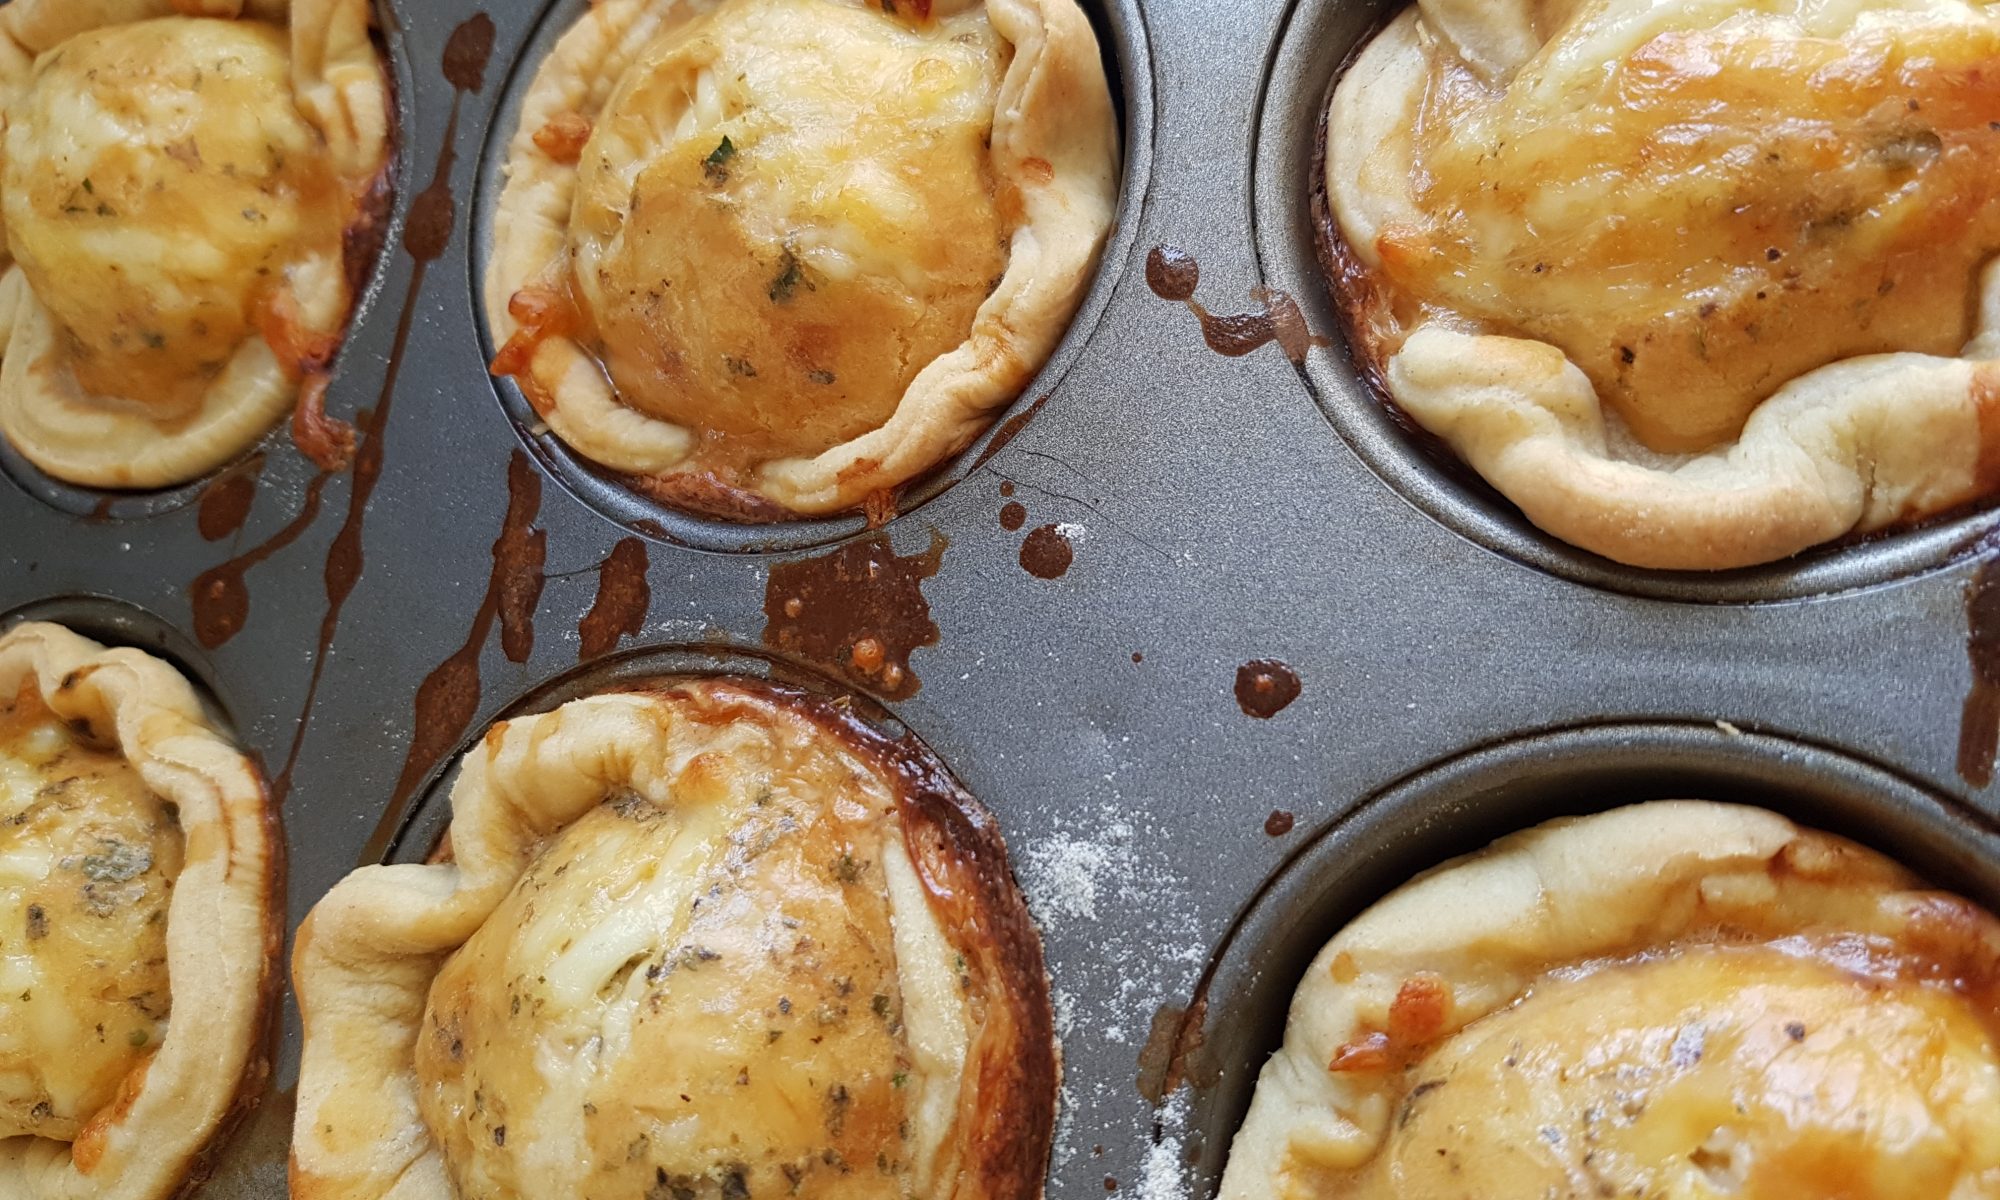
 We had leftover sausages from a BBQ over last bank holiday weekend and to use them up I decided the kids and I would make Mini Toad in the Holes. Pancakes always go down well, so why not add sausage to the mix to make them extra special? Unsurprisingly as soon as I mentioned cooking with sausages I had a couple of children following me eager to get started!
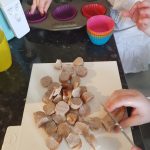 Preheat the oven to 200ºc and put a silicone muffin case into each of the muffin holes. Spray them with frylight or paint them with oil using a pastry brush.
 jug and mix. Season the mixture and whisk in the eggs.
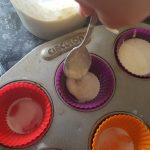 Spoon or pour equally into the muffin cases and then divide the sliced sausages among them.
 Preheat the oven to 170ºc fan and put a silicone baking mat on an baking tray.
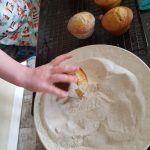
 Take a small child-sized handful of risotto and pick up a couple of pieces of mozzarella and put them in the middle of
  the risotto. Take another small child-sized handful of risotto and squish it on top of it. Press and roll together so that it forms one large ball.
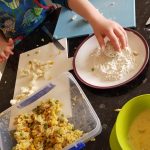 Roll the ball in the flour, then dip in the egg and finally roll in the breadcrumbs before placing on the baking sheet.
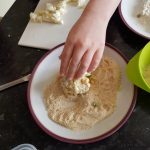
 These didn’t last very long as the kids loved them. They also had a great time making them so it was a good morning activity to pass away the time while daddy was at work.
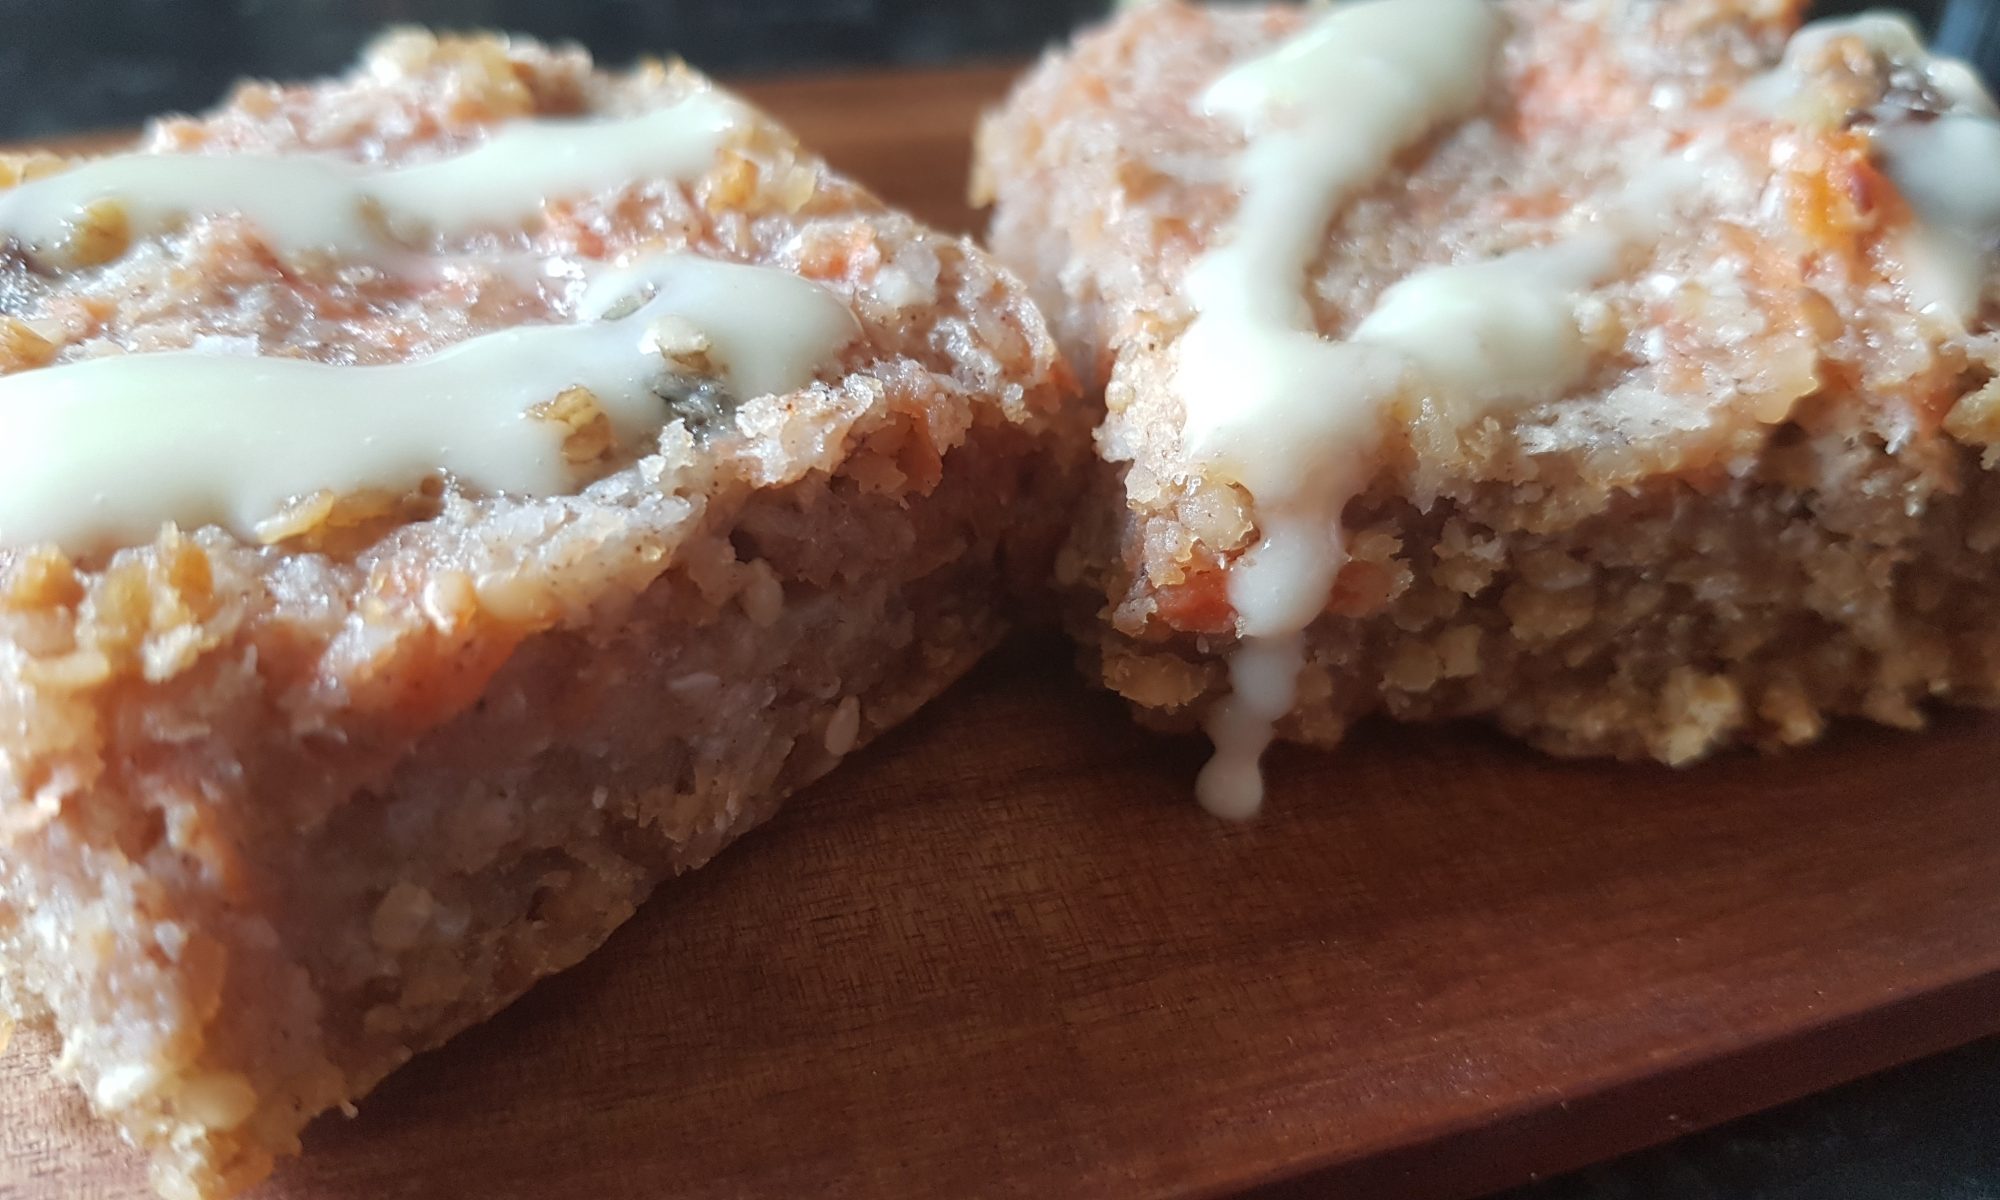
 lot of raw carrots during my pregnancy with Seb, and as a result a raw carrot is a go-to snack for the kids when we are out and about. It also takes a lot longer to eat a large carrot than a biscuit, it is healthier and less sticky and messy for small paws during a buggy ride or walk. It is a win-win in my book. Although I do look a bit strange carrying around whole carrots in my handbag and distributing them to the kids to delighted shrieks and it must look especially strange when I also decide to partake of the healthy snack! It also leads me to start listing my favourite fictional bunnies in my head (if you are interested the list includes Tweak Bunny, Peter Rabbit and Thumper).
 For me this was an afterthought. They are yummy without any icing, but they do look a bit plain so if you would like to drizzle some on top mix 25g icing sugar and a couple tbsp of orange juice. If you want it thicker add more icing sugar and more orange juice if you want a thinner icing. I like to use quite thick icing so it can be seen.
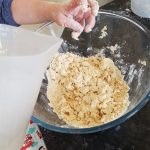
 Put the butter, brown sugar and golden syrup into a saucepan and melt to combine on the stove. When it has fully melted, add the oats and sesame seeds and mix well.
 is cooking make the carrot cake topping. Put the condensed milk, orange juice, plain flour and egg into a bowl and mix well. Add the grated carrot, raisins, ground walnuts, desiccated coconut and cinnamon and mix again.
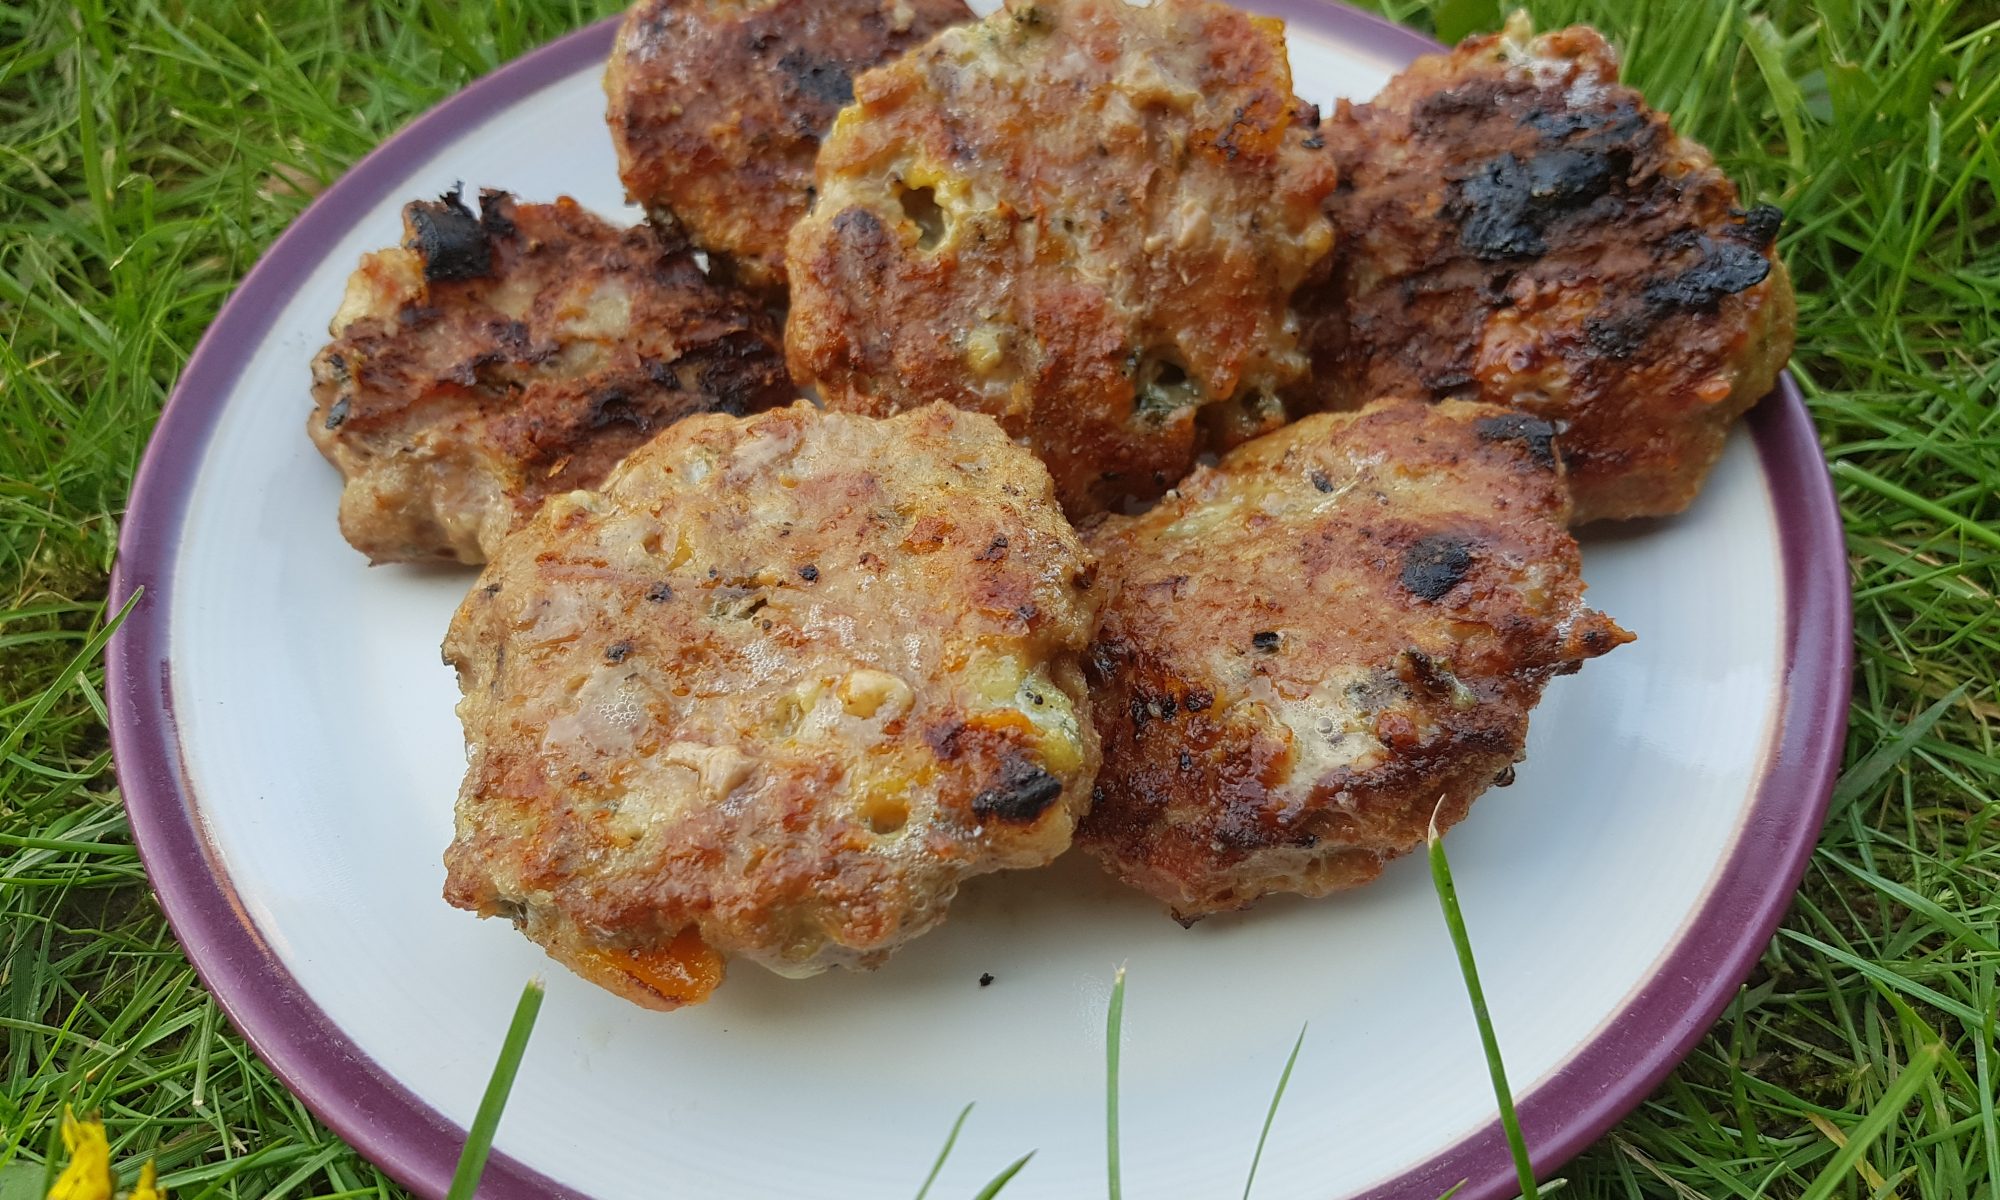
 All I had to do is actually make the burger recipe with Seb and a salad. Simon manned the BBQ and cooked all the food. An easy afternoon for me!
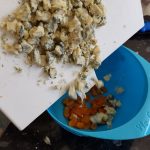
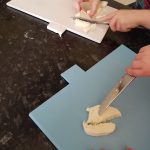
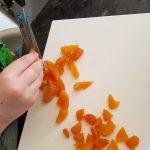 Using kitchen scissors chop the dried apricots into small pieces and place in a medium-sized mixing bowl.
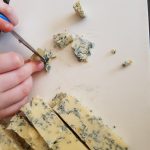 This cheese is easy to chop with a table knife, but we also found that it could easily be crumbled.
 Crack the egg in a cup and whisk gently. Add it to the meat mixture and mix again.
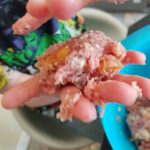 We made 8 medium-sized burgers. Place on a baking sheet lined with greaseproof paper or a silicone baking mat and chill in the fridge for at least 30 minutes before cooking.
 When ready to cook place on the BBQ until fully cooked or in a preheated oven (170ºc). The cooking time will depend on their size. They are cooked when there is no pink meat, the juices run clear, they are steaming hot or 75ºc on a meat probe.
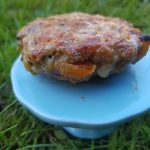
 chuckle and I ended up explaining that not all British people like Marmite and some in fact hate it. I never saw any of the family touch the Marmite in my presence, but I did manage to polish off the jar during my stay. I think they were quite relieved! I was very happy to have something to remind me of home.
 It is such a versatile ingredient: Marmite on toast, in sandwiches, plain rice, spaghetti and of course quiche. Now before you dismiss me as crazy for adding Marmite to quiche (or any of the other ideas…), I promise you it works (if you like Marmite). Don’t believe me try it and decide for yourself.
 tend to make way too much pastry as then it doesn’t matter if the children don’t roll it out thin enough. It is easy enough to chop excess pastry away from a flan tin or just make more mini ones. We used muffin trays for the small ones, but I would recommend using a shallow bun tin instead though.
 Place the butter, flour and salt into a bowl and rub with fingertips until it resembles breadcrumbs.
 Put the pastry on the mat and sprinkle with flour. Dust a rolling pin with flour and roll it out.
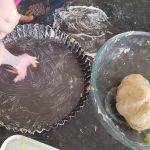 edges. Cut off any excess, but leaving a bit extra on. Prick the bottom of the pastry and cover with greaseproof paper and baking beans. Make sure some of the beans are close to the edge.
 If using the shallow bun tin cut into rounds with a circular cutter a bit larger than the holes. Bake blind at 200ºc (15 minutes for the large one and around 7-10 minutes for the mini ones).
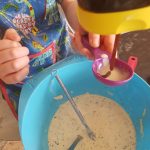 Grease the measuring spoon for the Marmite (we used frylight and squeezy Marmite) and add the Marmite. Mix thoroughly. This may be quite difficult due to the Marmite’s texture, so you may well need to help with this.
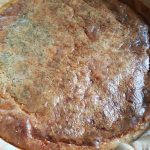 into the mini ones) and bake for 40-45 minutes until it is set. The quiche may look a bit brown as it cooks, but this is because of the Marmite.
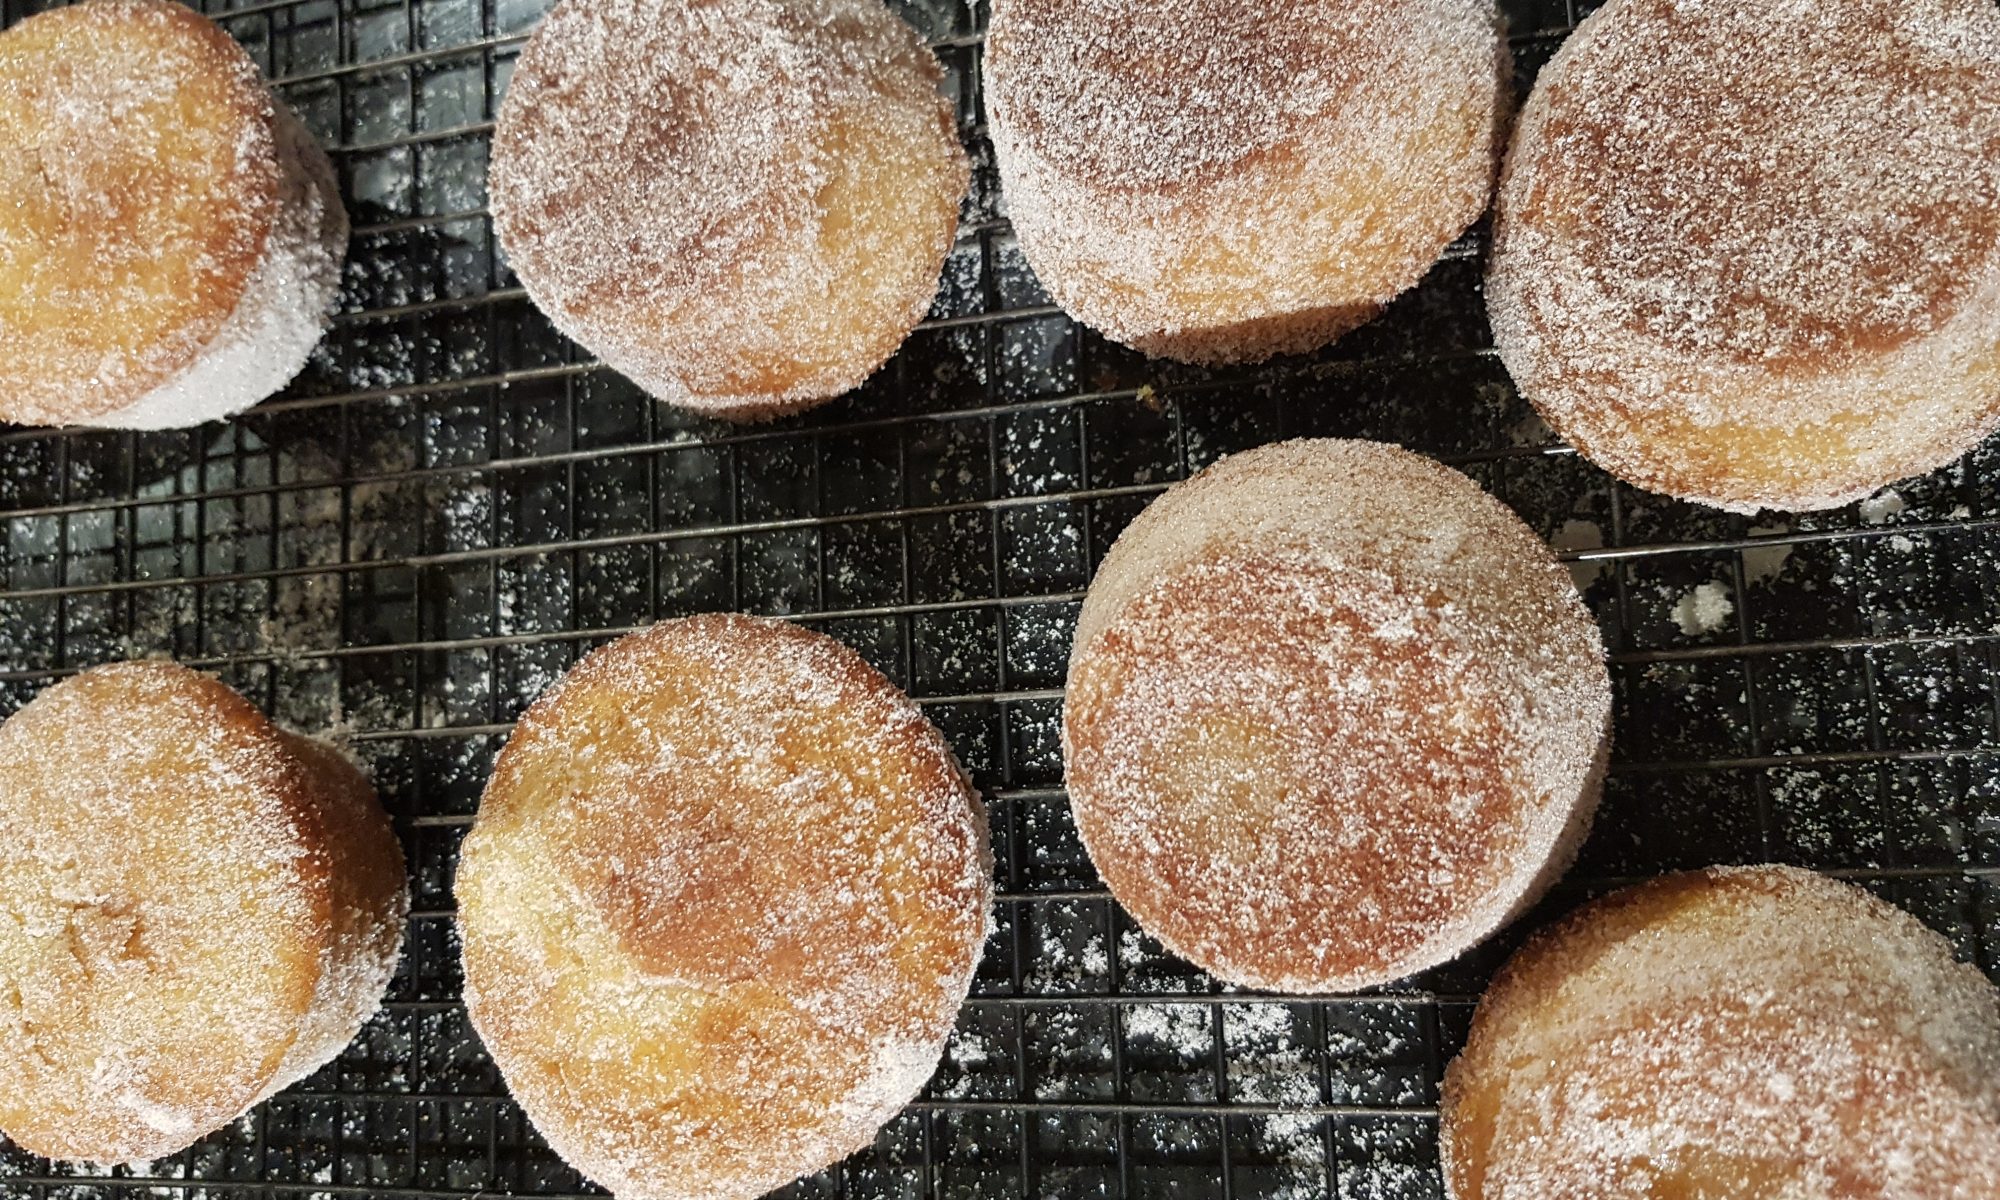
 As he is not a jam fan (something which he adamantly tells me every time we make jam tarts or I even move to get the jam out of the fridge for anyone else) they really did have to be filled with Nutella. I also filled some with lemon curd for the grown ups and those who aren’t as fond of Nutella as my kids are.
  And great news for all my gluten-free friends this recipe can be made gluten free by substituting the regular flour for its gluten-free counterpart. You do sacrifice a bit of the rise that you get with the regular flour, but they are still yummy. It has to be said that both versions taste better and more doughnut-like when eaten immediately after rolling in sugar and still warm from the oven, but they do also taste good a bit later either warmed in the oven or even cold.
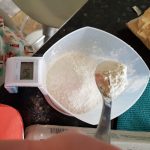 which require more greasing and silicone which were easier and mini ones. Overall the silicone ones were the best).
 Whisk the buttermilk and the eggs together and then add them to the dry ingredients along with the melted butter. Combine them with a metal spoon.
 While they are cooling mix 100g caster sugar with 1tsp of ground ginger (add more ginger or sugar to adjust taste) and spread on a plate. Remove the doughnuts from the tin and immediately roll in the sugar/ginger mix. You can omit the ginger and cover them in just sugar which may well work better with jam, but the ginger did work nicely with the Nutella and lemon curd.
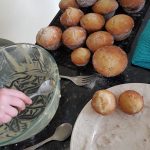 participating in the exercise classes I attend during the week with increased enthusiasm and energy. This is not altogether surprising when you count how many doughnuts I consumed over 2 days. The day after his birthday the remaining doughnuts were distributed to the people of Atticus’s choice (he had very particular ideas about who should receive them) and I am already planning my next baking project (no surprise there).
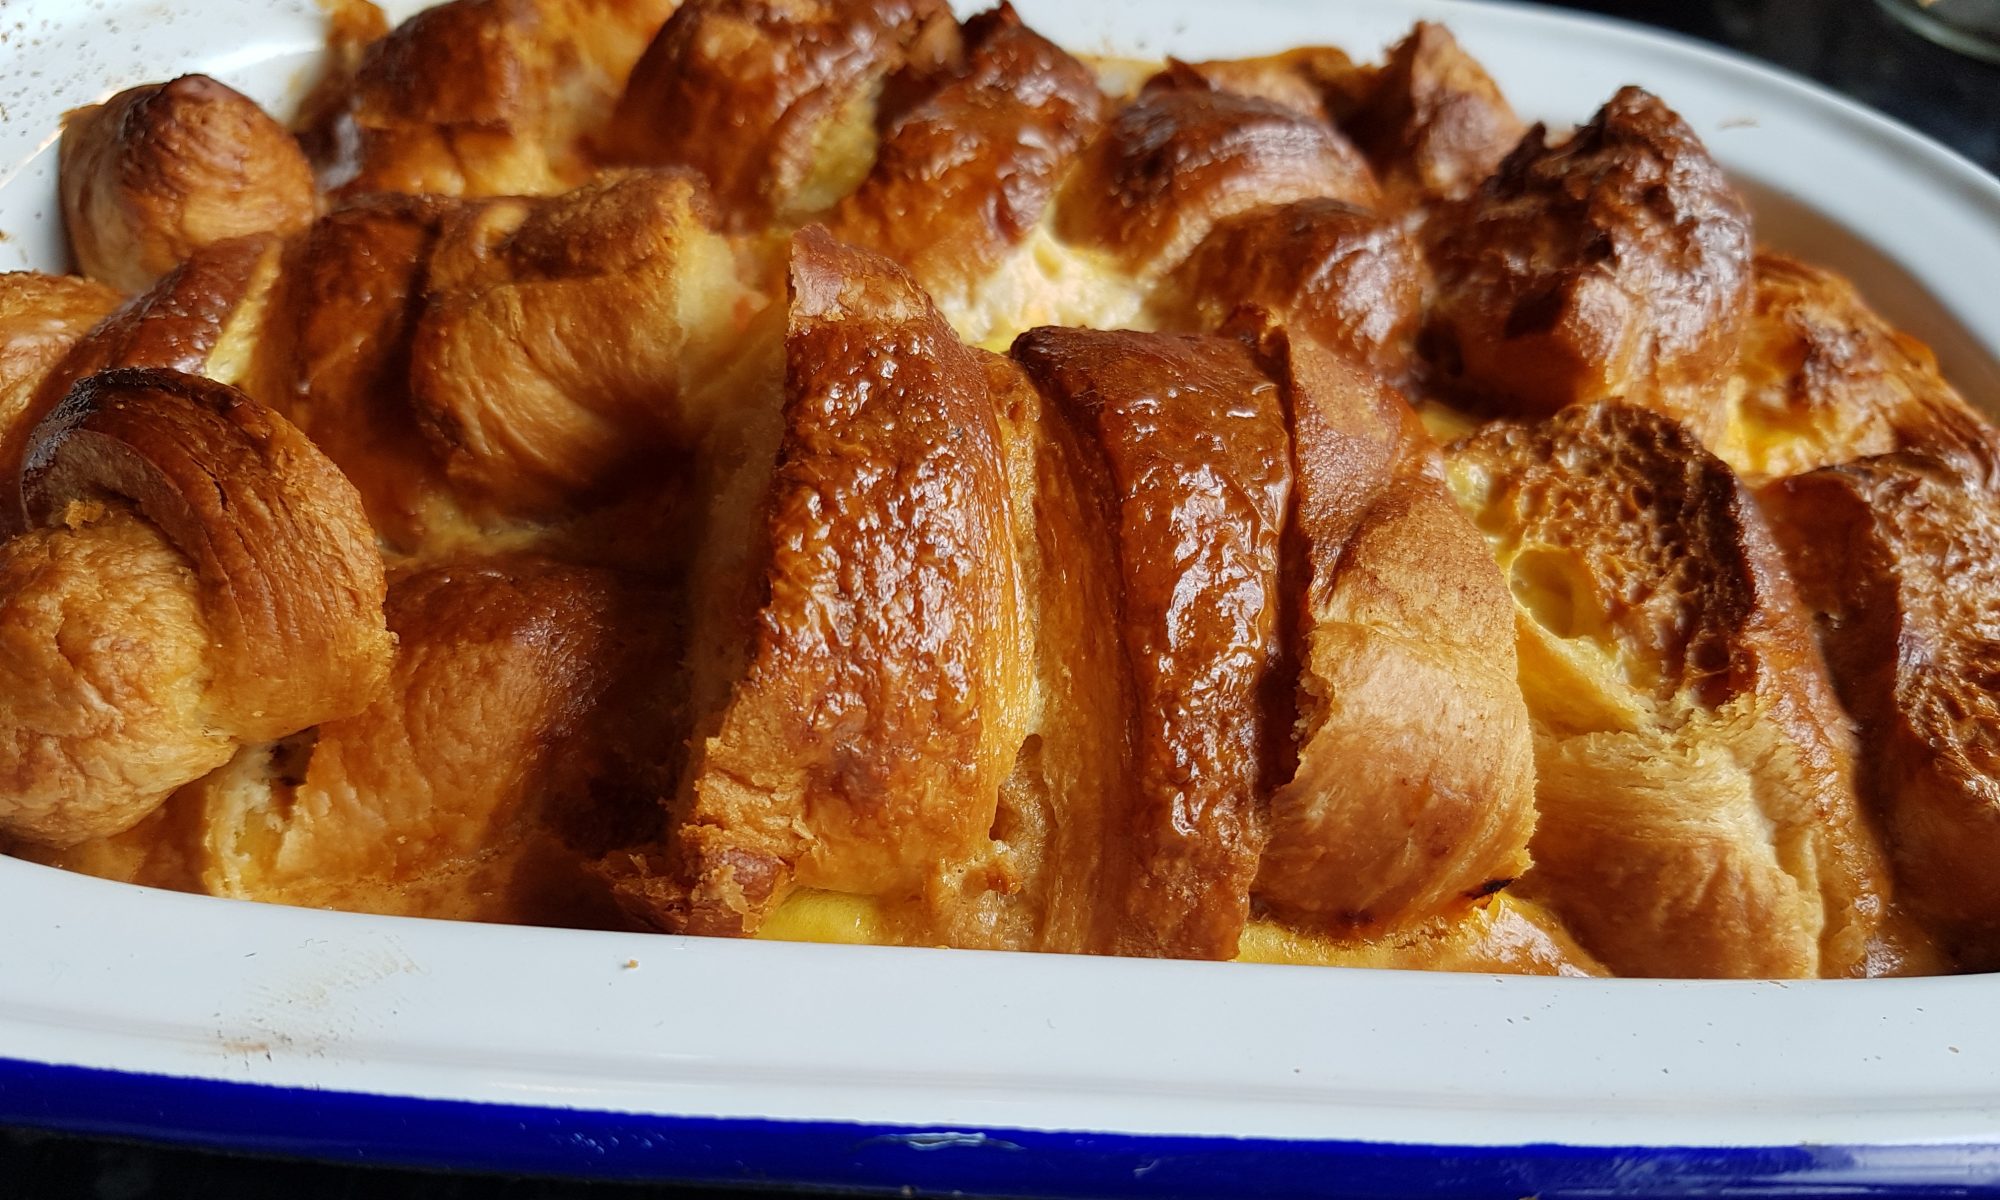
 Then I realised I had accidentally stumbled upon the solution to my fish pie problem. This made me happier that it should have and I managed to contain my excitement by planning the shopping for the following week and adding the ingredients for my Croissant-topped fish pie onto my shopping list.
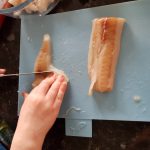 Chop the fish into bite size pieces and place in a bowl with the prawns. In our house prawns are called rainbows from when Seb, when aged just under 2, said they looked like a rainbow and it has just stuck!
 Add the tomato paste and pesto, mixed herbs and season.
 on top of the sliced croissants and put it into the oven for 25 minutes. Check after 15 minutes and cover with foil for the last 10 minutes.
 avoid the
  mashed potato on top of it. Seb and Atticus enjoyed the whole process of making it and it is a recipe that will become a family favourite over time.
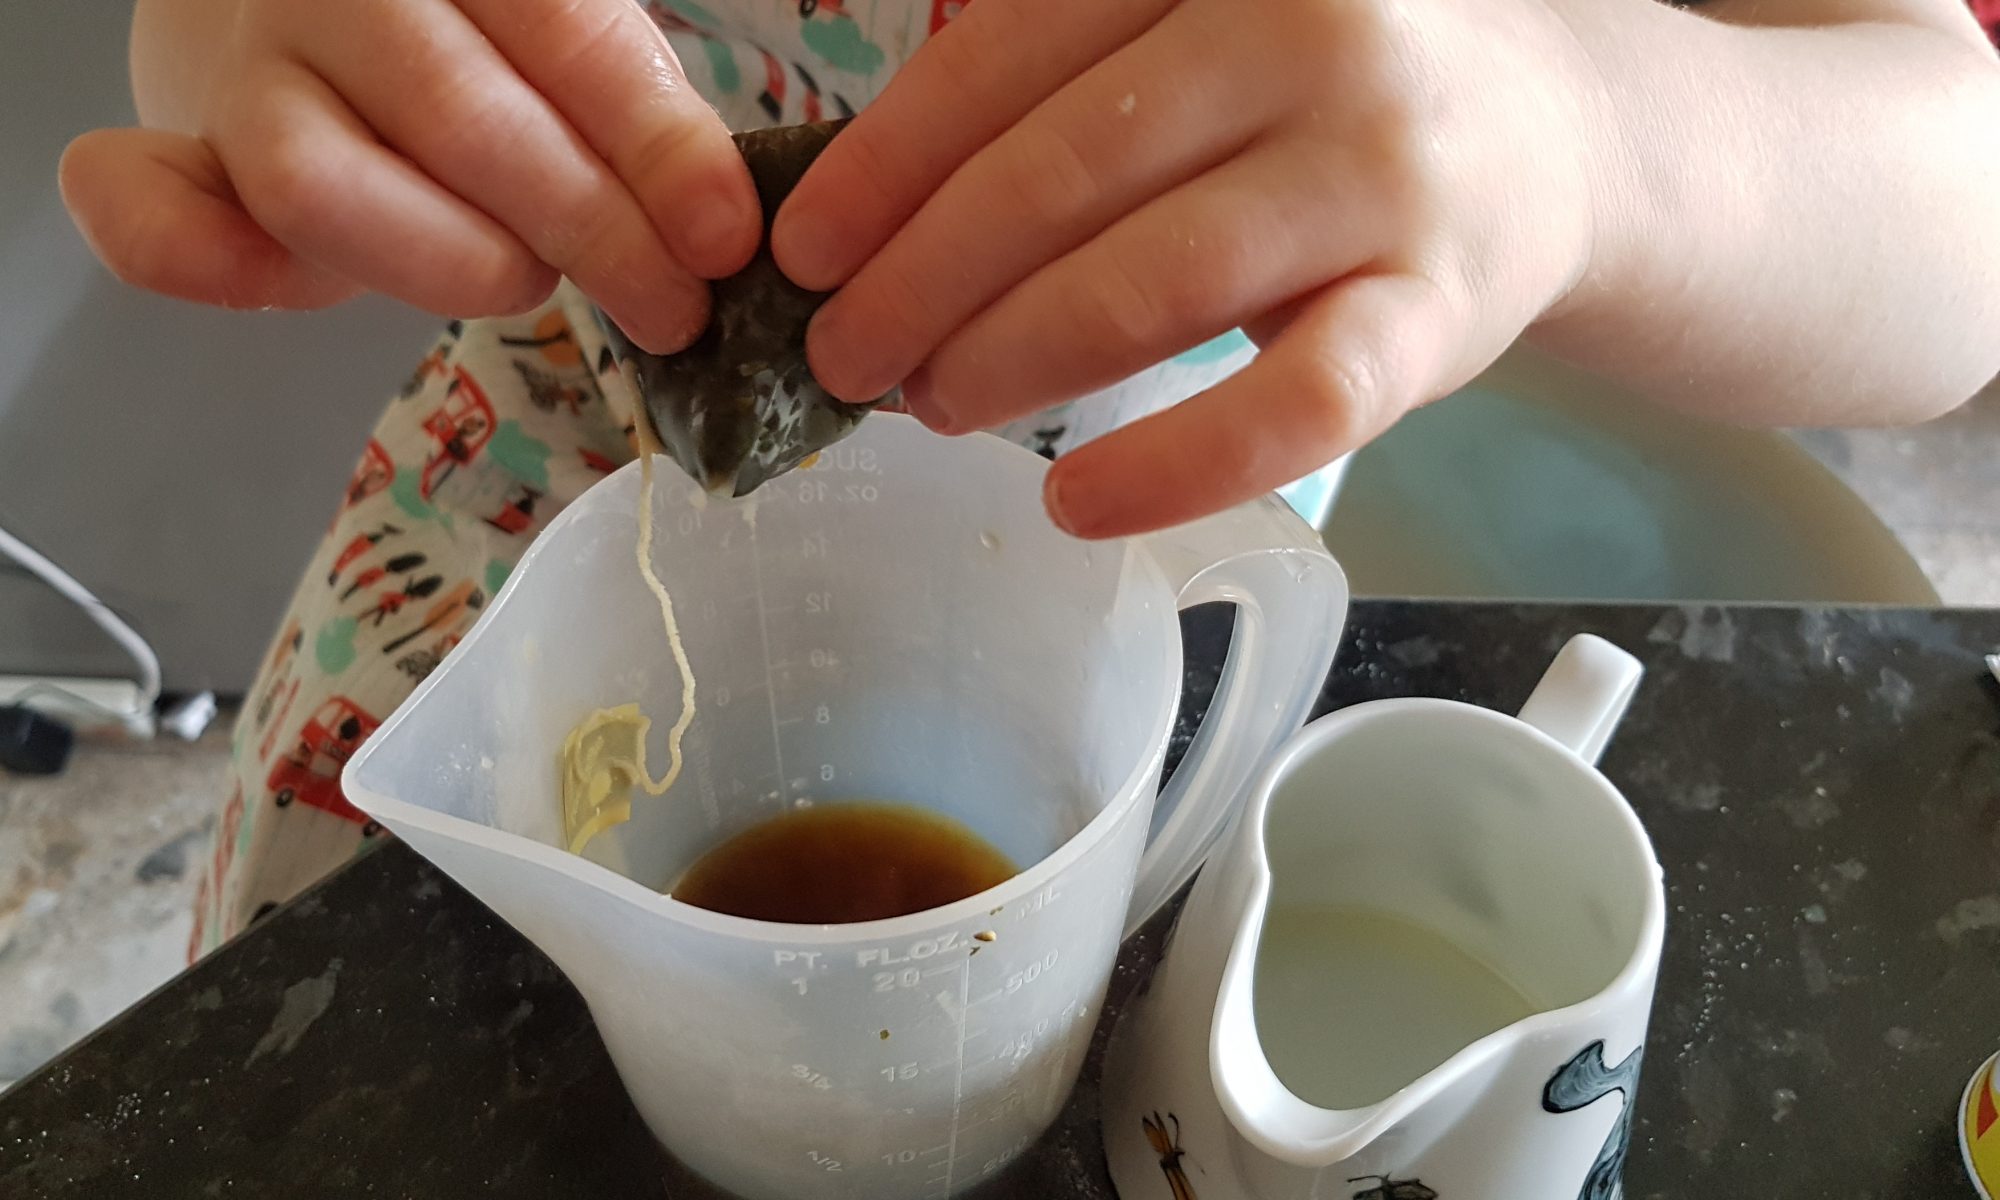
 While ignoring the aforementioned chores on Saturday morning I discovered it was National Tea Day. I am not overly fond of tea, my morning’s are fuelled by coffee and the caffeine it provides me. That said, I do love a soothing peppermint tea to prevent me from jittering in a caffeine-induced trance at the school gate and speaking so quickly that no one is able to decipher what I am trying to say.
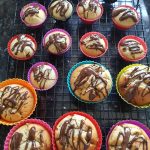
 flavour you only need to put more tea bags in the boiling water. We left them un-iced, but with some chocolate drizzled on top of them. This was partially because it was easier and quicker, but secondly my children sometimes ignore the cake underneath when presented with a beautifully iced treat. I find this especially frustrating when they have really engaged with the process of making the cake and then decide to forget its existence.
 Crack in the eggs and mix thoroughly. Add the milk, crème fraiche and the oil and mix it all until it is fully combined.
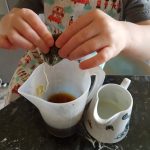 squeeze them to get the excess liquid off them and let out the peppermint flavour. If they are still a bit warm leave them a little bit longer before squeezing them.
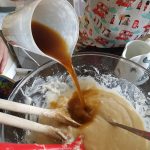 Add the chocolate chips and divide the mixture evenly between all of the cupcake cases (just under 2/3s full).
 The kids and I enjoyed these as an afternoon snack. Simon, who isn’t a huge fan of peppermint, liked them as the peppermint wasn’t too overpowering.
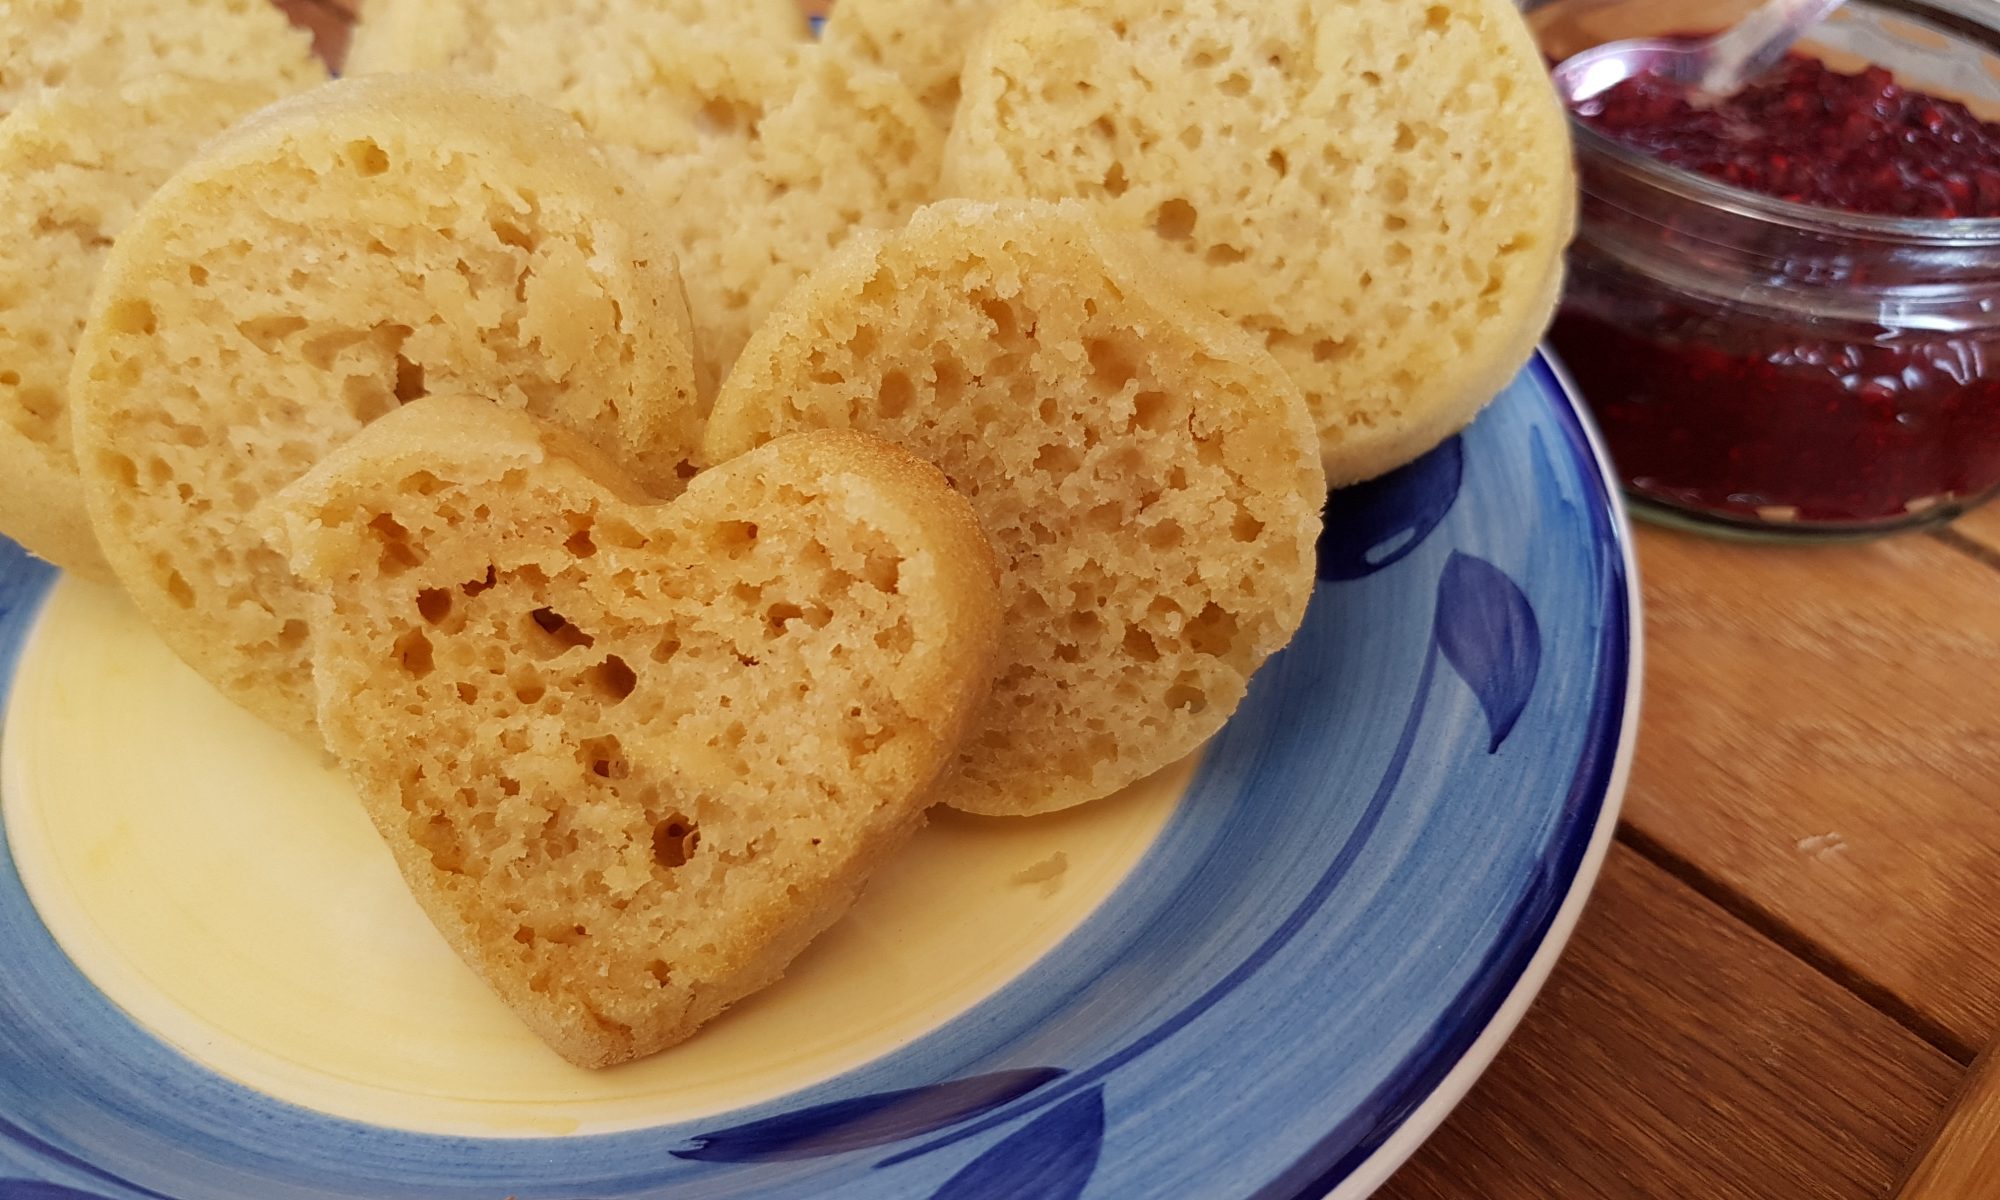
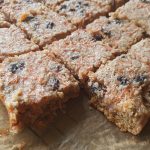
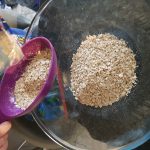 Although I have not tried this recipe with gluten-free oats, I see no reason why gluten free oats wouldn’t work.
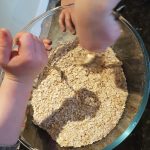 Preheat the oven to 180°c and line two baking sheets with greaseproof paper or silicone baking sheets.
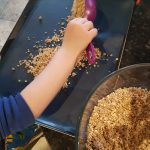 Bake for 5 minutes and then turn to ensure it doesn’t burn and return to the oven for another 5 minutes. You will need to watch it carefully (especially in the latter five minutes) to ensure it doesn’t burn.
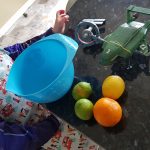 Zest all the citrus fruit and put the zest into a bowl – my children love the idea of the zester, but in reality they struggle to use it so they have a couple of attempts and then I finish the process off for them.
 I tend to place the dish a distance from the child who is doing to pouring so they can’t burn themselves. Adult: turn the chicken in the sauce to ensure it is fully coated.
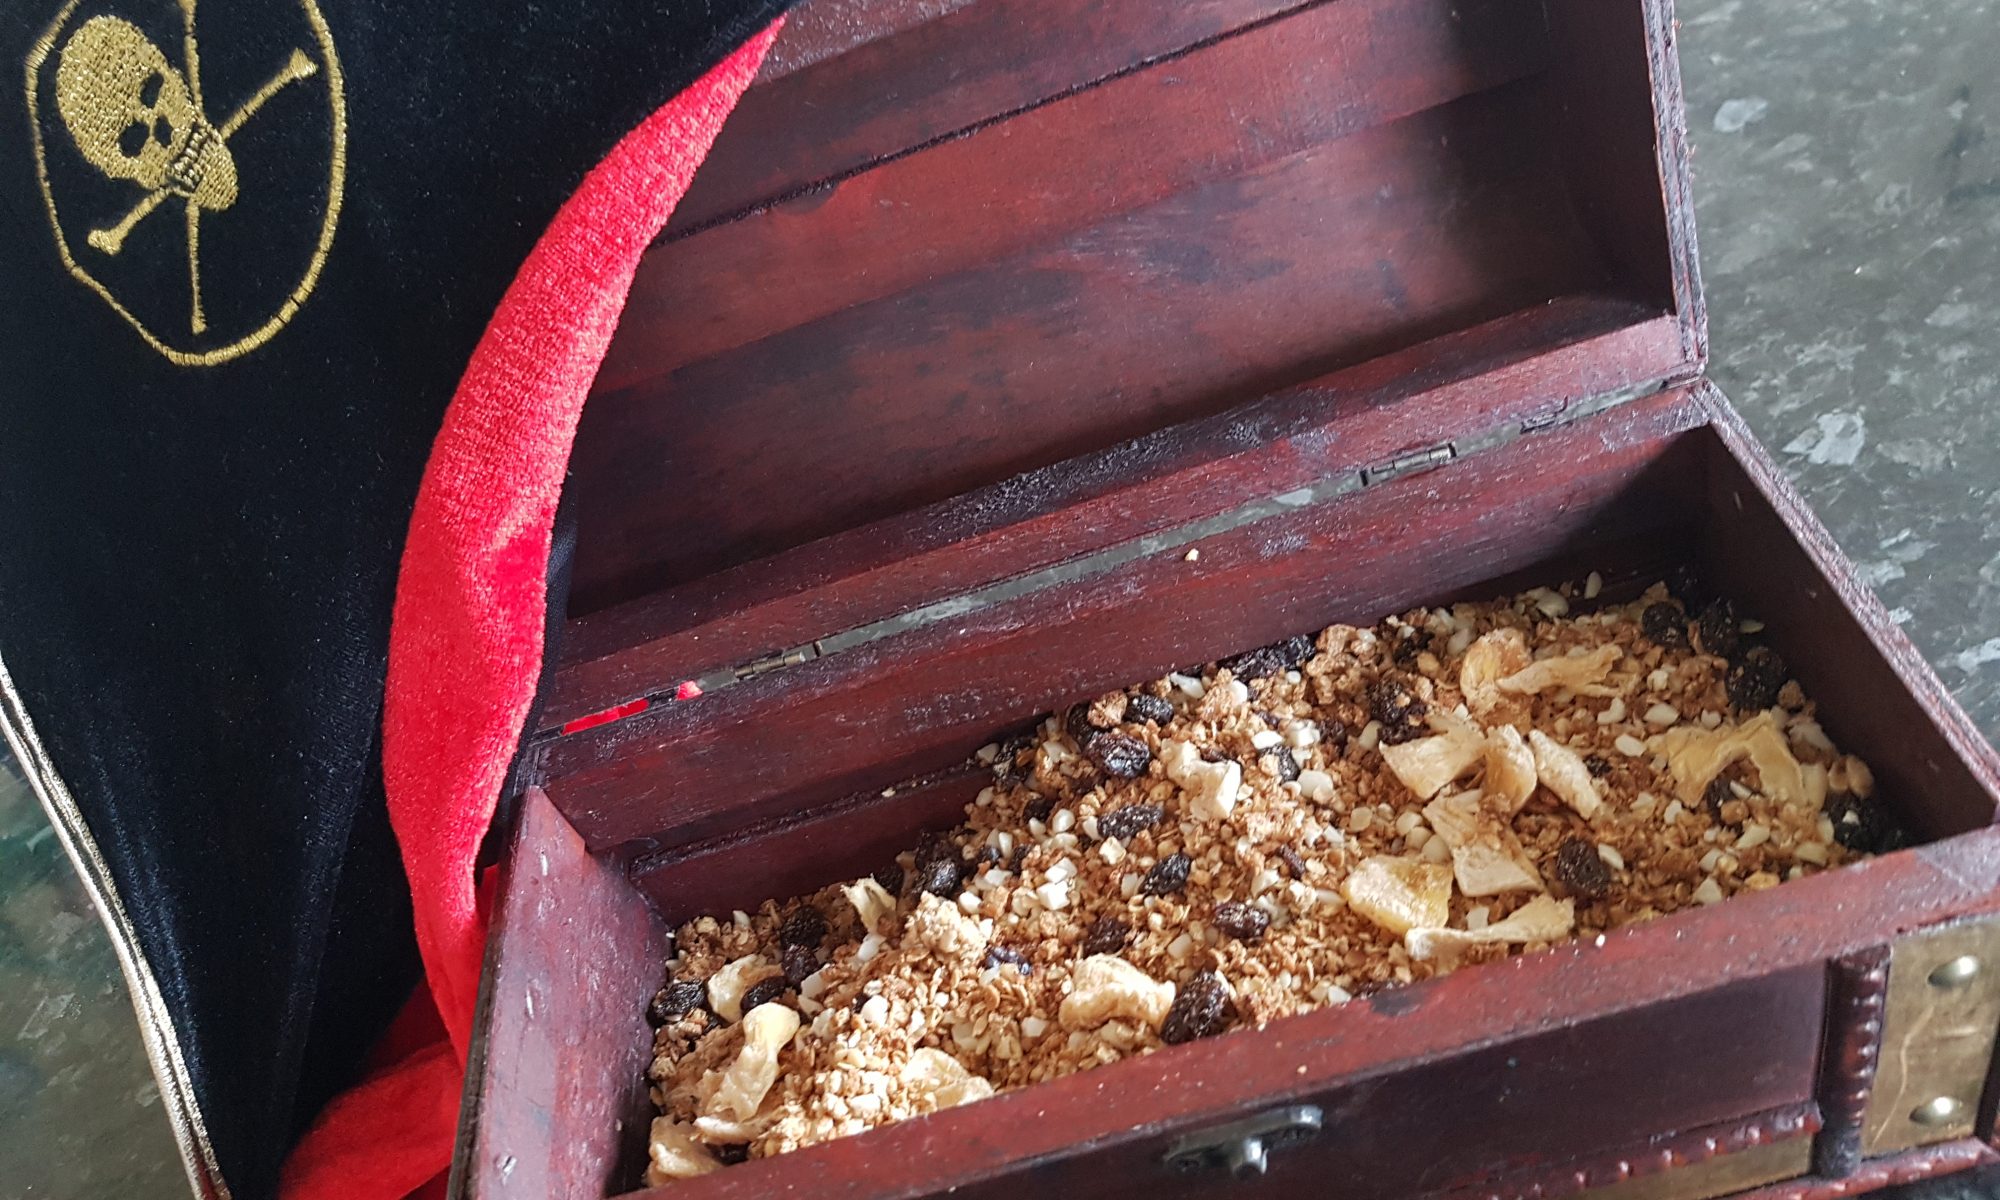
 Both these dishes were enjoyed by all little pirates, some of them even polished off two bowls of cereal before leaving the house before the day’s activities! The chicken drumsticks didn’t survive until the following morning as three hungry children and their dad ensured they gobbled them up amid discussions of future pirate adventures.