
In my head, scones are the epitome of fancy snacking. I imagine more civilised and refined people than me sitting down in their finery and well coiffured hairstyles and perfectly made faces for high tea with a cup of tea and a perfectly proportioned scone with lashings of clotted cream and jam.
 In my world, the closest I am going to come to having high tea in my schedule is me offering the kids scones after collection from school in order to fuel our 25 minute walk home. This helps them and me survive the inevitable tiredness to which they are likely to succumb without immediate sustenance and preventing me from saying something I may well regret on the return journey.
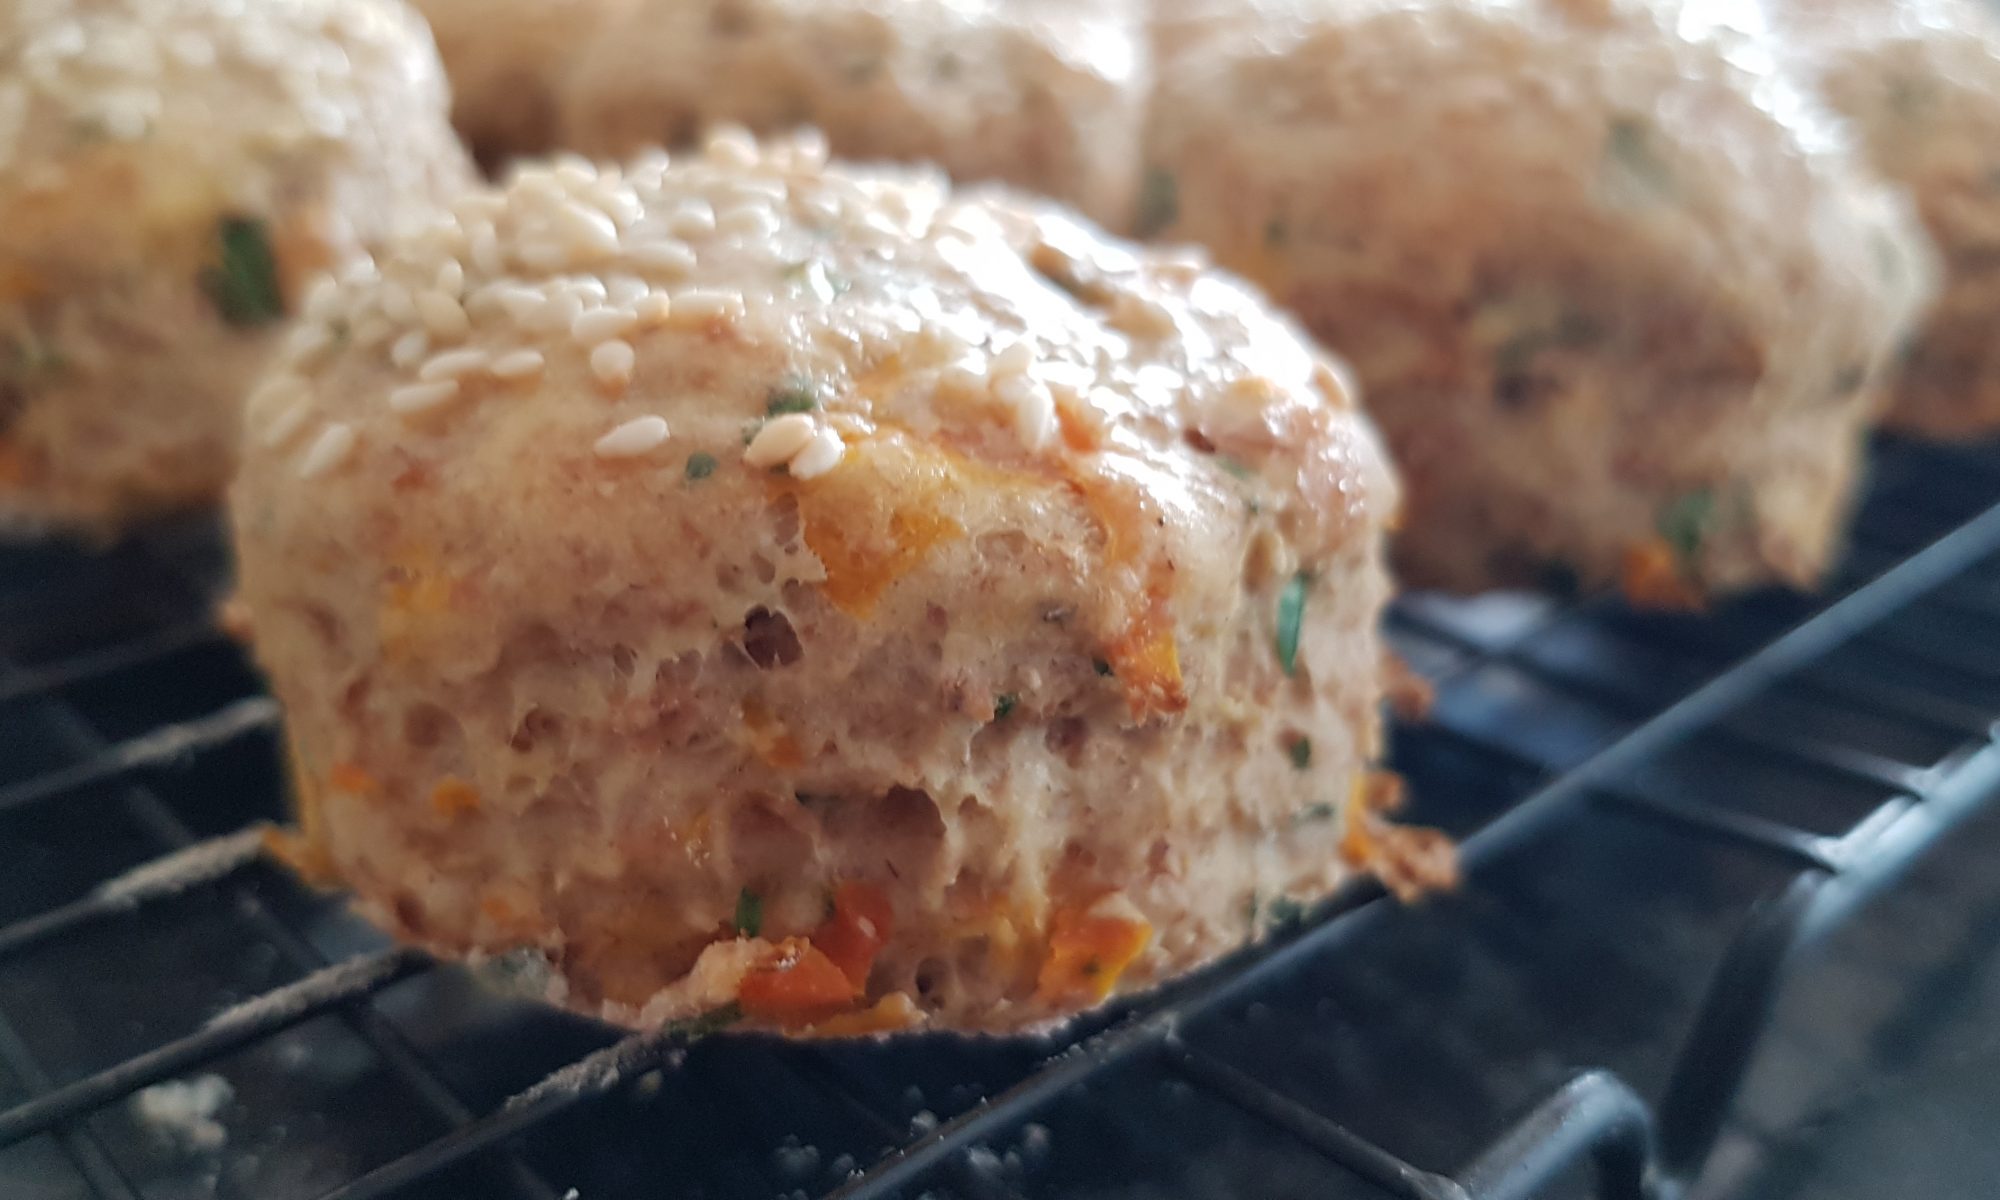
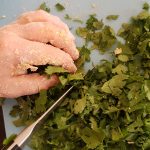
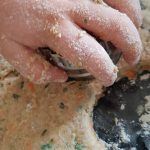
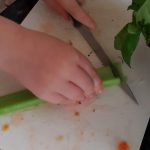
It has to be said, I do get bored of the same snack and treats so we do tend to mix it up a bit. This was the reason behind the carrot and coriander scones. I would say that carrots and sweetcorn are in tied first place for the kids’ favourite vegetable. They are all familiar with ground coriander as it frequently appears in our meals. I think Seb was somewhat flummoxed by the fact that coriander leaf and ground coriander look so different. The boys both did have a good smell of both types of coriander before we started making these scones. Discussions about colour, scent and appearance occurred.
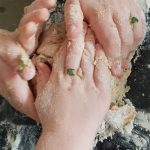
Making these scones worked really well with them as they took turns so beautifully. They also successfully listened to the instructions and made these with minimal intervention from me. This makes me very happy!
Ingredients
Makes 15 scones with a 6cm cutter,
- 250g self raising flour
- 250g wholemeal self raising flour
- 125g butter
- 200ml milk
- 130g grated carrot
- 1 small garlic clove
- 20g fresh coriander (chopped)
- 1tsp ground coriander
- Seasoning
- Egg (for egg wash)
- Sesame seed (to top)
Method
- Preheat the oven to 200°c fan.
- Mix both the flours together and add a pinch of salt and pepper.
- Rub in the butter until it looks like breadcrumbs.
 Bash the garlic clove with a wooden spoon to loosen the skin and peel the skin off. Crush the garlic and add to the breadcrumbs.
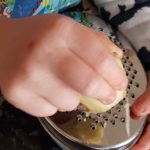
- Chop the coriander (adult help may well be required at this stage – mine manged to cut a bit. I went over it again for smaller pieces, but we did still have some large pieces of coriander present!) and grate the carrot.
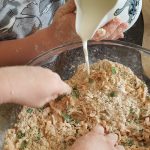
- Add the grated carrot and the chopped coriander to the mixture.
- Add the milk and squish and squash
 together with your hands until a dough forms.
 - Flour the surface and put the scone dough on it and flatten with hands or rolling pin until it is about 2.5cm thick.
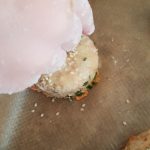
 Cut into rounds and place on a lined baking tray. Do this until the dough is all finished. You may have to consolidate the dough to be able to cut more rounds out.
- Crack the egg and gently beat.
- Brush the top of each scone with the egg wash and then sprinkle with sesame seeds.
- Place in the oven for 15 minutes or until lightly golden.
- Leave to cool on the baking tray for a couple of minutes before removing and placing on a cooling rack.
 Seb in particular enjoyed these with cheese or ham for his lunch as well as a snack while walking home from the playground one afternoon. It seems the other two are more partial to fruit scones.
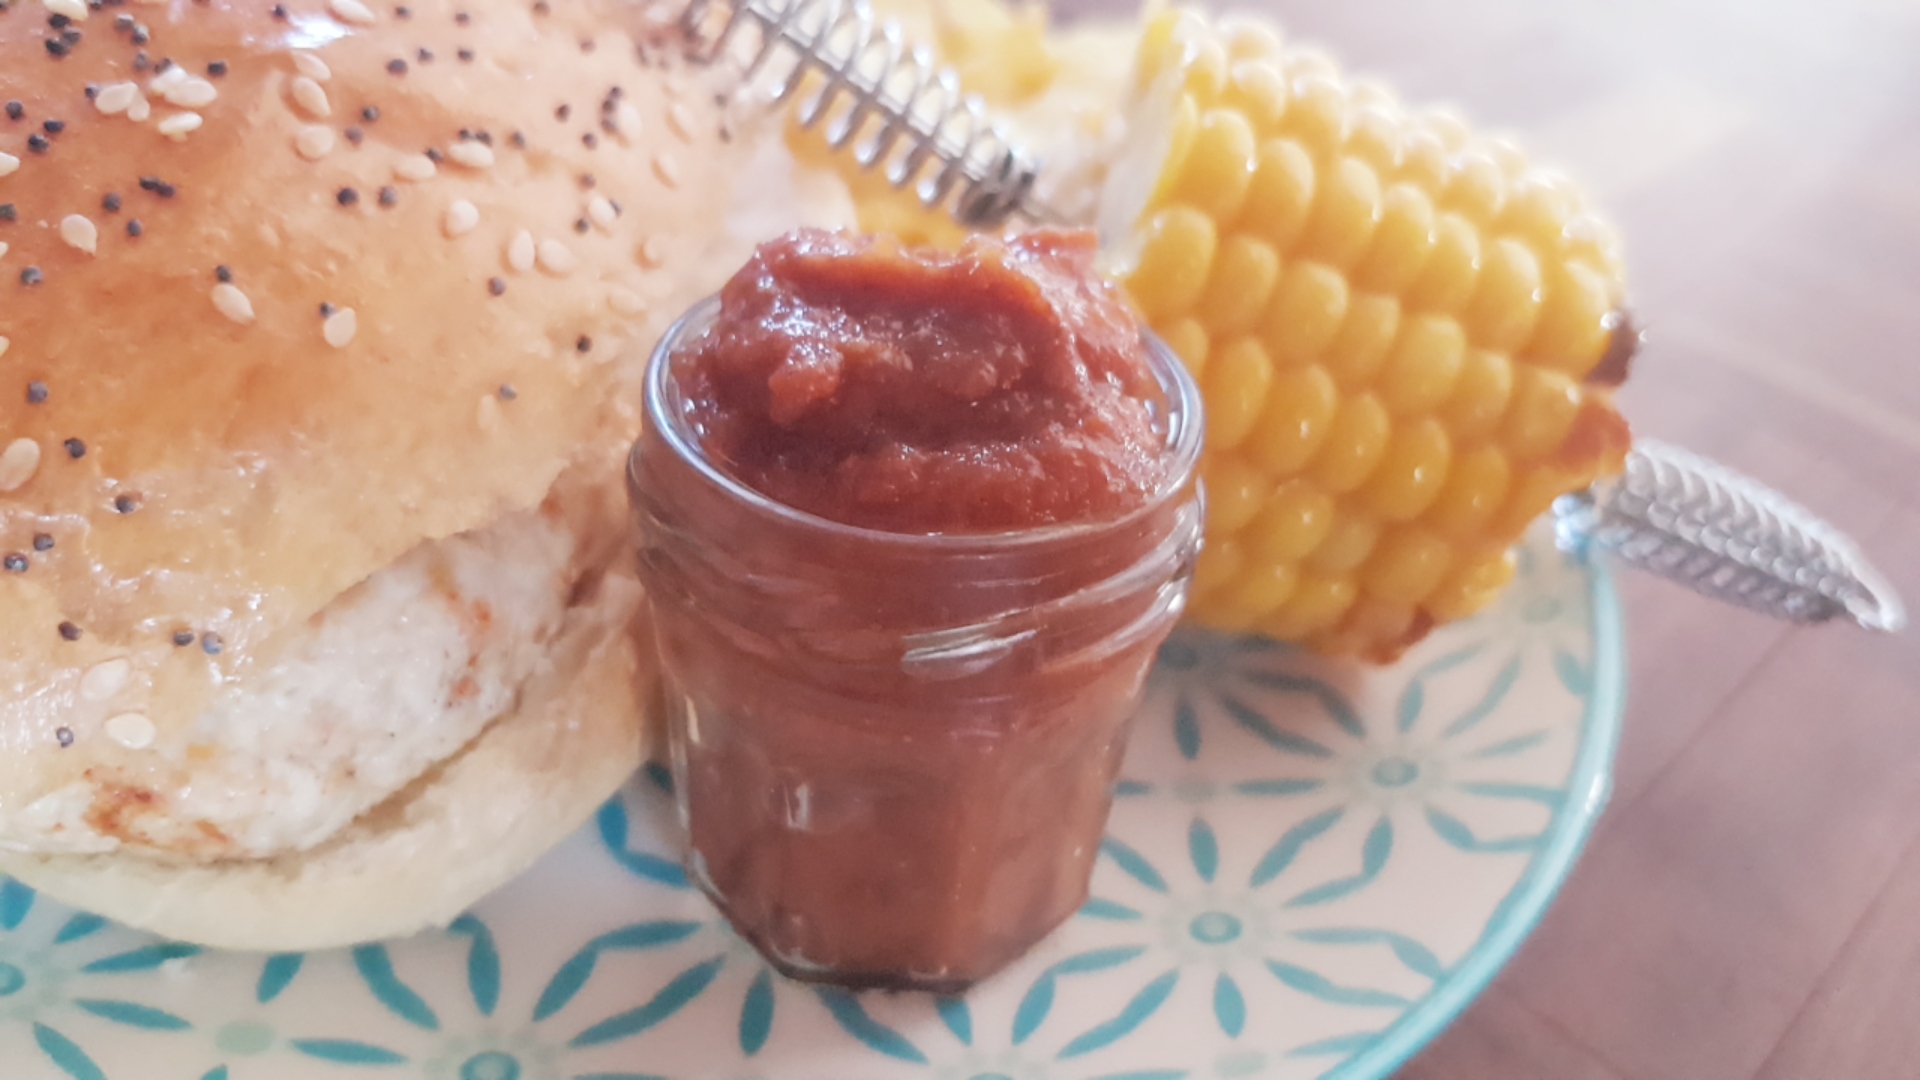
 Then I remembered the slow cooker. We haven’t used it in a while and it would be perfect to fit around all the other little bits we had planned for the day. As I was racking my brain for a recipe idea, I realised our supply of tomato ketchup was perilously low. This made me realise that we could in fact make tomato sauce in the slow cooker. Yes it is a rather labour intensive way to get a jar of tomato sauce, but the kids would have fun chopping vegetables and then mixing it all up.
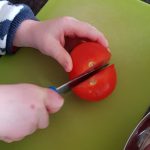
 into the slow cooker.
 remove it, then slice and add to the slow cooker.
 add them to the pot.
 remaining. This took ours around 3 hours.
 Ophelia is the tomato lover of our children. She loves them nearly as much as I do. The surprise was how much Atticus enjoyed the tomato sauce. As our resident ‘fussy eater’, he will often refuse tomatoes and will try and sneak them to his sister when I am not watching. But he devoured the ketchup on his homemade burger and chips and even asked for more!
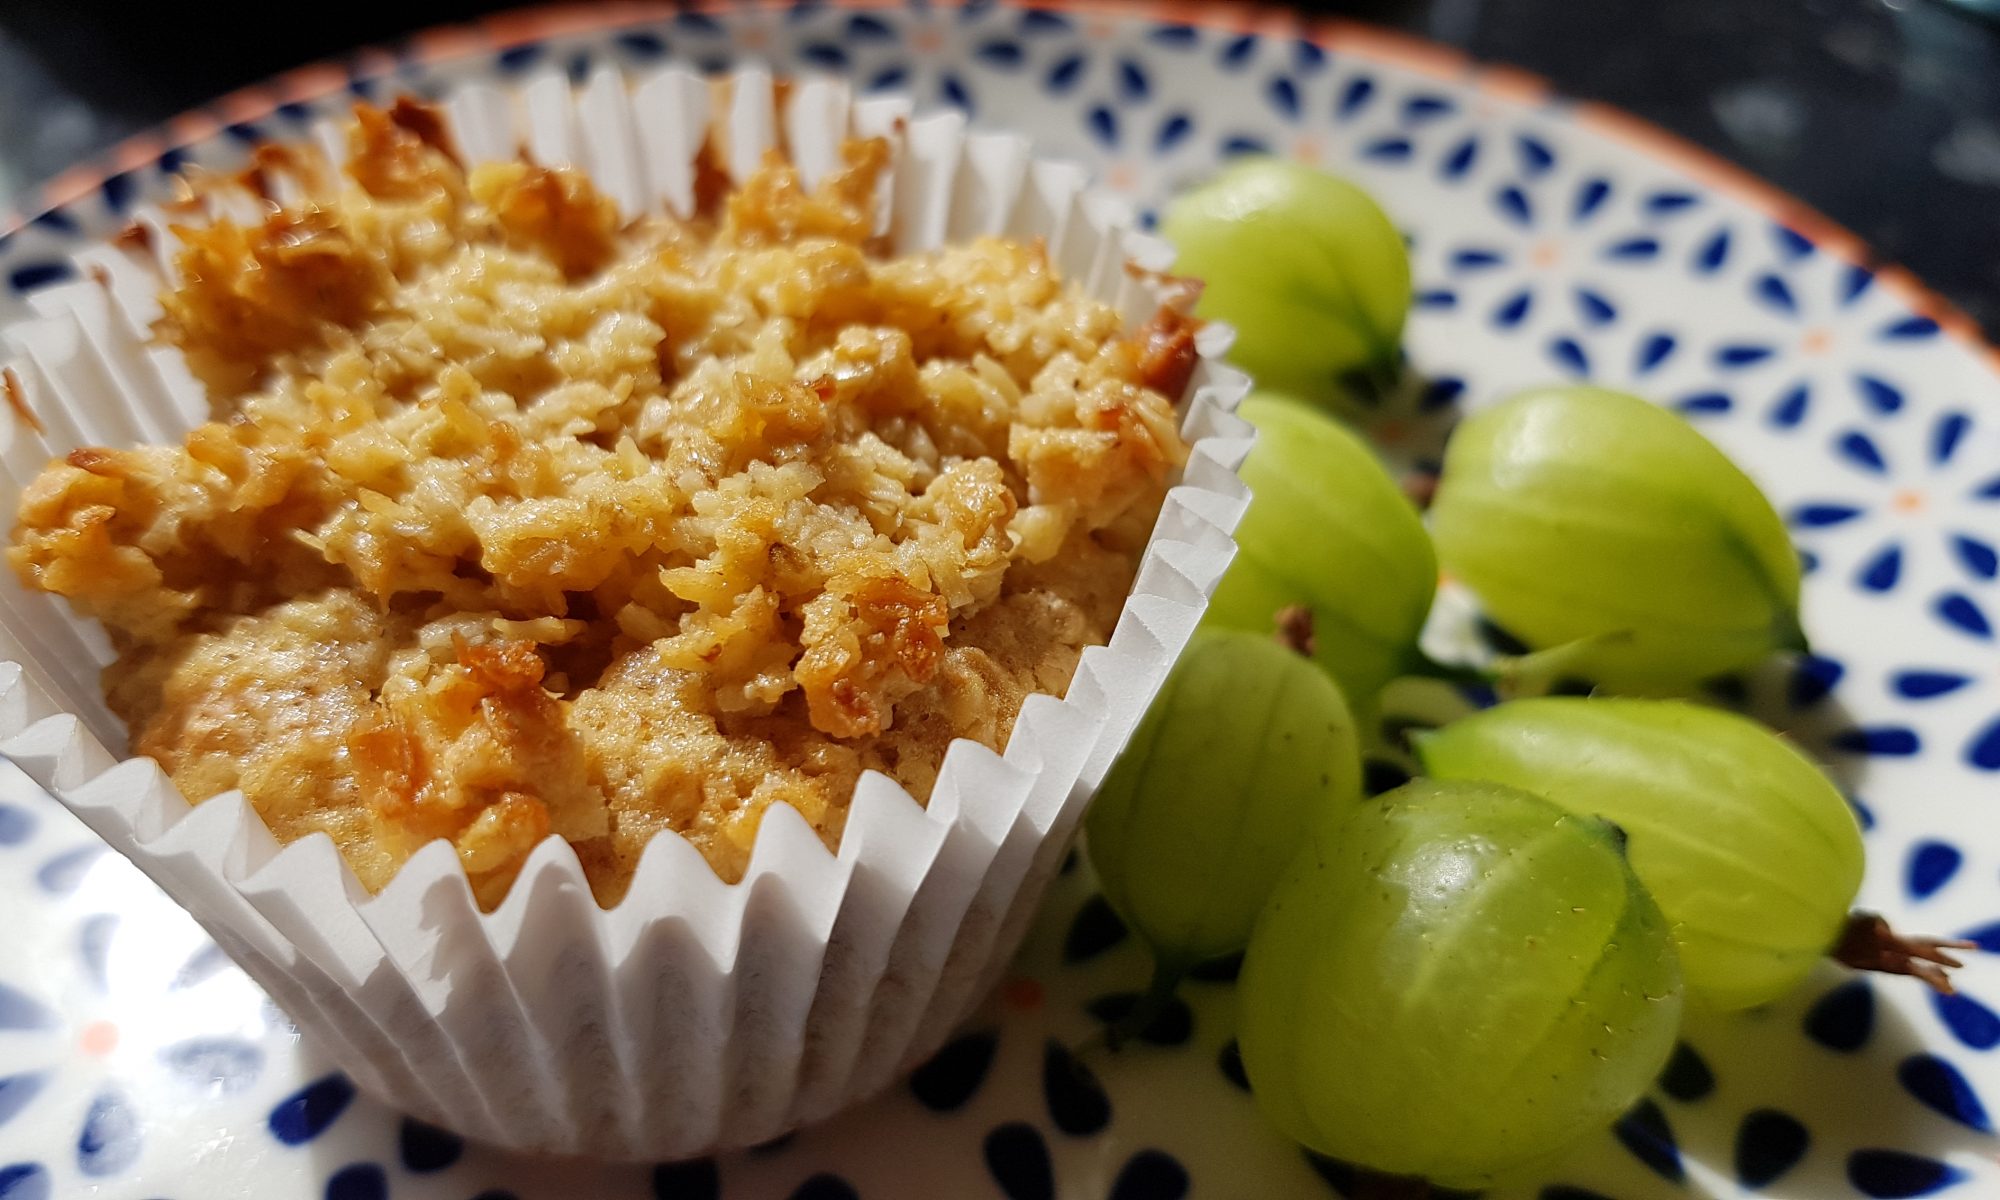
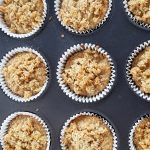 As I was looking at it, I found that my mind was thinking about how I could alter the recipe to turn them into muffins. In this house, individual cakes tend to be more popular than large cakes that need to be sliced. After adding in oats and swapping self raising flour for wholemeal self raising flour and choosing light brown soft sugar, I decided that Seb and I were ready to make these muffins.
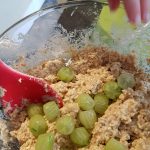 Crack in the two eggs and beat them in.
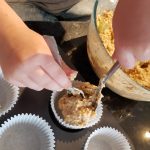 between 12 muffin cases.
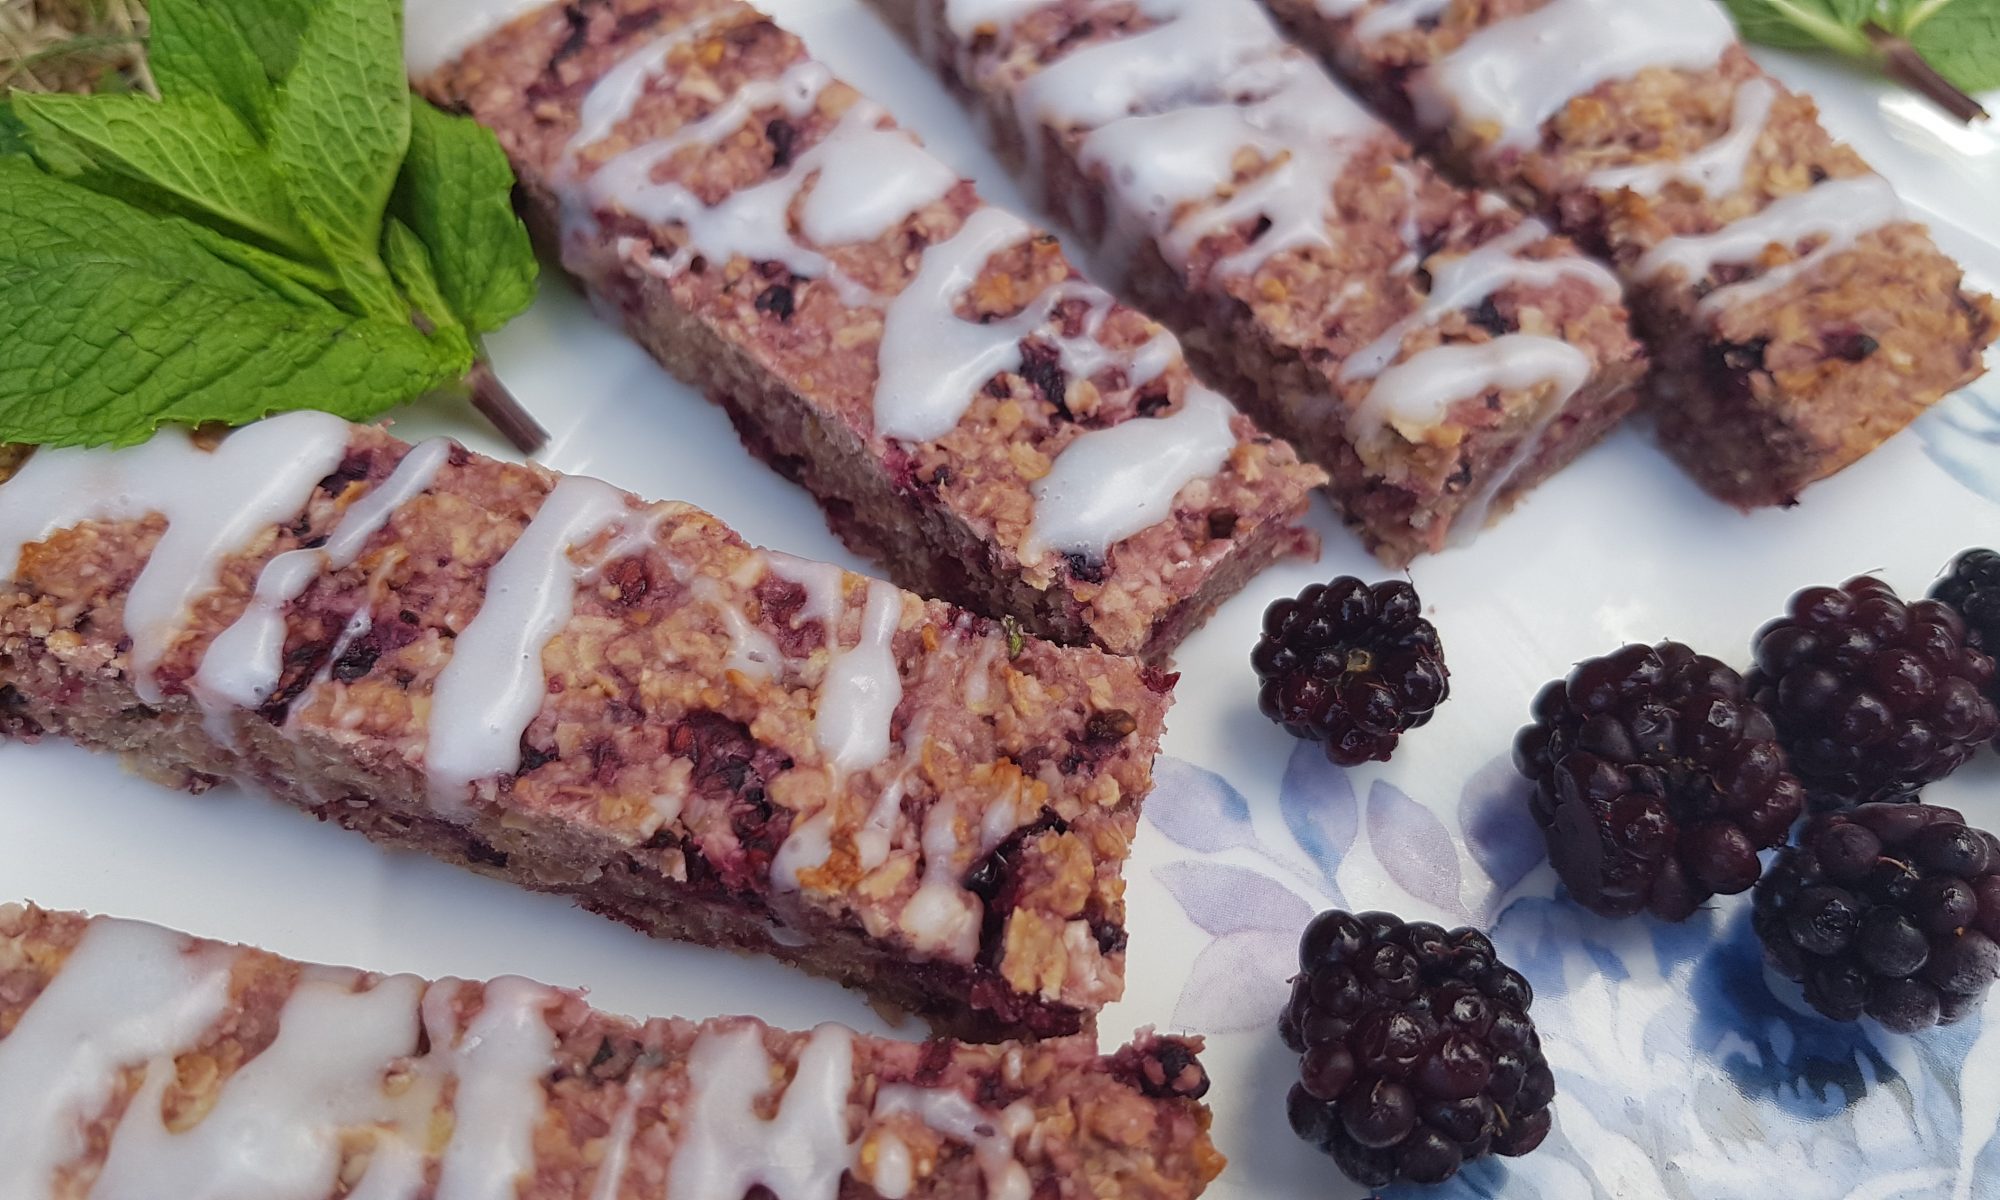
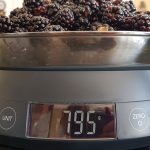 guessed our purpose which was blackberrying. Finally they seemed happy! Lots of fun was had by all on the trip. We collected nearly 800g of blackberries. I am sure Ophelia ate quadruple what she collected. She only seemed to find it necessary to store the blackberries which were still red that she had collected in her pot. The rest ended up in her tummy and all over her face and clothes! Maybe next time she will understand the task at hand a bit better! I am now feeling very grateful for the new washing machine that we had to buy last month because the old one finally gave up the ghost – something it had been threatening for around 18 months!
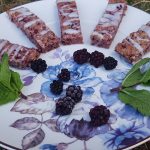 make a chocolate and blackberry tart, but Simon suggested it was time that I made something slightly healthier for the blog. After a bit of thinking, I decided that some of the blackberries would go nicely in some cereal bars. As a nod to my love of using herbs and spices in my baking I decided to pair them with some fresh mint. The aim was to achieve a hint of mint so that they tasted fresh rather than an overpowering wow that’s a lot of mint flavour! If mint isn’t your cup of tea, by all means, leave it out of the recipe all together.
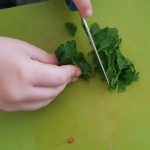 Preheat the oven to 170°c fan and grease and line a 16cm square pan.
 fork and add the mint and mix around.
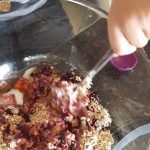 fully combine.
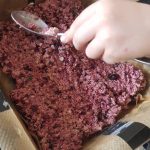 of a wooden or metal spoon to flatten the mixture in the tin.
 have difficulty slicing them, put them in the fridge for 5-10 minutes first.
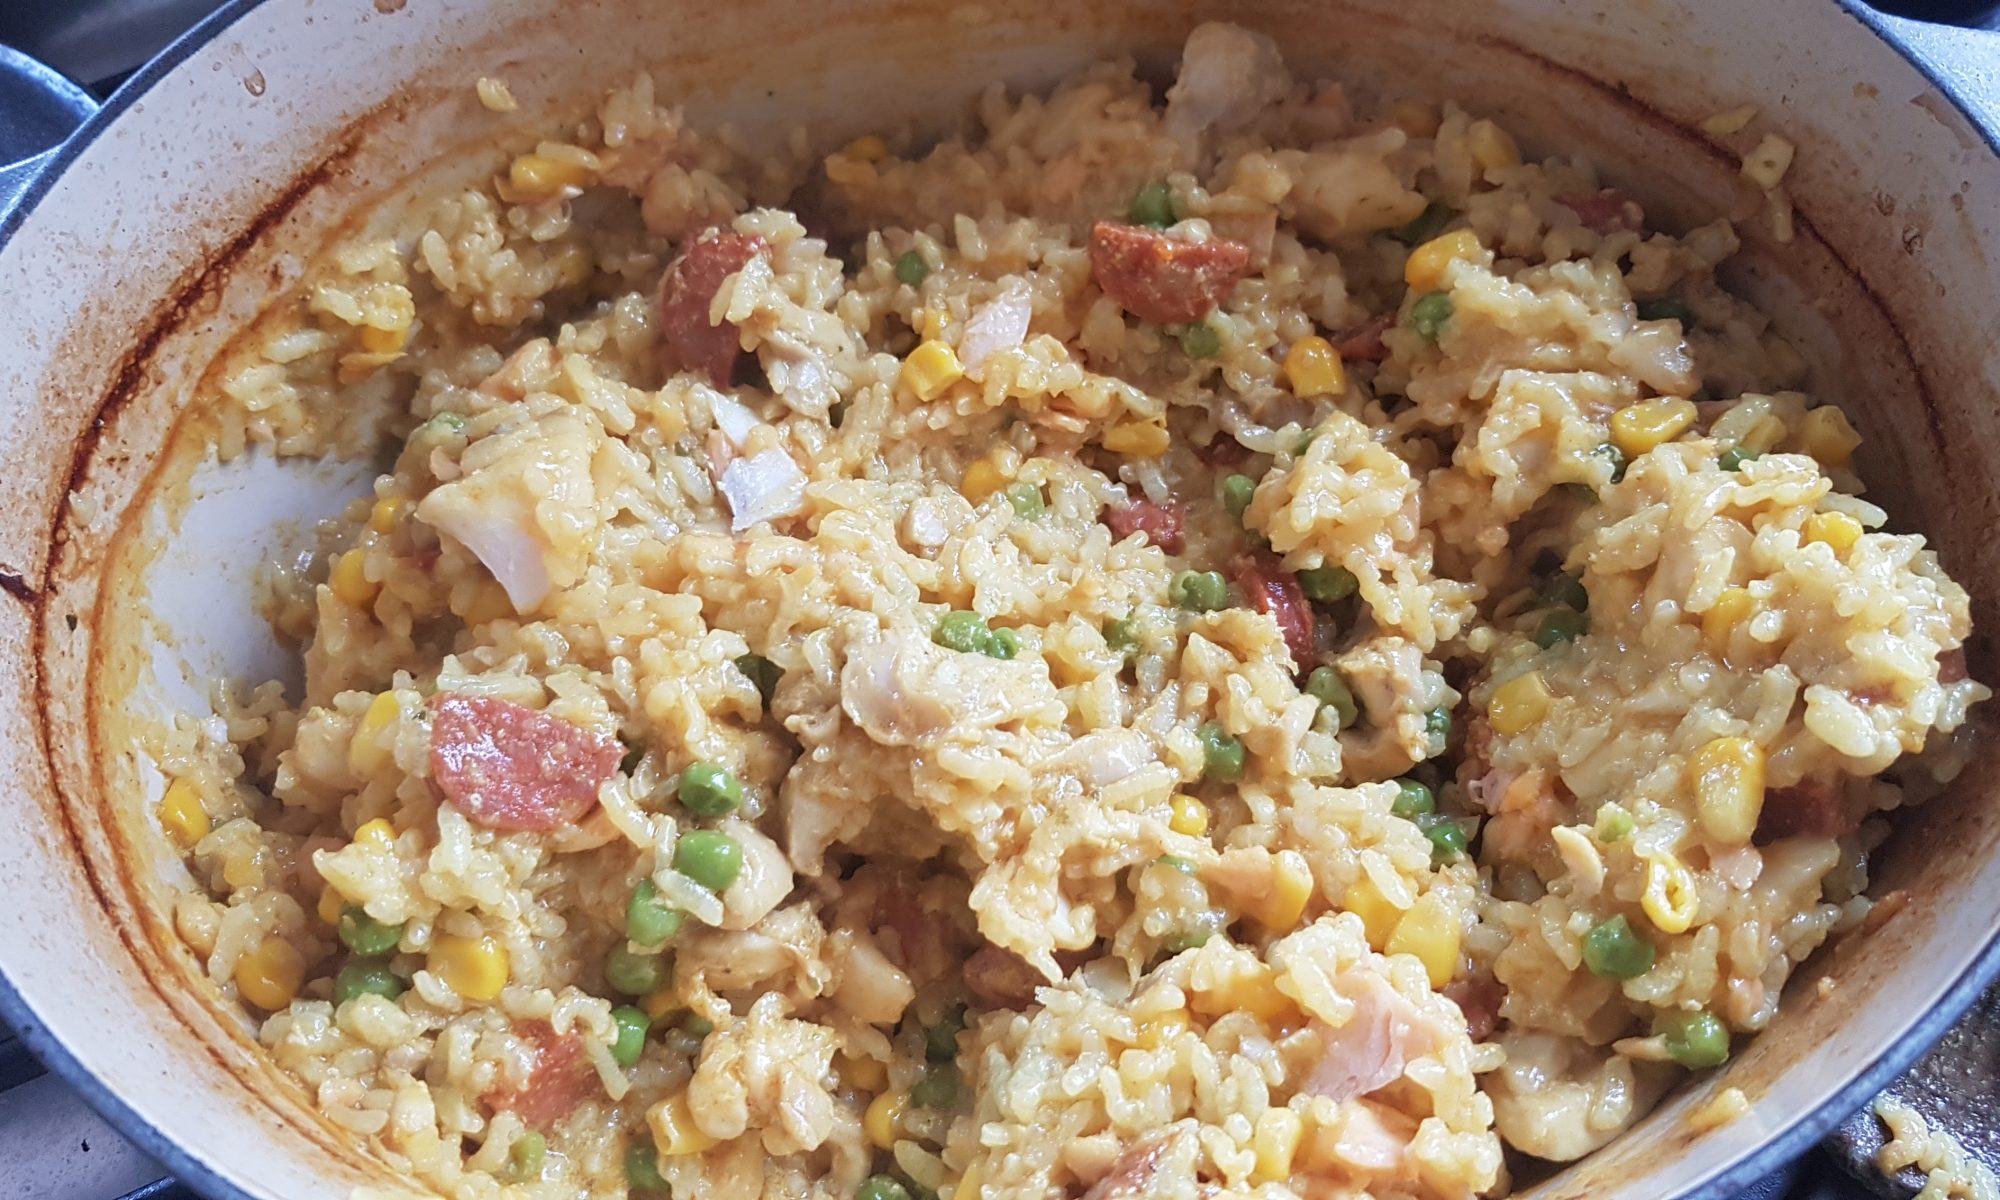
 people Spanish, I pounced on the paella rice in the supermarket when I found it. I normally grab risotto rice on autopilot as going to the supermarket without any ‘help’ is a luxury! I tend to walk around the supermarket revelling in my child-free status and barely looking at the shelves, just grabbing the usual. My hope was that the rice would reignite my efforts to immerse my kids in Spanish and provide them with a yummy, hands on and stress-free dinner. Stress-free because rice is a universally accepted carbohydrate in our house and doesn’t elicit the horrible reaction that certain forms of potato produce.
 If you are doing this recipe with children over 4, you may want to let them have a go at chopping the chorizo, chicken and fish with supervision and help as required. Otherwise, you can chop in advance for them or buy pre-chopped. With the chorizo you could buy slices and have the children tear it up instead. If you are using stock pots rather than stock cubes it is easier to make them dissolve with boiling water so your children may require help pouring it in. If you are using stock cubes they can crumble them into cold water.
 and small prawns and mix well.
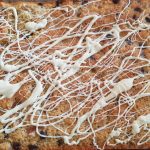 I have had a packet of pistachios in the pantry for about 3 months. Every time Simon tried to go near them for a snack, I would angrily fend him off them citing that I intended to put them in an imminent cake. At each request to eat them the cake changed as I could never quite choose what to make with them. I am not sure if he noticed this or not, but I am guessing that he did and he chose to keep his silence. The cake excuse seemed to work to my advantage in this instance, this is not always the case!
 into with my daughter. Not that I am complaining, I am absolutely delighted that she loves fruit. I do, however, sort of begrudge having to share every single cherry with her: half for mummy, half for Phe. With this love of fruit in mind, I decided to combine the pistachio with dried apricot in a traybake.
 entertaining her. We had sugar and coconut all over not only the surface, but her too her. Oh and there was also her half-eaten apple which she refused to relinquish. She was so enthusiastic with every step of this recipe. She did, however, need help finishing off some of the steps and doing the more challenging bits.The 5 and 4 year old would have managed it with minimal help.
 Cream the butter and golden caster sugar together until light and fluffy (you can use an electric hand mixer for this, but we used wooden spoons).
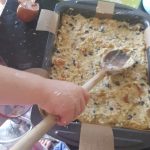 then gently flatten with the back of a wooden spoon or a spatula.
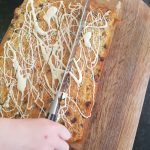 Once fully cooled, melt the white chocolate (we did this in the microwave for 10 seconds at a time, mixing after each 10 seconds). Drizzle over the cooled cake and allow to set before cutting into 16 squares.
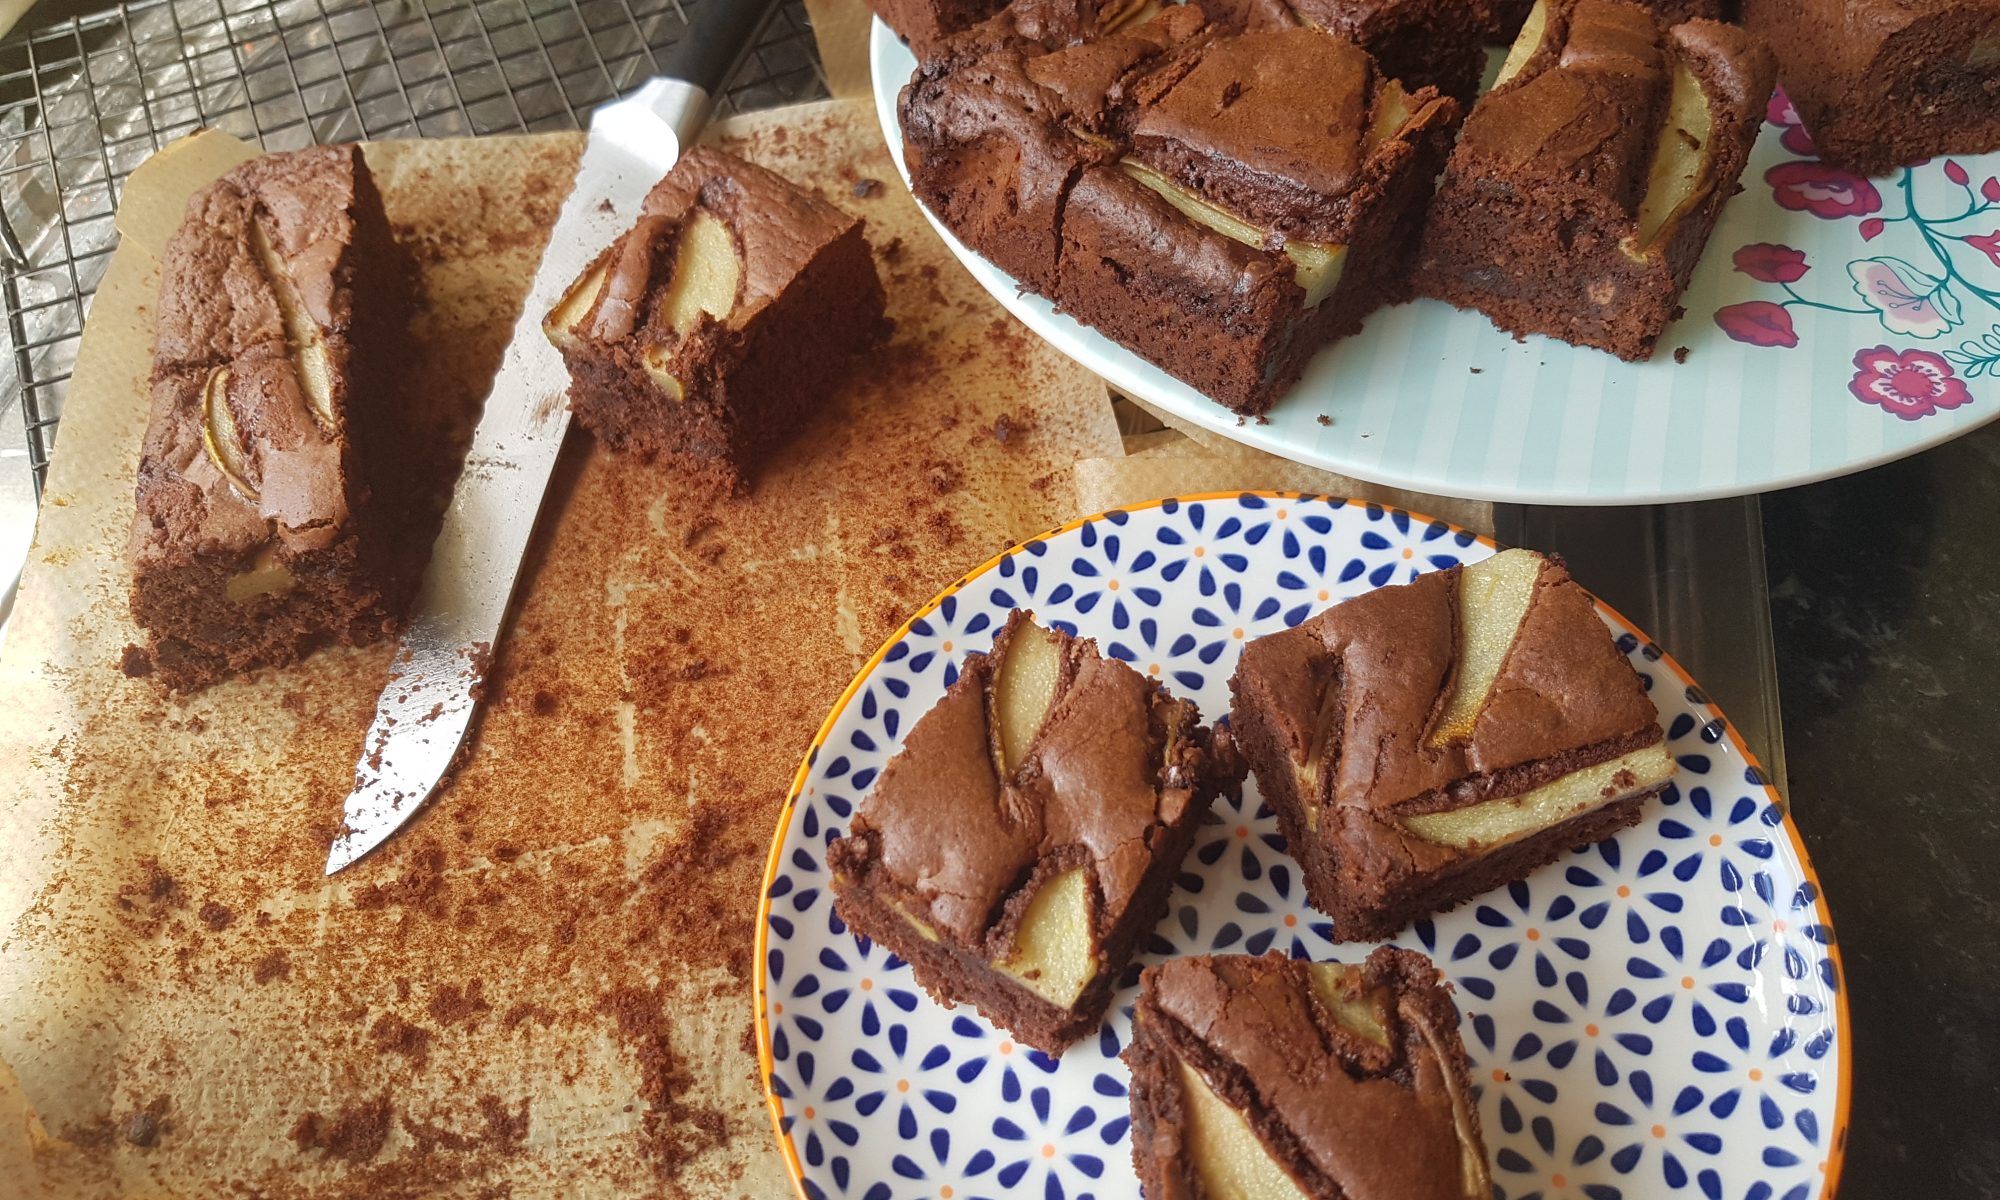
 This morning it took me all of around 2 minutes to decide what we would make. We bought some chocolate spread while on holiday for easy sandwiches for the kids (yes unhealthy, but I am ignoring the guilt that is threatening to emerge as it was a camping treat along with chocolate cereal…) and it was only half used. I decided we would make brownies to finish the chocolate spread and top it up with the Nutella from the pantry as we didn’t quite have enough leftover. In all honestly, the pears were added as a small nod to healthy eating and a balanced diet, as who doesn’t love chocolate with pear?!
 Preheat the oven to 160°c fan and grease and line a brownie tin.
 bowl and add the butter. Whisk with an hand mixer until all smooth.
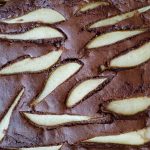
 Remove the pear’s core (I did this bit for the children) and slice into long thin pieces.
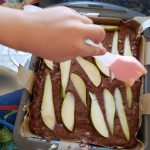 and place in the over for 40-45 minutes. A skewer should come out coated with some batter for a slightly squishy brownie. Cook for longer if you want a firmer brownie.
 These brownies have a slightly cake-like texture, but are 100% yummy. We cut them into 16 squares. The children enjoyed theirs as pudding after lunch, I preferred mine with my mid-morning coffee as I had to check that they were edible before distributing them to the children! Well that’s my excuse anyway…
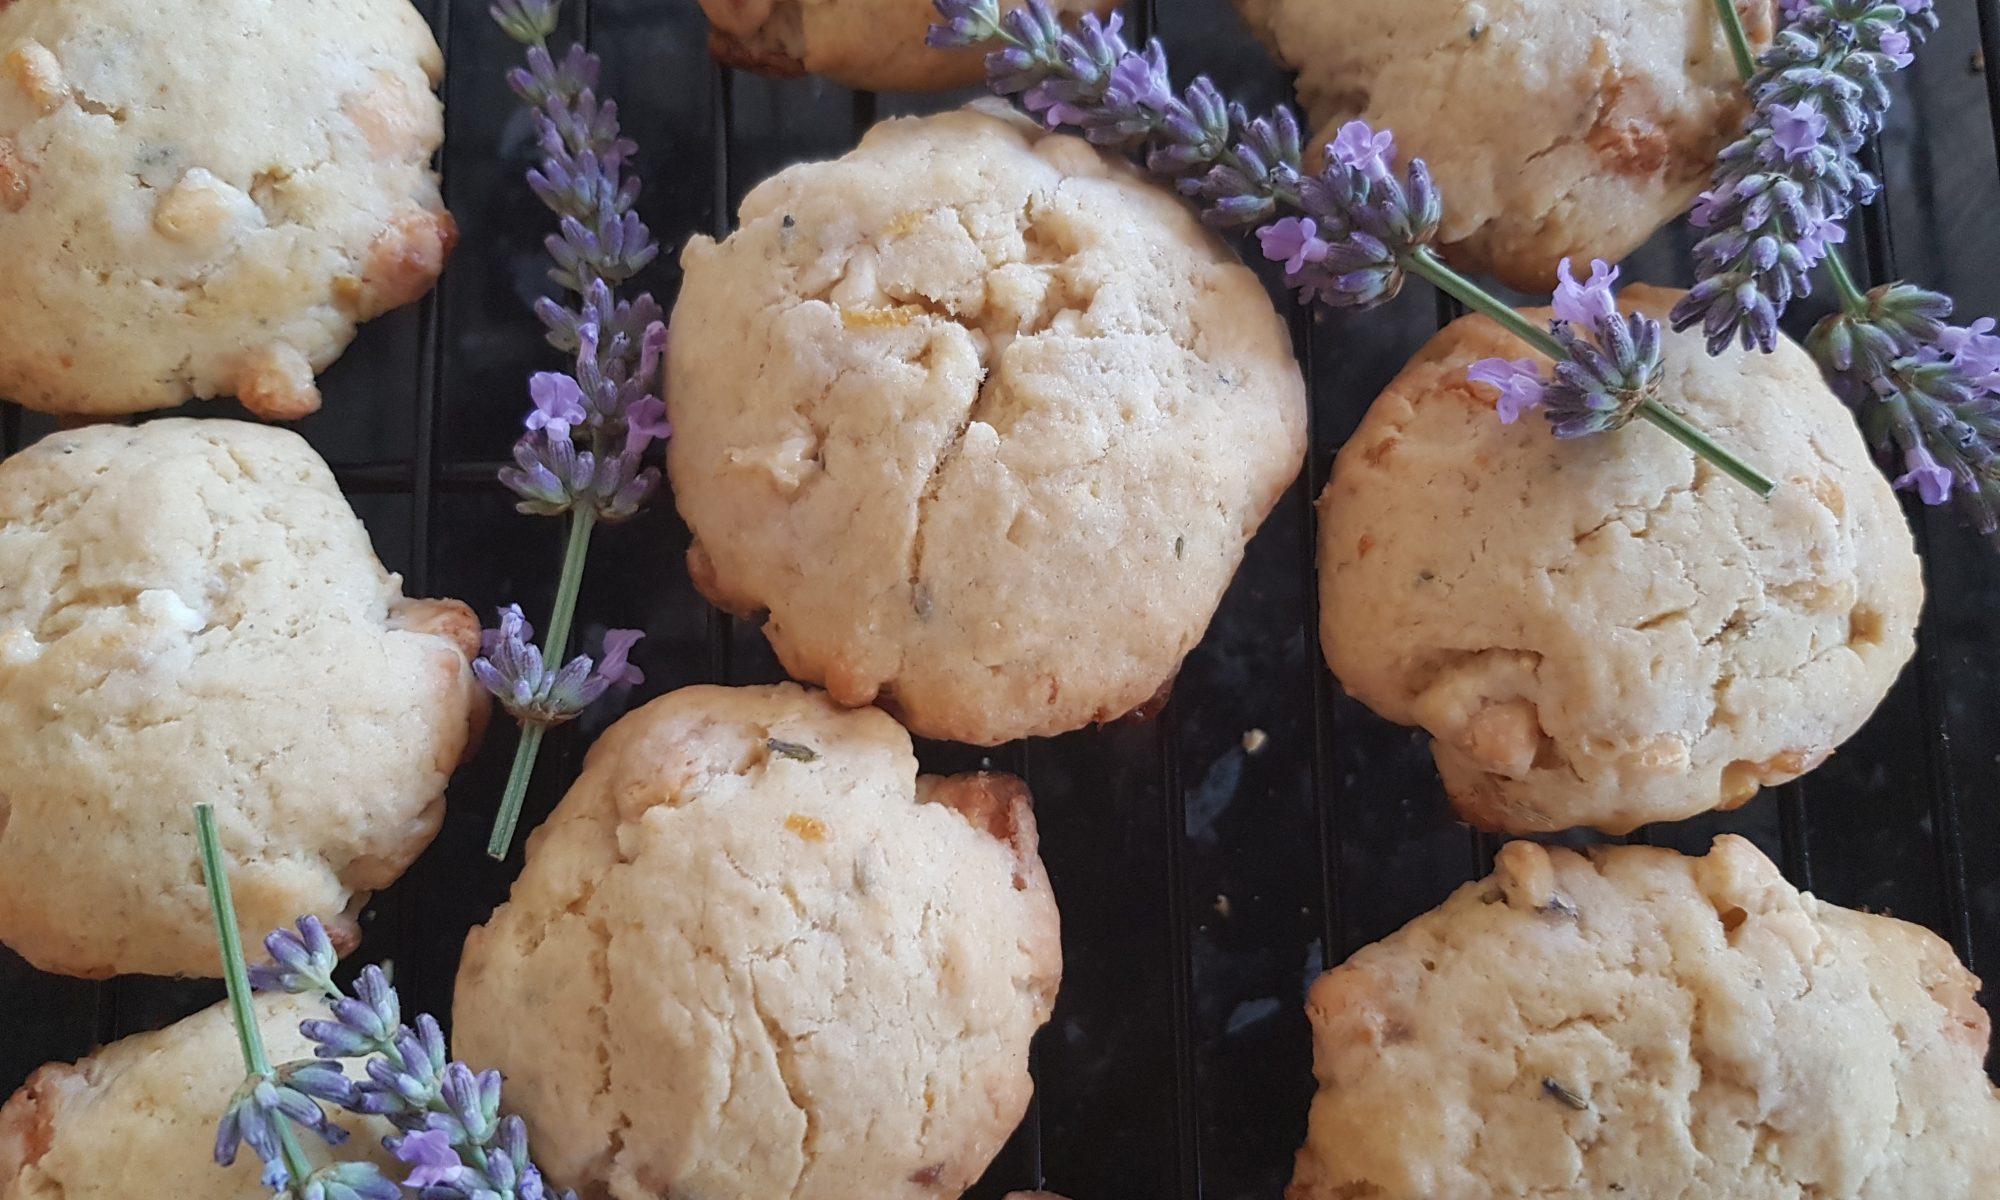
 We have these beautiful lavender plants in our front garden. They are a luscious shade of purple, smell lovely and never fail to attract bees. All of the children have at some stage enjoyed watching the bees on the lavender plants and it was here that Seb first said ‘bumbleey bees’ which always makes me happy. If I am honest I struggle to call them bees now as bumbleey bees sounds so much better!
 Heat the oven to 170°c and line two baking sheets with silicone mats or baking parchment.
 baking powder and squish and squash with your hands to form a dough.
 Divide the mixture into 2 equal pieces and make 10 biscuits from each pile by rolling them into balls and then gently squishing them flat on the baking tray with you hands (Seb used his fingers held together,
 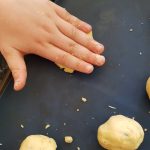 but I used the palm of my hand and both worked fine.
 After all the cake at Ophelia’s birthday, I decided that it was time to make something savoury again and to take advantage of Atticus being at home, something that will happen less and less as he starts school in the autumn. Out of the savoury items we make, the ones which comprise of copious amount of cheese are generally more successfully with the children. Cheese is a popular snack and we seem to go through a mammoth amount every week. I have no concerns about my children’s’ calcium intake!
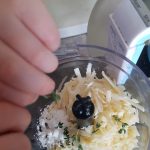 Slice the rind off the brie and chop and grate the emmental and the parmesan.
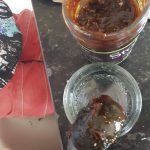 and pulse until all combined.
 Divide the cheesy mixture between the ramekins and then sprinkle with the remaining parmesan.
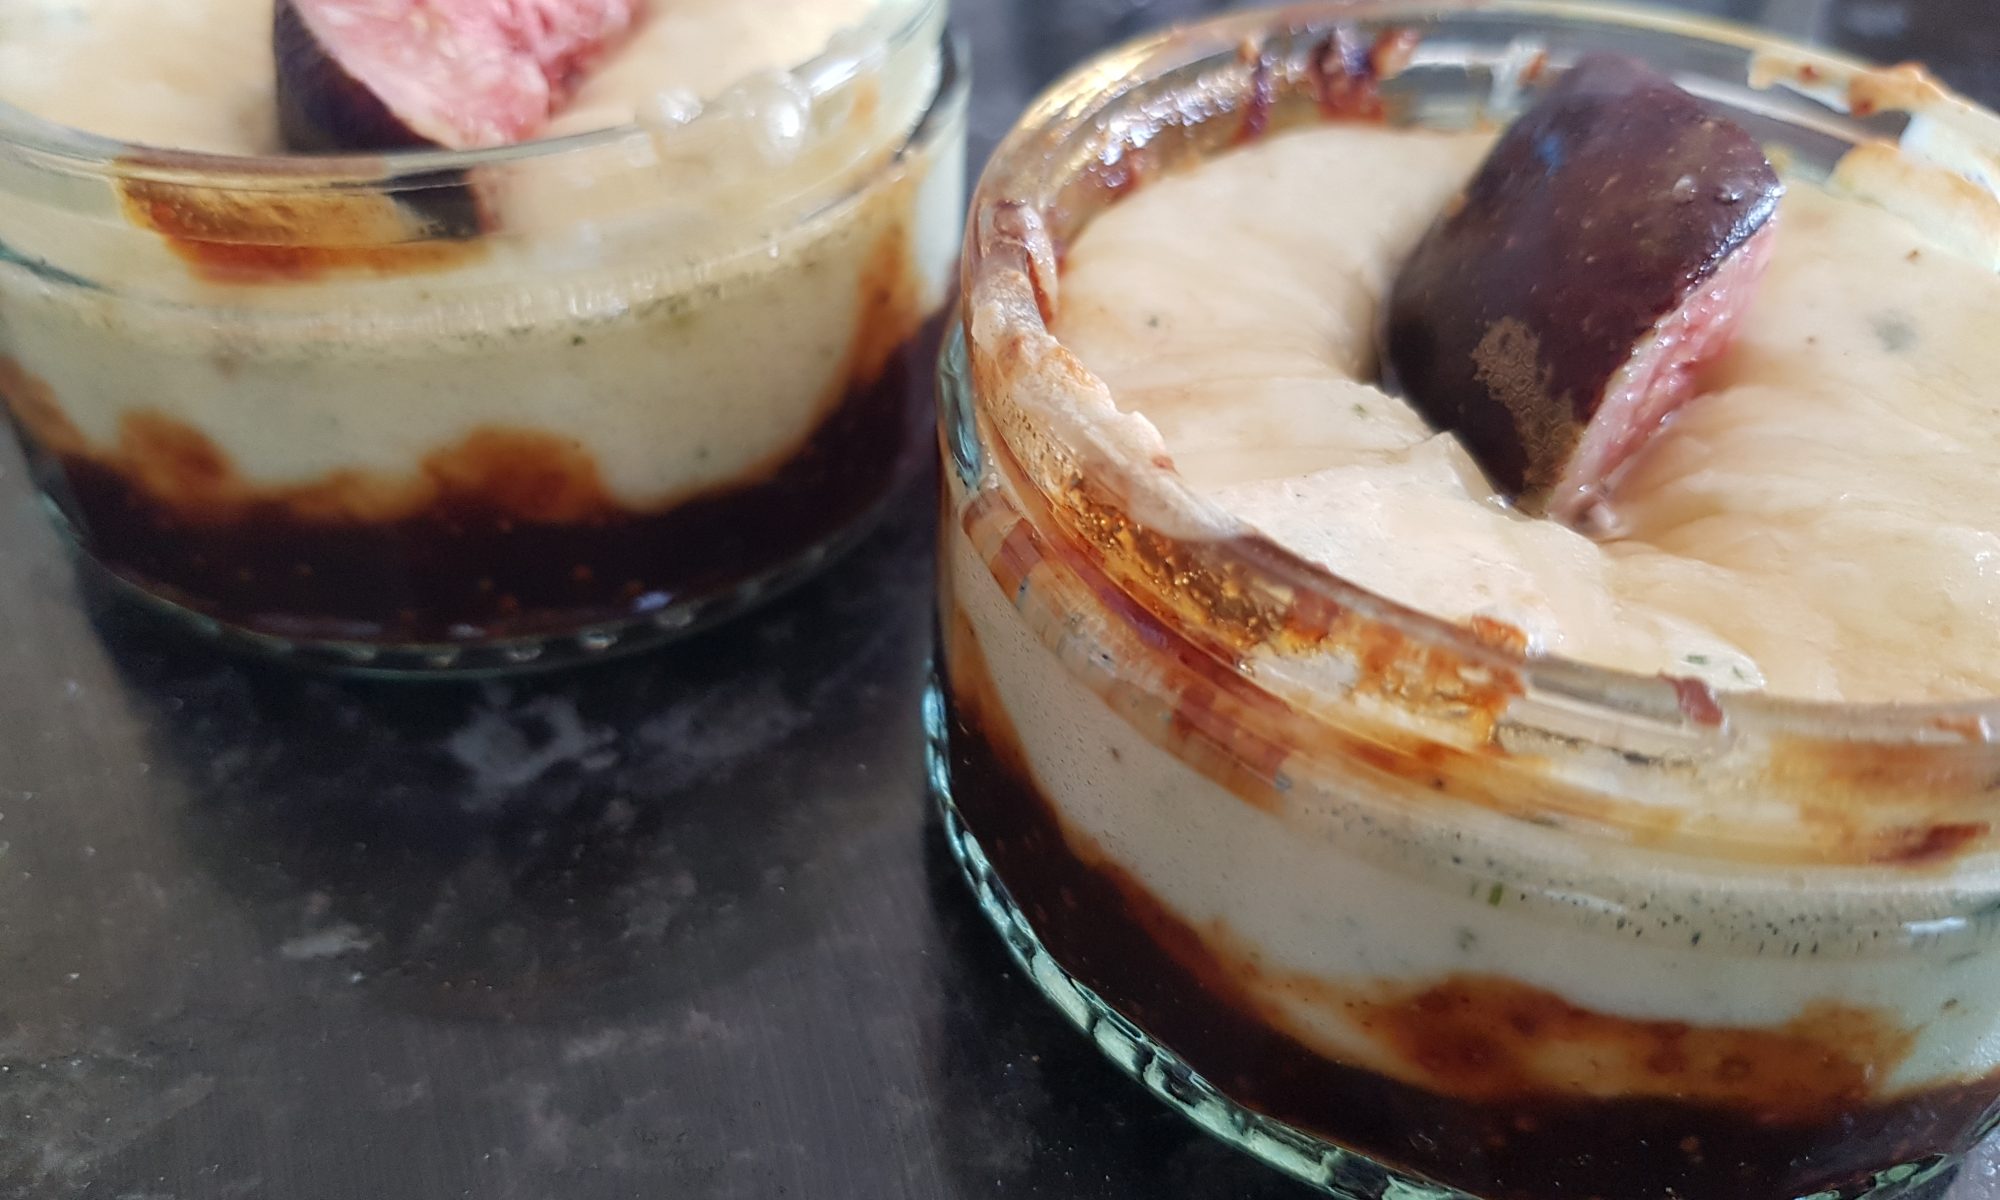
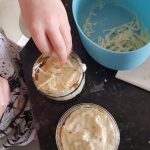 15 minutes until bubbling. Remove from the oven and leave to cool for 5-10 minutes before putting a piece of quartered fig on top and enjoy. You will need to remind your children that the cheese will still be quite hot. Mine enjoyed blowing on it to cool it down before dunking soldiers into it.
 Atticus and Ophelia had these for lunch with some sliced pear and buttered toast. They could equally be served for a dinner with vegetable sticks, crusty bread or anything else you want to dip in them! My kids would probably enjoy dipping cocktail sausages in them. I enjoyed mine with olive bread, baby corn and sugar snap peas.
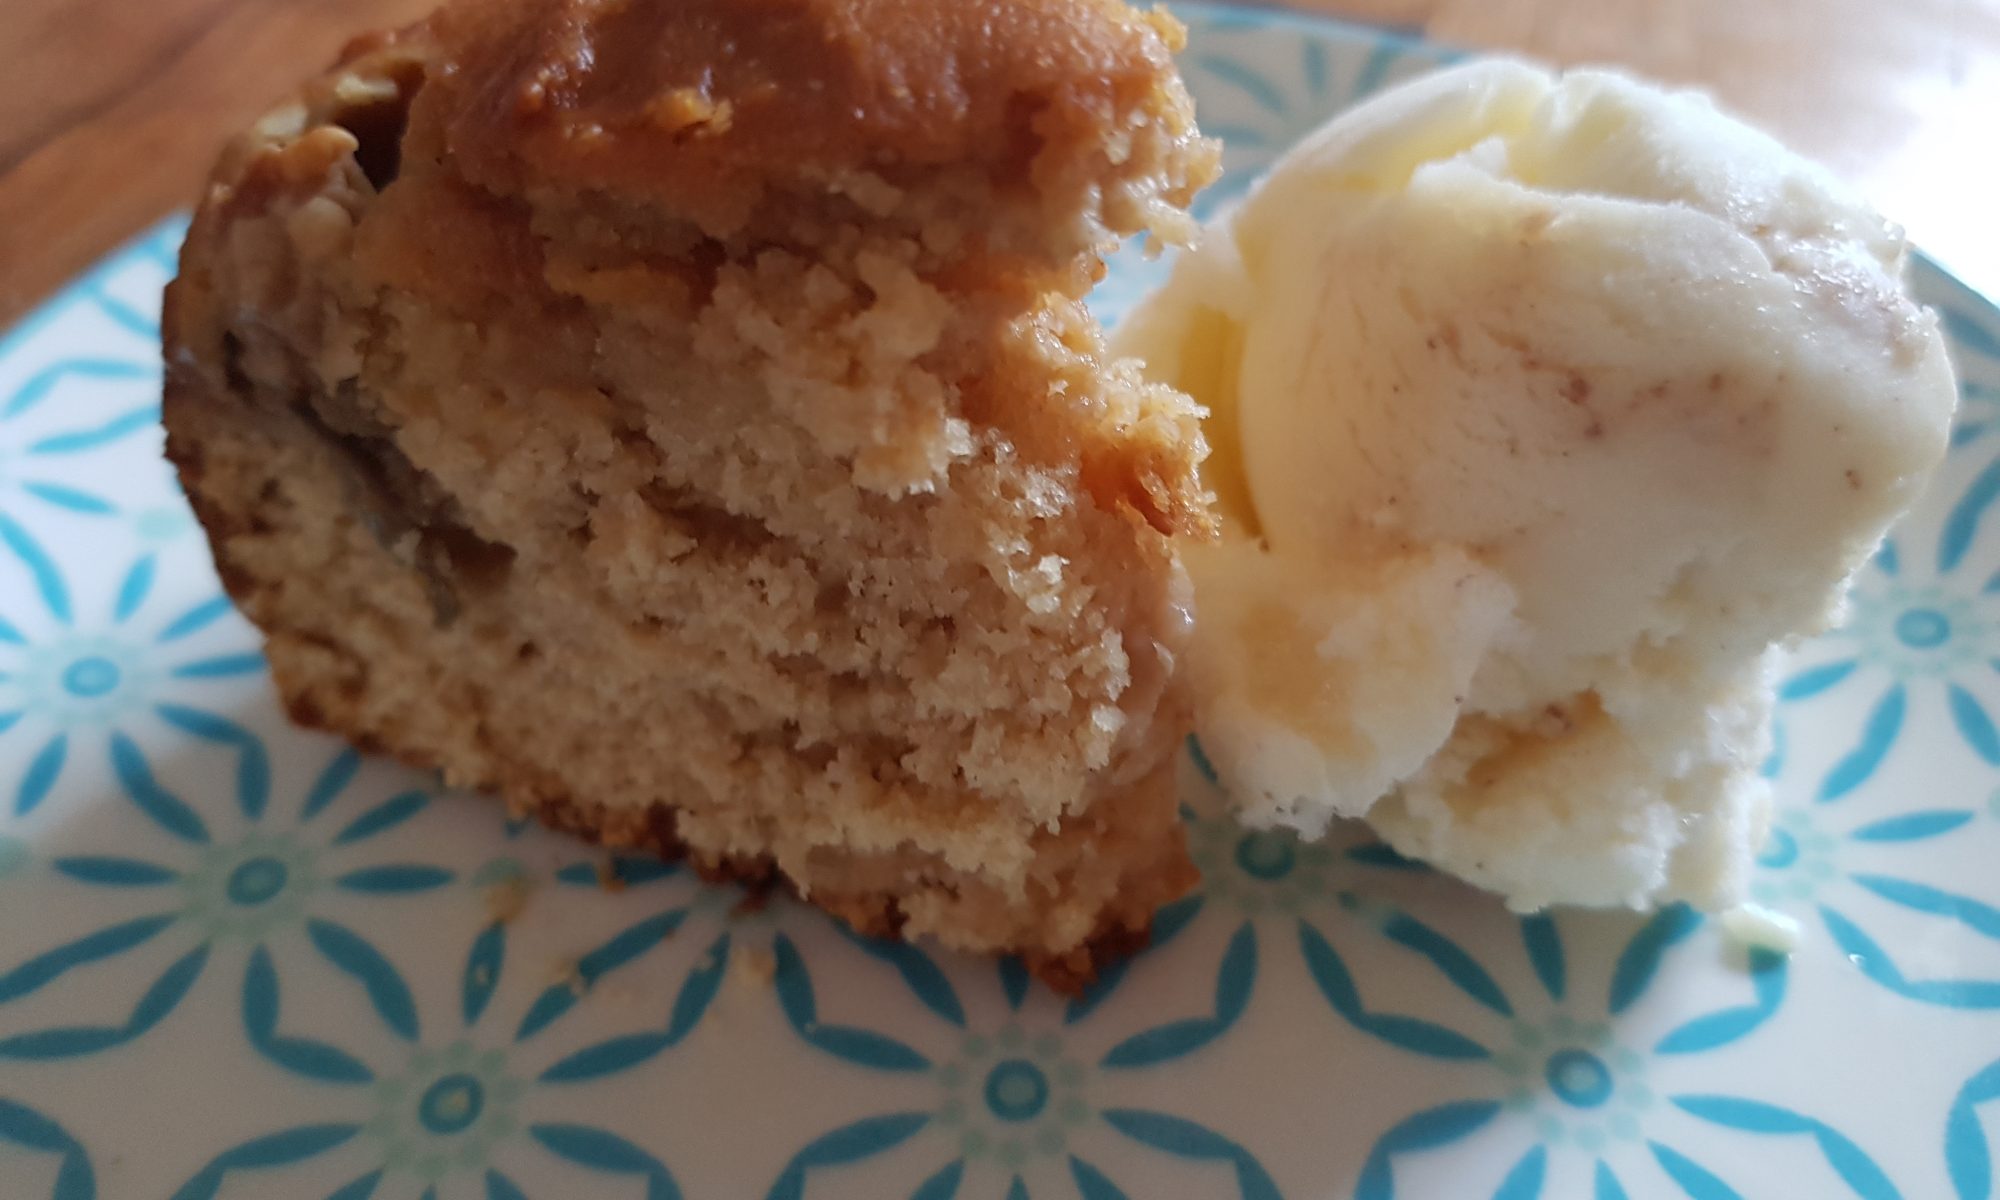
 Something came and turned my frustration at the week around. Well I doubt you will guess, so let me tell you. I found some more reduced rhubarb in the supermarket! Yes, it is earth shatteringly exciting news and is such a non-event that I should gloss over it and claim the idea came to me some other amazing way, but alas no. Three sticks of humble rhubarb managed to turn my week around as they gave me a reason to do some more experimenting in the kitchen with Atticus and Ophelia. We also have a jar of dulce de leche which has been peering at me from its position in the pantry (next to the honey and the Nutella if you are curious as to where we keep it) and longing to be loved and used in a recipe. These two ingredients sounded like a good match with the sweetness from the dulce de leche contrasting nicely with the sharpness of the rhubarb so I set about developing a recipe to combine the two.
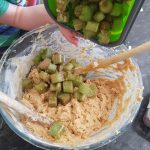 surprise there) so maybe combining the two might lead to success? My hope was that Atticus would enjoy the rhubarb in this recipe and then it would be the beginning of a long and happy lifetime enjoying rhubarb-based puddings. And before you ask, yes I do think about food, how to encourage my children to eat and try new foods and what I can make next most with them. But, while the kids and I are both enjoying ourselves, I believe it is a pattern that will continue for the foreseeable future.
 Preheat the oven to 160°c fan and grease and line a 23cm circular cake tin. Atticus had fun trying to draw around the tin although it did need tidying up!
 and vanilla extract together and then add to the egg mixture and mix until fully combined.
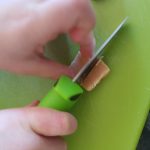 Gently mix in the flour.
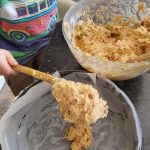 coated rhubarb and fold them both in.
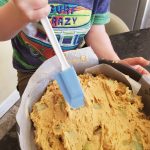 Then place in the oven for 40-50 minutes until a cake skewer comes out clean. Check the cake after the first 20 minutes as it may need to be covered to
 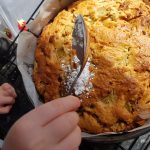 prevent burning.