The kids love puff pastry. Whenever we use it there are always comments about how it has gotten all puffy and golden in the oven. I love the way food transforms when you cook it and how children describe it and use it as a way to improve their language and make connections with the outside world. For example, we were talking about puff pastry and Seb mentioned Puffer Fish and how they get bigger too!
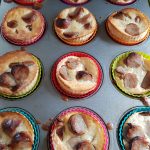
The results from this recipe were not all perfect, but they were a very good effort from a five year old and all the kids ate them for dinner very happily for two nights. How often does that happen?! A child willing to eat the same thing for dinner (with different accompaniments) two nights in a row without complaint and not a single child muttered anything about not liking them. We had two nights of clear plates! Woop woop! It is a victory that I am celebrating with a happy little dance which I am very glad you can’t see! But call me crazy, I am reluctant to try these again too soon as I don’t want them to decide they don’t like them and taint my victory!
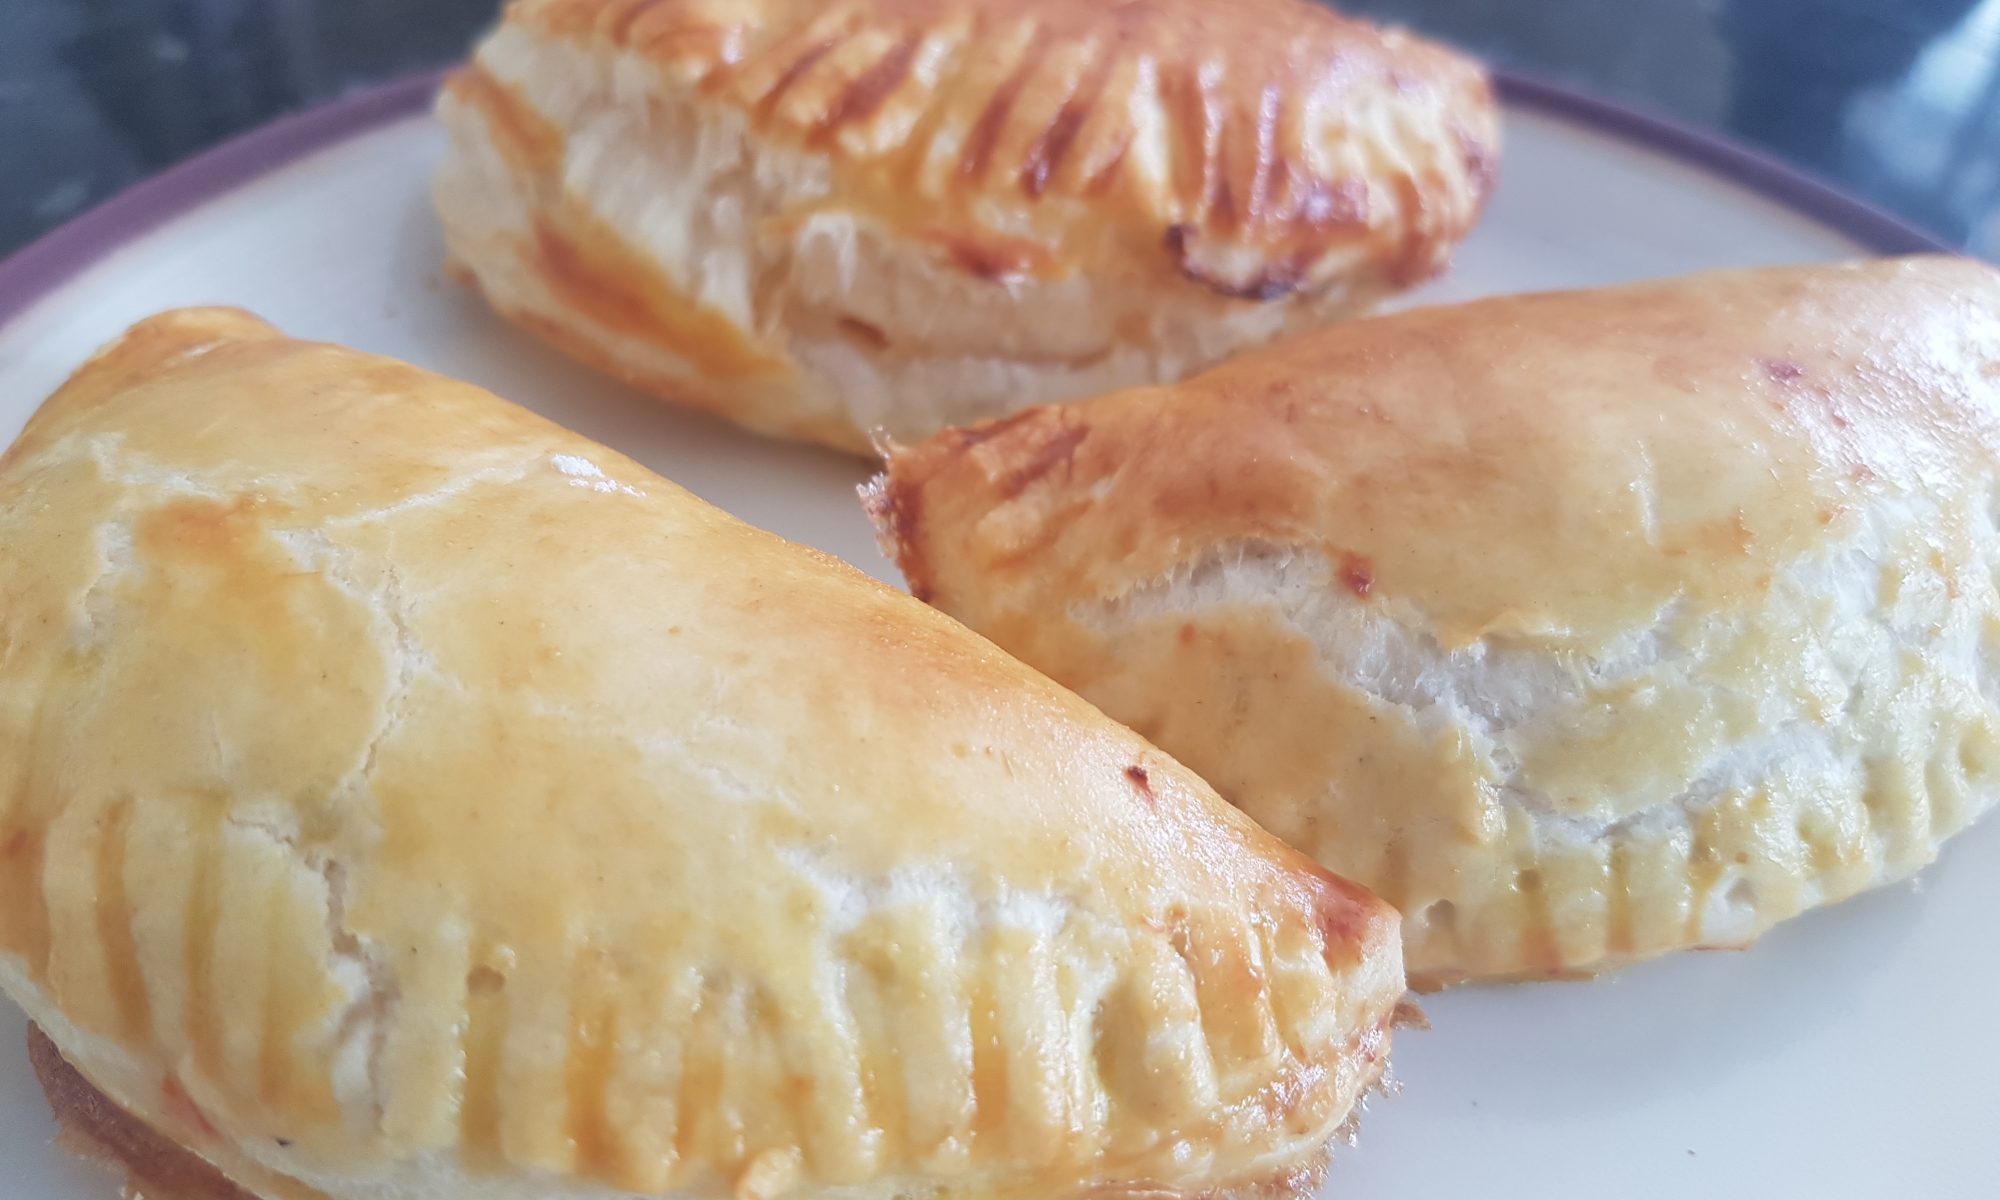
We decided to fill our turnovers with a salmon and ricotta mixture with lemon juice, rosemary (yup you guessed it, from the garden) and some light seasoning. You could put any flavour combination you like in and I think over the summer we may well try these with mascarpone, gammon, pea and mint or even with some sweet fillings and sprinkled with sugar (I am dreaming of summer fruits or rhubarb and orange, but with the boys not particularly liking cooked fruit I am guessing Nutella and peanut butter would be more likely!).
Ingredients
To make 12 turnovers using an 11cm diameter round cutter
- 500g puff pastry (we used a block and Seb and I rolled it out – he needed a bit of help to get it started)
- 1 tin of boneless and skinless salmon
- 130g ricotta
- Juice and zest of 1 lemon
- 1tsp chopped rosemary
- Seasoning
- Beaten egg
Method
 Mix the salmon, ricotta, lemon zest and juice, rosemary and seasoning in a bowl and put in the fridge while you roll out the pastry. Seb had some help with the zesting, but was really determined to have a go.
- Roll the puff pastry very thin on a floured surface (if it is already rolled then you can bypass
 this step or roll it a little bit to make it thinner).
 - Take the round cutter and cut out 12 circles (or as many as your pastry will make). You may have to consolidate the pastry and reroll it to use it all.
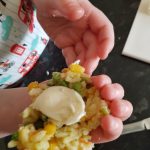
- Get the salmon mixture and place 1/2tbsp of the mixture on one side of each circle. If you overfill them, they may be difficult to close and filling may leak out.
 We did have this issue with some of ours, but it obviously doesn’t affect the taste.
 - Crack the egg and beat it. Brush the
 egg around the edge of each circle to help it stick together.
 - Fold over the puff pastry to create semi-circles and then seal
 using a fork. Brush them with the remaining egg and then refrigerate for 30 minutes before cooking them in an oven which has been preheated to 180°c fan for 30-35 minutes until all golden.
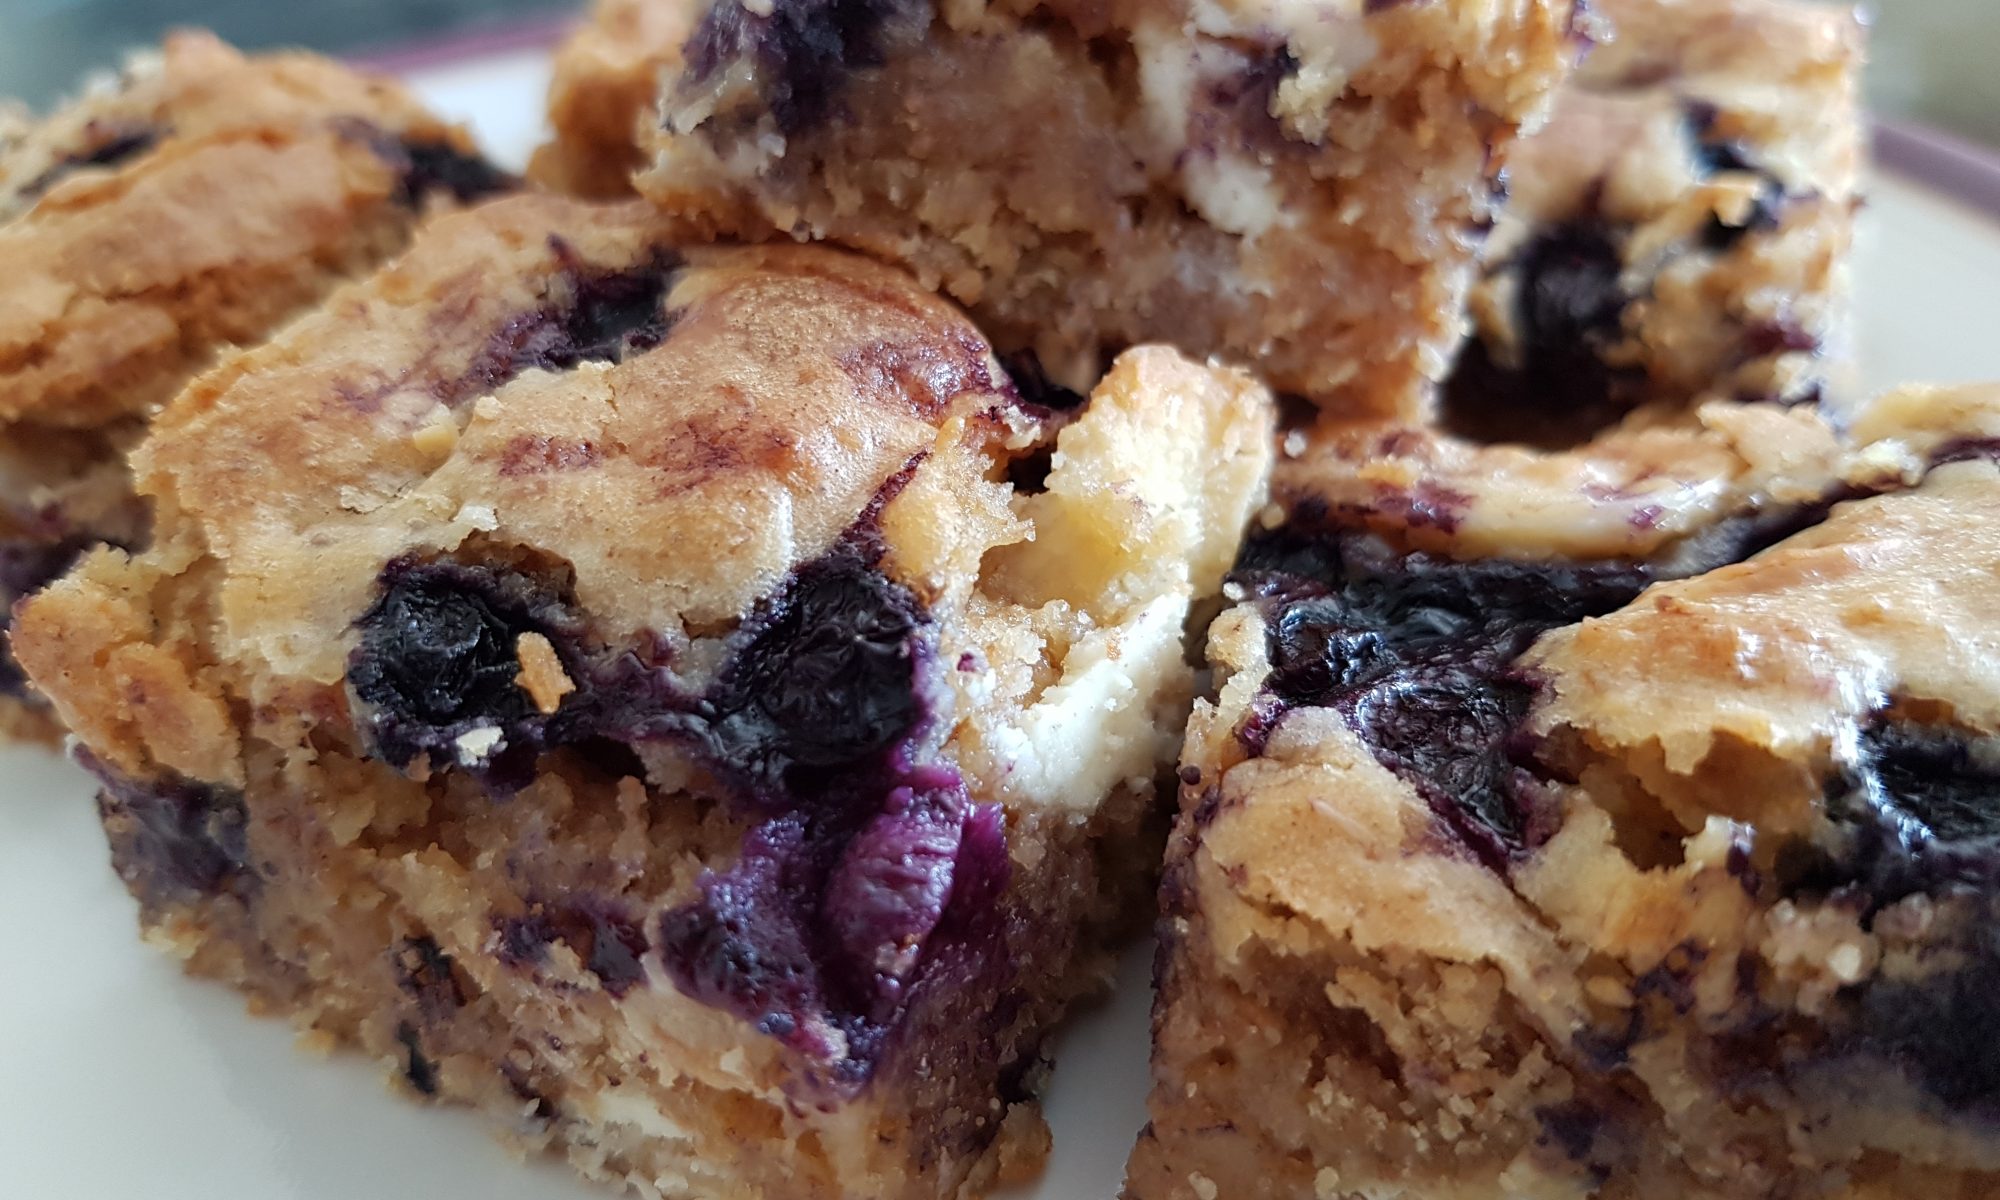
 Remembering how much fun the kids had smashing the Weetabix to smithereens, I decided that we would have a go with Shredded Wheat and make blondies. I love the idea of cereal in brownies or blondies. Adding cereal to baked goods makes me feel a bit less naughty when I eat them and I bet if I didn’t mention it and I offered you one, you probably wouldn’t realise that they contained Shredded Wheat.
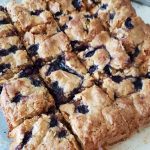 months, she clearly has very little concept of quantity, but she can count to three. We counted two packets of Shredded Wheat together (4 biscuits in total) and while she bashed them still in the packets (less mess) I measured out the rest of the ingredients and melted the butter and the white chocolate.
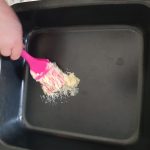 Preheat the oven to 180ºc fan.
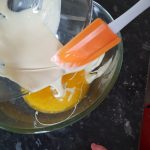 If they are older they may well enjoy measuring out the butter and breaking the chocolate and helping with the melting process.
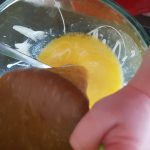 Once the chocolate and butter have melted mix them together until completely combined.
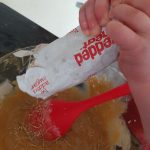 the sugar and vanilla extract. Once it has been completely mixed add this to the chocolate and butter mixture and combine.
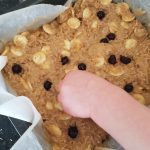 If you mix frozen blueberries in they will bleed and you will have purple blondies which you may not mind, but I decided that we would avoid that this time.
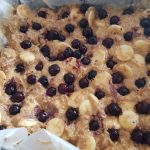 particularly with her brothers as she is desperate to be one of the big kids. I had expected that they would be a popular pudding choice. However, I was amazed that we managed to save some for Daddy and even my sister and her husband when they visited a couple of days later.
 and for certain things like pasta sauce I will still blend them down a bit. I have now, however, started a you must try it ethos. I will, on occasion, dress it up though and try and make it as inviting as possible. It is this which led Seb to trying and quite enjoying asparagus in this recipe, which is great as it is asparagus season and it is truly a yummy vegetable.
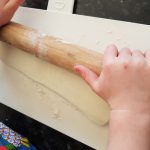 Roll out the puff pastry so that it is nearly the length of 2 pieces of asparagus and width of four. Cut it in half and then each piece into four thin strips. You should have eight strips of puff pastry. Atticus enjoyed counting the strips to check the amount matched the asparagus tips.
 around it to create a spiral. We found that the easiest way to do this was for me to hold the asparagus tip and Atticus to wrap it around and then together we checked there was enough space for the puff pastry. If the bacon or the pastry is too wide, just fold it in half lengthways so it is narrower.
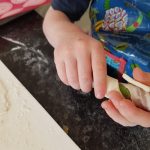 From the other end wrap a piece of puff pastry around the asparagus so that all the asparagus is covered.
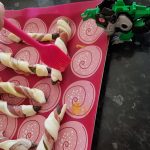 with the egg glaze. The transformer you see in this picture is optional, but Atticus assured me that he was essential to the process. Place in the oven for 25-30 minutes until the pastry is golden and all puffy.
 We served these with dippy doppy eggs. Seb really enjoyed them and would eat them again. Atticus had a nibble and gave up and Ophelia ate the top of each bit, but they both did eat the bacon and the pastry.
 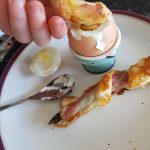 At least they tried and maybe next time we will have more success as I am not giving up on them eventually liking asparagus!
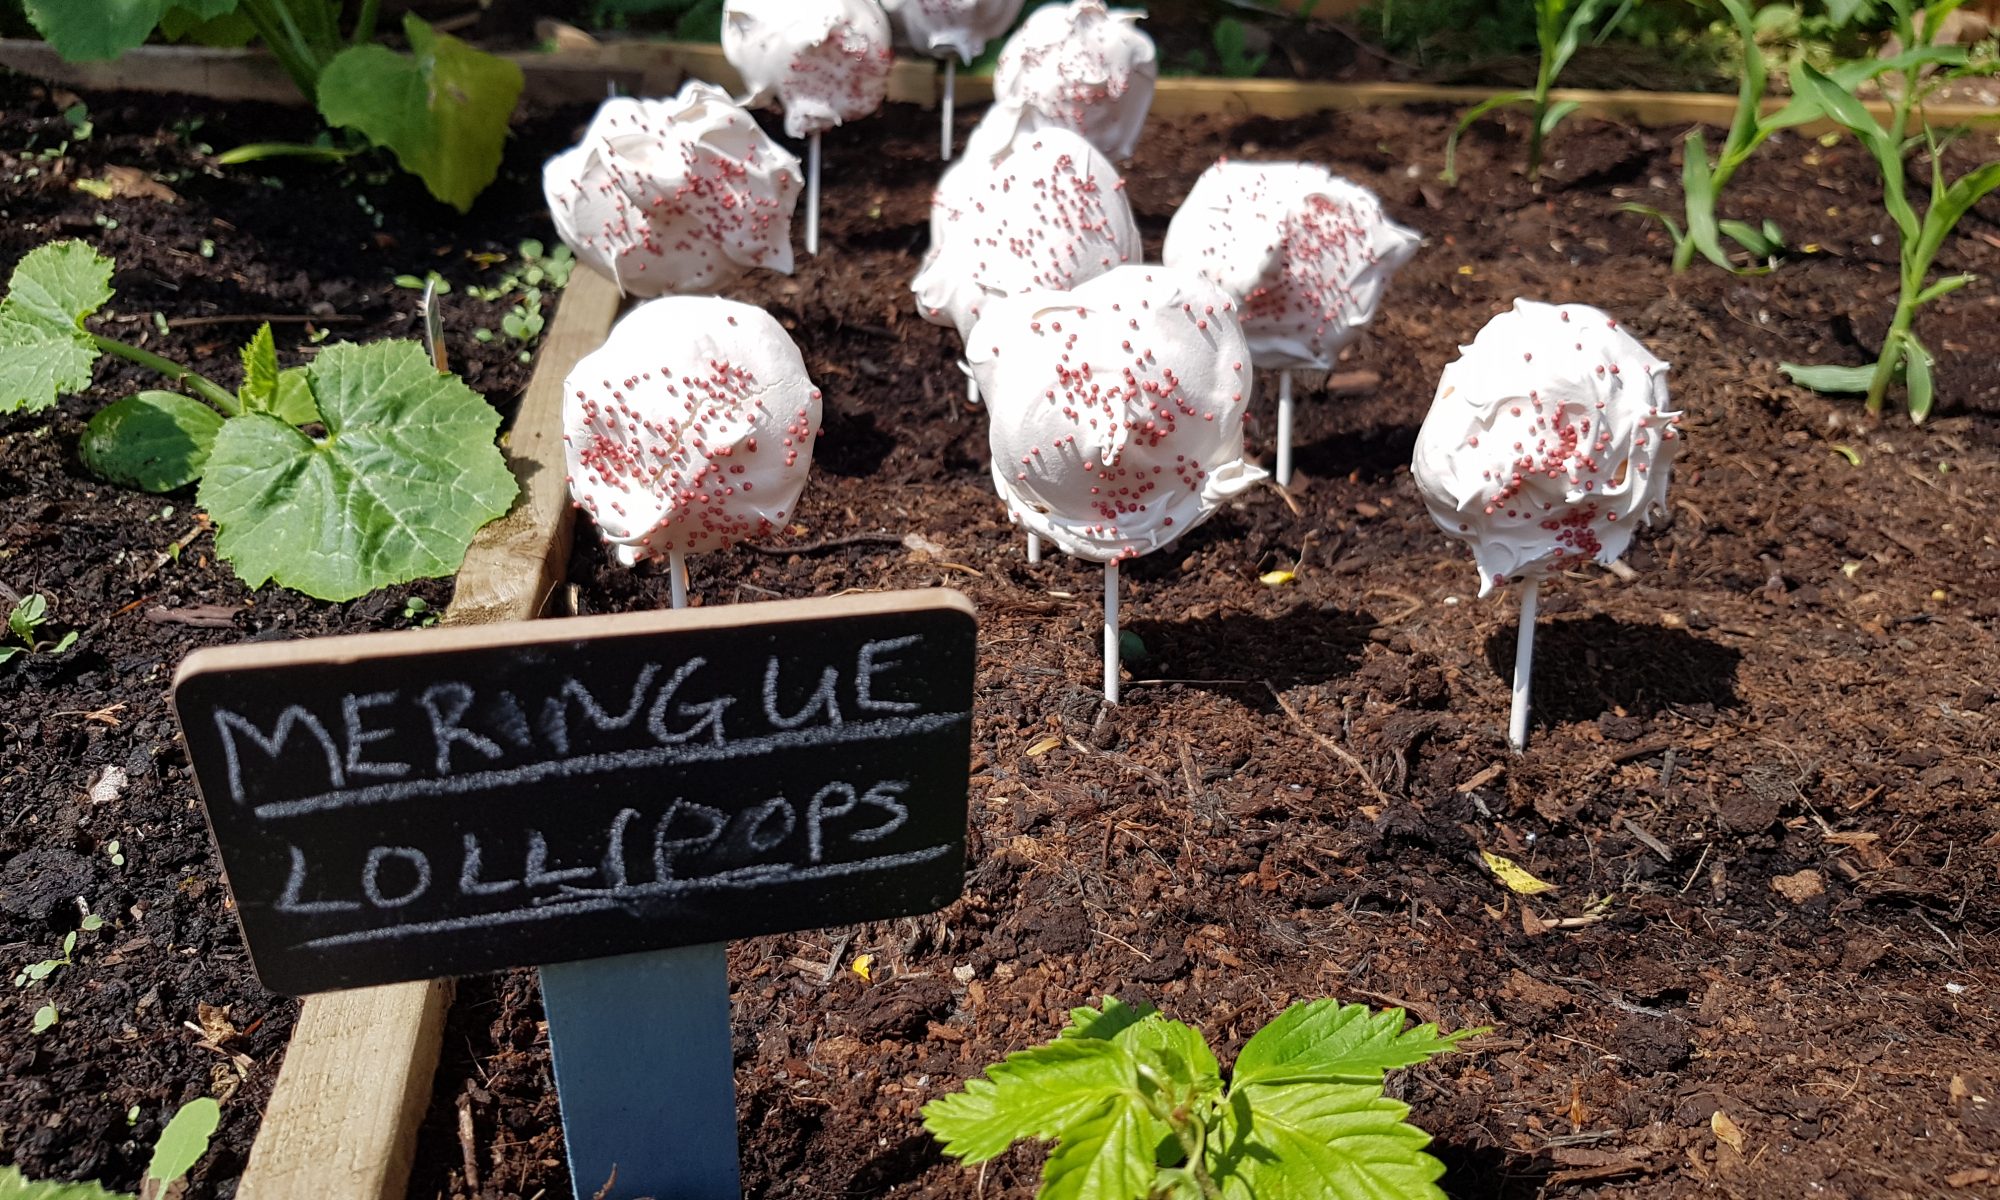
 For the first attempt, we made them way too big and I also used half caster sugar and half icing sugar. They were beautifully squishy inside and had a very marshmallowy, lollypop-like sugary taste. In essence, they were yummy, but they didn’t have great structural integrity and only about 5 of a double batch worked out. This time round I learnt from my previous experience: smaller lollipops and only caster sugar!
 Measure 2 pieces of greaseproof paper to go on your 2 baking sheets. Draw around a 6cm diameter circular object 10 times on greaseproof paper, 5 on each leaving enough space for the lollypop sticks.
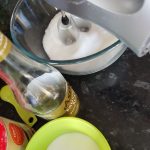 Separate the eggs and put in a large glass bowl. (I separated the eggs as we don’t have an egg separator and it is vital that no yolk ends up in the egg whites.)
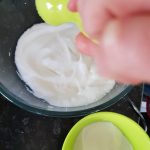 added and whisk between each addition.
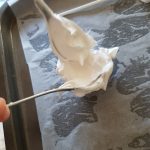 into the circles on the greaseproof paper and then shape with the back of the spoon.
 I put a tiny bit extra of meringue on top of where the stick went in to keep them secure.
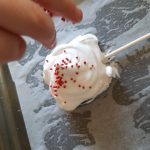 can resist the temptation to have a little look! You need to at least leave the oven door closed until it has fully cooled. I cooked ours for a further 90 minutes after the initial hour to ensure they wouldn’t fall off the lollipop sticks. This gave them a less marshmallowy
 texture, but they did stay on the sticks, not collapse and the kids still demolished them without hesitation.
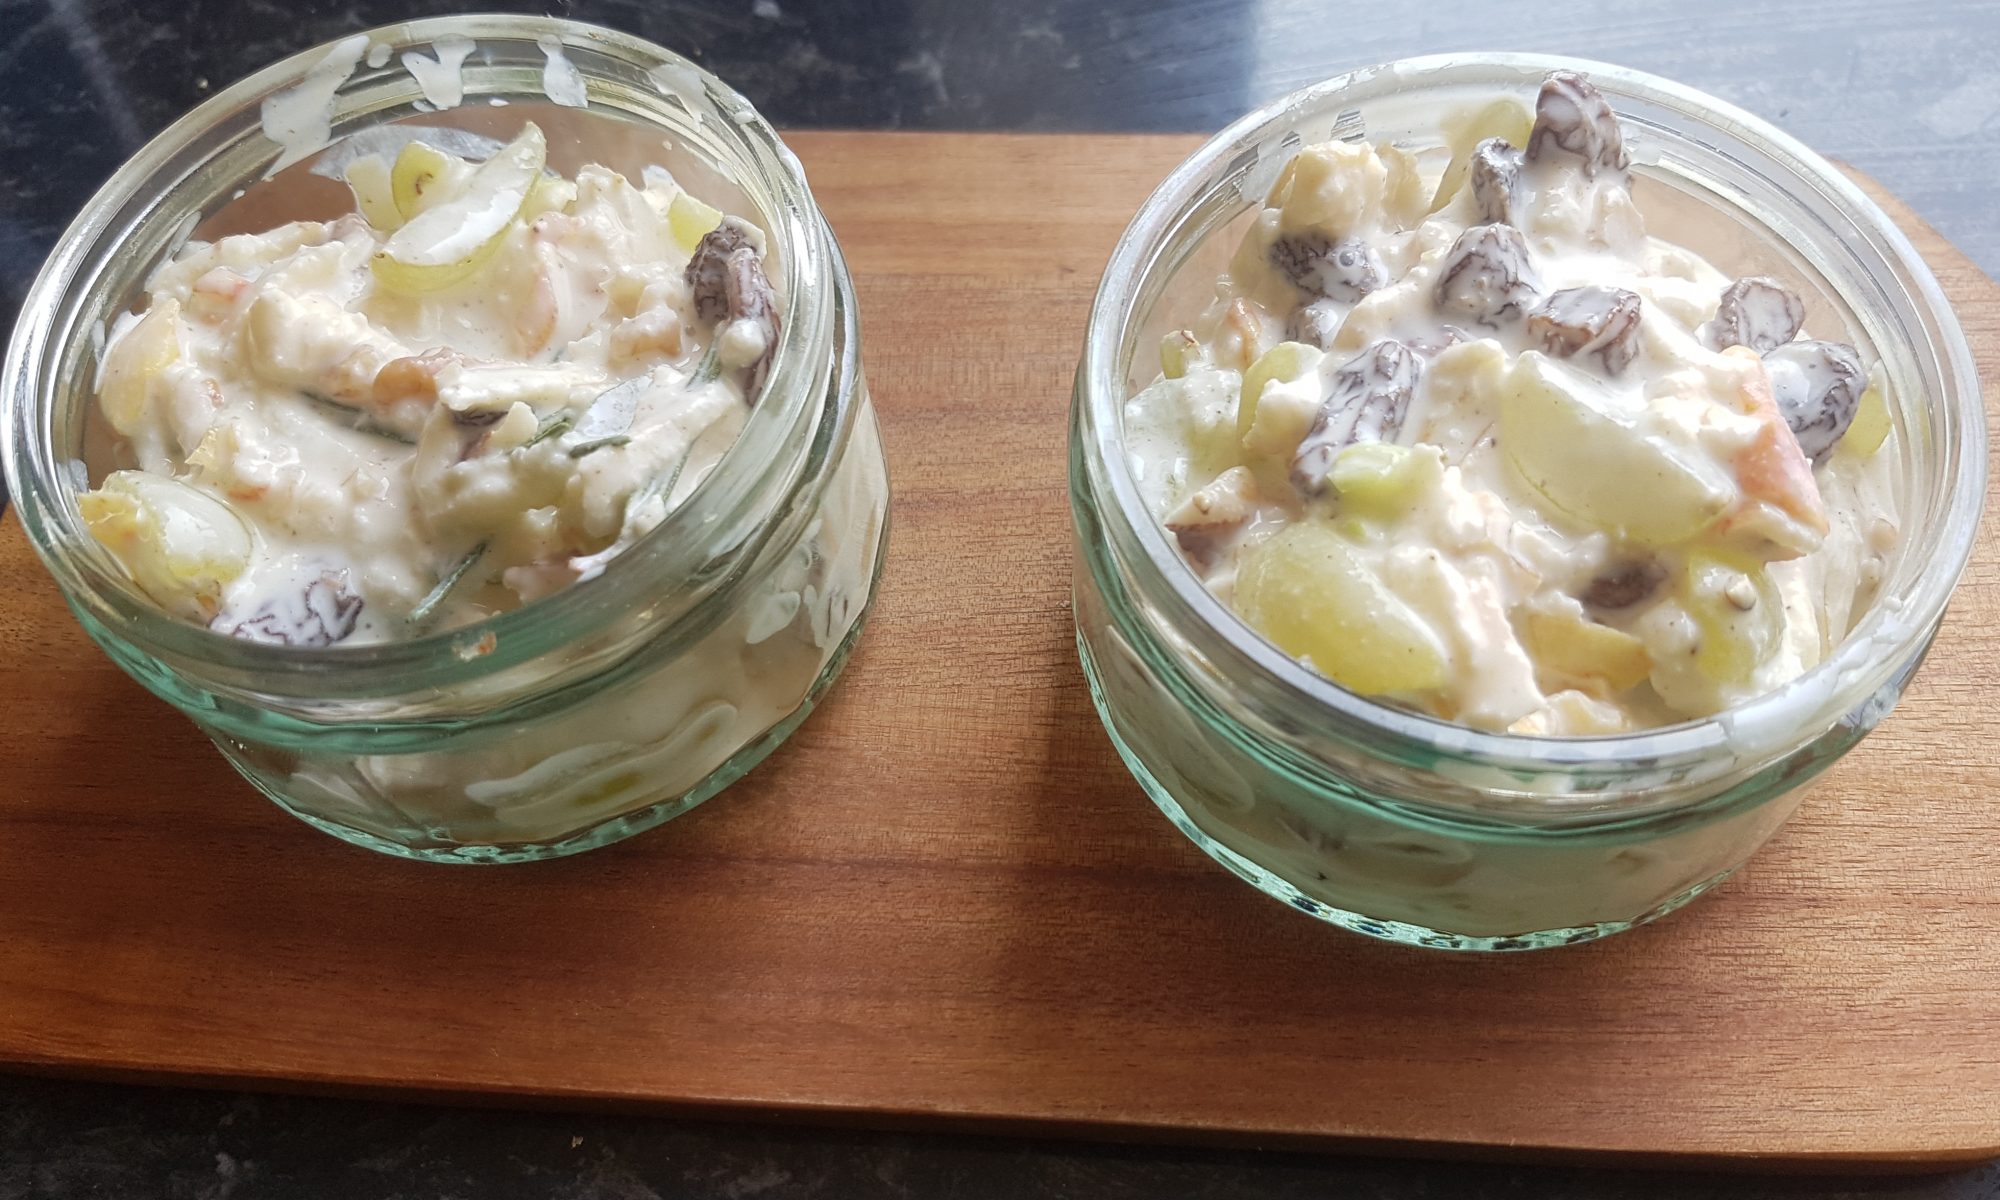
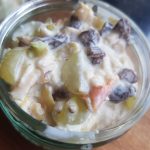 stuck in a rut with the children’s lunches; sticking to what I know they will eat to prevent tantrums and just to make my life that little bit easier. Then I remember that this makes life boring so I try and change it up a bit. We made salmon paste last week, which we hadn’t done for an age, and it was very well received. This week I decided we would try something completely new with Atticus and Ophelia to mark British Sandwich Week 2018. I have been looking at summer salad recipes and I kept on coming back to the Waldorf salad. The kids love apples and grapes and walnuts so I thought we could create something there.
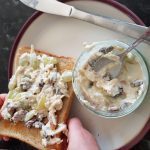 Atticus and Ophelia loved making this and both got completely involved, probably due to all the mixing fun. It worked well as a sandwich filler although mine preferred to eat it out of the small tubs with spoons rather than eat the bread too. I think in future I may well let them have it with crackers and breadsticks for a fun create your own lunch.
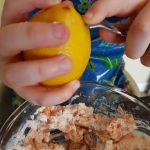
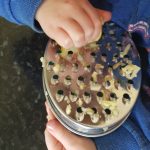 Grate the apple and put it in a bowl. Add the lemon juice to prevent it from going brown.
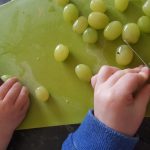
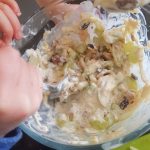 Add the yoghurt, cream cheese, ricotta, rosemary, mustard powder, cumin and seasoning and mix until thoroughly combined.
 with the kids allows me to spend quality time with them creating those all important memories that will keep me smiling long after the kids are in bed or when they are driving me insane. In addition to the aforementioned, the reasons for this recipe are two-fold; we have a surplus of rosemary in our garden and I wanted some new and interesting ways to use it and secondly 12-19 May 2018 in the UK is National Doughnut Week in aid of The Children’s Trust. So we made a donation and doughnuts!
 I need to underline, I am not a professional baker and these were our first attempt at baked yeast doughnuts so they are not perfect. I am sure every home baker would say that they taste better than they look at some point. This is generally exacerbated when children are involved in the process as mine were in this one. That said, I was happy that the rosemary could be tasted in the doughnuts and think the lemon glaze was a good contrast.
 the dough with me and talking about yeast makes dough rise. We talked about kneading the dough to make the yeast ‘friendly’ (or activate it in grown up talk). He had so much fun with the doughnut cutters and the fact that he could pop the centre of them out and then re-roll the dough had him chuckling during the process.
 ones. They may look a little pale, but they will have the lovely soft texture inside. If you do decide you want a firmer doughnut, you can always return it to the oven for another couple of minutes. It unfortunately doesn’t work both ways so keep an eye on them! We did overbake some of ours and they lost some of their doughnutiness, but they still tasted nice.
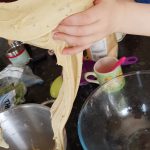
 After an hour, turn it out onto a floured surface and stamp out doughnuts with a doughnut cutter or a biscuit cutter and then cut the centre out
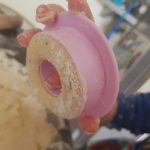 with the reverse side of a piping nozzle. Once you have used all the dough, leave to prove again for another 40-minutes to an hour or doubled in size. (Once again I used my oven, but I did end up reheating it and putting fresh boiling water in it.)
 To coat the doughnuts, dip them in the icing
 bowl and place on a cooling rack so the excess drips off (if you are wise, you will cover underneath the rack with a tea towel or newspaper to reduce clean up time. I didn’t do this and wished I had).

 and they love it when sausages are on the menu. As none of my children particularly enjoy (please read absolutely hate and wouldn’t touch with a barge pole) mashed potato, they are not on the menu too often. This seems to change in the summer months when the BBQ emerges from its winter hibernation to perform its summer duties.
 We had leftover sausages from a BBQ over last bank holiday weekend and to use them up I decided the kids and I would make Mini Toad in the Holes. Pancakes always go down well, so why not add sausage to the mix to make them extra special? Unsurprisingly as soon as I mentioned cooking with sausages I had a couple of children following me eager to get started!
 Preheat the oven to 200ºc and put a silicone muffin case into each of the muffin holes. Spray them with frylight or paint them with oil using a pastry brush.
 jug and mix. Season the mixture and whisk in the eggs.
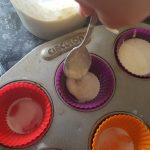 Spoon or pour equally into the muffin cases and then divide the sliced sausages among them.
 Preheat the oven to 170ºc fan and put a silicone baking mat on an baking tray.
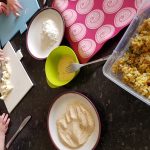
 Take a small child-sized handful of risotto and pick up a couple of pieces of mozzarella and put them in the middle of
  the risotto. Take another small child-sized handful of risotto and squish it on top of it. Press and roll together so that it forms one large ball.
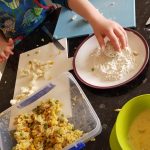 Roll the ball in the flour, then dip in the egg and finally roll in the breadcrumbs before placing on the baking sheet.
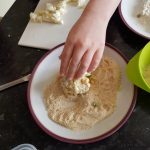
 These didn’t last very long as the kids loved them. They also had a great time making them so it was a good morning activity to pass away the time while daddy was at work.
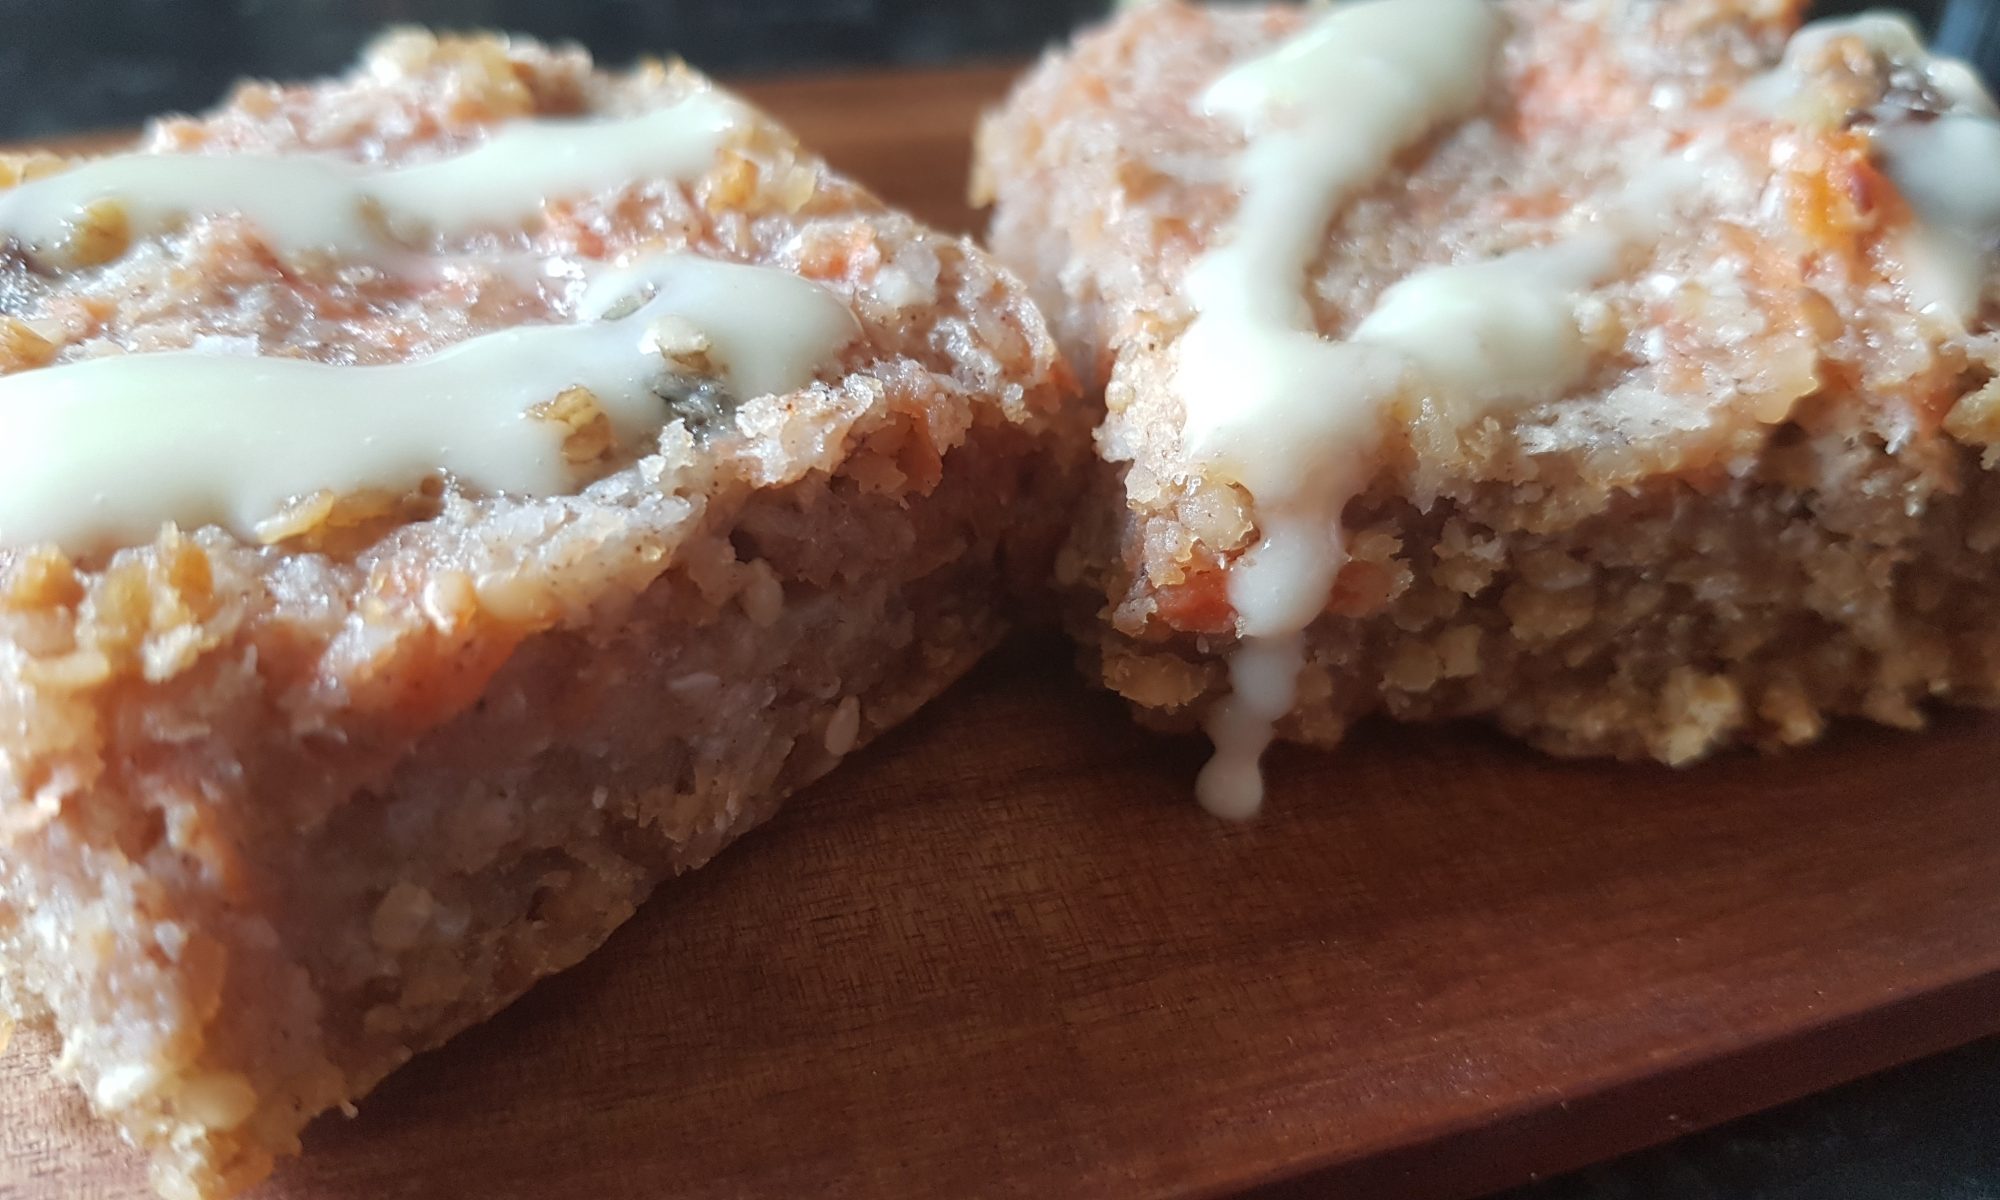
 lot of raw carrots during my pregnancy with Seb, and as a result a raw carrot is a go-to snack for the kids when we are out and about. It also takes a lot longer to eat a large carrot than a biscuit, it is healthier and less sticky and messy for small paws during a buggy ride or walk. It is a win-win in my book. Although I do look a bit strange carrying around whole carrots in my handbag and distributing them to the kids to delighted shrieks and it must look especially strange when I also decide to partake of the healthy snack! It also leads me to start listing my favourite fictional bunnies in my head (if you are interested the list includes Tweak Bunny, Peter Rabbit and Thumper).
 For me this was an afterthought. They are yummy without any icing, but they do look a bit plain so if you would like to drizzle some on top mix 25g icing sugar and a couple tbsp of orange juice. If you want it thicker add more icing sugar and more orange juice if you want a thinner icing. I like to use quite thick icing so it can be seen.
 Put the butter, brown sugar and golden syrup into a saucepan and melt to combine on the stove. When it has fully melted, add the oats and sesame seeds and mix well.
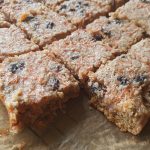
 is cooking make the carrot cake topping. Put the condensed milk, orange juice, plain flour and egg into a bowl and mix well. Add the grated carrot, raisins, ground walnuts, desiccated coconut and cinnamon and mix again.
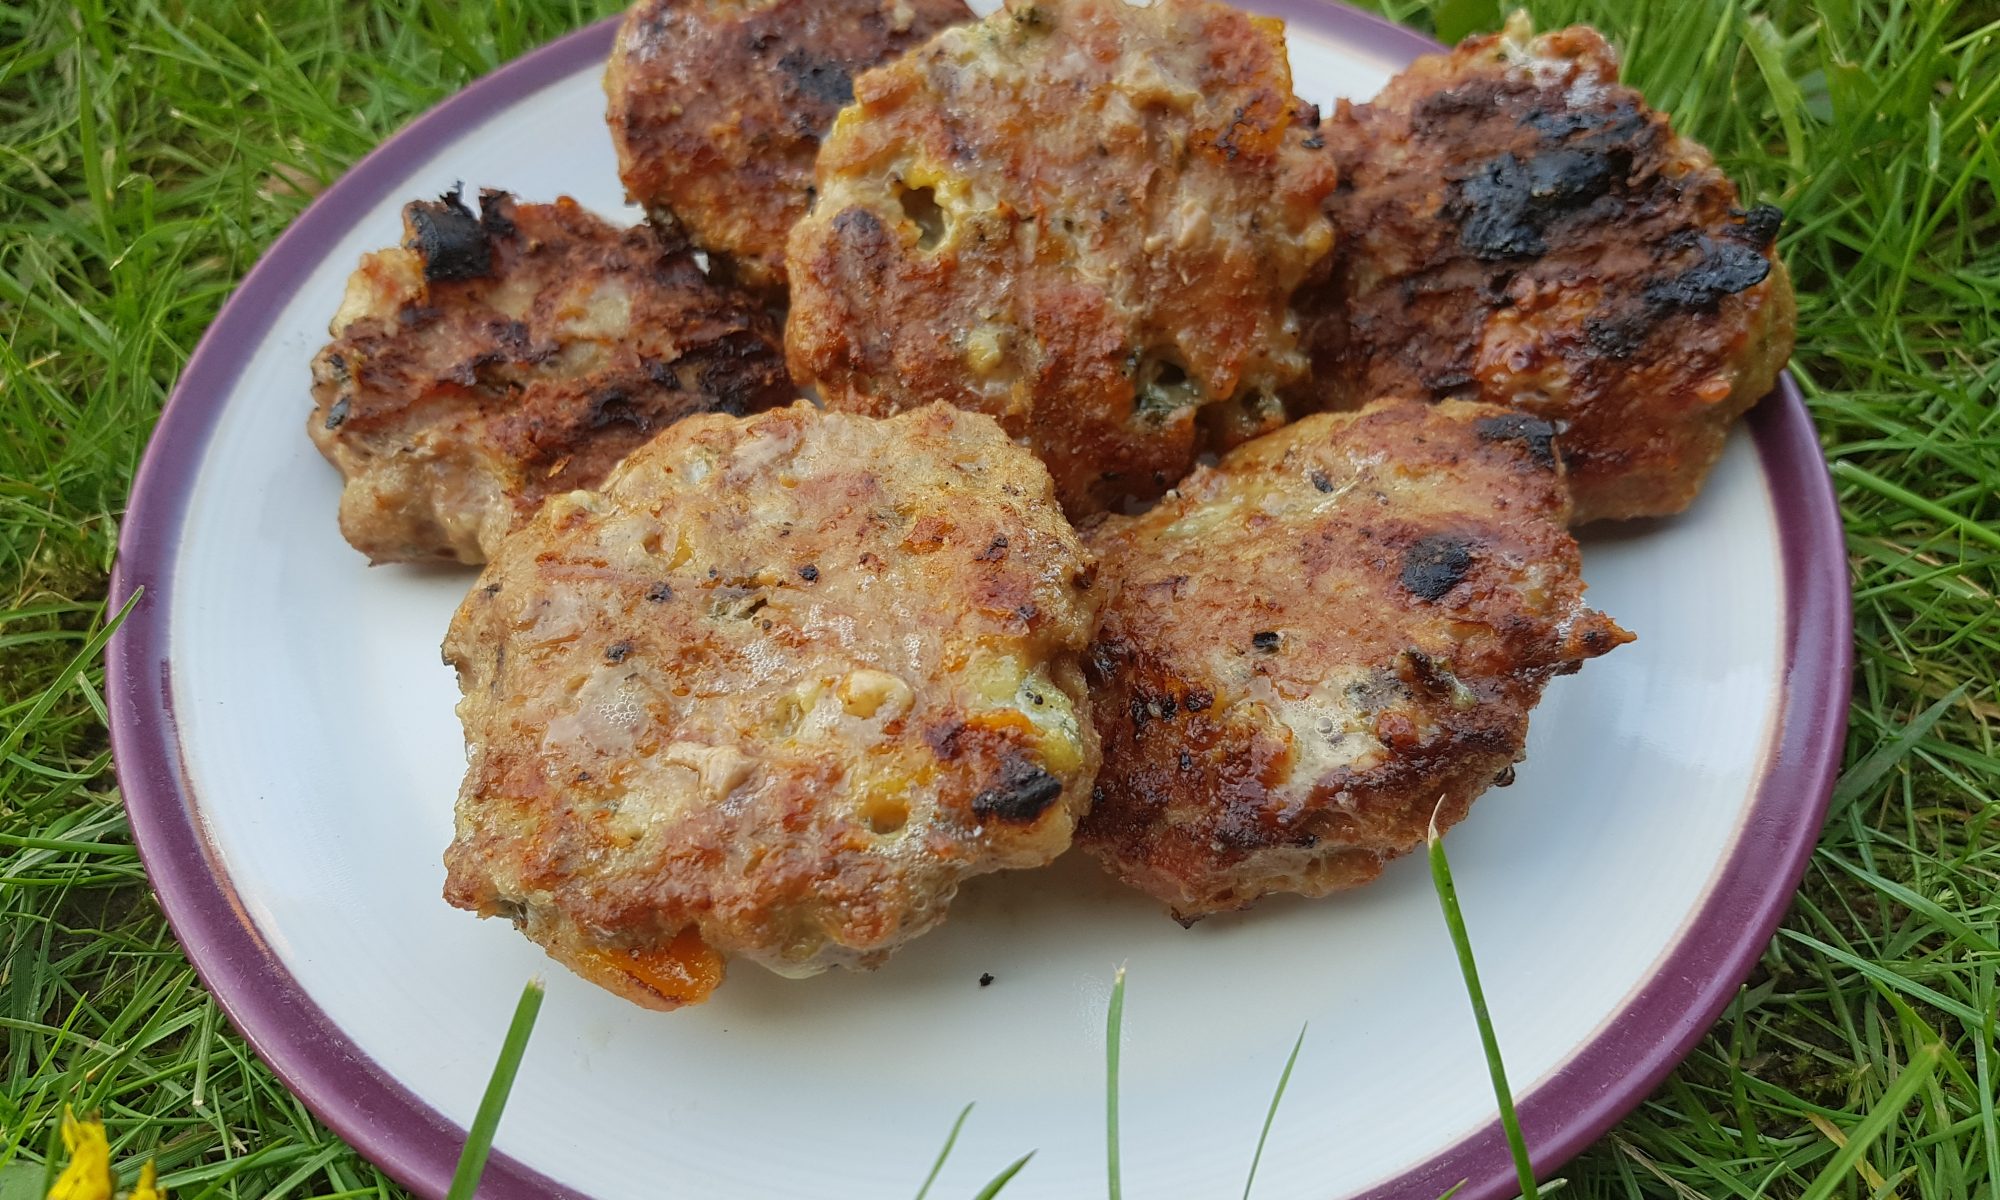
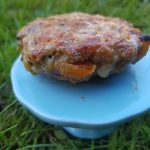
 All I had to do is actually make the burger recipe with Seb and a salad. Simon manned the BBQ and cooked all the food. An easy afternoon for me!
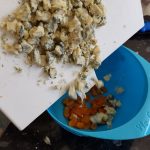
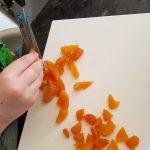 Using kitchen scissors chop the dried apricots into small pieces and place in a medium-sized mixing bowl.
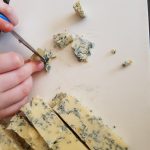 This cheese is easy to chop with a table knife, but we also found that it could easily be crumbled.
 Crack the egg in a cup and whisk gently. Add it to the meat mixture and mix again.
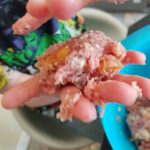 We made 8 medium-sized burgers. Place on a baking sheet lined with greaseproof paper or a silicone baking mat and chill in the fridge for at least 30 minutes before cooking.
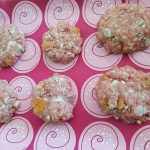 When ready to cook place on the BBQ until fully cooked or in a preheated oven (170ºc). The cooking time will depend on their size. They are cooked when there is no pink meat, the juices run clear, they are steaming hot or 75ºc on a meat probe.